Language:


Watch out, because these small, unassuming Dango rice balls harbour a delicious treasure within. This fruity, sweet surprise made from freshly picked berries is accompanied by a fruit salad enhanced with honey syrup. Enjoy this recipe on a warm summer’s day as a light fruit dessert, just like in Japan!
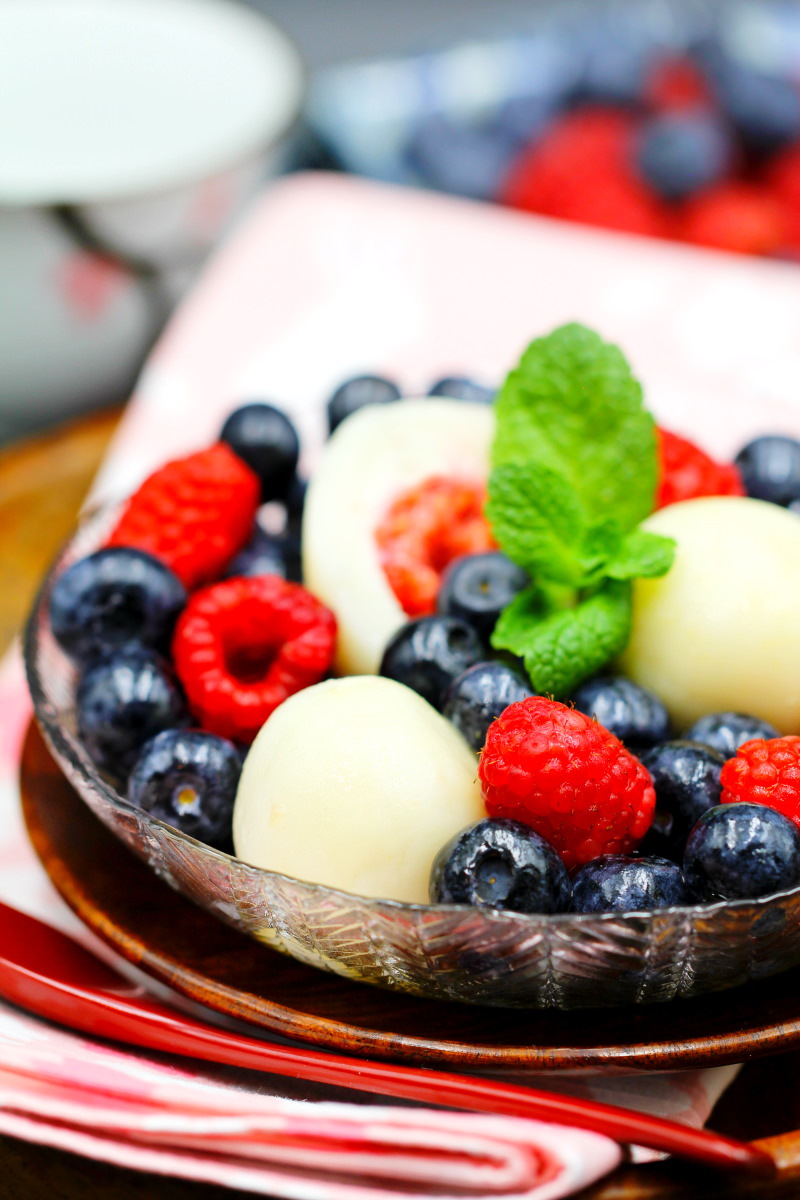
Is the selection of freshly picked berries once again bursting at the seams in early summer? Then it’s time to make a fruity fruit salad with Japanese Dango balls! I first tried this recipe after a trip to Mount Fuji. The summery temperatures called for a fruity snack, and the result tasted wonderful.
Here’s a photo from that trip near Mount Fuji 😊:

For this delicious fruit salad, I’ve chosen some lovely blueberries and raspberries today – they just looked so inviting that I simply had to pick them up. Depending on the season and what’s available, you can also use completely different berries here – such as very ripe blackberries, small strawberries or other sweet varieties.
Rinse the fresh berries gently under running water in a sieve and leave them to dry slightly on a kitchen towel. It’s best if the berries are still slightly damp so that the icing sugar sticks well later on.
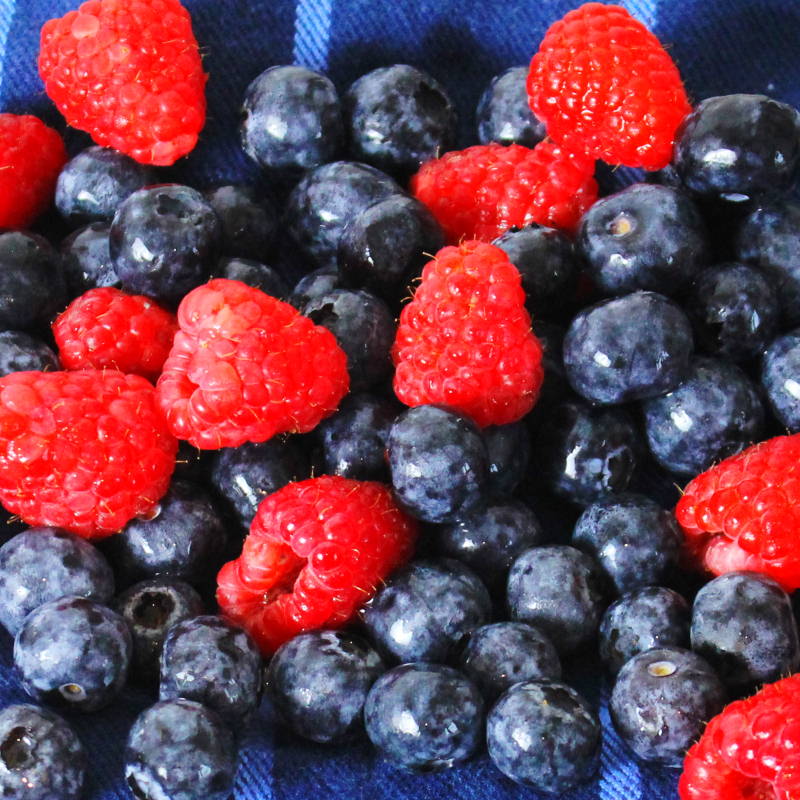
Tip: If you only have a few berries, you can use other fruits for the rest of the fruit salad – for example, kiwi, mango, pineapple, or even apples and bananas!
We’ll roll some of the berries (specifically the 12 best-looking ones) in icing sugar to use as the filling for the Dango balls, then coat them thoroughly with homemade Dango dough. Incidentally, ‘Dango’ refers to small, round rice balls that play a key role in typical Japanese desserts and sweet dishes.
To make the Dango dough, we’ll need both glutinous rice flour and rice flour (im Shop ansehen). For the glutinous rice flour, I used Shiratamako, which is Japanese glutinous rice flour (im Shop ansehen). This makes the Dango nice and soft with a subtle aroma of glutinous rice.
As well as glutinous rice flour, which is made from sticky Japanese short-grain rice, we also need ‘normal’ rice flour – known as Joshinko – made from ordinary short-grain rice. You can find this in Asian food shops.
The recipe should, of course, also work with other types of rice and glutinous rice flour, but be careful – please don’t use just any rice flour! It is absolutely essential to use glutinous rice flour, not non-glutinous rice flour, to ensure the dango dough turns out right.
Making Dango isn’t difficult and is absolutely essential if you want to make traditional Japanese sweets at home. Here you’ll find even more favourite recipes for homemade Dango desserts: → Make your own Dango: 7 really delicious recipes for sweet rice balls
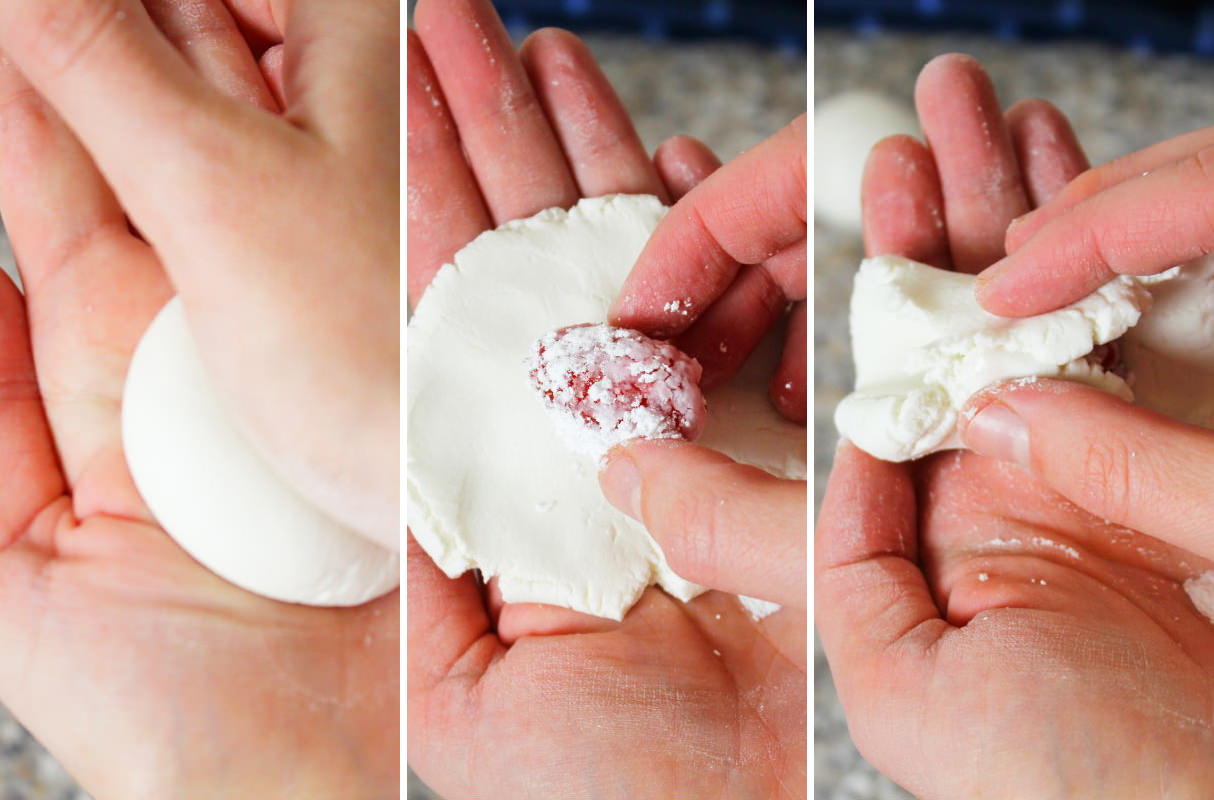
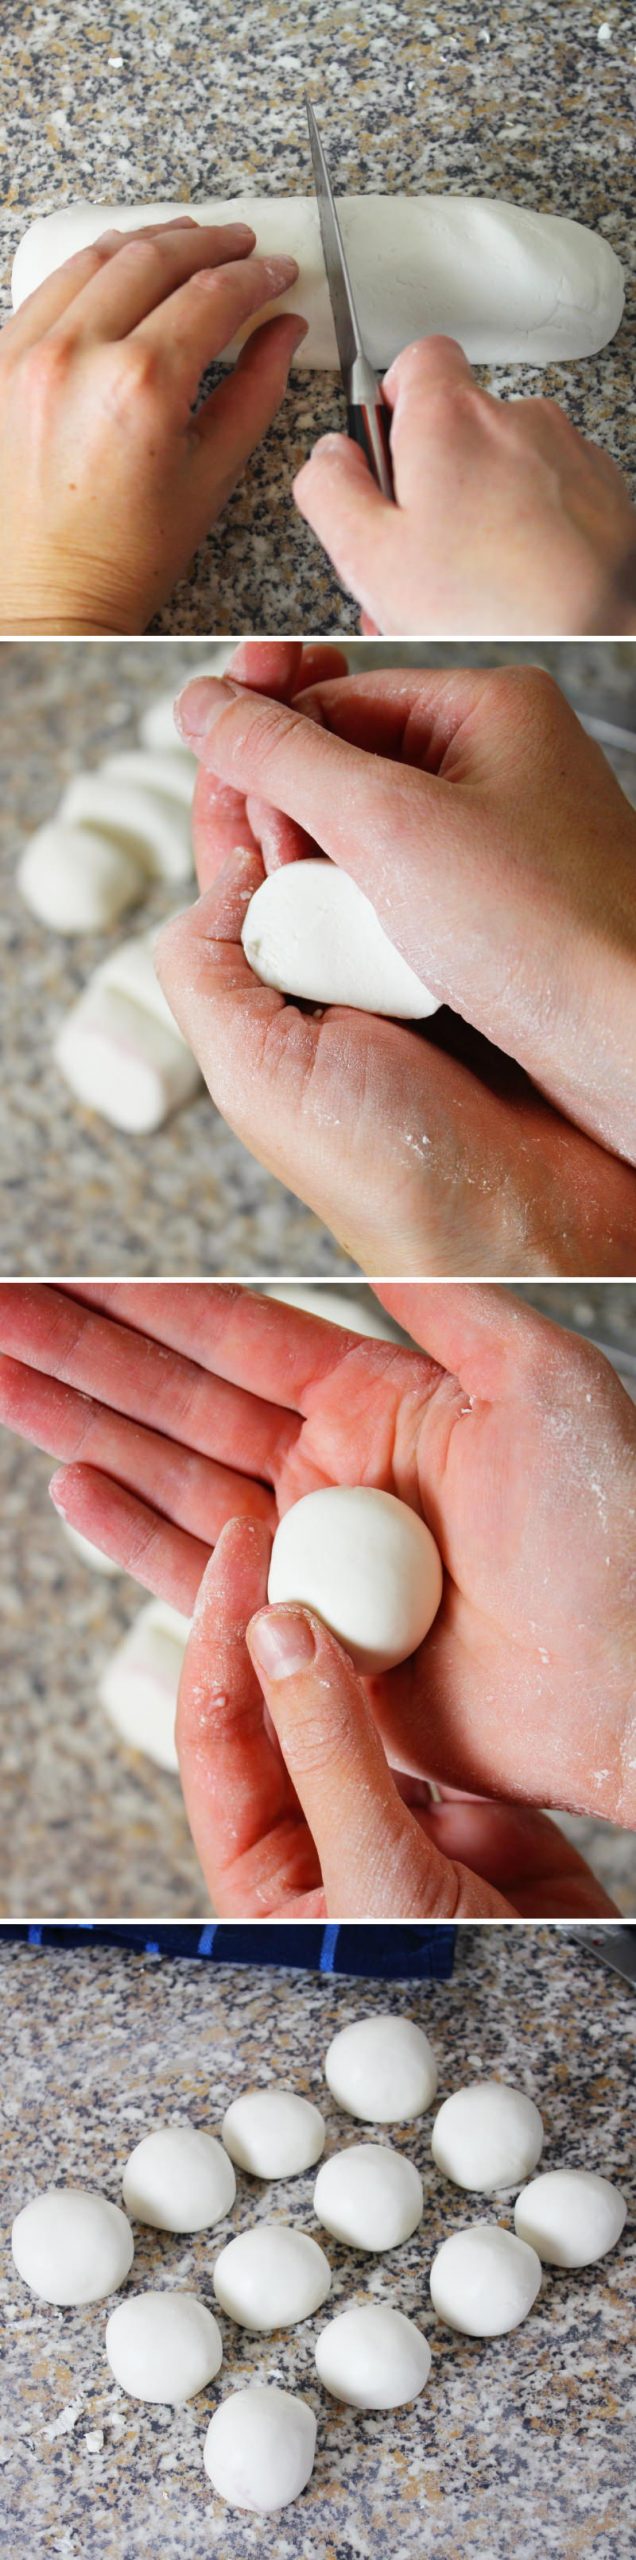
Once the dough is finished and shaped into 12 roughly equal balls, each piece of dough is flattened between the palms of your hands. Then a sugared berry is placed in the centre and wrapped in the Dango dough. The berries mustn’t be crushed on the inside. So be gentle with the dough and have a little patience while shaping!
Now the filled Dango are placed in gently boiling water for 5 minutes and then plunged into ice-cold water. The rice flour dough will turn out lovely and soft, and the berries inside will have briefly cooked in their own juice – turning these unassuming little Dango into a delicious flavour explosion with a surprise effect!
TOP RECOMMENDATION
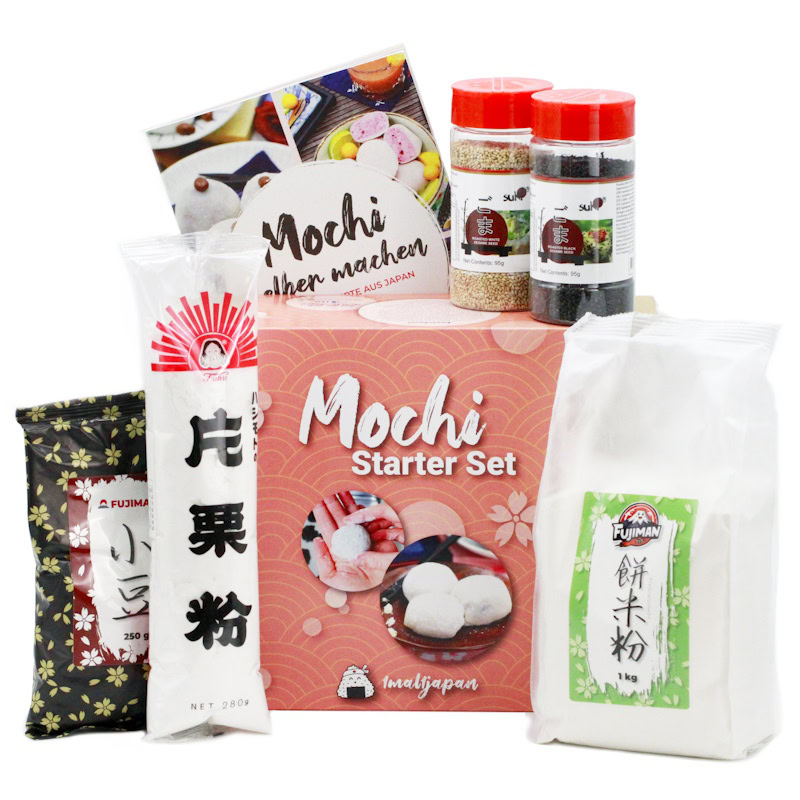
Mochi Starter Set | Klebreiskuchen selber machen, vegan
6-tlg. Kochset für 4 große Portionen Klebreiskuchen, inkl. Rezeptheft, glutenfrei & vegan. Mit dem Mochi Kochset stellst du japanische Reiskuchen ganz einfach selbst her –…
In stock
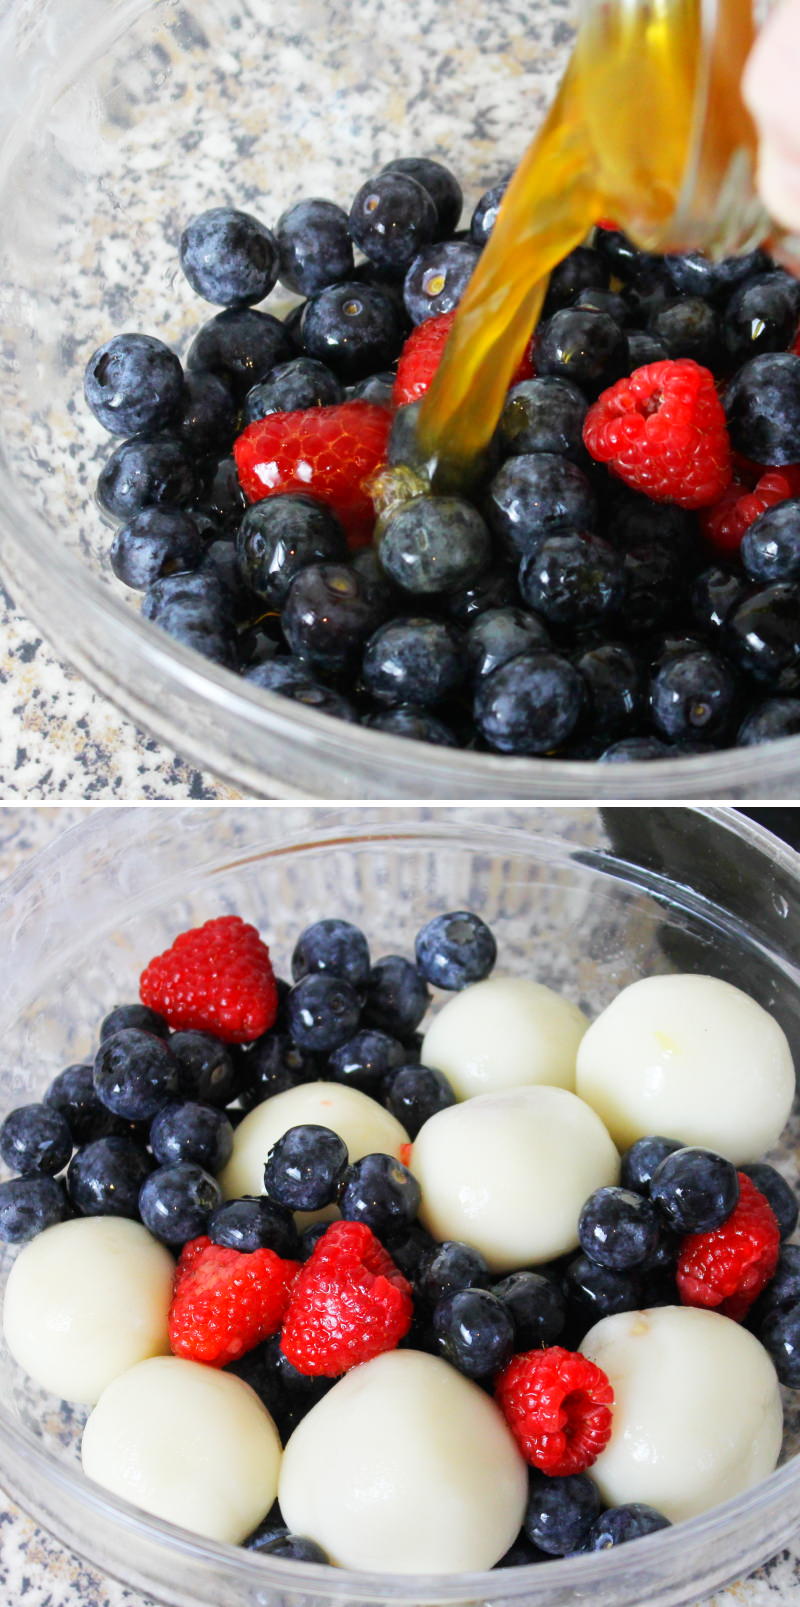
Place the remaining berries in a large bowl and add the drained berry Dango. The whole dish is finished off with a homemade honey syrup!
We’ll make the sweet syrup from lemon and sweet honey ourselves right at the start. To do this, cut a lemon in half and squeeze out the juice. Then add honey and water and simmer for 15 minutes until it becomes a smooth syrup. Remove from the heat, pour into a bowl or jar, and place in the fridge to cool until ready to serve. 出来上がり dekiagari – and that’s it!
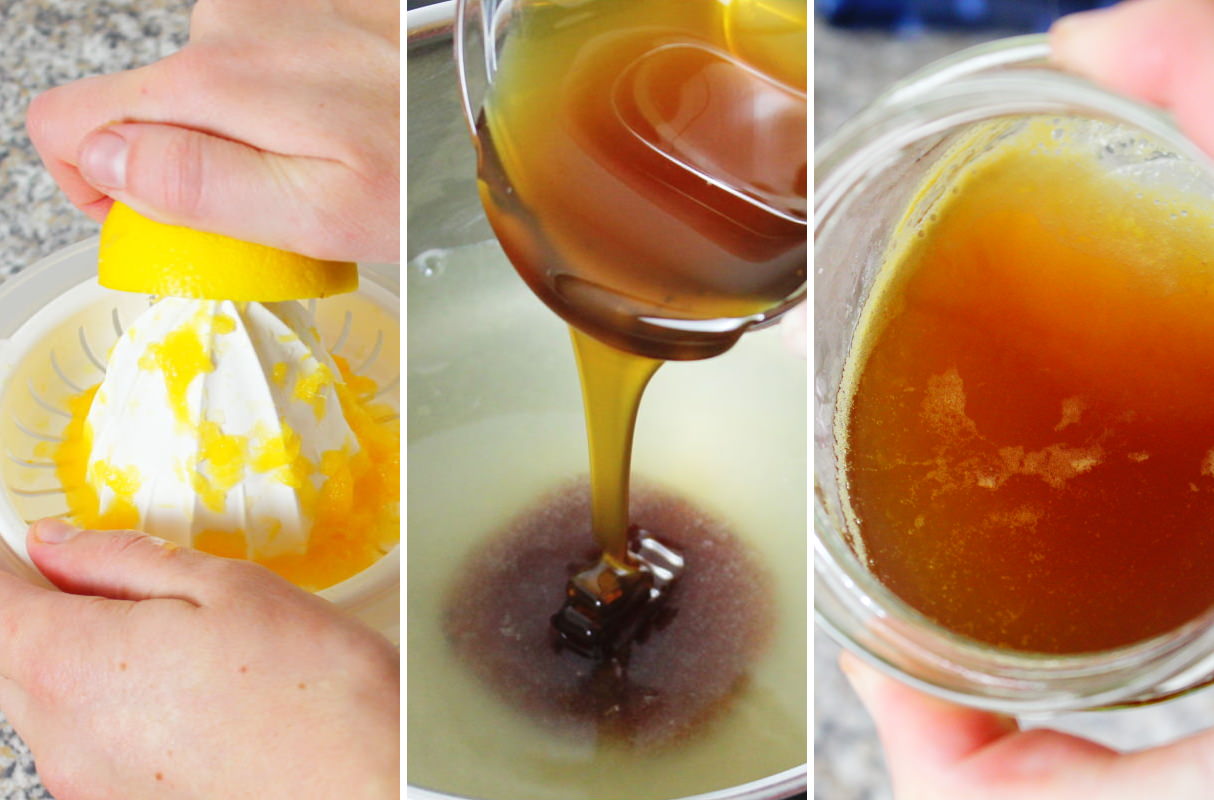
So, fancy treating yourself to something special? Then treat yourself and your guests to this Japanese dessert! A little tip to finish with: you can also thread the berries (or other fruit) onto a skewer alongside the filled Dango balls and serve the honey syrup on the side for dipping – a great way to serve this Japanese dessert on the go!
Berry-filled Dango
Serves 4 | 30 minutes
🖨️ Print PDF 📌 Save this pinWatch out, because these small, unassuming Dango rice balls harbour a delicious treasure within. This fruity, sweet surprise made from freshly picked berries is served with a fruit salad enhanced with honey syrup. Enjoy this recipe on a warm summer’s day as a light fruit dessert, just like in Japan!
Ingredients (4 portions)
For the mini Dango balls:
100 g glutinous rice flour (im Shop ansehen)
100 g rice flour (im Shop ansehen)
175 ml water
60 g icing sugar
350 g fresh berries (do not use frozen ones!)
For the honey syrup:
1 lemon or 20 ml lemon juice
75 g honey (preferably a mild blossom honey)
100 ml water (fresh, cold tap water)
Method (30 minutes)
Step 1
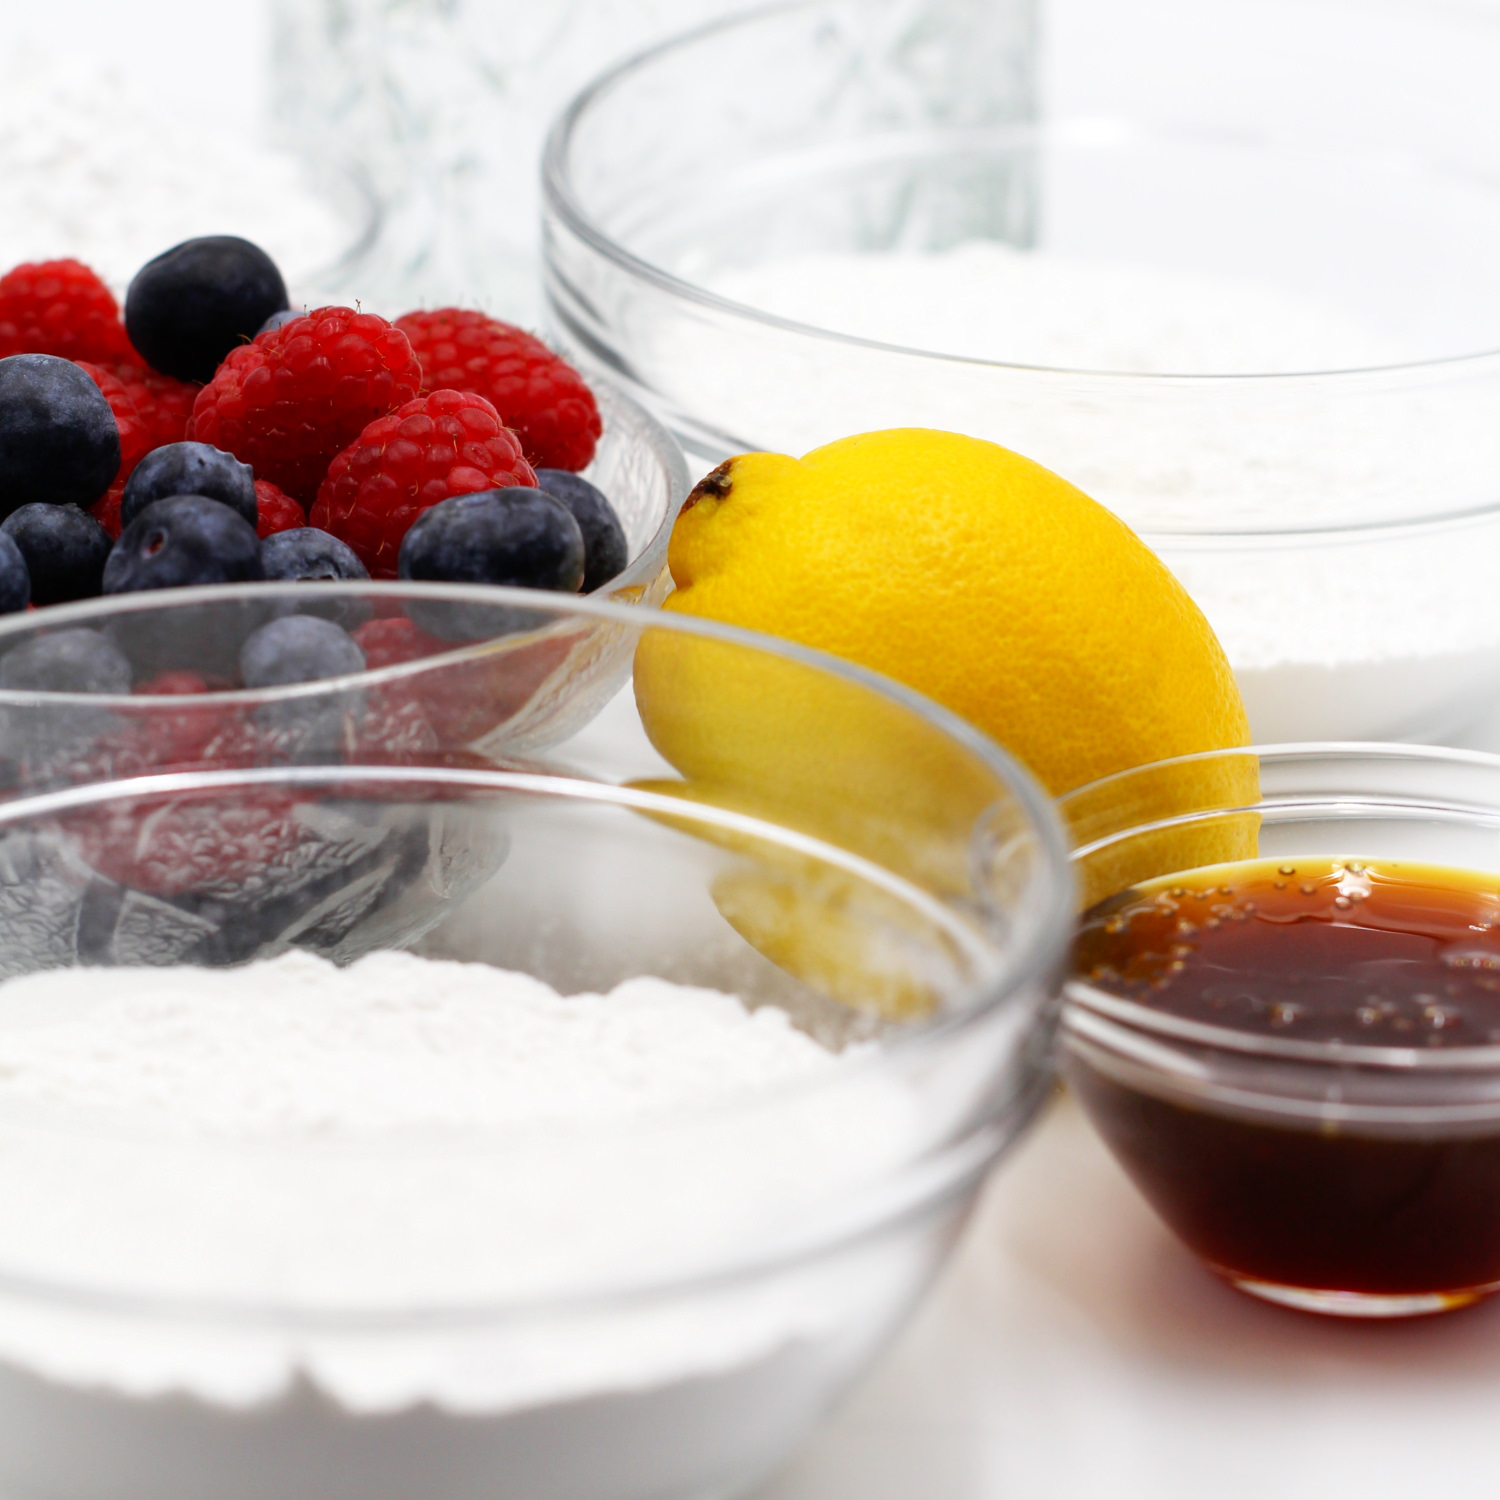
Prepare the ingredients for the dango with summer berry filling.
Step 2
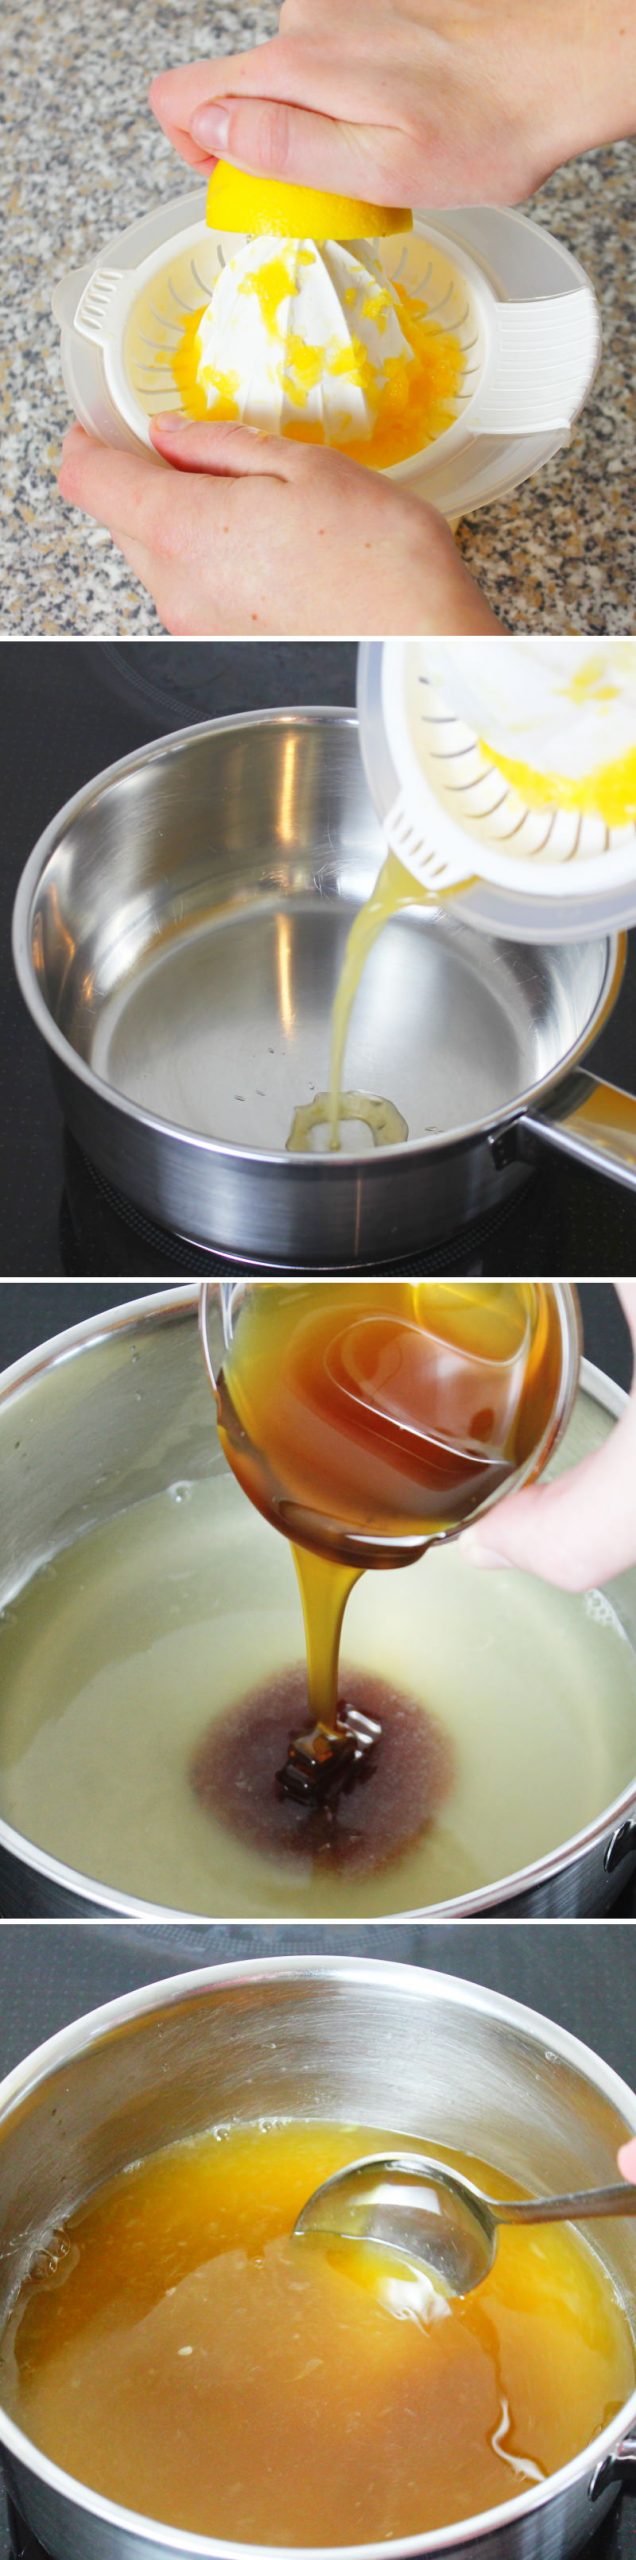
First, we’ll make the homemade honey syrup: To do this, cut the lemon in half and squeeze out the juice (about 20 ml of lemon juice).
Pour the lemon juice into a saucepan. Also add honey and water , stir everything together thoroughly and bring to the boil over a high heat. Reduce the heat to medium and simmer for 15 minutes, stirring occasionally until it has reduced to a syrup. Then remove from the heat, pour into a bowl or glass and place in the fridge to cool until ready to serve.

Step 3
Carefully rinse the fresh berries under running water in a sieve and leave them to dry slightly on a kitchen towel (it’s best if the berries retain a little moisture so that the icing sugar sticks well later on).
Step 4
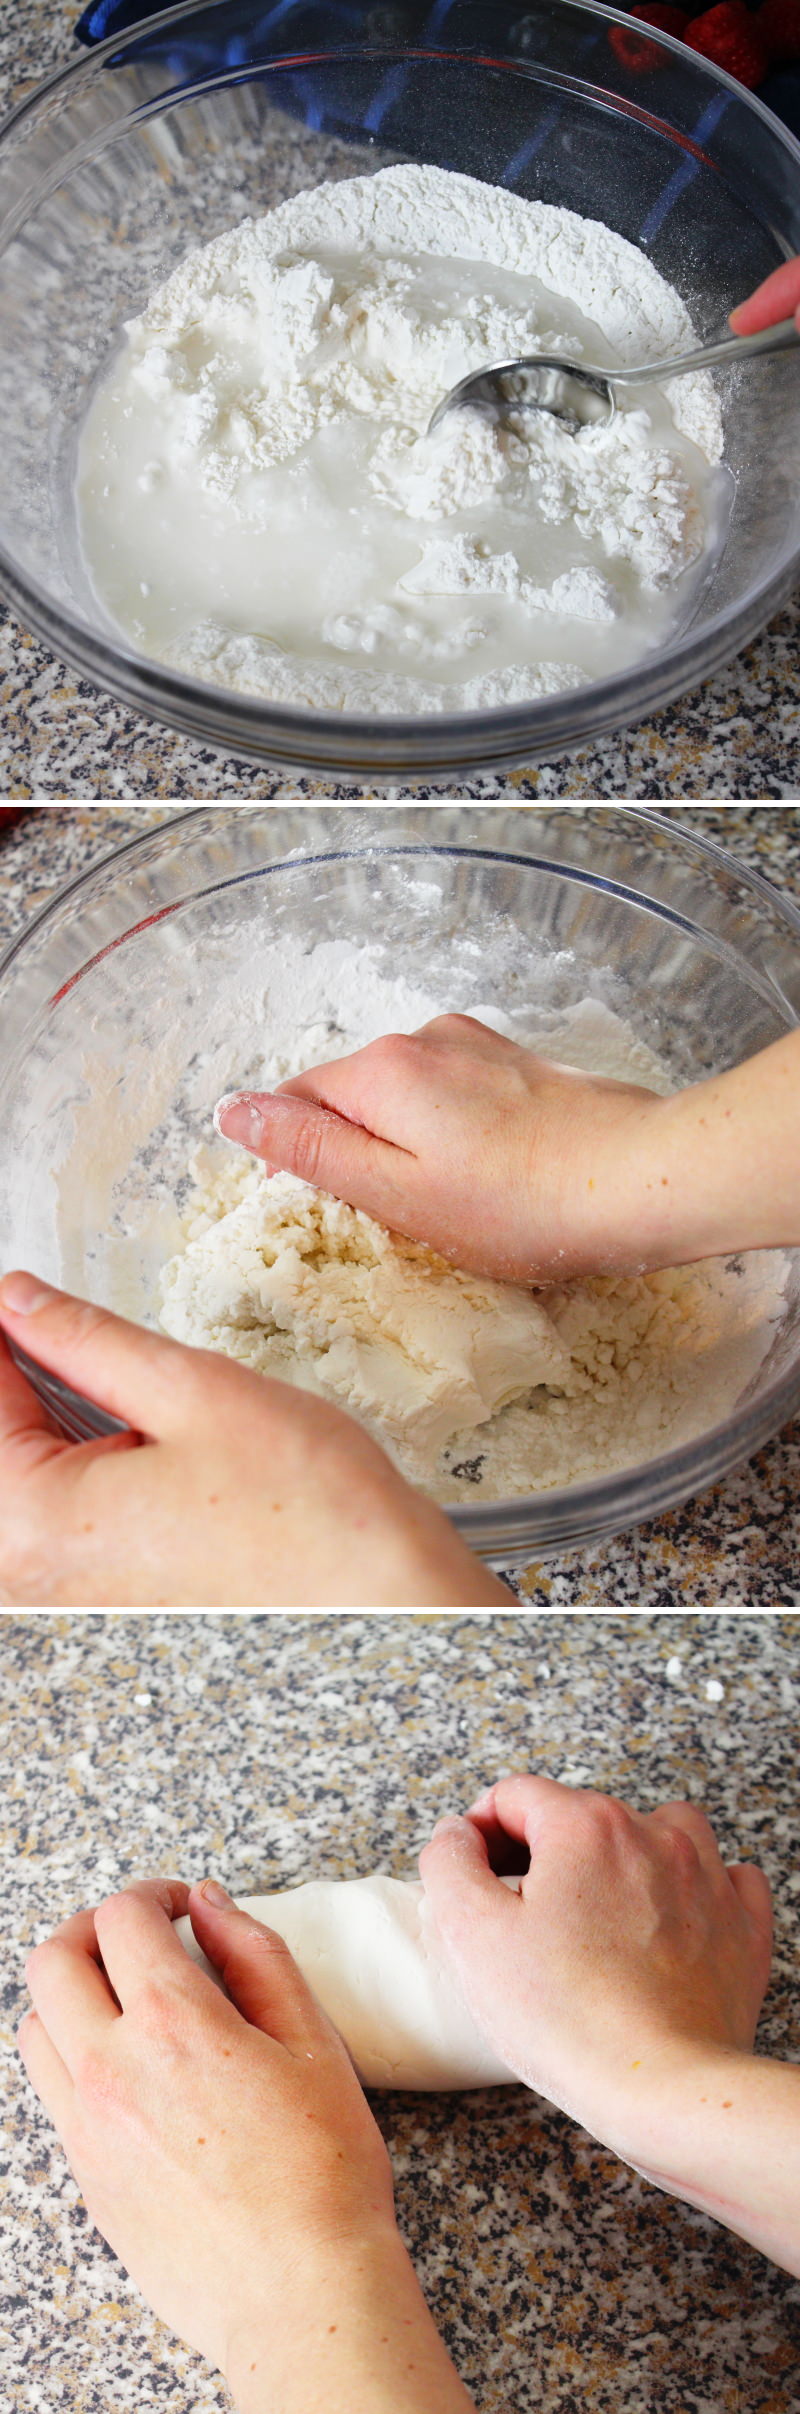
Now let’s make the dango dough: To do this, mix glutinous rice flour and rice flour in a bowl. Gradually add the water to the flour mixture, stir initially with a spoon and then knead with your hands to form a firm dough.
Tip: The dough should feel firm but not dry – it should also be supple without becoming runny. If not, add small amounts (no more than 1 tsp at a time) of glutinous rice flour or water and knead again until you have the ideal dough.
Step 5
Cut the dough in half with a knife, cut each half in half again, and then cut each of those halves into thirds – dividing the dough into 12 equal pieces. Shape each piece of dough into neat balls between your palms. This will give you 12 equally sized dough balls.
Step 6
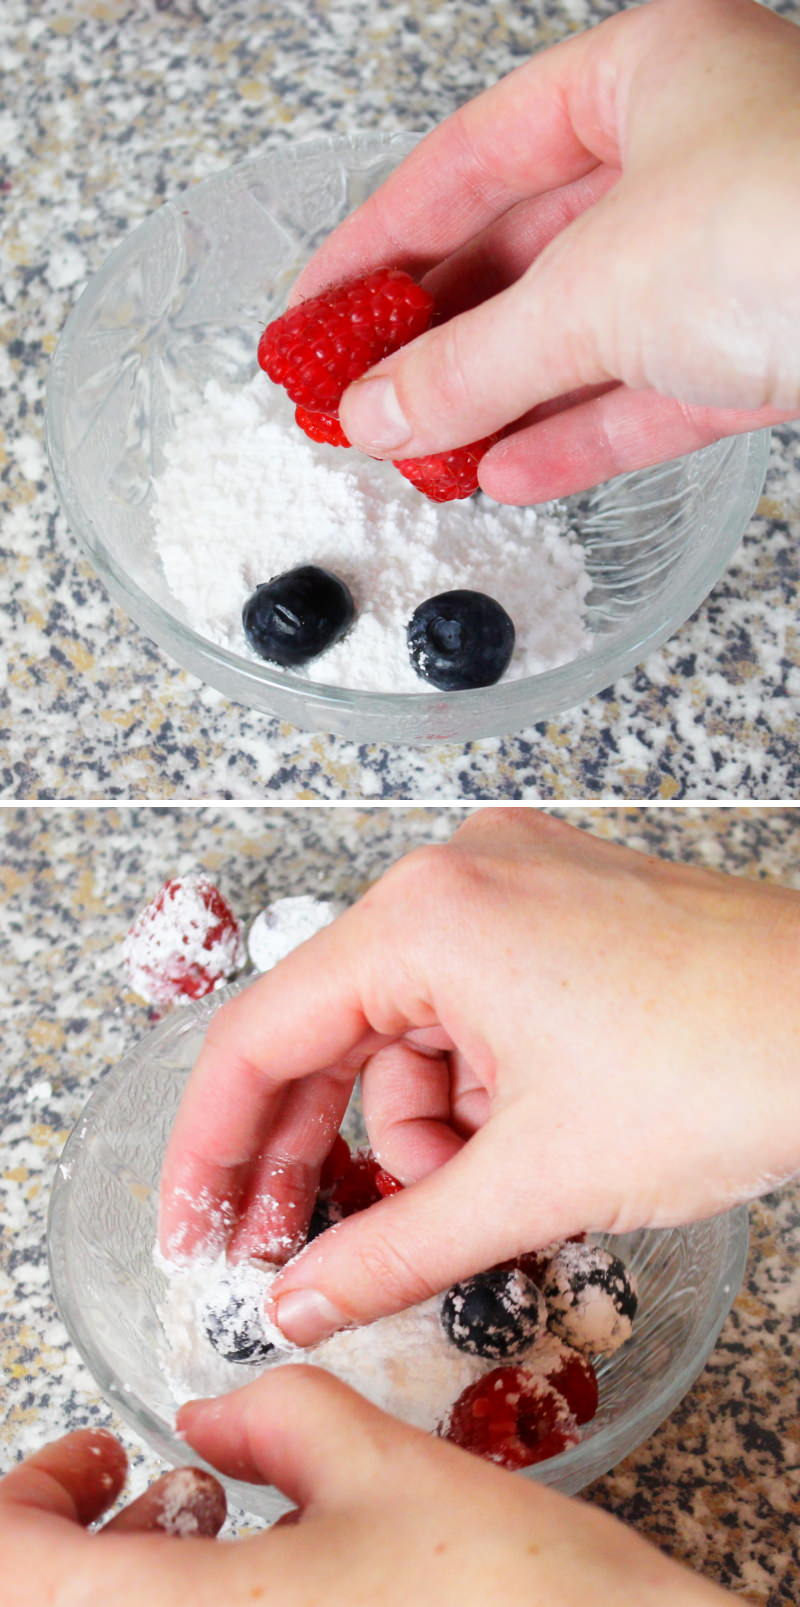
Put the icing sugar into a small bowl and roll the 12 best-looking berries in the sugar so that they are coated with icing sugar.
Set the remaining berries aside for the fruit salad.

Step 7
Now flatten each Dango dough ball between the palms of your hands , then place a sugared berry in the centre of each one and wrap it in the Dango dough. Carefully shape it back into a smooth ball.
Tip: Make sure the berries inside aren’t squashed. So handle the dough gently and be patient when shaping them!
Step 8
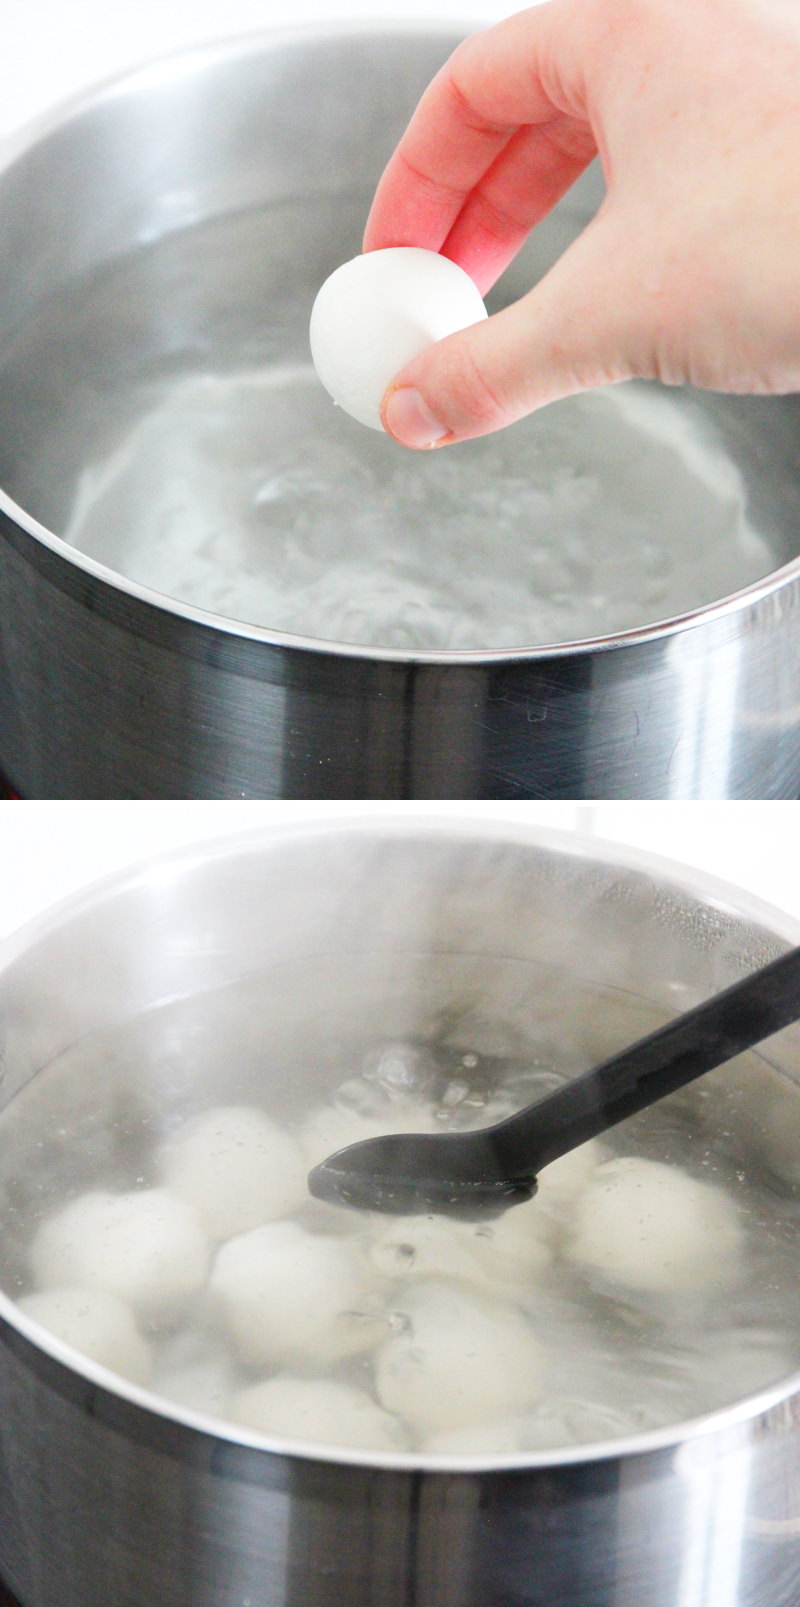
Bring 2 litres of water to the boil in a large saucepan, then reduce the heat to medium. Add all 12 balls to the boiling water, stir gently once (to prevent the balls from sticking to the bottom) and cook for 5 minutes, until each ball has risen to the surface.
Step 9
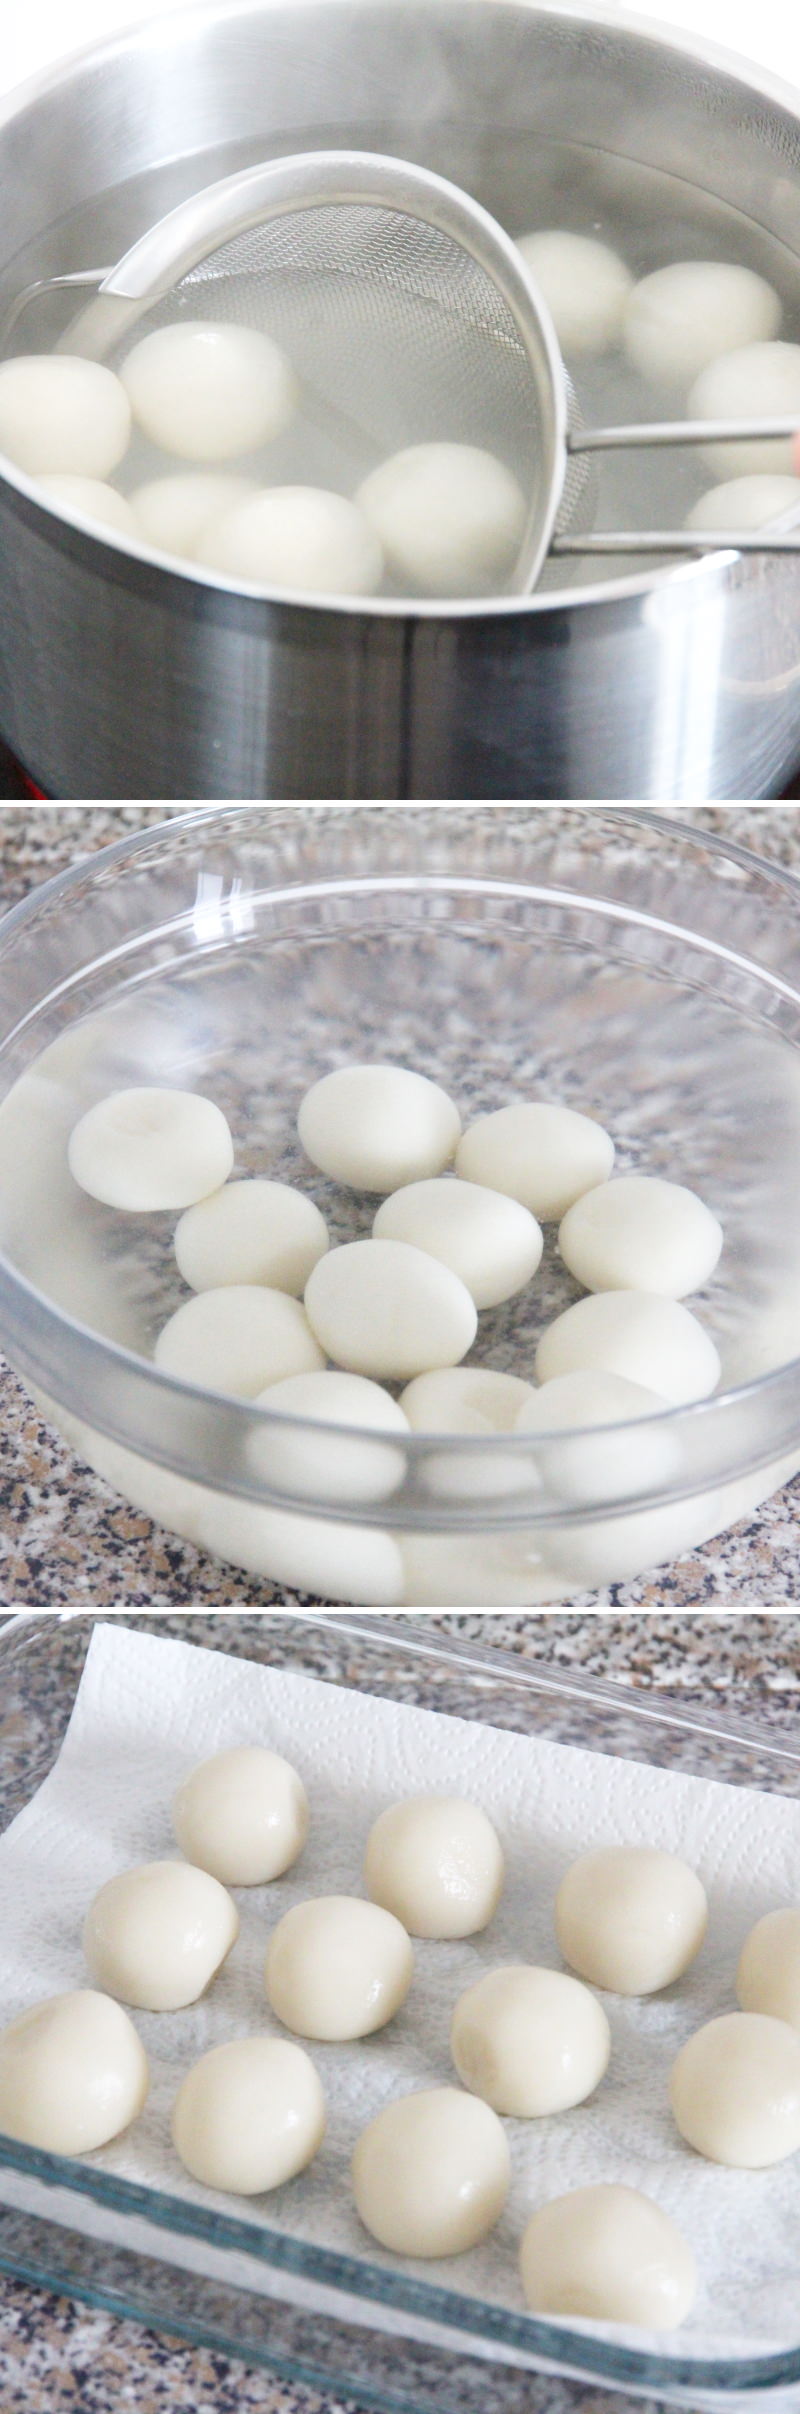
Meanwhile, prepare a bowl of ice-cold water. Then lift the balls out of the water using a slotted spoon or a sieve and place them in the prepared cold water. Rinse briefly, then leave to drain on kitchen paper.
Step 10
Place the remaining berries in a large bowl, add the honey syrup and the drained Dango, and gently mix everything together.
Tip: For on the go or for a special occasion, everything can also be served as fruit skewers.
Step 11
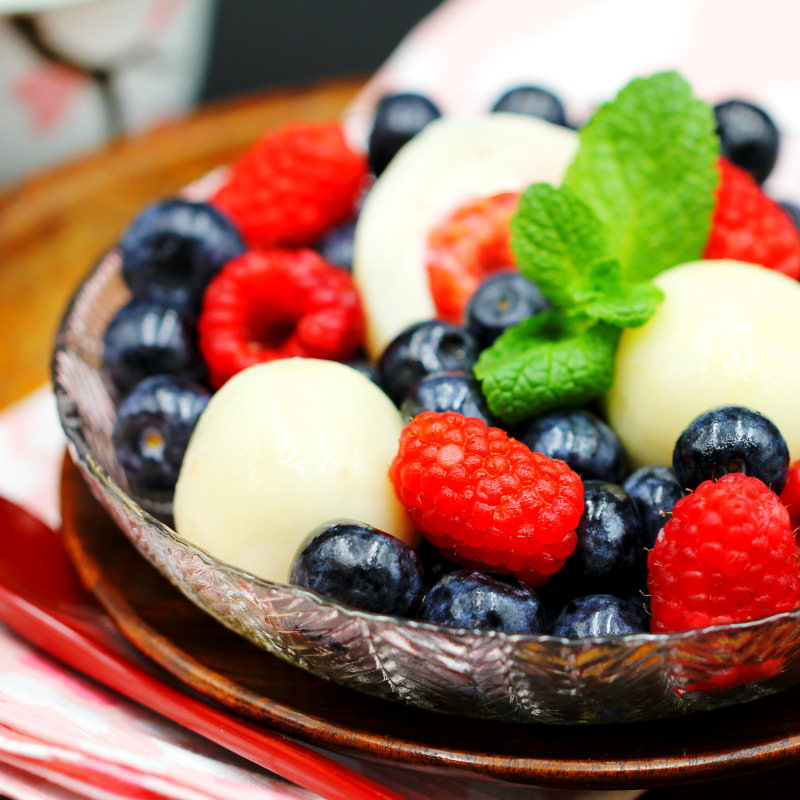
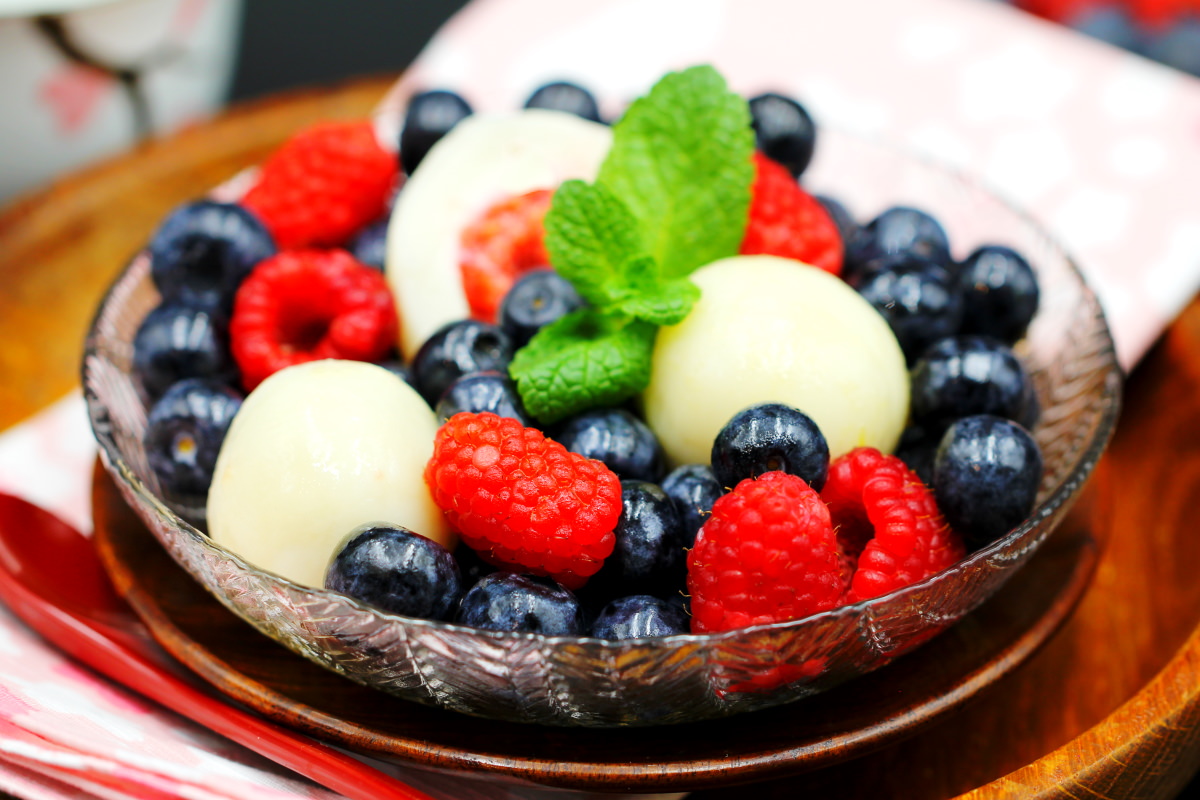
Divide the Dango and berry salad with honey syrup between some pretty dessert bowls and serve. Done – Itadakimasu!
This fruit salad is a wonderful way to round off a Japanese meal! Here you’ll find my most popular recipes for cooking Japanese food for guests:
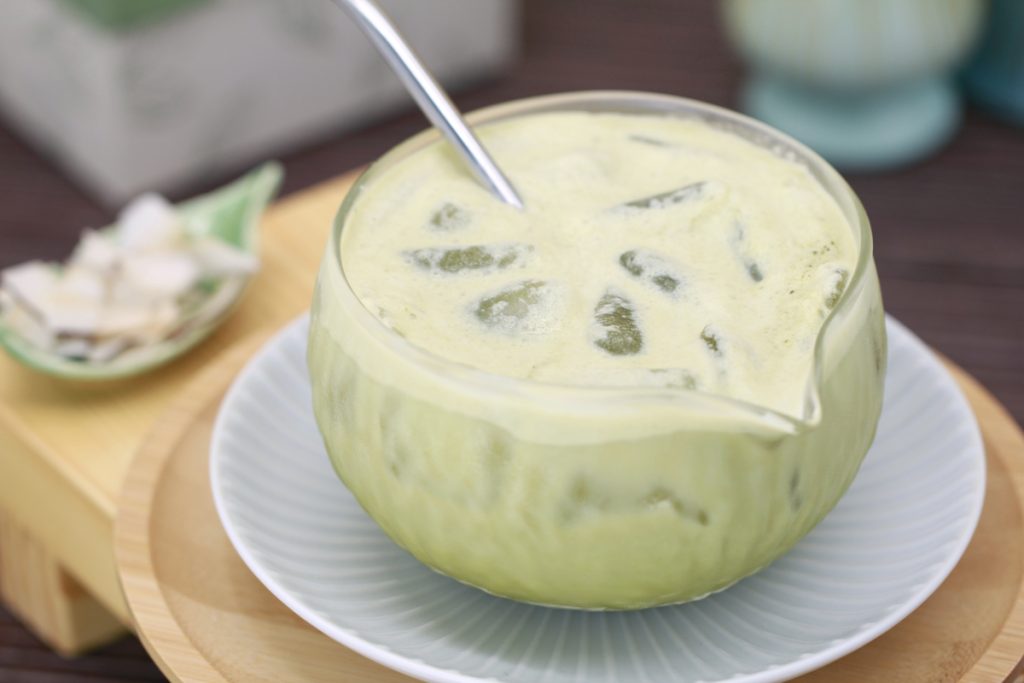
Make your own Coconut Matcha Cloud: A creamy Matcha latte with ice-cold coconut water
I couldn’t get away from the Coconut Matcha Cloud on social media this summer, and to be honest, I was…
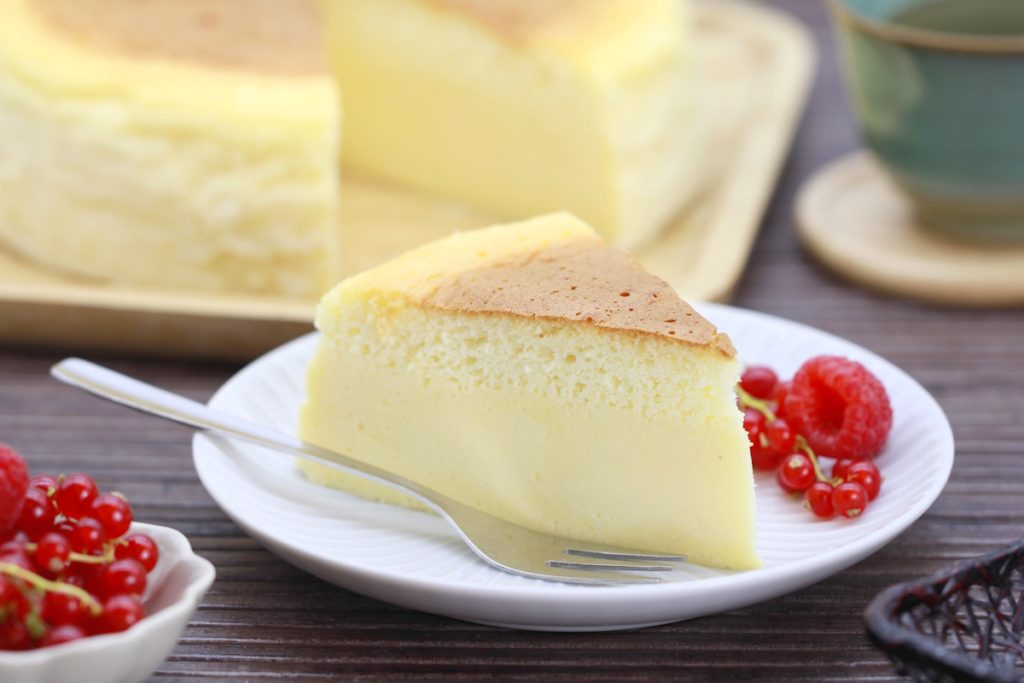
Japanese cheesecake: The best recipe for a fluffy soufflé-style cheesecake just like in Japan
Japanese cheesecake is one of Japan’s most popular desserts and delights with its exceptionally light and airy texture. Unlike classic…
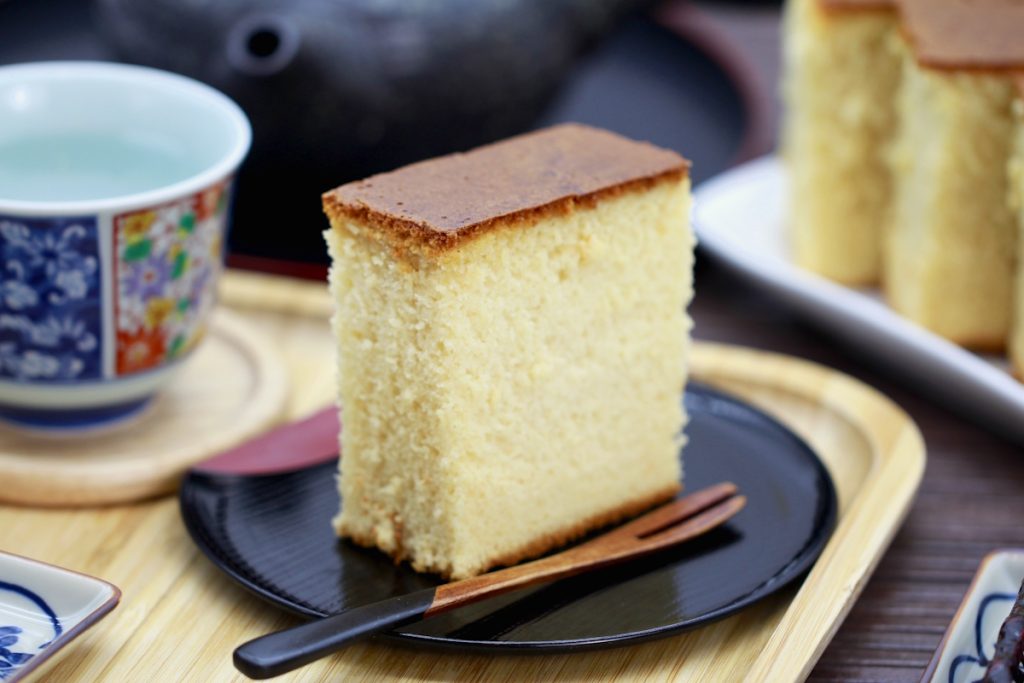
How to make Castella (Kasutera) yourself: How to make this Japanese honey cake
Why is Castella often described as Japan’s moistenest cake? Although Kasutera consists of just a few ingredients, the special preparation…
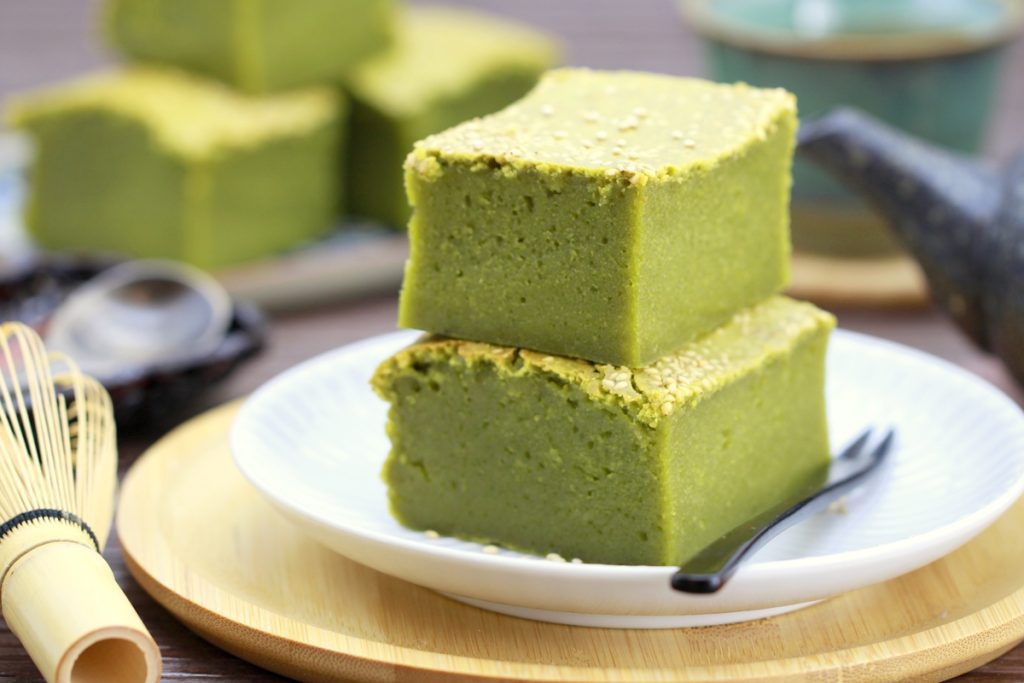
Make your own Matcha butter Mochi: Hawaiian Mochi cake with green tea
If you drink Matcha regularly, you might be familiar with this: at some point, you end up with more Matcha…
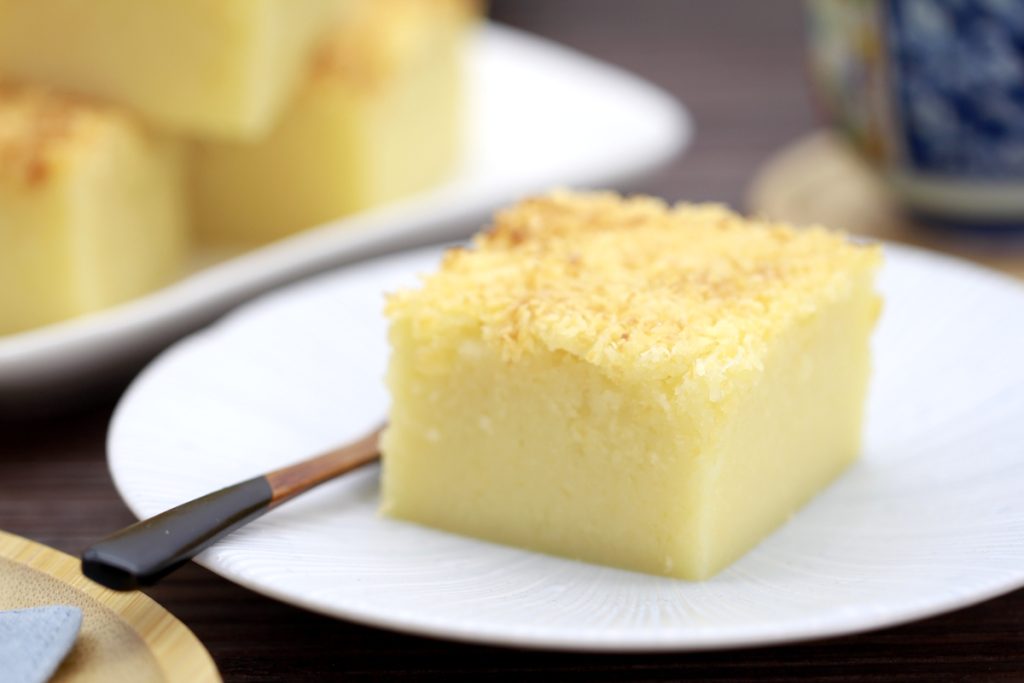
Butter Mochi (Hawaiian Mochi Cake – gluten-free)
Butter Mochi is one of those recipes that’s hard to pigeonhole. It looks like a simple tray bake, but has…
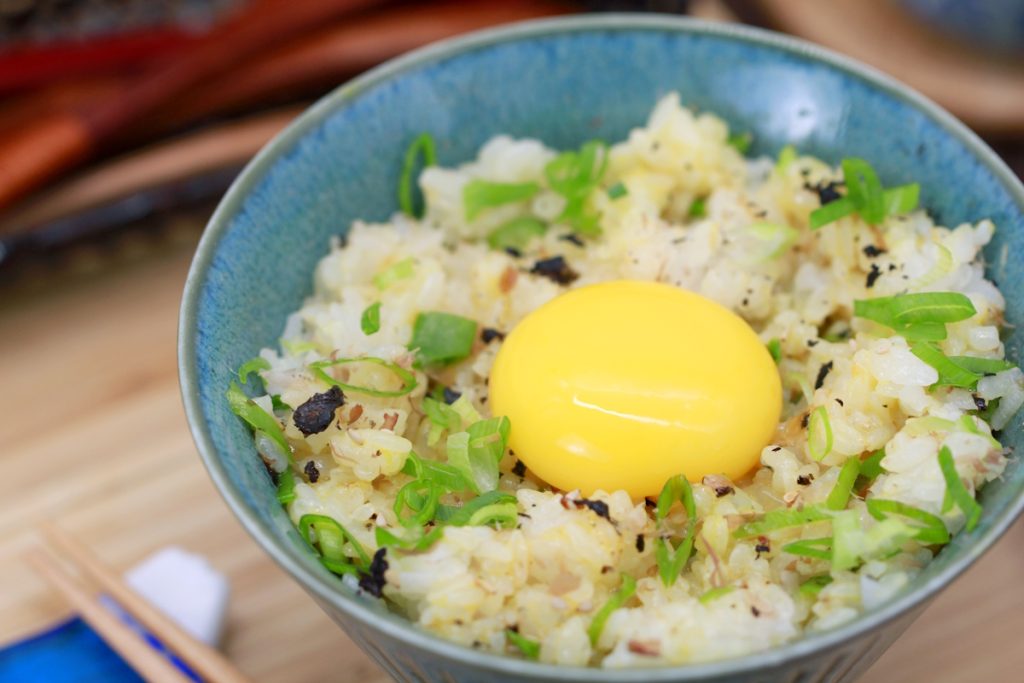
Tamago Kake Gohan: Japanese breakfast rice with egg, Furikake & Katsuobushi | TKG
In this recipe, I’ll show you a particularly flavourful version of Tamago Kake Gohan (TKG) with Katsuobushi. Freshly cooked, piping…
Have you tried the recipe? Let me know in the comments – I’m really looking forward to hearing from you.