

Language:


Why is Castella often described as Japan’s moistenest cake? Although Kasutera consists of just a few ingredients, the special preparation method results in an astonishingly light yet moist honey cake. It is precisely this combination that has made Kasutera one of Japan’s most popular desserts for centuries. Today, I’ll show you how you can easily bake this traditional Castella cake yourself.
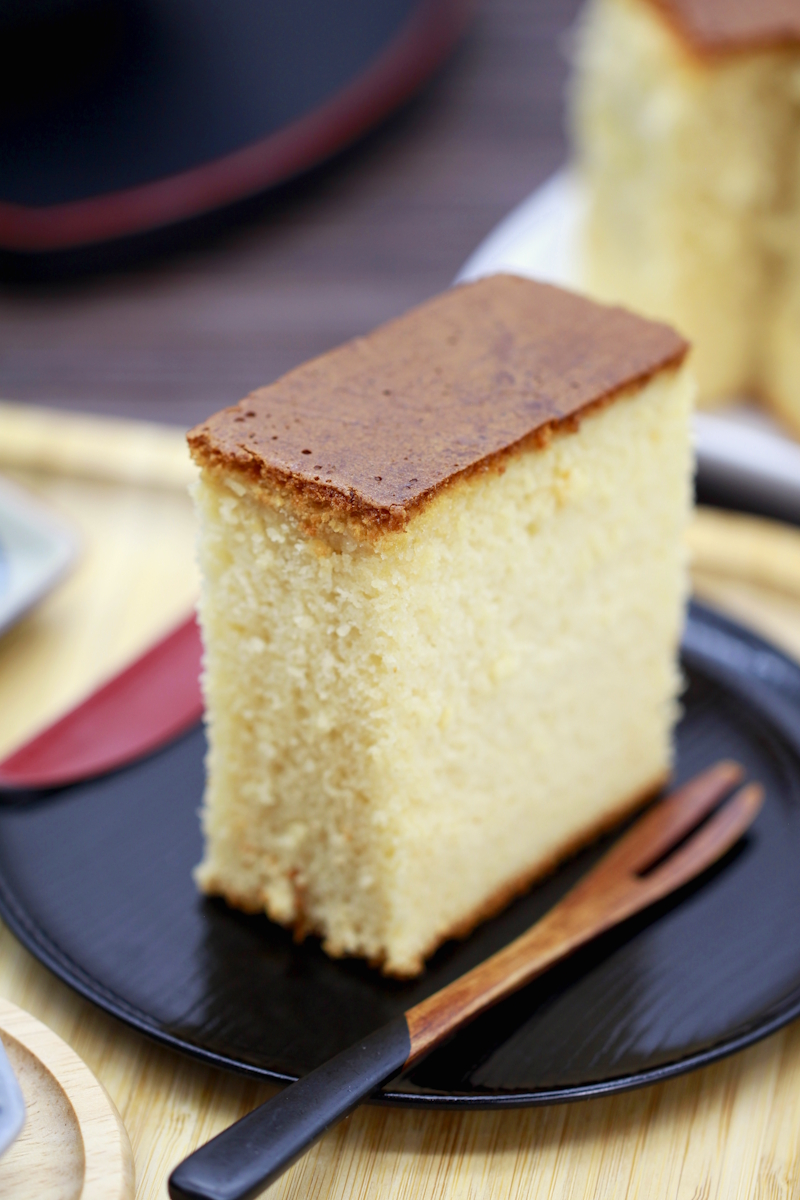
What is Castella?
Castella (or Kasutera) is one of Japan’s best-known desserts and is often referred to as Japanese honey cake. Unlike many Western cakes, Kasutera doesn’t rely on buttercream, fruit or elaborate decorations. Instead, the focus is on its fine crumb, subtle sweetness and moist texture.
The cake derives its distinctive character from the large quantity of eggs, which are beaten for several minutes. This creates an airy texture, whilst honey and sugar provide the characteristic moistness. The result is a cake that is light, soft and pleasantly springy.
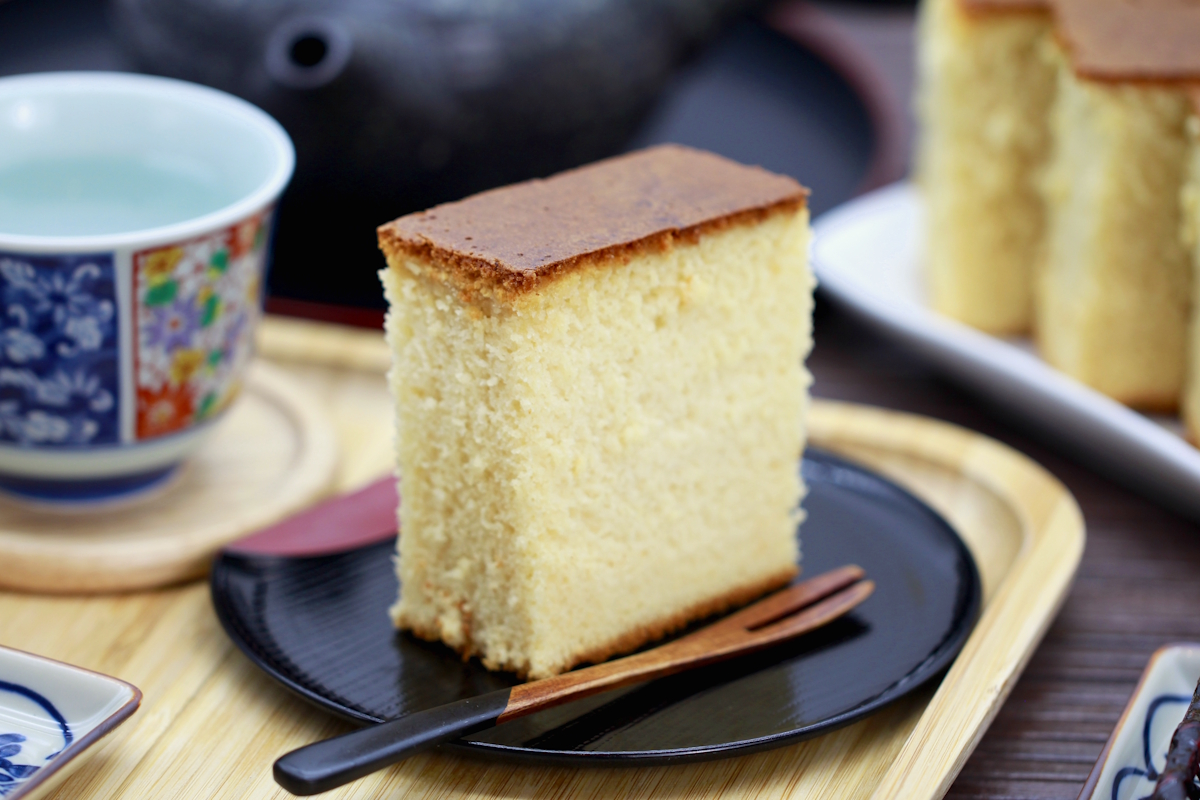
Kasutera is particularly popular as an accompaniment to green tea or coffee. In Japan, the cake is also frequently bought as a gift or a small token of appreciation. In Nagasaki in particular, where Kasutera originated, the traditional Kasutera bakeries remain among the city’s best-known speciality shops to this day.

Did you know?
Castella actually has its roots not in Japan, but in Europe. In 1543, Portuguese traders and missionaries brought a simple cake called Pão de Castela (‘bread from Castile’) to Nagasaki.
Over the centuries, Japanese bakers refined the recipe and adapted it to the ingredients available. The originally rather simple cake thus evolved into the Kasutera we know today, made with honey, plenty of eggs and its particularly fine, moist crumb.
Although its origins are European, Kasutera is now considered an integral part of Japanese wagashi and confectionery culture and is often regarded as a typical speciality of Nagasaki.
How to make Kasutera yourself: Here’s how
Castella is one of Japan’s best-known cakes and, at first glance, appears surprisingly simple. In fact, the batter consists of just a few ingredients. This is precisely why it depends less on elaborate baking techniques than on a few fundamental details. The most crucial steps are beating the eggs, carefully folding in the flour and ensuring the correct baking temperature.
The egg mixture is key. Unlike many classic cakes, the volume isn’t created by butter or large quantities of baking powder, but almost exclusively by the beaten eggs. Together with honey, this produces the typically fine crumb that distinguishes Kasutera from ordinary sponge cake.
The key ingredients for Kasutera:
- Eggs: They form the basis of the cake and ensure its light, airy texture. Beating them for several minutes creates the volume that later forms the fine crumb.
- Honey: Honey not only adds sweetness but also the characteristic flavour. At the same time, it helps to keep the cake moist for a long time and gives it its typical taste.
- Flour and cornflour: This combination ensures stability and a particularly fine texture. The cornflour makes the crumb slightly more delicate and even, without making the cake seem heavy.
Here’s how it works:
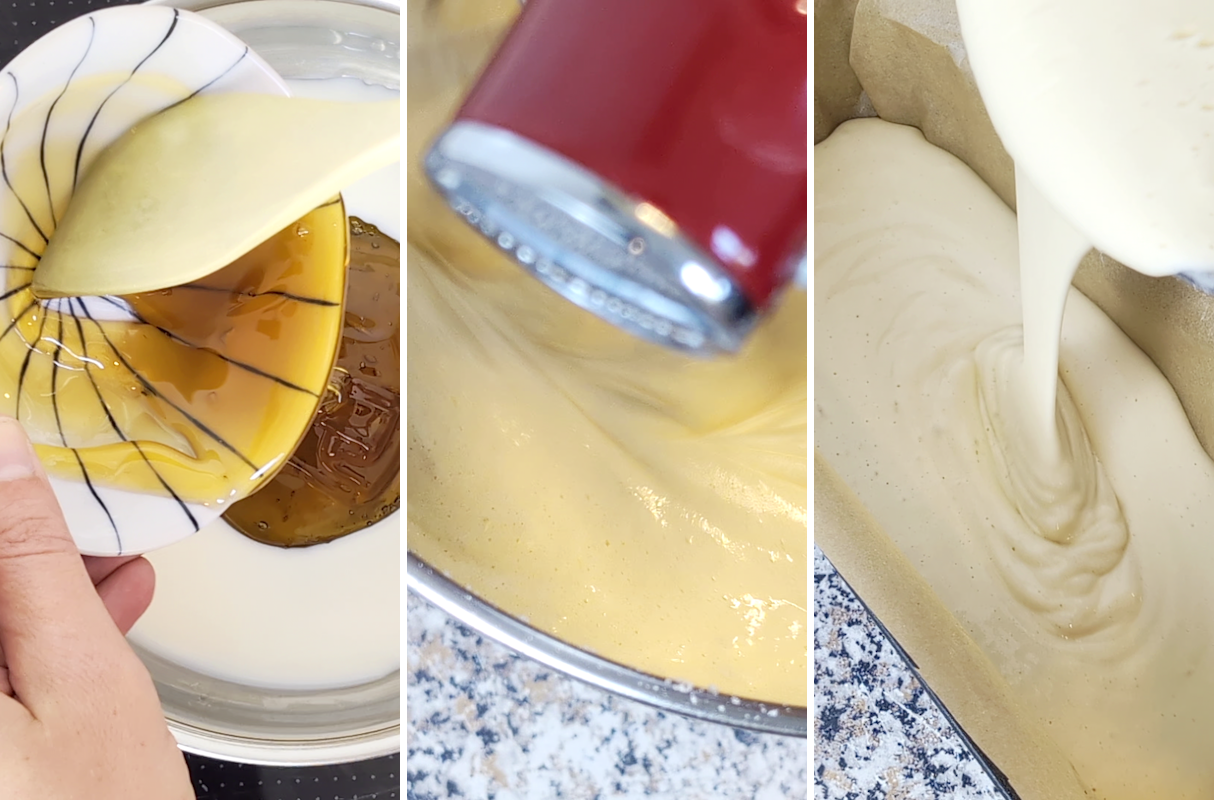
First, beat the eggs and sugar for several minutes until a light-coloured, voluminous mixture forms. At the same time, gently warm the milk and honey so that the honey dissolves completely. Then stir the mixture into the egg mixture.
Next, sift the flour and cornflour and gently fold them in. It is important to stir only until no lumps of flour are visible. This ensures that as much air as possible remains in the mixture.
The batter is then poured into the prepared loaf tin and baked. After a short initial baking phase at a higher temperature, the heat is reduced so that the cake bakes through evenly and takes on its characteristic golden colour.
Once baked, the cake is removed from the tin whilst still warm and left to cool completely. If you wish, you can then wrap it in cling film and leave it to rest for a few hours or overnight. This allows the moisture to distribute evenly throughout the cake, making the crumb even moister and finer.
It is precisely this resting period that is one of the reasons why Kasutera often only develops its full flavour the following day. The cake is then cut into even slices and traditionally served with tea or coffee.
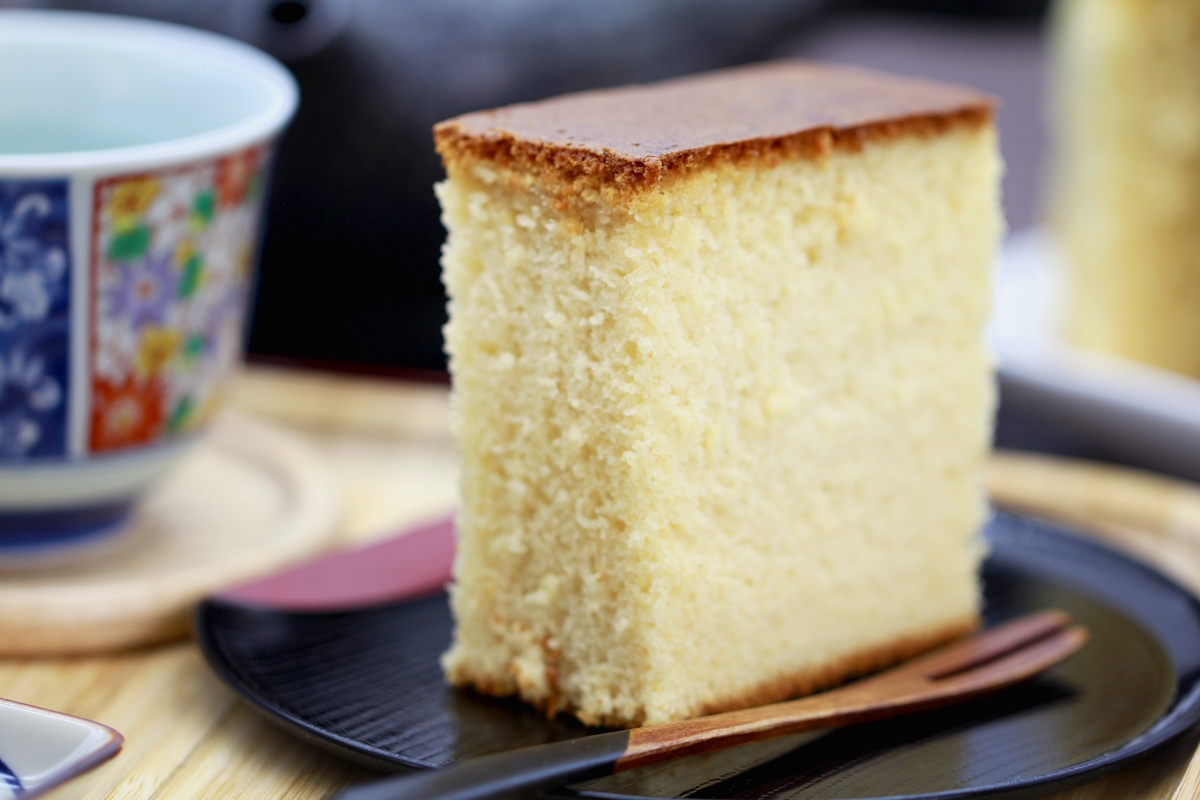
Popular variations of Kasutera
Although the classic honey version remains the best known to this day, there are now numerous variations. Modern patisseries and regional speciality shops, in particular, enjoy experimenting with additional flavours without altering the typical moist Kasutera texture.
Popular variations include:
- Matcha Kasutera
- Hojicha Kasutera
- Yuzu Kasutera
- Black sugar kasutera (Kokutō Castella)
- Chocolate kasutera
- Sakura kasutera
- Chestnut kasutera
- Coffee Kasutera
Matcha Kasutera, in particular, is one of the most popular modern varieties today, combining the cake’s delicate honey flavour with the slightly bitter aroma of Japanese green tea.
What goes well with Castella?
In Japan, Kasutera is usually served quite simply. Thanks to its subtle honey notes, light and airy crumb and pleasant sweetness, the cake goes wonderfully with both hot and cold drinks. As it isn’t too heavy, it’s ideal both for a traditional afternoon tea and as a little snack between meals.
Typical accompaniments include:
- Matcha latte
- Iced Matcha Latte with Kinako
- Kinako milk
- Royal Milk Tea
- Fresh strawberries
- Mandarins or oranges
Thanks to its subtle sweetness, kasutera goes particularly well with slightly tart teas, which balance out the honey flavour nicely. If you like Japanese sweets, Dorayaki, Taiyaki or Warabi Mochi go down a treat with a cup of tea.
Do you have any questions or would you like to share your experiences? How do you like this kasutera? Did you bake the classic version with honey, or have you perhaps already tried Matcha, yuzu or another flavour? I look forward to your comments and hope you have lots of fun baking and enjoying it.
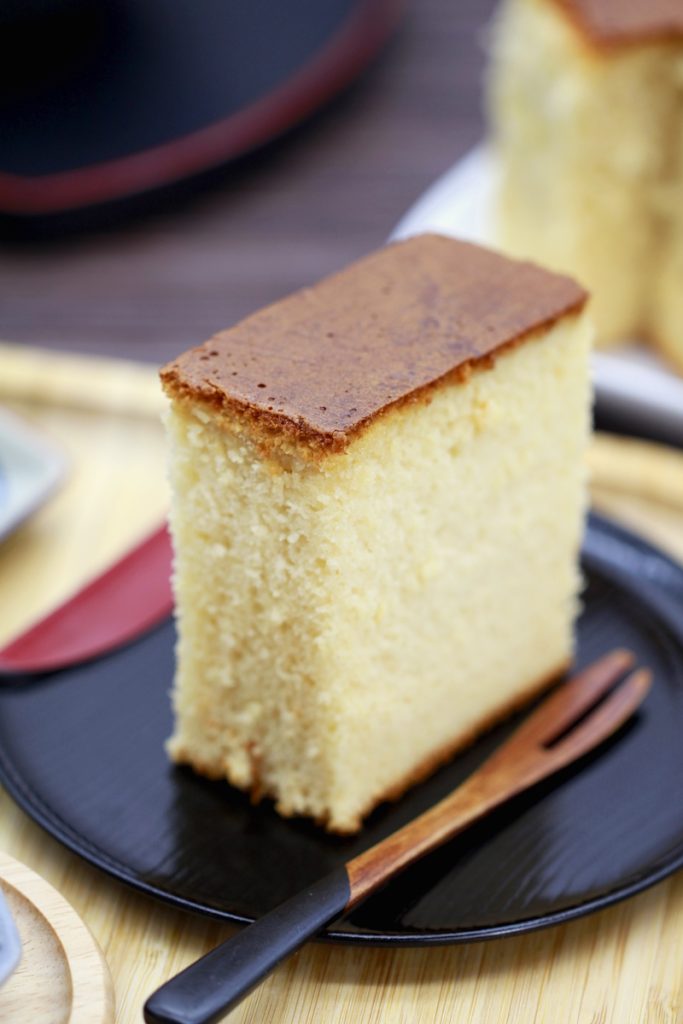
Castella (Kasutera)
12 pieces | 90 minutes | 213 kcal
🖨️ Print PDF 📌 Save this pinKasutera is a traditional Japanese honey cake with a particularly fine, moist crumb. The combination of eggs, honey and beaten egg mixture creates a light, airy cake with a delicate sweetness and characteristic texture. This simple recipe requires just a few ingredients and is perfect with tea, coffee or as a Japanese sweet treat for in between meals.
Ingredients (1 cake = approx. 12 pieces)
7 eggs
250 g sugar
60 ml milk
80 g honey
200 g plain flour (Type 405) or spelt flour (Type 630)
10 g cornflour (im Shop ansehen)
Method (approx. 90 minutes + cooling time)
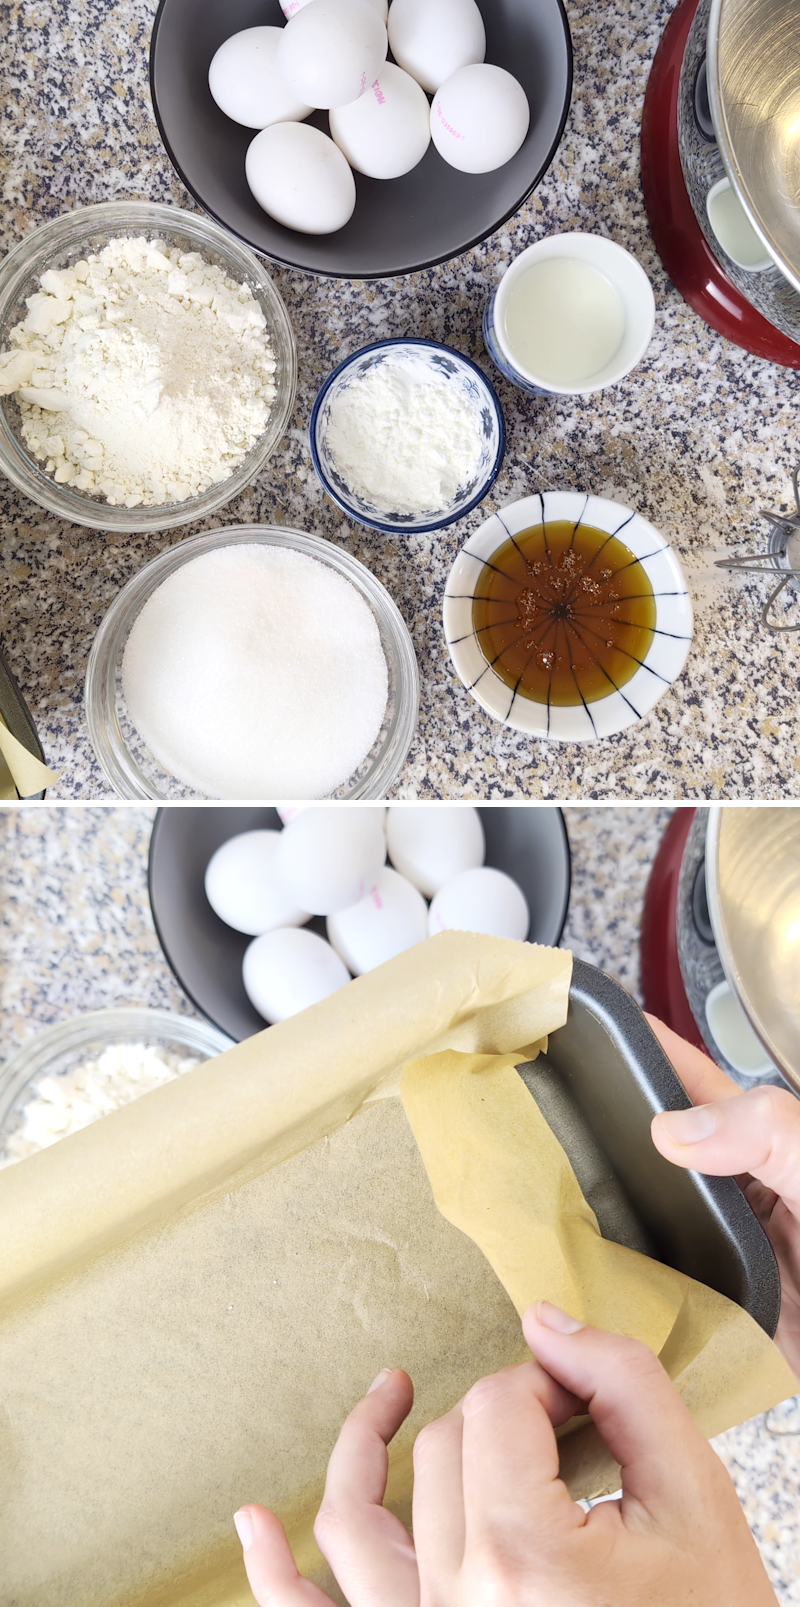
Step 1
Gather the ingredients for the Japanese Castella cake. Preheat the oven to 175 °C top/bottom heat. Carefully line a loaf tin (approx. 30 × 11 cm) with baking paper.
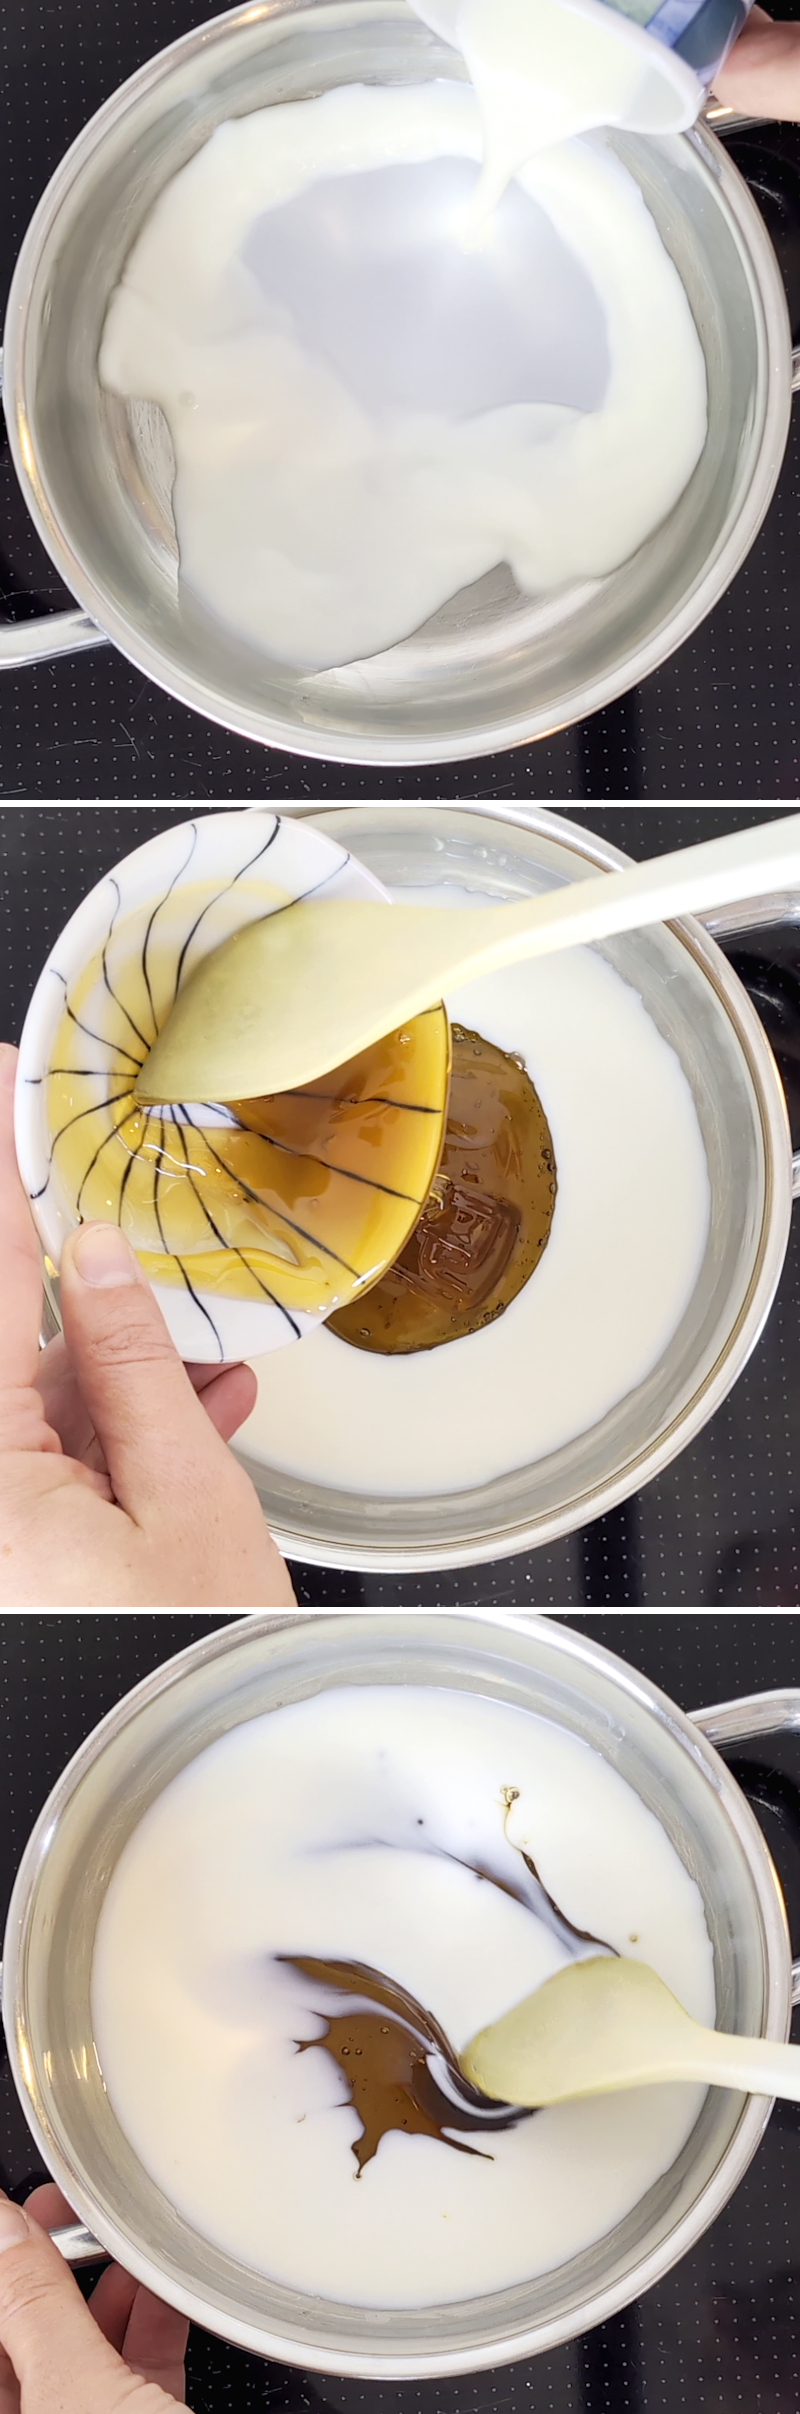
Step 2
Heat the 60 ml milk together with the 80 g honey in a small saucepan over a low heat and stir until the honey has completely dissolved. The mixture should only become lukewarm and then be left to cool slightly.
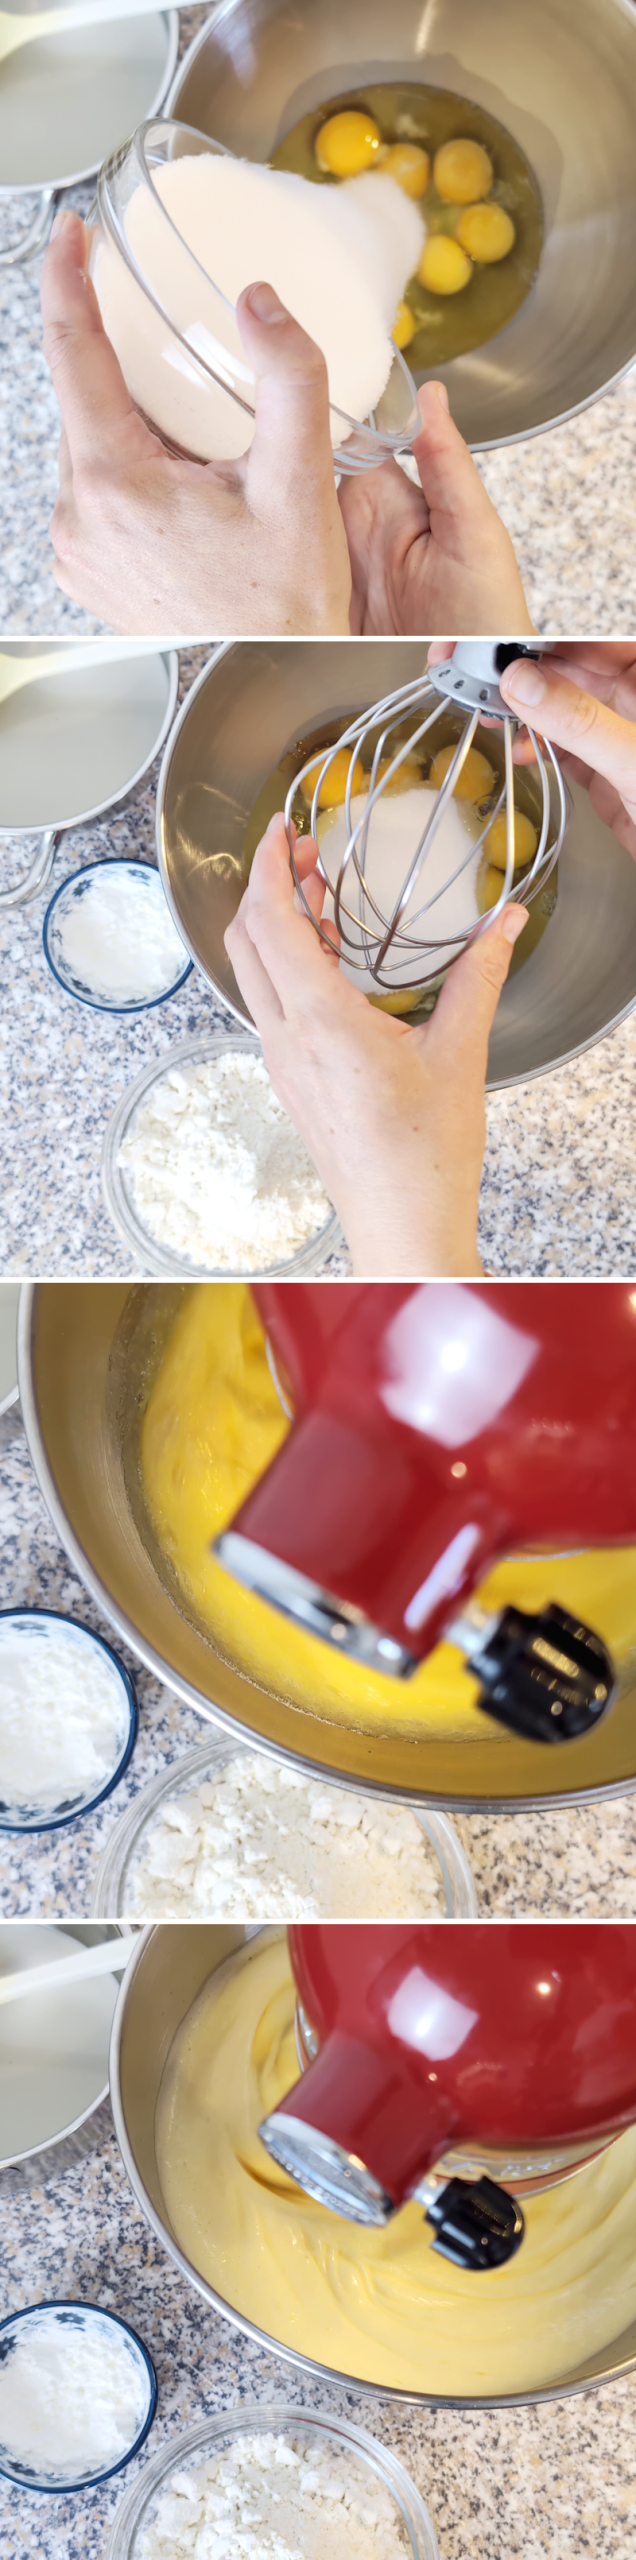
Step 3
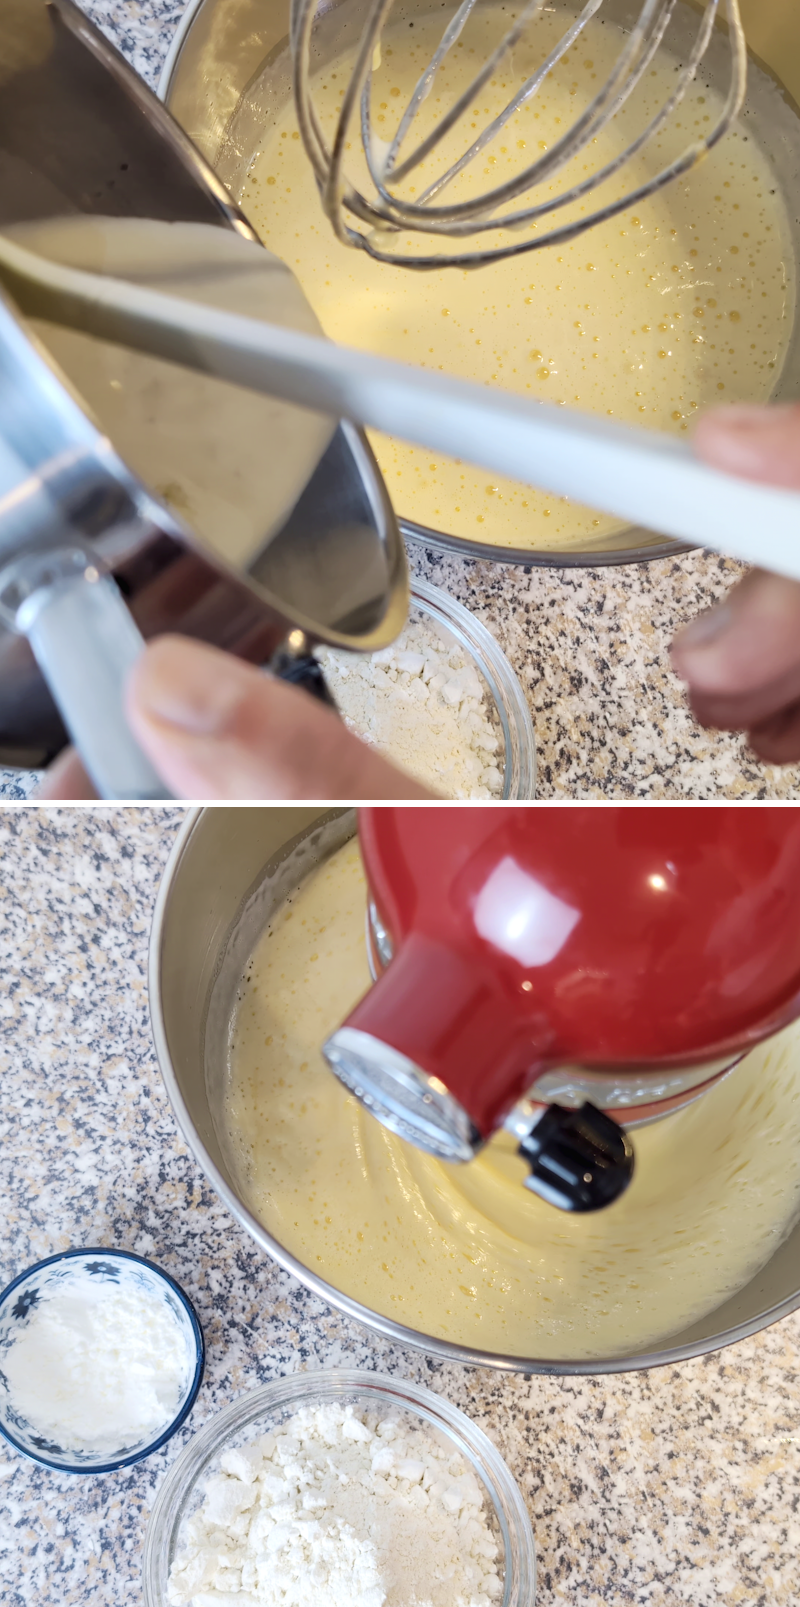
Place the 7 eggs in a large mixing bowl or food processor. Add the 250 g sugar and beat the mixture for about 5 to 7 minutes until it has become noticeably lighter in colour, thick and fluffy.
Step 4
Add the lukewarm milk and honey mixture to the egg mixture and stir briefly on a low setting.
Step 5
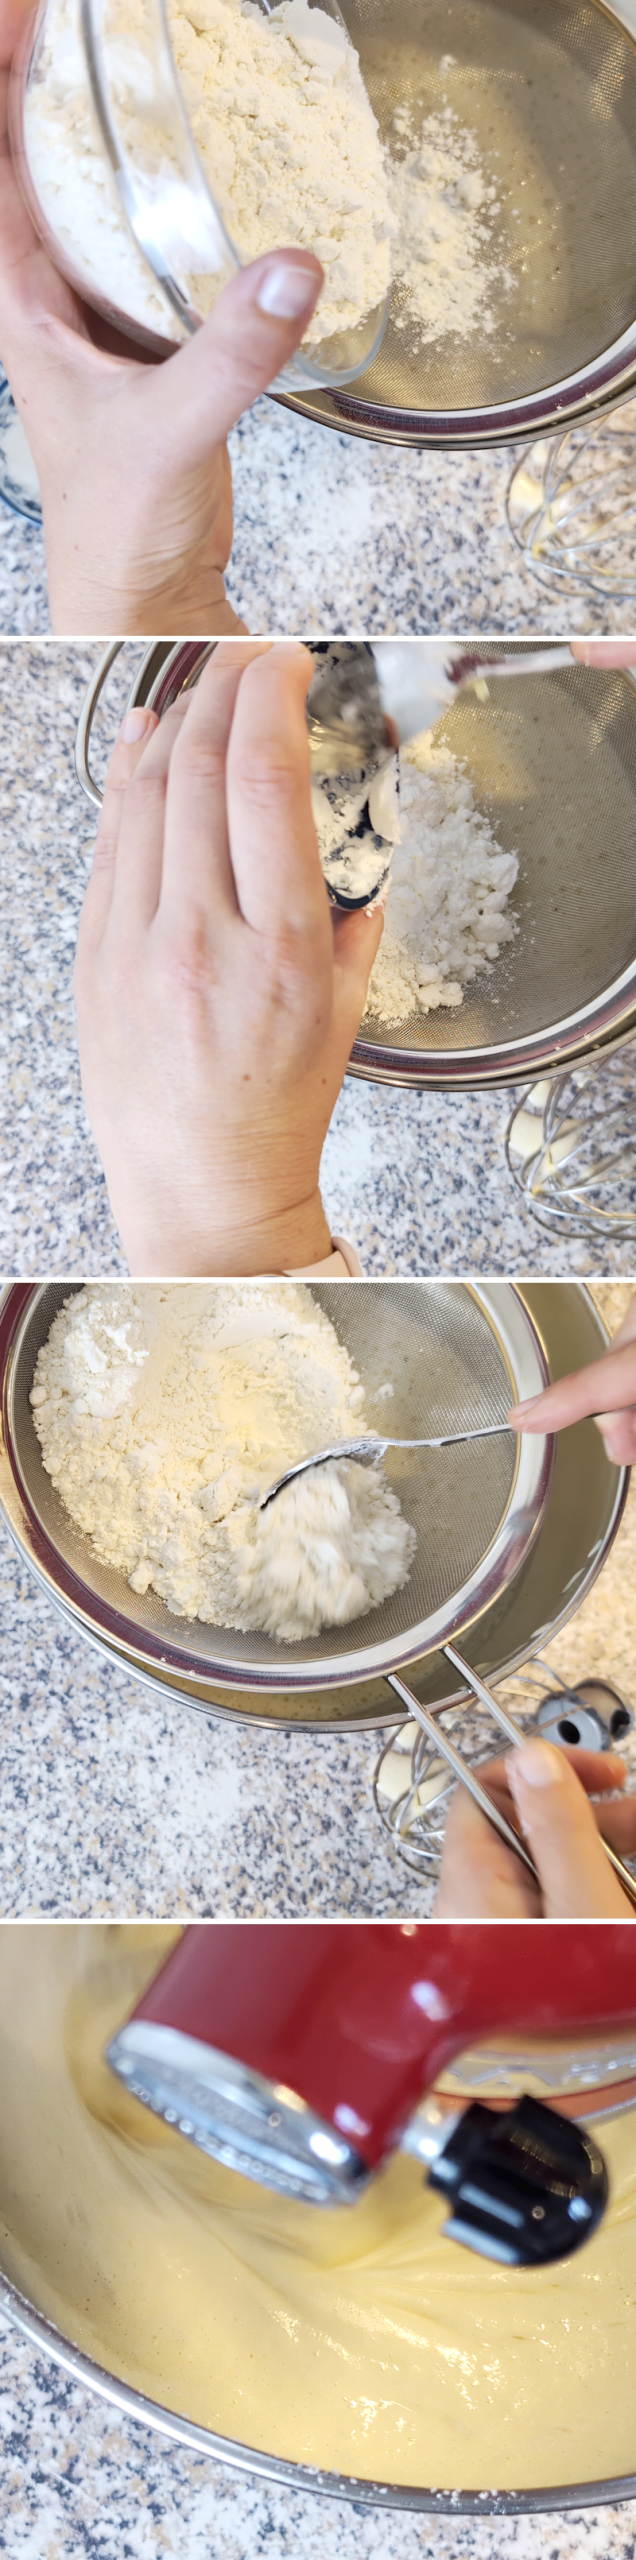
Hold a large sieve over the bowl. Mix together the 200 g flour and 10 g cornflour, then sieve them into the egg mixture in two batches. Stir just until no lumps of flour are visible. Then, using a spatula, carefully scrape the bottom and sides of the bowl once to ensure everything is evenly combined.
Step 6
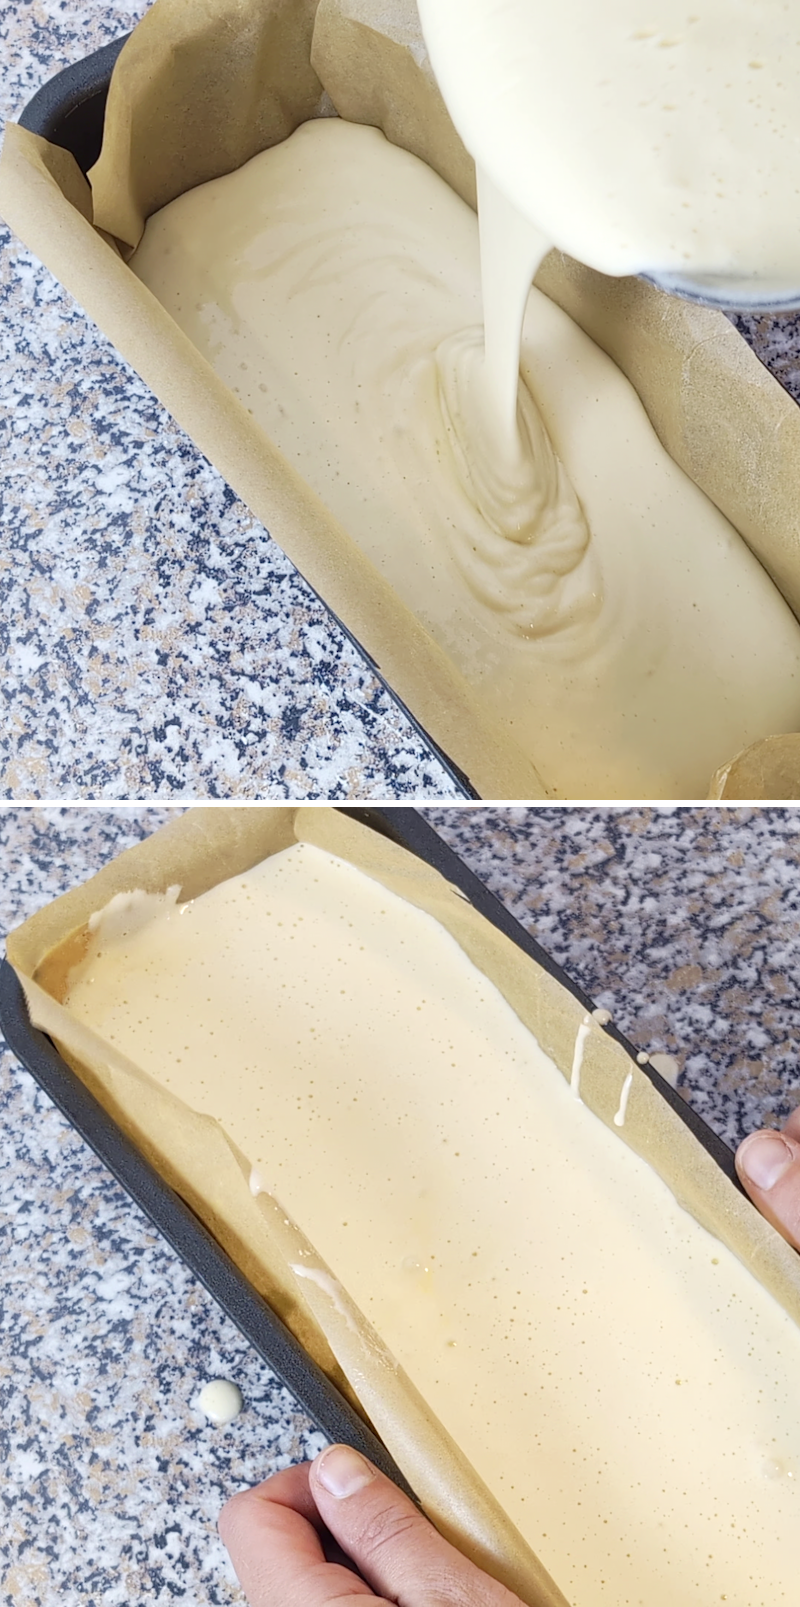
Pour the batter into the prepared loaf tin. Gently tap the tin several times on the work surface to allow any large air bubbles to escape. Tip: If you want a particularly fine texture, you can also draw a spiral pattern across the surface with a wooden skewer.
Step 7
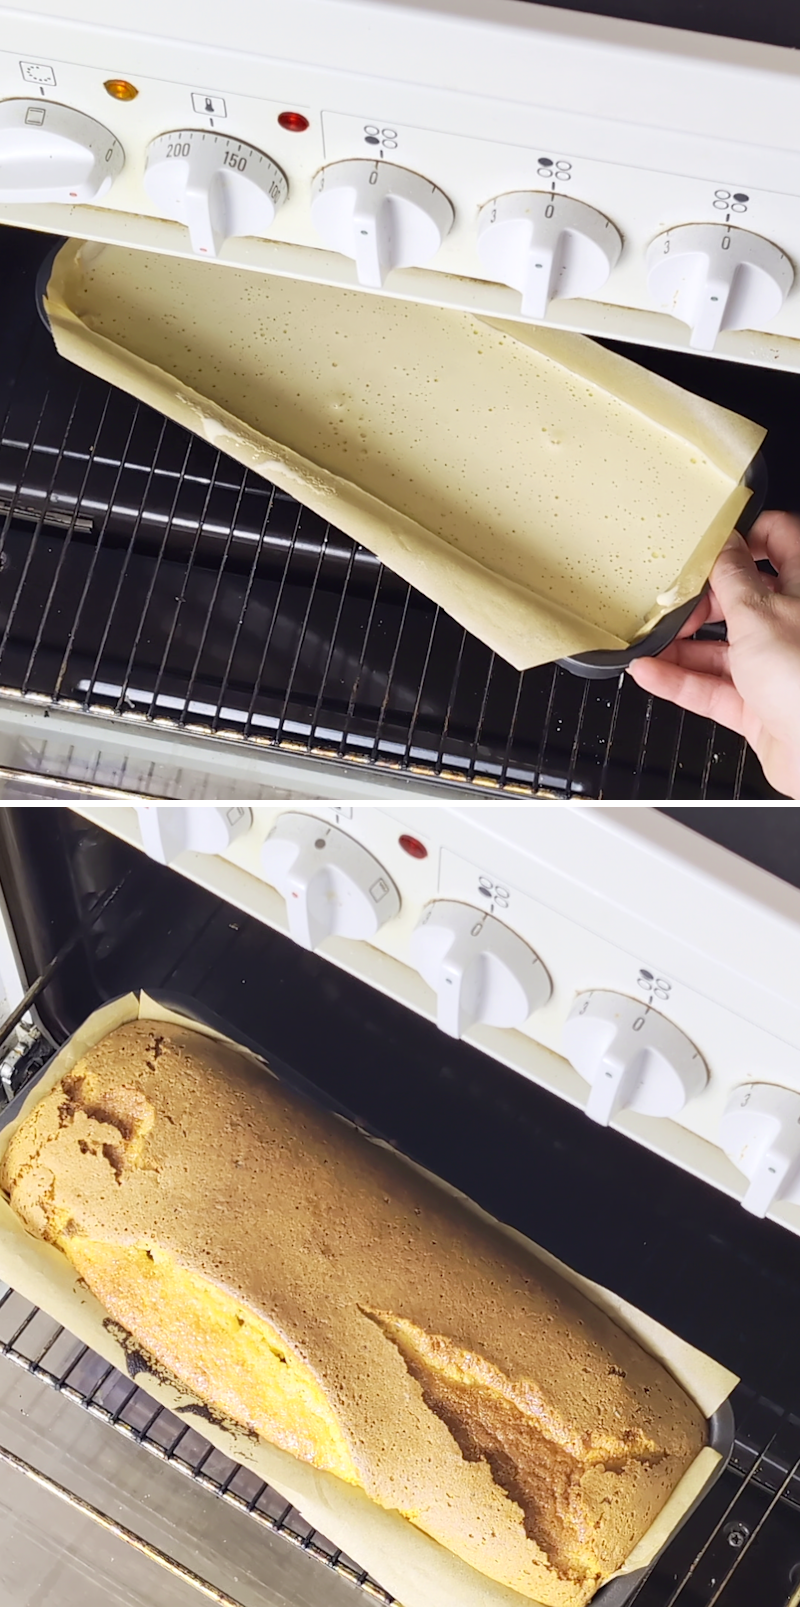
Bake the cake on the middle shelf. After 10 minutes, reduce the oven temperature to 160 °C and bake the Kasutera for a further 40 minutes. The total baking time is approximately 50 minutes. The cake should be golden brown and spring back when pressed lightly. When carrying out the skewer test , a few moist crumbs may still cling to the wooden skewer, but there should be no liquid batter left.
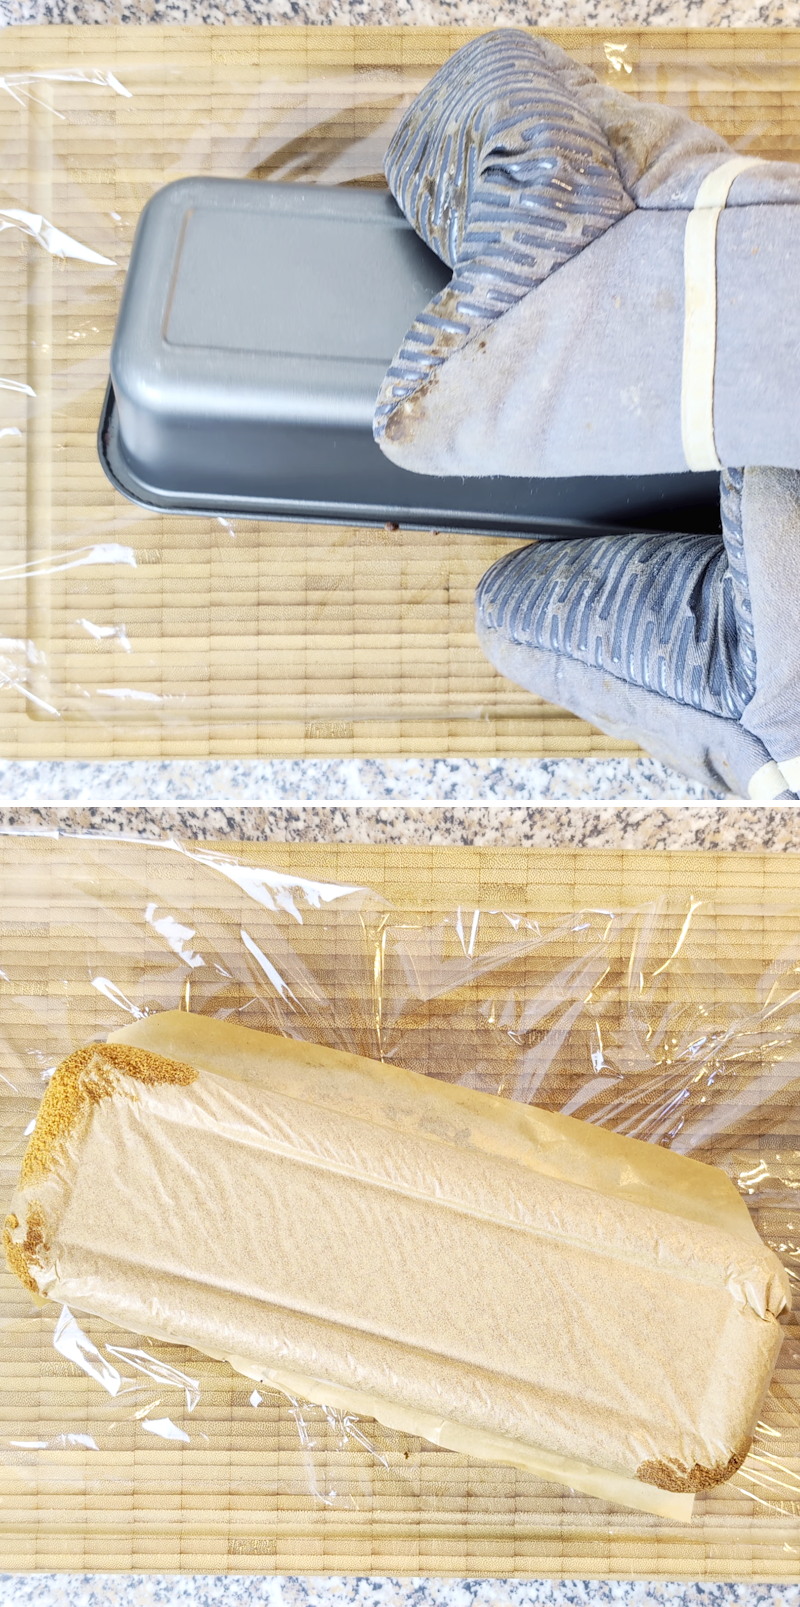
Step 8
Spread a large sheet of cling film out on the work surface. Carefully turn the cake, whilst still hot, out onto the cling film, remove it from the tin and leave it to cool, together with the baking paper. For a particularly moist and authentic Kasutera texture, the cake can then be wrapped in cling film and, ideally, left to rest overnight. This allows the moisture to distribute evenly and results in a particularly fine and moist crumb. You can do this, but you don’t have to 🙂
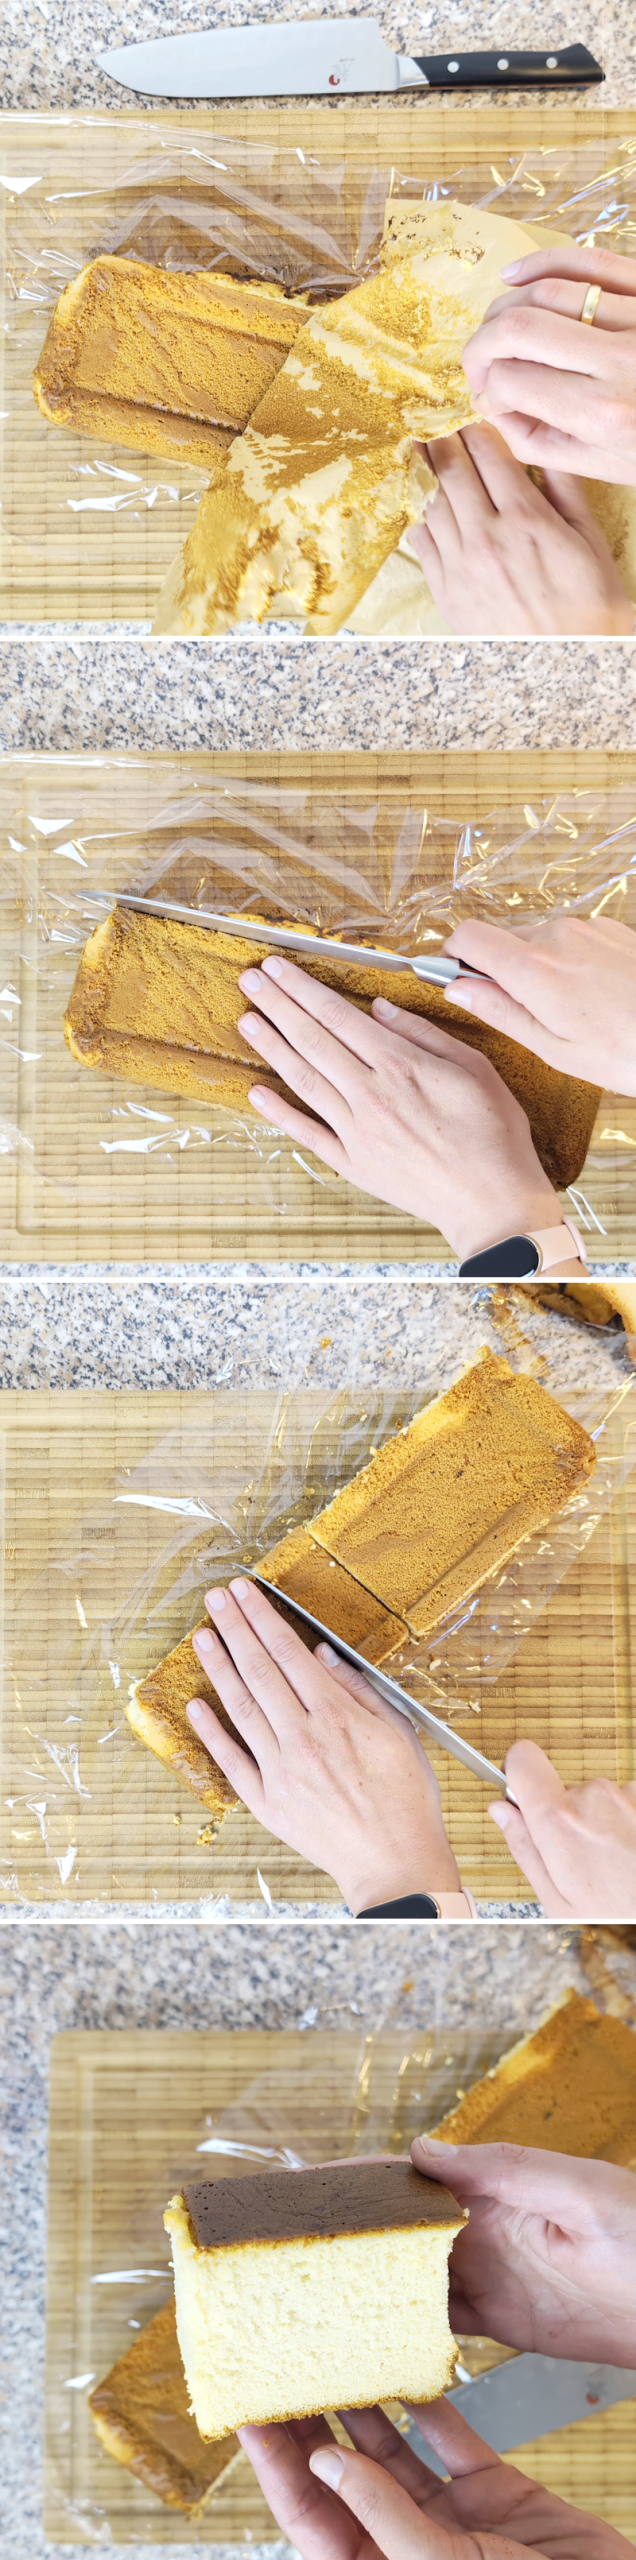
Step 9
Once rested, remove the baking paper. Trim the sides with a sharp knife to create the typical rectangular shape. Then cut the Kasutera into slices approximately 3 cm wide and serve.
Fancy some more sweet inspiration from Japan, perfect for an afternoon treat or as a dessert?
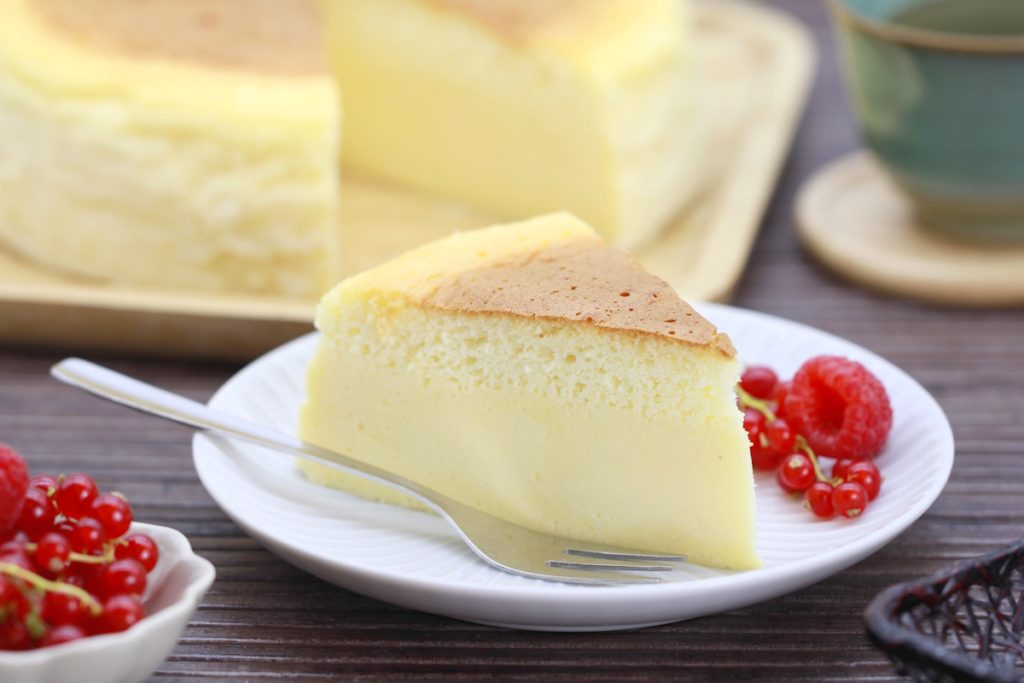
Japanese cheesecake: The best recipe for a fluffy soufflé-style cheesecake just like in Japan
Japanese cheesecake is one of Japan’s most popular desserts and delights with its exceptionally light…
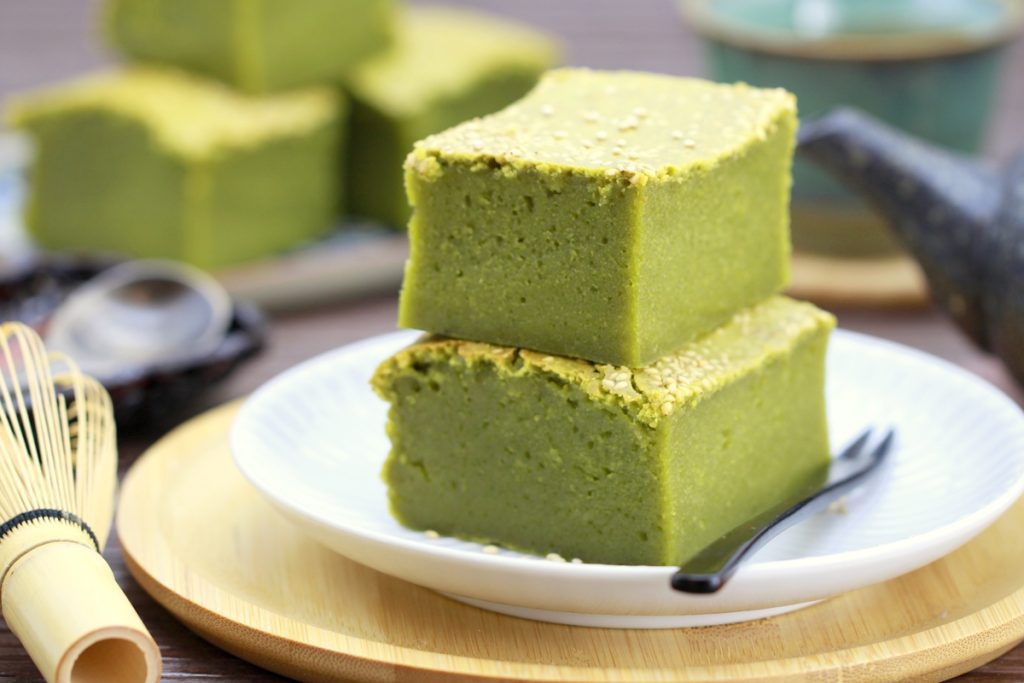
Make your own Matcha butter Mochi: Hawaiian Mochi cake with green tea
If you drink Matcha regularly, you might be familiar with this: at some point, you…
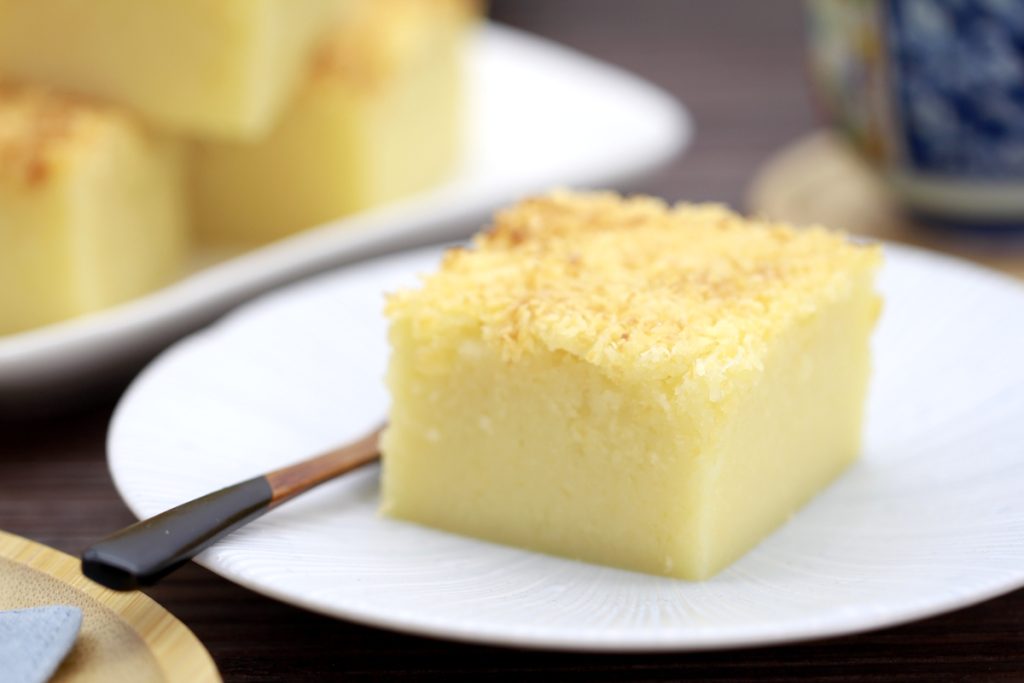
Butter Mochi (Hawaiian Mochi Cake – gluten-free)
Butter Mochi is one of those recipes that’s hard to pigeonhole. It looks like a…
Warabi Mochi: Make your own delicate summer dessert with Kinako & Kuromitsu syrup
When the weather warms up, the appetite for light, refreshing sweets grows in Japan –…
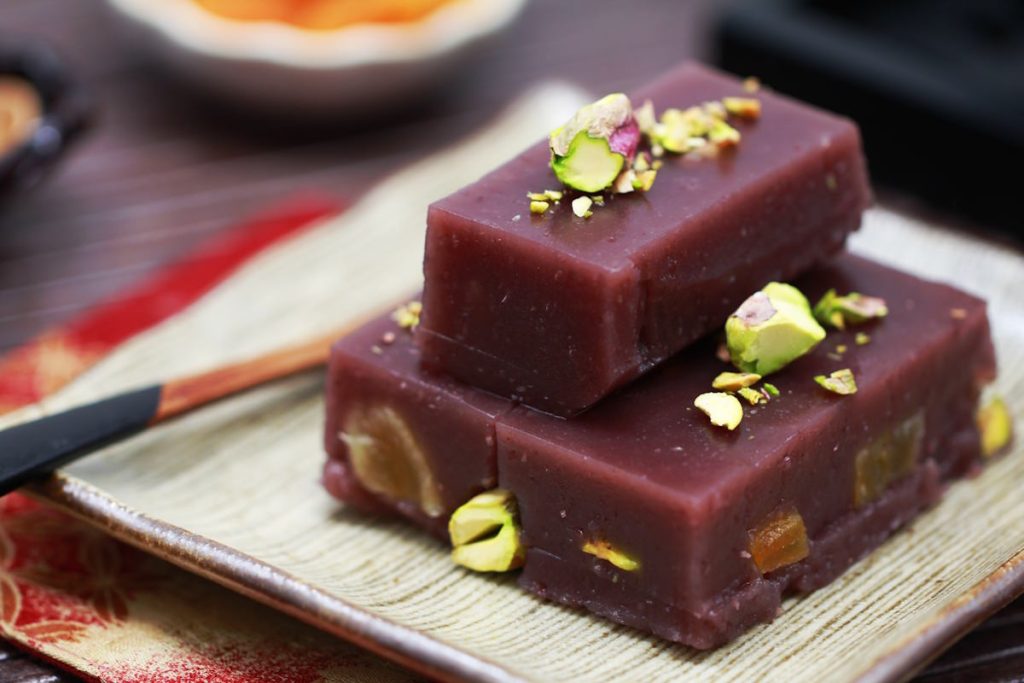
Make your own Yokan: Japanese jelly with red bean paste, apricot & pistachio filling
Yokan is a classic Japanese jelly made from red bean paste and agar-agar, which captivates…
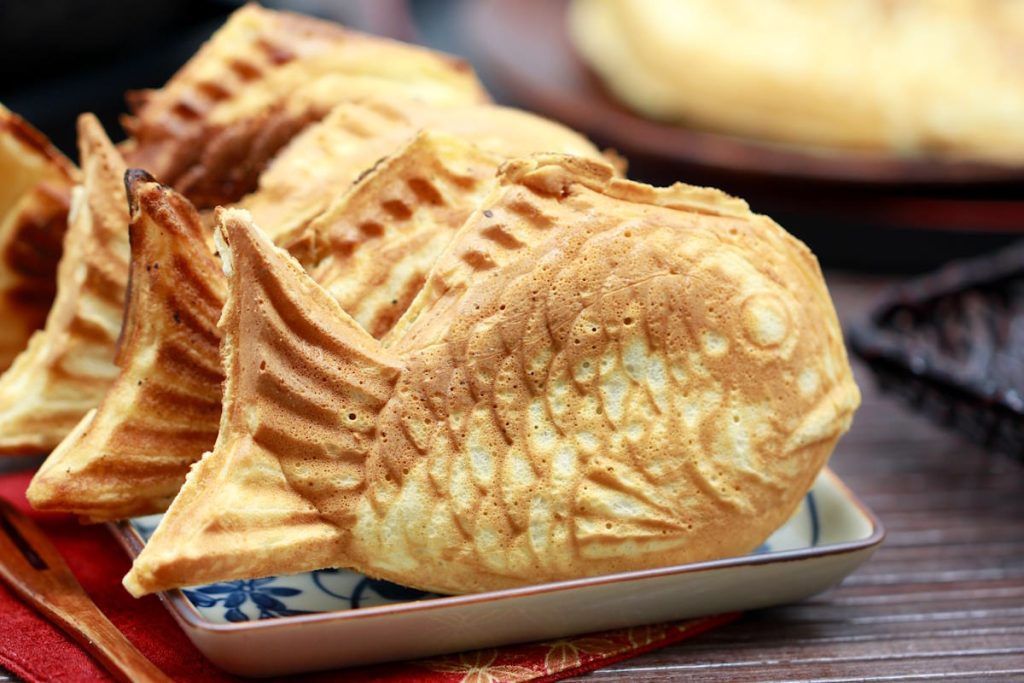
Make your own taiyaki: Japanese fish-shaped waffles with sweet anko filling – easy & so delicious!
Taiyaki is a classic of Japanese street food and delights with its charming fish shape…
Have you tried the recipe yet? Let me know in the comments – I’m really looking forward to hearing from you.