

Language:


When the weather warms up, the appetite for light, refreshing sweets grows in Japan – and hardly any dessert embodies this feeling quite as well as Warabi Mochi. This delicate, jelly-like treat made from starch, water and sugar is an integral part of the Japanese summer months. Coated in roasted Kinako powder and served with a drizzle of Kuromitsu syrup, Warabi Mochi combines subtle flavours with a pleasantly soft texture.
And best of all: it’s really easy to make at home. In this recipe, I’ll show you step by step how to make Warabi Mochi yourself without any specialist knowledge – including tips on ingredients, alternatives and the cultural significance of this traditional wagashi.
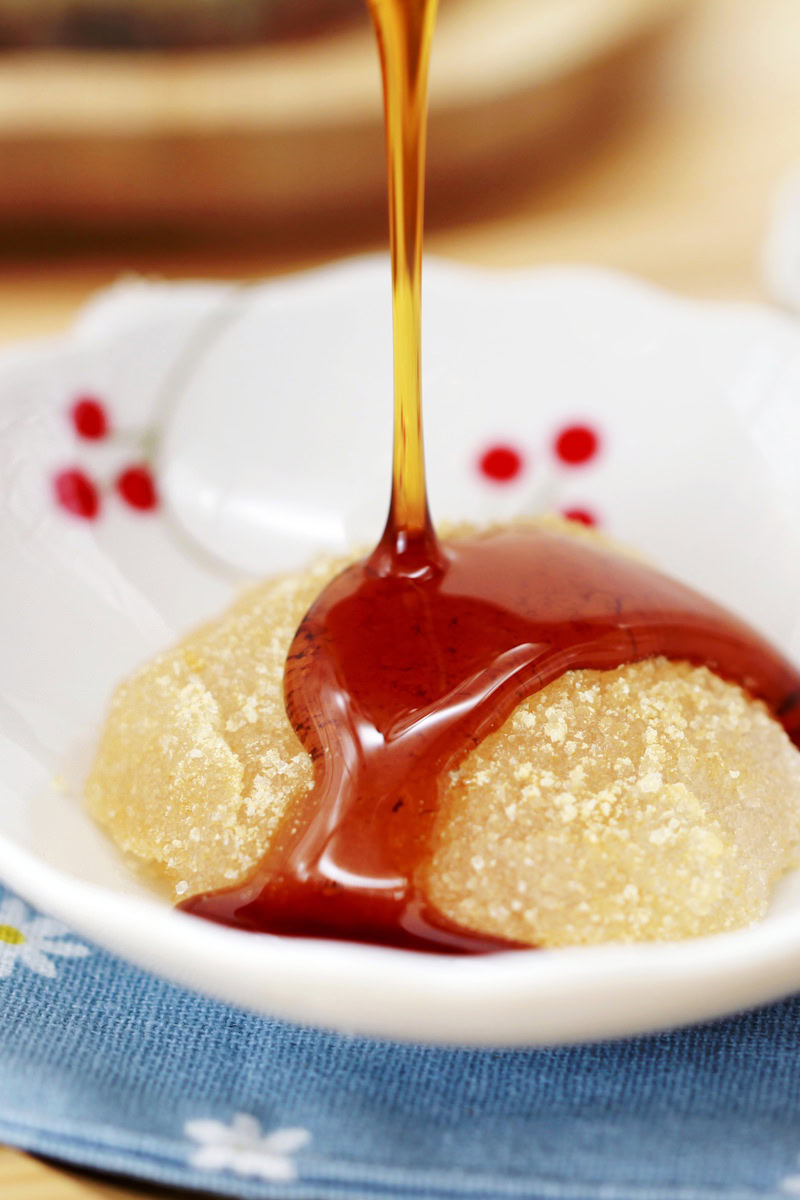
What is Warabi Mochi?
Warabi Mochi is a traditional Japanese dessert made from water, sugar and starch – originally derived from the starch of the warabi fern. Today, this is replaced by alternatives such as tapioca or sweet potato starch, as genuine warabiko is hardly available outside Japan. The resulting mixture resembles jelly in consistency and appearance, but is softer and more supple – a bit like a cross between gummy bears and jelly, only much more delicate.
Warabi Mochi is typically dusted with Kinako, or roasted soya bean flour, and served with Kuromitsu – a dark -flavoured syrup. Both lend the rather neutral base of the Mochi a balanced sweetness and a pleasant nutty aroma. Especially on hot summer’s days, this dessert is a popular accompaniment to cold tea or as a snack between meals – light, cool and refreshing.
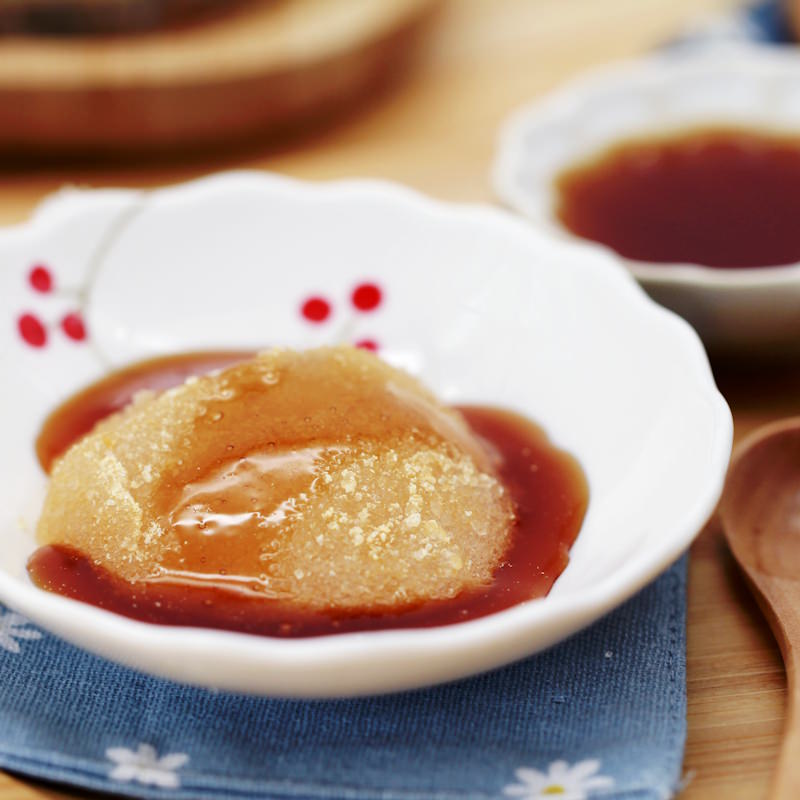
Warabi Mochi is thought to have originated in the Heian period (794–1185), when it was prized as a refined delicacy at the imperial court. It is said that Emperor Daigo was a great lover of this sweet. Later, Warabi Mochi was mainly served in teahouses and during tea ceremonies, and has retained a firm place in Japanese wagashi culture to this day.
How does it differ from other types of Mochi?
Although the name might suggest otherwise – strictly speaking, Warabi Mochi is not ‘real’ Mochi. This is because traditional Mochi is made from steamed glutinous rice (mochigome), which is pounded and worked into a chewy dough. Warabi Mochi, on the other hand, is based on starch – which significantly alters both the preparation and the mouthfeel.
The main differences:
- Ingredients: Traditional Mochi is made from glutinous rice or rice flour. Warabi Mochi, on the other hand, is made from warabi or tapioca starch, water and sugar.
- Texture: Rice Mochi is chewy, stretchy and slightly sticky. Warabi Mochi is soft, jelly-like, smooth and melts in the mouth.
- Preparation: Traditional Mochi requires steaming, pounding and a lot of strength. Warabi Mochi is mixed and cooked in a saucepan in just a few minutes – quick and easy.
- Serving: Traditional Mochi is often filled or shaped (e.g. daifuku). Warabi Mochi is cut into cubes, rolled in Kinako and served with syrup – particularly in summer.
- Flavour: Warabi Mochi is subtly sweet and nutty thanks to the Kinako. Rice Mochi is often significantly sweeter or has a more intense flavour due to its fillings.
- Seasonality: Traditional Mochi is often eaten at New Year or on festive occasions. Warabi Mochi is a typical summer treat.
As different as the two varieties may be, they share their origins in the traditional wagashi culture and both embody craftsmanship, aesthetics and culinary delight.
Making your own Warabi Mochi: Here’s how
Warabi Mochi is very easy to make at home – with just a few ingredients, you can conjure up a wonderfully delicate, light and summery dessert. Here’s what you’ll need:
- Tapioca starch (or warabi starch, if you can get hold of it)
- Sugar and water for the base mixture
- Kinako – roasted soya bean flour mixed with sugar and salt
- Kuromitsu – a dark syrup made from muscovado sugar and water
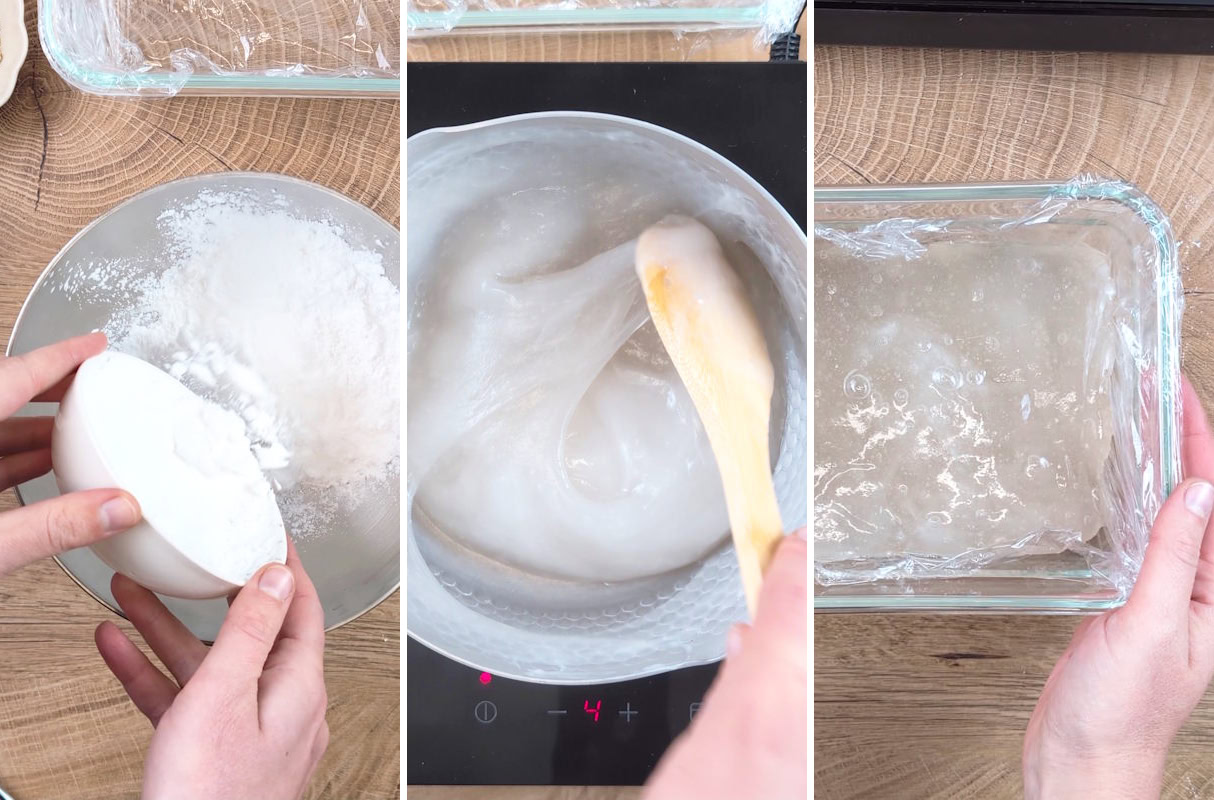
Mix the starch, sugar and water until smooth, then pour the mixture through a sieve into a saucepan. Heat whilst stirring until the mixture becomes thick and translucent, then pour into a mould lined with cling film and smooth the surface. Leave to cool briefly, then place in the fridge for at least 30 minutes.
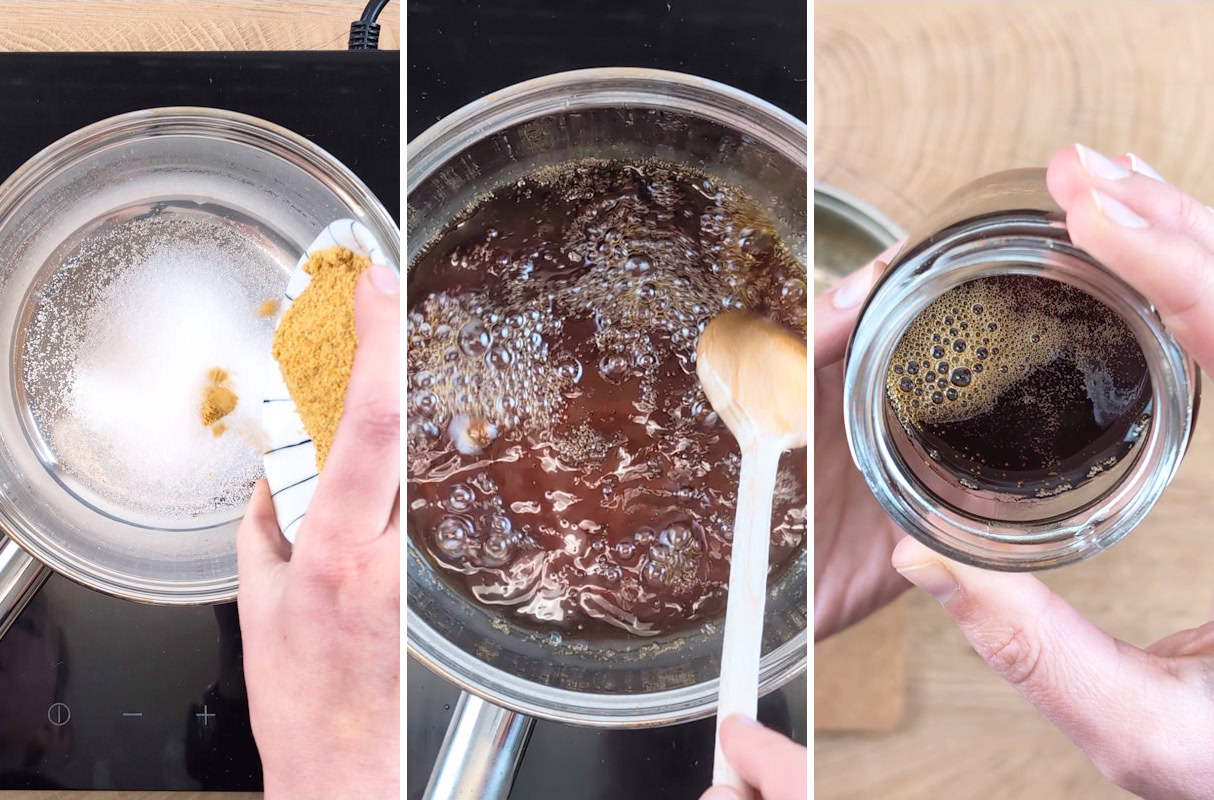
Meanwhile, bring the Kuromitsu syrup to the boil and let it simmer gently. For the topping, mix the Kinako, sugar and a pinch of salt.
Cut the chilled Mochi into cubes, roll them in the Kinako and serve with a little Kuromitsu – and there you have it: your homemade summer snack from Japan.

What other ingredients can you use for Warabi Mochi?
- Starches: Instead of warabiko, you can also use tapioca starch, sweet potato starch or potato starch. Make sure to use fine, smooth products for the best consistency.
- Kuromitsu alternatives: Instead of muscovado, you can use sugar beet syrup or dark maple syrup – this adds variety to the flavour.
- Flavour variations: Matcha can be stirred directly into the dough or sprinkled over the finished Mochi. Lemon zest, vanilla or coconut milk also make for exciting variations.
- Appearance: Food colouring or fruit purées such as strawberry or mango turn Warabi Mochi into a real eye-catcher.
- Toppings: As well as Kinako, you can also use ground nuts, toasted coconut flakes or sesame seeds – whatever takes your fancy.
Warabi Mochi is more than just a Japanese dessert – it’s a little slice of summer tradition that delights with its lightness, elegance and versatility. Whether on its own, with syrup or paired with ice cream: Warabi Mochi adapts to any occasion – yet always remains unique.
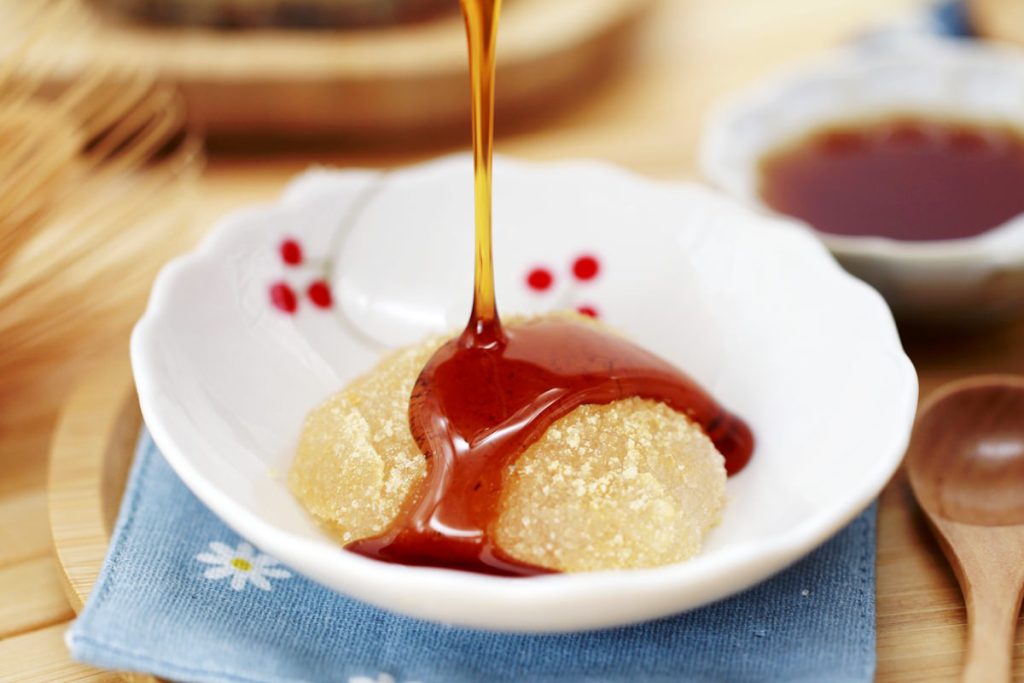
With my recipe, you can easily make this delicious treat at home. It doesn’t require any complicated steps or exotic equipment – just good ingredients and a little patience. The result: a delicate, slightly chilled dessert that soothes the soul and brings a smile to your face.
Do you have any questions about the Warabi Mochi recipe, or would you like to share your results with the community? Feel free to leave a comment below this post and let me know how the recipe turned out for you. Have fun trying it out and enjoy!
Warabi Mochi
Serves 8 | 60 minutes | 137 kcal
🖨️ Print PDF 📌 Save pinDelicate, refreshing and irresistible: Warabi Mochi is the perfect summer dessert from Japan. In my recipe, I’ll show you how to easily make these jelly-like Mochi cubes with Kinako and Kuromitsu yourself – using just a few ingredients and in under 30 minutes!
Ingredients (8 portions)
For Warabi Mochi:
100 g tapioca starch (or, even better, warabiko, if you can get hold of it)
60 g sugar
500 ml water
For Kuromitsu (black sugar syrup):
50 g muscovado sugar (or whole cane sugar, alternatively brown sugar)
50 g sugar
100 ml water
For Kinako powder:
2 tbsp Kinako (roasted soya bean powder)
2 tbsp sugar
1 pinch salt
Useful tools:
Santoku knife (im Shop ansehen)
Yukihiara saucepan
Preparation (60 minutes)
Step 1
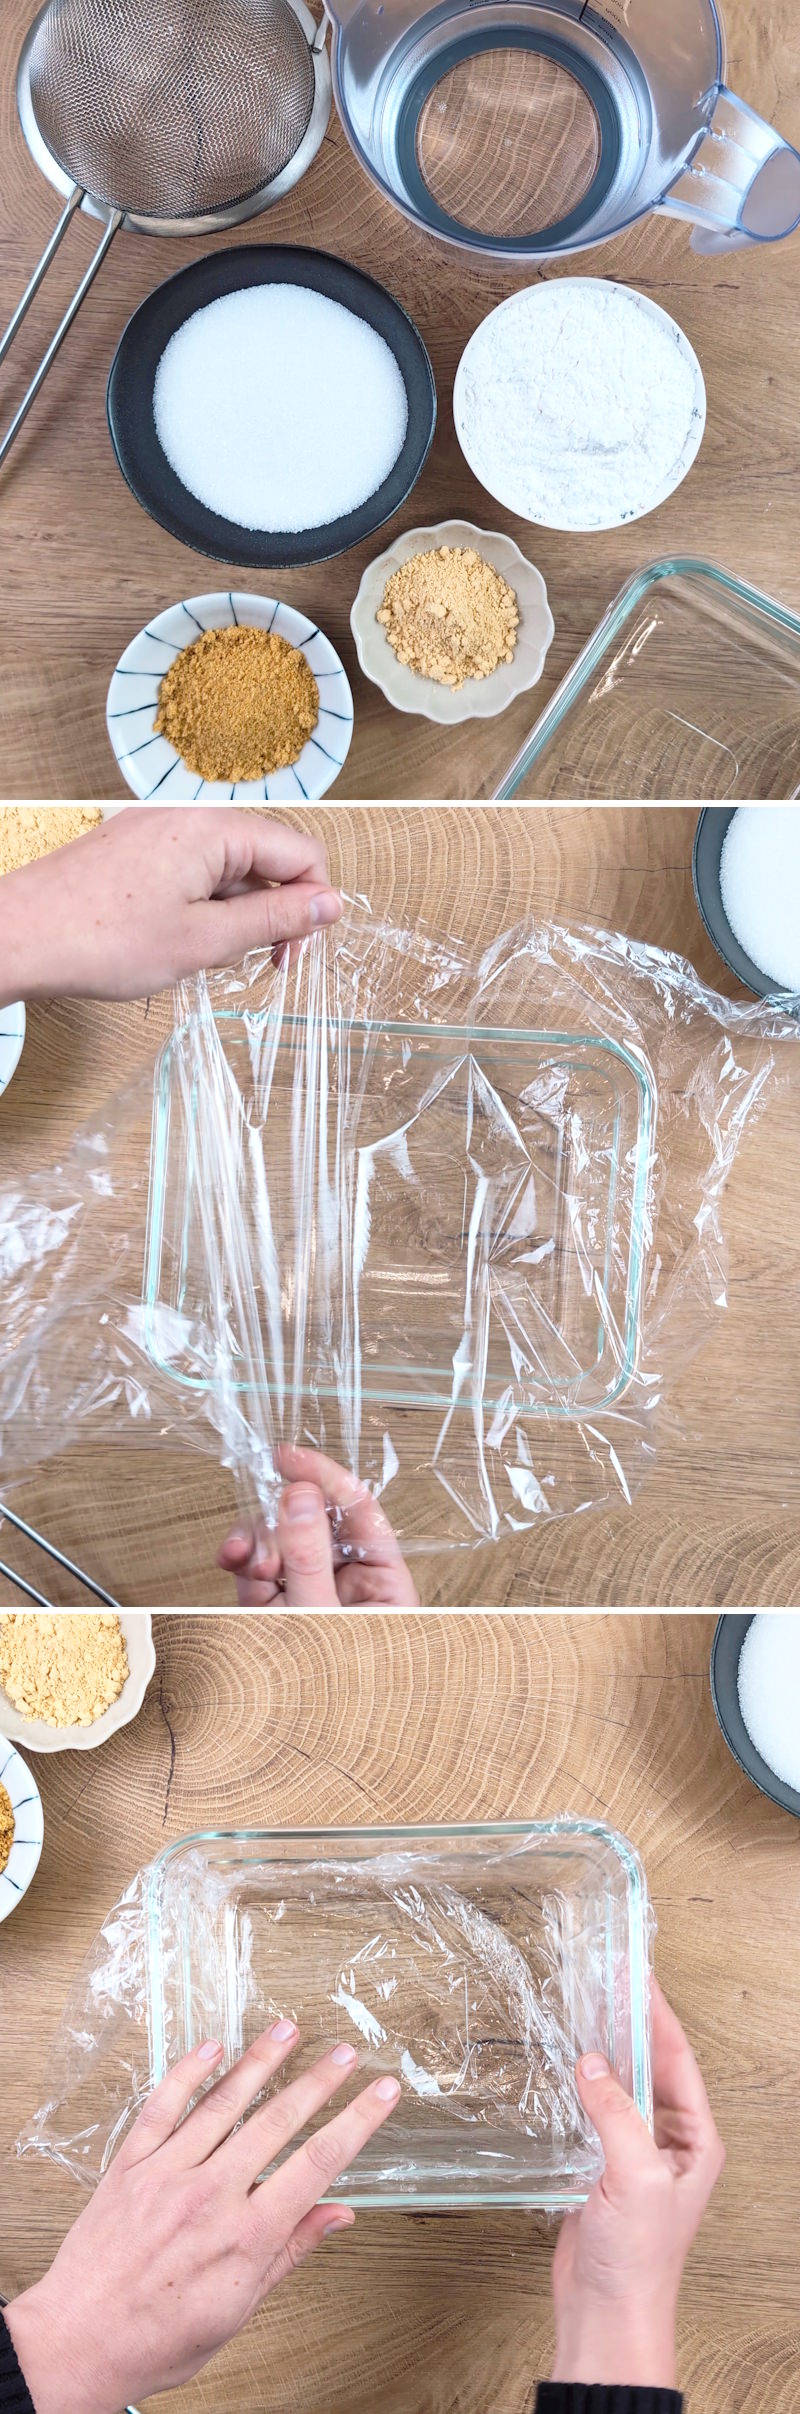
Prepare the ingredients for the homemade Warabi Mochi.
First, line a small dish (e.g. a ramekin) with cling film and moisten the surface with a little water – this will make it easier to remove the Mochi later.
Step 2
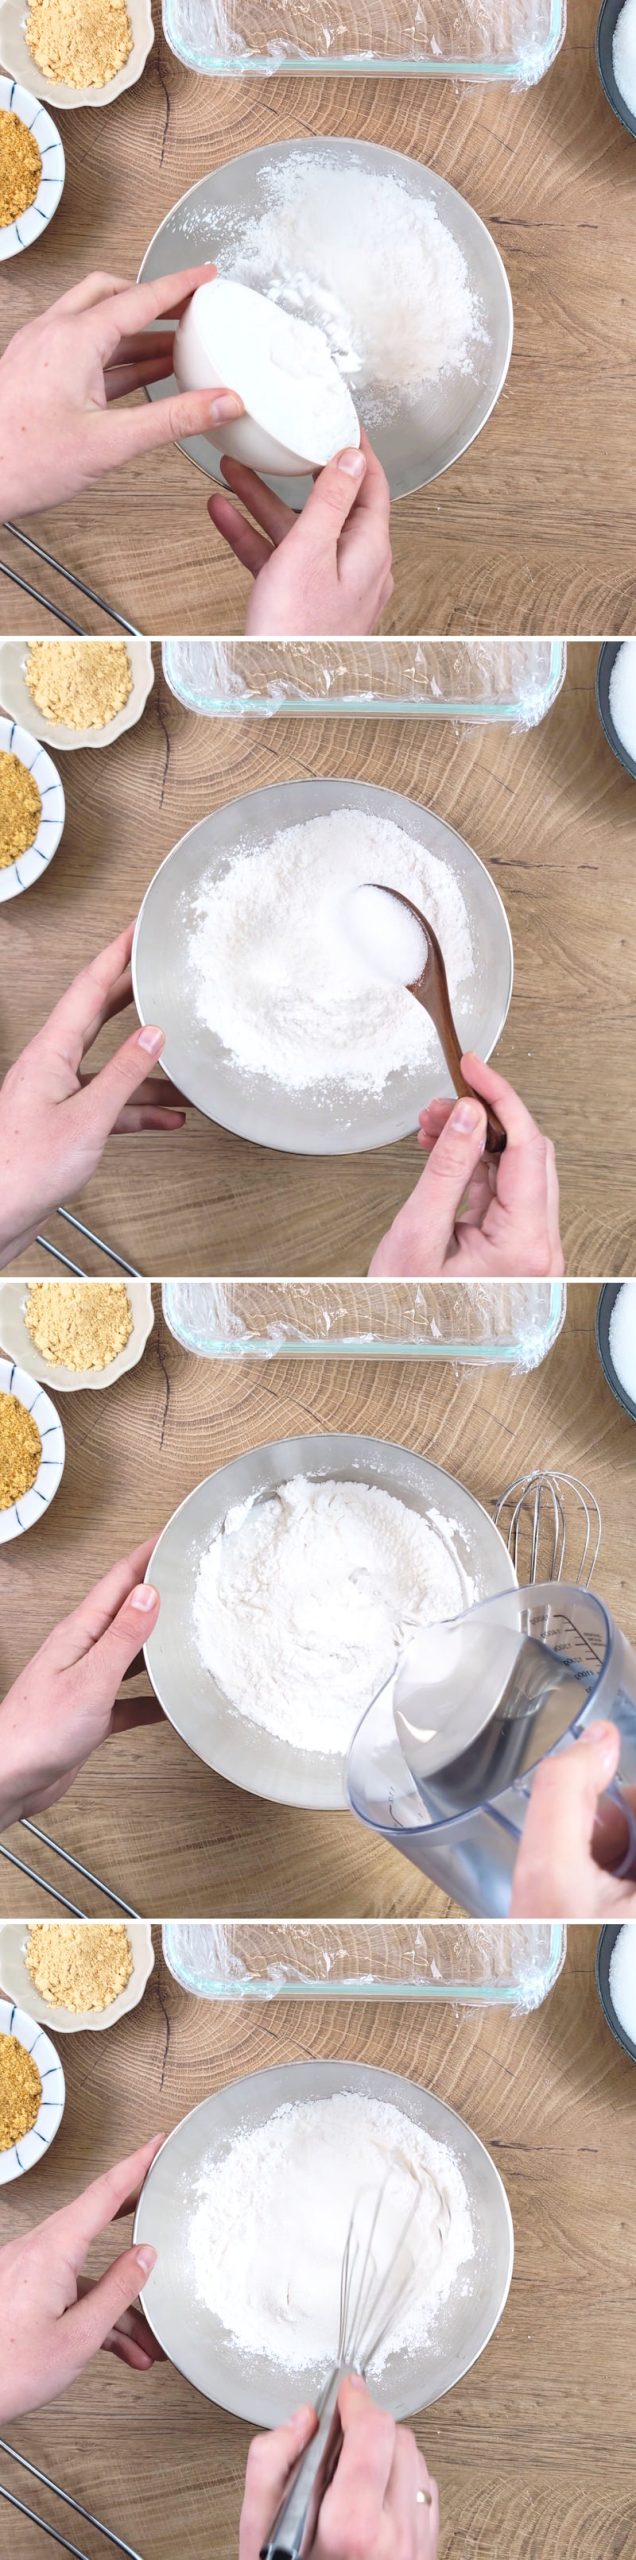
First, in a bowl, mix 100 g tapioca starch (or warabiko) with 6 tablespoons of sugar and mix both together with a whisk. Then pour in 500 ml water and continue stirring until there are no lumps left.
Step 3
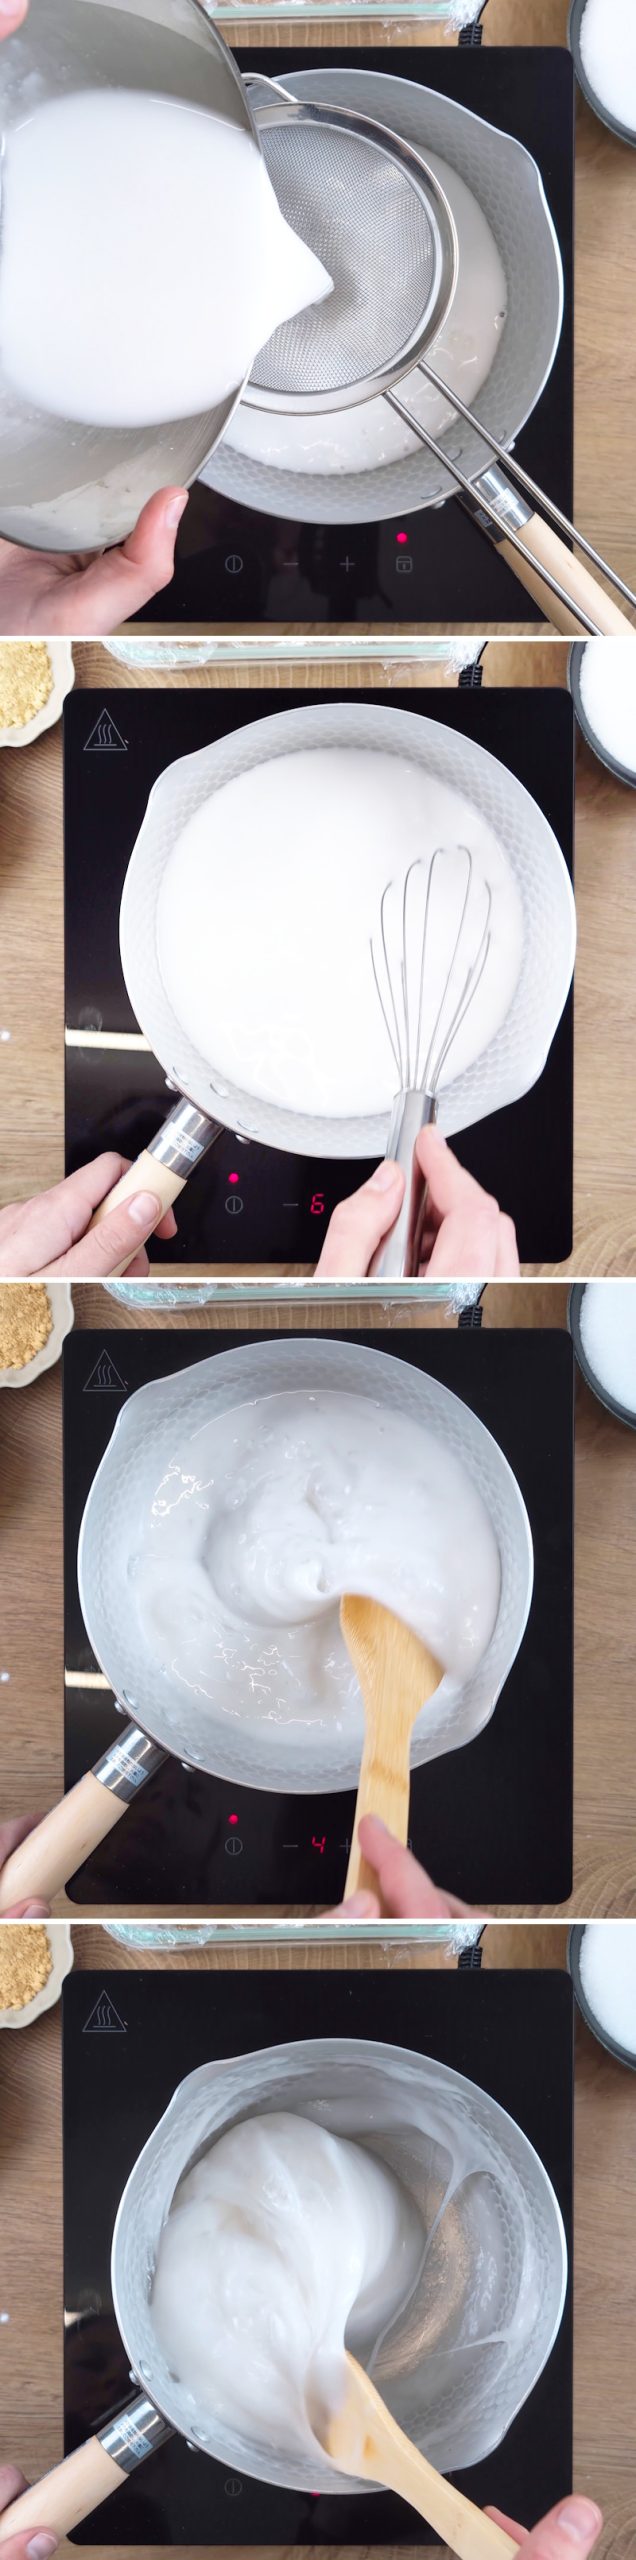
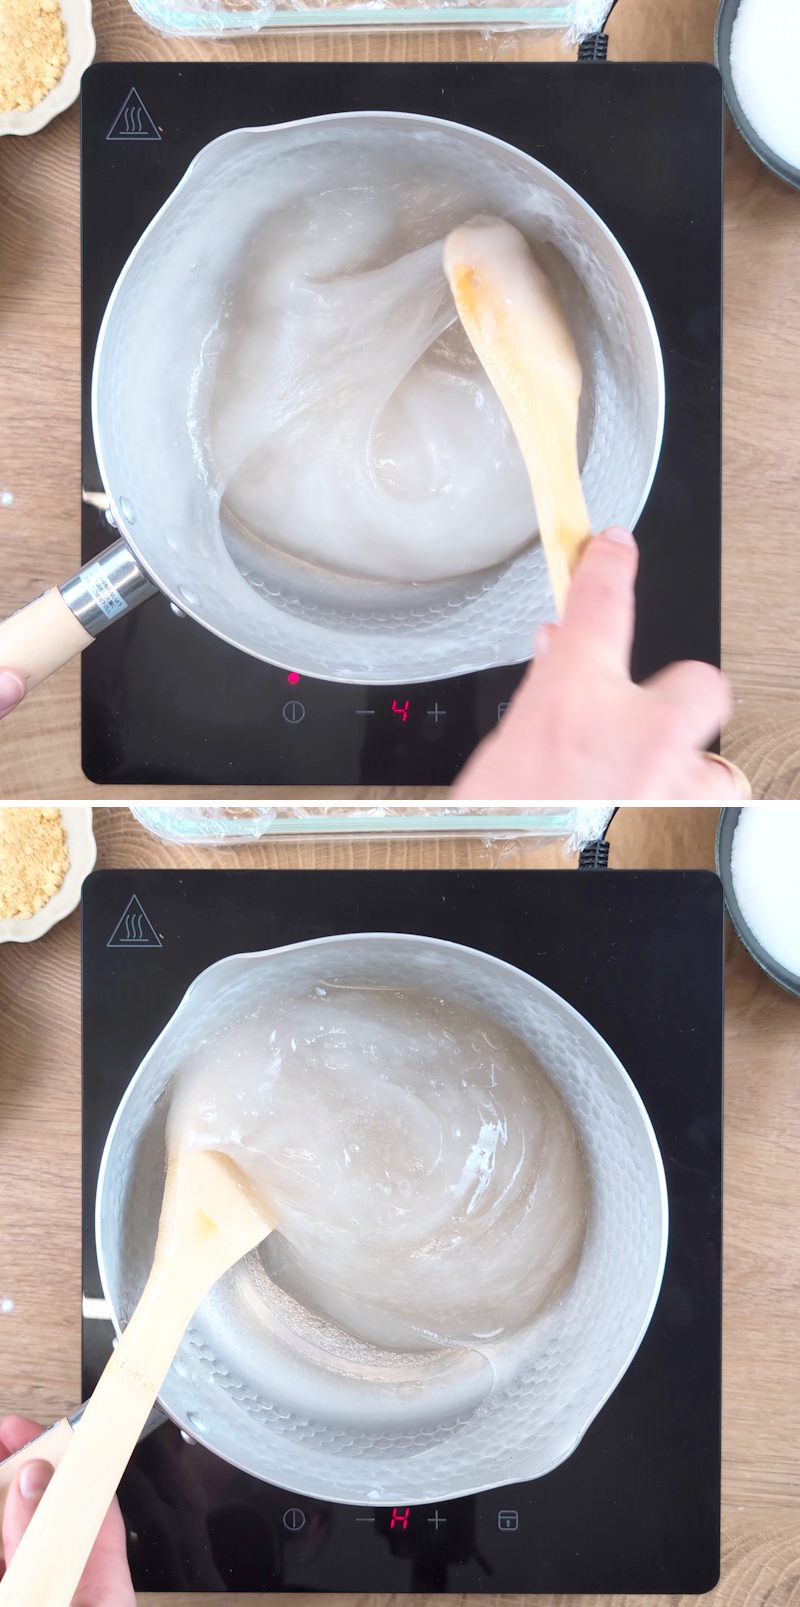
Pour the mixture through a fine sieve directly into a small saucepan to filter out any lumps. Heat the mixture over a medium heat, stirring constantly, first with a whisk and then (as soon as the mixture thickens slightly) with a heatproof spatula or wooden spoon.
Step 4
As soon as the mixture thickens, reduce the heat to low and continue stirring until the mixture is completely transparent and comes away easily from the bottom of the pan.
Step 5
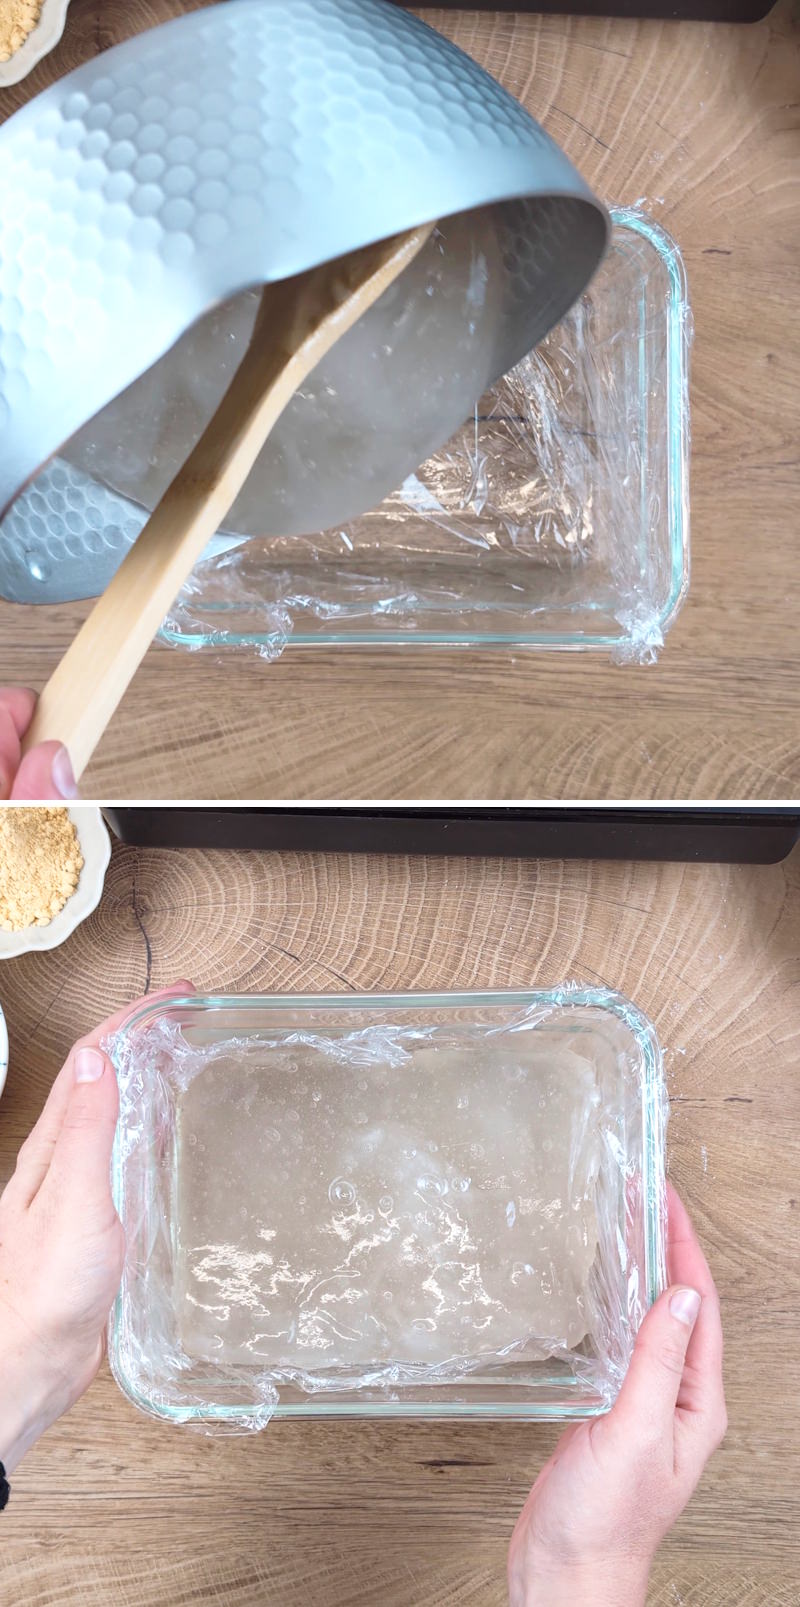
Spoon the finished mixture into the prepared tin lined with cling film and smooth the surface – ideally with a damp spoon to prevent it sticking.
Leave to cool briefly, then place in the fridge for approx. 30 to 60 minutes until the Mochi is nice and firm.
Tip: It’s best to wash the saucepan you used for the Mochi mixture straight away. Later on, the mixture will be too sticky to remove easily!
Step 6
Whilst the Mochi is resting in the fridge, you can prepare the Kuromitsu syrup.
Tip: For this step, you’ll need a container in which to let the syrup cool; a jam jar works quite well, for example.
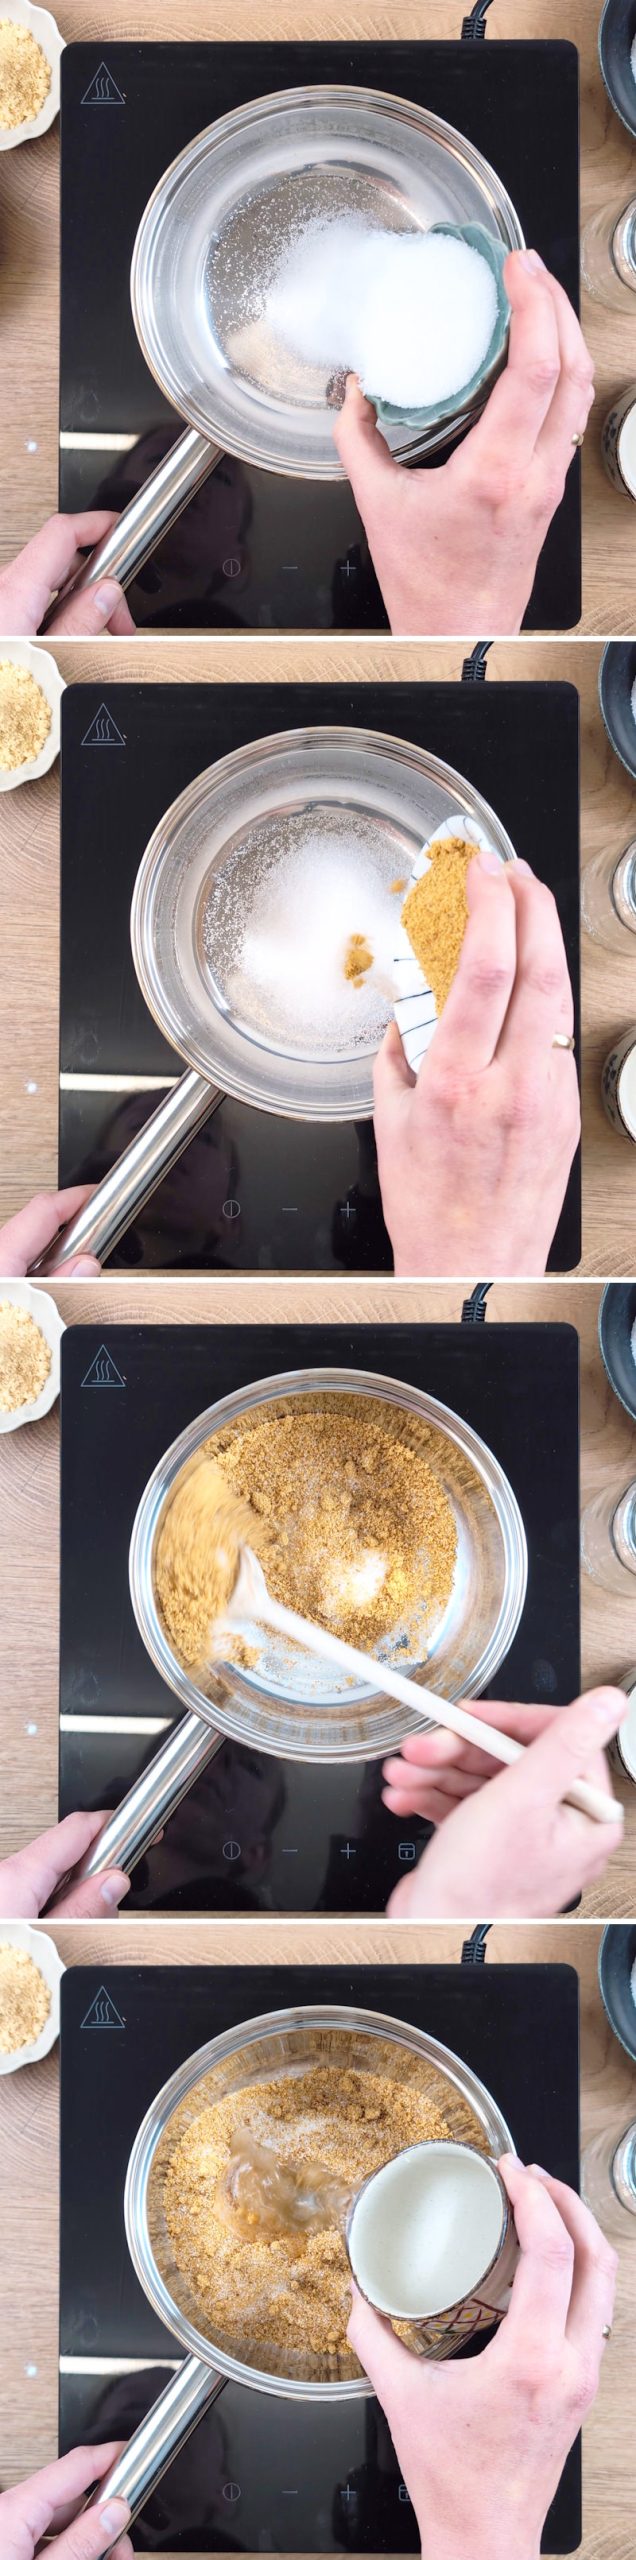
Mix 50 g muscovado sugar (or brown sugar) with 50 g white sugar in a small saucepan. Then add 100 ml water.
Step 7
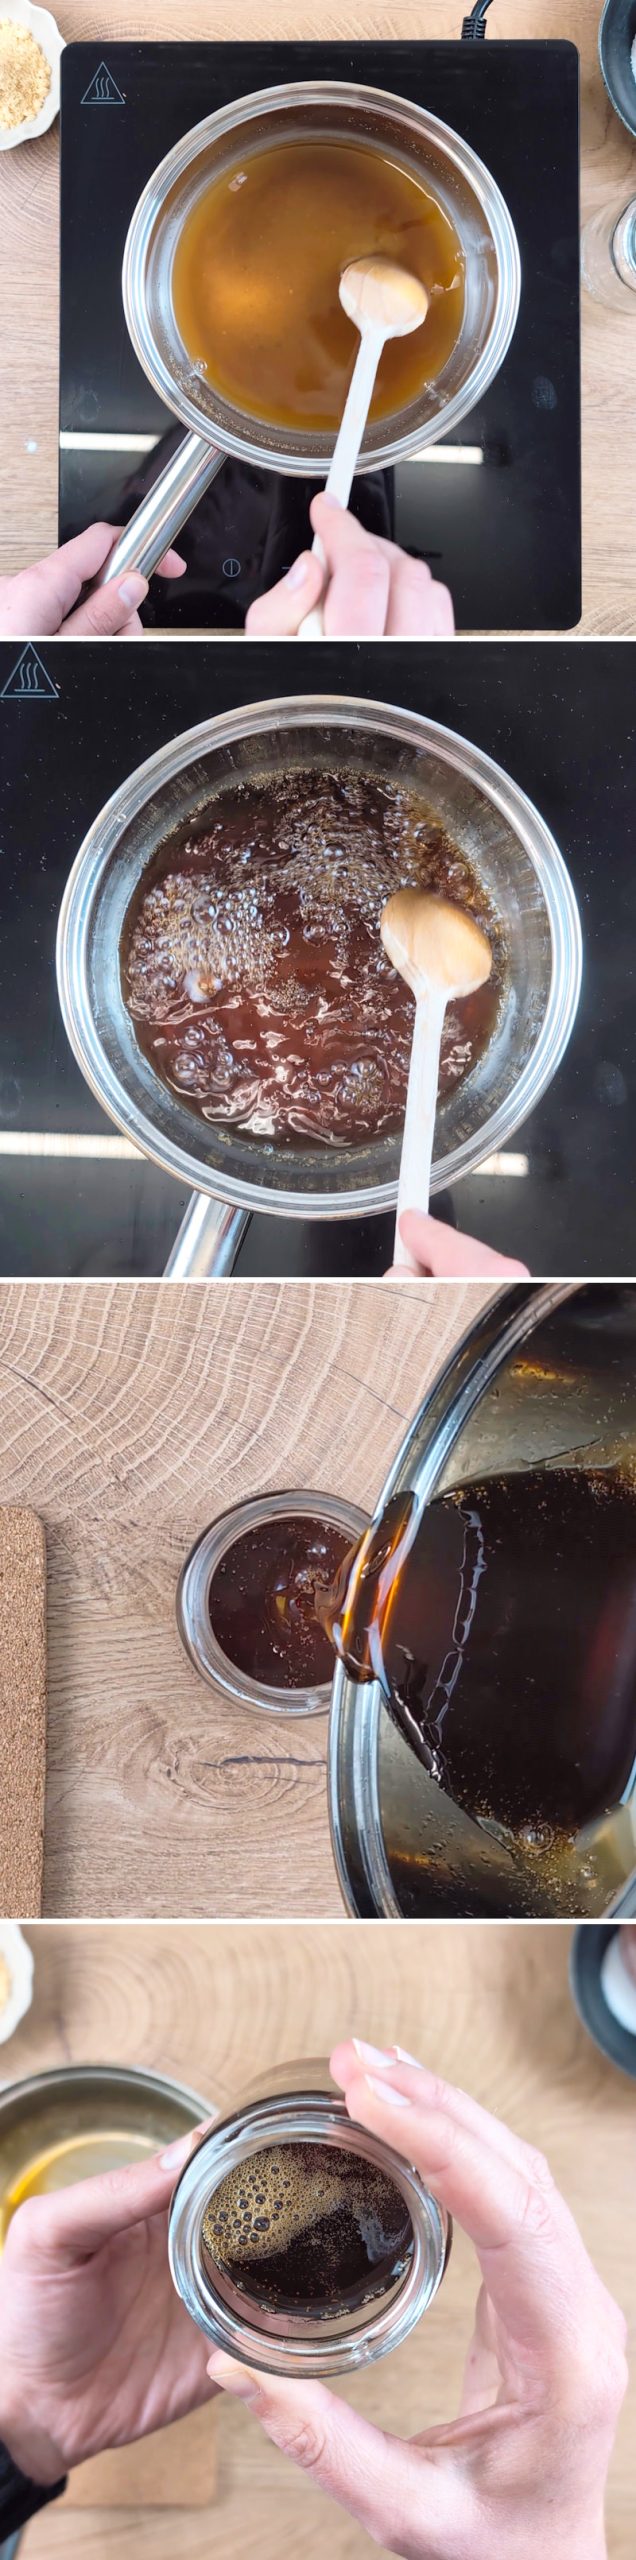
Heat the mixture over a medium heat, stirring constantly, until the sugar has completely dissolved. When the syrup begins to simmer, reduce the heat slightly and continue to simmer for a further 2 to 3 minutes. Once the syrup has reduced, remove the saucepan from the heat. Pour the syrup into the container and leave to cool – your homemade Kuromitsu is ready.
Step 8
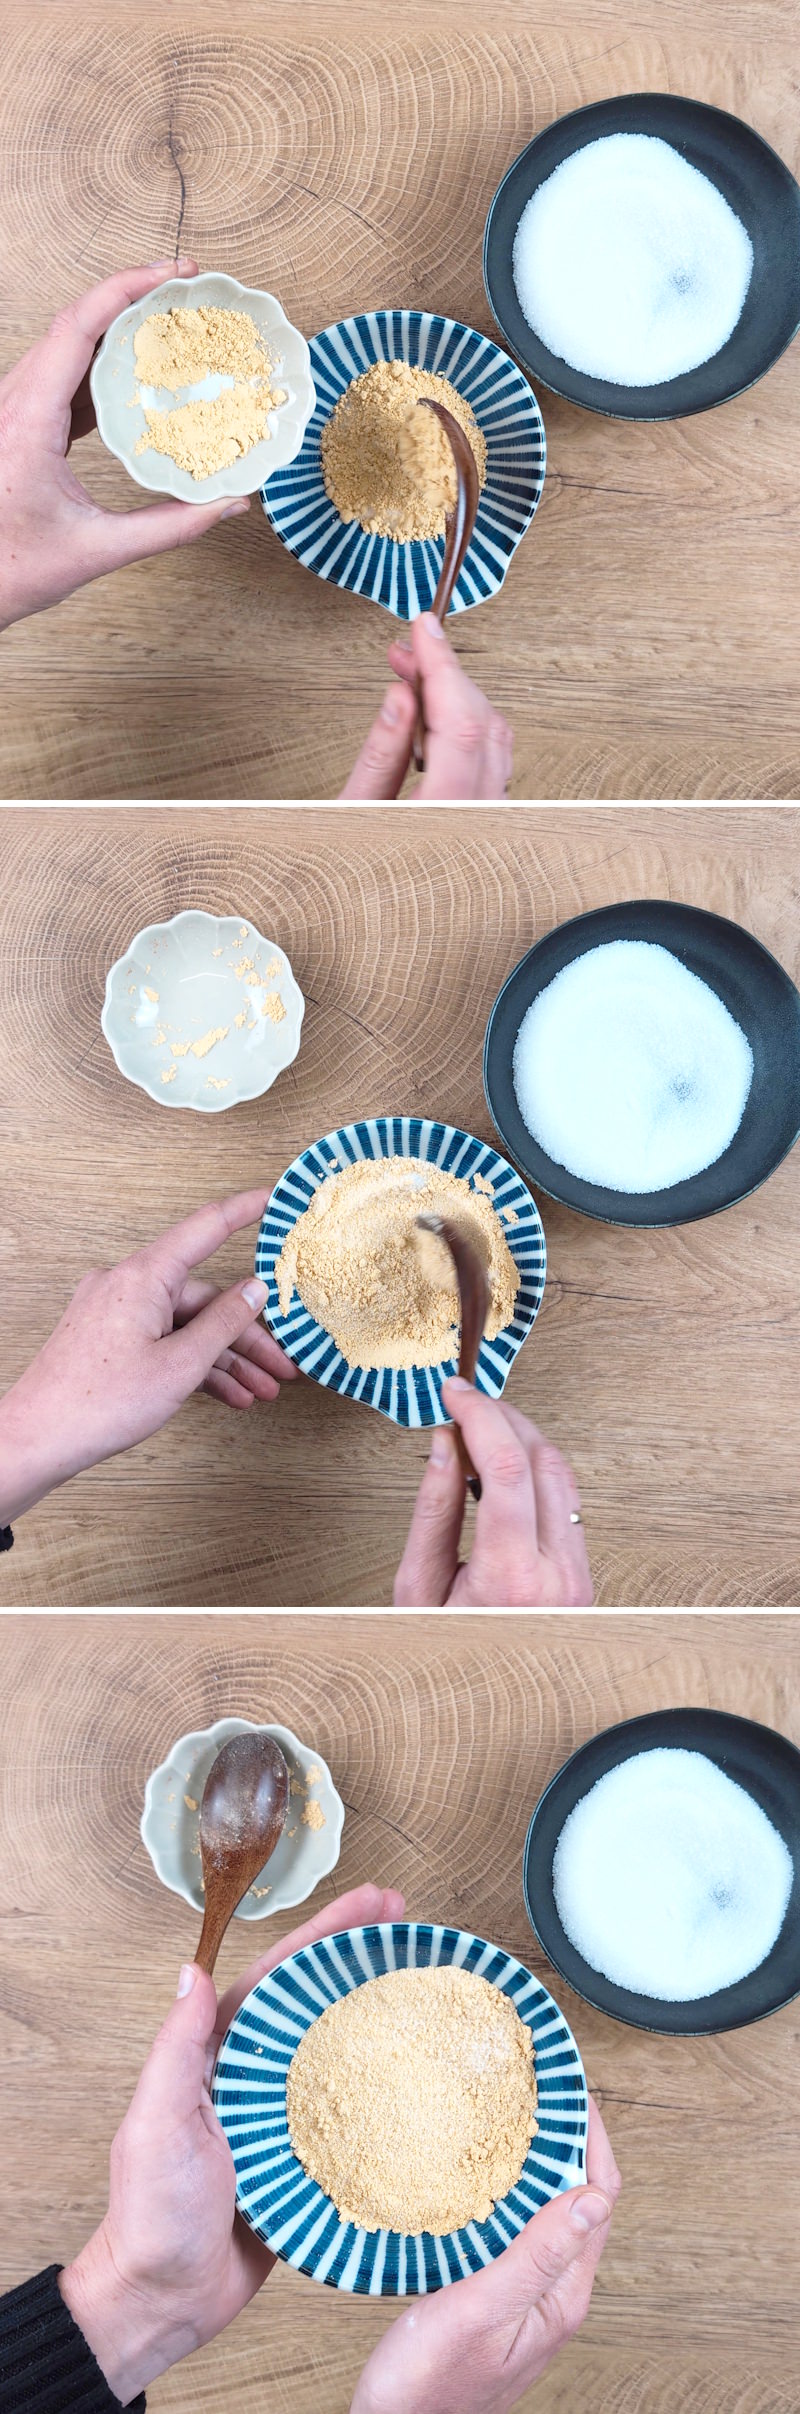
Mix 2 tbsp Kinako (roasted soya bean flour), 2 tablespoons of sugar and 1 pinch of salt in a shallow bowl.
Step 9
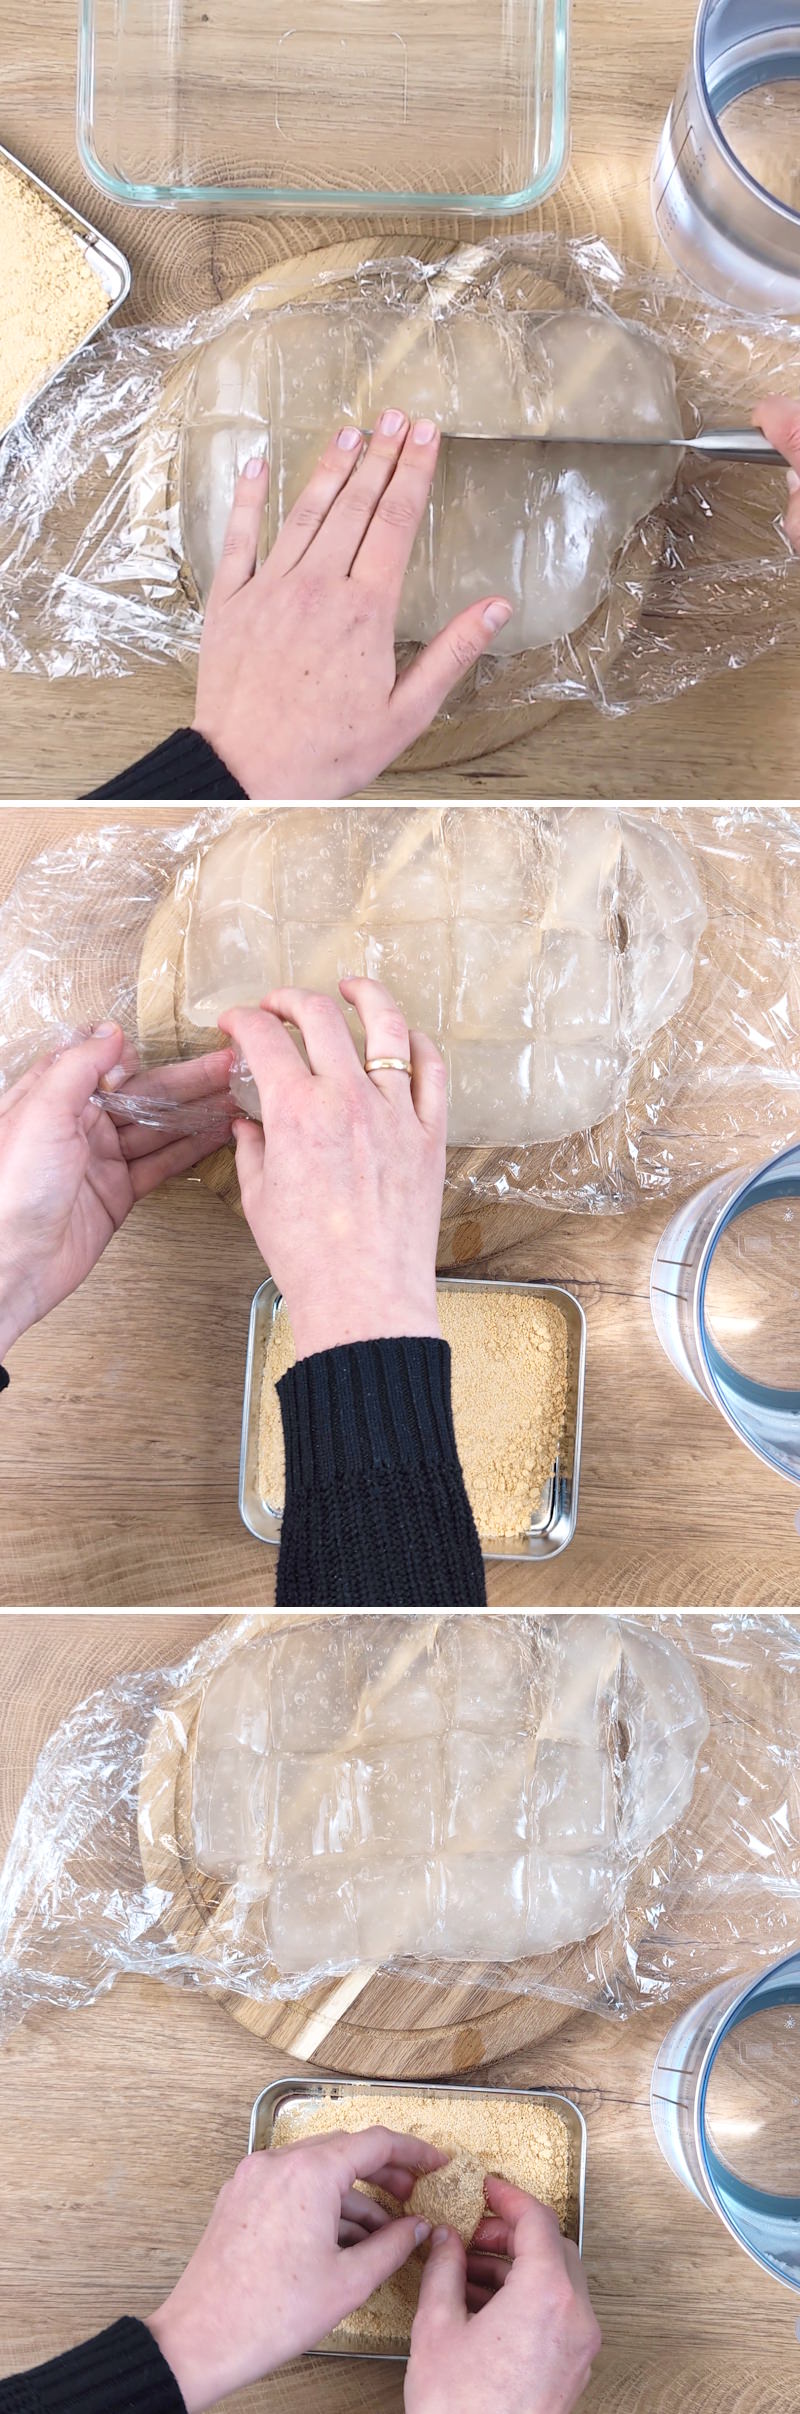
Cut the chilled Warabi Mochi into bite-sized cubes. To do this, dip a large knife into cold water and cut through the Mochi dough – re-wetting the knife between each cut. Roll the cubes generously in the Kinako powder until they are completely coated.
Step 10
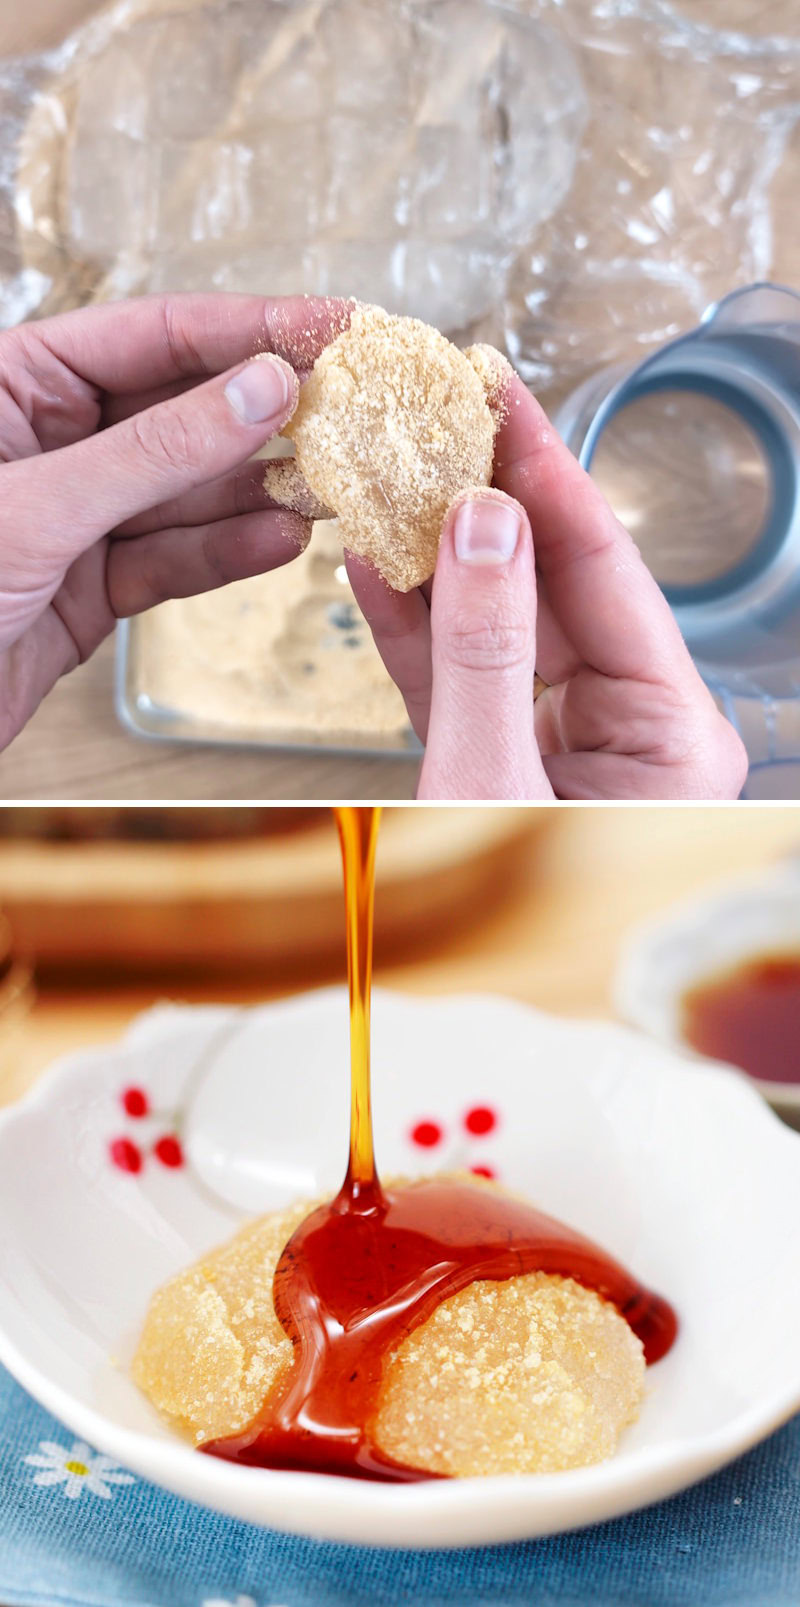
Arrange the Warabi Mochi on small plates and drizzle a little Kuromitsu over them – and your dessert is ready to serve.
Itadakimasu – I hope you enjoy it!
Fancy some more delicious inspiration from Japan? Here you’ll find our best recipes from the Japanese desserts category:
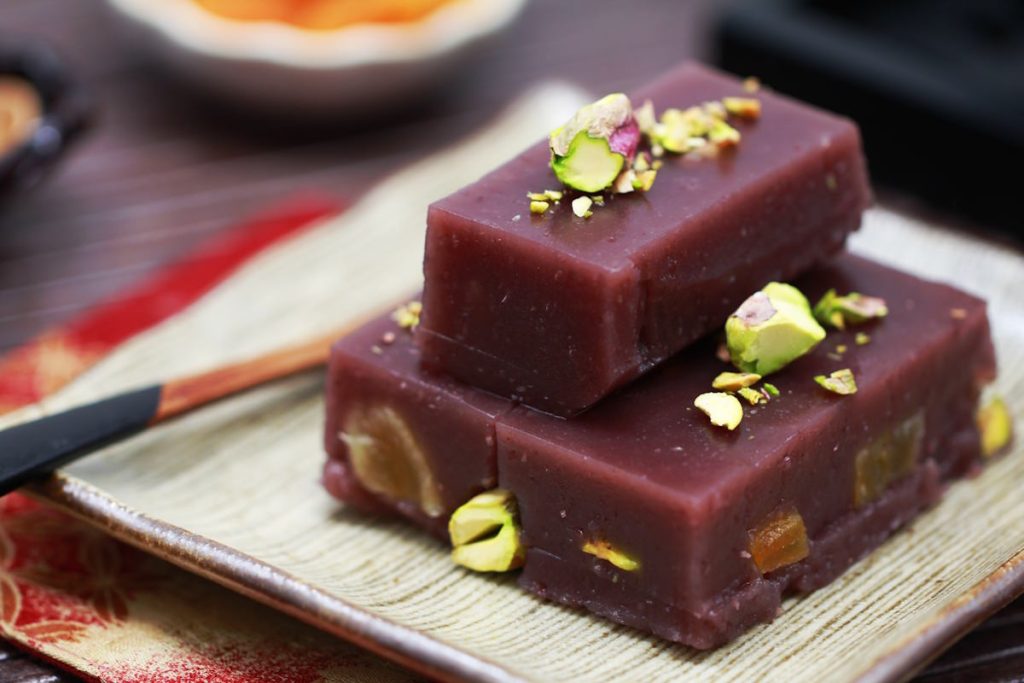
Make your own Yokan: Japanese jelly with red bean paste, apricot & pistachio filling
Yokan is a classic Japanese jelly made from red bean paste and agar-agar, which captivates…
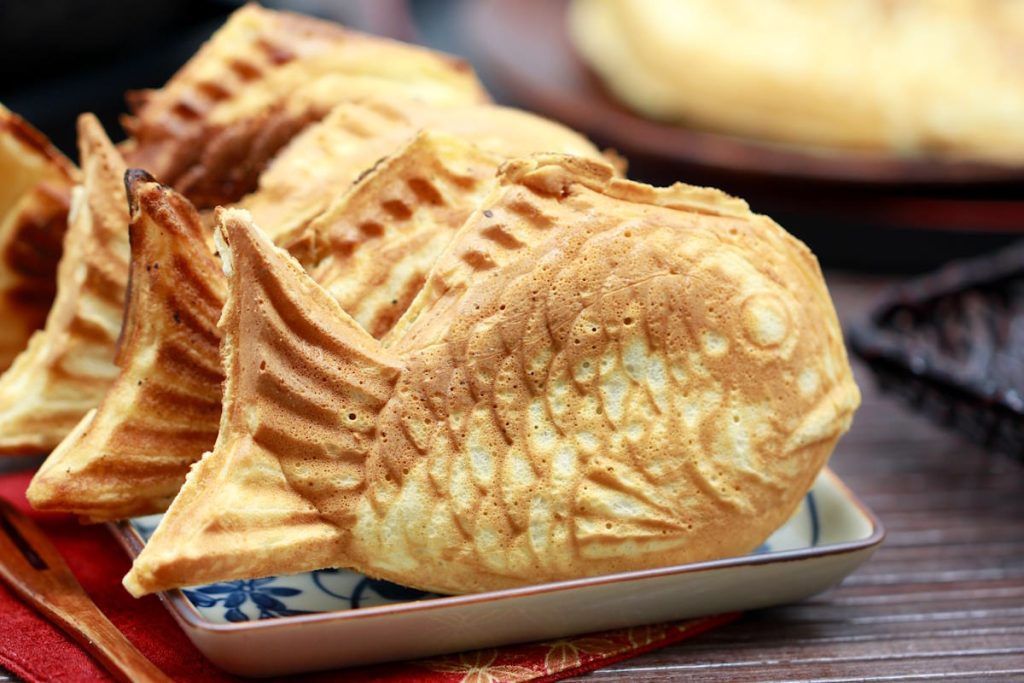
Make your own taiyaki: Japanese fish-shaped waffles with sweet anko filling – easy & so delicious!
Taiyaki is a classic of Japanese street food and delights with its charming fish shape…
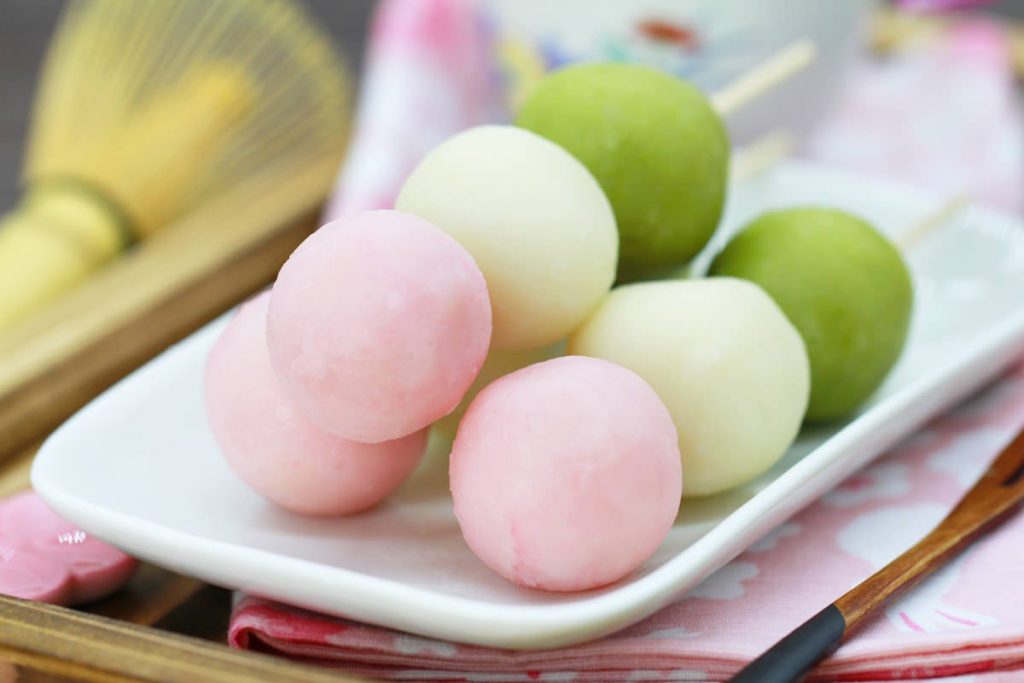
Feel the joy and beauty of Japanese spring with every bite of traditional Hanami Dango!…

A sweet treat: make your own matcha dorayaki with anko and matcha buttercream!
Are you ready to treat your taste buds to a touch of Japan? Discover the…
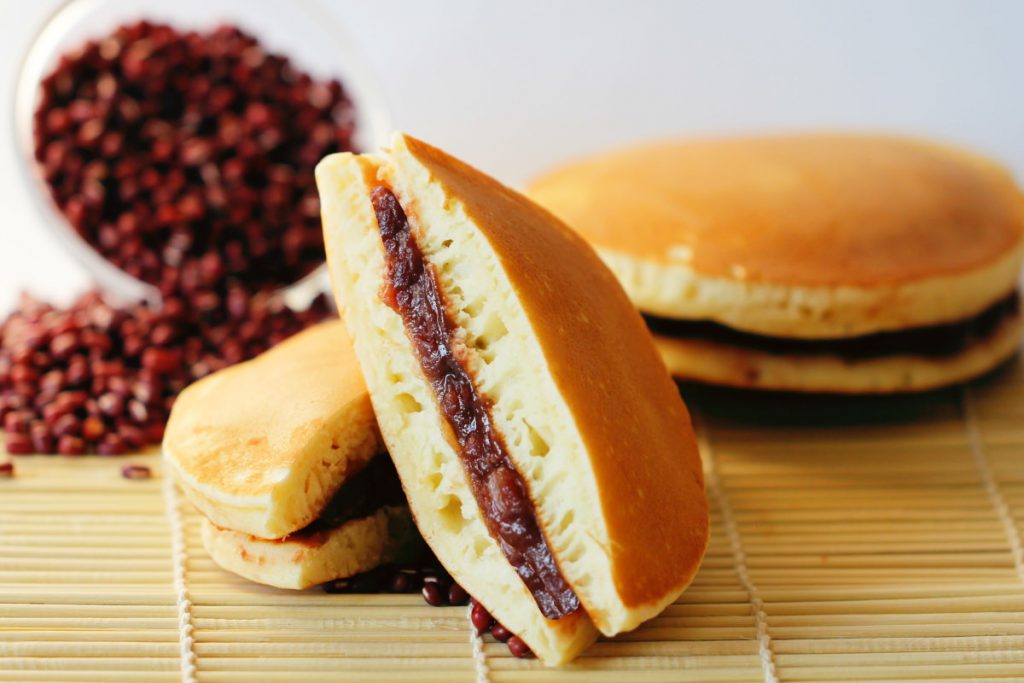
Sweet duo: How to make classic dorayaki with anko filling
Discover the sweet temptation from Japan: Dorayaki! These delicious little pancakes, which became famous in…
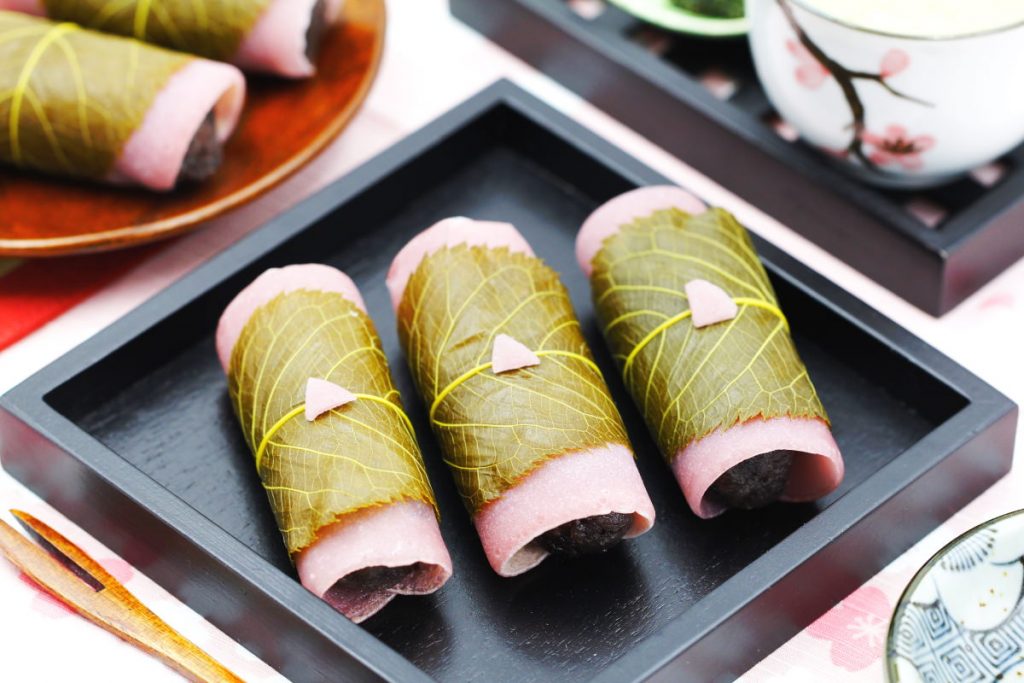
You’ll fall in love with this recipe for these delicate Japanese sweets, known throughout Tokyo…
Have you tried this recipe yet? Let me know in the comments – I can’t wait to hear from you.