

Language:


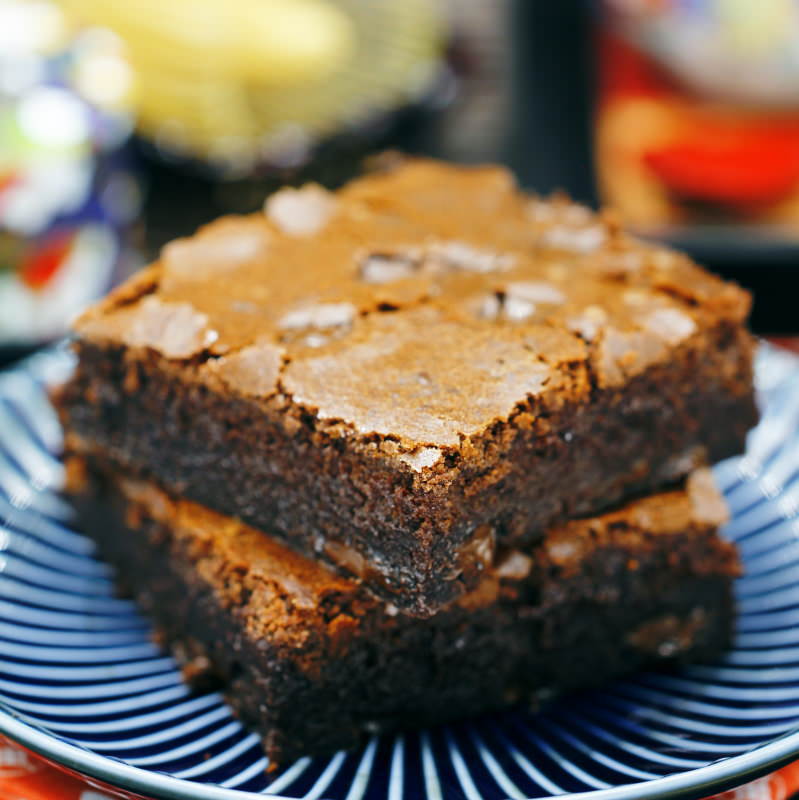
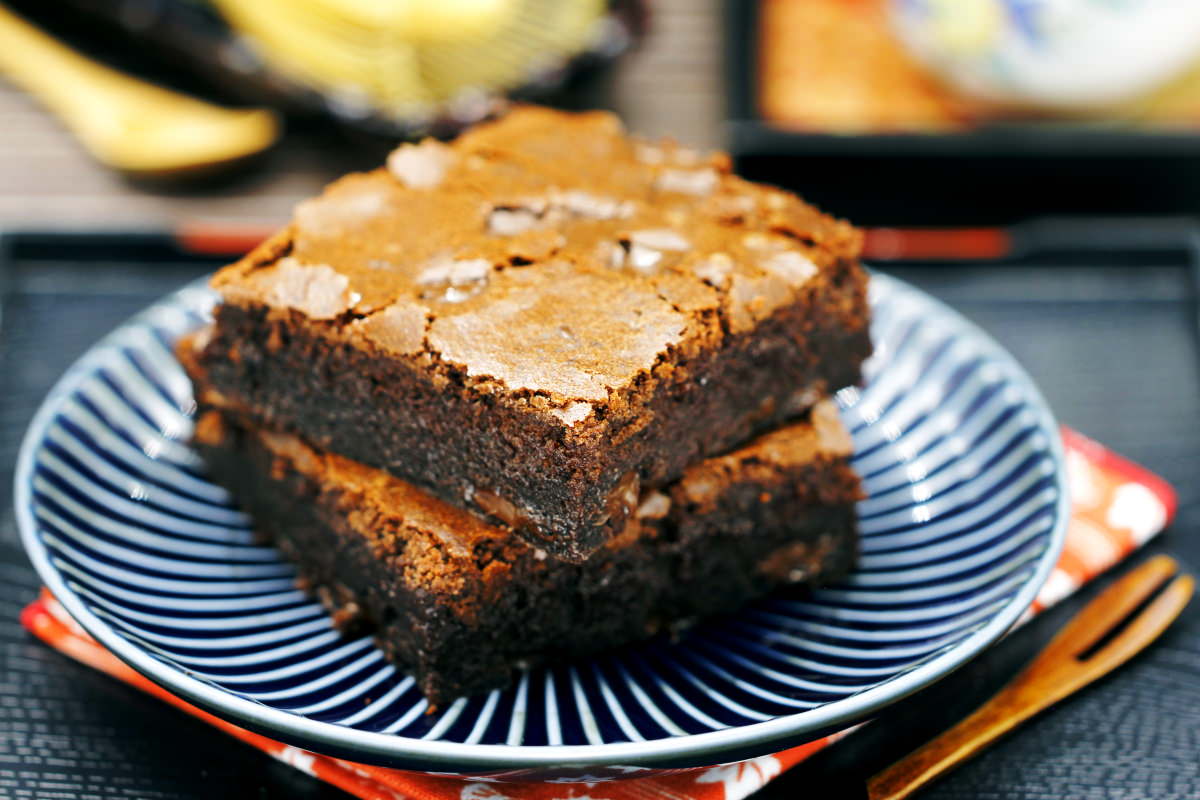
The very best brownie recipe in the world comes from Japan! This moist chocolate cake is just right – lovely and soft with a springy texture when you eat it. Clearly, this is down to the Japanese glutinous rice flour, which is otherwise used for Mochi. Here you can find out how to turn a classic cake into a Japanese Mochi brownie – plus: this cake is gluten-free!
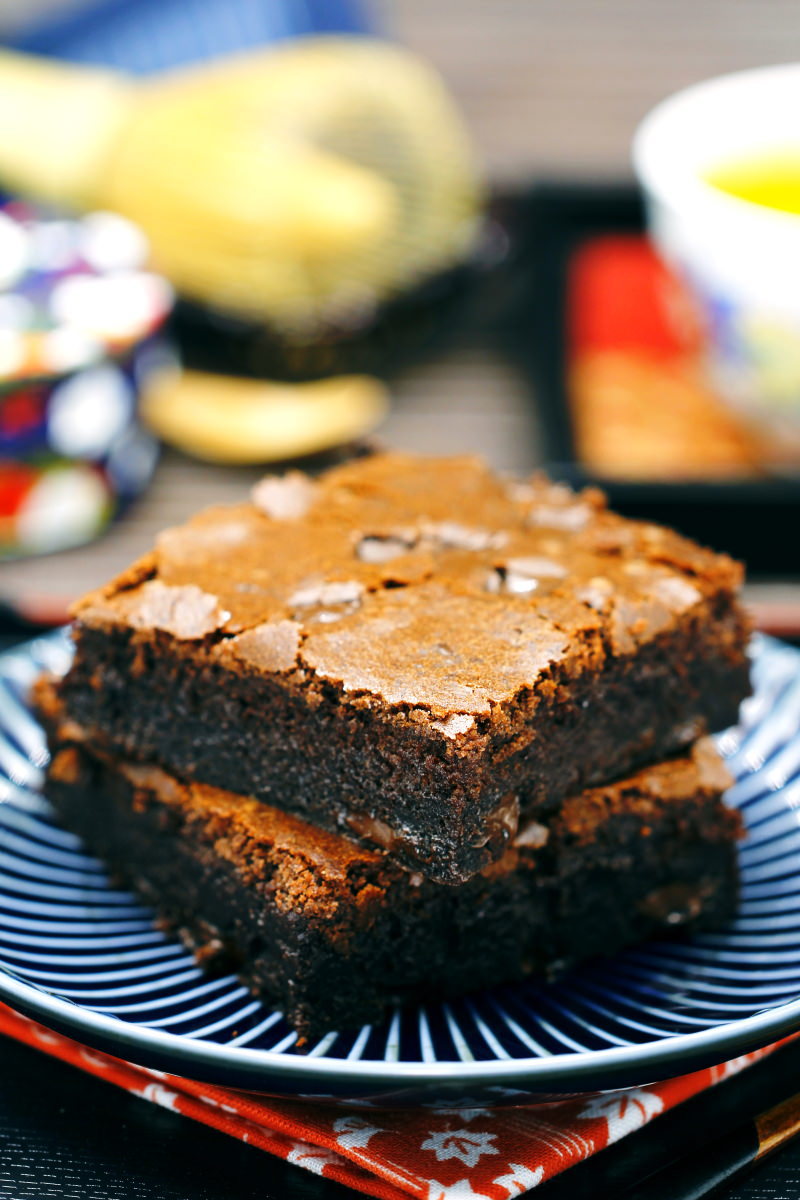
How many times have I found that my coffee guests were a bit sceptical when I proudly announced that I’d made Mochi for them myself… Well, have you perhaps come across this too? Or are you simply looking for a sweet yet unusual treat for your afternoon coffee table? Then you’ll love this recipe!
Today I’ll show you, step by step, how to easily make your own Mochi brownies. Alongside standard baking ingredients such as sugar, milk, butter and eggs, we’re using Japanese glutinous rice flour in the batter today instead of wheat flour. This makes the cake irresistibly soft and delightfully chewy – we’re basically conjuring up delicious Mochi right inside the brownies :).
CUSTOMER FAVOURITE
Mochi Brownies Mehl 500g (chewy Schoko Brownies), Fujiman
Backmischung für schokoladige Mochi Brownies mit weicher, elastischer Textur. Dieser Mochi Brownies Mix von Fujiman kombiniert intensiven Schokoladengeschmack mit der typisch weichen, leicht zähen Konsistenz…
In stock
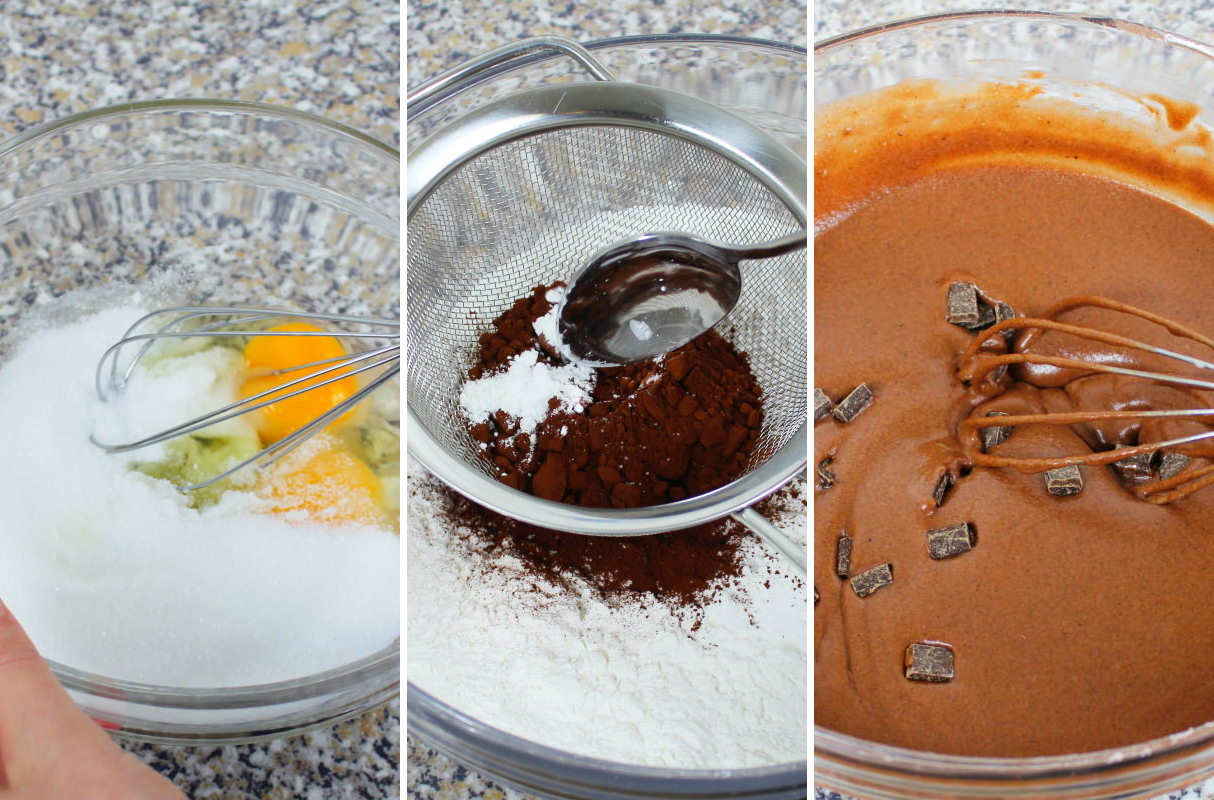
The brownies get their lovely chocolatey flavour from plenty of cocoa and a generous handful of dark chocolate chunks. To make it, we’ll mix all the ingredients together to form a batter. However, the batter shouldn’t be beaten vigorously, as brownies aren’t meant to be fluffy, but rather dense! So just mix gently until there are no more lumps in the batter.

Vegan Mochi Brownies
- instead of 2 eggs → 100g apple sauce (preferably unsweetened, so it doesn’t become even sweeter)
- instead of butter → margarine
- instead of cow’s milk → oat milk
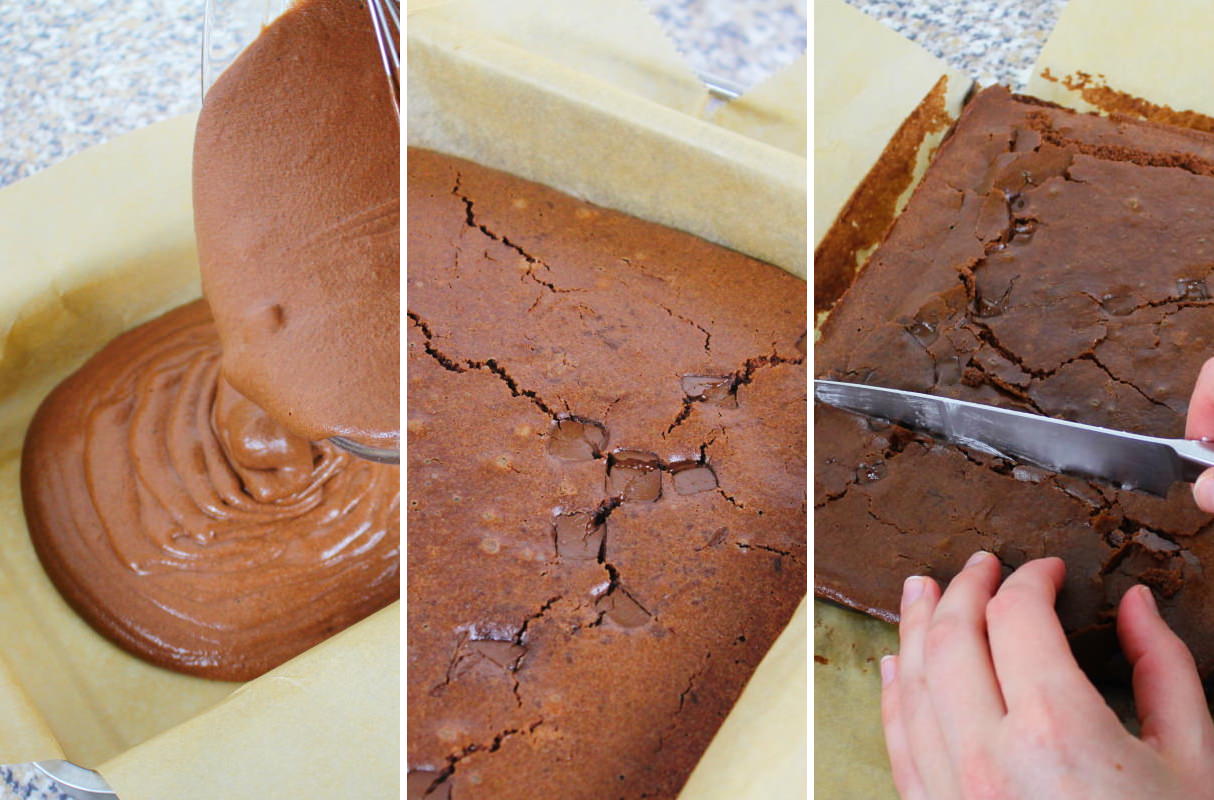
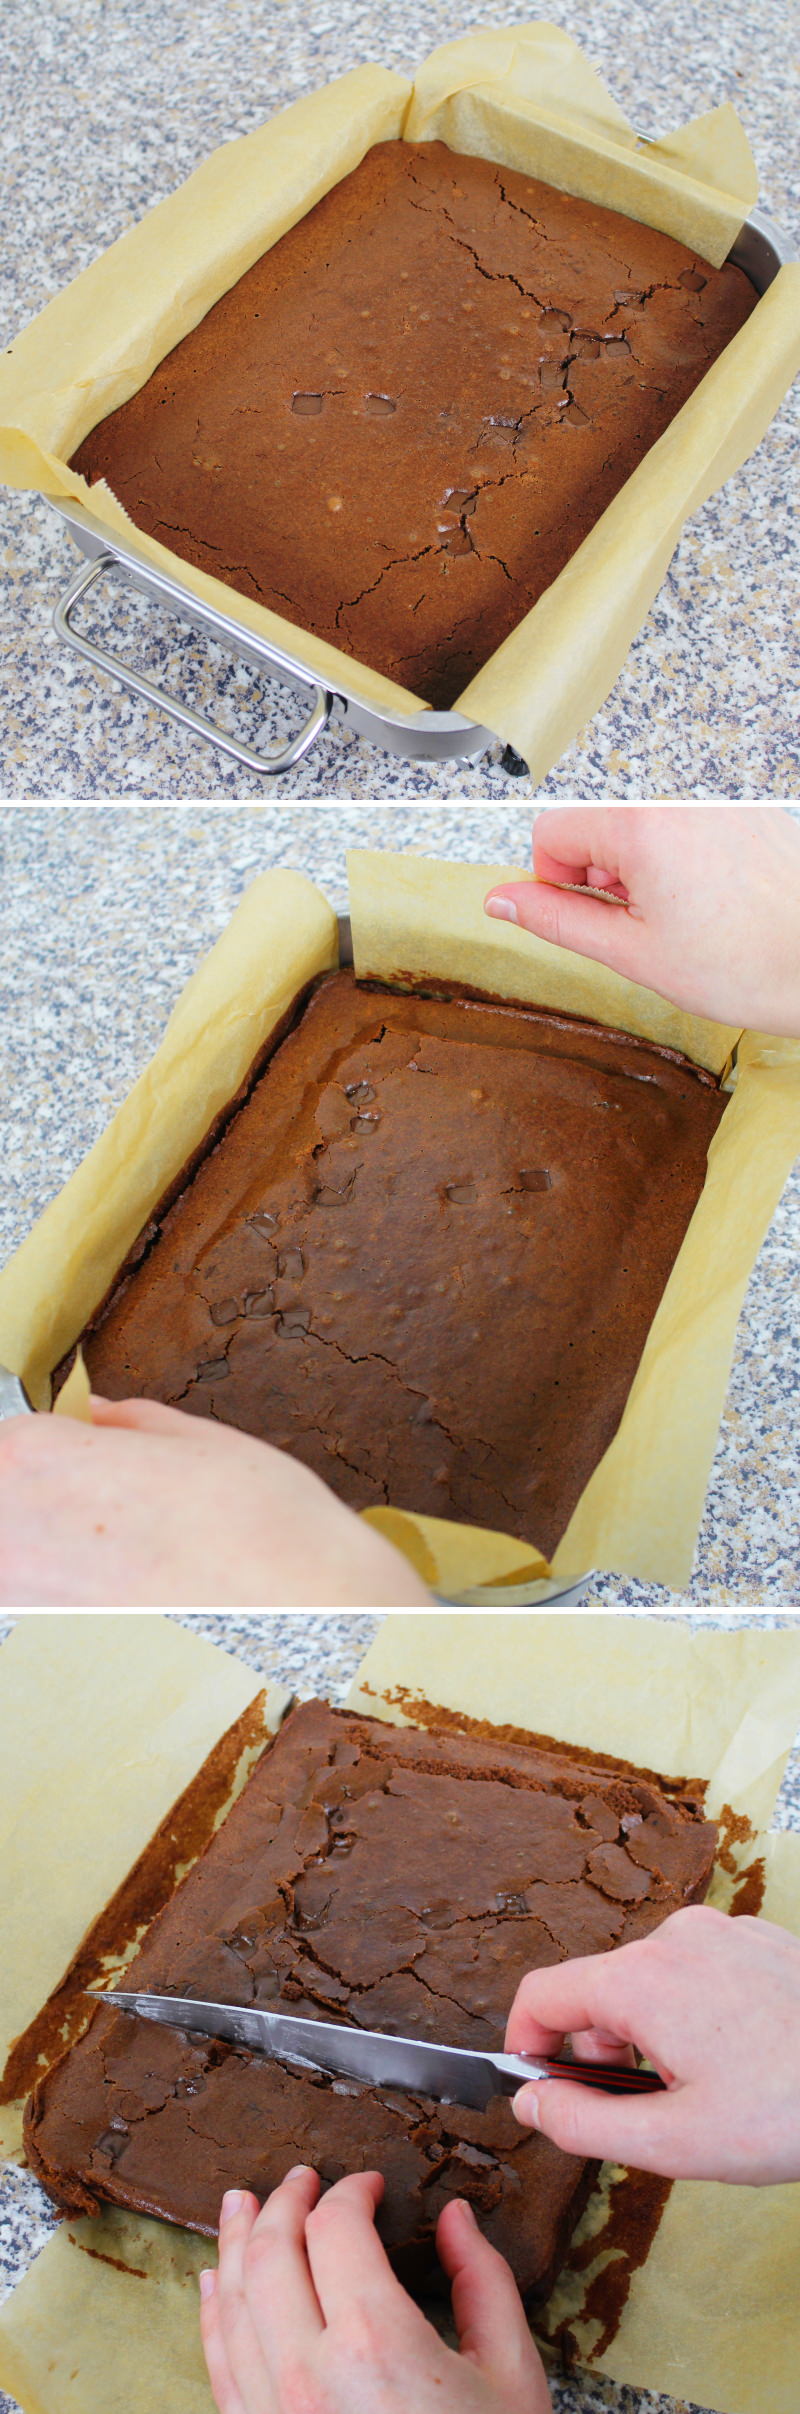
The Mochi brownie batter is baked in a rectangular tin – but you can also use a round cake tin or a baking dish. Then bake the chocolate cake for 40 minutes at 180°C (top and bottom heat) in a preheated oven.
Once the baking time is up, take the cake out and leave it to cool completely. Finally, remove the cake from the tin and cut it into 12 roughly equal pieces using a large knife.
To be honest, I usually can’t resist the smell of freshly baked cake… That’s why this Mochi brownie chocolate cake is usually polished off pretty quickly – especially with two children in the house 😉.
However, if you’ve got strong nerves, I’d recommend leaving the cake to rest for a while (overnight). That way, it becomes really moist and tastes even better! It’s best to store it in a plastic container that seals tightly in the fridge. Take it out about an hour before serving so that the cake isn’t too cold to eat:
Mochi Brownies
Makes 12 | 60 minutes | 495 kcal
🖨️ Print PDF 📌 Save to PinterestThe very best brownie recipe in the world comes from Japan! This moist chocolate cake is just right – lovely and soft with a springy texture when you eat it. Clearly, this is down to the Japanese glutinous rice flour, which is otherwise used for Mochi. Here you’ll find out how to turn a classic cake into authentic Japanese Mochi brownies – plus: this cake is gluten-free!
Ingredients (4 portions = 12 pieces)
200 g glutinous rice flour (im Shop ansehen)
200 g sugar
30 g cocoa powder
2 tbsp vanilla sugar
1 tbsp baking powder
250 ml milk
100 g butter
2 eggs
100 g dark chocolate chunks
My recommendation: Mochi Brownies Baking Mix (im Shop ansehen)
Method (60 minutes)
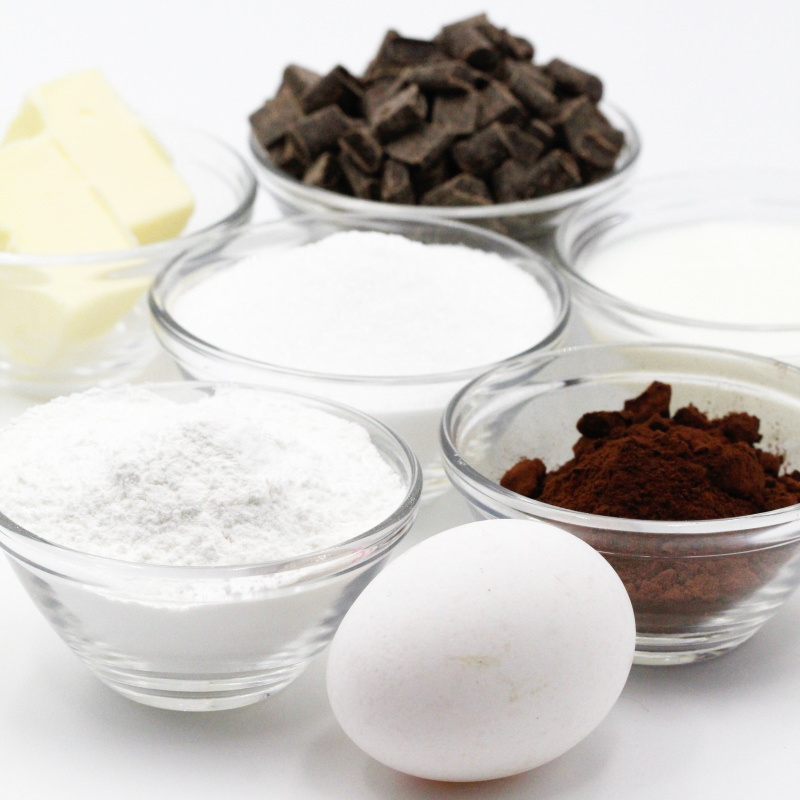
Step 1
Gather the ingredients for the delicious Mochi Brownies and preheat the oven (top and bottom heat) to 180°C.
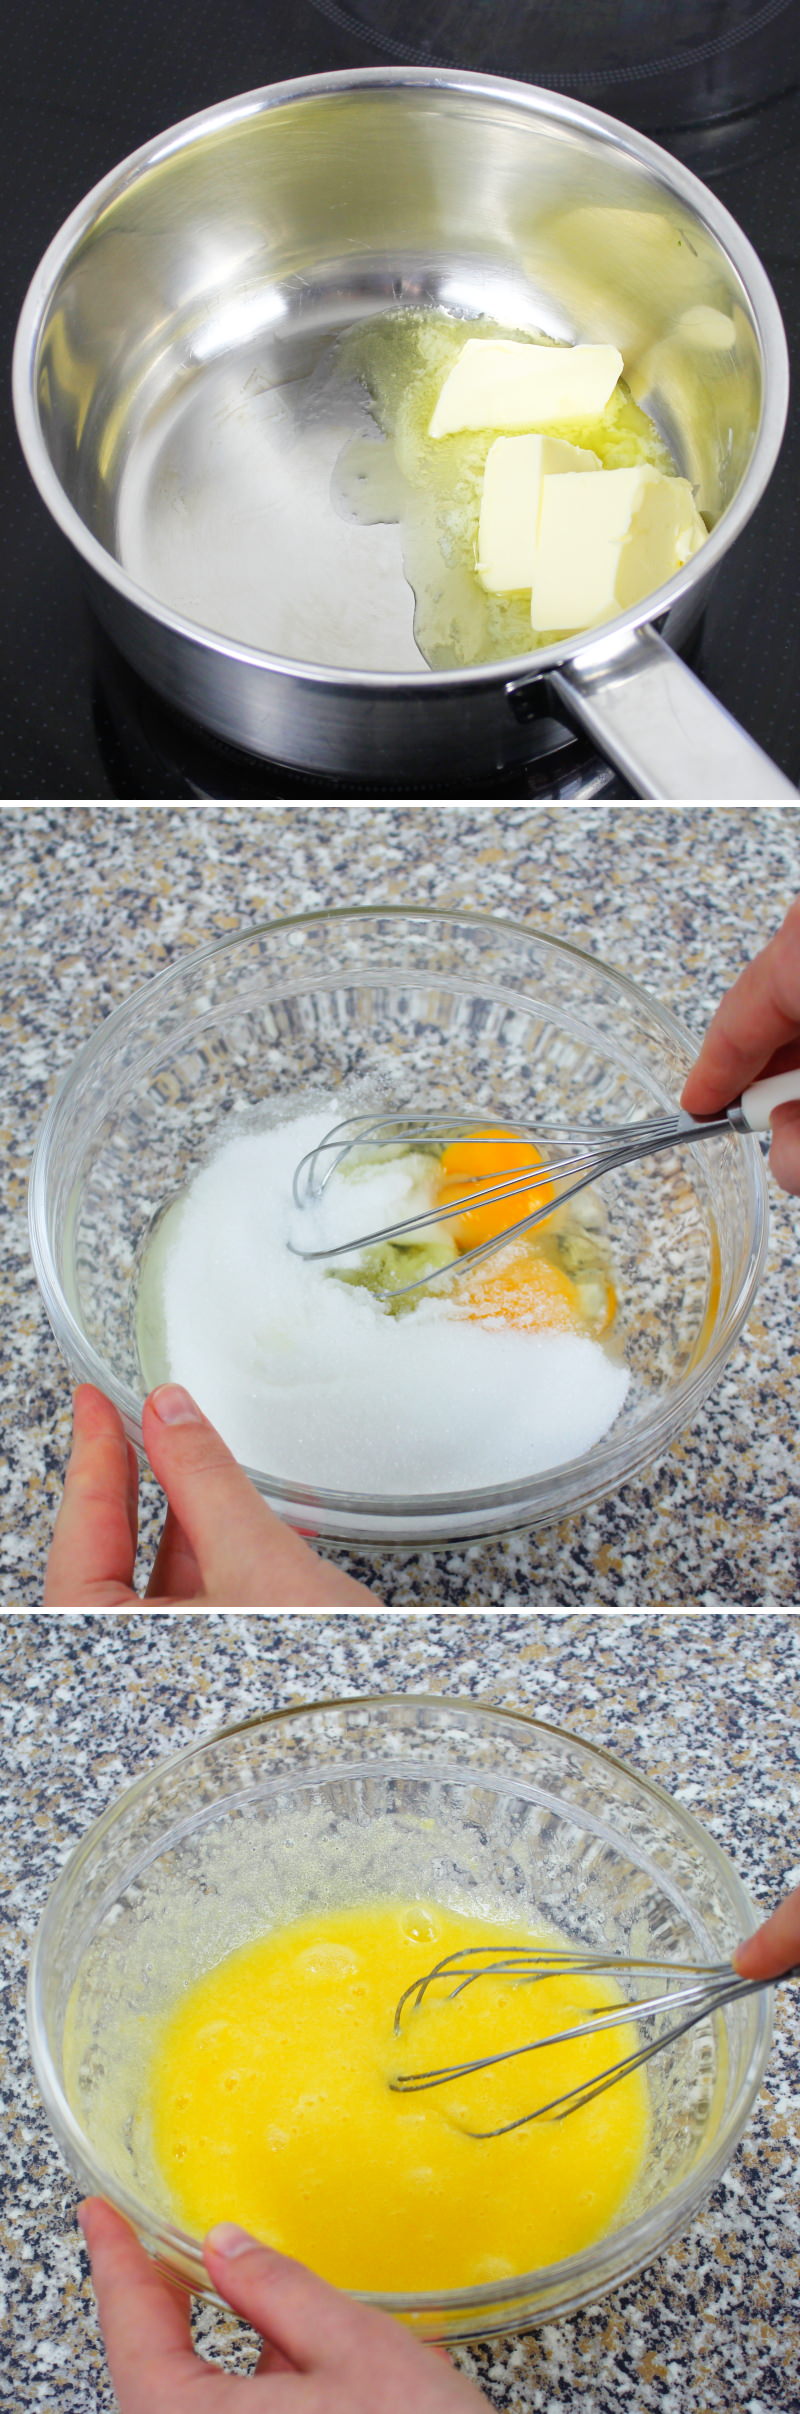
Step 2
First, melt the butter in a saucepan over a low heat. Meanwhile, whisk together the eggs, the sugar and vanilla sugar in a bowl.
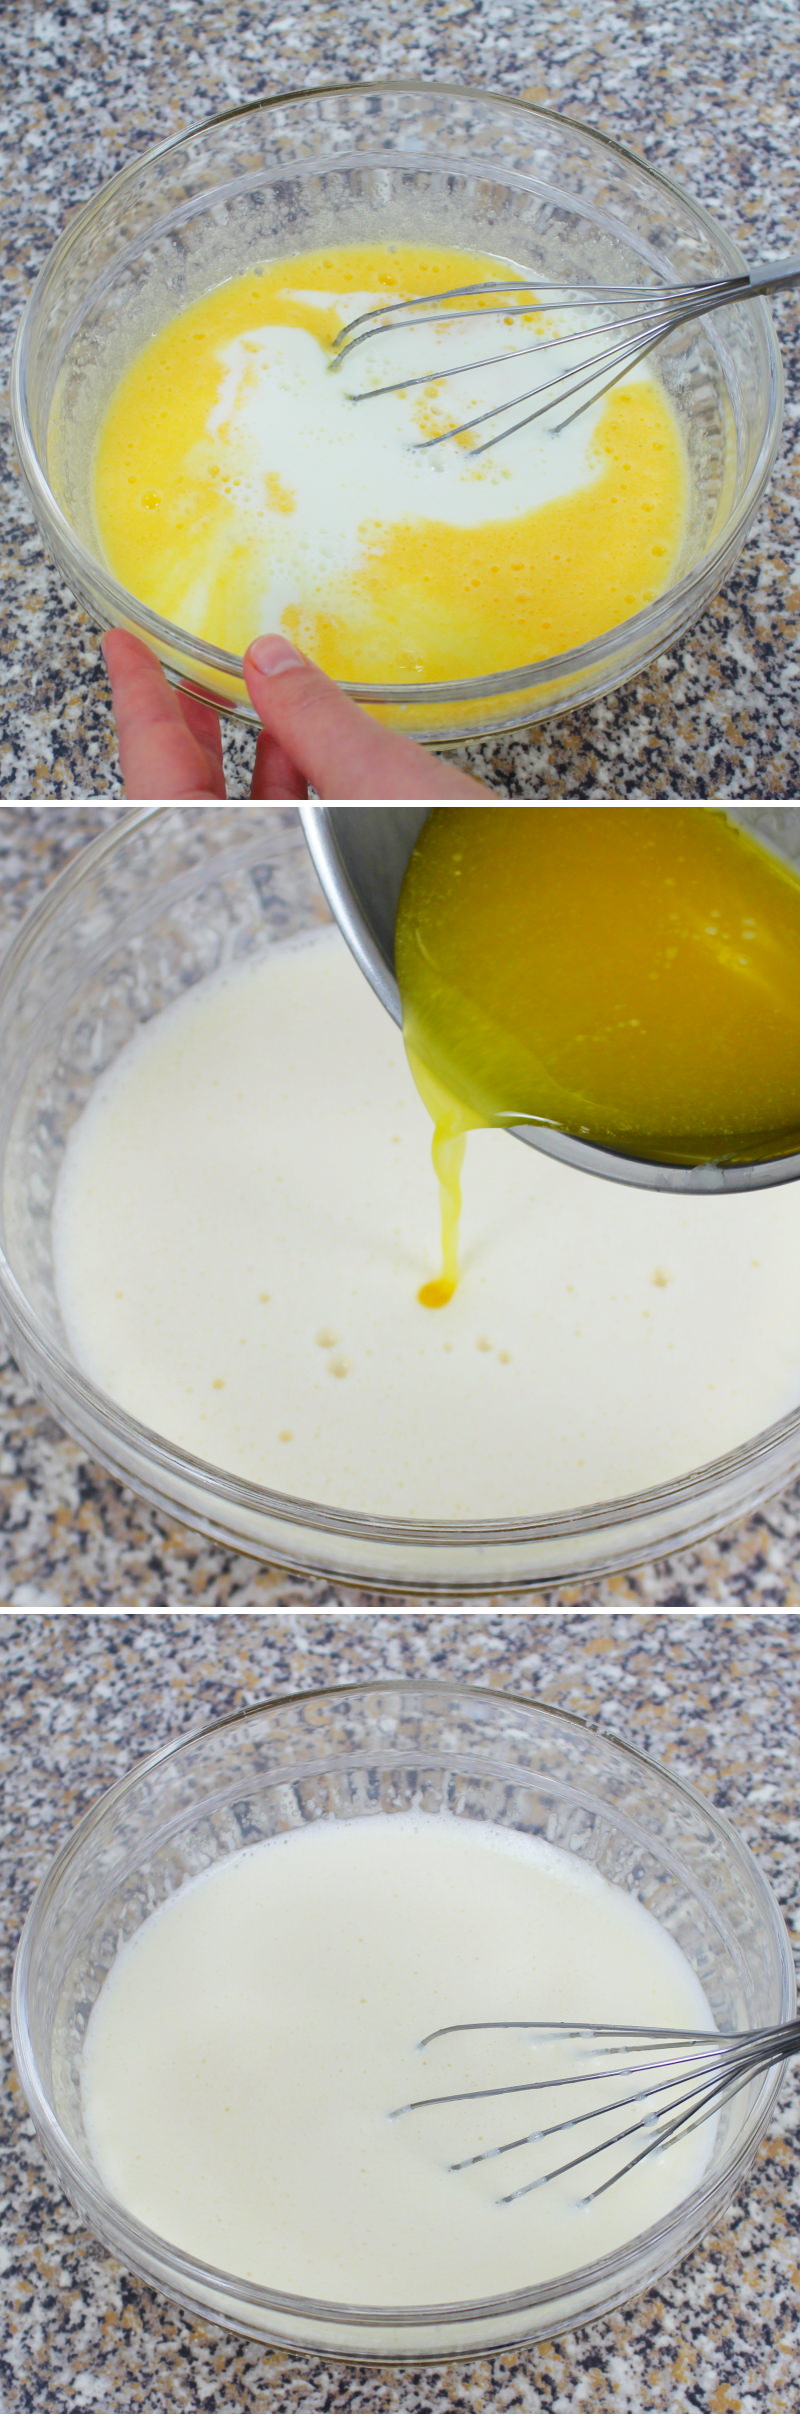
Step 3
Next, add the milk and the melted butter to the egg and sugar mixture, then mix thoroughly.
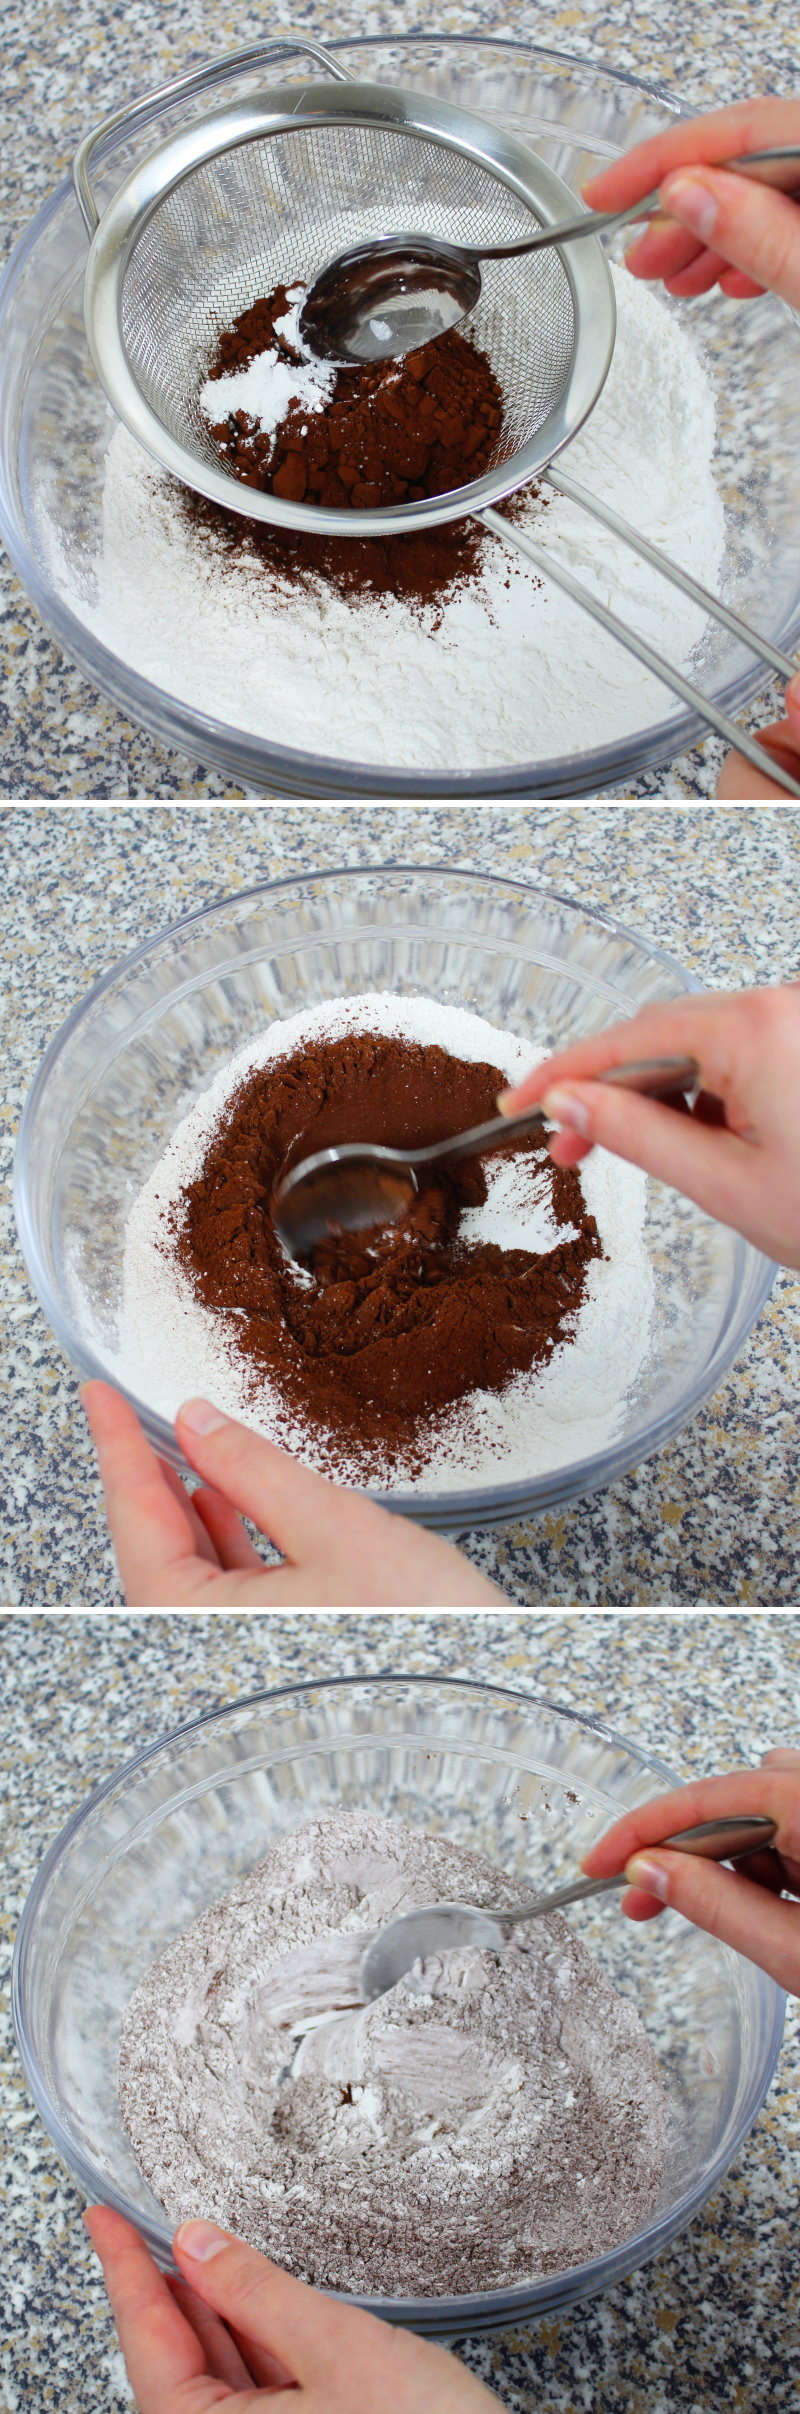
Step 4
Next, sift the glutinous rice flour, baking powder and cocoa powder into another bowl and mix roughly with a spoon.
Step 5
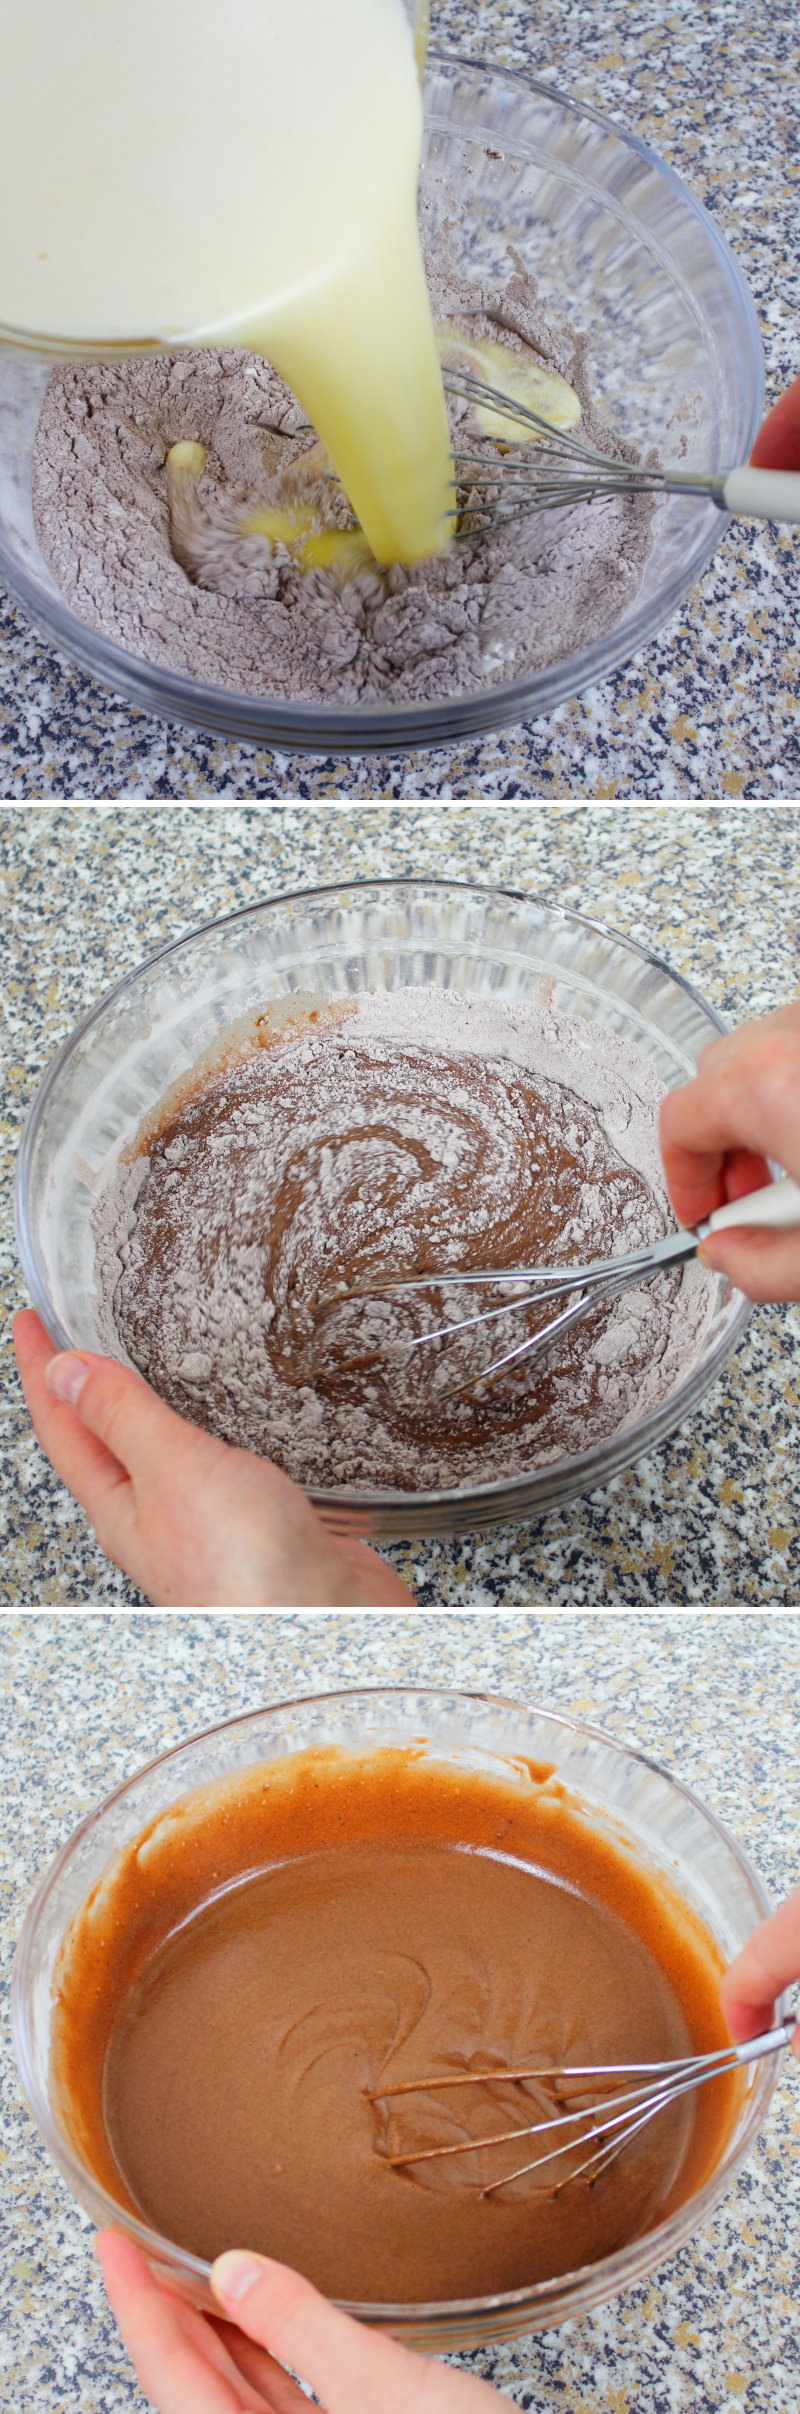
Now add the egg, sugar, milk and butter mixture to the flour and mix with a whisk. The batter should not be whisked vigorously, as brownies are meant to be dense rather than fluffy! So just mix gently until there are no more lumps in the batter.
Step 6
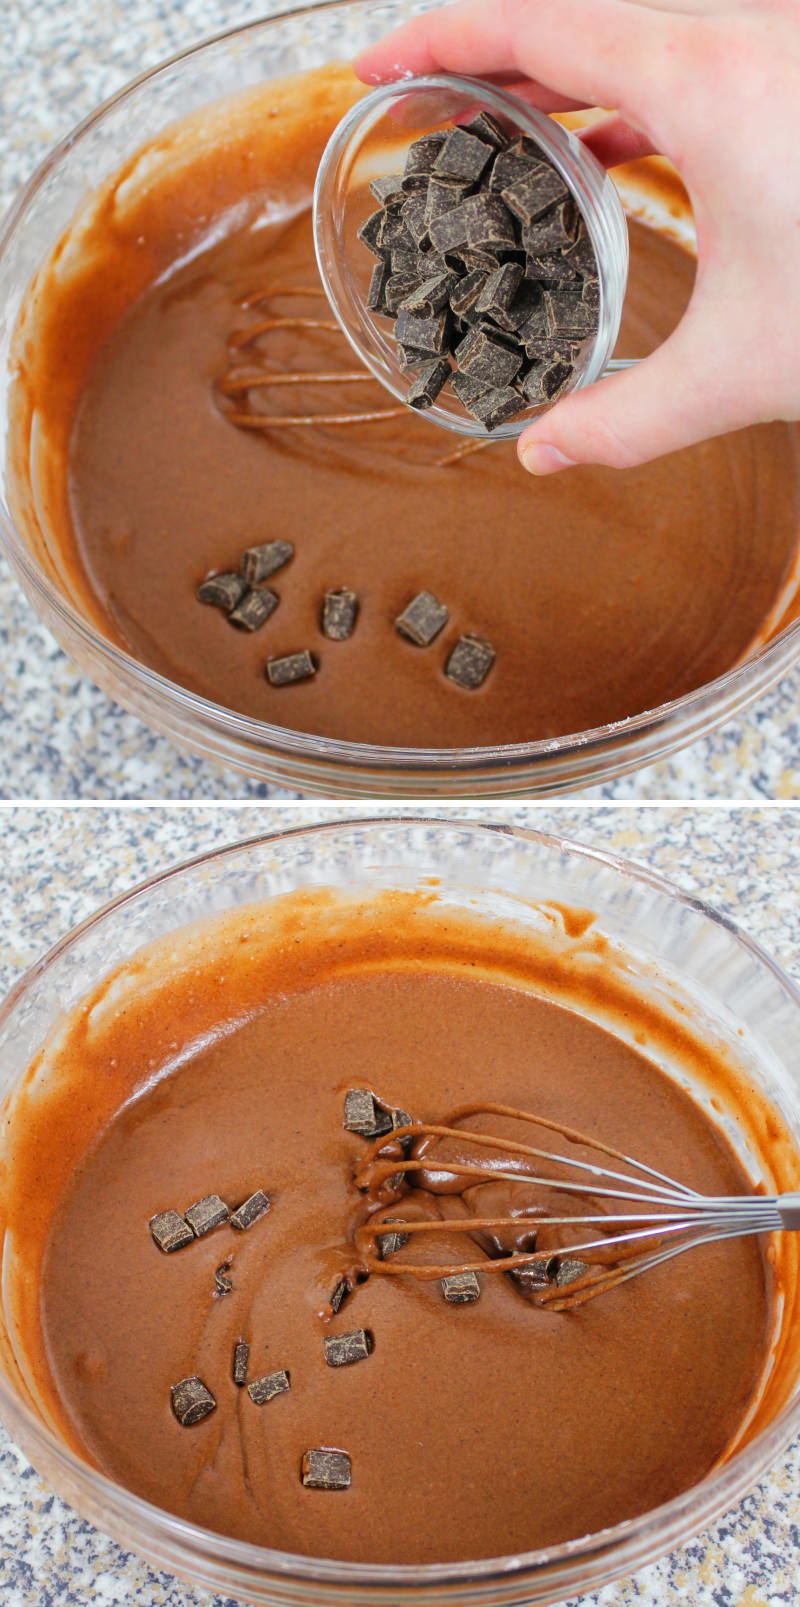
Once the batter is mixed, add half of the chocolate chunks and fold them in briefly.
Step 7
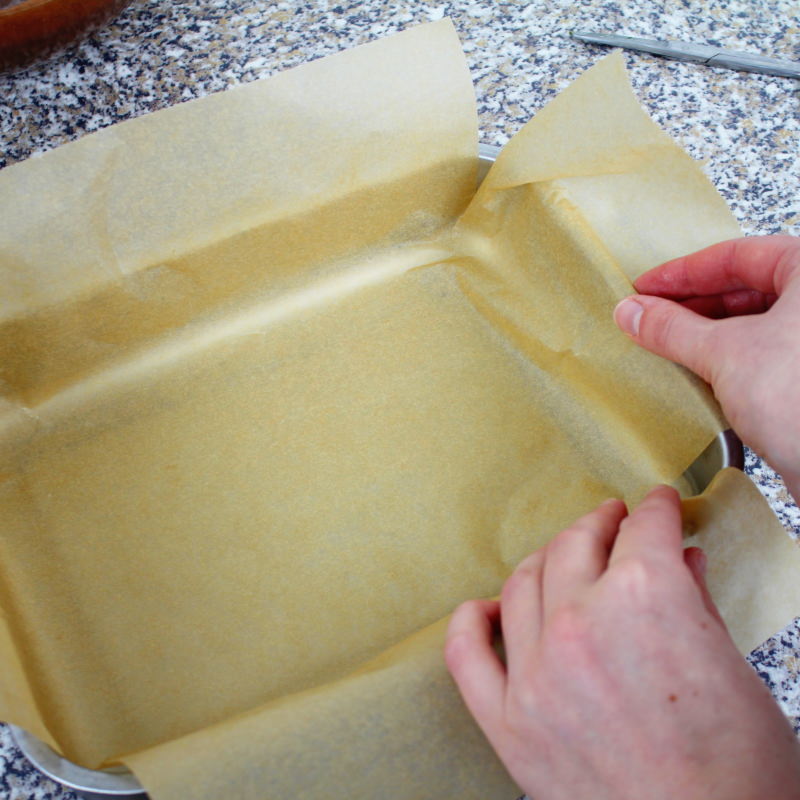
Now line a rectangular baking dish (or baking tin; round tins work too) with baking paper .
Tip: Cut the edges slightly so that the baking paper doesn’t crease.
Step 8
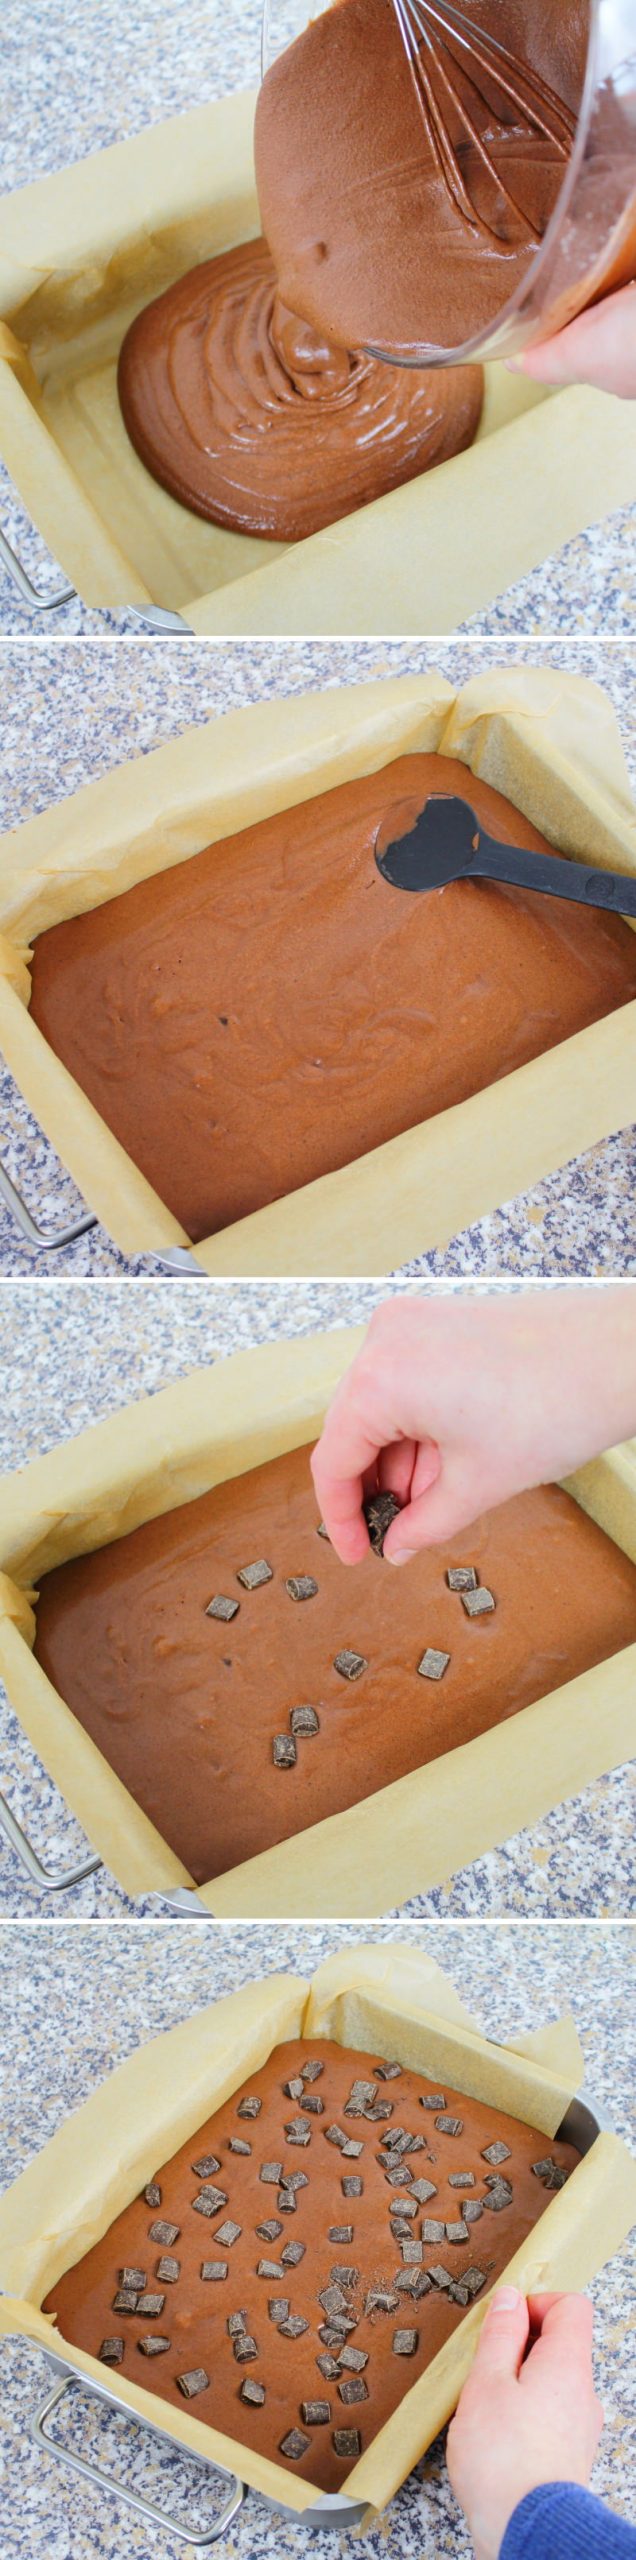
Then pour in the brownie batter, spread it out evenly with a spoon and scatter the remaining chocolate chunks on top.
Step 9
Place the mochi brownie cake in the hot oven and bake on the middle shelf for 40 minutes.
Once the baking time is up, take the cake out, leave it to cool and remove it from the tin. Cut into 12 pieces with a large knife.
Step 10
Best stored overnight in a plastic container that seals tightly, in the fridge. Take it out about 1 hour before serving so the cake isn’t too cold to eat! Or simply serve straight away and tuck in… Done – Itadakimasu!
Are you looking for even more delicious recipes from Japan that will have you and your guests absolutely delighted? Here, for example, you’ll find my most popular recipes for noodle soups:
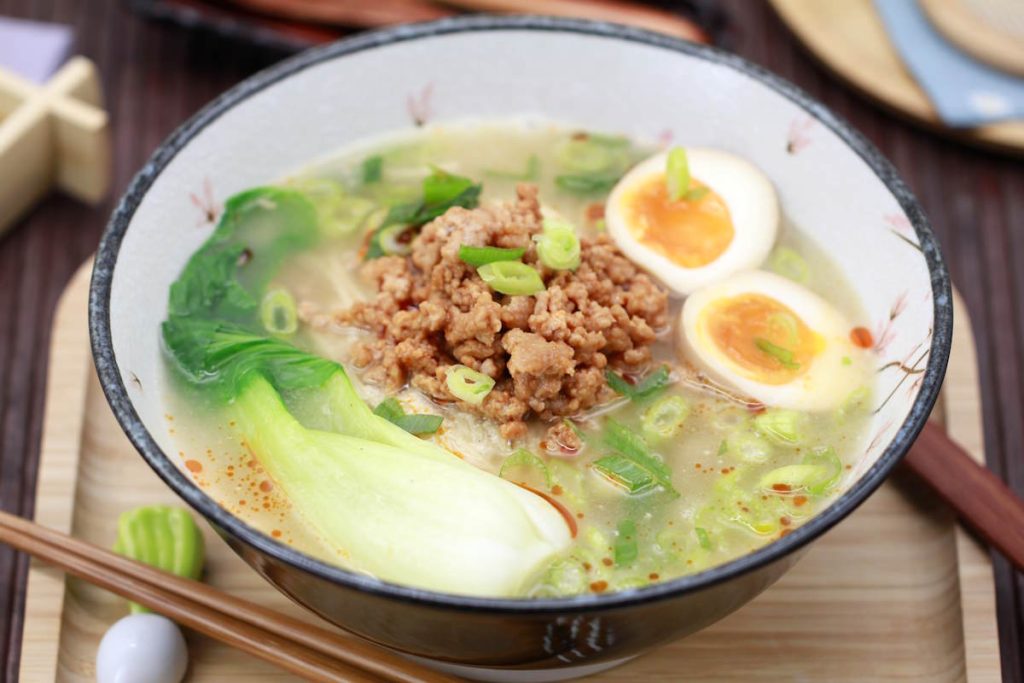
Make your own Tantanmen: creamy sesame Ramen with spicy Miso minced meat, pak choi & ramen eggs
Tantanmen is a Ramen soup for those who like it creamy but not heavy. A sesame-based broth, spicy minced meat,…

Quick Miso Udon: Spicy noodle soup with Miso, Tofu & Shimeji mushrooms
If you’re looking for a quick, comforting meal that’s both easy to prepare and incredibly tasty, then this Miso udon…

Curry Udon soup: A classic Japanese home-cooked meal – warming, traditional & delicious
Curry Udon combines the depth of Japanese Dashi broth with the spicy flavor of curry. This hot noodle dish is…
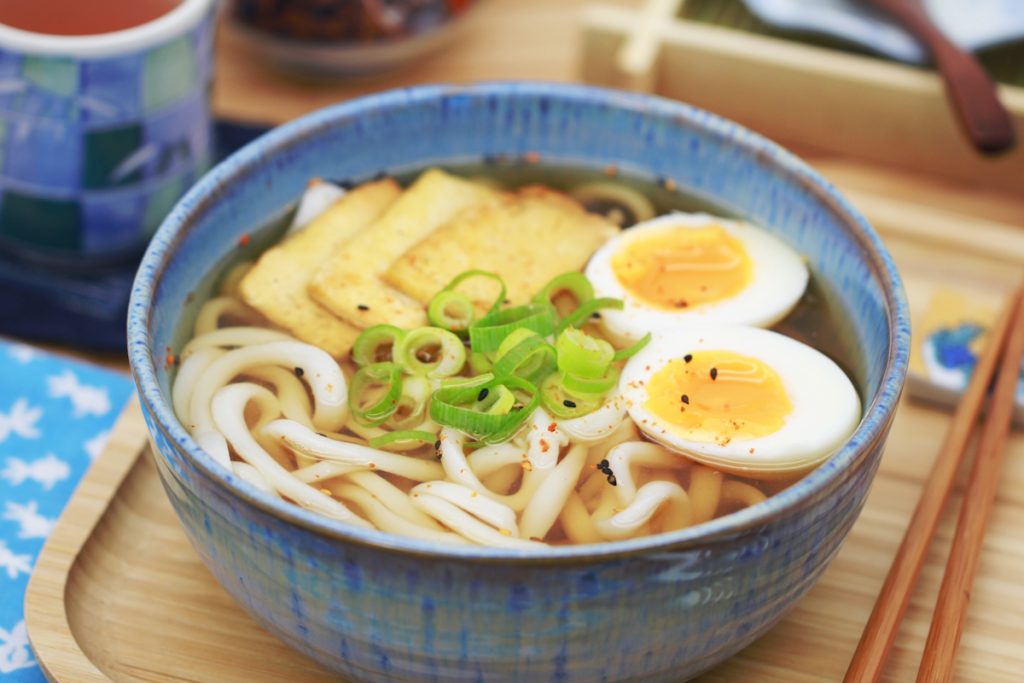
Delicious Kake Udon Noodle Soup: A classic of Japanese cuisine
Sometimes you just need a quick yet hearty meal that warms you up and satisfies your appetite. Kake Udon noodle…

A bowl full of happiness: Miso Ramen with 7 varied toppings – vegetarian, spicy & really easy
Immerse yourself in the world of flavours of Japanese cuisine with our Happiness Bowl! It’s all about Miso Ramen –…
10-minute Shoyu Ramen with bamboo shoots & Ramen eggs – for quick meals
My 10-minute Shoyu ramen: Wavy ramen noodles, served in a rich and sinfully delicious tsuyu broth made from Dashi, soy…
Have you tried out the recipe? Let me know in the comments – I’m really looking forward to hearing from you.