Language:


Thai sticky rice, also known as Khao Niao, is a very simple basic recipe, but one that immediately wins you over with its flavour. For me, this simple sticky rice is one of the best things I’ve eaten in Thailand. At street food markets, you can often get it for around 10 baht, freshly steamed, still warm and perfectly portioned into small servings. It is precisely this simplicity that makes it so special. There are only a few ingredients, but the preparation is key to the result. The most important thing is patience: the rice needs time to soak and, above all, to steam, so that it develops its typical, slightly elastic and sticky consistency.
It’s precisely this simplicity that makes it so special. Only a few ingredients are needed, but the preparation determines the result. The most important thing is patience: the rice needs time to soak and, above all, to steam, so it develops its typical, slightly elastic and sticky texture.
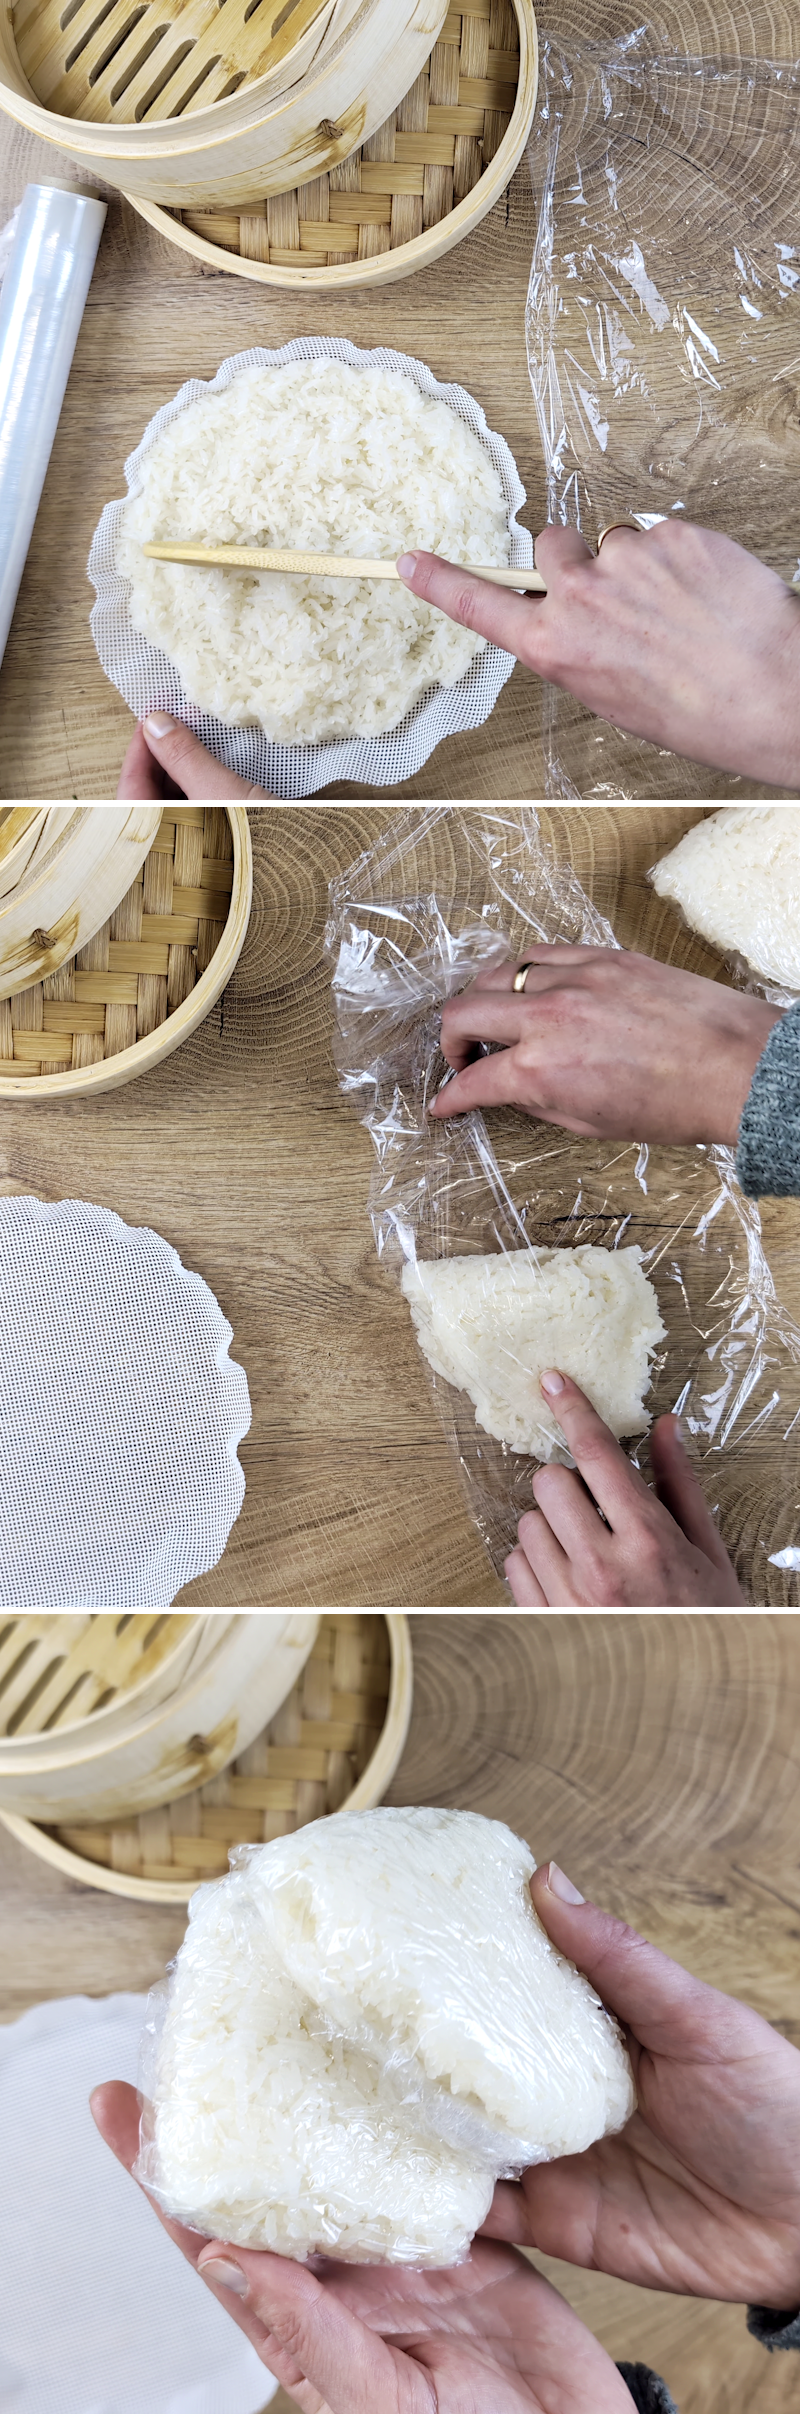
Here’s a little tip from Thailand that I’d like to share with you: the finished sticky rice is often wrapped in foil in individual portions and left to rest for a while. This makes the texture even more consistent and gives the rice a slightly fermented flavour. It is precisely this combination of simple preparation and well-thought-out technique that makes Thai sticky rice the perfect side dish or simply a snack for in between meals.
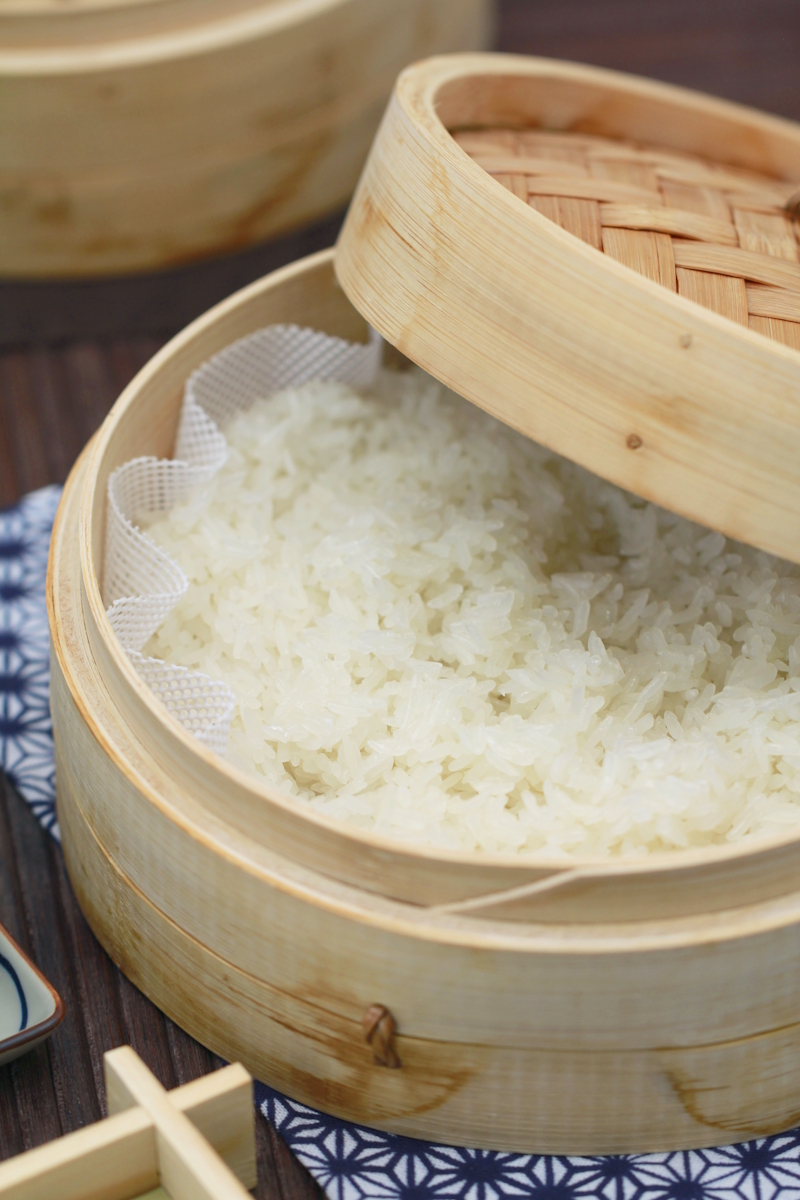
What is Thai sticky rice (Khao Niao)?
Thai sticky rice, known as ‘Khao Niao’ in Thai, is a special variety of rice that differs significantly from ordinary long-grain or jasmine rice. The grains contain a particularly high amount of amylopectin, a type of starch that causes the rice to stick together during cooking.
The term ‘glutinous rice’ can be somewhat misleading: it does not mean that the rice contains gluten, but simply describes its sticky consistency. Glutinous rice is therefore naturally gluten-free.
In Thailand, khao niao is a staple food, particularly in the north of the country. There, it is often not eaten with cutlery, but shaped into small portions and eaten directly with the hands alongside meat, vegetables or dips. It also forms the basis for well-known desserts such as mango sticky rice.
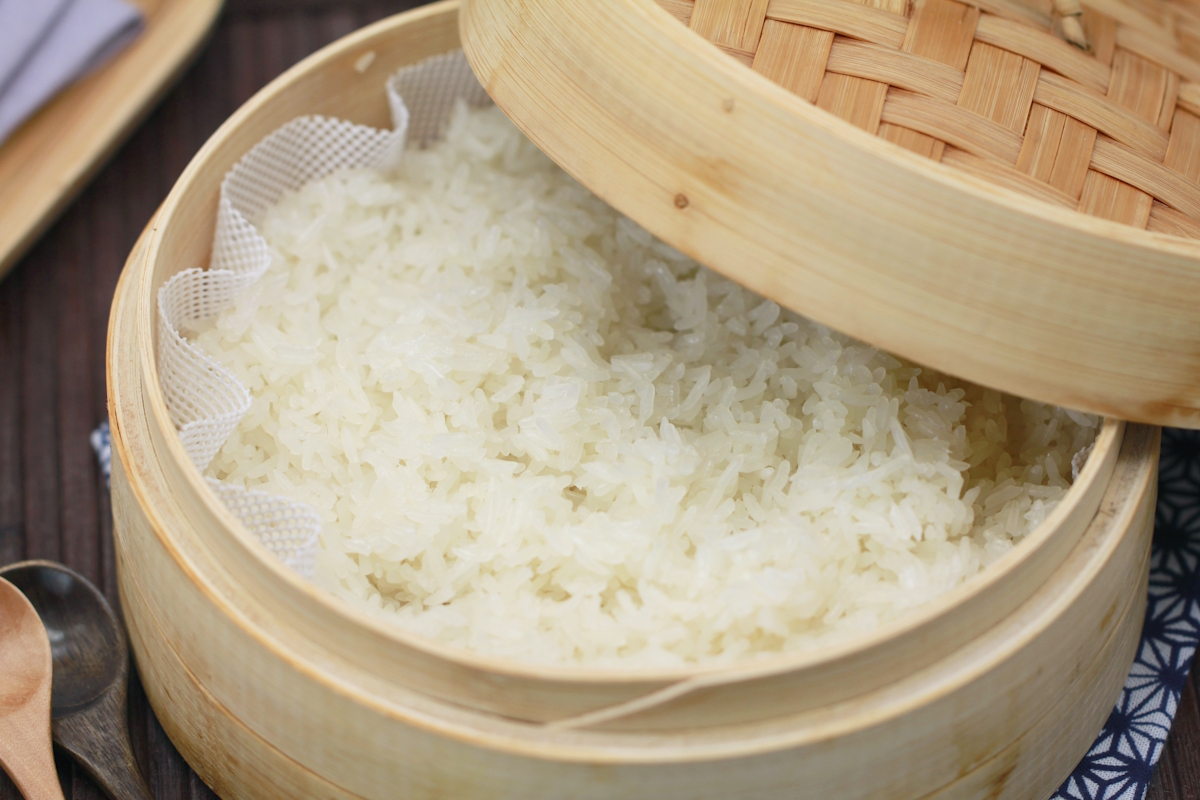
Why is sticky rice steamed rather than boiled?
The most important difference with Thai sticky rice lies in the preparation. Whilst normal rice is boiled in water, sticky rice would quickly become too soft and mushy if cooked this way. Its typical consistency is only achieved through steaming.
Soaking the rice beforehand allows it to absorb water. When it is subsequently steamed, it cooks evenly from the outside in, without being submerged in water. This preserves its structure; the grains become soft but retain their slight bite and their shape.
The result is exactly what makes sticky rice what it is: it’s compact and sticky enough to hold together, but not wet or mushy. It’s precisely this texture that’s crucial, whether you’re serving it as a side dish or using it in desserts.

Note: Common mistakes with Thai sticky rice
Not soaked long enough: If the rice isn’t left in the water for long enough, it will cook unevenly later on. The result is soft on the outside but still firm on the inside. At least 3 hours are needed; overnight is ideal.
Boiled in water instead of steamed: Sticky rice must not be boiled like normal rice. If you do, it quickly becomes mushy and loses its characteristic texture. The correct method is always steaming.
Too much residual water in the rice: After soaking, the rice must be drained thoroughly. If too much water remains in the rice, it will become soft and sticky when steamed, but also watery.
Packed too tightly into the steamer: If the rice is packed down, the steam cannot circulate evenly. This causes it to cook unevenly. Always fill the steamer loosely.
Served too soon: Immediately after steaming, the consistency is often not yet ideal. The short resting time afterwards is important to allow the moisture and texture to settle.
What is the difference between sticky rice and normal rice? Sticky rice contains more starch and is steamed rather than boiled.
Can you make sticky rice in a rice cooker?
Not ideal: steaming gives the best result.
How to make Thai sticky rice yourself: here’s how
Thai sticky rice is technically simple, but heavily dependent on the correct sequence of steps. The process consists of three steps: soaking, steaming, and resting.
First, the rice is washed thoroughly and then soaked for several hours. During this time, it absorbs water, which later penetrates the grains evenly during steaming. This step essentially replaces boiling.
After soaking, the rice is drained well and placed loosely in the steamer. During steaming, it does not come into direct contact with water, but is cooked solely by hot steam. This preserves the structure of the grains, which become soft without falling apart.
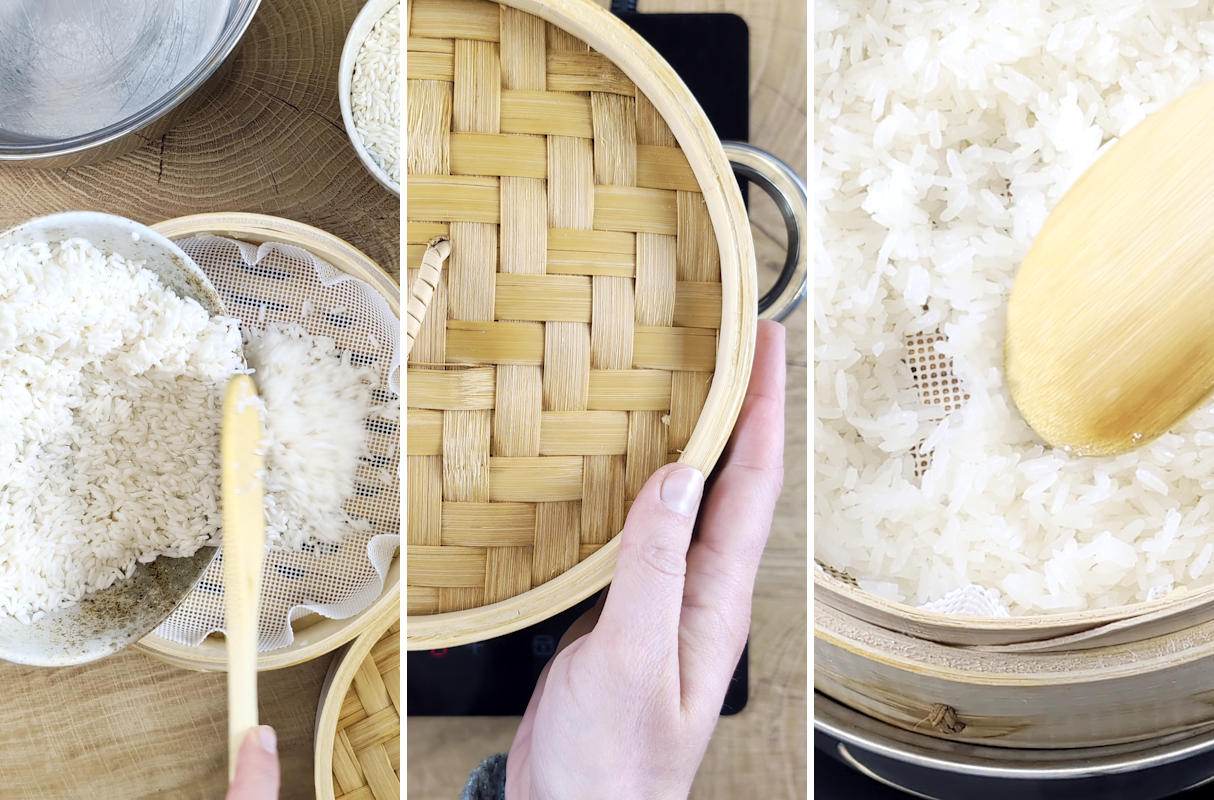
During the steaming process, high heat is not required; what’s most important is a steady supply of steam. After cooking, the rice is left to rest briefly in the closed steamer. During this time, the remaining moisture distributes itself throughout the rice.
The result is a compact, sticky rice that is easy to shape but doesn’t feel wet or mushy. It is precisely this consistency that is crucial, whether you’re using it as a side dish or in other recipes.
Variations & Uses
- Savoury as a side dish: Traditionally served with grilled meat such as Gai Yang (chicken), pork or fish. The rice is often eaten with the hands and shaped into small portions.
- With spicy salads: Particularly good with Som Tam (papaya salad) or other spicy, tangy dishes as a balancing element.
- With dips and sauces: For example, with chilli dips or fermented sauces, as the rice absorbs flavours well.
- Sweet as a dessert: A base for mango sticky rice or other variations with coconut milk and fruit.
- On the go: Wrapped in foil or packed in small bags. Ideal for lunchboxes, picnics or as a snack (my son loves it and it causes a bit of a stir in the classroom ;D).
- As a base for your own combinations: It pairs well with vegetables, Tofu or leftovers and is very versatile.
What goes well with Thai sticky rice?
Thai sticky rice works best as a neutral counterpart to strong-flavoured dishes. It goes particularly well with grilled meat, spicy dips or hot salads, as it absorbs the flavours whilst balancing them out.
Typical combinations include grilled chicken, pork or fish, but vegetarian options with vegetables or Tofu also work well. For a sweet version, the rice can be combined with coconut milk and fruit.
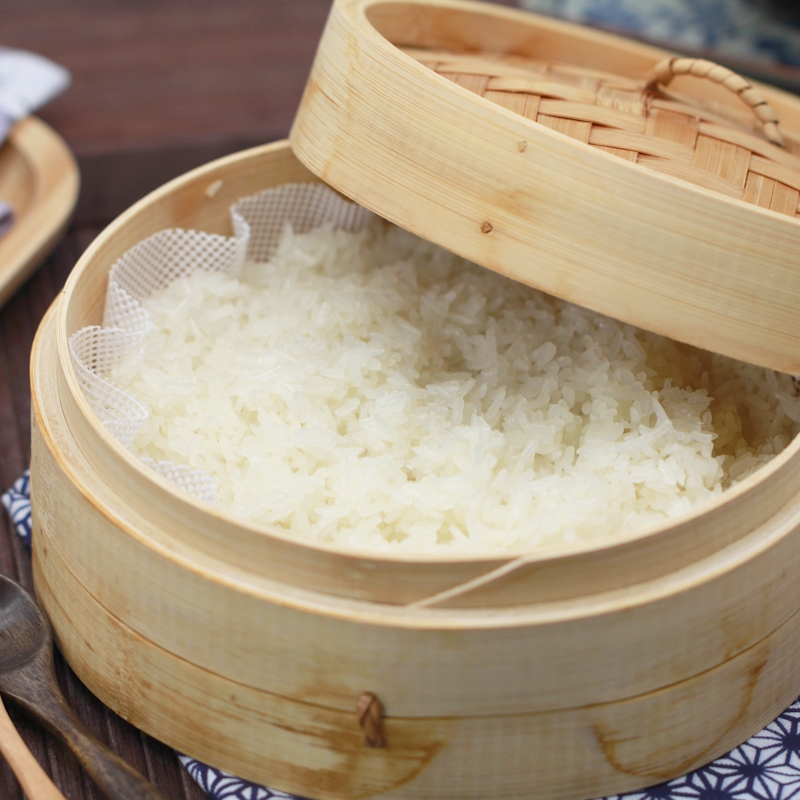
Thai sticky rice shows just how much can be created from a few ingredients. With the right technique, a very simple basic recipe can be reliably prepared and used in many different ways. Once you’ve cooked the rice properly, you can easily prepare it in advance, store it and use it in various dishes. That’s exactly what makes it such a practical staple in the kitchen.
Do you have any questions or would you like to share your experiences? How did your sticky rice turn out – rather soft or still slightly al dente? I look forward to your comments and hope you enjoy experimenting and mixing it up.

Thai sticky rice
Serves 2 | 40 minutes | 340 kcal
🖨 ️ Print PDF 📌 Save to PinterestThai sticky rice (Khao Niao) is a classic side dish from Thailand that gets its characteristic sticky texture from being steamed. With the right technique, making sticky rice is easy and it’s incredibly versatile. Thai sticky rice goes particularly well with grilled meat, spicy dips or hot salads such as Som Tam, providing the perfect balance to intense flavours.
Ingredients (2 portions)
200 g Thai sticky rice (glutinous)
1 l water
Useful equipment:
Bamboo steamer (auf Amazon* kaufen)
Silicone mat for bamboo steamer (auf Amazon* kaufen)
Method (40 minutes + resting time)
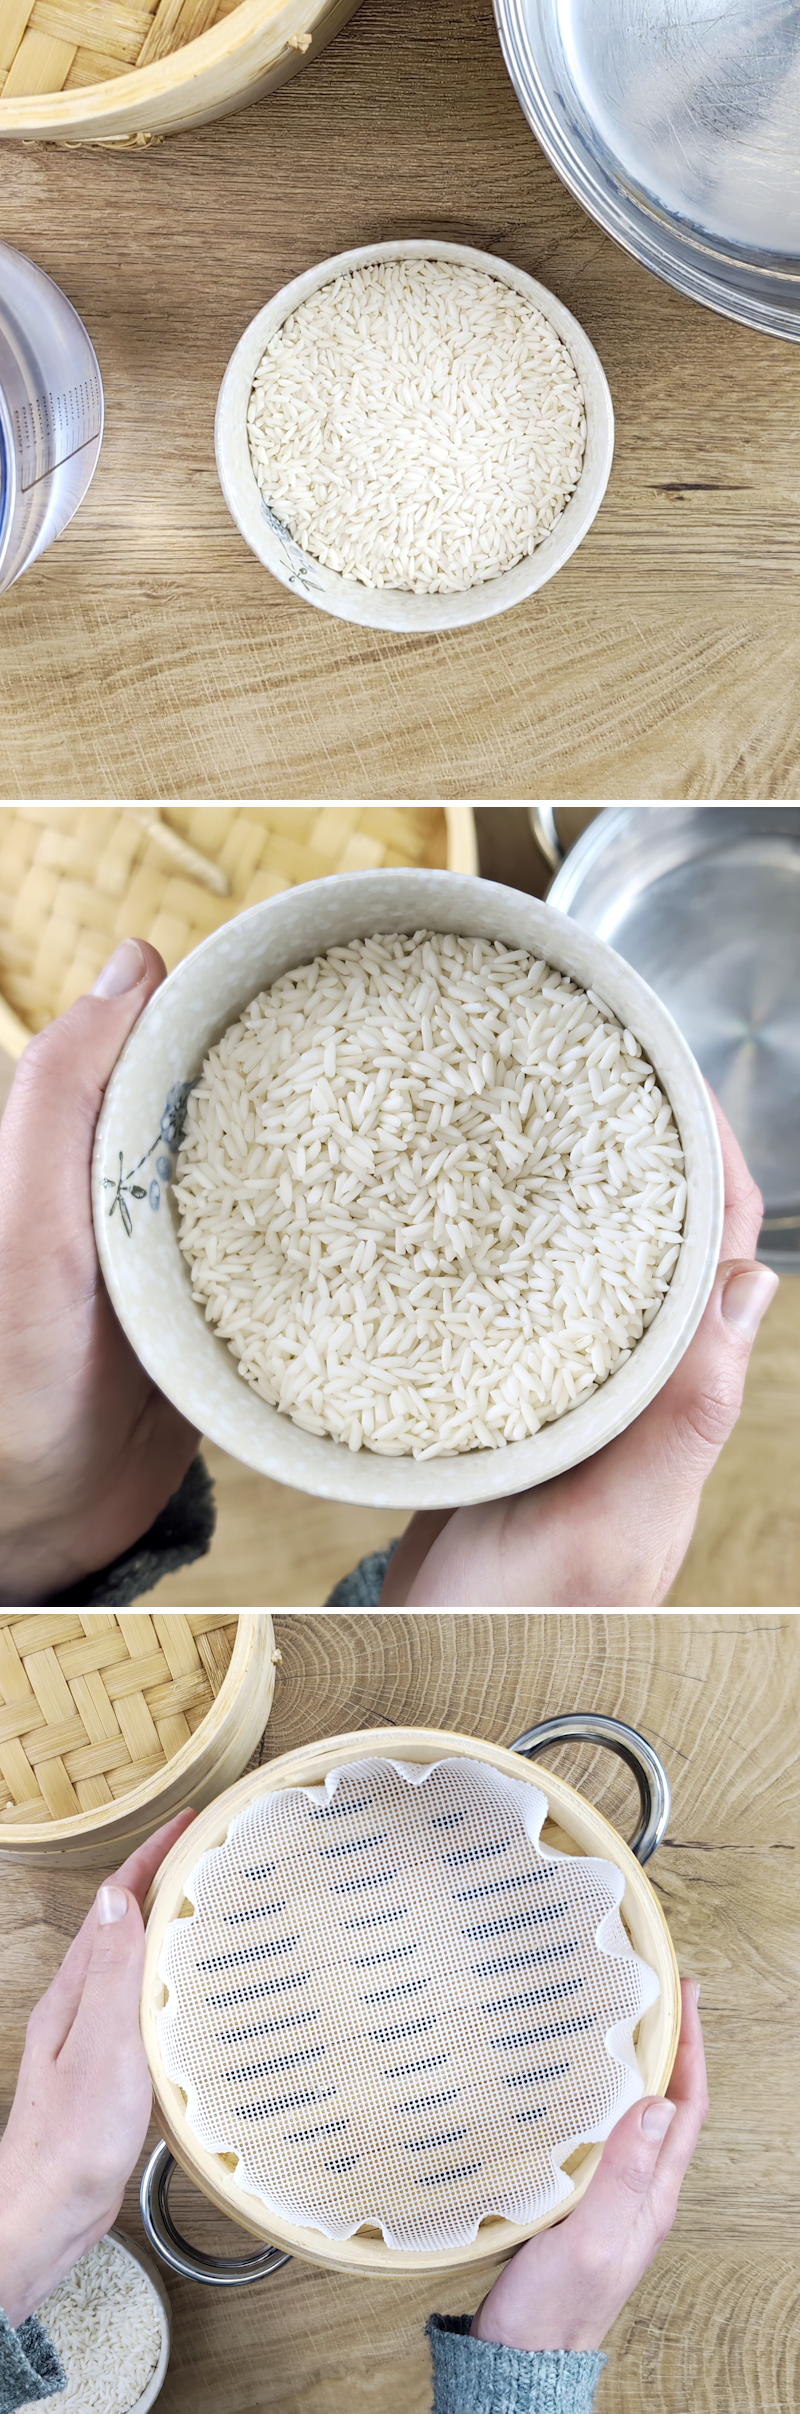
Step 1
For this recipe, we need Thai sticky rice; the packaging must state “glutinous”. We’ll also need a suitable steamer. I use a bamboo steamer with a matching silicone mat and a saucepan that the steamer fits into.
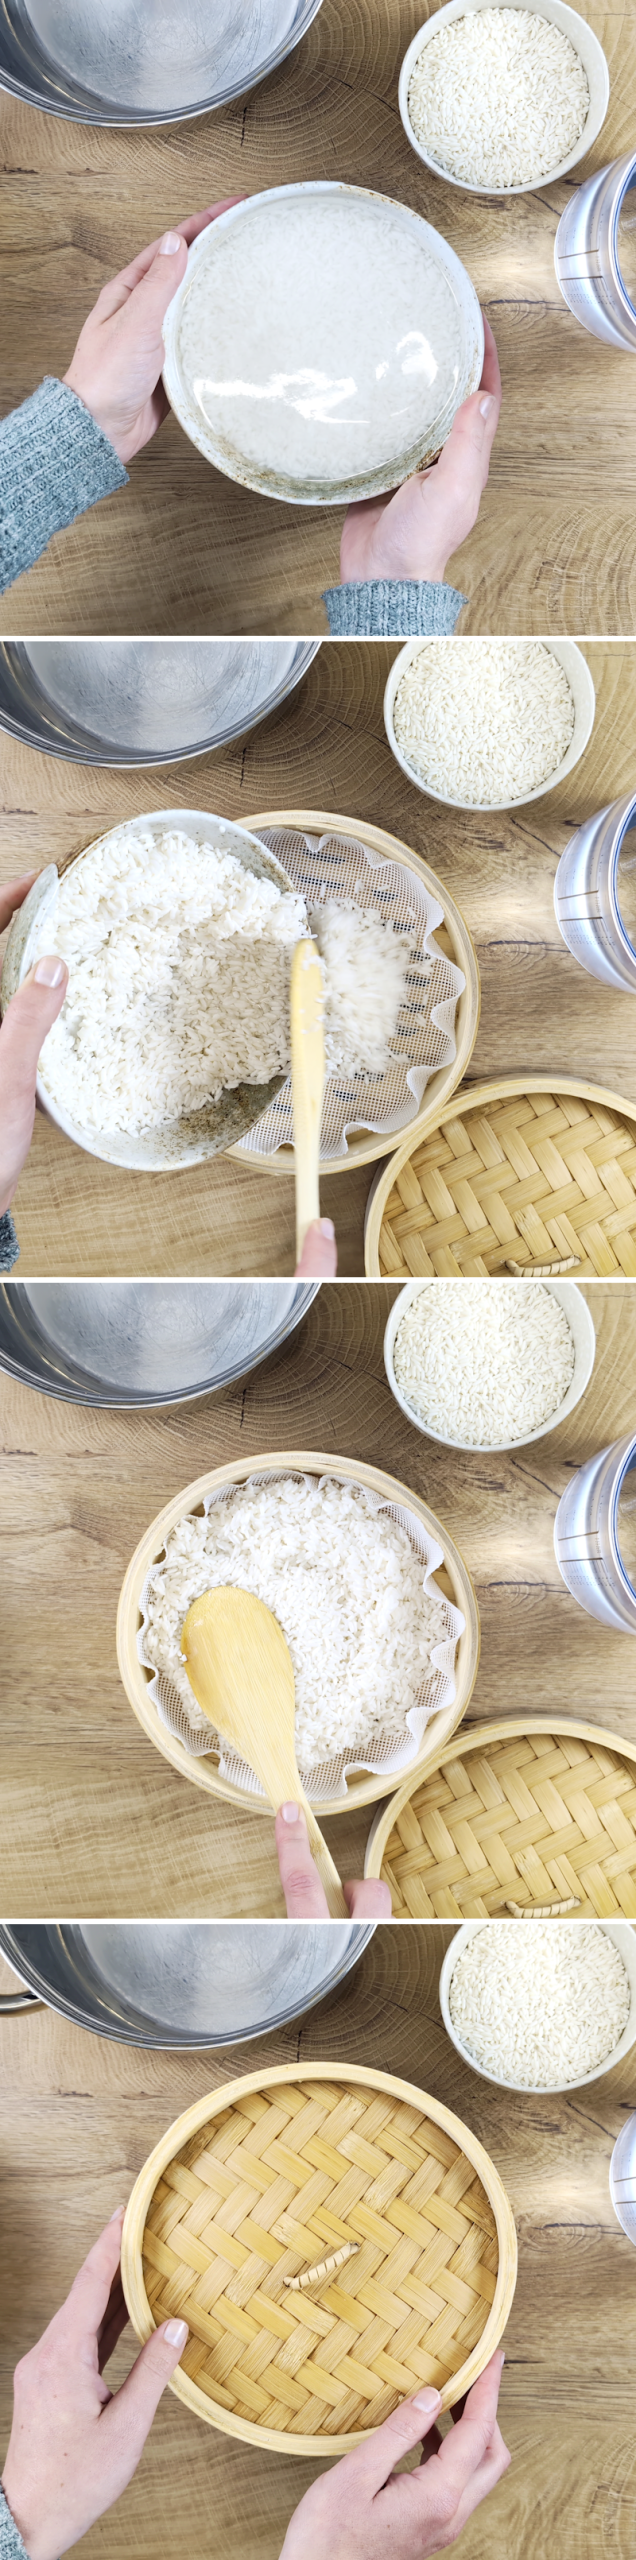
Step 2
Wash the sticky rice thoroughly and rinse it several times with water until the water runs clear.
Then soak the rice for about 3 hours in plenty of water. My tip: Alternatively, you can soak it overnight, which ensures a particularly even consistency.
In the meantime, prepare the steamer.
A bamboo steamer works particularly well. Place a silicone mat or, alternatively, a lightly dampened cotton cloth inside to prevent the rice from falling through or sticking.
After soaking, drain the water completely and rinse the rice briefly once more with fresh water. Then drain it well to ensure no excess water gets into the steamer later.
Place the drained rice loosely into the prepared steaming basket. Do not press it down, so that the steam can circulate evenly.
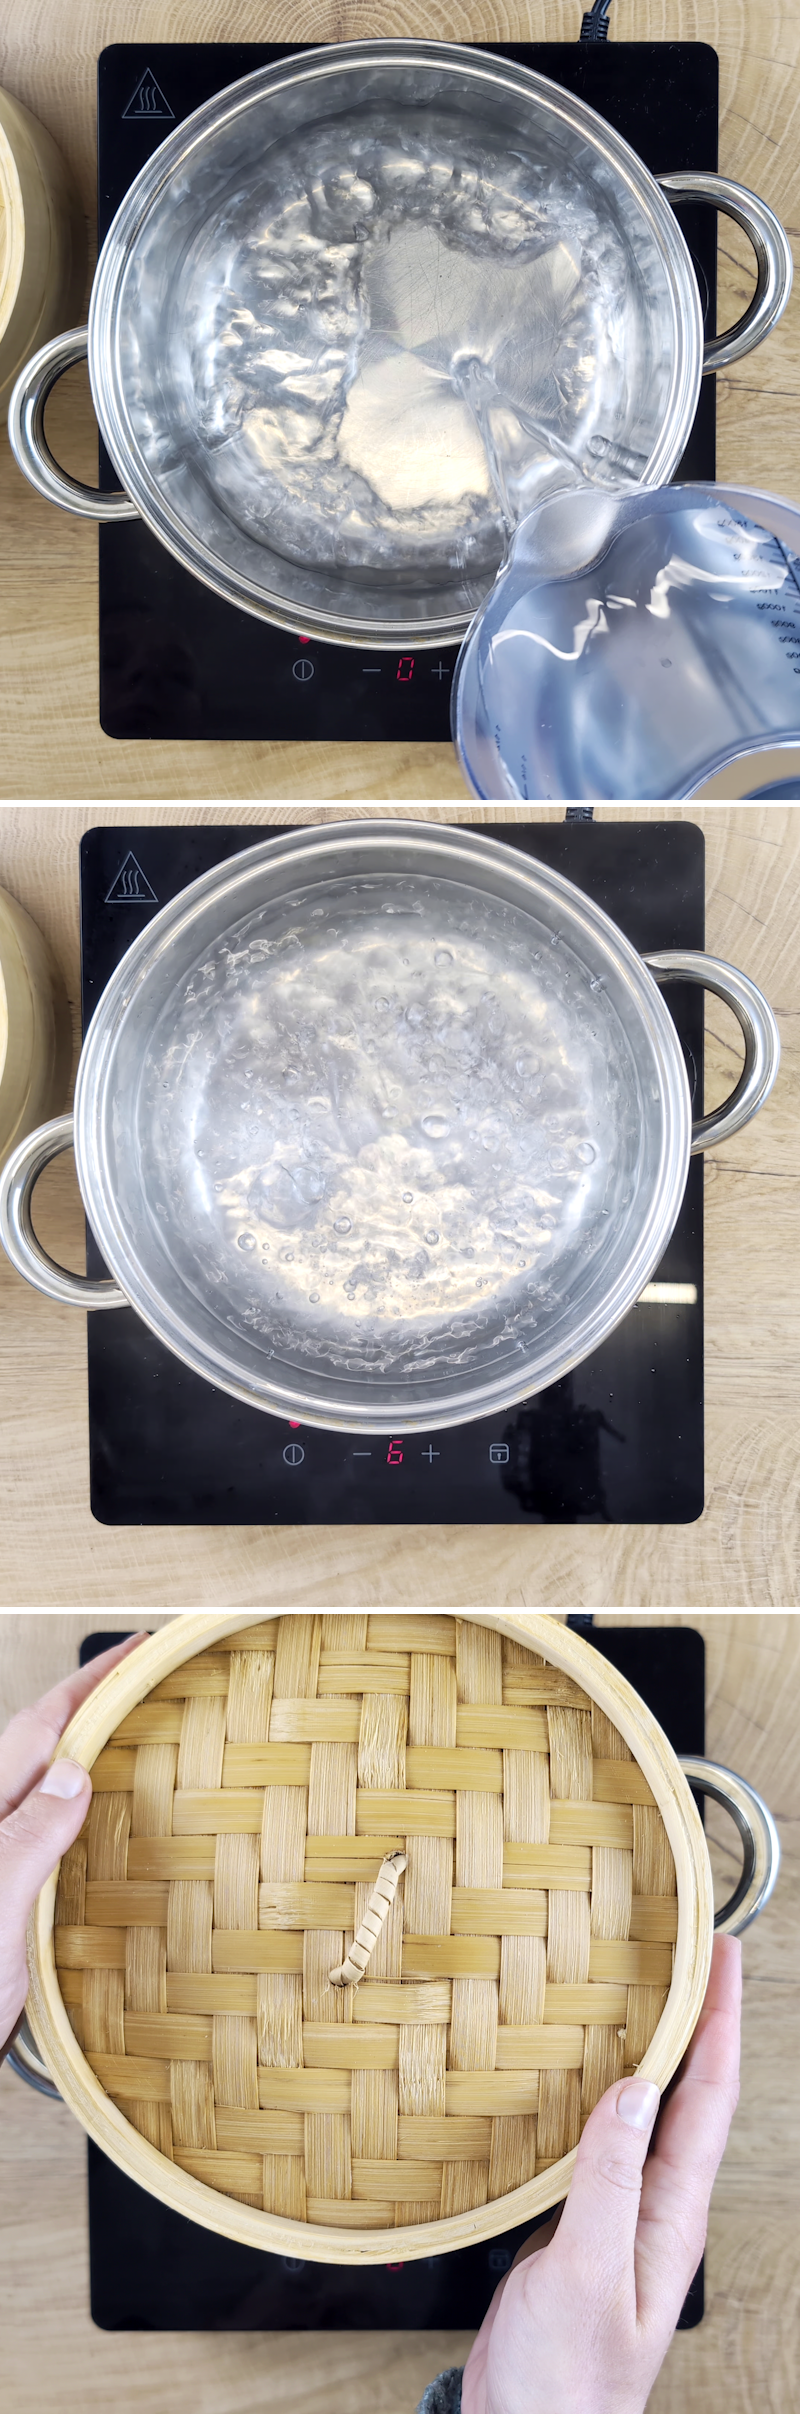
Step 3
Bring 1 litre of water or more to the boil in a saucepan large enough to fit your steamer on top.
As soon as the water is boiling, place the steamer on top and cover with a lid.
Now steam the rice for about 30 minutes. If you’re using several tiers in the bamboo steamer, you can swap the tiers around after about 15 minutes to ensure everything cooks evenly.
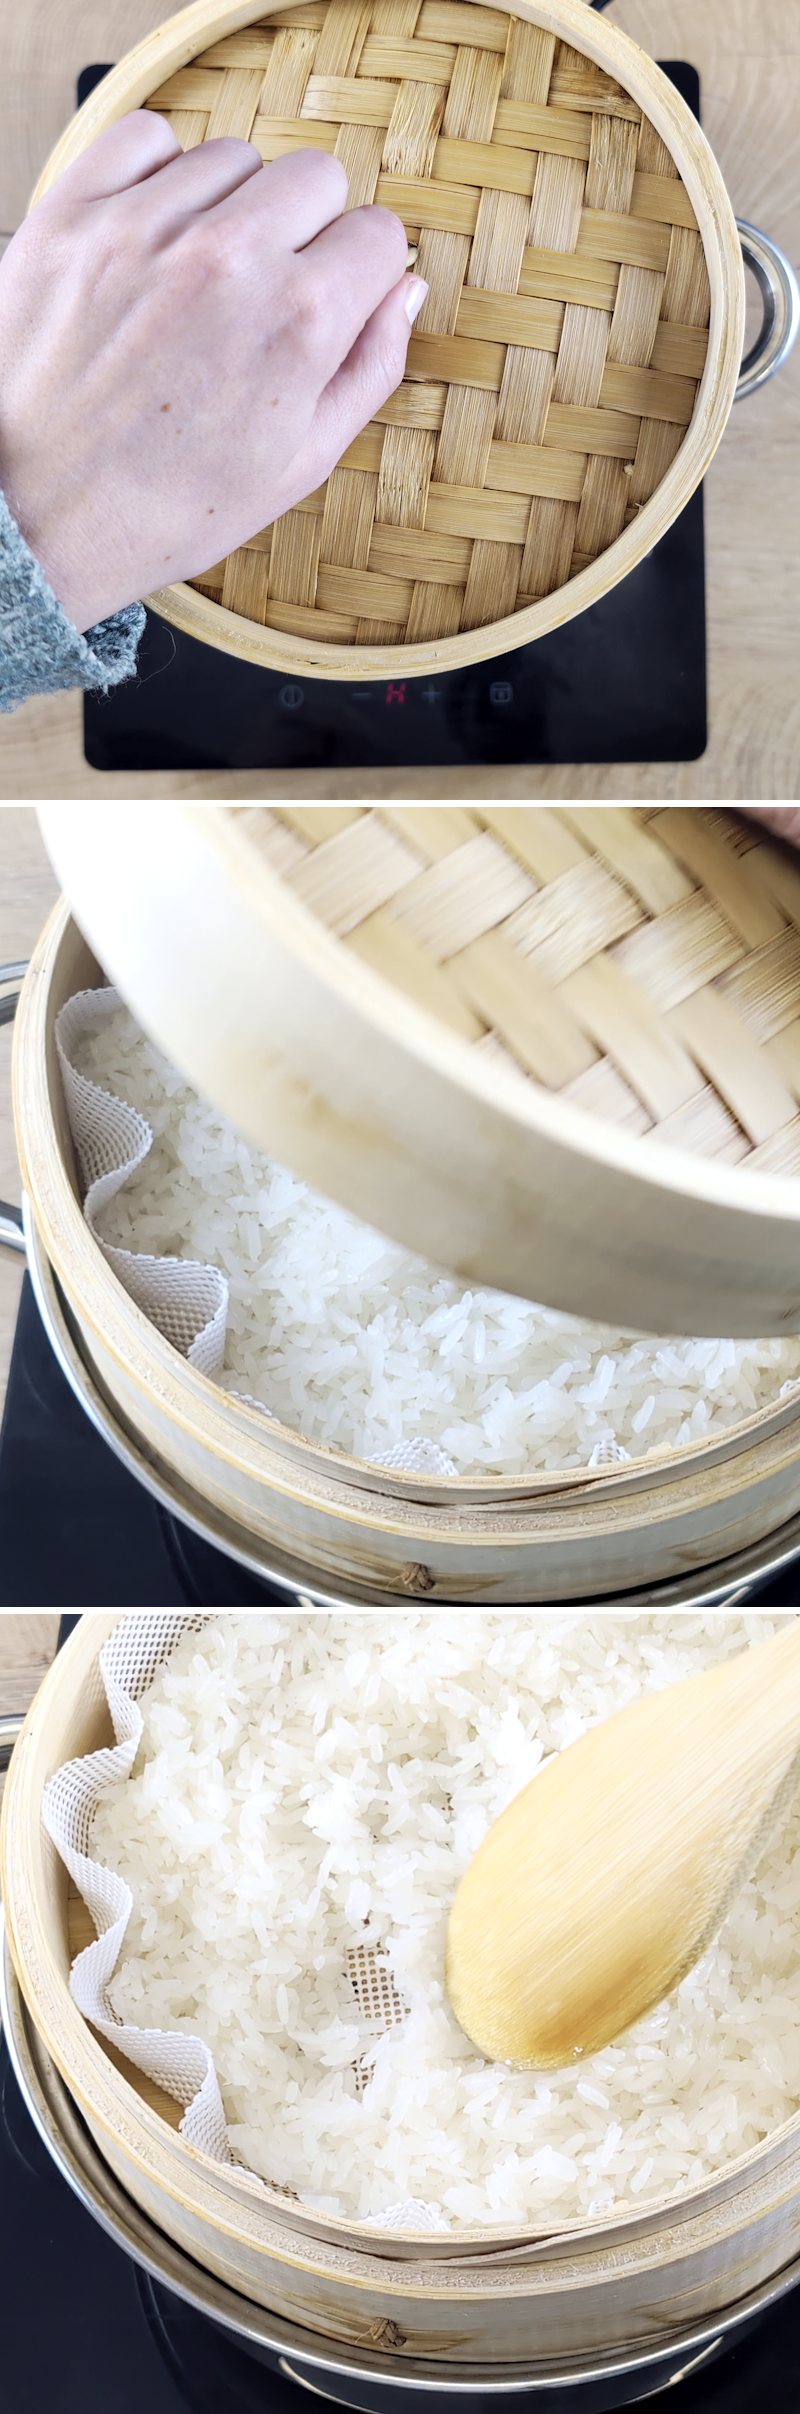
Step 4
Once the steaming time is up, turn off the heat and leave the rice to rest for about 10 minutes in the closed steamer. The sticky rice is ready when it is soft, sticky and no longer grainy. The grains stick together but can still be separated individually.
Step 5
Remove the rice from the steamer and serve straight away. Optionally, you can wrap the sticky rice in portions in cling film or small bags and leave it to rest briefly.
This makes it easy to transport and is also ideal for on the go, for example for picnics or as a packed lunch. Done!
Fancy some more delicious inspiration from Asia? You’ll find even more quick recipe ideas here:

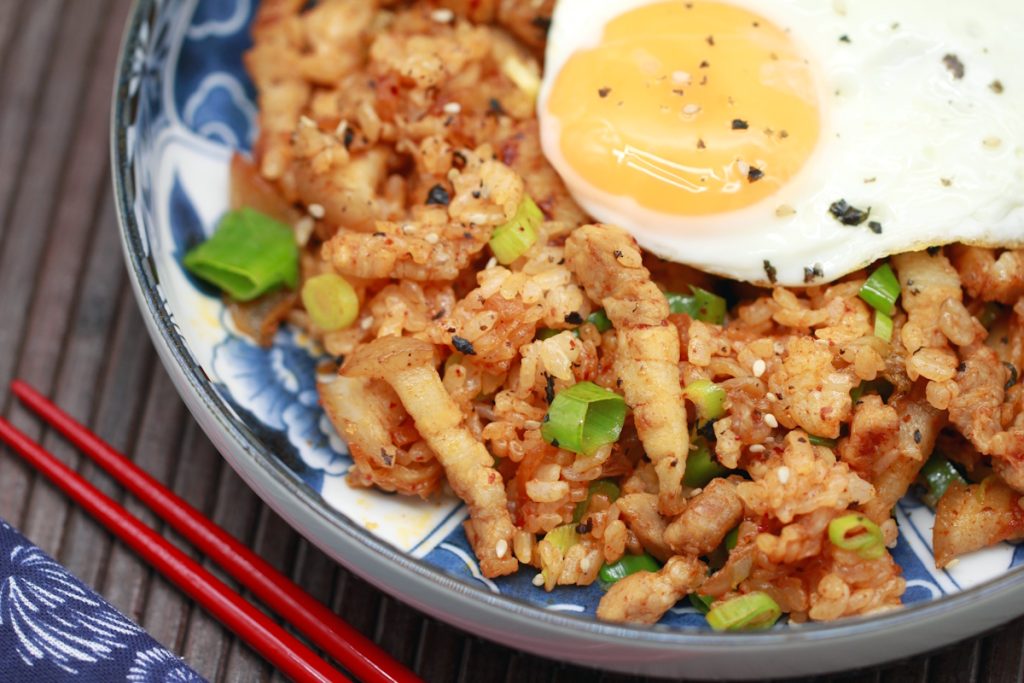
Kimchi Fried Rice: Make your own quick kimchi Bokkeumbap | in 20 minutes
Kimchi Fried Rice, also known as Kimchi Bokkeumbap, is a classic rice dish from everyday…
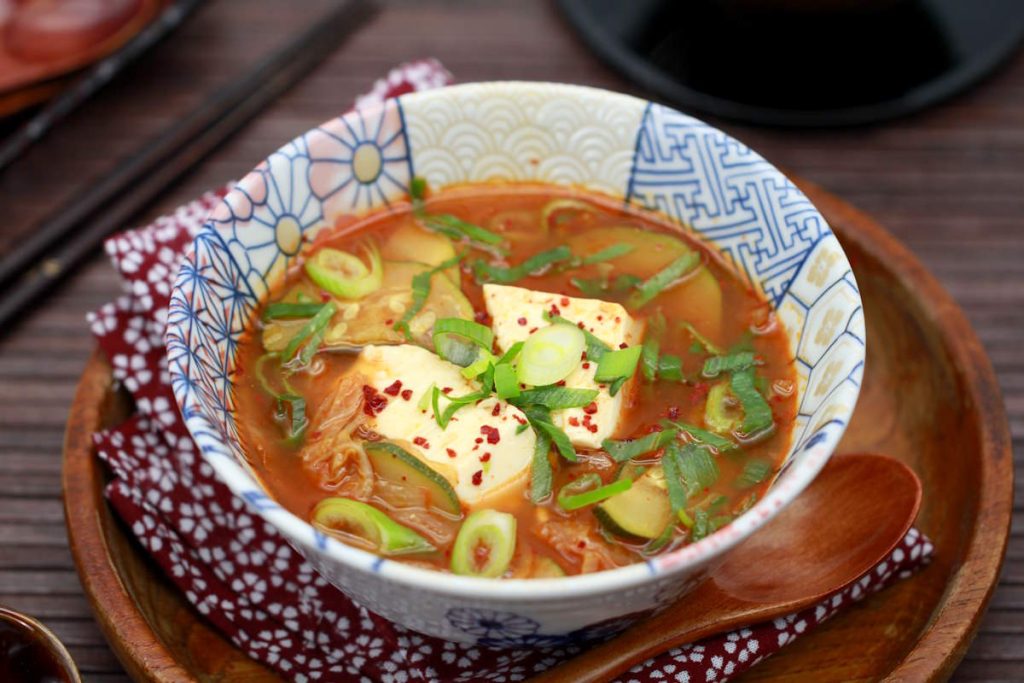
Sundubu Jjigae: Spicy Korean Tofu stew with courgette, Kimchi & Anchovy Dashima
Sundubu Jjigae is one of the best-known Korean stews and is an integral part of…
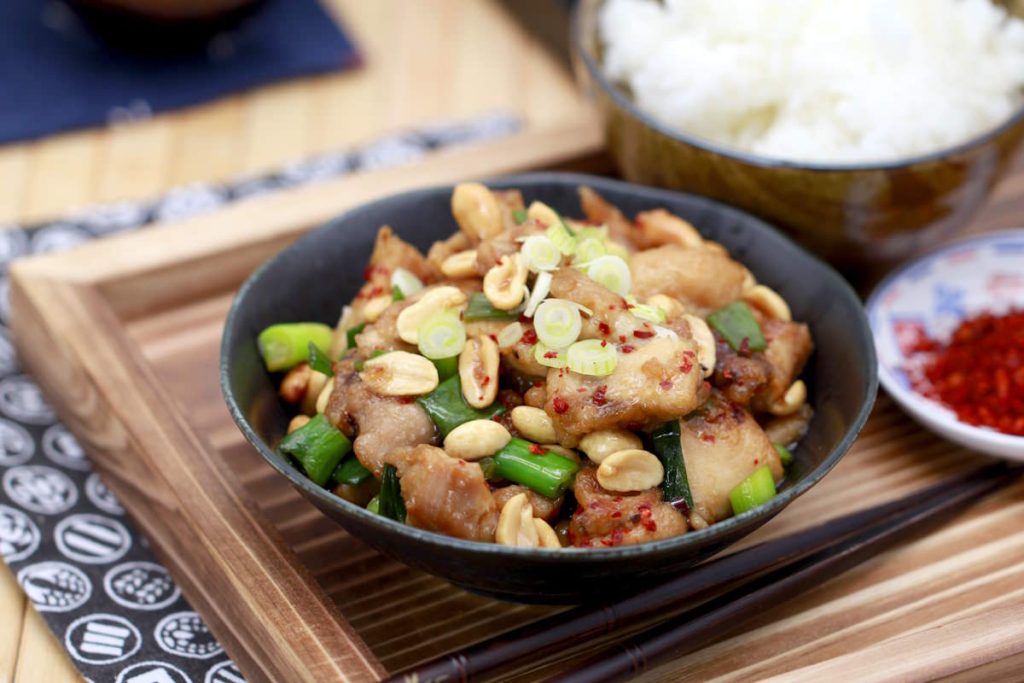
Make your own Gong Bao Chicken: Classic Kung Pao Chicken from Sichuan cuisine with peanuts & chilli
Gong Bao Chicken is a classic stir-fry dish from Sichuan cuisine that requires just a…
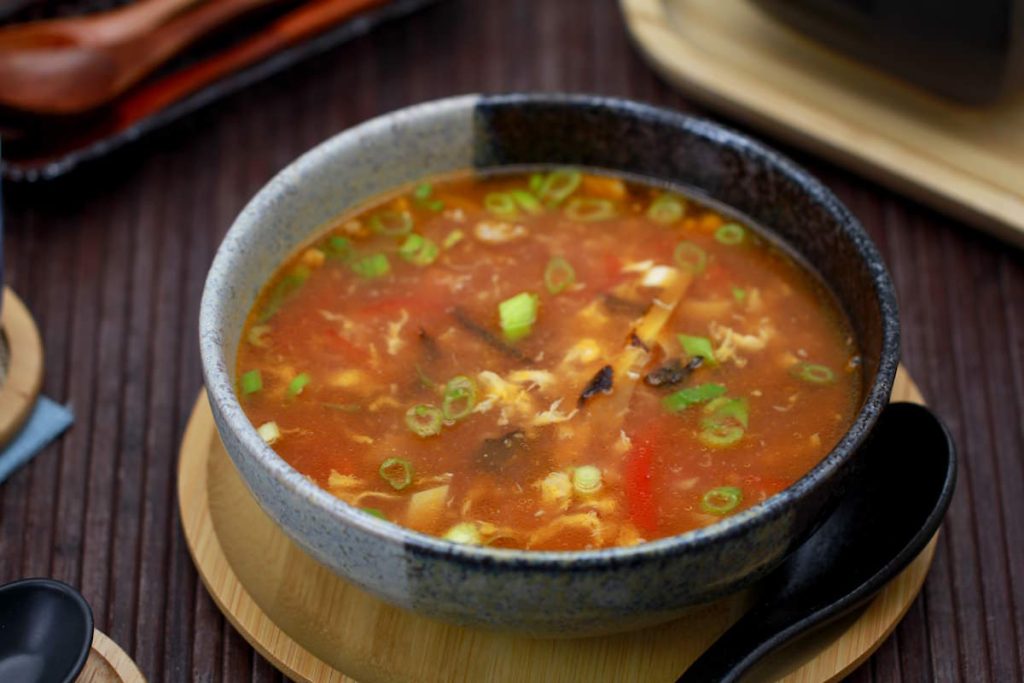
Beijing soup: Make your own Suan La Tang | Chinese hot and sour soup
Beijing Soup (Suan La Tang) is a classic sour and spicy soup from Chinese cuisine….
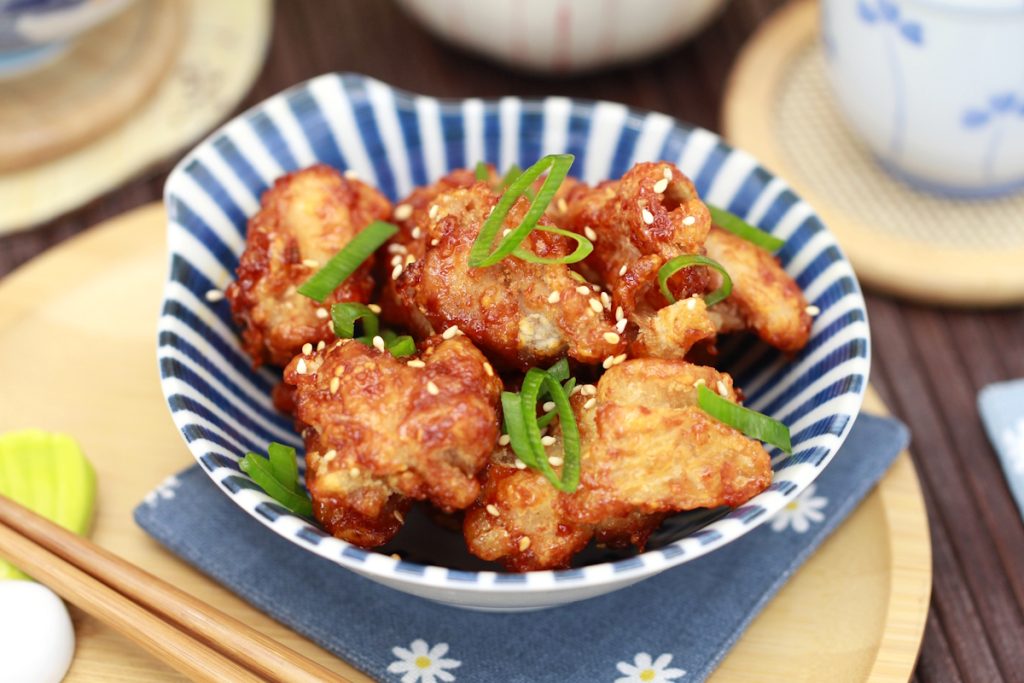
Dakgangjeong: Make your own Korean crispy chicken with a sweet and spicy marinade
I didn’t discover Dakgangjeong for the first time whilst travelling, but rather quite inconspicuously in…
Have you tried this recipe yet? Let me know in the comments – I’m really looking forward to hearing from you.