Language:


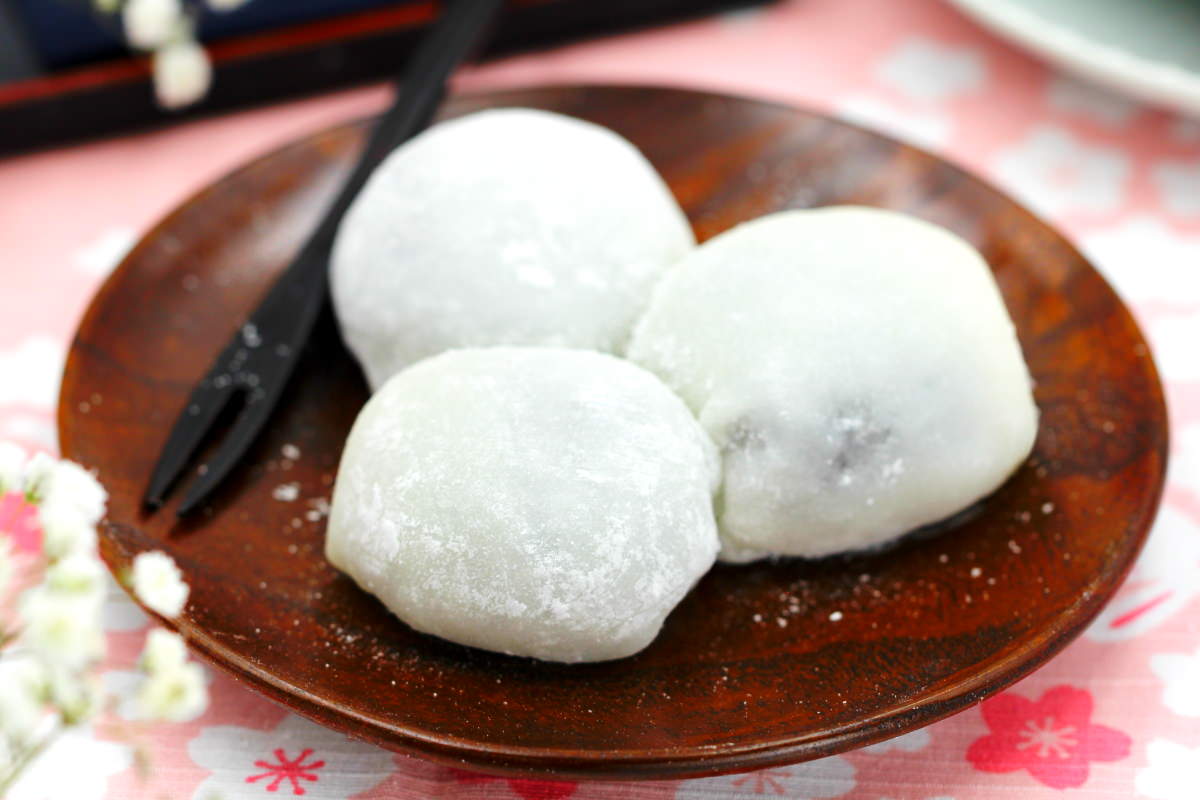
Fancy bringing a bit of Japan into your home again at last? Then what better way than with a thoroughly authentic Japanese Mochi dessert! With my delicious recipe for Mame Daifuku, you’re guaranteed to succeed in making this traditional Mochi variation with a red adzuki bean filling (anko). A classic to fall in love with!
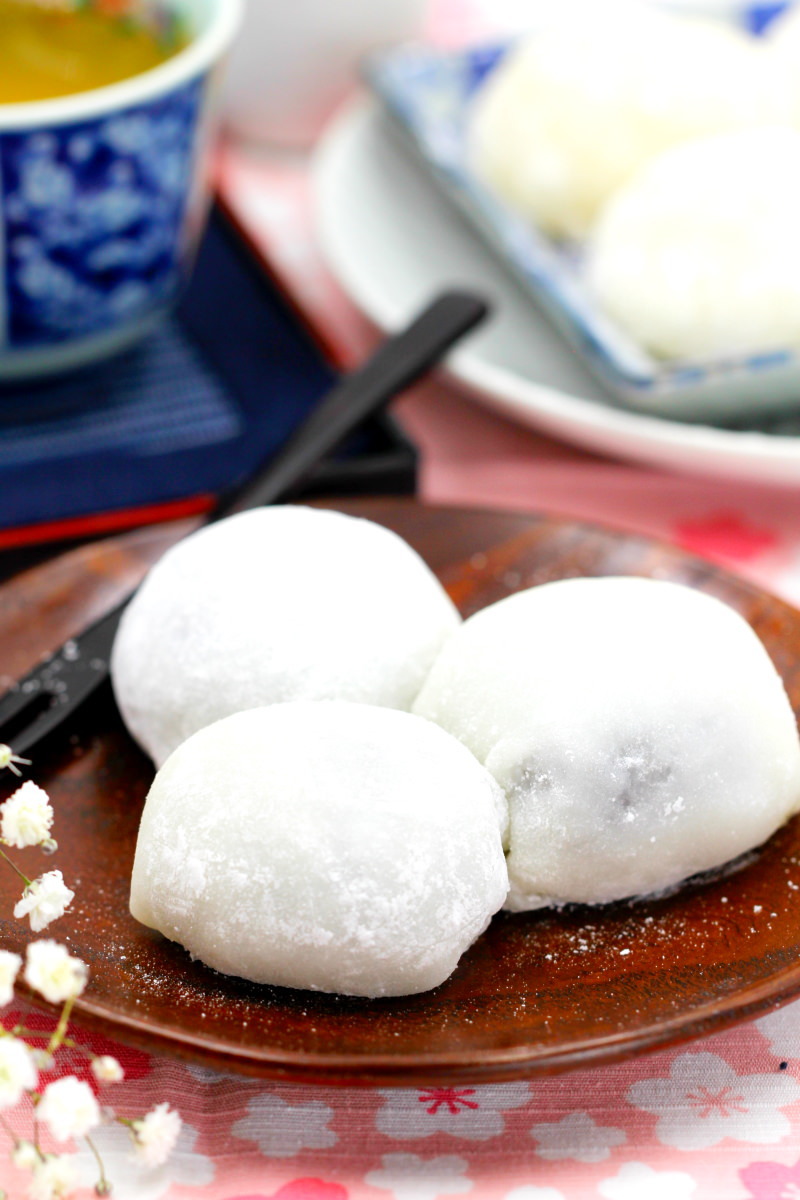
When it comes to traditional Japanese desserts, Mochi is undoubtedly always the very best option, as Mochi are by far the most popular Japanese sweet! In Japan, Mochi have a truly long cultural history.
Their origins date back to the time when Tokyo was still called Edo – that is, sometime between 1603 and 1868. That’s a really long period, but as rice cultivation has played a major role in Japan since time immemorial, precise details about the history of these rice cakes are more wild speculation than anything else…
Would you like to find out more about these irresistibly sweet Mochi? Then let yourself be enchanted by the world of Japanese rice cakes here: → Make Mochi yourself: 7 recipes that really work!
Either way, the centrepiece of every Mochi, whatever its form, is undoubtedly the chewy dough made with love from fine glutinous rice flour. Japanese glutinous rice cakes are made by steaming glutinous rice that has been ground into flour.
I use shiratamako for this – glutinous rice flour. It should also work with another type of glutinous rice flour, but be careful – please don’t use just any ‘normal’ rice flour! It absolutely must be glutinous rice flour (im Shop ansehen) for the Mochi to turn out right.
TOP RECOMMENDATION
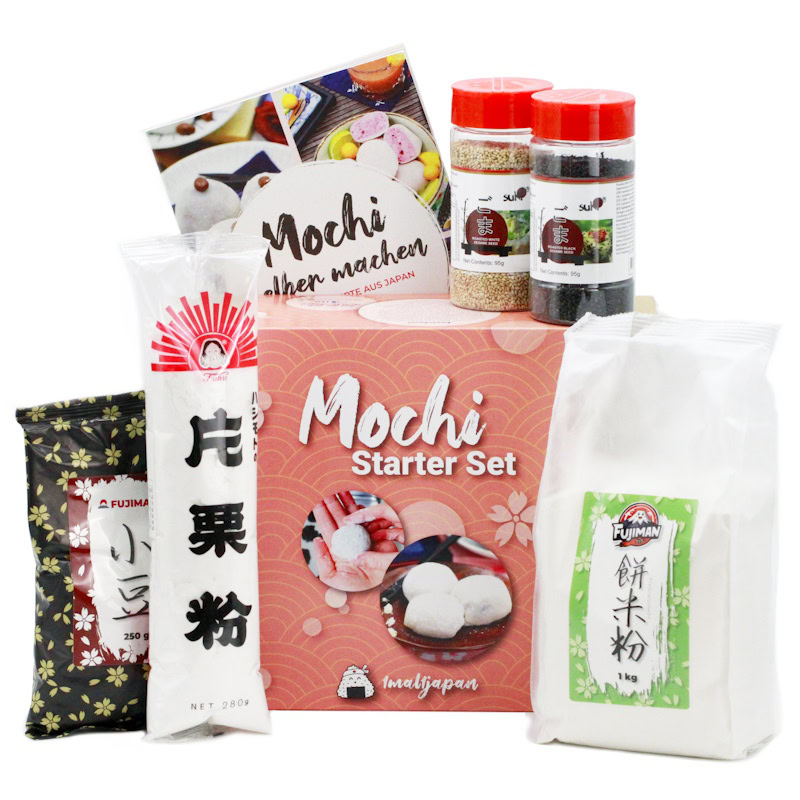
Mochi Starter Set | Klebreiskuchen selber machen, vegan
6-tlg. Kochset für 4 große Portionen Klebreiskuchen, inkl. Rezeptheft, glutenfrei & vegan. Mit dem Mochi Kochset stellst du japanische Reiskuchen ganz einfach selbst her –…
In stock
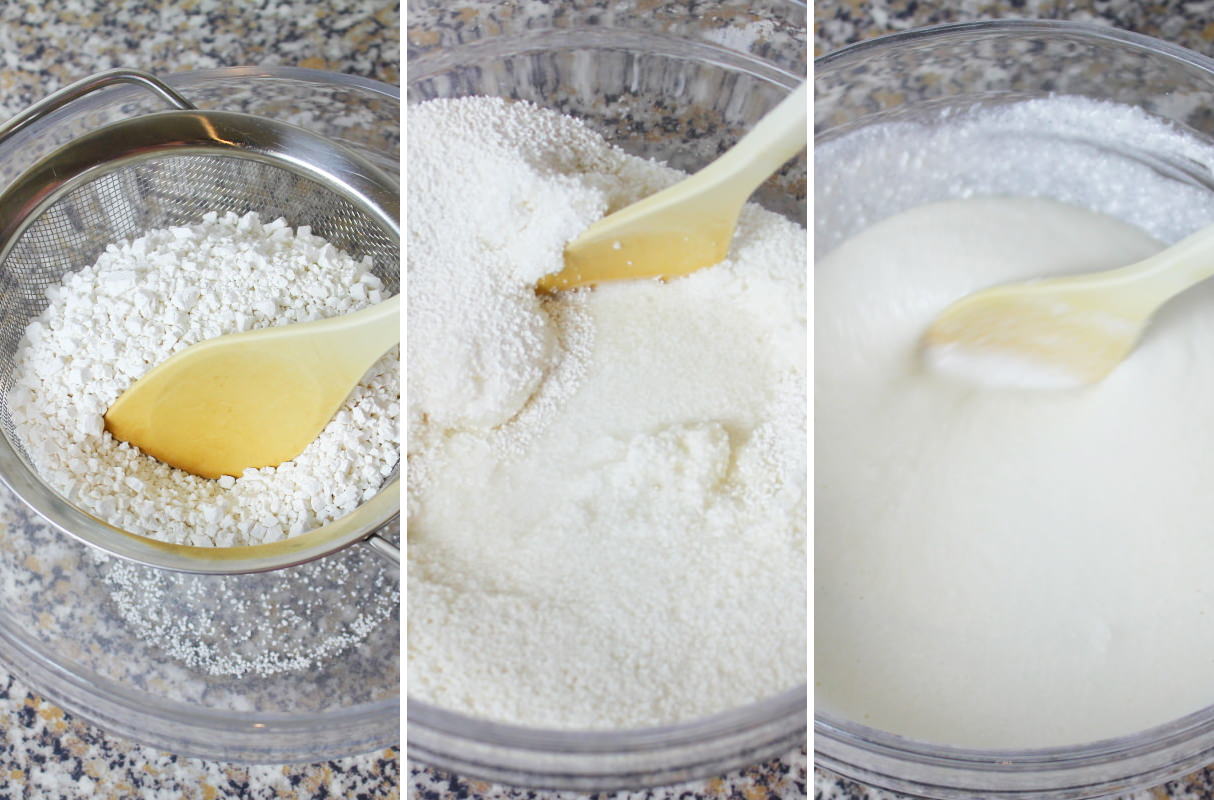
To make mochi dough from the glutinous rice flour, we’ll also need ordinary white sugar and water – yes, that’s all. Mix these three ingredients in a bowl and stir until you have a dough.
At first, the mixture is very stiff, almost lumpy. But please don’t let that put you off! Just keep stirring with a spoon. The sugar will slowly dissolve and the dough will become runny again after a short while. If the dough reminds you of icing, it’s ready.
There are lots of different ways to cook Mochi dough: You can cook the Mochi dough in a non-stick frying pan, using a traditional steamer insert in a saucepan, or quite simply in the microwave!
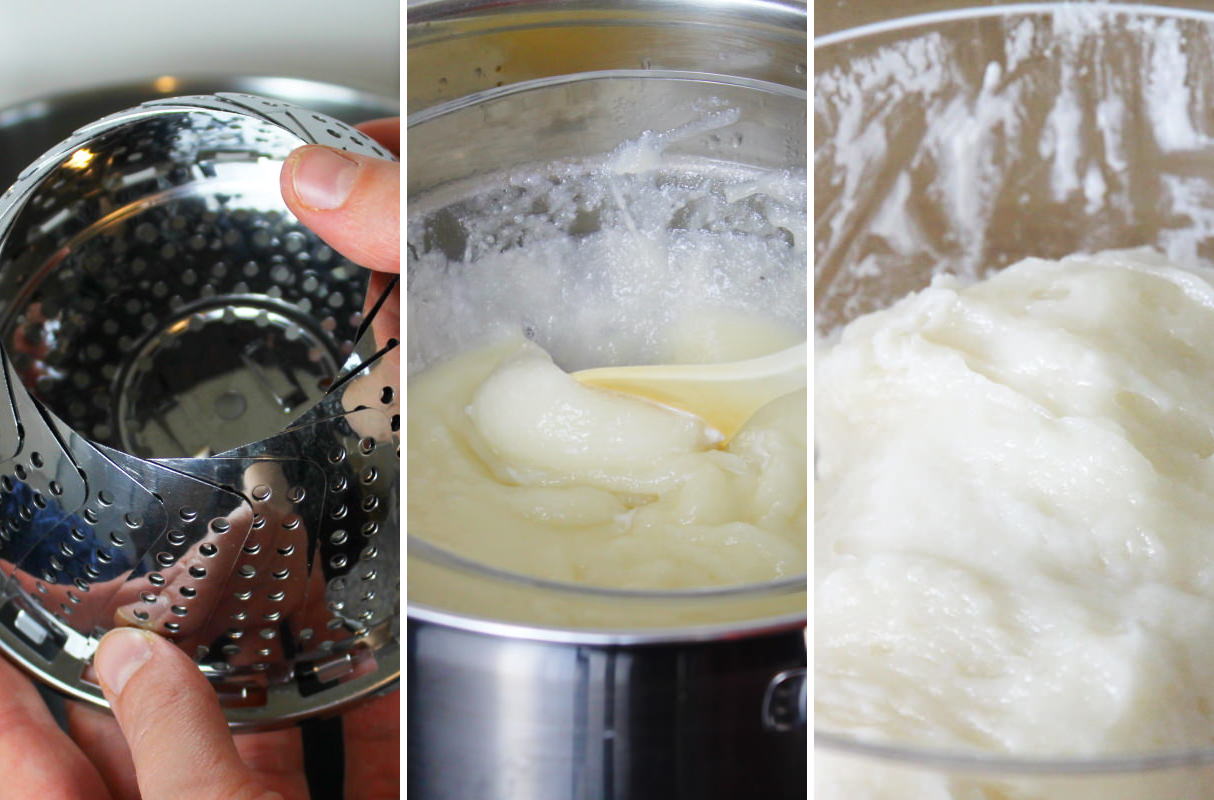
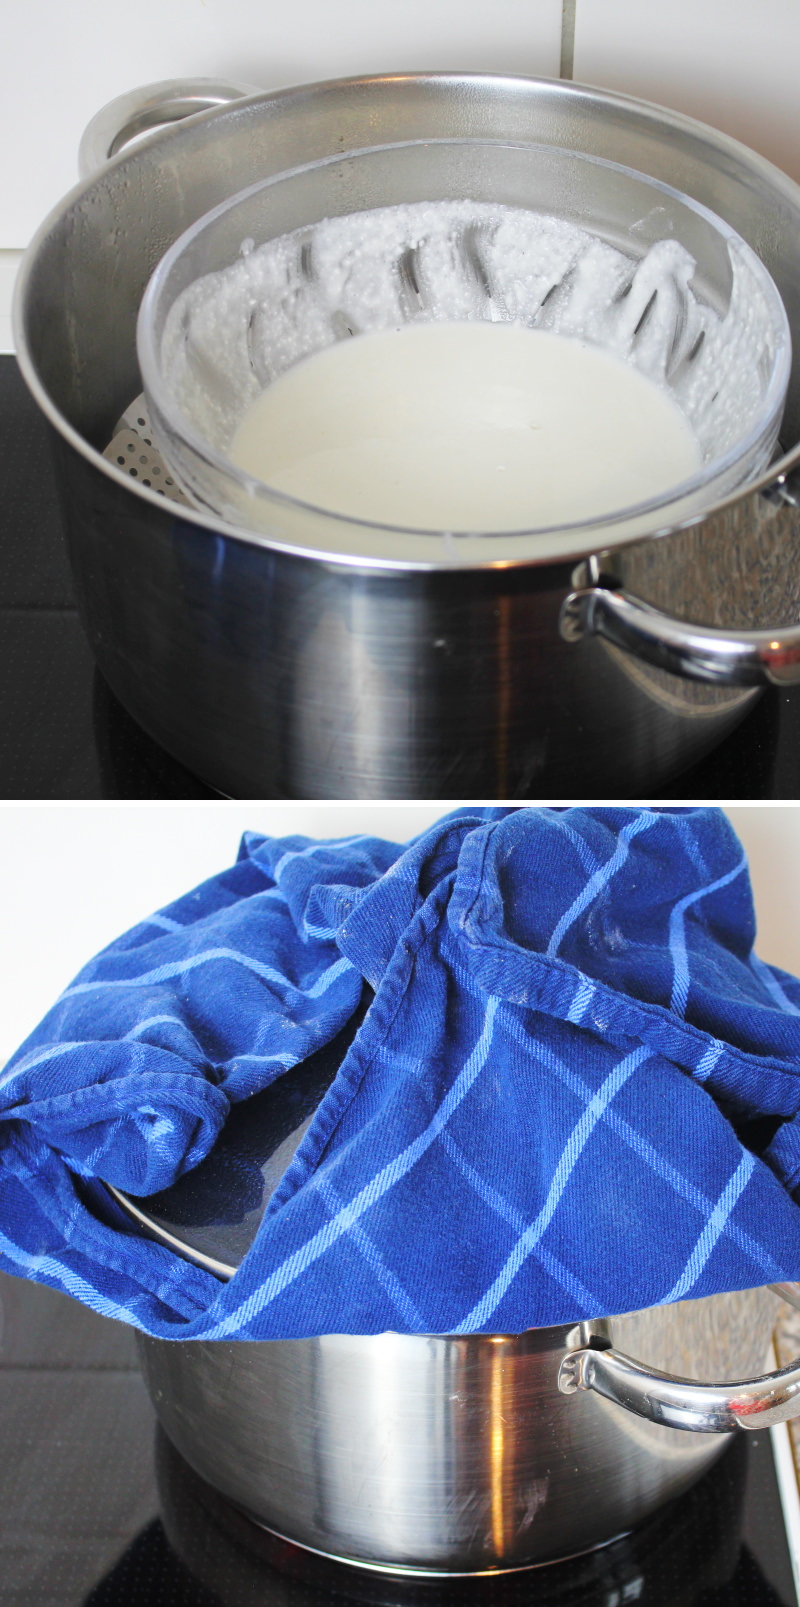
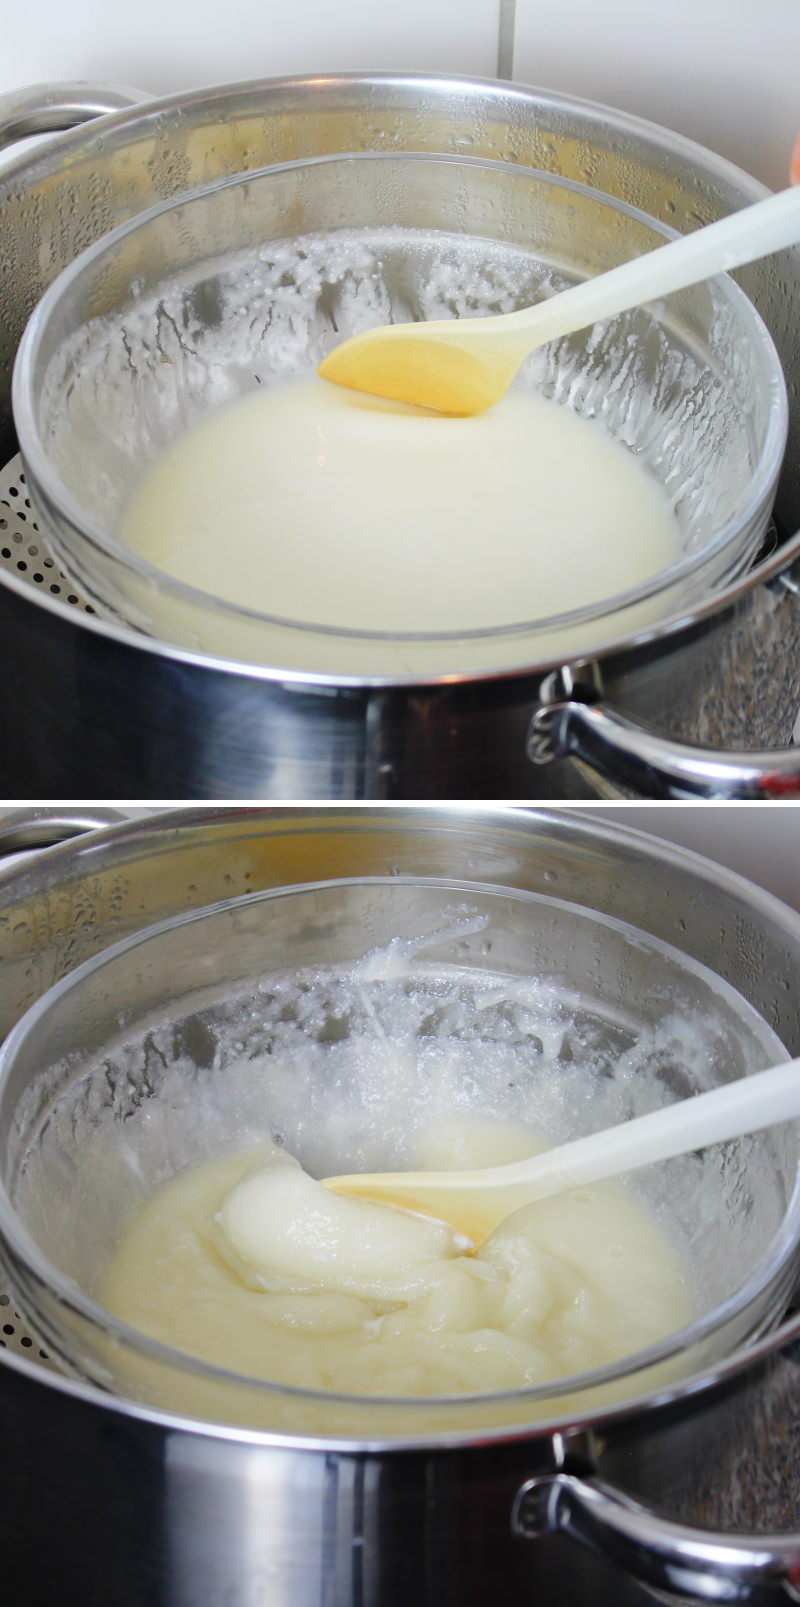
Today I’m using the steamer insert in a saucepan: To cook the dough for the rice cakes in the saucepan, place the bowl containing the dough into the steamer. Wrap the saucepan lid in a tea towel to prevent condensation from dripping into the dough, and steam the mochi dough for 15 minutes. Halfway through, give the dough a stir with a slightly damp spoon – and voilà!
You can also cook the dough in a non-stick frying pan or in the microwave. To do this, it’s best to follow my simple instructions in the recipe for mochi dough.
Mochi are usually made with various fillings or in delicious flavours such as Matcha, chocolate or even cherry blossom. Traditionally, Daifuku are filled with anko, a sweet paste made from red adzuki beans. Hence the name of the recipe: Mame Daifuku Mochi – because ‘Mame’ means ‘beans’, so it’s a bean Mochi 😉
Psst: Mame Daifuku are often served at Japanese tea ceremonies, but they’re also perfect with a cup of freshly brewed coffee.
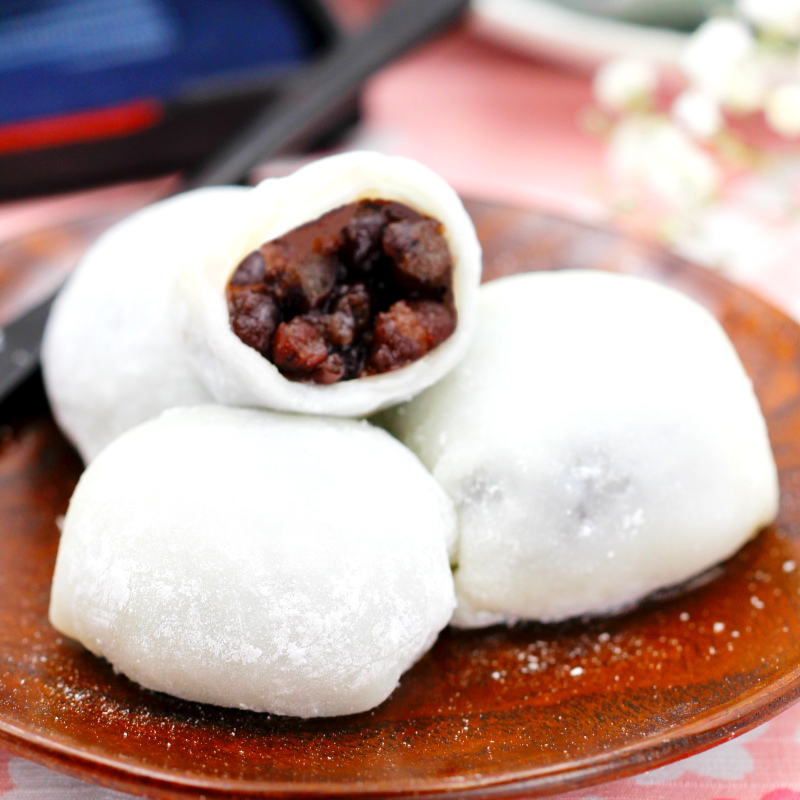
Anko is a very famous, traditional Japanese bean paste, often simply referred to as ‘An’. It is made from small, red adzuki beans, which are gently cooked and heavily sweetened.
Thanks to the thin skins of the beans, the finished paste is particularly soft, creamy and perfect for making all sorts of traditional Japanese sweets.
By the way, making sweet red adzuki bean paste at home is much easier than you might think. All you need are adzuki beans, sugar and water: → Here’s my basic recipe for sweet adzuki bean paste!
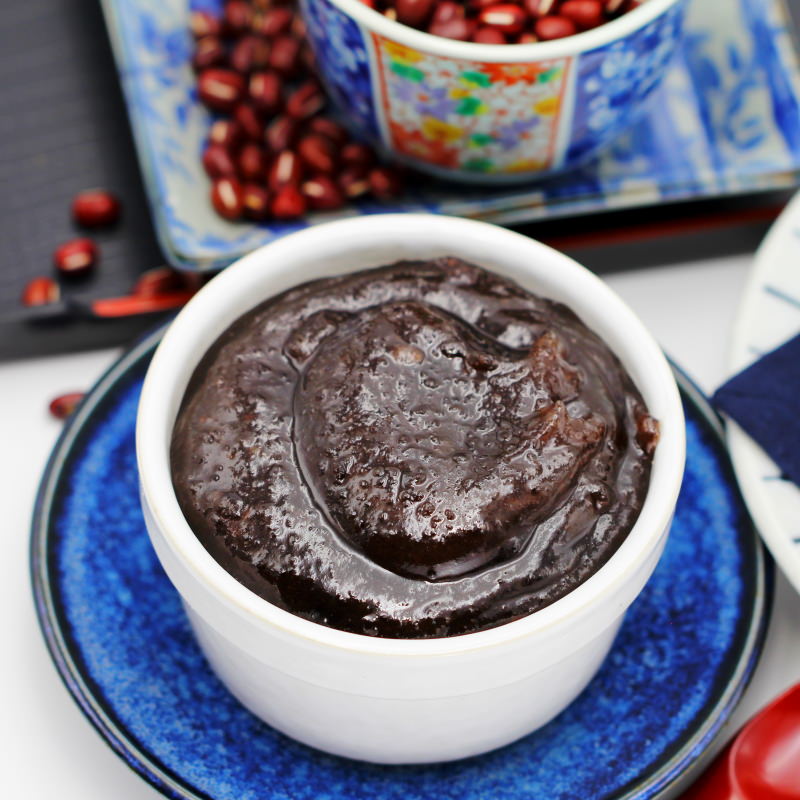
Anko is generally made by boiling the adzuki beans for quite a long time and then sweetening them with sugar. You can find adzuki beans in Asian food shops, health food shops or, of course, here in our online shop:
CUSTOMER FAVOURITE
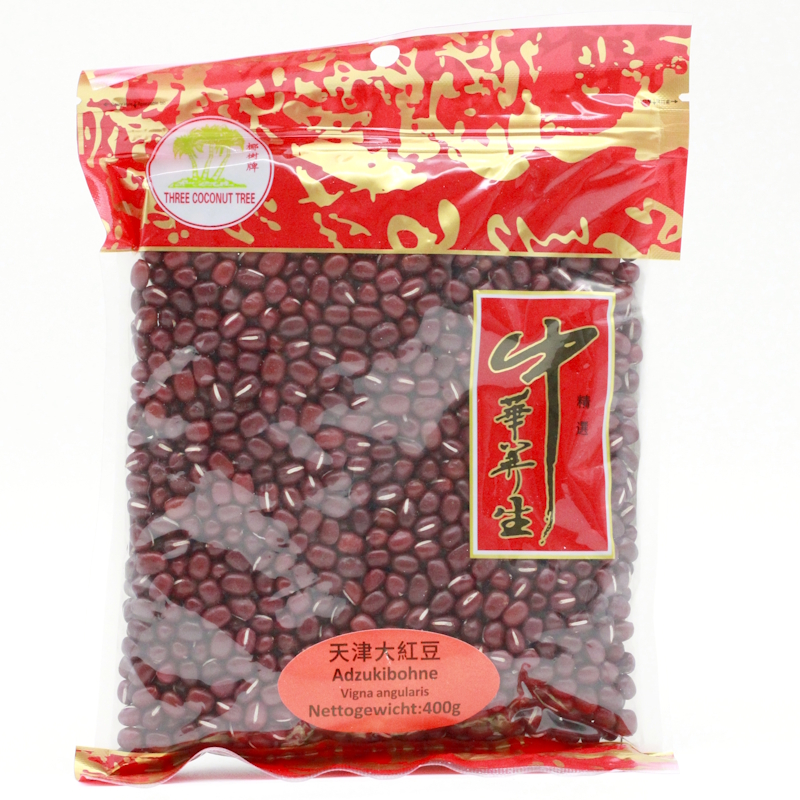
Adzukibohnen 400g (getrocknete rote Bohnen, für Anko, Mochi, Dango & Dorayaki), Three Coconut Tree
Diese getrockneten Adzukibohnen sind eine klassische Zutat der japanischen Küche und werden häufig für süße Bohnenpaste (Anko) verwendet. Sie eignen sich ideal für traditionelle Desserts…
In stock
For our Mochi recipe, the adzuki bean paste should already be prepared and thoroughly chilled. I prefer to use fine koshi-an for Mochi, as the paste has a lovely smooth texture because the beans are pressed through a sieve.
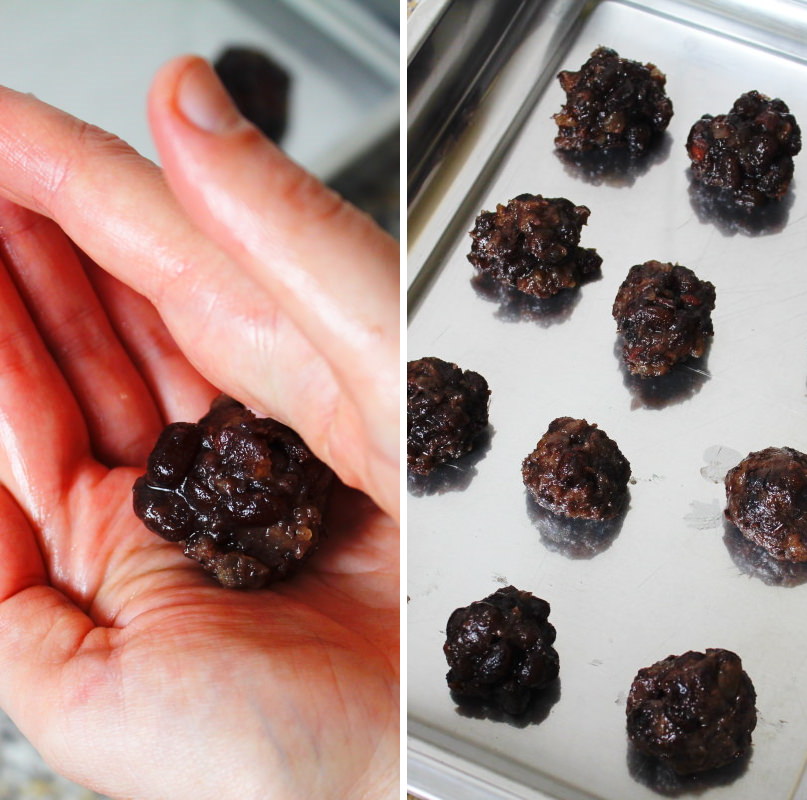
This removes the skins from the beans and creates a creamy consistency. We’ll then shape the koshi-an (about 20 g each, equivalent to a heaped tablespoon) into small balls between the palms of our hands.
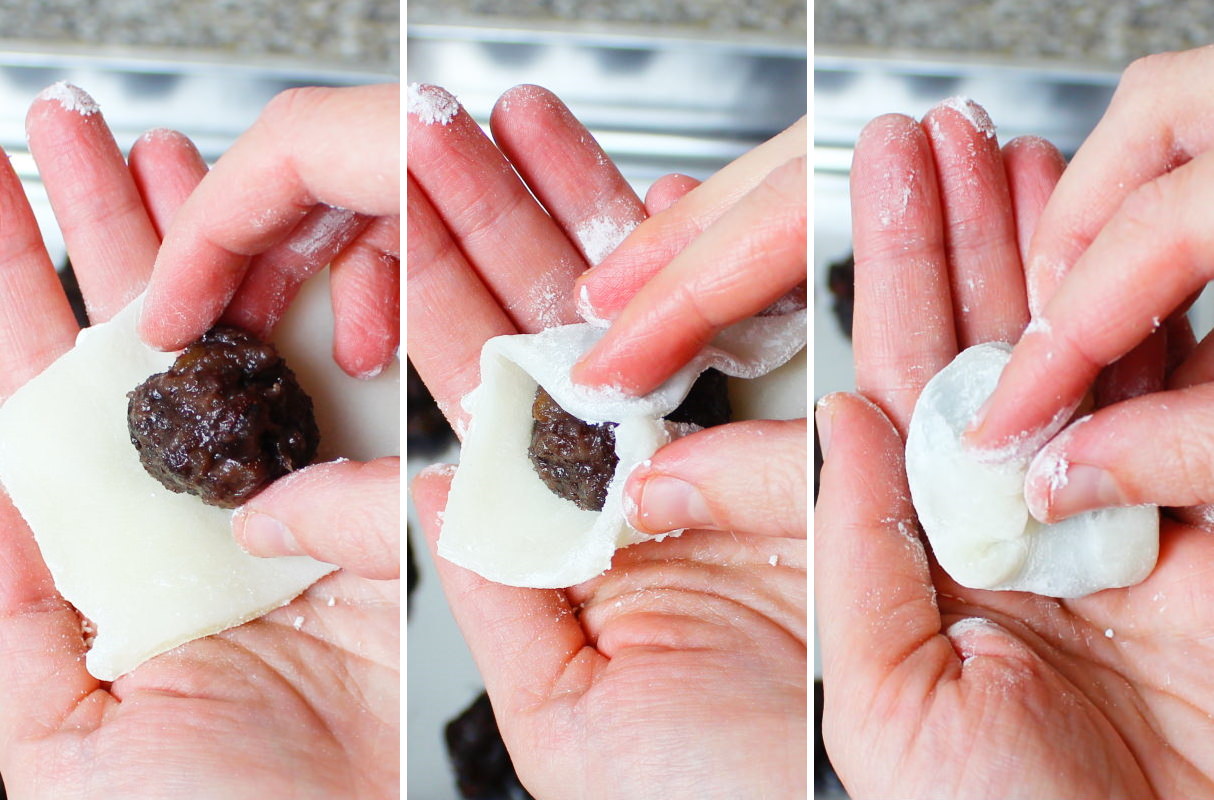
Back to the mochi dough: Place one anko ball in the centre of each square piece of dough. For each piece of dough, take two opposite corners and press them firmly together in the centre, over the koshi-an, using your fingertips. Then fold the other two corners together in the same way. The koshi-an inside should be completely enclosed by the Mochi dough.
Tip: Where all the folds meet is the underside of the Mochi – so the appearance isn’t particularly important. The main thing is that the Mochi dough on the top doesn’t tear!
Once all the mame daifuku Mochi are ready, dust them lightly on all sides with a little cornflour using a pastry brush, then arrange them attractively on a large serving platter.
By the way, Mochi are best eaten on the very same day they were made, as the glutinous rice flour dough dries out quickly and would spoil the enjoyment. So do tuck in heartily!!
I’d like to ask my question from the start again: Fancy bringing a bit of Japan into your home at last? Yes! Great, because luckily, as you can see, it’s very easy to make this delicious Japanese sweet made from glutinous rice flour yourself. Let’s get started – here are my tried-and-tested instructions:
Mame Daifuku Mochi
Makes 12 | 45 minutes | 165 kcal
🖨️ Print PDF 📌 Save to PinterestFancy bringing a bit of Japan into your home again? Then what better way than with a completely authentic Japanese Mochi dessert! With my recipe for Mame Daifuku, you’re guaranteed to master this traditional Mochi variation filled with red adzuki beans. A classic you’ll fall in love with!
Ingredients (12 pieces = 4 portions)
150 g glutinous rice flour (im Shop ansehen)
100 g sugar
180 ml water
100 g Katakuriko (potato starch) (im Shop ansehen)
250 g Koshi-an, fine anko – make your own red bean paste (→ to the recipe)
Useful equipment:
Steamer (im Shop ansehen)
Preparation (45 minutes)
Step 1
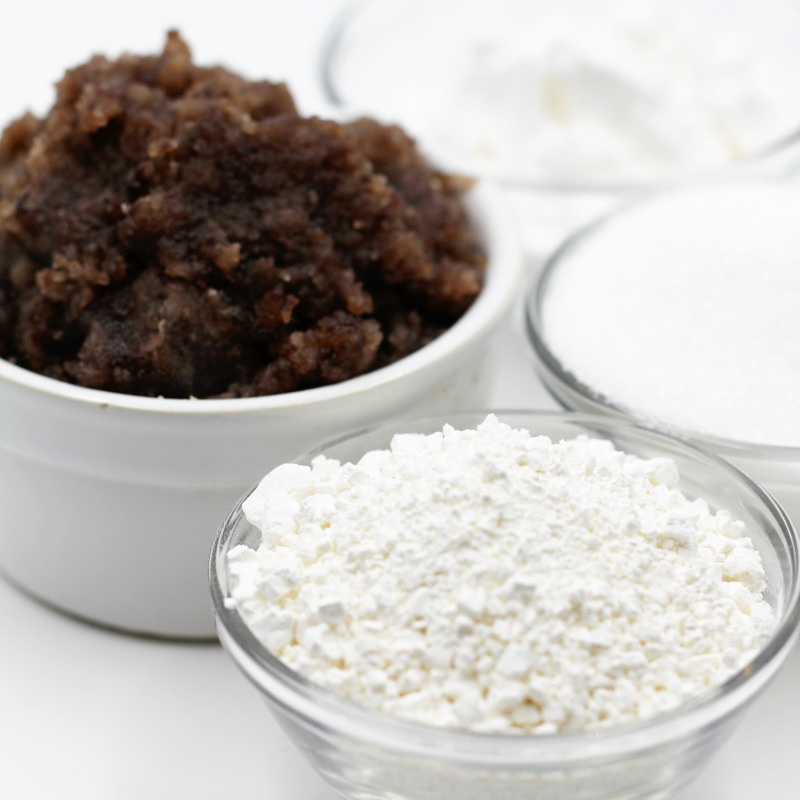
Gather the ingredients for the homemade Mame Daifuku Mochi with sweet anko filling. If you’re making homemade koshi-an (click here for the recipe for homemade anko), it should already be prepared and completely cooled!
Step 2
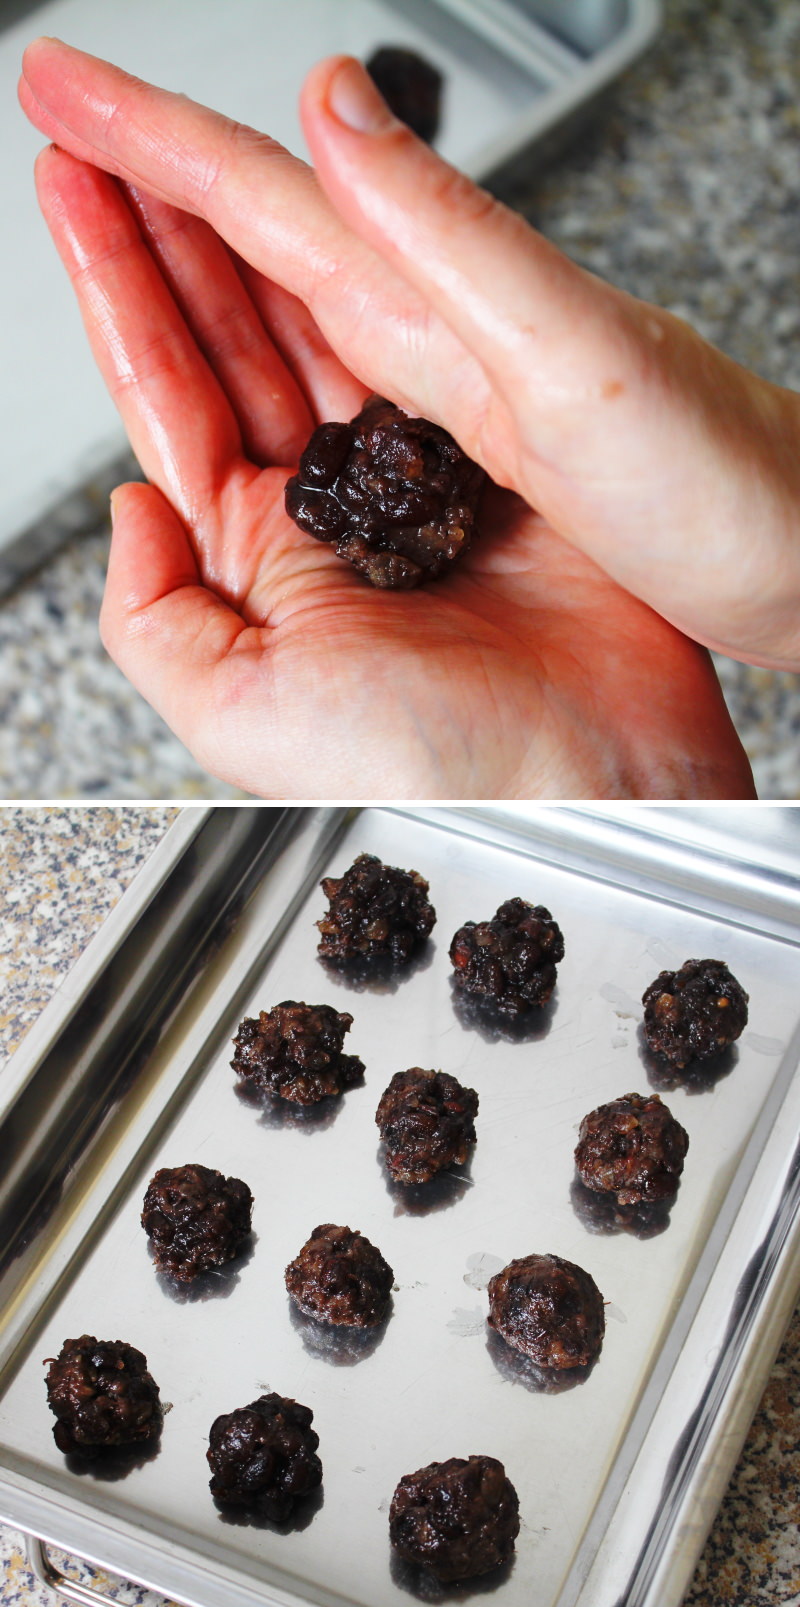
First, we’ll prepare the filling: To do this, stir the Koshi-an – the red adzuki bean paste – in a bowl until smooth, if necessary, and then take 20 g (about 1 heaped tablespoon) of the paste at a time and roll it between your palms into small balls br/Tip: It’s best to moisten your palms with clean water beforehand and from time to time to prevent the koshi-an from sticking.
Set all the little balls aside until needed.
Step 3
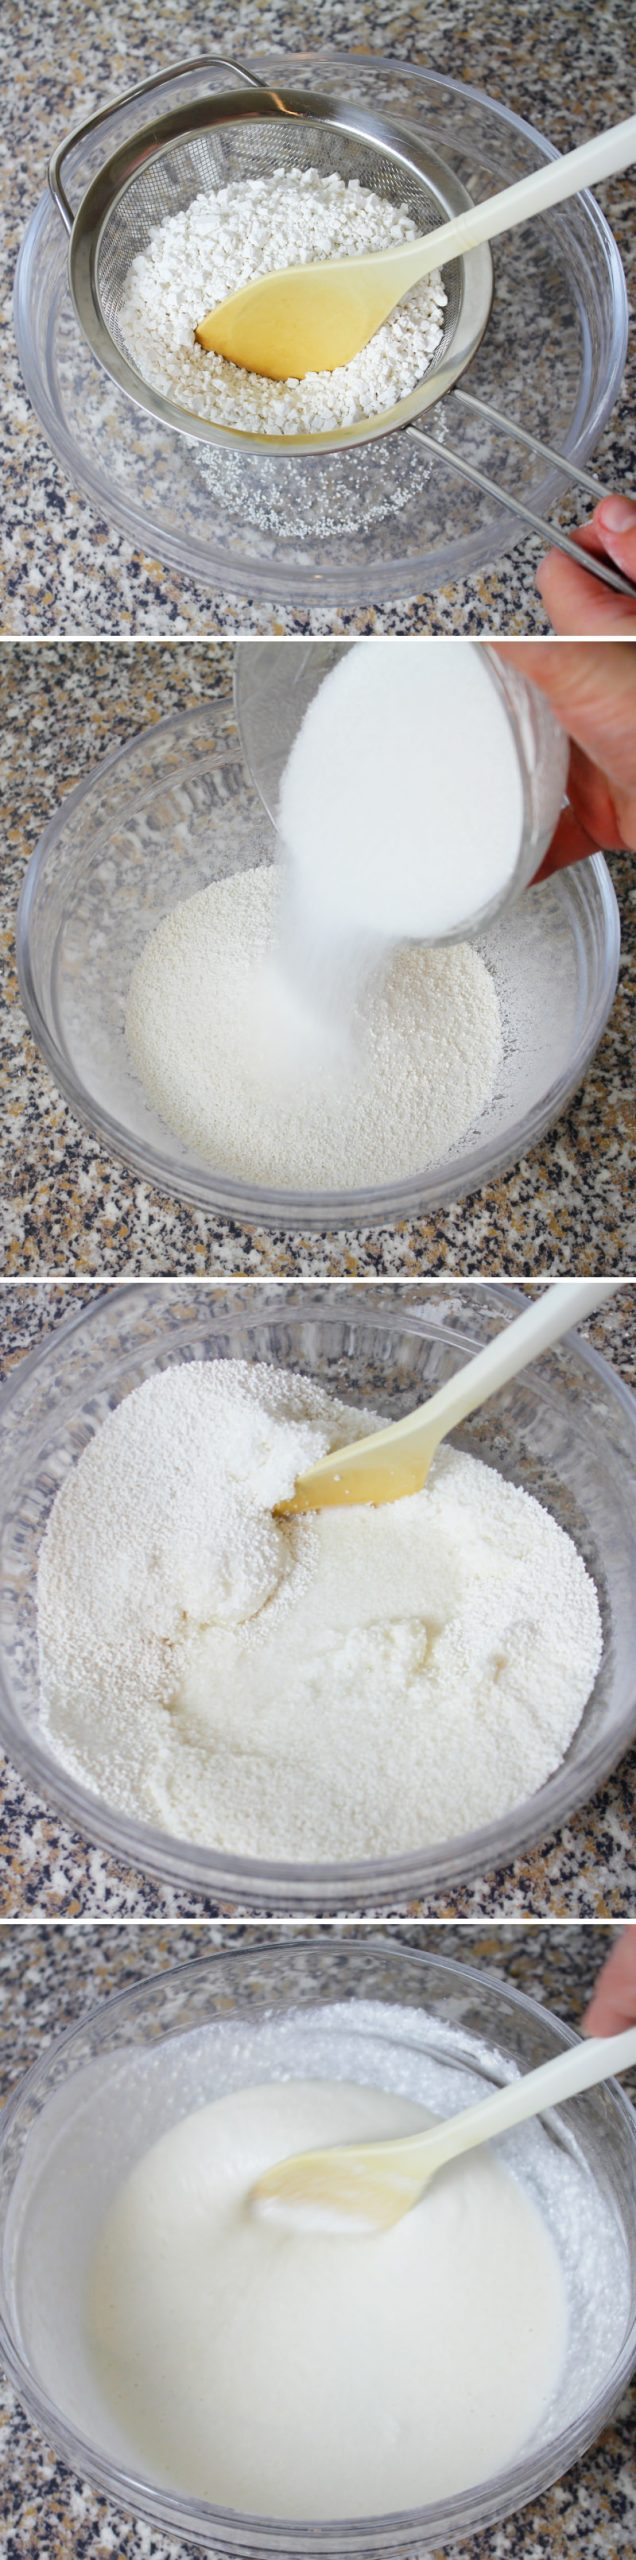
Now sift the glutinous rice flour through a sieve into a medium-sized bowl, add the sugar and mix thoroughly with the water .
Tip: To begin with, the mixture will be very thick, almost lumpy. Don’t let that put you off! Just keep stirring with a spoon. The sugar will slowly dissolve and the dough will become runny again after a while.
If the dough reminds you of icing, it’s ready.
Step 4
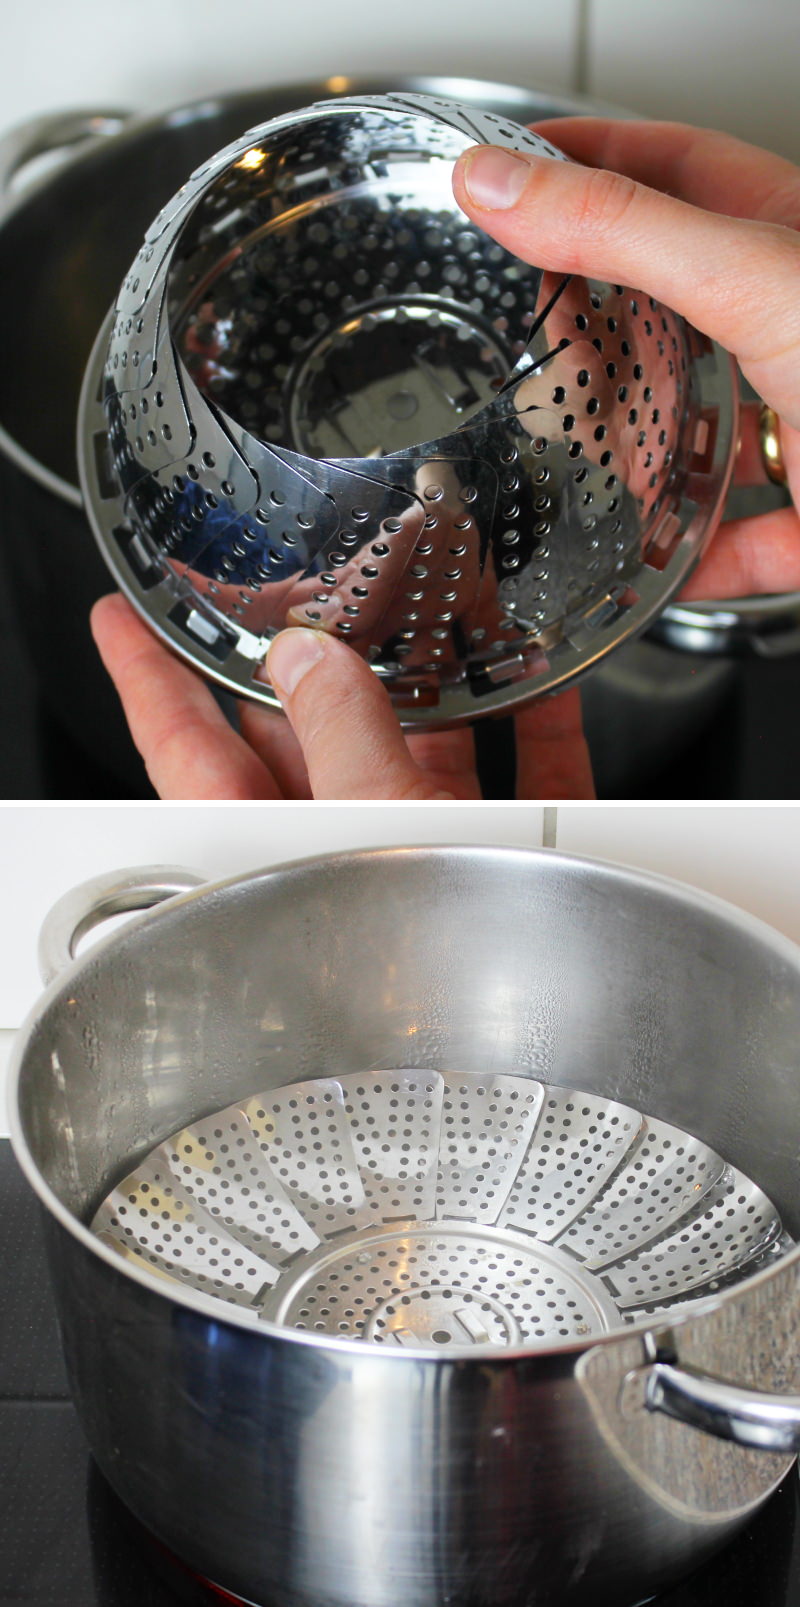
Fill a large saucepan (the medium-sized bowl from the previous step should fit comfortably inside) with about two fingers’ depth of water and place a steamer inside (only the legs of the steamer should be in the water). Bring the water to the boil.
Tip: To make the dough in a pan or in the microwave, follow my basic recipe for mochi dough!
Step 5
Place the bowl containing the dough into the steamer. Wrap the lid of the saucepan in a kitchen towel (to prevent condensation from dripping into the dough), fold the ends of the towel upwards and place the lid on the saucepan. Reduce the heat so that the water beneath the steamer is just simmering gently. Steam the dough for 15 minutes.
Step 6
Halfway through the steaming time, remove the lid, stir the dough with a slightly damp spoon and replace the lid, including the tea towel. Caution: Risk of burns – please use oven gloves or pot holders!
Step 7
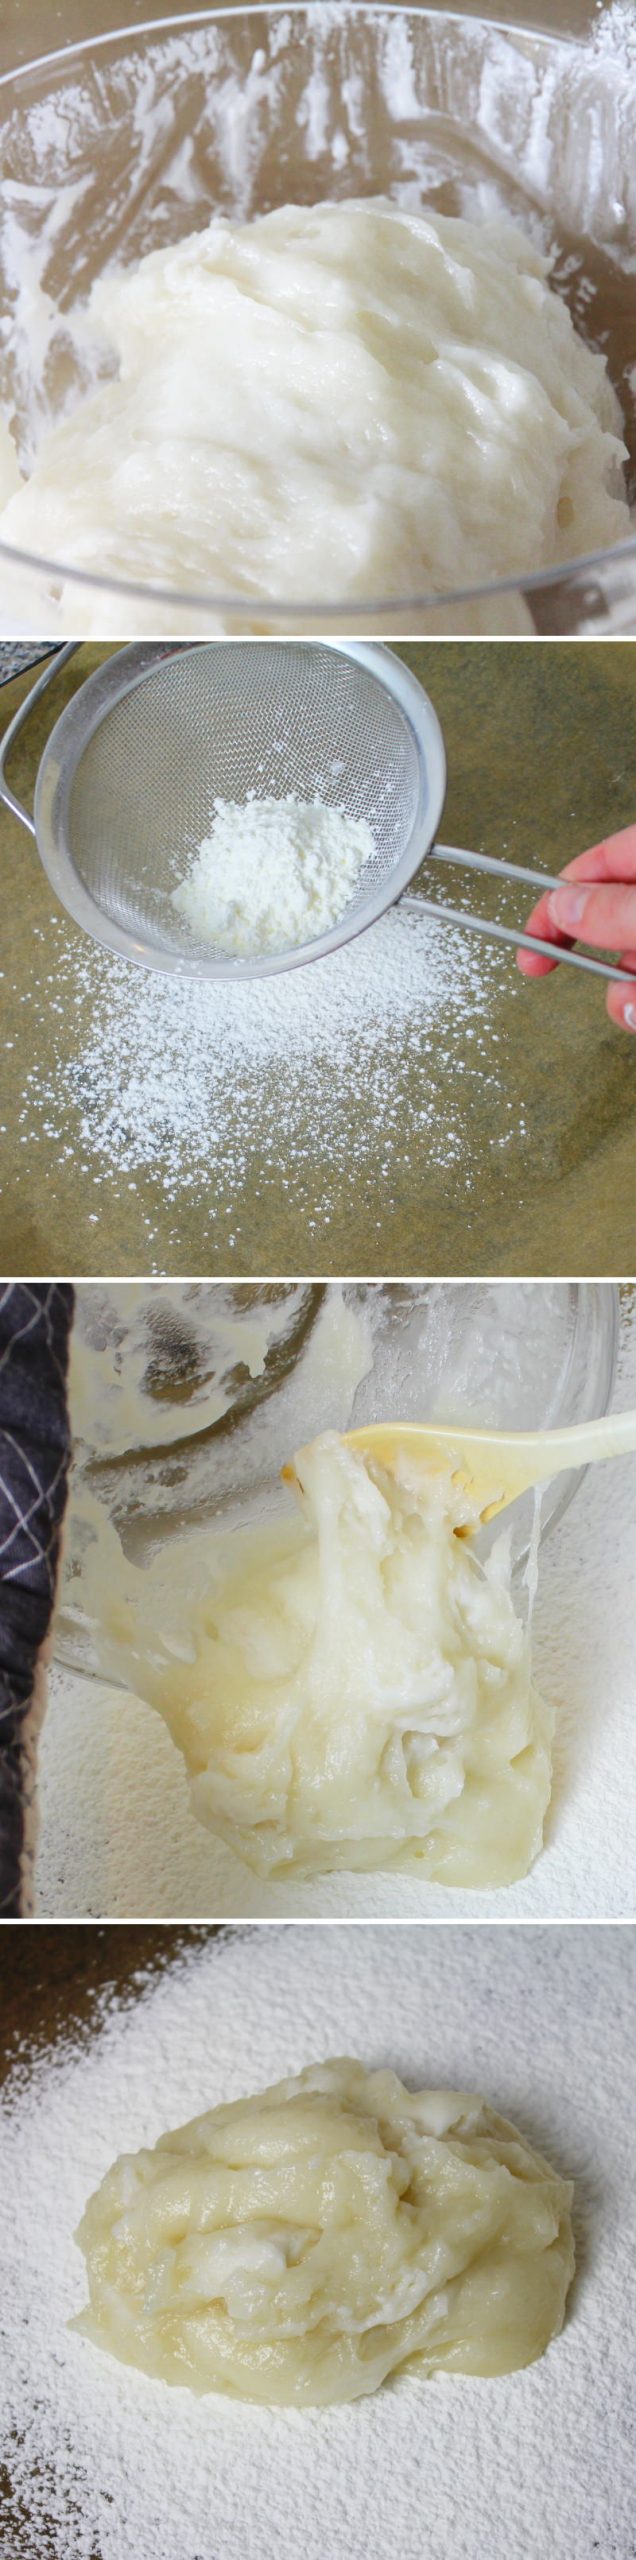
Shortly before the end of the cooking time Line a baking tray with baking paper and dust generously with cornflour using a sieve. Then, as soon as the dough is ready (it should be a white, firm, cohesive mass that is no longer runny but still slightly moist), remove the bowl from the steamer or microwave. Using a spoon, transfer the dough from the bowl directly onto the cornflour so that it doesn’t stick. Leave to cool briefly (for about 5 minutes).
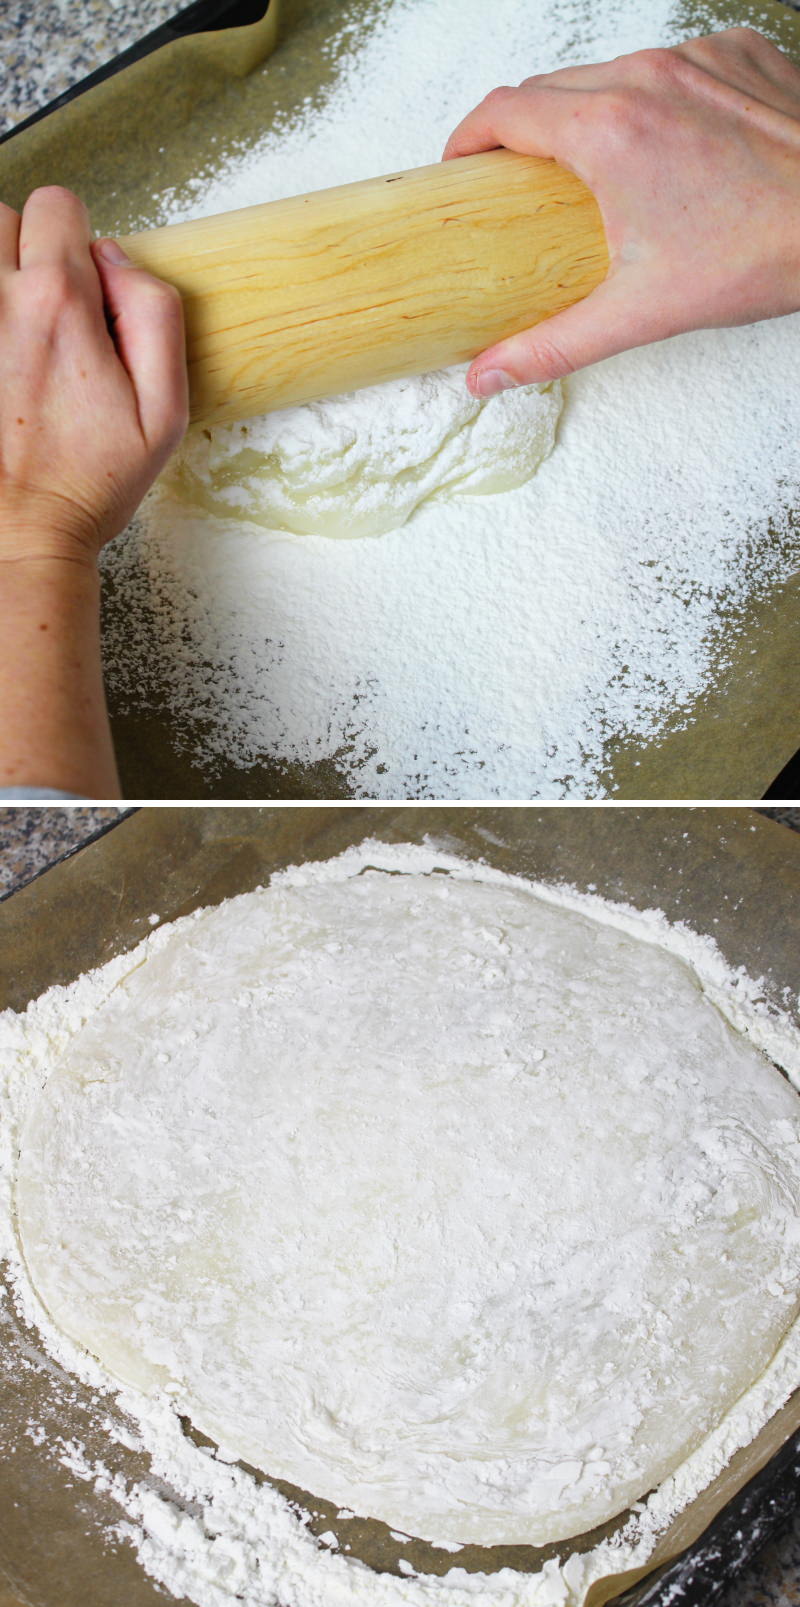
Step 8
Once the dough has cooled slightly, dust it with a little cornflour. First, gently flatten it a little with your hands, then roll it out into a square shape using a rolling pin. The dough should be about 5 mm thick after rolling.
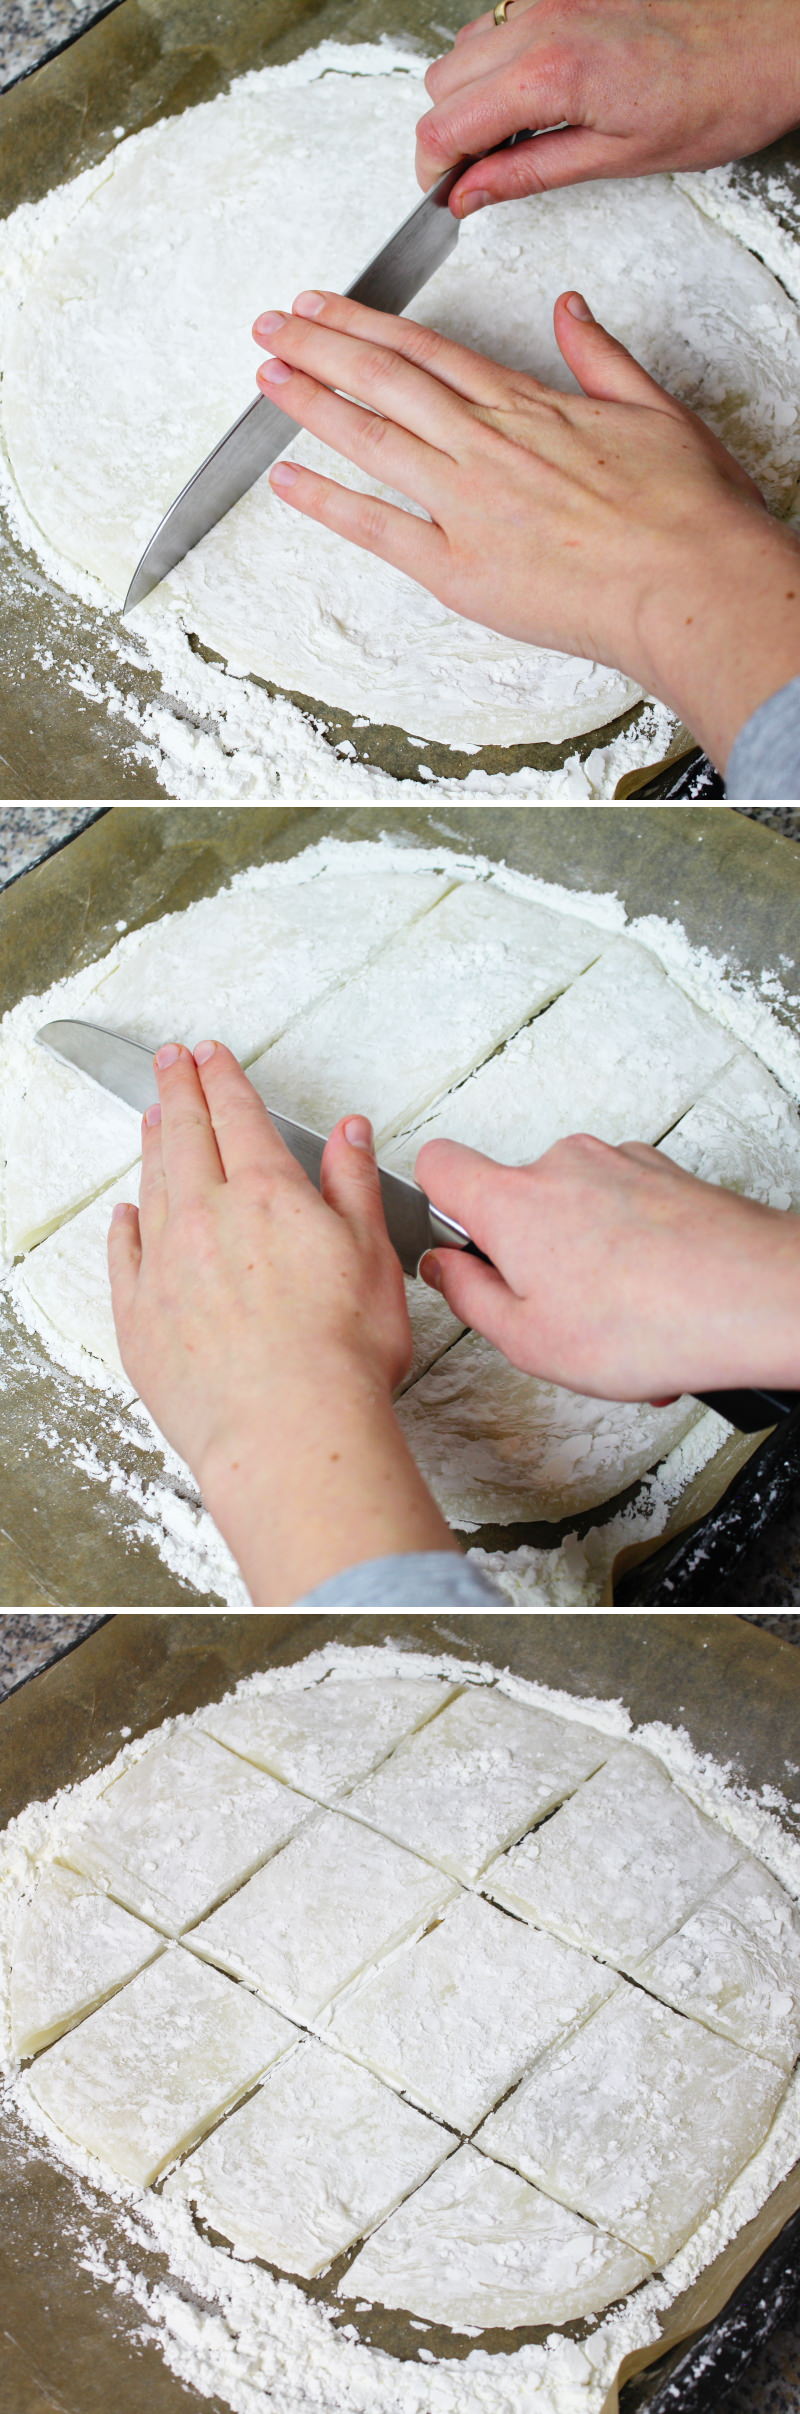
Step 9
Using a large, sharp knife , cut the dough into 12 roughly equal-sized squares . Also, take out the koshi-an balls and lightly dust a serving plate with cornflour.
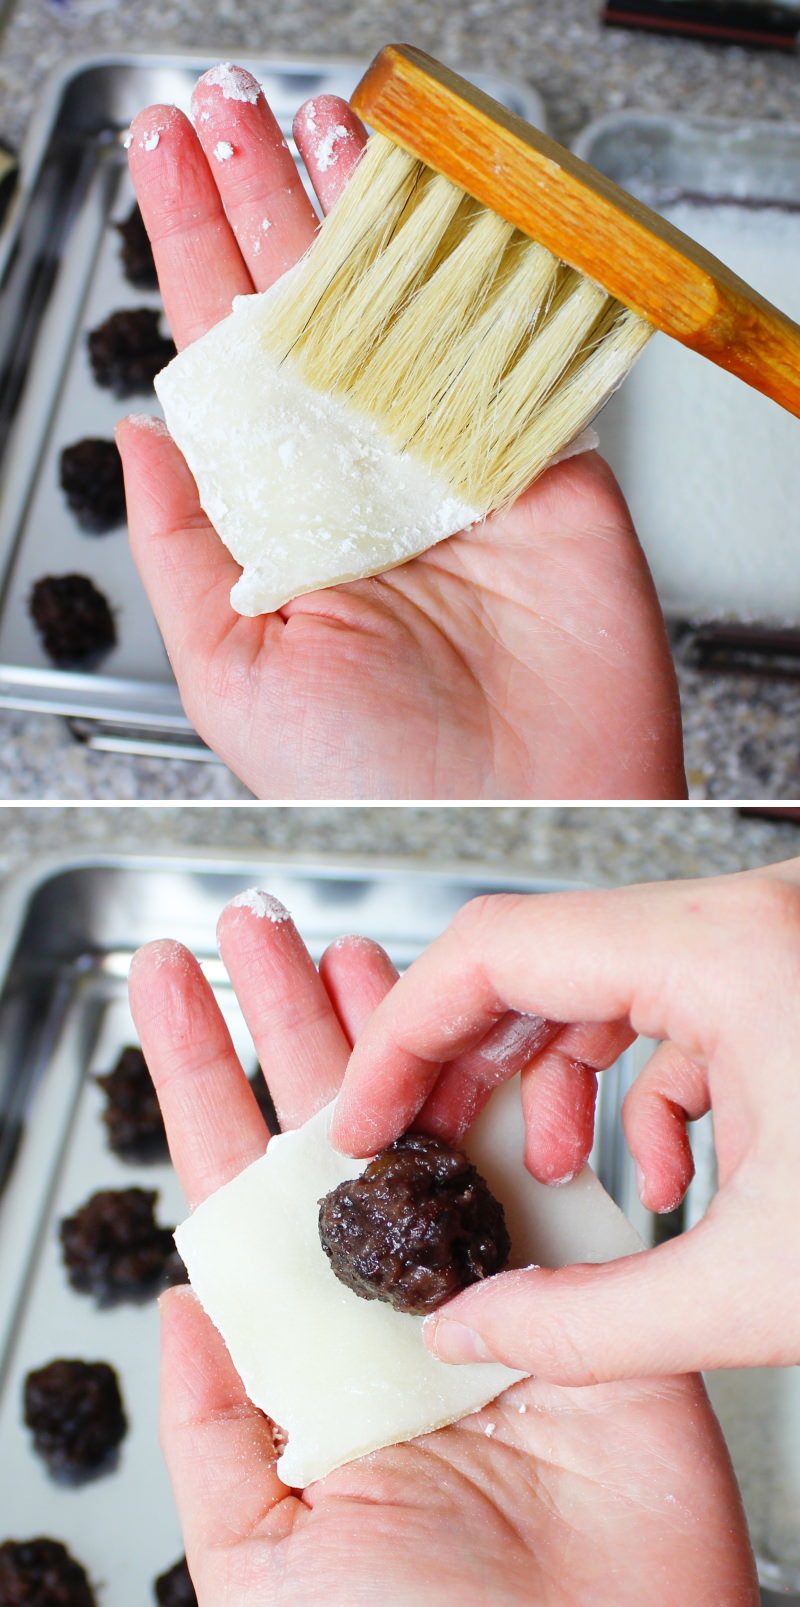
Step 10
Carefully lift out each piece of dough , remove the excess cornflour – for example, using a pastry brush – and place a portion of the koshi-an in the centre of the dough.
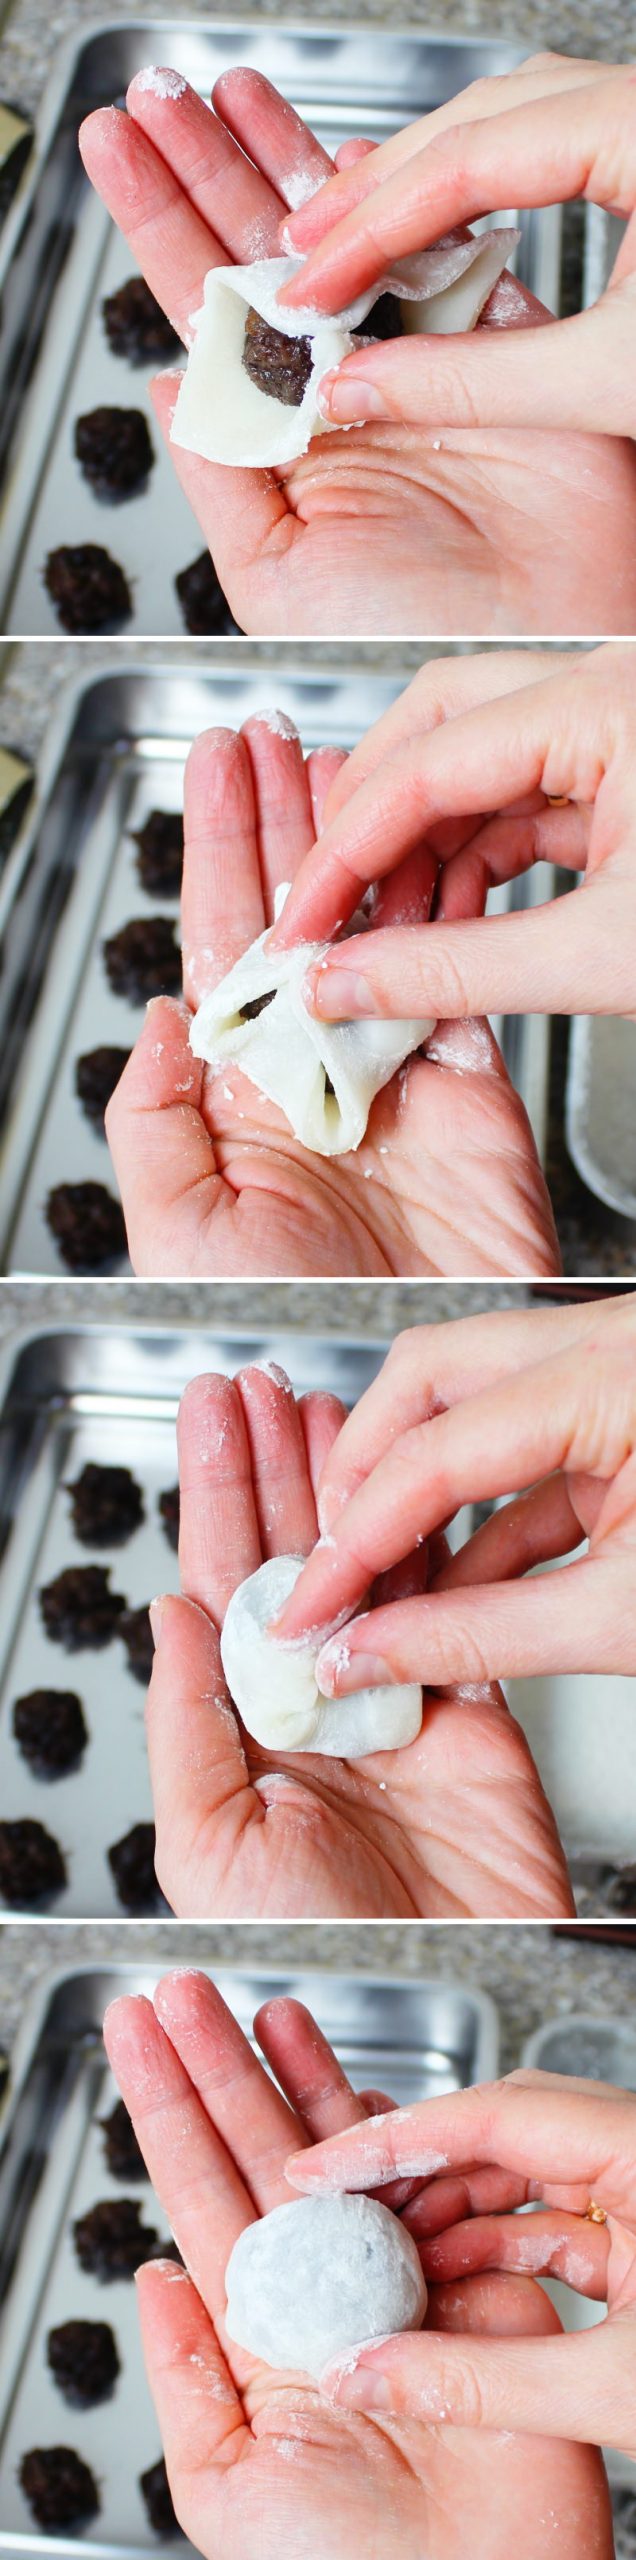
Step 11
Using your fingertips, firmly press together two opposite corners of the dough in the centre, over the koshi-an, then fold the other two corners together in the same way. The koshi-an inside should be completely enclosed by the mochi dough.
Tip: Where all the folds meet is the underside of the Mochi – so the appearance isn’t particularly important. The main thing is that the Mochi dough on the top doesn’t tear!
Dust the finished Mame Daifuku Mochi once more on all sides with a little cornflour using a pastry brush. Shape all the remaining Mame Daifuku Mochi and place them on the serving plate.

Step 12
Mame Daifuku Mochi with sweet adzuki bean paste go well with a cup of green tea and make a delicious dessert to accompany an authentic Japanese meal. Ready – Itadakimasu!
Are you looking for even more delicious Japanese desserts that will have you and your guests eating out of your hand? You can find my latest recipes here:
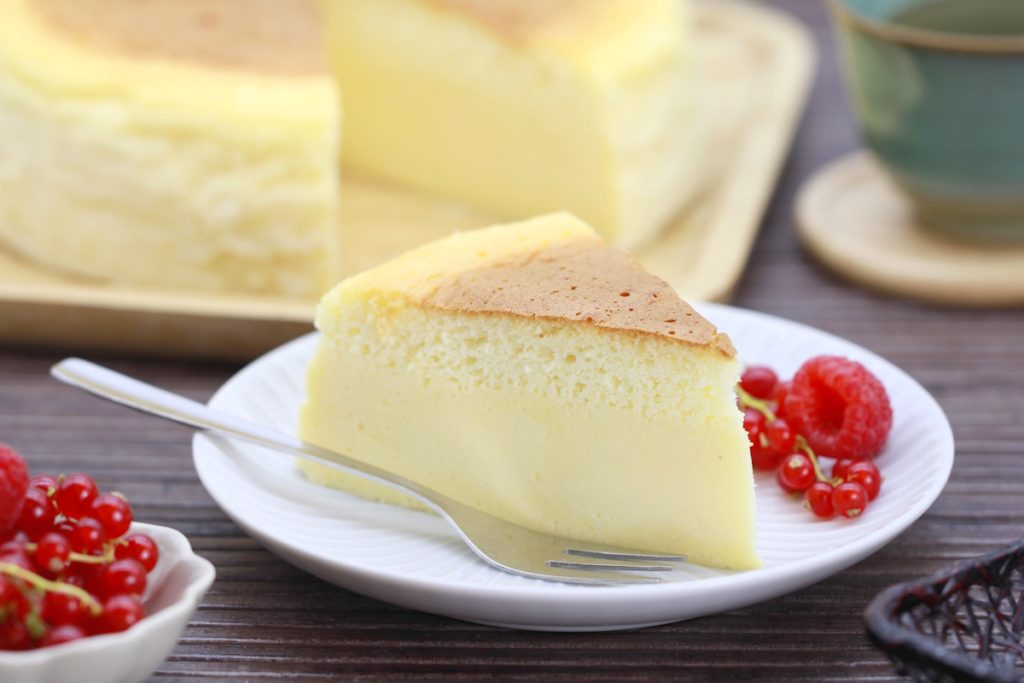
Japanese cheesecake: The best recipe for a fluffy soufflé-style cheesecake just like in Japan
Japanese cheesecake is one of Japan’s most popular desserts and delights with its exceptionally light and airy texture. Unlike classic…
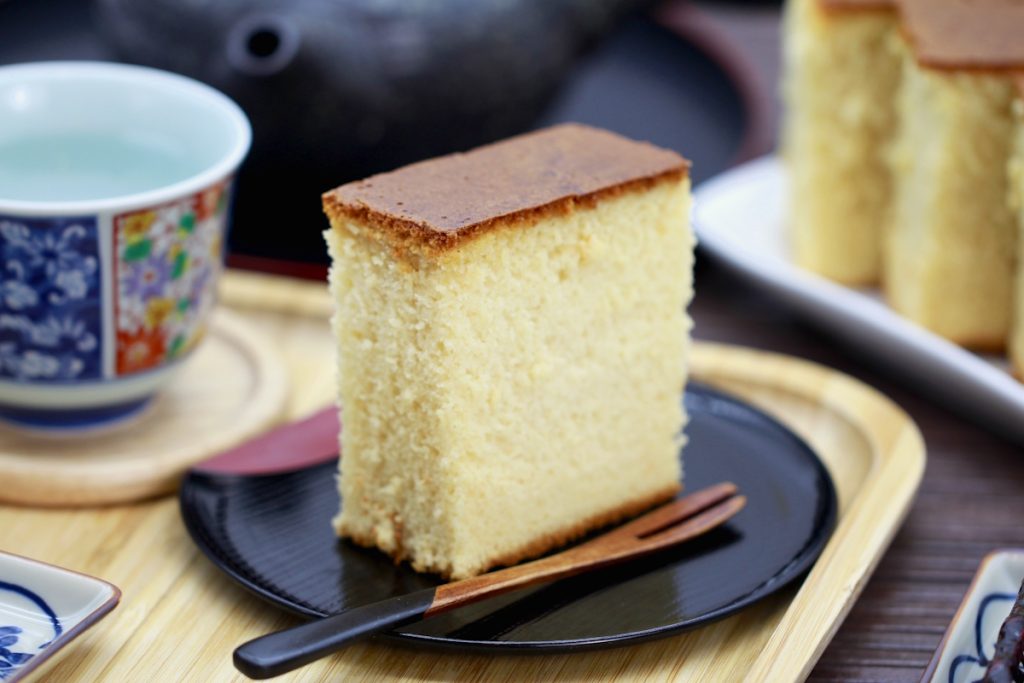
How to make Castella (Kasutera) yourself: How to make this Japanese honey cake
Why is Castella often described as Japan’s moistenest cake? Although Kasutera consists of just a few ingredients, the special preparation…
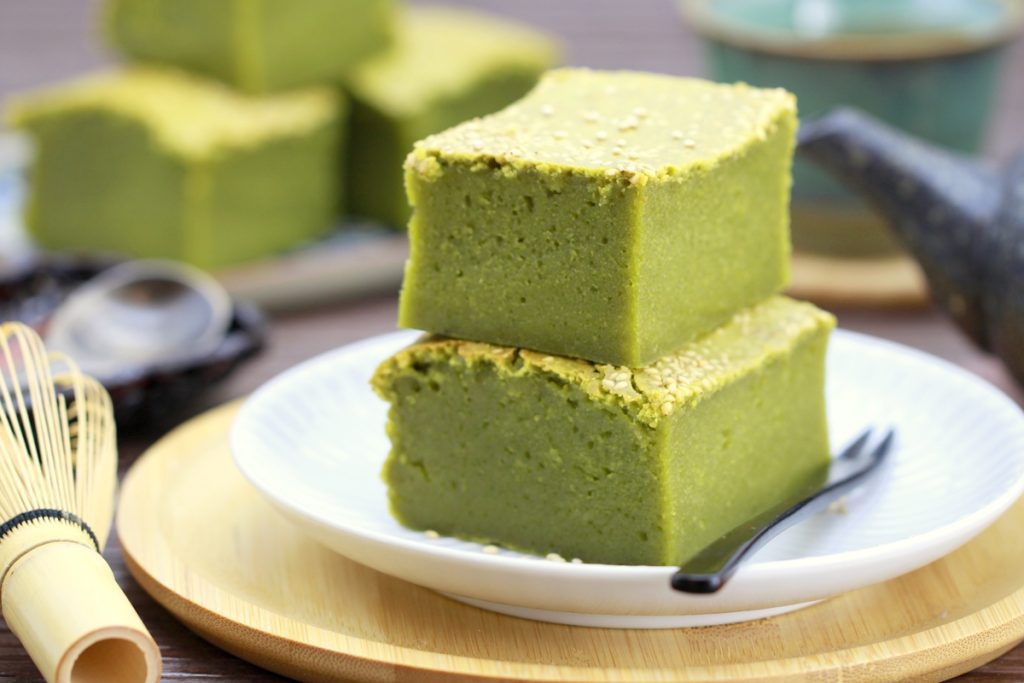
Make your own Matcha butter Mochi: Hawaiian Mochi cake with green tea
If you drink Matcha regularly, you might be familiar with this: at some point, you end up with more Matcha…
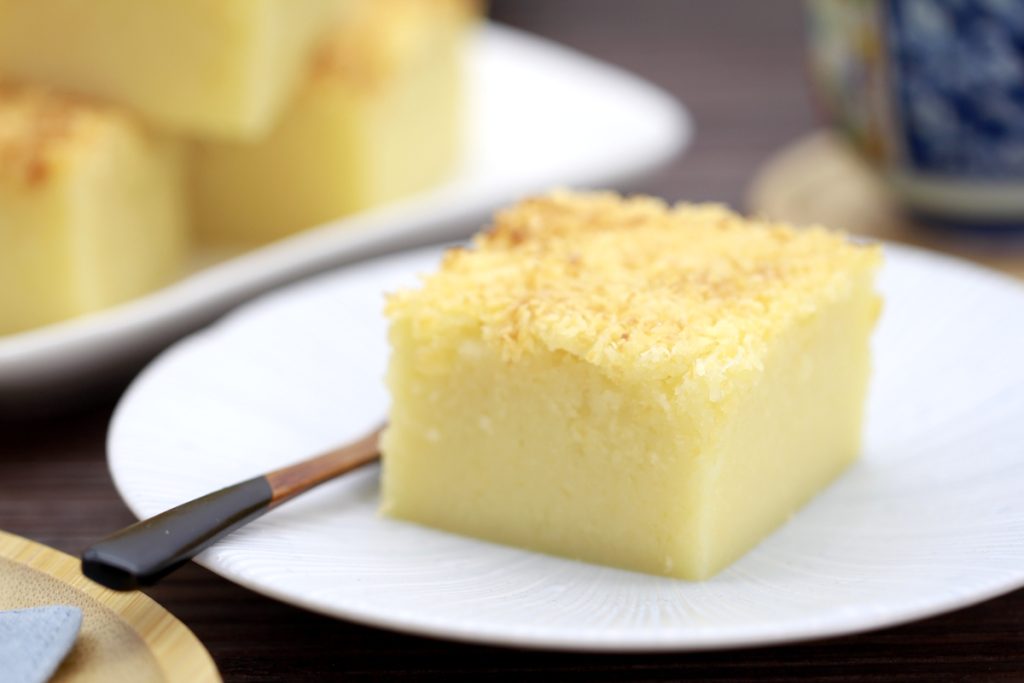
Butter Mochi (Hawaiian Mochi Cake – gluten-free)
Butter Mochi is one of those recipes that’s hard to pigeonhole. It looks like a simple tray bake, but has…
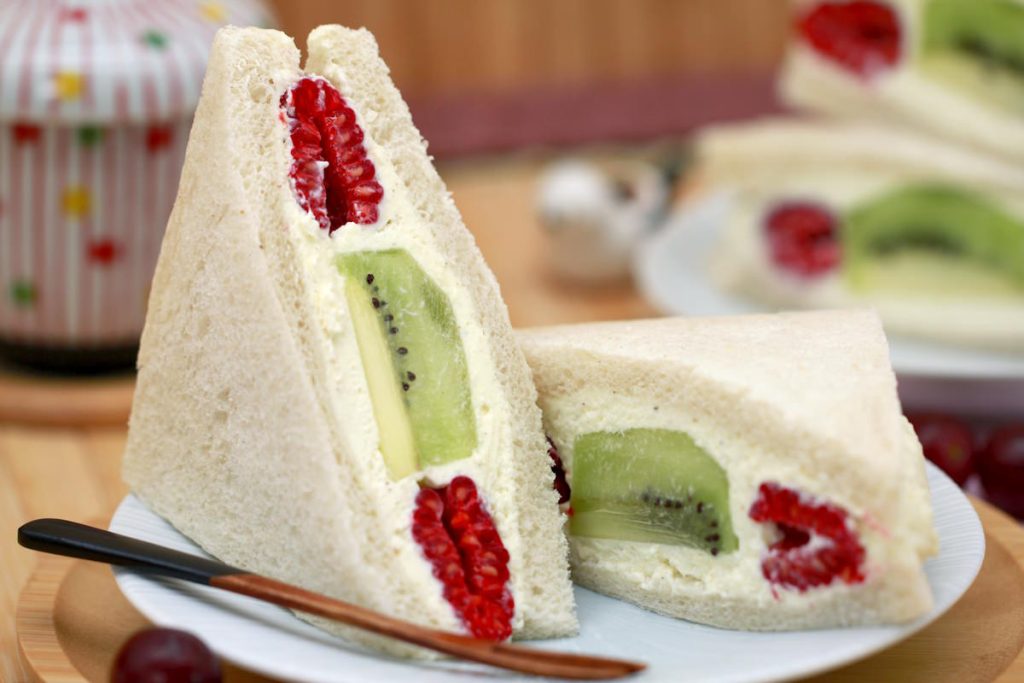
Make your own Fruit Sando: a fluffy cream sandwich with fruit – simple, fresh & typically Japanese
In Japan, it can remain surprisingly hot well into September – and it was on just such a muggy late-summer’s…
Warabi Mochi: Make your own delicate summer dessert with Kinako & Kuromitsu syrup
When the weather warms up, the appetite for light, refreshing sweets grows in Japan – and hardly any dessert embodies…
Have you tried out the recipe? Let me know in the comments – I can’t wait to hear from you.