

Language:


One, two, three – done! Yes, it really can be that quick to make perfect Mochi dough. Don’t be put off – just follow one of my simple guides for making your own Mochi dough, whether in a frying pan, a steamer or the microwave. This way, you’re guaranteed to succeed in making these classic Japanese sweets. I’ll show you the key ingredients and all the steps, one by one!
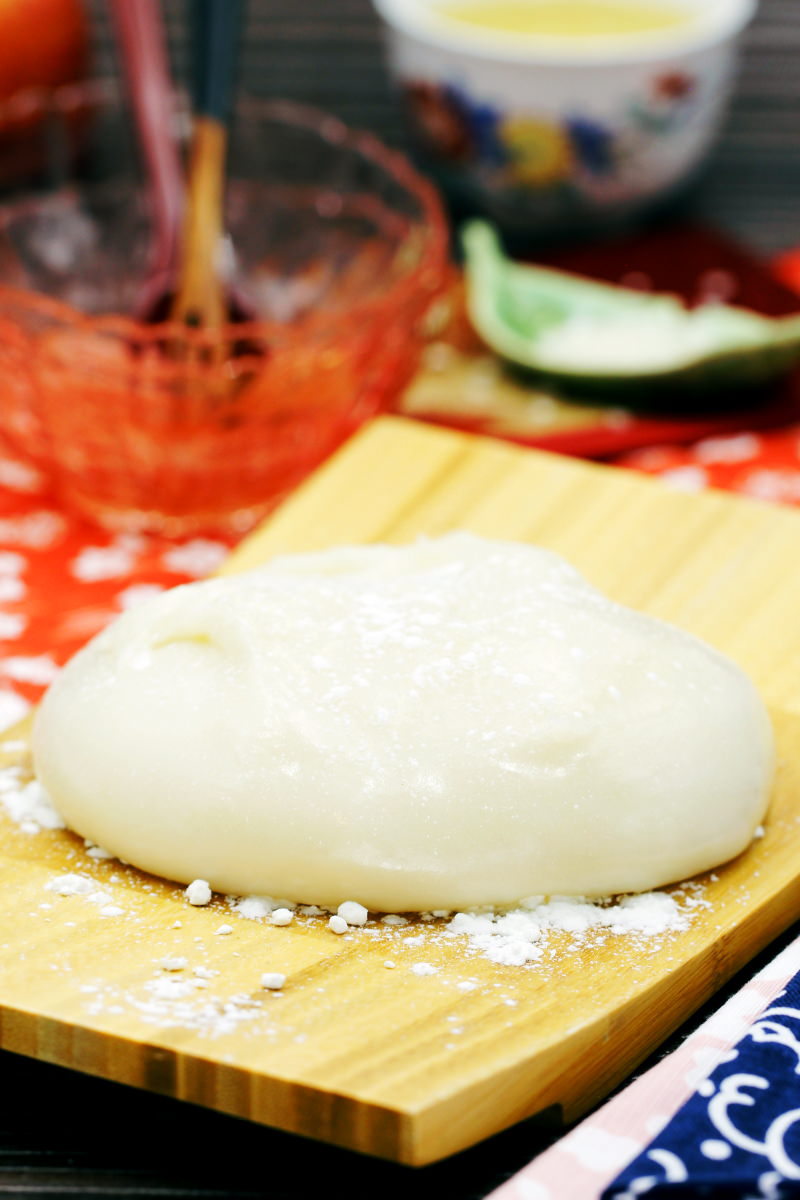
When it comes to traditional Japanese desserts, Mochi is undoubtedly always the very best option, as Mochi are by far the most popular Japanese sweet! The mochi specialities mame daifuku and ichigo daifuku are particularly popular in Japan.
Mochi are made up of a thin layer of glutinous rice flour dough (a very simple, slightly sweet and very soft mixture, similar to marshmallows) on the outside, with a delicious, flavourful filling hidden inside. In the case of Mame Daifuku, for example, the filling is a sweet paste made from red adzuki beans, whilst Ichigo Daifuku, it also contains whole strawberries.
TOP RECOMMENDATION
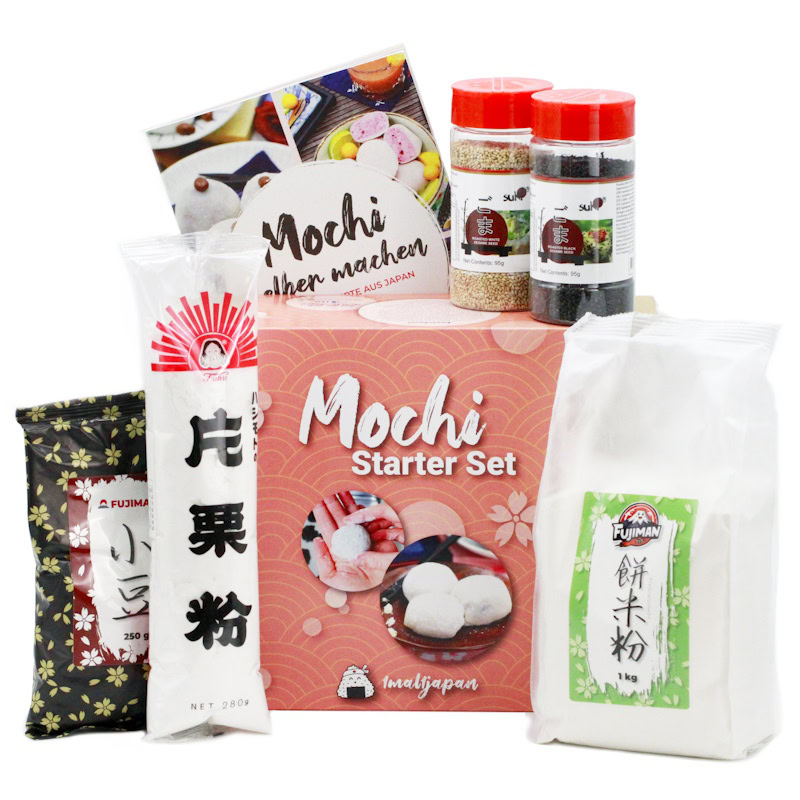
Mochi Starter Set | Klebreiskuchen selber machen, vegan
6-tlg. Kochset für 4 große Portionen Klebreiskuchen, inkl. Rezeptheft, glutenfrei & vegan. Mit dem Mochi Kochset stellst du japanische Reiskuchen ganz einfach selbst her –…
In stock
Every component of homemade Mochi is hugely important for a perfect, authentic taste experience. In my opinion, however, many recipes focus far too much on the filling… Of course, the fillings are relatively easy to prepare – just think of Mochi ice cream or light sesame mochi with a cream cheese filling.TipFancy finding out more about these irresistibly sweet Mochi? Then let yourself be enchanted by the world of Japanese glutinous rice cakes here: → Easy Mochi recipes: 7 recipes that really work! However, I’ve received loads and loads of messages from you saying that, for most of you, the Mochi dough is the real hurdle! So today I’m going to show you three simple ways to make Mochi dough that’s really as easy as pie. There’ll be a suitable guide for everyone, I promise!Let’s start with the ingredients. Japanese glutinous rice cakes are made by steaming short-grain glutinous rice that has been ground into flour. For this, you need a sticky, glutinous rice flour, also known as shiratamako.I prefer to use this glutinous rice flour (im Shop ansehen). My homemade Mochi taste best with this variety, and the recipe works 100% every time!It should also work with another type of glutinous rice flour, but be careful – please don’t use just any ‘normal’ rice flour! It absolutely must be glutinous rice flour for the Mochi to turn out right.Are you wondering whether you can make your own glutinous rice flour for Mochi? Of course – making your own rice flour isn’t difficult at all! For example, you can use household appliances such as your blender (for larger quantities – food processors with a built-in chopper are also very suitable) or a coffee grinder (for smaller quantities) to grind the short-grain glutinous rice from Japan
. Bear in mind, though, that the glutinous rice flour for Mochi needs to be ground as finely as icing sugar!

Tipp
Want to learn more about seductively sweet Mochi? Then let yourself be enchanted by the world of Japanese glutinous rice treats here: → Making Mochi yourself: 7 recipes that really work!
However, I’ve received so, so many messages from you saying that the Mochi dough is the real hurdle for most people! So today I’m going to show you three simple ways to prepare Mochi dough really easily. I promise there’ll be a suitable method for everyone!
Let’s start with the ingredients. Japanese glutinous rice cakes are made by steaming short-grain glutinous rice that has been ground into flour. For this, you need a sticky, glutinous rice flour, also known as shiratamako.
I prefer to use this glutinous rice flour (im Shop ansehen). With this type, my homemade Mochi taste best and the preparation works 100% of the time!
It should also work with a different glutinous rice flour, but be careful, please don’t use just any “normal” rice flour! It absolutely must be sticky, glutinous rice flour for the Mochi to work properly.
Wondering whether you can make glutinous rice flour for Mochi yourself? Of course, making rice flour yourself isn’t hard at all! You can use household appliances such as your blender (for larger quantities – food processors with an integrated chopper also work very well) or a coffee grinder (for smaller quantities) and grind the short-grain glutinous rice from Japan in it. Just keep in mind that the glutinous rice flour for Mochi needs to be ground as fine as icing sugar!
Tip: If you’d like to make Mochi from whole glutinous rice rather than glutinous rice flour, I recommend this recipe for botamochi and ohagi!
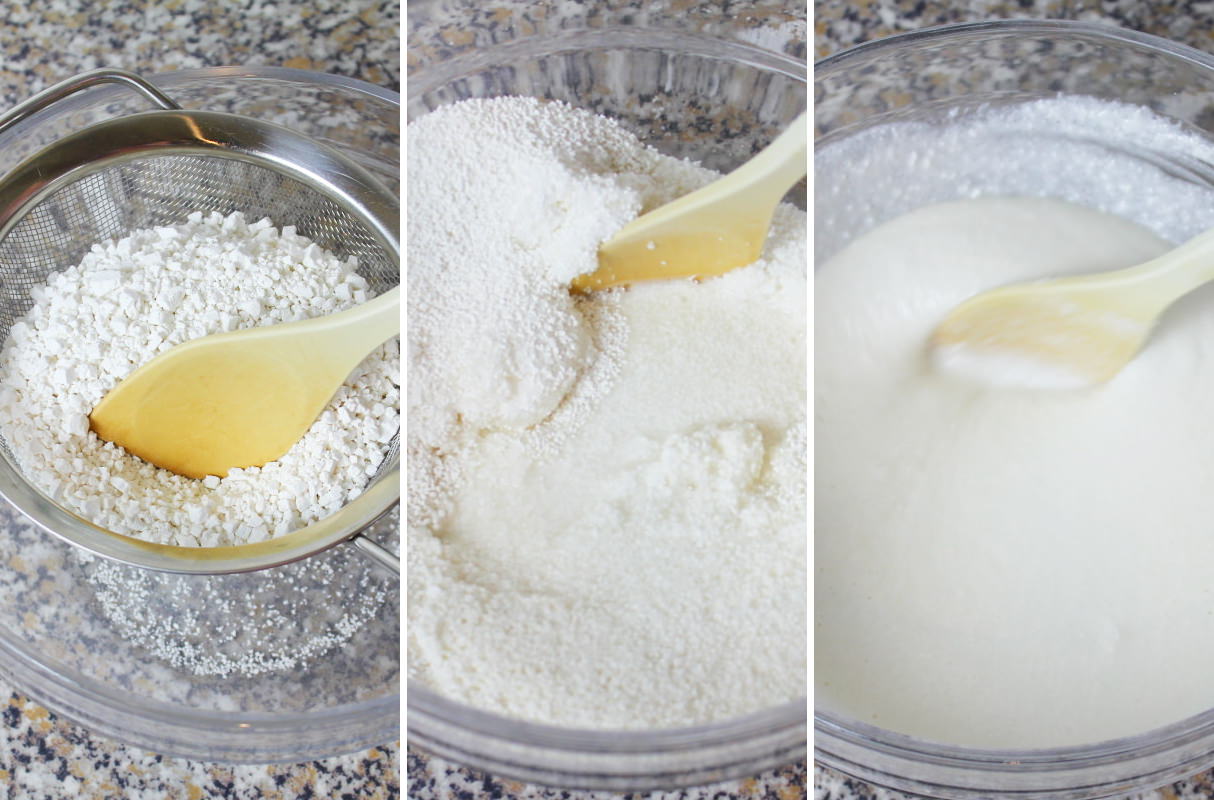
To make Mochi dough from glutinous rice flour, we’ll also need ordinary white sugar and water – yes, that’s all. For 9 to 12 Mochi (depending on the recipe), sift 150 g of glutinous rice flour (im Shop ansehen) through a sieve into a medium-sized bowl, add 100 g of sugar and mix everything thoroughly with 180 ml of water (or fruit juice). You can also add other ingredients, such as Matcha (im Shop ansehen), food colouring or coconut milk!
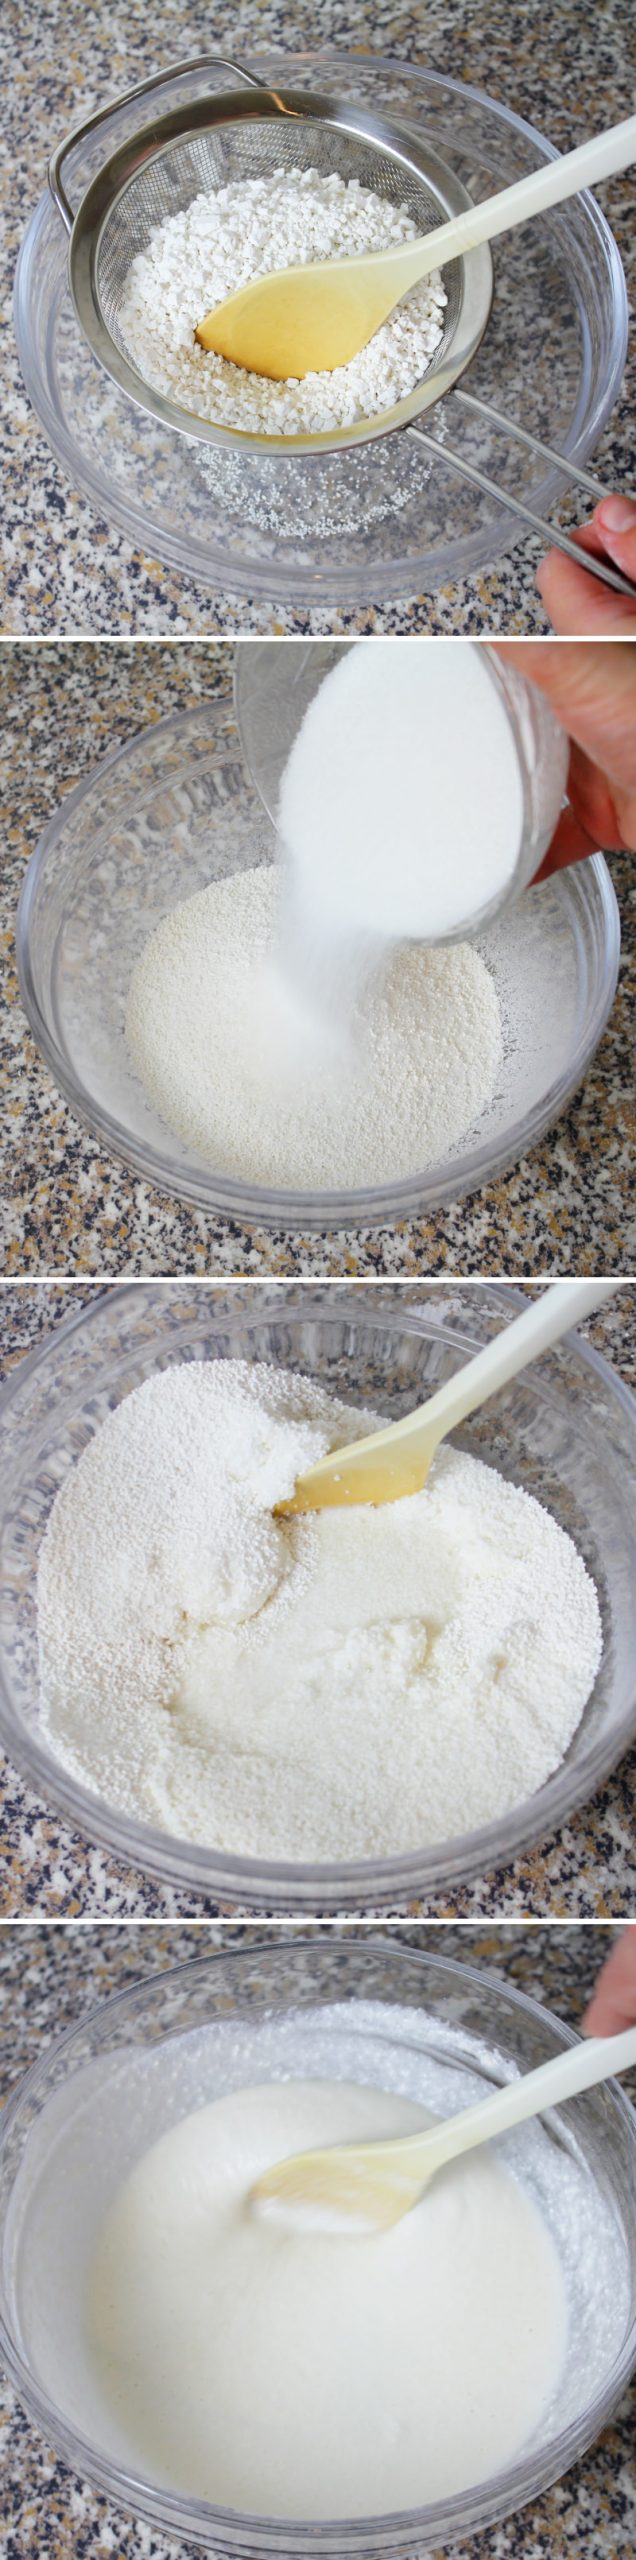
Mix all the ingredients together in a bowl and stir until you have a dough. To begin with, the mixture will be very stiff, almost lumpy. But don’t let that put you off! Just keep stirring with a spoon. The sugar will slowly dissolve and the dough will become runny again after a short while. If the dough reminds you of icing, it’s ready.
By the way: in Japan, the traditional making of Mochi – also known as mochitsuki – is a reason for people to come together, work together and celebrate together. So it might also be a great idea for you to make Mochi with your family or friends – there’s a task for everyone!
There are all sorts of different methods for cooking Mochi dough. In this recipe, I’ll show you three very easy options: you can cook the Mochi dough in a non-stick frying pan, using a traditional steamer insert in a saucepan, or quite simply in the microwave!
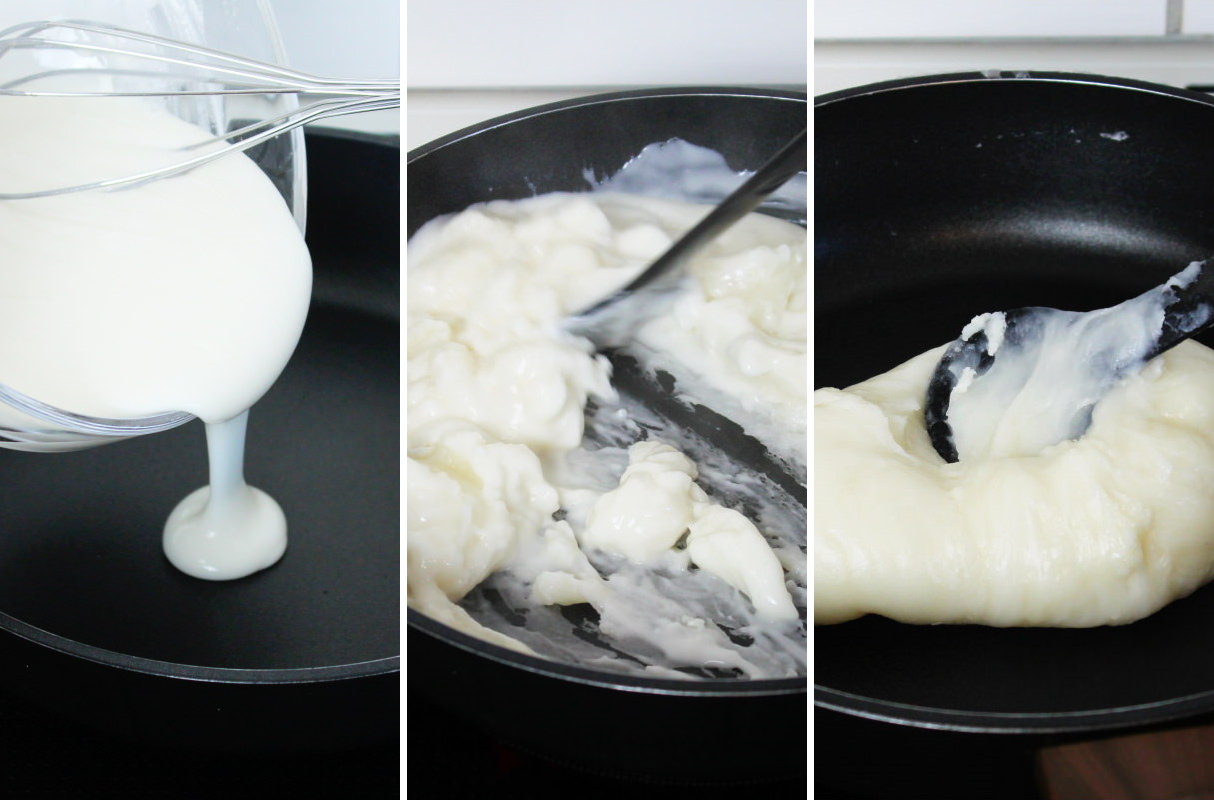
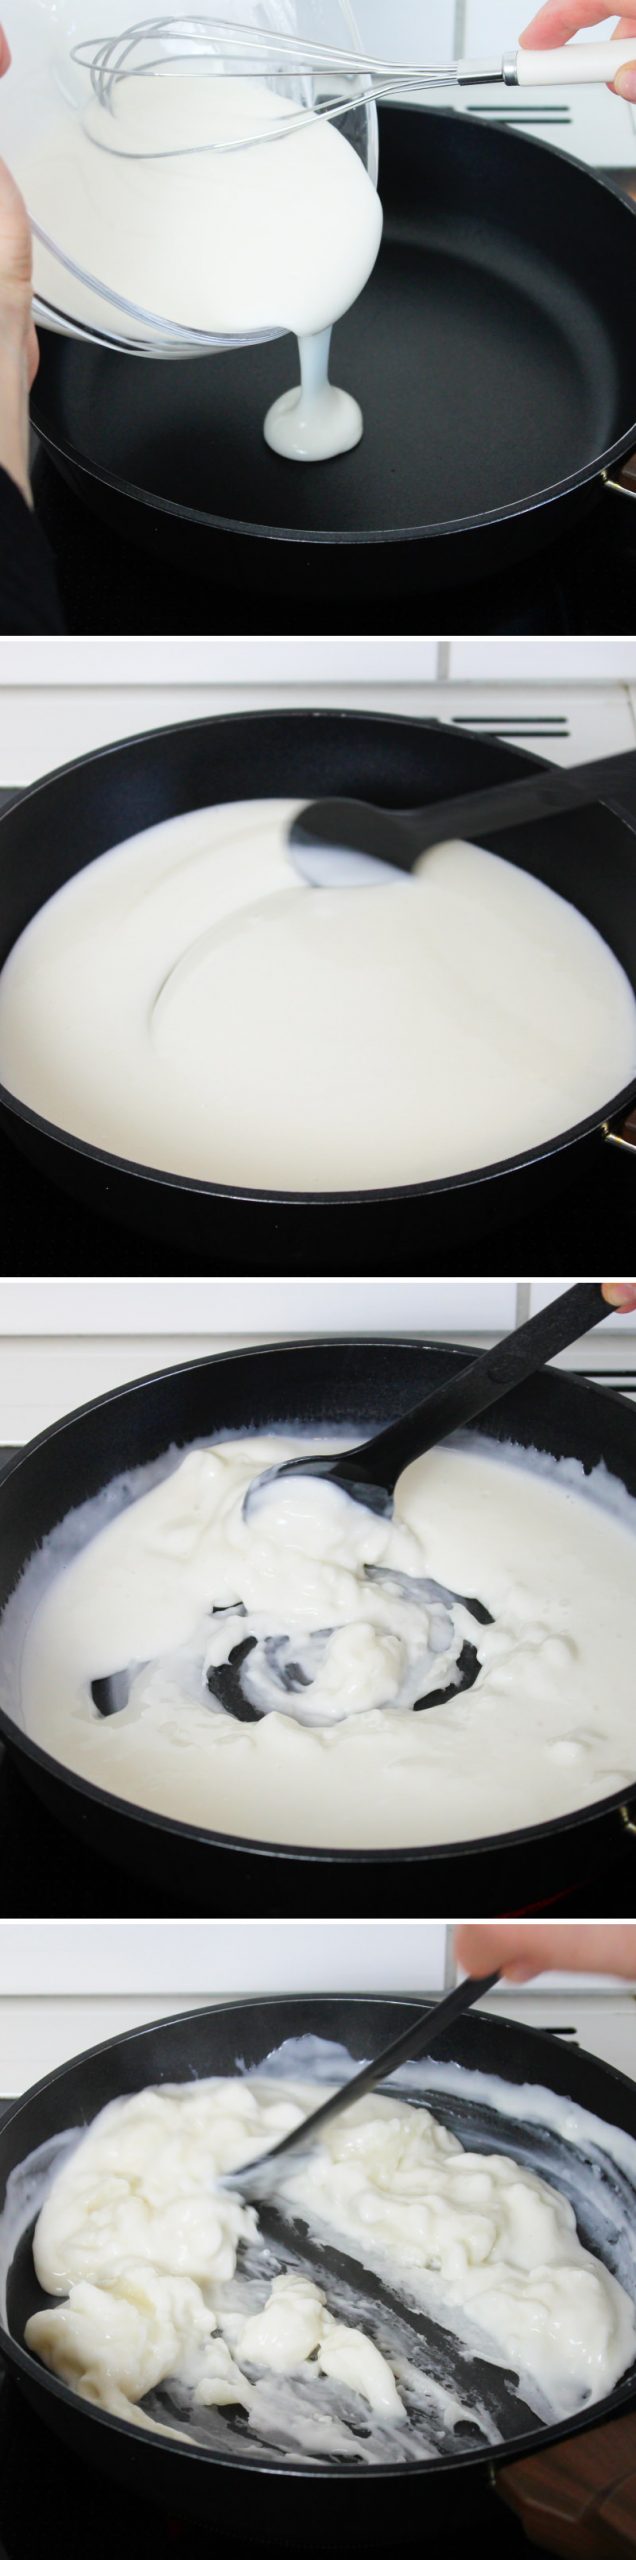
Let’s start with the first method – in a frying pan: To do this, place the Mochi dough in a non-stick frying pan with high sides! Gently heat the pan over a low to medium heat and stir the dough continuously with a wooden spoon.
After about 5 minutes, the mochi dough will form into a cohesive ball. Then continue to turn and toss the dough in the pan for a further 5 minutes. This can get quite tiring after a while, but keep stirring and moving it. Once the dough looks translucent and has a lovely sheen, it’s ready and can then be used as per the recipe.
Tip: As the dough is made from glutinous rice flour, it lives up to its name and is therefore very sticky. I’d advise you to soak all your utensils in water straight after use – this makes it really easy to remove the dough from wooden spoons, pans and so on!
Here’s how it works in a steamer: To cook the dough for the rice cakes in the pot, place the bowl containing the dough in the steamer. Wrap a tea towel around the lid of the pot to prevent condensation from dripping into the batter, and steam the mochi batter for 15 minutes. Halfway through, give the batter a stir with a slightly damp spoon – and voilà!
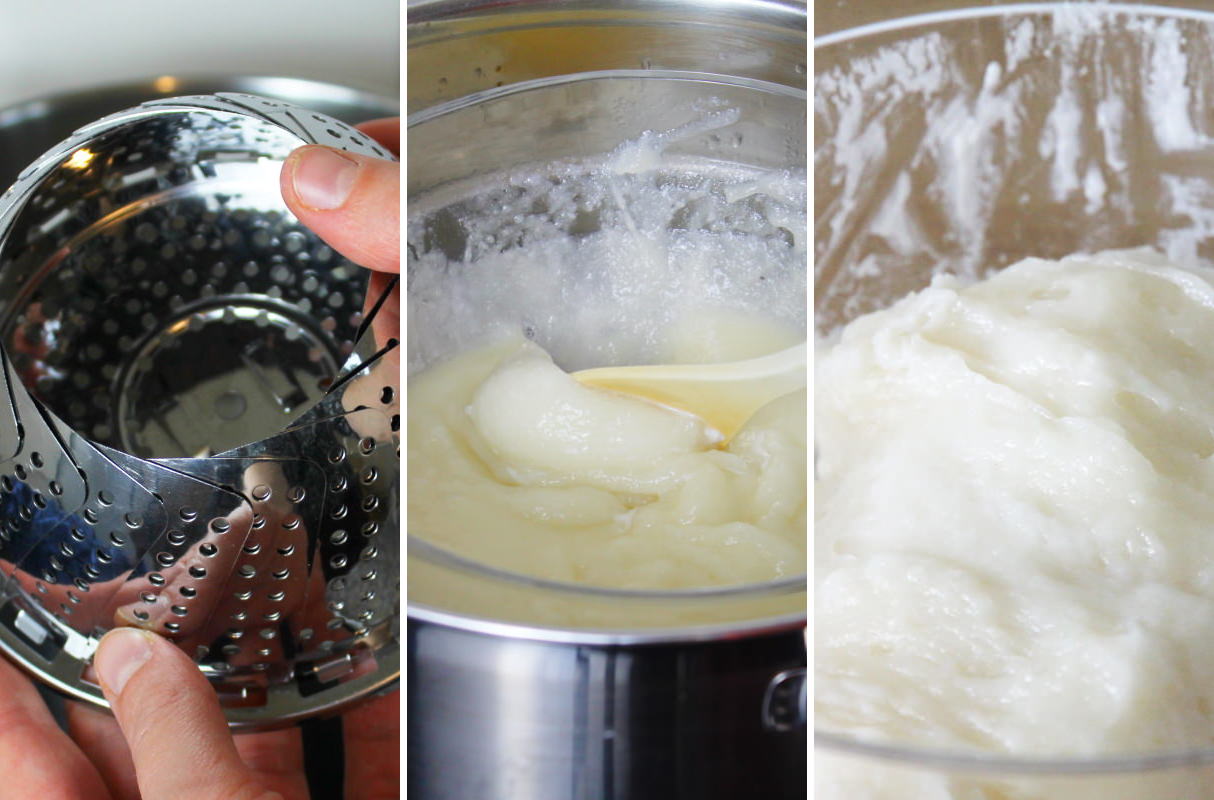
To cook in the microwave , cover the dough with special microwave-safe cling film and heat it for a few minutes at a time at 1000 watts. Give it a stir now and then, and it’s ready. Oh, and the lower the power (i.e. watts) of your microwave, the longer you’ll need to cook the dough each time!
All these methods work very well; nothing burns and the mochi dough becomes velvety and chewy – ideal for making Japanese sticky rice cakes! Here are some of my favourite Mochi recipes to inspire you:
- Three varieties of mochi ice cream with exotic juices & creamy fruit ice cream
- Matcha Mochi with green tea & a creamy vanilla custard filling
- Coconut Mochi with lime cream cheese filling & coconut flakes
- Chocolate Mochi with delicate truffle cream & salty gomashio
- Tiramisu Mochi with a delicate coffee and mascarpone filling
- Ichigo Daifuku Mochi with fresh strawberries & red adzuki bean paste
Tip: I usually steam the glutinous rice dough – if you’d rather cook it in a pan or in the microwave, that’s no problem at all!
Mochi dough
Makes 9–12 pieces | 20 minutes | 89 kcal
🖨️ Print PDF 📌 Save this pinOne, two, three – done! Yes, it really can be that quick to make perfect Mochi dough. Don’t be put off – just follow one of my simple guides for homemade Mochi dough, whether you’re using a frying pan, a steamer or a microwave. This way, you’re guaranteed to succeed in making these classic Japanese sweets. I’ll show you the key ingredients and all the steps, one by one!
Ingredients (for 9 to 12 Mochi)
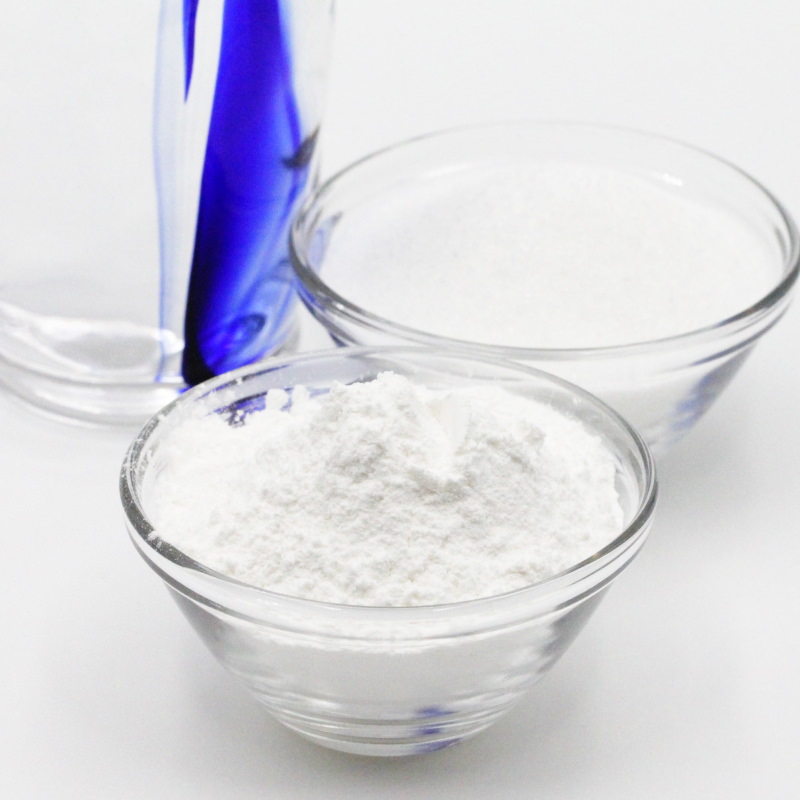
150 g glutinous rice flour (im Shop ansehen)*
100 g sugar
180 ml water
100 g Katakuriko (potato starch) (im Shop ansehen)*
Useful equipment:
Steamer (im Shop ansehen)
Preparation (20 minutes)
Step 1
Get the ingredients for the homemade mochi dough ready. Tip: It’s best to have the other ingredients for the filling etc. ready as well, as the Mochi dough should be used straight away whilst it’s still warm! Here you’ll find some delicious inspiration for Japanese Mochi recipes.
By the way, it’s best to lay out some baking paper and sprinkle a generous amount of cornflour over it using a sieve. After cooking, use a wooden spoon to transfer the Mochi dough straight from the bowl into the cornflour so it doesn’t stick!
Step 2
Sift the glutinous rice flour through a sieve into a medium-sized bowl, add the sugar and mix thoroughly with the water (or fruit juice, if preferred). You can also add other ingredients, such as Matcha, food colouring or coconut milk.
Tip: To begin with, the mixture will be very thick, almost lumpy. Don’t be put off! Just keep stirring with the spoon. The sugar will slowly dissolve and the dough will become runny again after a while.
If the mixture reminds you of icing, it’s ready.
Step 3 – in the pan
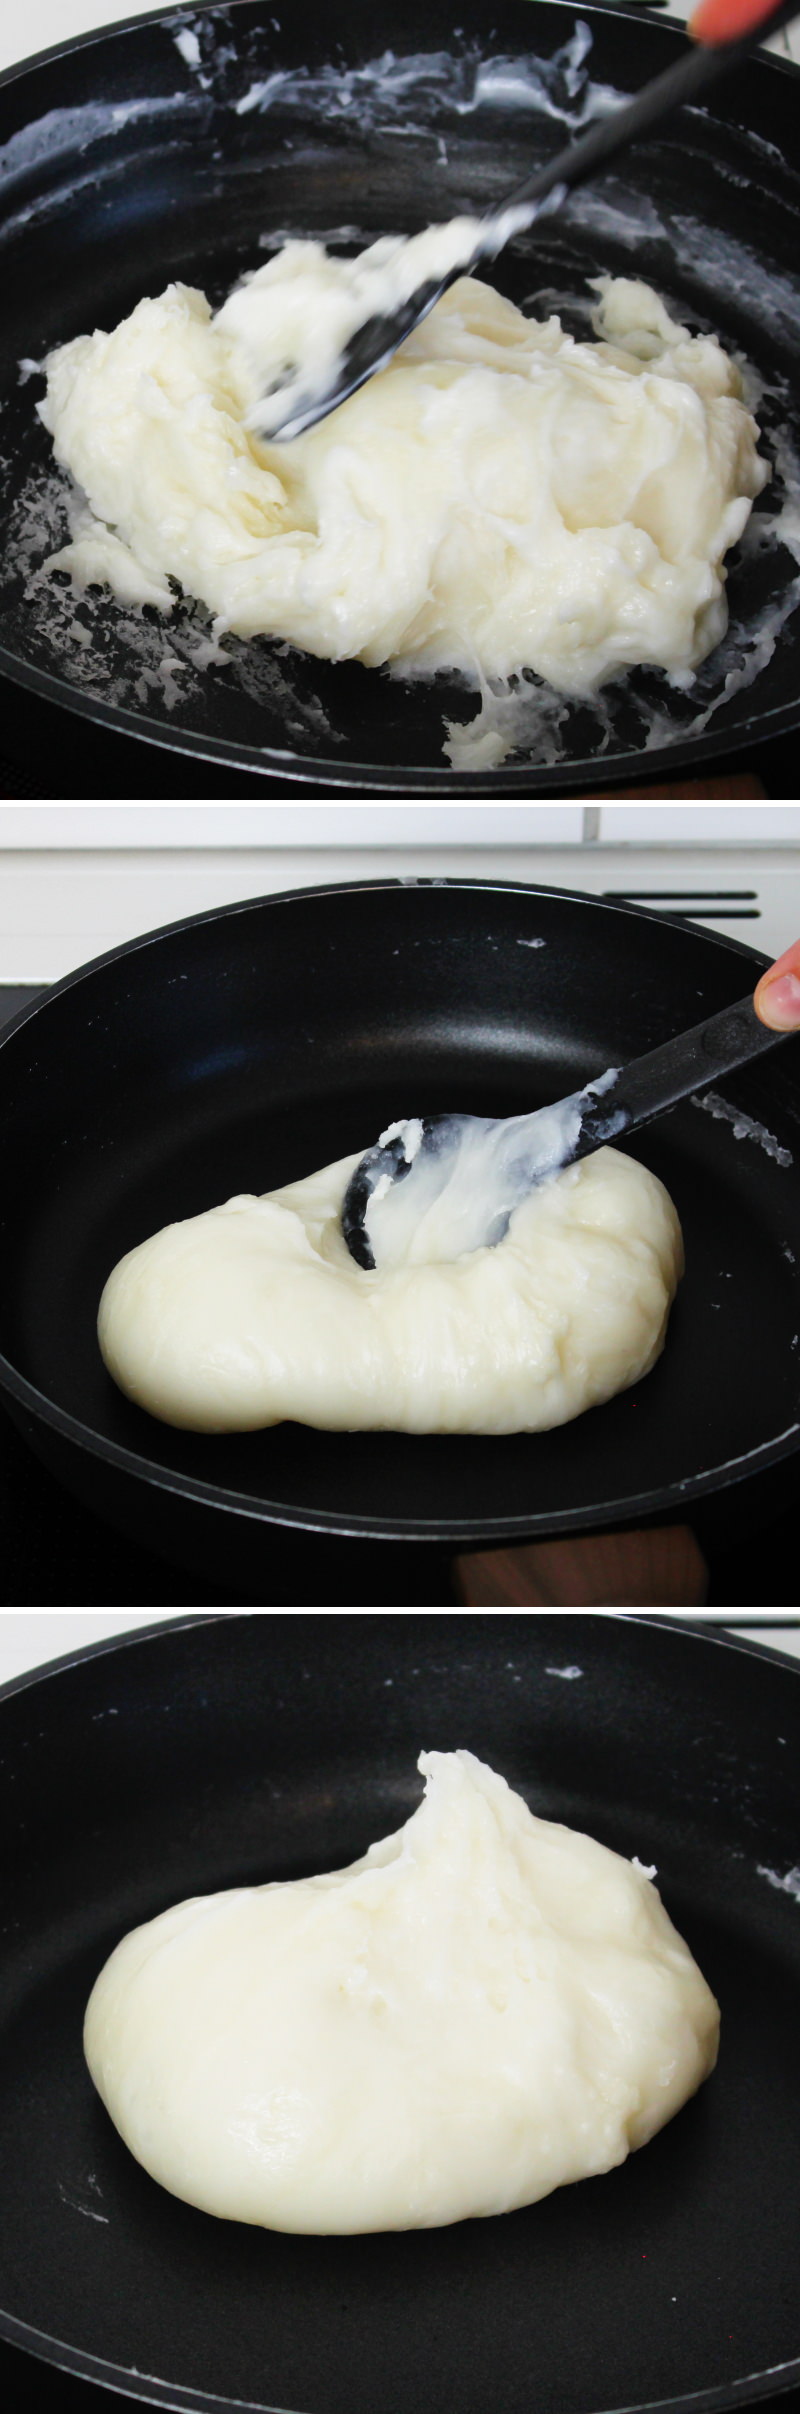
Pour the mochi batter into a non-stick pan with high sides. Gently heat the pan over a low to medium heat. Stir the dough continuously in the pan using a wooden or rubber cooking spoon. The mixture will gradually thicken and form lumps. Keep stirring thoroughly, constantly scraping and mixing in any bits that have stuck to the base and sides.
Step 4 – in the pan
After about 5 minutes, the batter will form a cohesive ball. Then continue to turn the batter in the pan for another 5 minutes, turning it and pressing it down onto the base of the pan with a wooden spoon. This becomes quite tiring after a while, but keep stirring and moving it.
When the dough looks translucent and has a lovely sheen, it is ready. It is best to spread it out straight onto cornflour; the dough can then be used as required by the recipe.
Step 5 – in the steamer
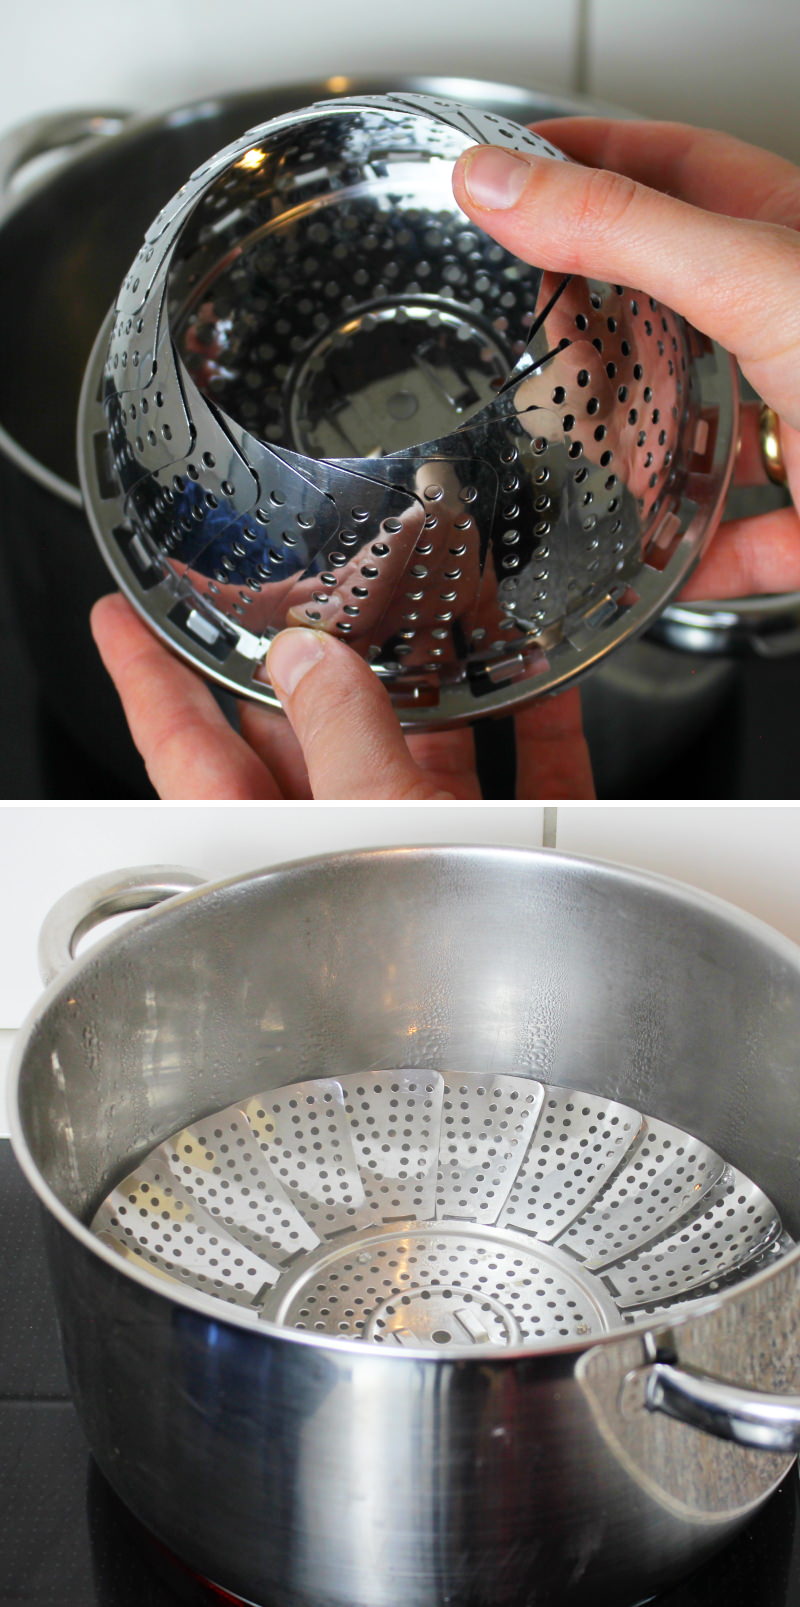
Fill a large saucepan (there should be enough room inside for the medium-sized bowl containing the dough) with water to a depth of about two fingers and place a steamer basket inside (only the legs of the steamer basket should be in the water). Bring the water to the boil.
Step 6 – in the steamer
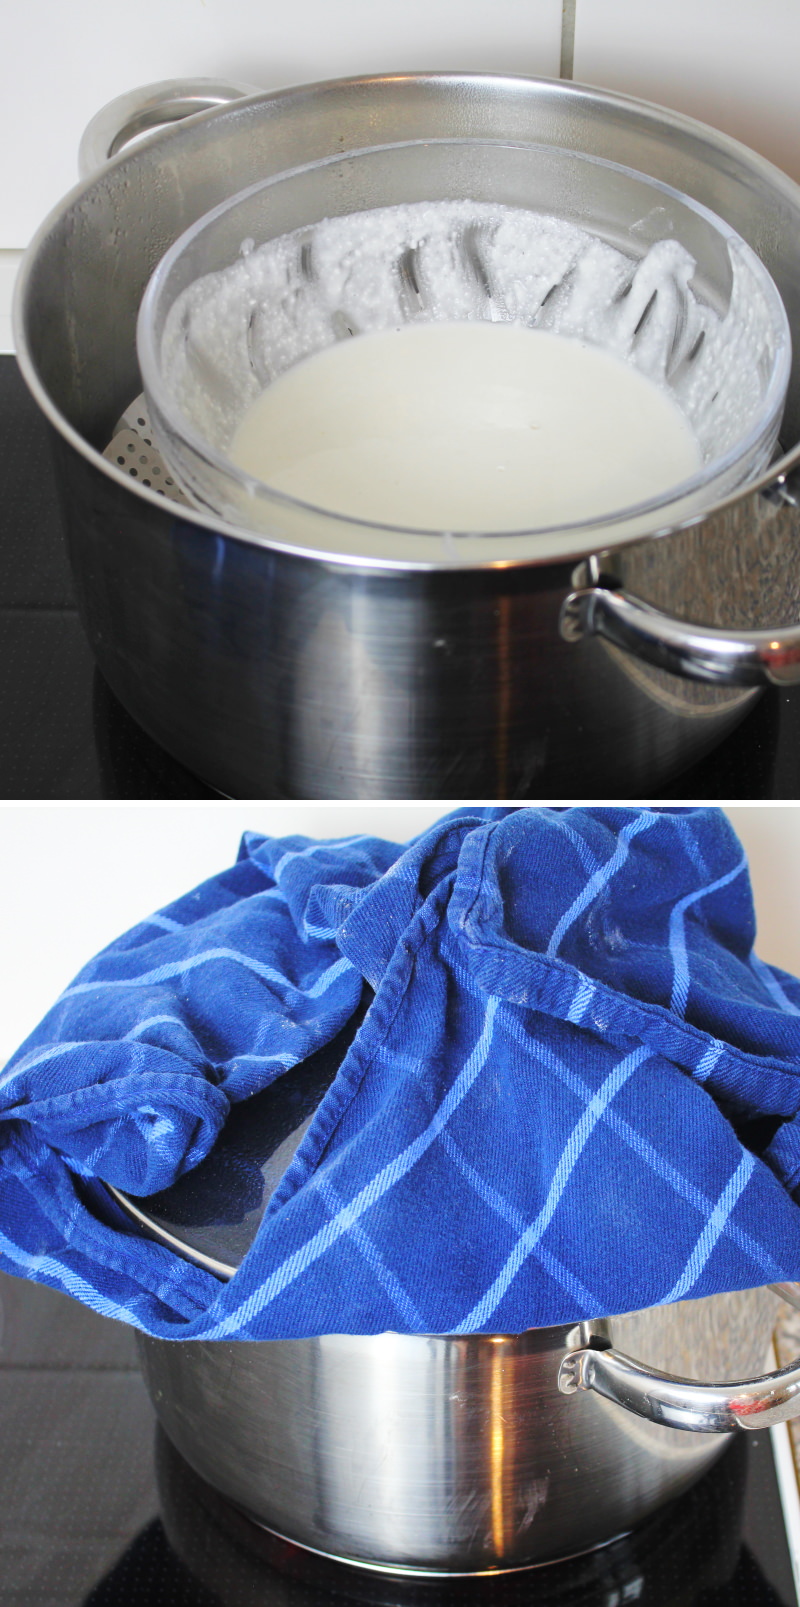
Place the bowl containing the dough into the steamer. Wrap the saucepan lid with a kitchen towel (to prevent condensation from dripping into the dough), fold the ends of the tea towel upwards and place the lid on the pot. Reduce the heat so that the water beneath the steamer is just simmering very gently. Steam the dough for 15 minutes.
Step 7 – in the steamer
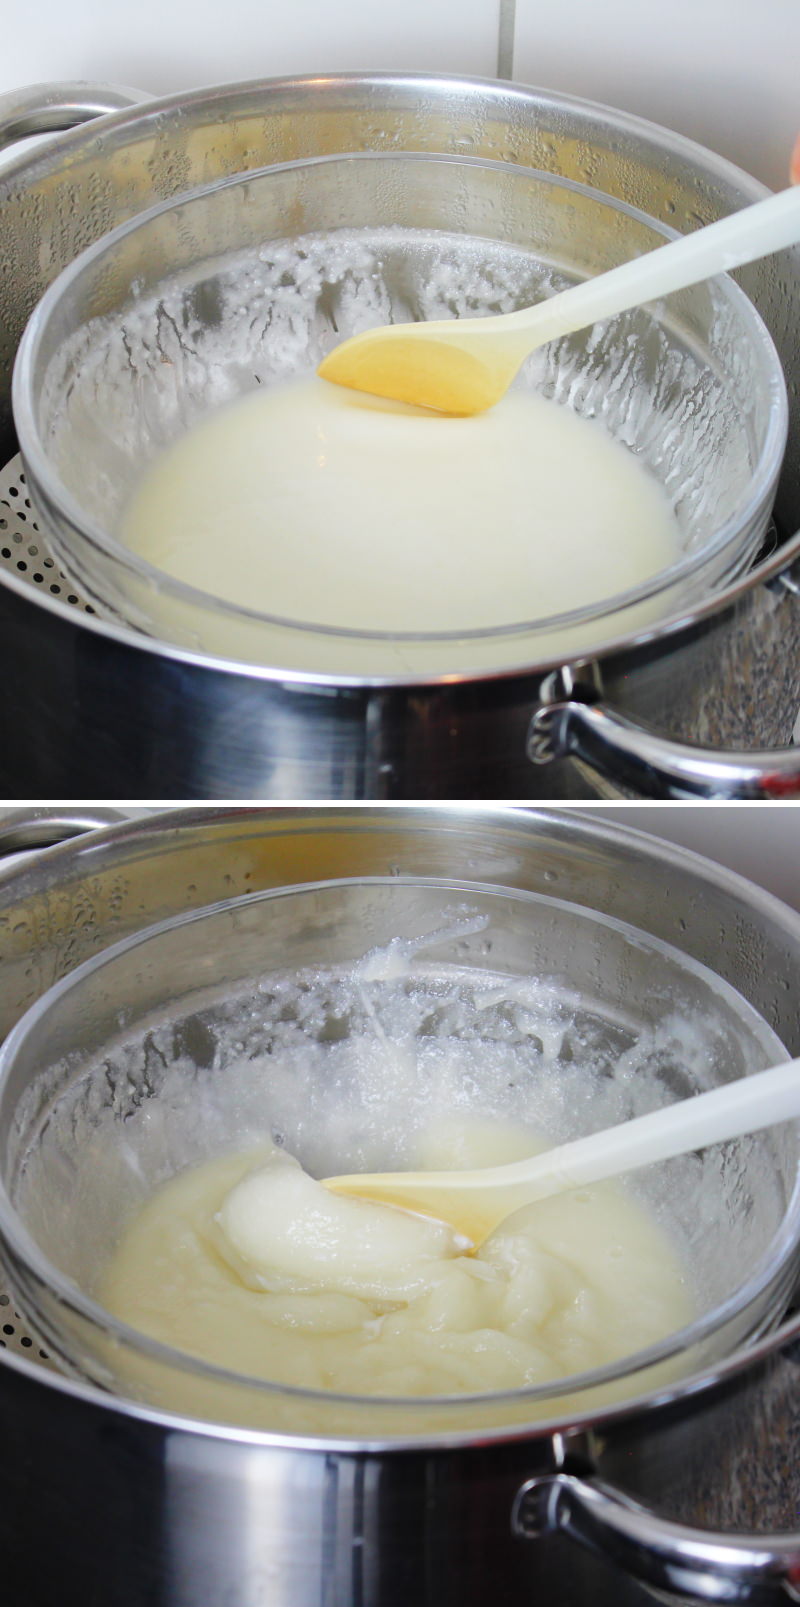
Halfway through the cooking time, remove the lid, stir the dough with a slightly damp spoon and replace the lid, including the tea towel. Caution: Risk of burns – please use oven gloves or pot holders!
Finish cooking the Mochi dough, then lift the bowl out. Stir the Mochi dough vigorously once more with a wooden spoon, spread it out on cornflour and proceed as per the recipe.
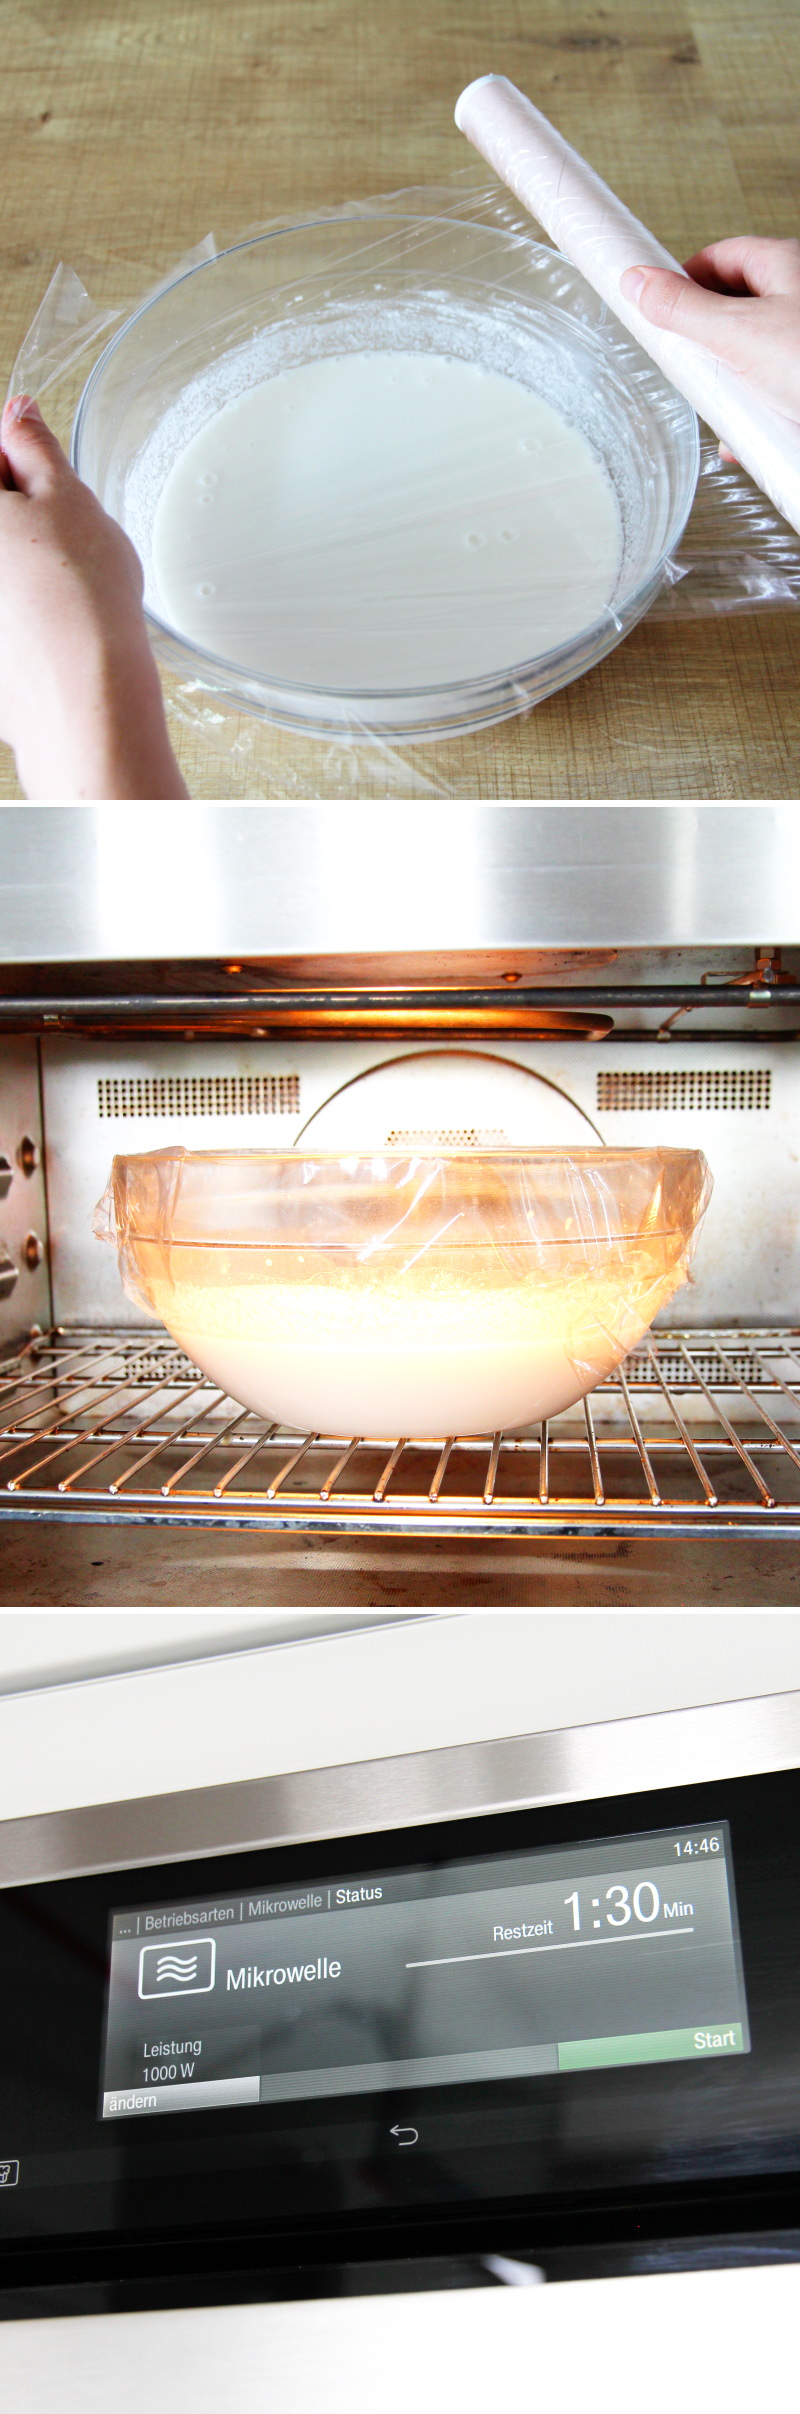
Step 8 – in the microwave
Cover the bowl containing the dough with special microwave-safe cling film, but do not seal the edges too tightly. Place the bowl in the microwave and heat for 90 seconds at 1000 watts.
Tip: The lower the power setting, i.e. the lower the wattage of your microwave, the longer you’ll need to cook the dough each time!
Remove the bowl and stir the mixture with a damp rubber spatula. Cover again and heat in the microwave for a further 90 seconds. Remove, stir, cover again and heat for a further 60 seconds.
Remove the Mochi dough from the microwave, give it another vigorous stir with a wooden spoon, spread it out on cornflour and proceed as per the recipe.
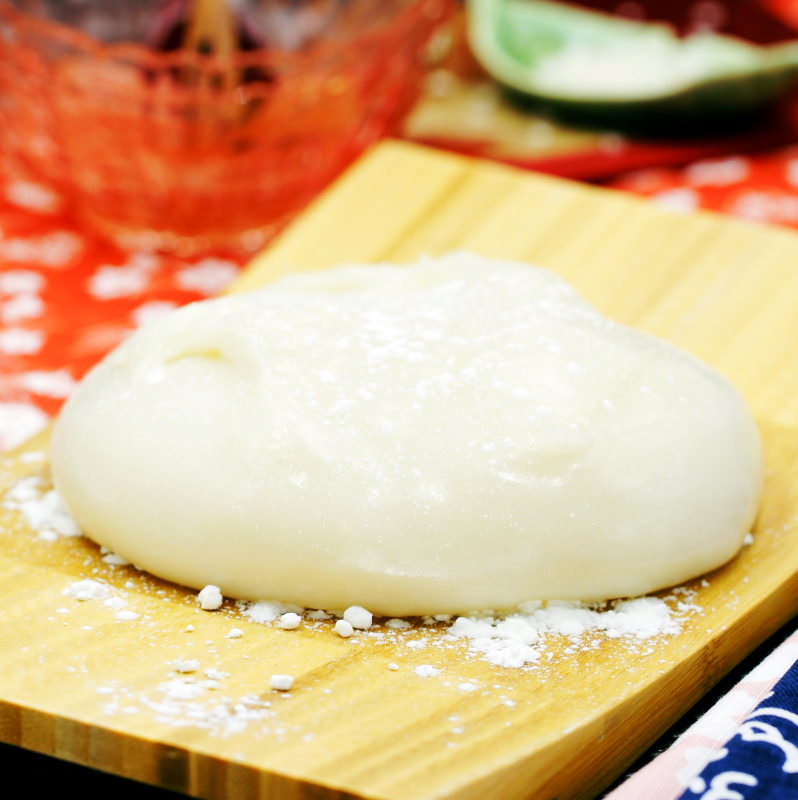
Step 9
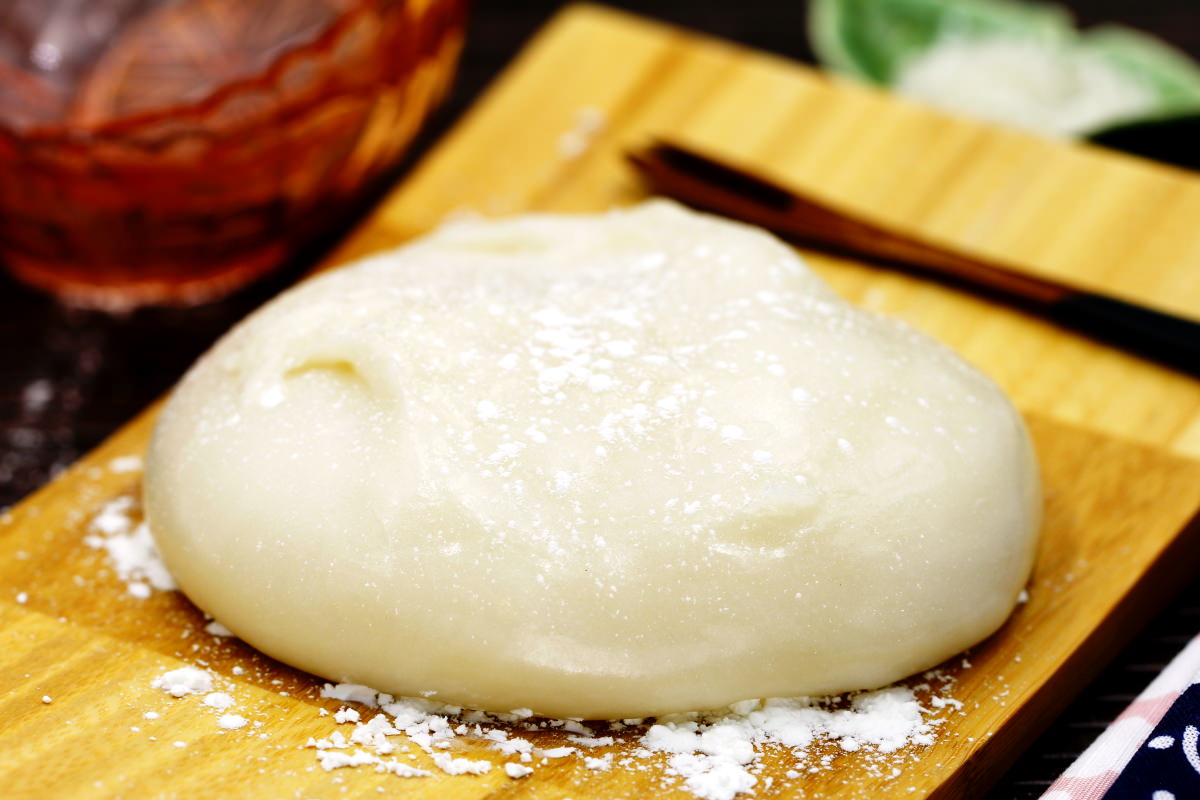
The Mochi dough is now ready; you can leave it to cool briefly (for about 5 minutes) and then use it straight away!
Are you looking for even more delicious Japanese sweets that will have you and your guests wrapped around your little finger? Here are my most popular recipes:
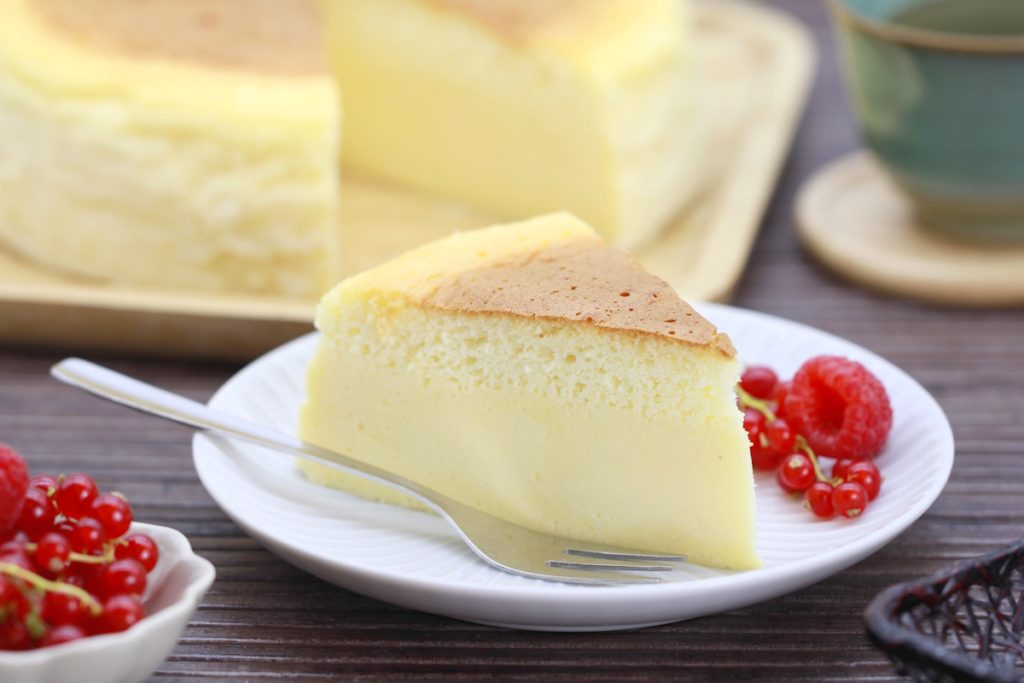
Japanese cheesecake: The best recipe for a fluffy soufflé-style cheesecake just like in Japan
Japanese cheesecake is one of Japan’s most popular desserts and delights with its exceptionally light…
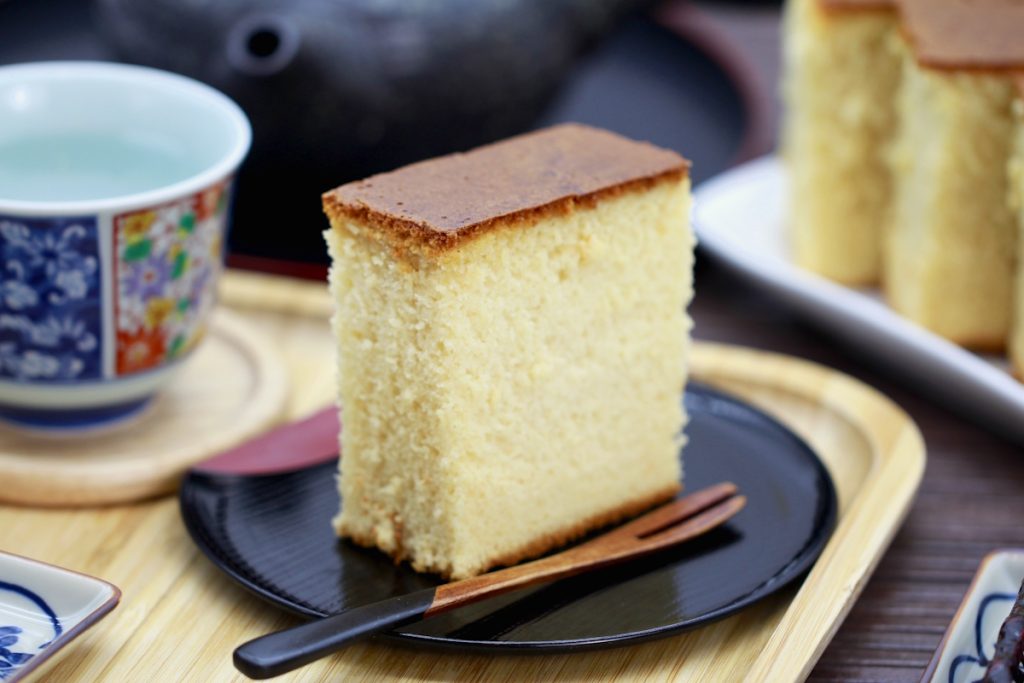
How to make Castella (Kasutera) yourself: How to make this Japanese honey cake
Why is Castella often described as Japan’s moistenest cake? Although Kasutera consists of just a…
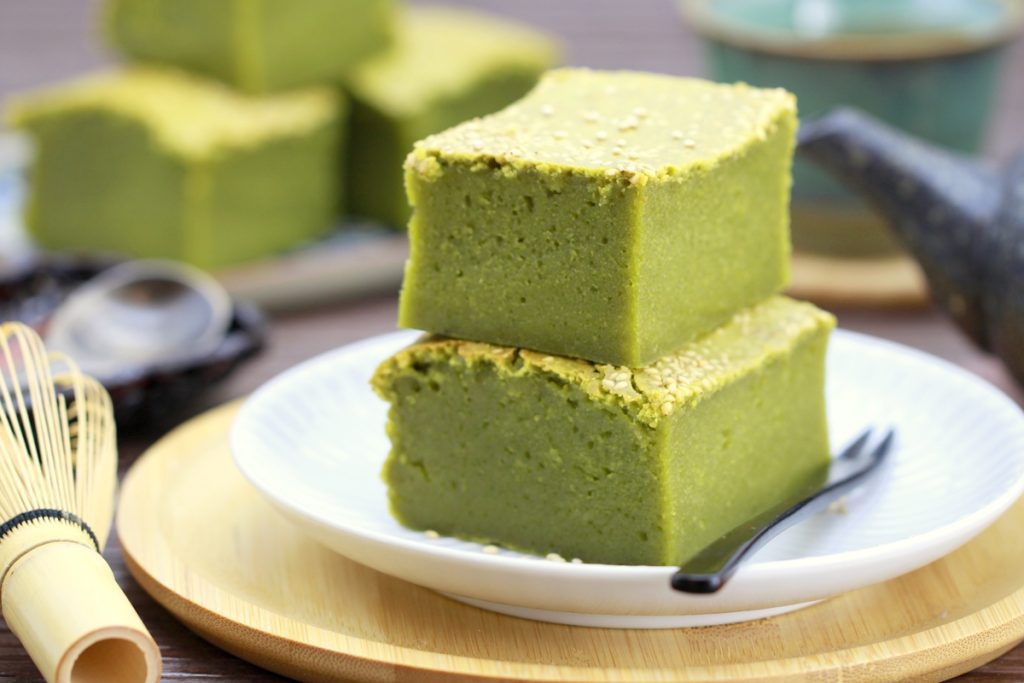
Make your own Matcha butter Mochi: Hawaiian Mochi cake with green tea
If you drink Matcha regularly, you might be familiar with this: at some point, you…
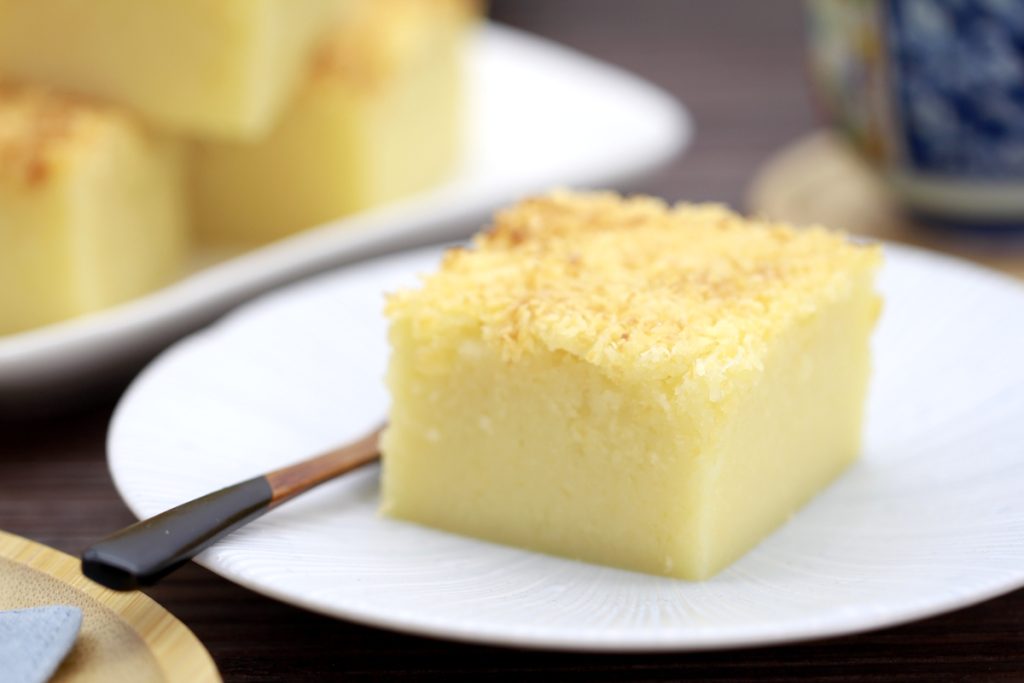
Butter Mochi (Hawaiian Mochi Cake – gluten-free)
Butter Mochi is one of those recipes that’s hard to pigeonhole. It looks like a…
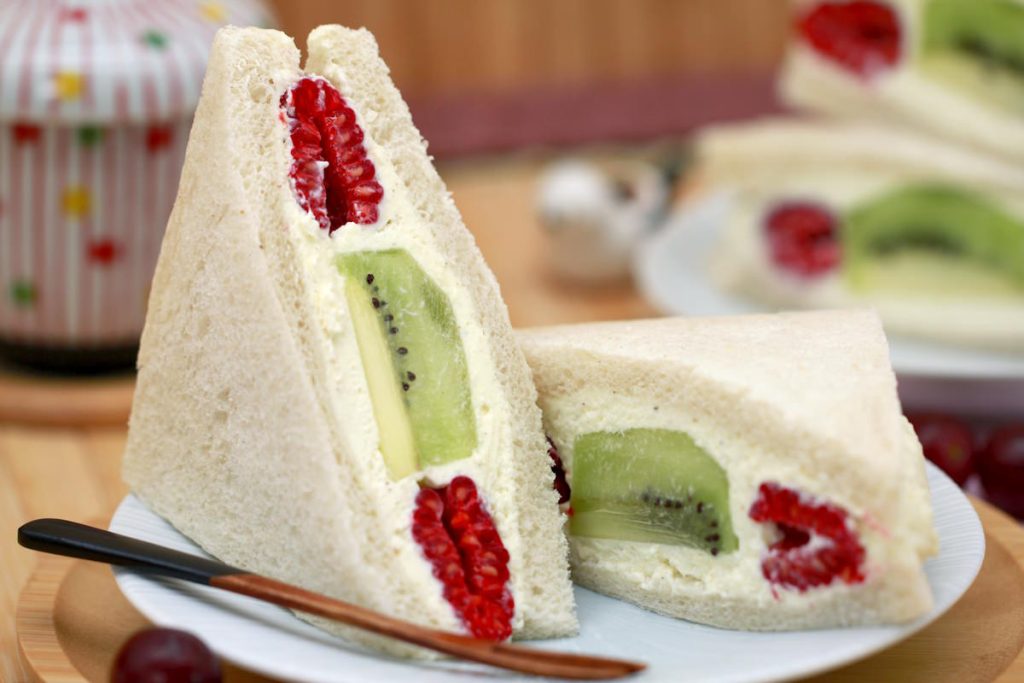
Make your own Fruit Sando: a fluffy cream sandwich with fruit – simple, fresh & typically Japanese
In Japan, it can remain surprisingly hot well into September – and it was on…
Warabi Mochi: Make your own delicate summer dessert with Kinako & Kuromitsu syrup
When the weather warms up, the appetite for light, refreshing sweets grows in Japan –…
Have you tried out the recipe? Let me know in the comments – I can’t wait to hear from you.