Sprache:
Oishii! Everyone really loves this food trend from Japan: homemade Mochi ice cream. A treat on hot summer days and a completely different way to serve creamy fruit ice cream as a dessert or simply as a snack between meals. And the best bit? This recipe is guaranteed to work, because here you’ll find some really helpful tips!
I can’t even remember when I first tried Mochi ice cream… Well, it’s really taken off since then! Everyone knows it, many love it, but very few have ever made Mochi ice cream at home themselves.
To be honest, when I tried to make Mochi ice cream for my family, I felt like throwing everything out of the kitchen through the closed window… I just couldn’t get it right, even though everyone claimed it was supposed to be dead easy. Seriously, the ice cream melted in the warm mochi dough, it slipped out the sides, the mochi dough tore because the dough was too cold… Goodness me, it was a right mess!
TOP RECOMMENDATION
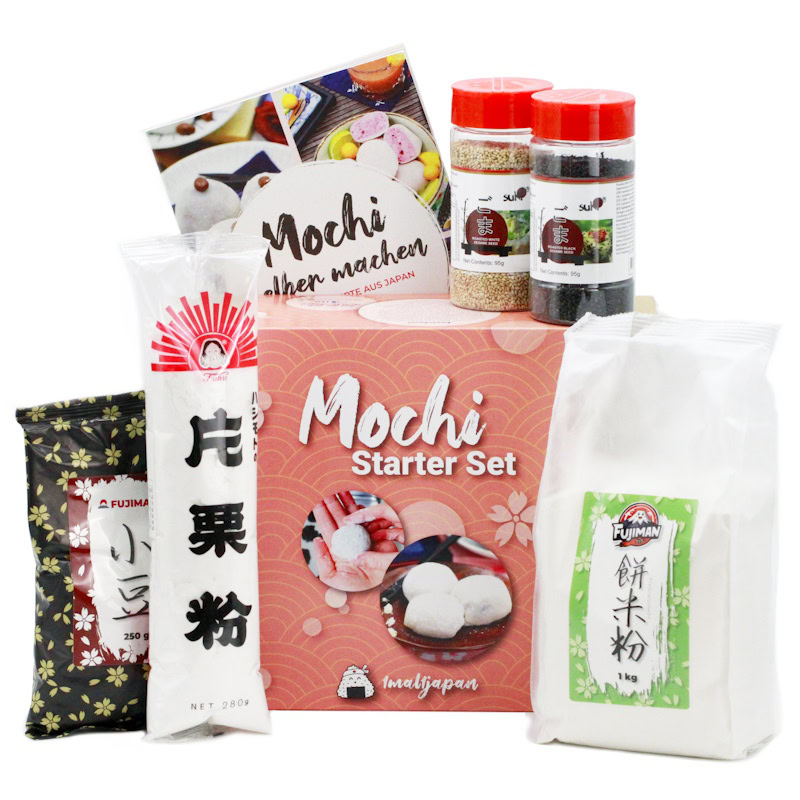
Mochi Starter Set | Klebreiskuchen selber machen, vegan
6-tlg. Kochset für 4 große Portionen Klebreiskuchen, inkl. Rezeptheft, glutenfrei & vegan. Mit dem Mochi Kochset stellst du japanische Reiskuchen ganz einfach selbst her –…
In stock
In the meantime, I’ve simply put together my own set of instructions, which ensures my Mochi ice cream turns out perfectly every time without a hitch! My recommendation, in a nutshell: make sure you use a muffin tin (or lots of small cups or moulds) and some cling film. Yes, that’s all that’s been missing from your Mochi happiness so far 😉!
With the help of the muffin tin, the ice cream can’t melt anywhere, and with the cling film, the mochi dough is wrapped around the ice cream balls in no time… Because what counts here is time! Making mochi ice cream is a race against freezing point.
By the way, today I’m showing you my son’s favourite recipe – he can never wait for me to get the next batch of Mochi ice cream out of the freezer – it’s absolutely lovely to see his eyes light up with excitement. The great thing is that this recipe is so simple that he can even help out 🥰!
My little boy loves my Mochi ice cream best of all, which I make using delicious fruit juices instead of water in the Mochi batter. Great for children, but in summer everyone else will really enjoy the freshness and delicious sweetness too.</ strong> You can choose whatever you like – this time I’ve gone for pomegranate, guava and pineapple. We’ll use these, along with glutinous rice flour and sugar, to make three different mochi doughs and cook them one after the other in the steamer.
Tip
It should also work with a different type of glutinous rice flour, but be careful, please DO NOT use any ‘normal’ rice flour! It absolutely must be sticky, glutinous rice flour (im Shop ansehen) for the Mochi to turn out properly. You can also cook the dough in a non-stick pan or in the microwave. It’s best to follow my simple instructions in the recipe for Mochi dough.
Either way, once cooked, we’ll roll out the dough and cut it to size.
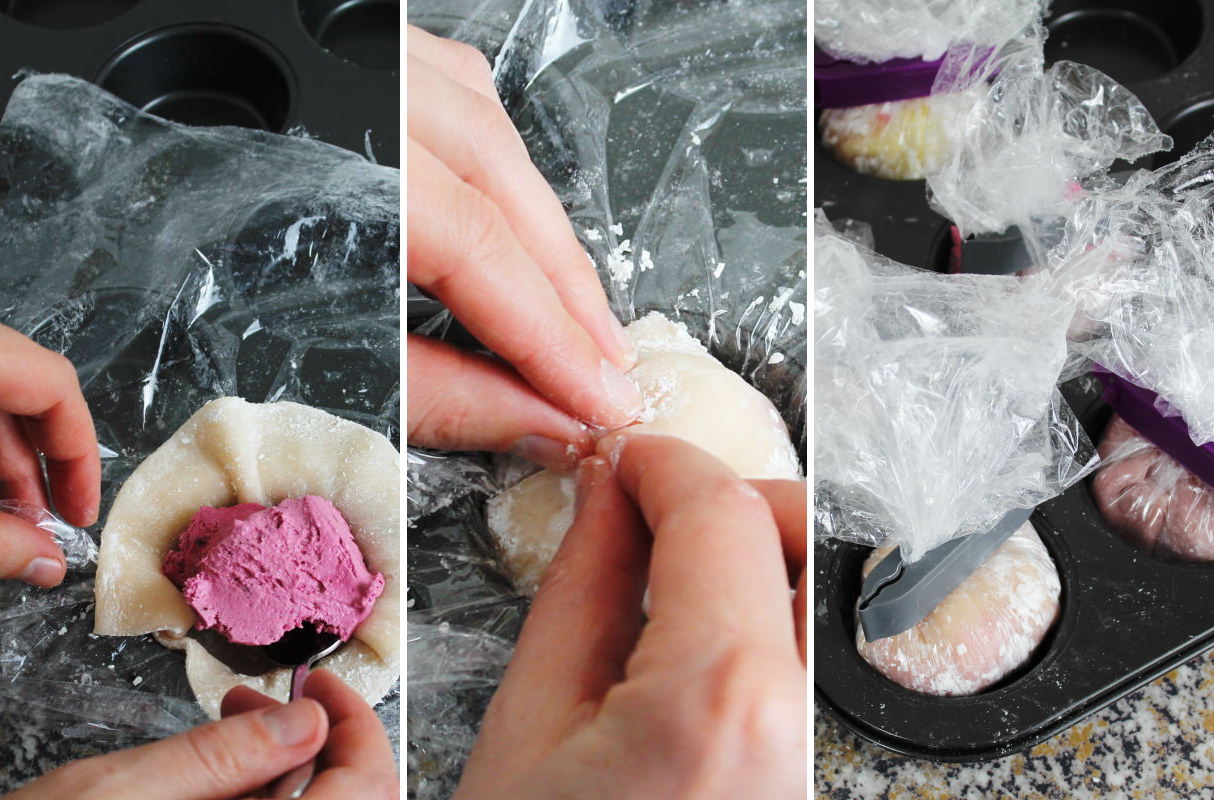
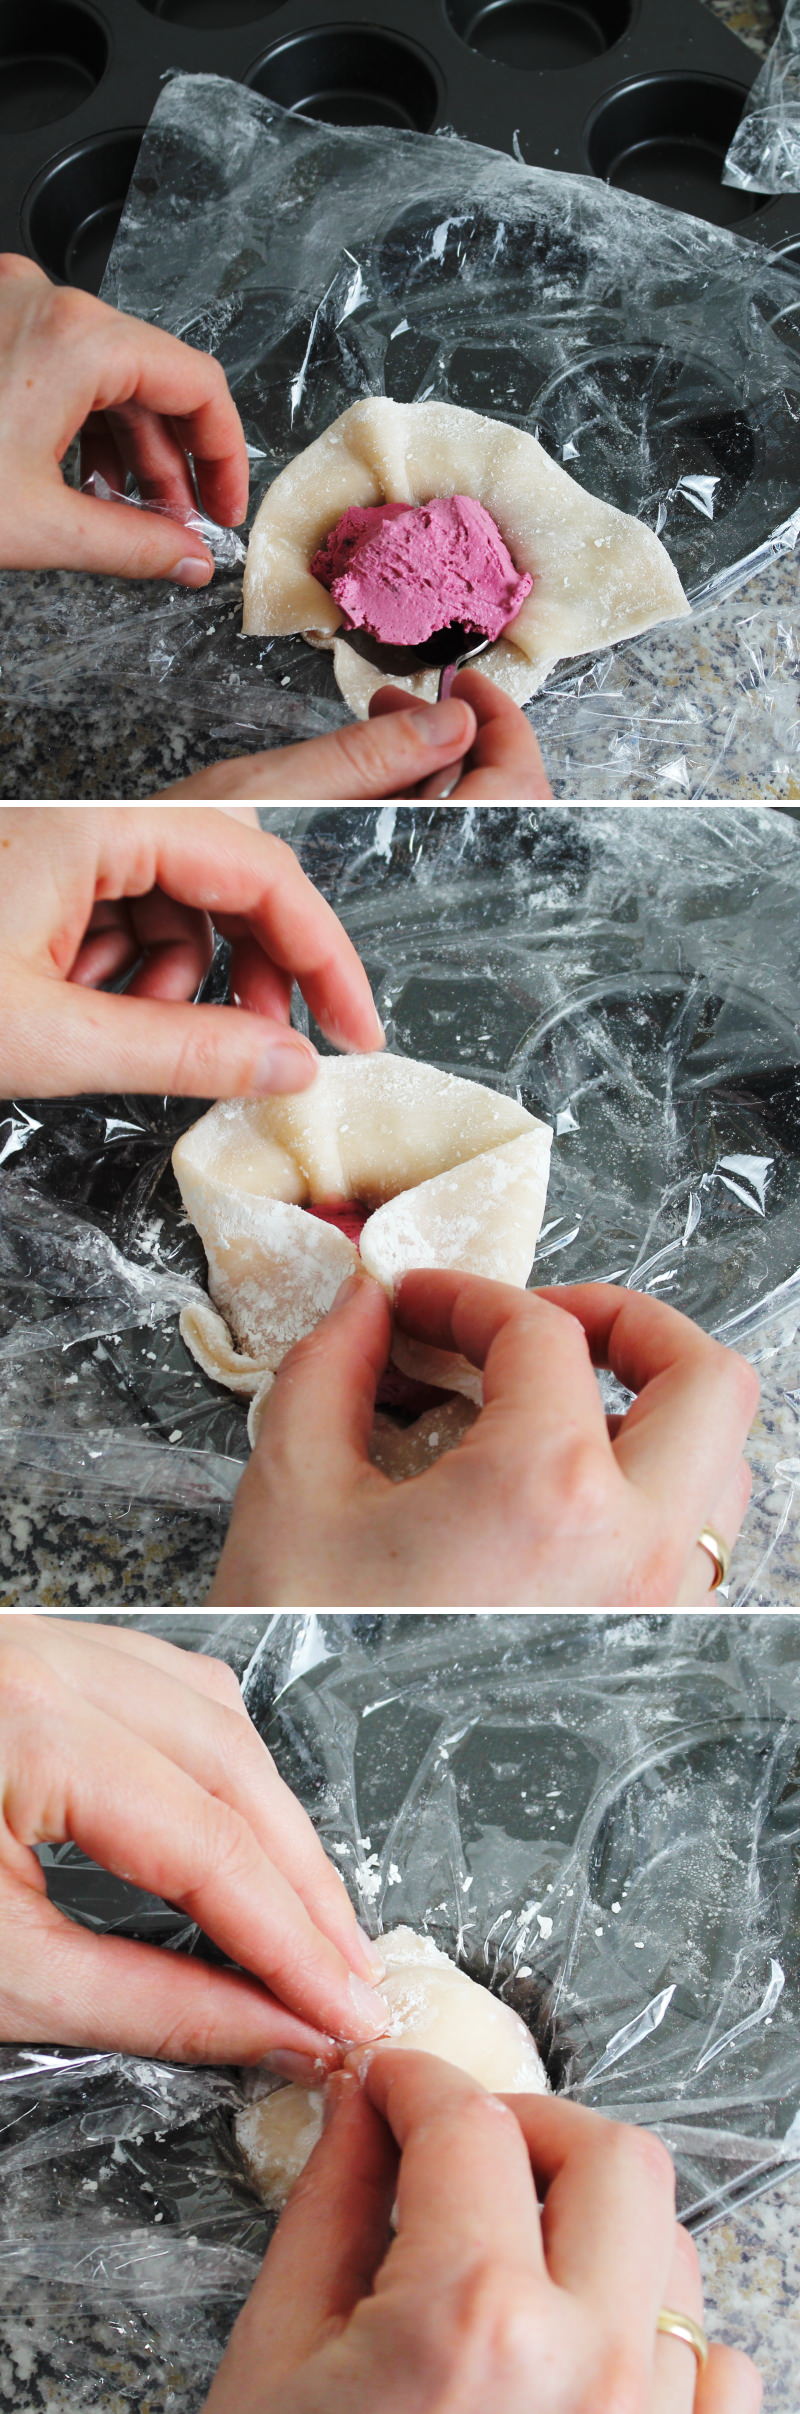
We then chill the individual pieces of dough in the fridge for 30 minutes, after which we can start shaping them. To do this, place each piece of dough, still wrapped in cling film, into one of the muffin cases on the tray. Place a scoop of ice cream in the centre and press the overhanging edges of the dough firmly together over the ice cream using your fingertips.
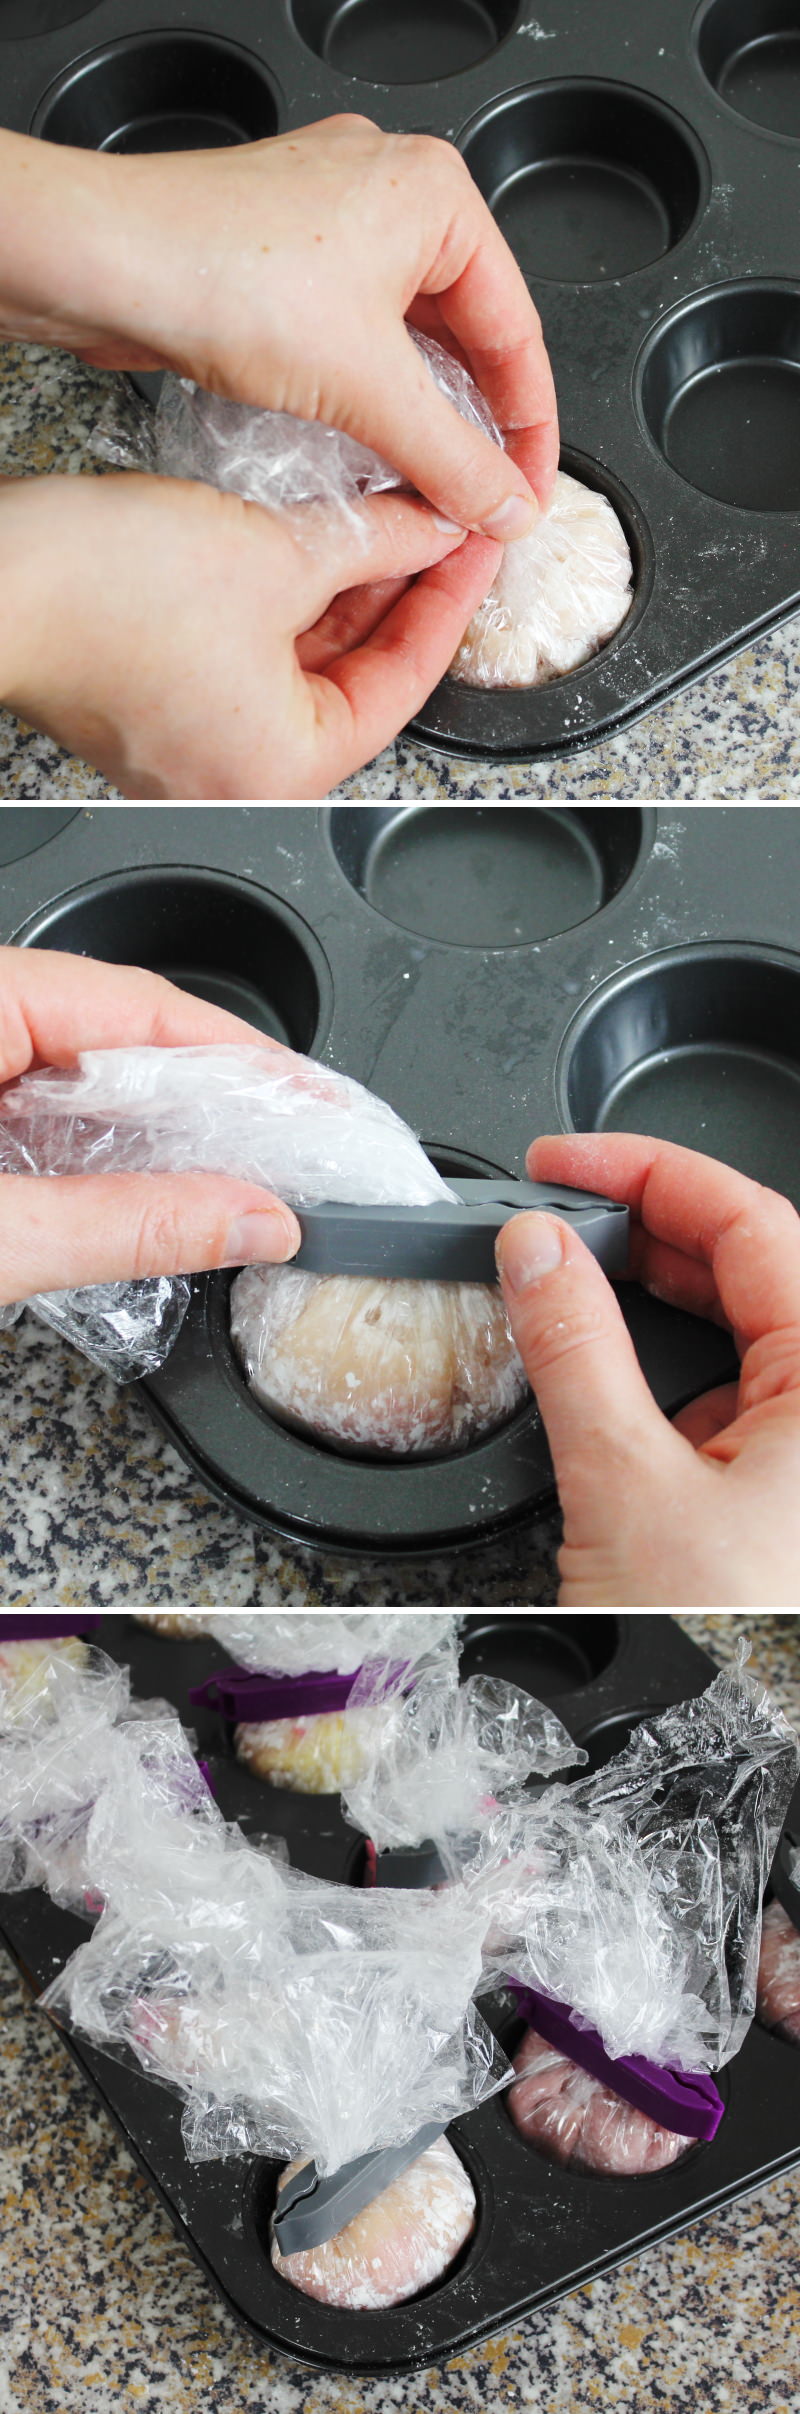
Gather the cling film at the top and seal it, ideally with a clip. Place the muffin tray with the Mochi back in the freezer and leave them to freeze completely for about 2 hours (or perhaps overnight)!
By the way, today I’ve gone for creamy blackberry ice cream. Delicious! But you can also use any other ice cream, or of course homemade sorbet or similar. If you choose light vanilla ice cream, for example, the different colours of the mochi dough really stand out.
The most popular flavours are Mochi ice cream with…
- Mango
- Coconut
- Vanilla
- Chocolate
- Matcha
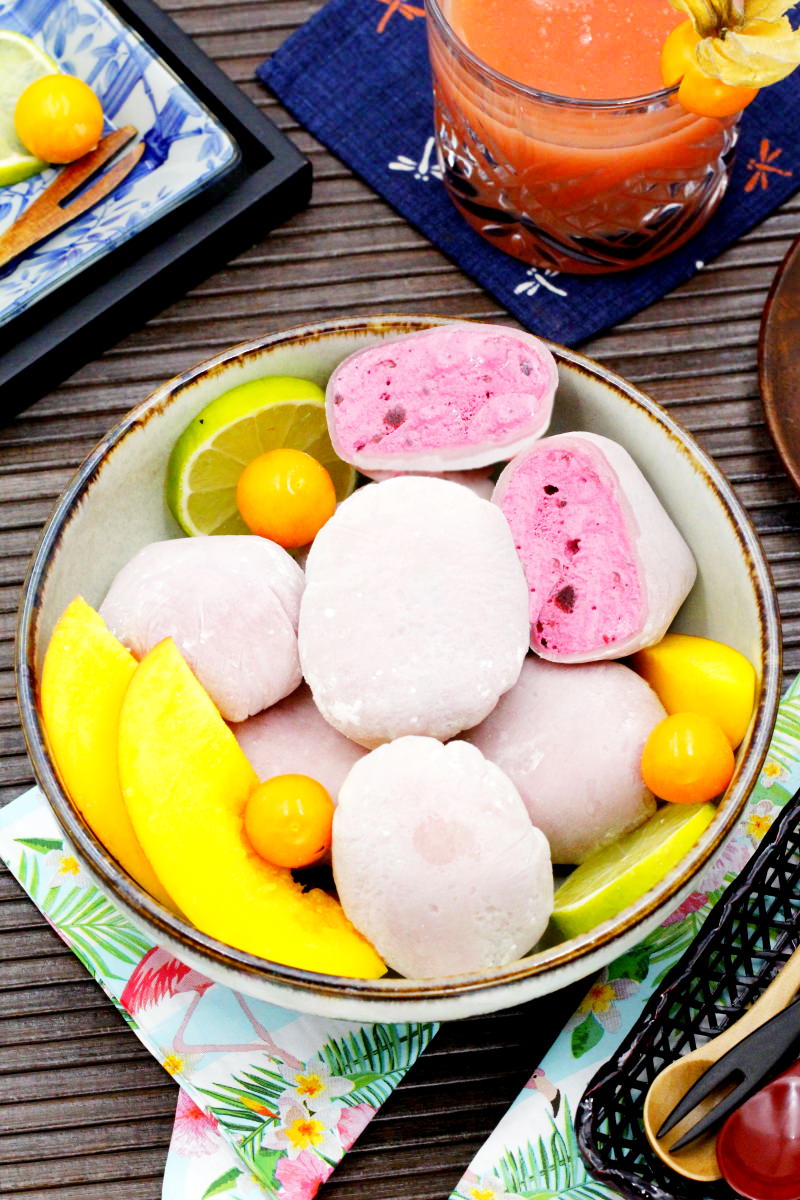
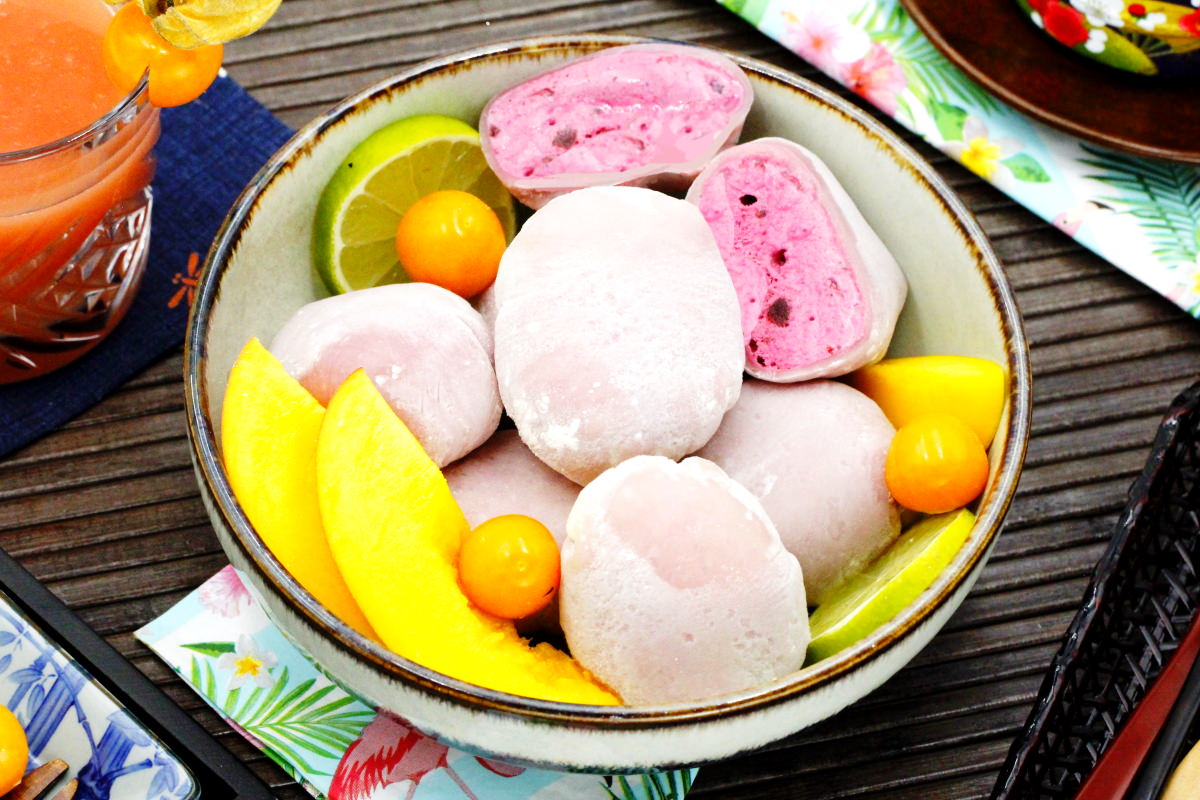
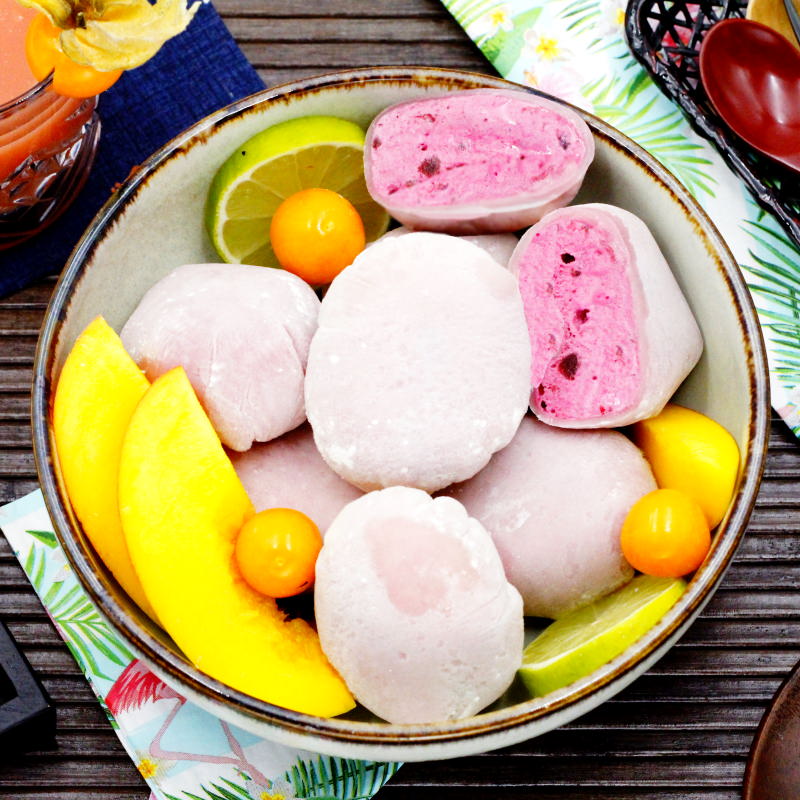
To serve, simply open the clip and remove the cling film. Yes, it’s ready! I prefer to serve mochi ice cream straight from a large bowl so everyone can help themselves. We always add some fresh, slightly tart fruit, which I arrange attractively around the edge. A small attempt to resist the sugar…!
I look forward to hearing more about your Mochi ice cream experiences. Share your preparation tips and favourite variations with us! We’re curious to see which methods you try out and what secrets you can reveal for achieving the perfect consistency.
Do you have any questions about the recipe or would you like to share your Mochi ice cream creations with the community? Simply leave a comment below this post. Have fun frying and enjoy your homemade karaage!
Mochi Ice Cream
Makes 9 | 45 minutes | 173 kcal
🖨️ Print PDF 📌 Save pinOishii! Everyone really loves this food trend from Japan: homemade Mochi ice cream. It’s a treat on hot summer days and a completely different way to serve creamy fruit ice cream as a dessert or simply as a snack between meals. And the best bit? This recipe is guaranteed to work, because here you’ll find some really helpful tips!
Ingredients (9 pieces = 3 portions)
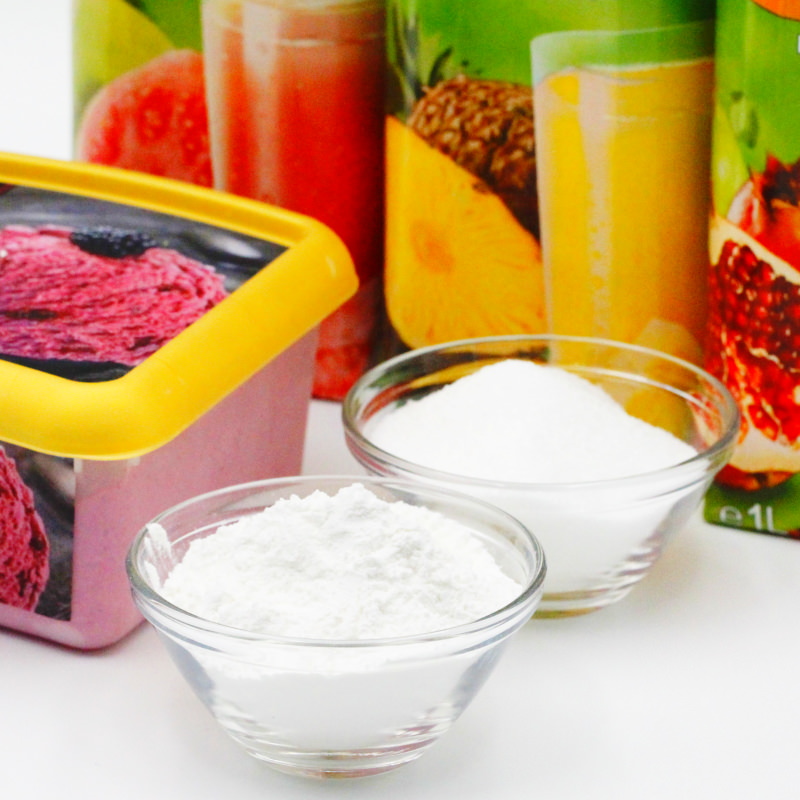
150 g glutinous rice flour (im Shop ansehen)*
90 g sugar
180 ml 3 different fruit juices (e.g. 60 ml pomegranate juice, 60 ml guava juice and 60 ml pineapple juice)
400 g ice cream (e.g. fruit or milk ice cream, sorbet)
100 g Katakuriko (potato starch) (im Shop ansehen)*
Useful tools:
Steamer (im Shop ansehen)
Preparation (45 minutes + cooling time)
Step 1
Prepare the ingredients for the homemade, fruity Mochi ice cream. You will also need a muffin tin and cling film.
Tip: It’s best to make the Mochi ice cream the day before, as the chilling times make the preparation take a little longer!
Step 2
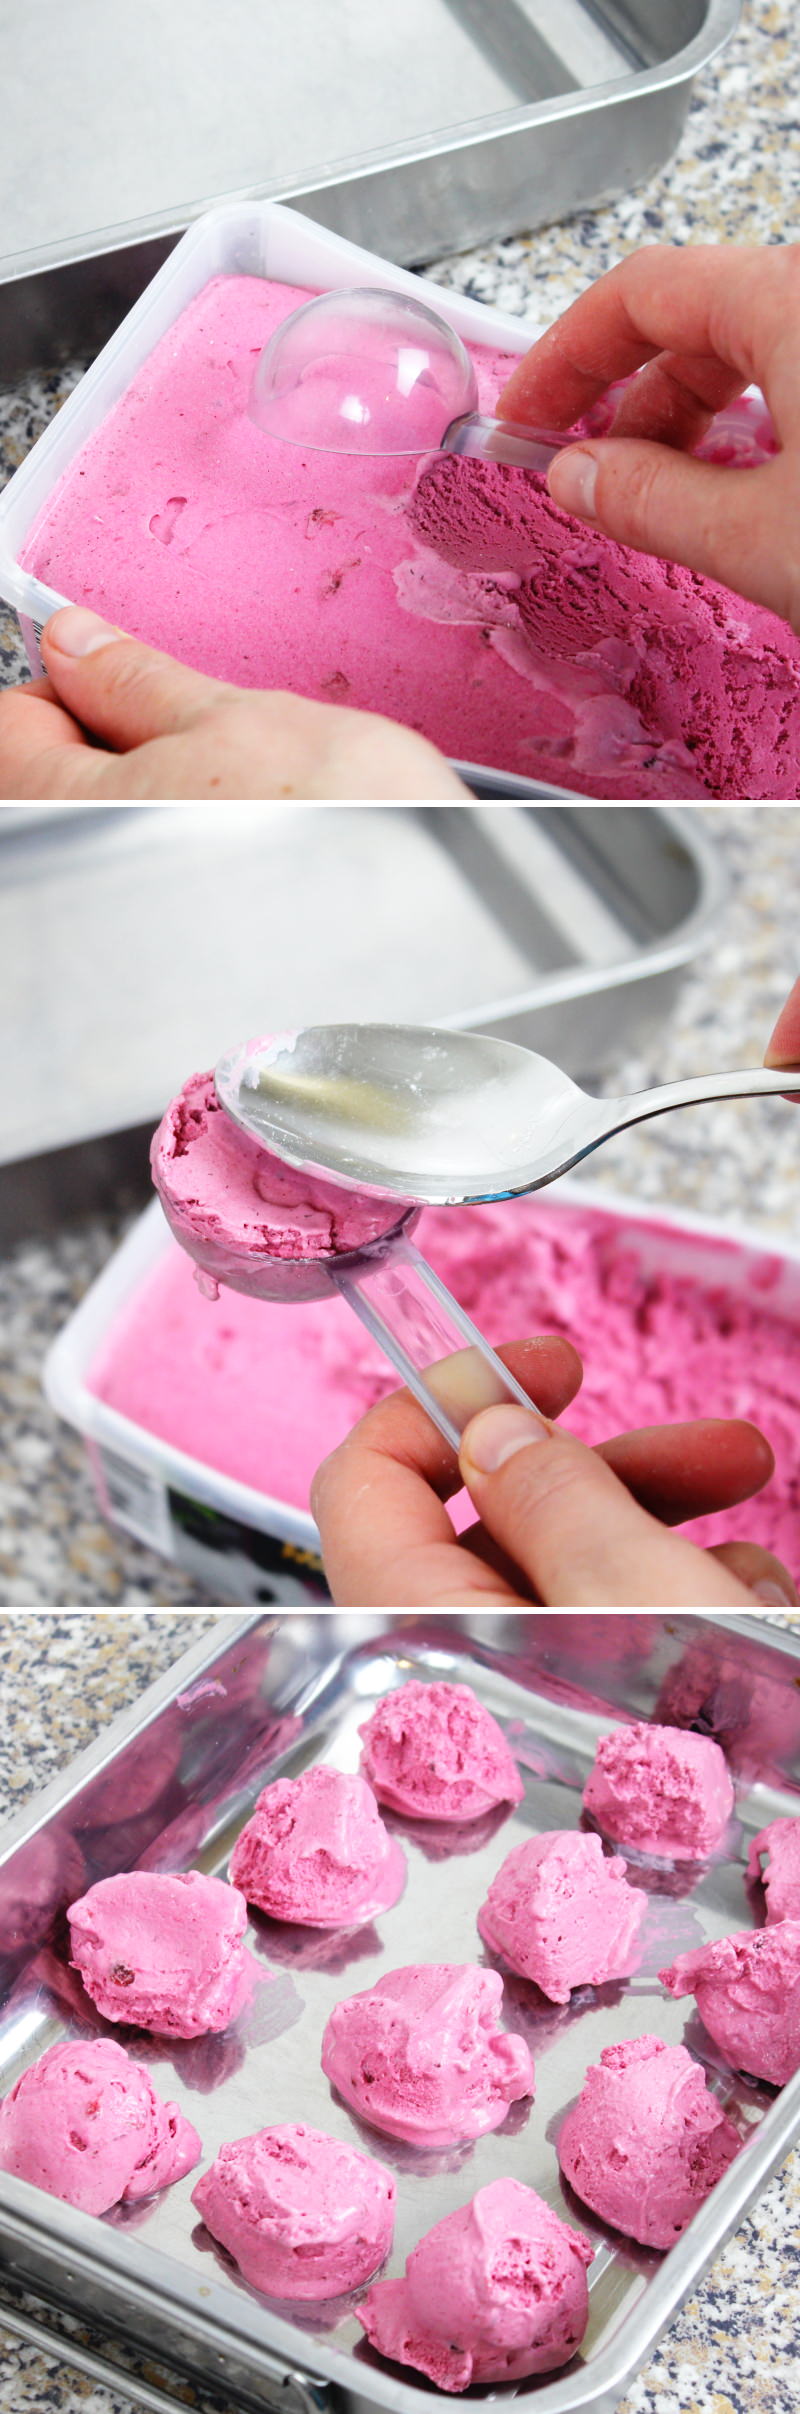
First, we’ll handle the filling: </ strong>To do this, scoop the ice cream using an ice cream scoop or a large tablespoon to form 9 large scoops. Fill the spoon tightly and completely with ice cream so that there are no air pockets in the finished Mochi ice cream later on. It’s best to work quickly so that the ice cream doesn’t melt. Place all the scoops on a plate and put them straight into the freezer .

Step 3
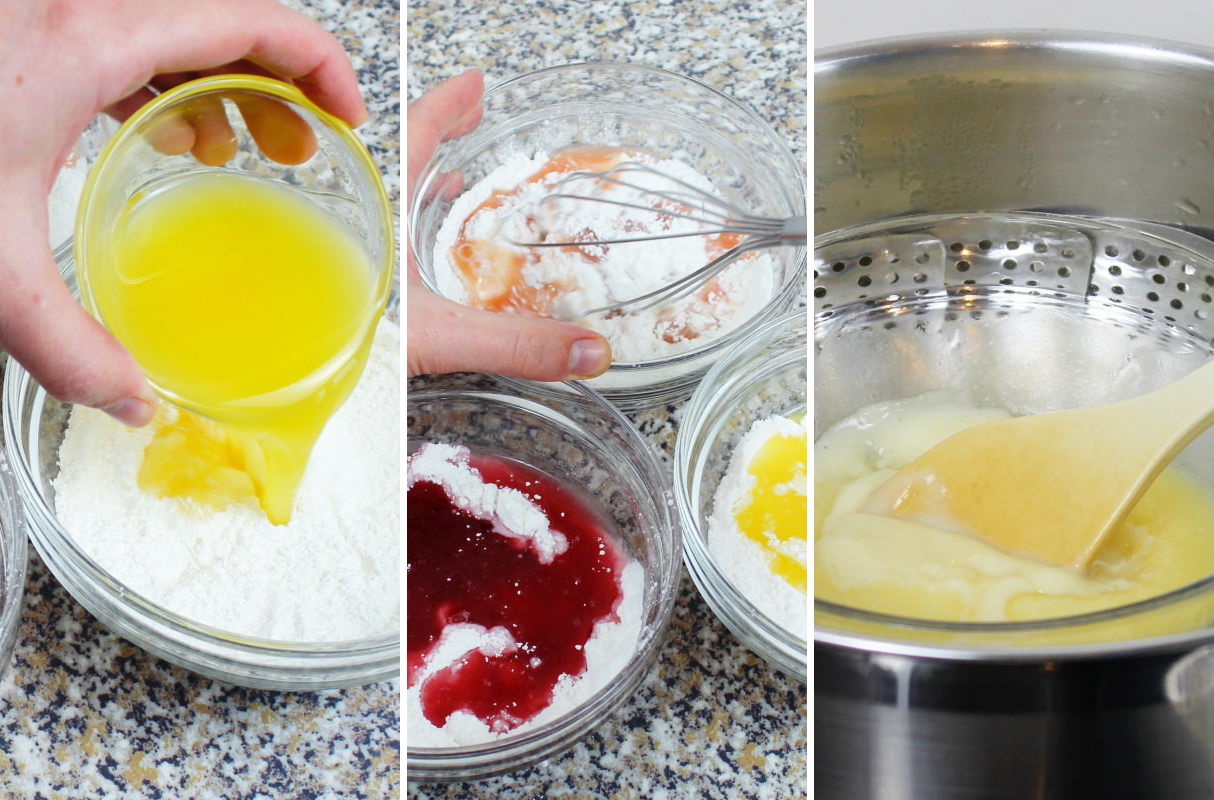
For the mochi dough, divide the glutinous rice flour evenly between three small bowls (i.e. 3 x 50 g glutinous rice flour) and add 30 g sugar to each bowl.
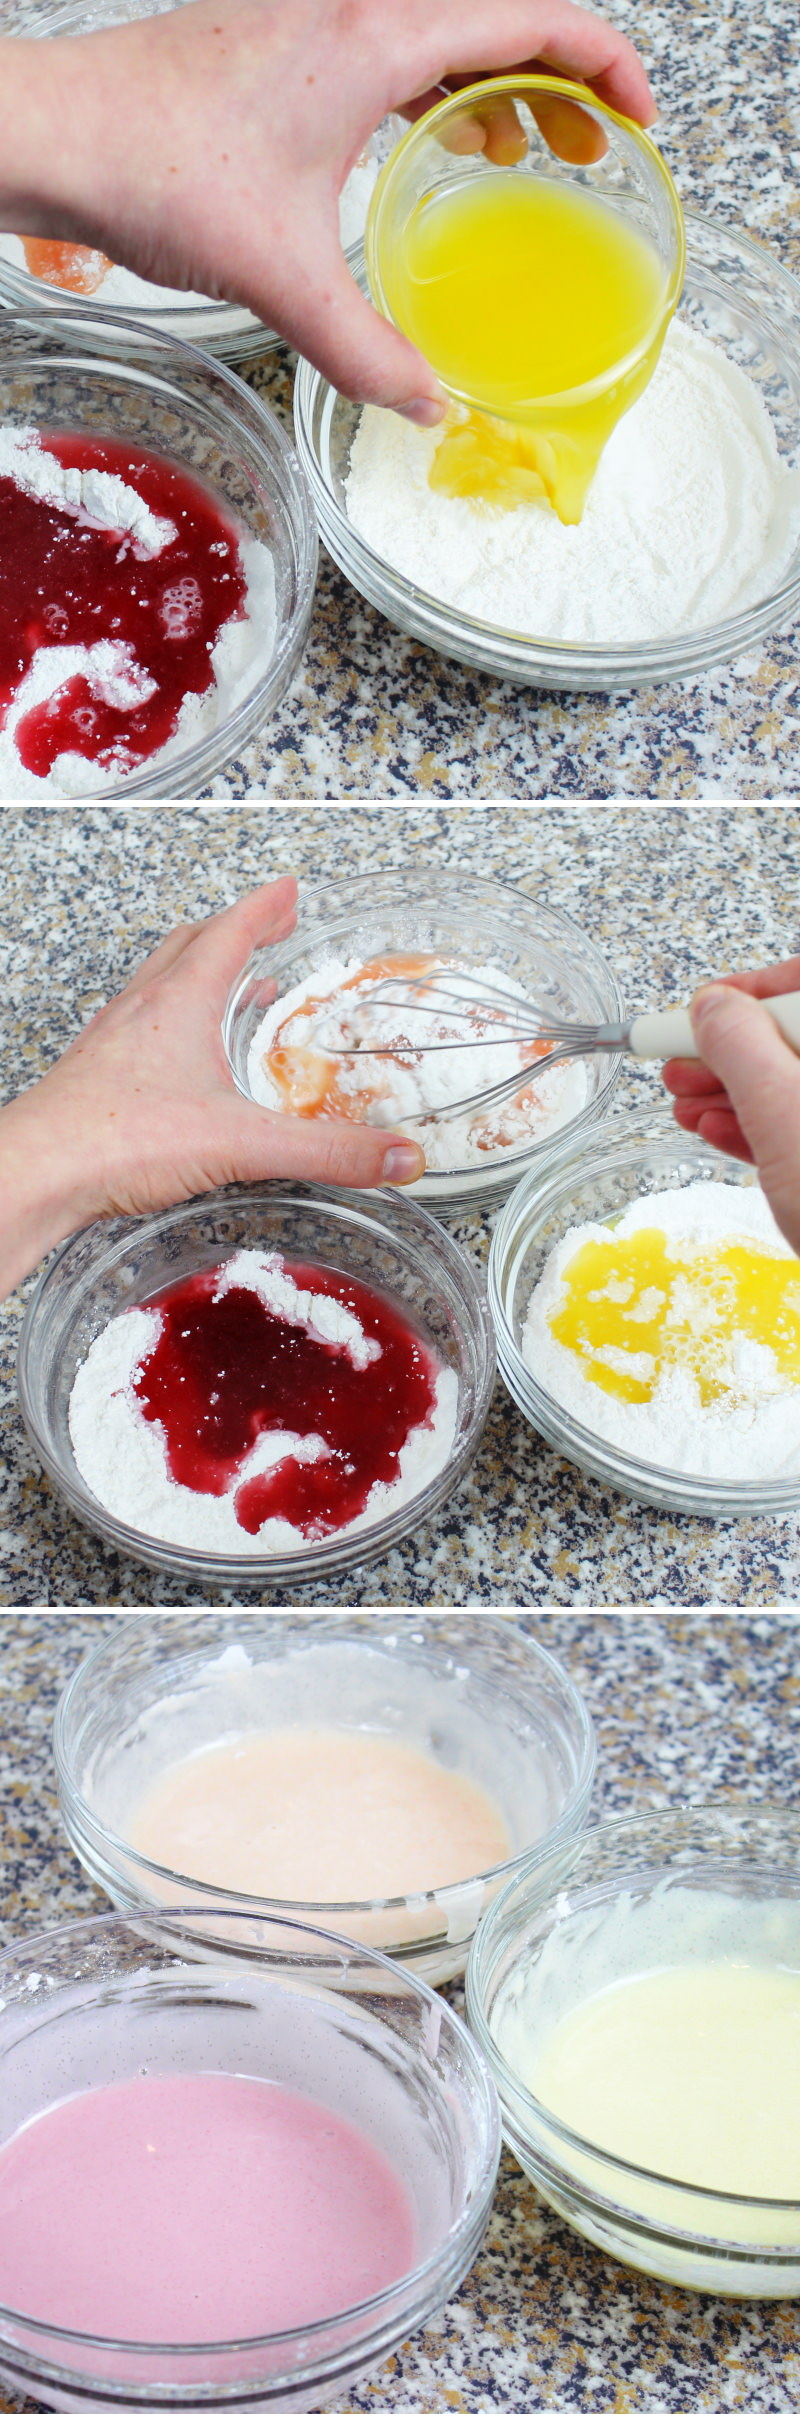
Step 4
Add one of the three juices to each bowl (3 x 60 ml of fruit juice) and mix the batter with a whisk.
Tip: At first, the mixture will be very thick, almost lumpy. Don’t be put off! Keep stirring with a spoon. The sugar will slowly dissolve and the batter will become runny again after a while.
If the batter reminds you of coloured icing, it’s ready.
Step 5
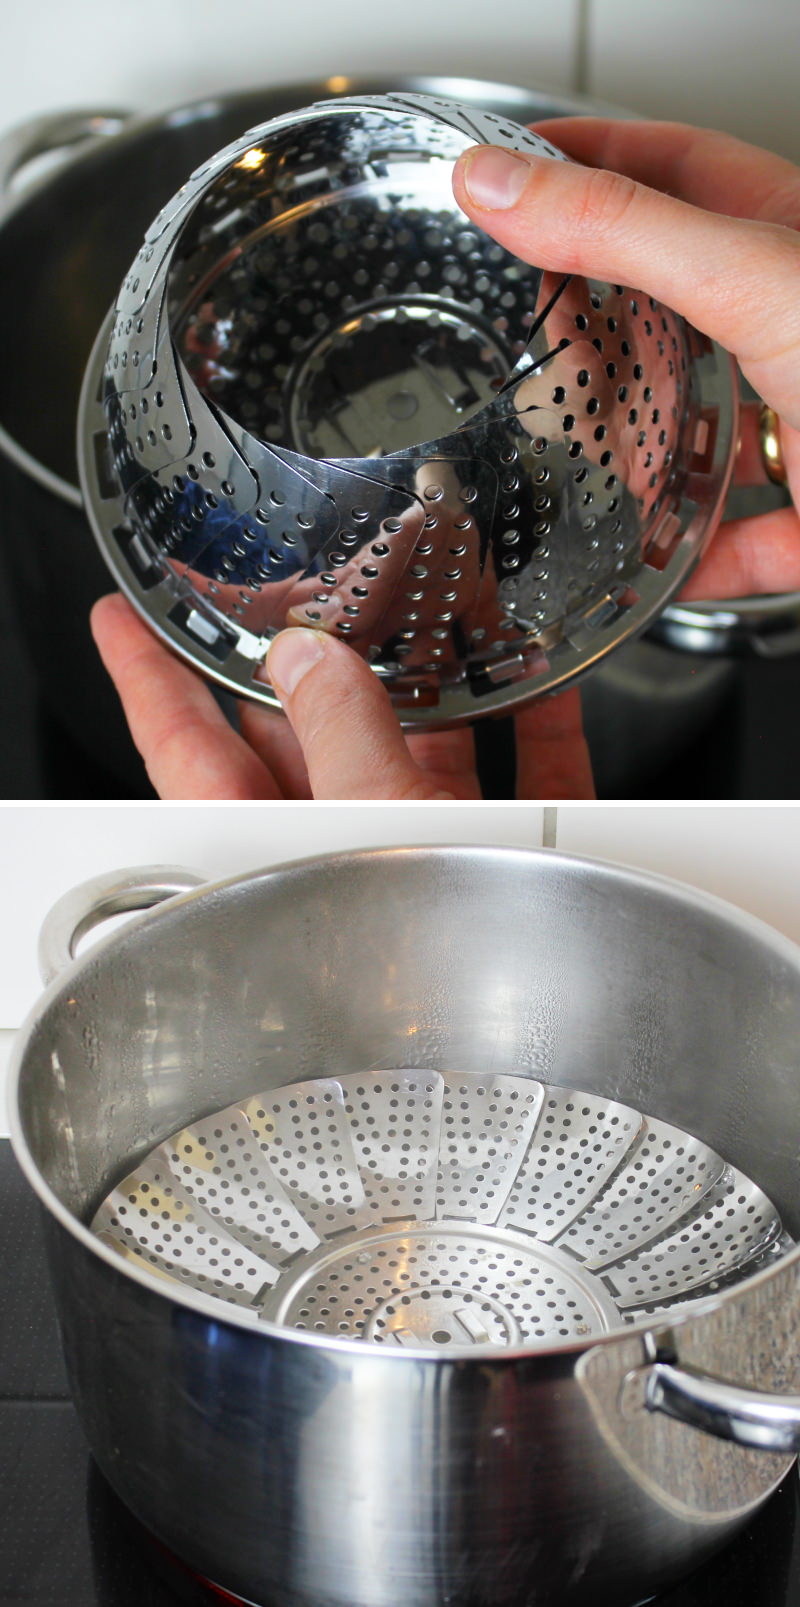
Fill a large saucepan with about two fingers’ depth of water and place a steamer inside (only the feet of the steamer should be in the water). Bring the water to the boil.
Tip: To prepare the dough in a pan or microwave, follow my Basic recipe for Mochi dough!
Step 6
Now we cook the mochi dough, so repeat the following instructions up to step 10 for each batch of dough:
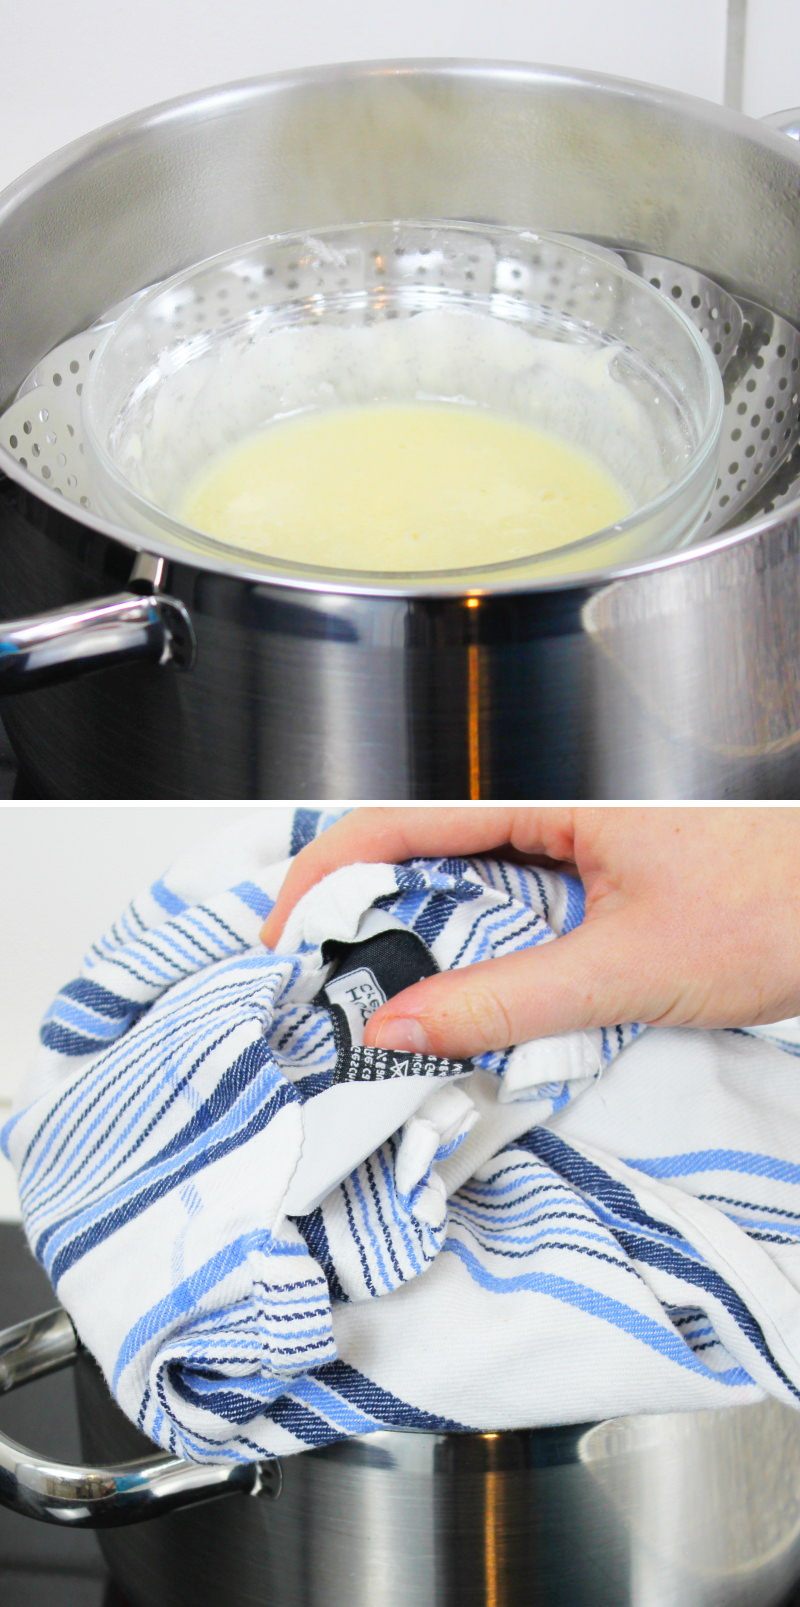
Place one of the bowls containing the dough in the steamer. Wrap the lid of the pot with a kitchen towel (to prevent condensation from dripping into the dough), fold the ends of the towel upwards and place the lid on the pot. Reduce the heat so that the water under the steamer is just simmering gently. Steam the dough for 8 minutes.
Step 7
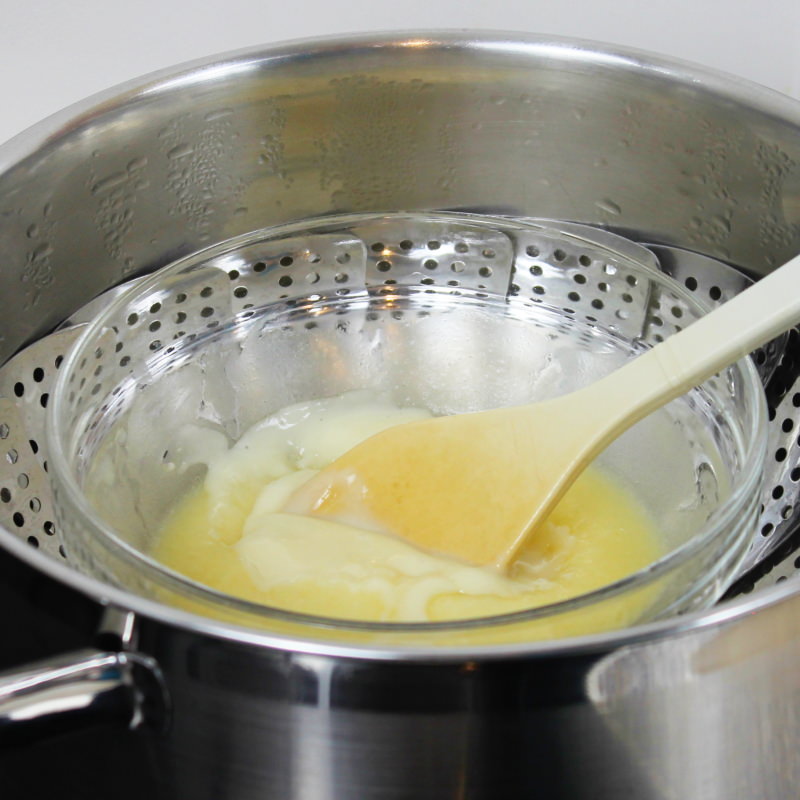
Halfway through the cooking time, remove the lid, stir the dough with a slightly damp spoon and replace the lid and tea towel. Caution: Risk of burns, please use oven gloves or pot holders!
Step 8
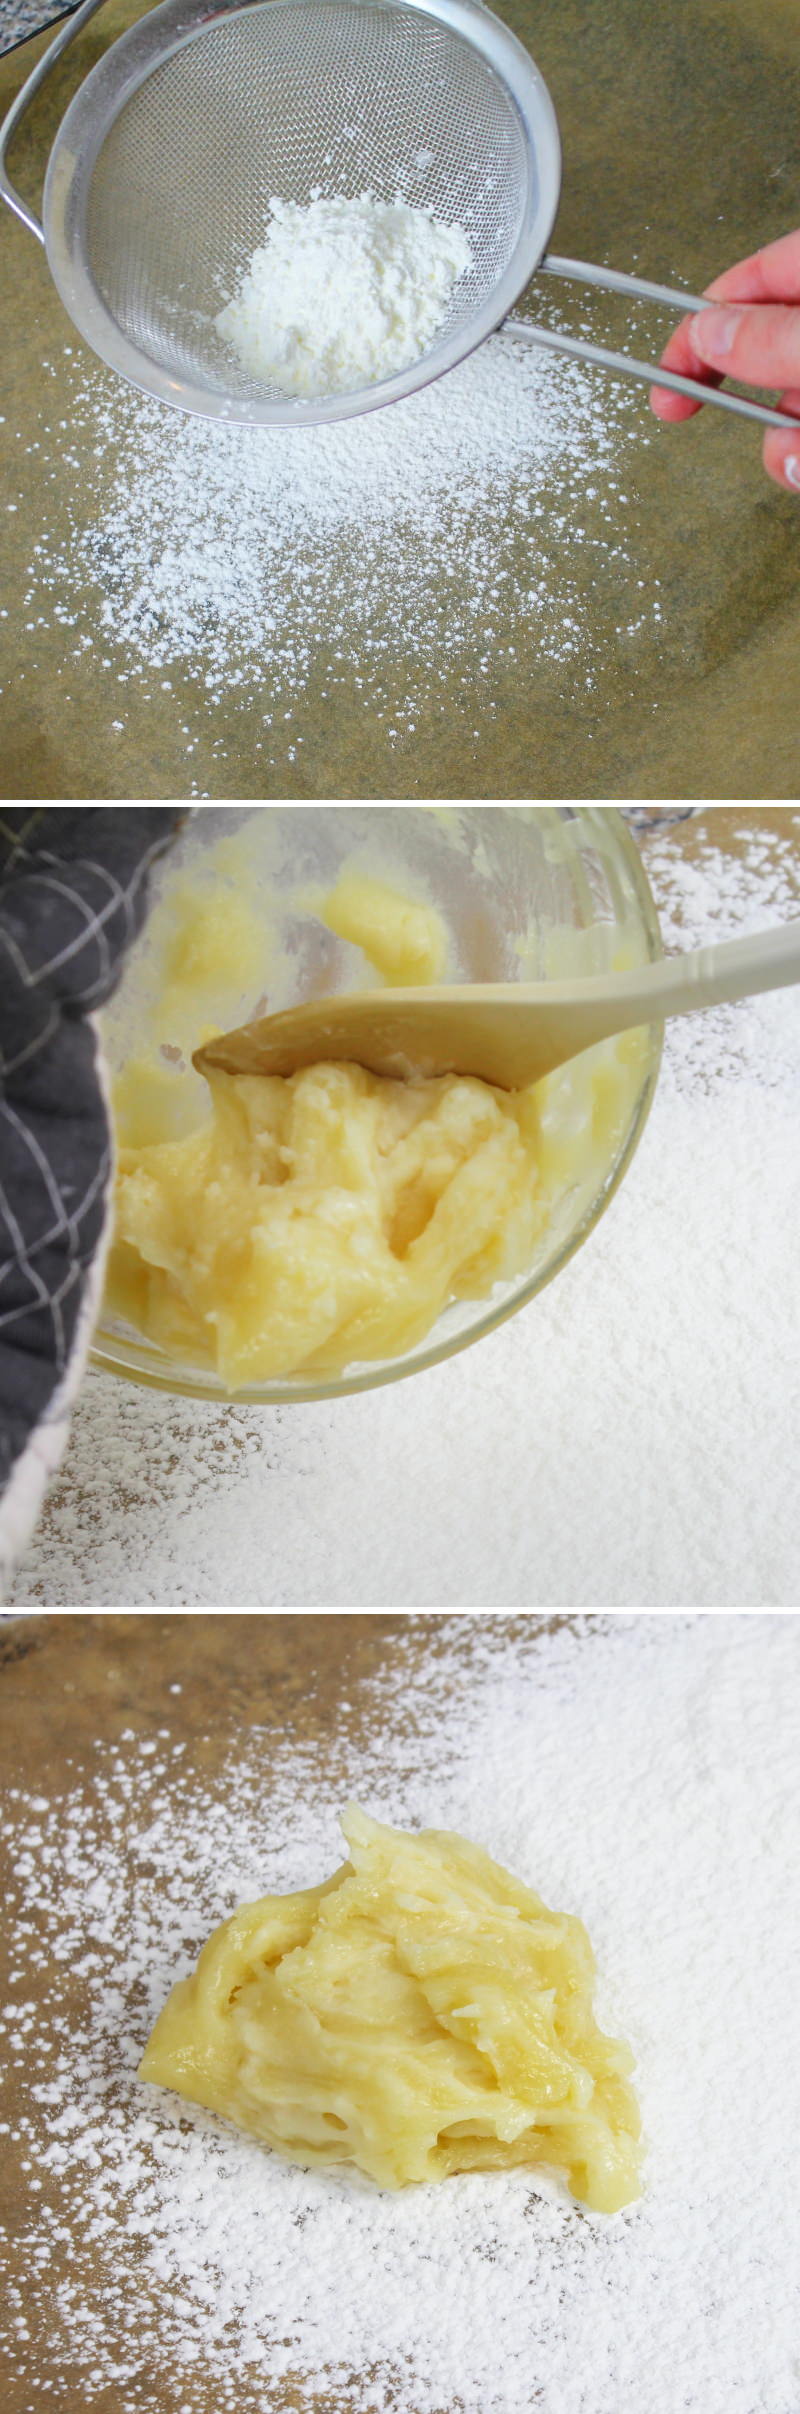
Shortly before the end of the cooking time Spread baking paper on the work surface and dust generously with cornflour using a sieve. Then, as soon as the dough is ready (it should be a firm, cohesive mass that is no longer runny but still slightly moist), remove the bowl from the steamer. Using a spoon, stir the dough in the bowl vigorously once more and transfer it directly into the cornflour so that it does not stick.
Step 9
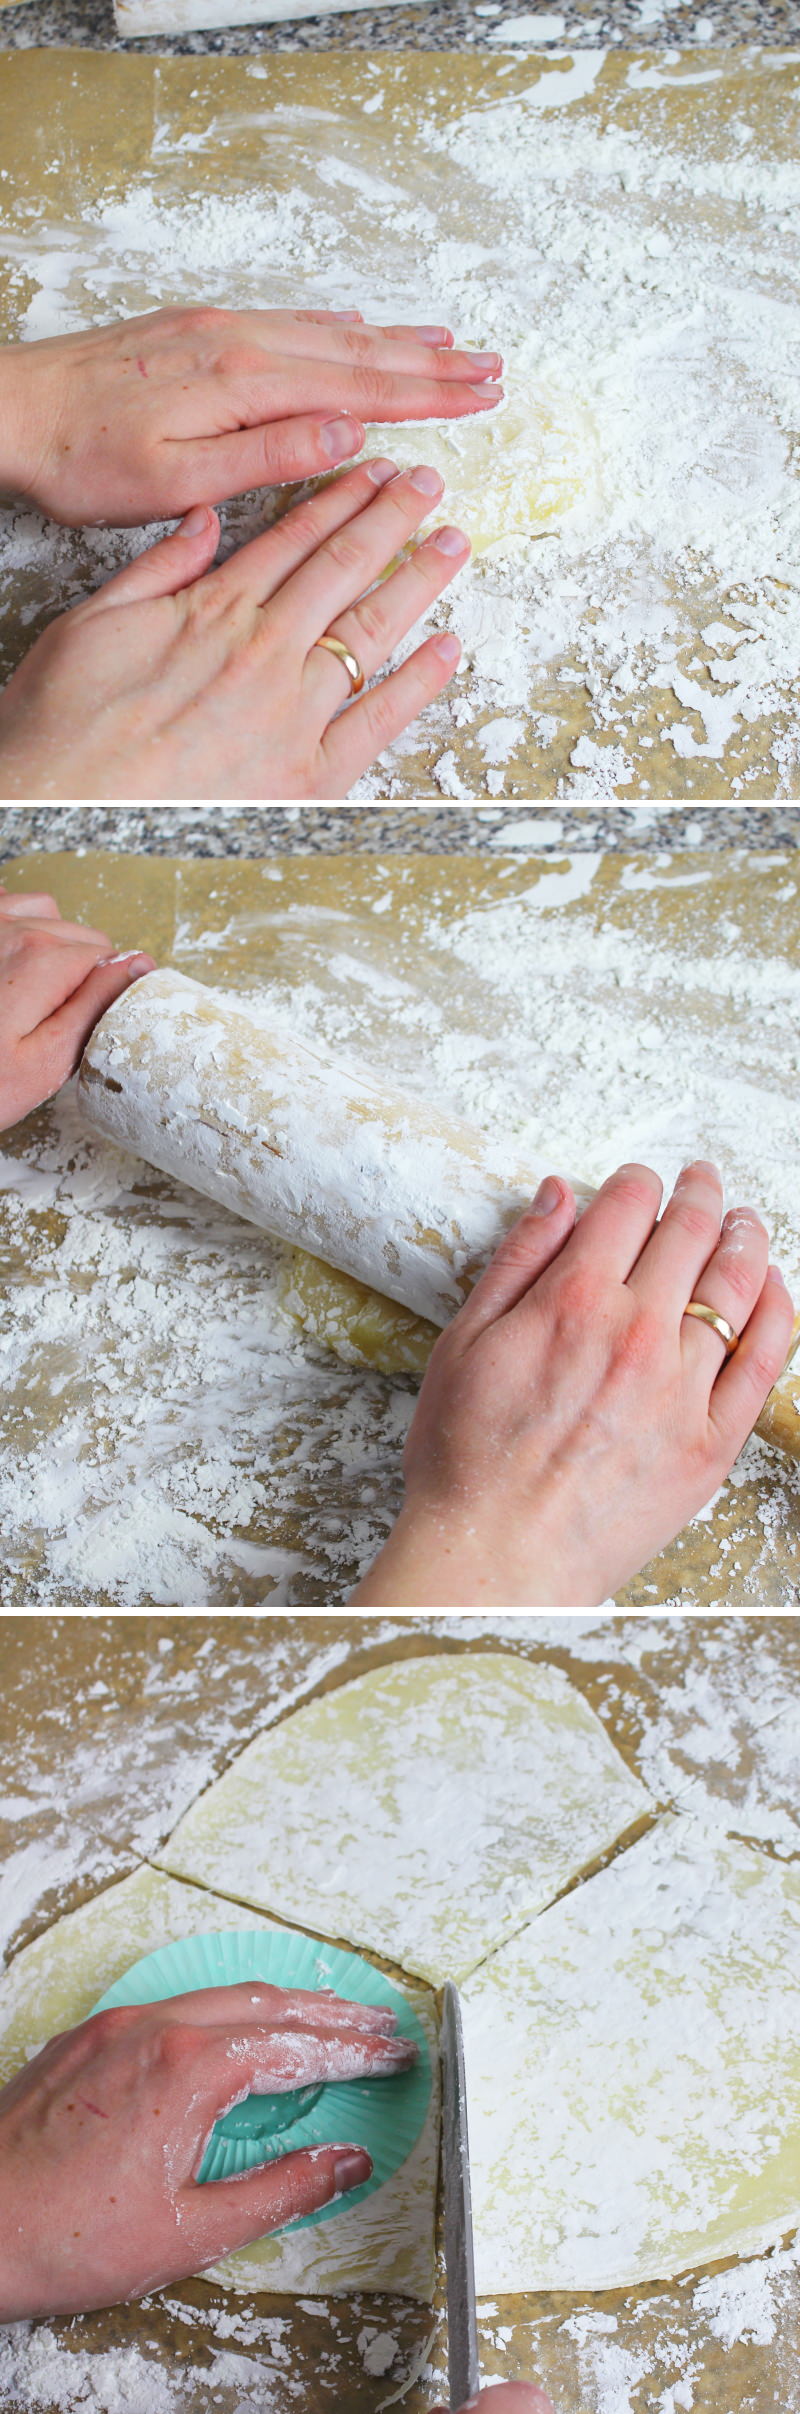
Once the dough has cooled slightly, dust it with a little cornflour. First flatten it gently with your hands, then roll it out roughly into a circle using a rolling pin. The dough should be about 5 mm thick after rolling.
Using a large, sharp knife , divide the dough into 3 roughly equal parts (the cut-out doesn’t have to be “neat”, by the way).
Tip: I use an unfolded paper muffin case for this, as we will be shaping the Mochi later using a muffin tin – so I have enough dough left over to completely wrap the ice cream.
Step 10
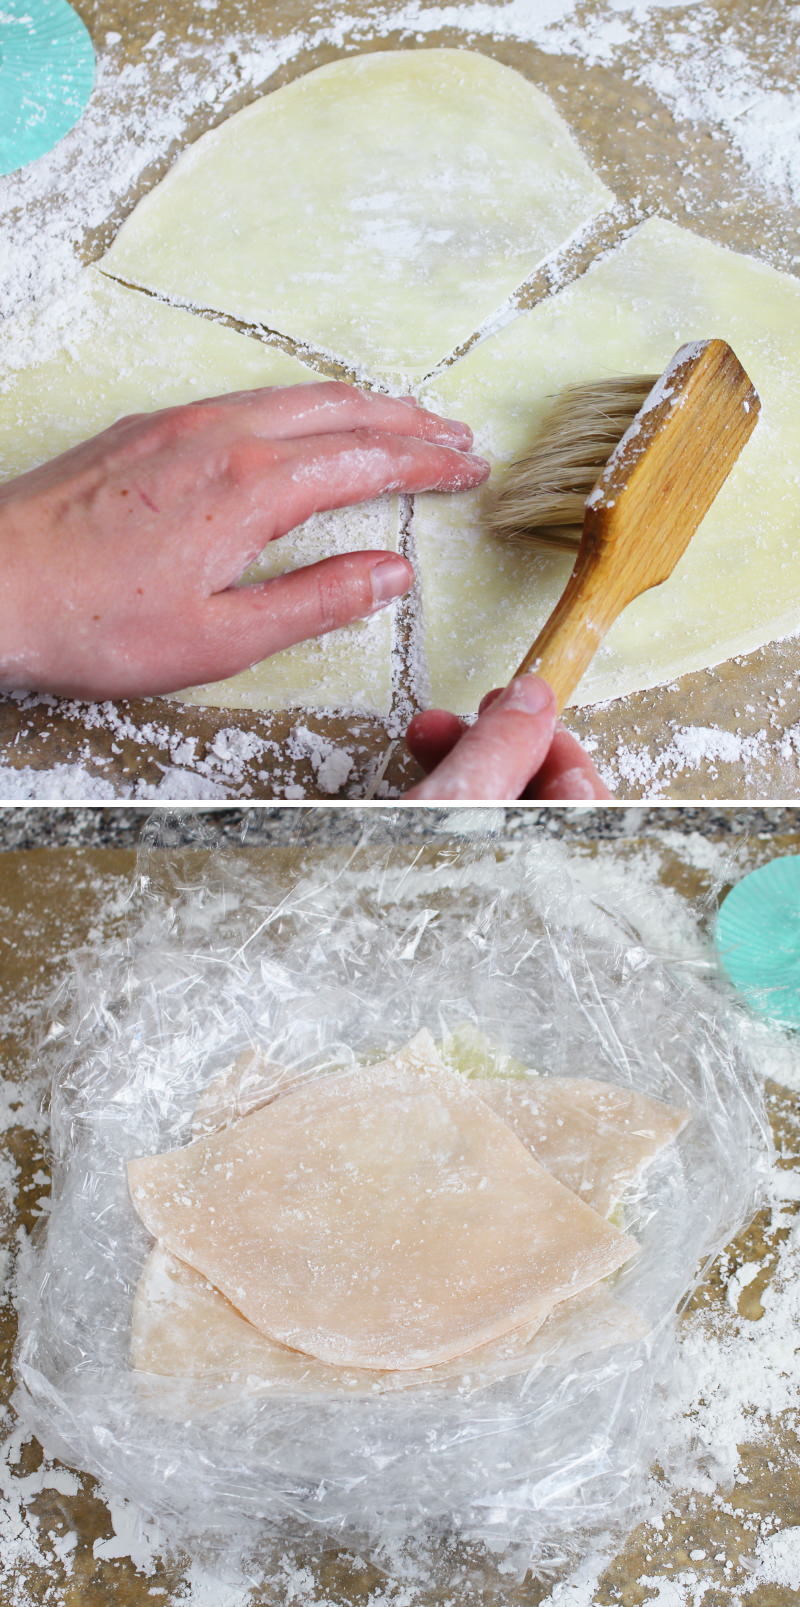
Brush off any excess cornflour from each piece of dough, place on a piece of cling film and stack them on top of each other on a plate, separated by the cling film .
All three pieces of dough should now be fully cooked and cut to size. Place the plate with all the dough pieces (i.e. a total of 3 x 3 = 9) in the fridge for 30 minutes.
Step 11
Now we need the muffin tin! After 30 minutes, take the dough out of the fridge and the ice cream scoops out of the freezer.
Place each piece of dough with the cling film into one of the muffin cases on the tray. Place an ice cream scoop in the centre and press the edges of the dough firmly together over the ice cream using your fingertips.
Step 12
Gather the cling film at the top together and seal it, ideally with a clip. Wrap all 9 ice cream scoops in the Mochi dough in this way. Place the muffin tray with the Mochi back in the freezer and leave to freeze for about 2 hours!
Step 13
To serve, open the clip and remove the cling film. Mochi ice cream tastes best with fresh, slightly tart fruit. Ready – Itadakimasu!
Are you looking for even more delicious Mochi specialities from Japan that will delight your guests? Here you’ll find my most popular recipes:
No post found!