Language:


Making your own Dango, at last! Don’t miss out on this wonderful basic recipe for homemade Dango just like in Japan! Because with these small, slightly chewy rice balls, you can conjure up typical Japanese desserts in no time at all – without any fiddly steaming or long waiting times. All you need are the right ingredients and a few simple steps to make this staple ingredient for authentic Japanese desserts yourself!
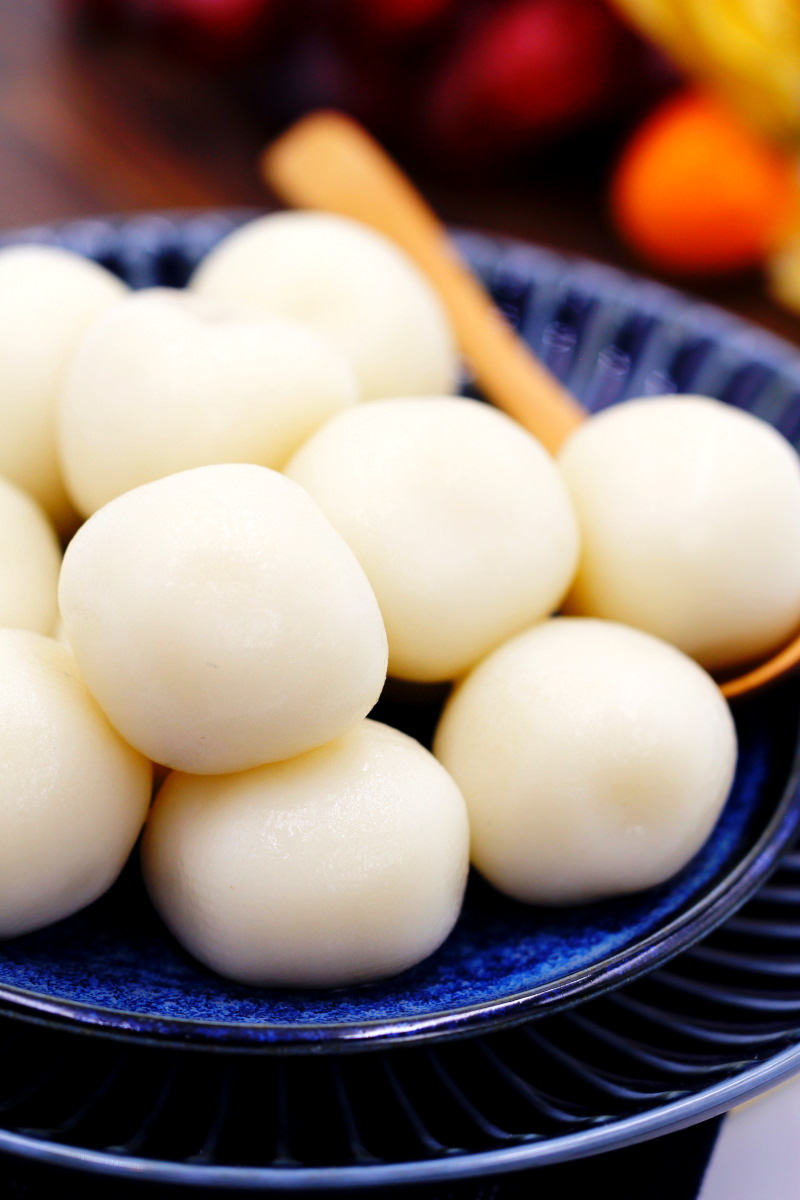
Dango are small, round rice balls that play a key role in traditional Japanese desserts and sweets, known as wagashi. These slightly chewy rice balls are made from rice flour, glutinous rice flour and water.
Sometimes, powdered ingredients such as Matcha or strawberry powder are even added to the dough, giving the whitish balls exciting colours and flavours – for example, the Hanami Dango, which are very popular during cherry blossom season. Other times, individual Dango are skewered and glazed with a slightly salty sauce; these are known as Mitarashi Dango.
Tip: Are you wondering whether Mochi and Dango are the same thing? They’re similar, but they’re not the same. Dango are made from rice flour and glutinous rice flour, whilst Mochi are made solely from glutinous rice flour.
In Japan, Dango are most commonly eaten in spring and summer, but you can actually buy them in all sorts of different forms all year round! That’s because Dango can be eaten warm or cold – both ways are absolutely delicious!
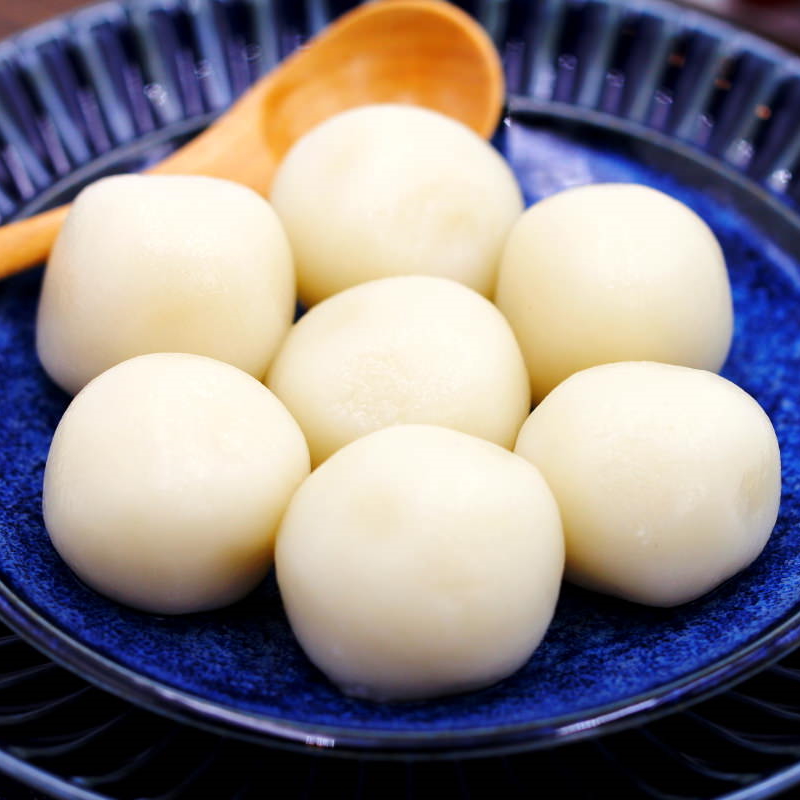
Ideally, once cooked, Dango should be nice and soft right through to the centre, whilst still being slightly chewy. They should have a floury texture and not lose their round shape during cooking. That’s why we use two different types of flour in the recipe to achieve the perfect combination of chewiness and softness.
Making your own Dango
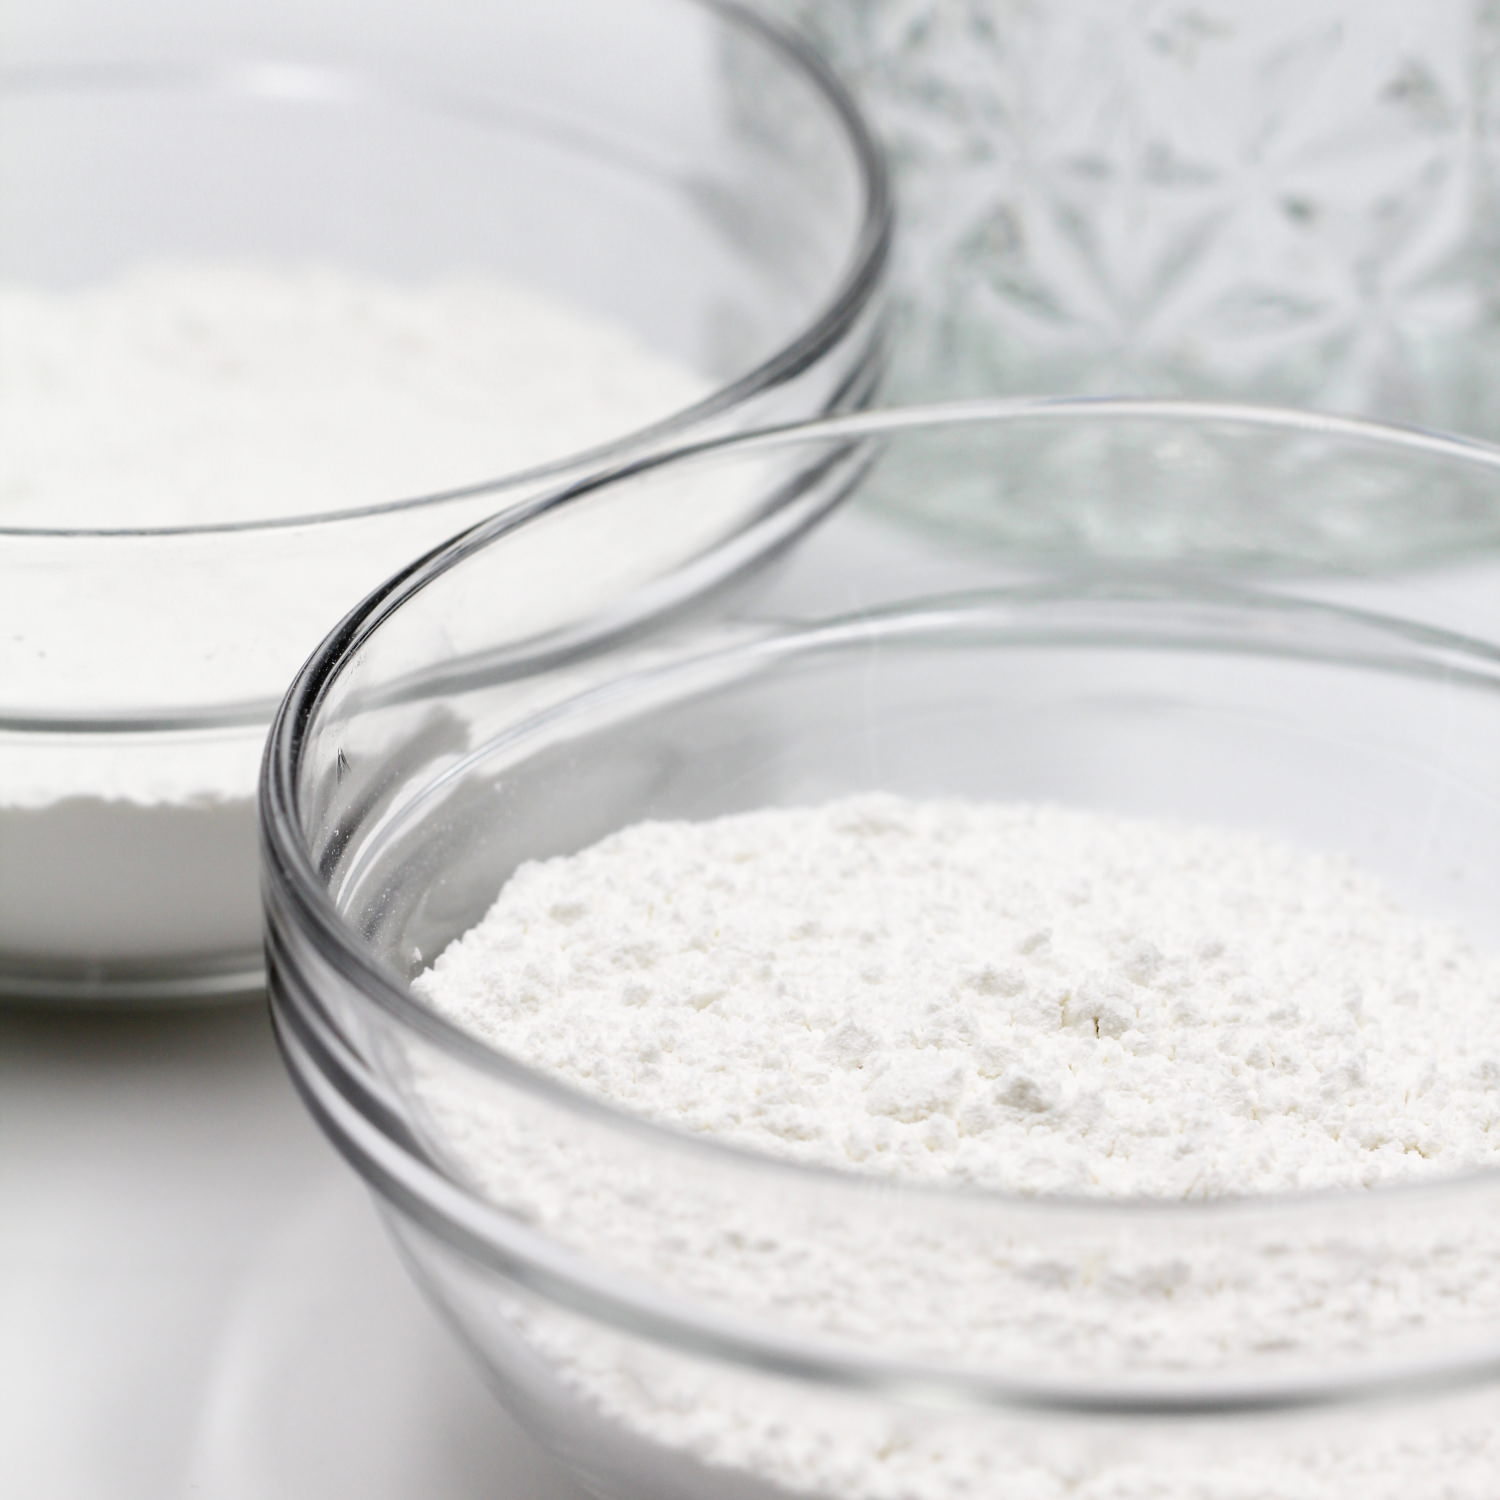
To make Dango, we need both glutinous rice flour and rice flour (im Shop ansehen). For the glutinous rice flour, I used shiratamako, which is Japanese glutinous rice flour.
CUSTOMER FAVOURITE
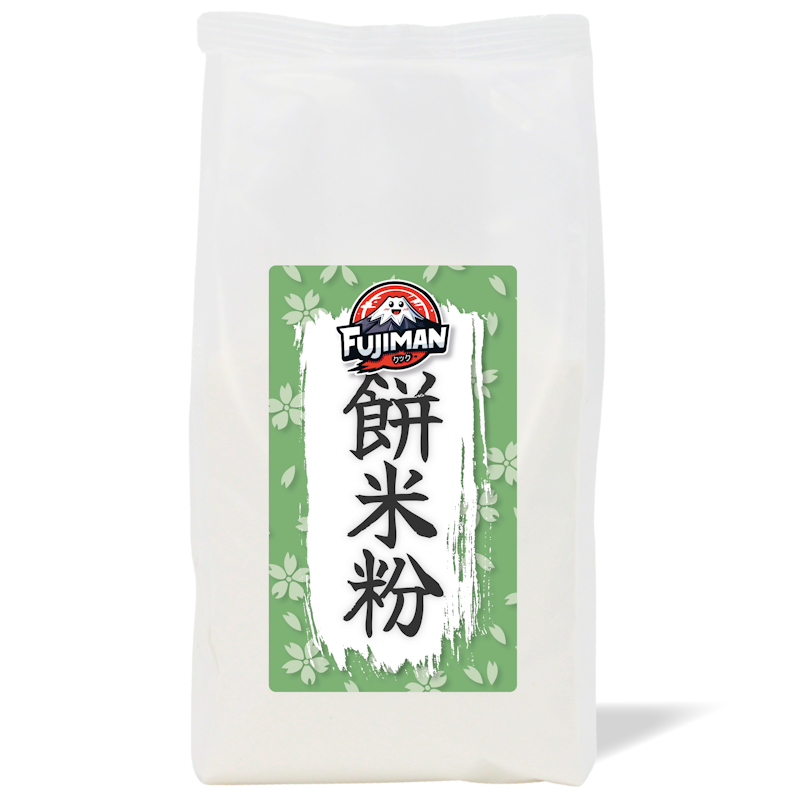
Klebreismehl 940g (glutinous), Fujiman
Klebreismehl für Mochi, Dango & japanische Desserts . Dieses Klebreismehl von Fujiman besteht aus fein gemahlenem Rundkornreis und sorgt für die typische weiche, elastische Textur…
In stock
As well as glutinous rice flour, which is made from sticky Japanese short-grain rice, we also need ‘normal’ rice flour – known as Joshinko – made from ordinary short-grain rice. You can find this in Asian food shops.
The recipe should, of course, also work with other types of rice and glutinous rice flour, but be careful – please don’t use just any rice flour! It is absolutely essential to use glutinous rice flour, not non-glutinous rice flour, for the Dango to turn out right.

Tip
Making dango isn’t difficult and is absolutely essential if you want to make traditional Japanese sweets at home. Here you’ll find even more favourite recipes for homemade dango desserts: → Make your own Dango: 7 really delicious recipes for sweet rice balls
The combination of both types of flour is the key to making authentic Dango balls just like in Japan, as using just one type of flour would make them either too hard or too soft.
Psst: As only rice flour and water are used for the dango dough, these little rice balls are completely gluten-free! They’re also vegan, of course.
Once you’ve got these two key ingredients to hand, you can get straight on with the preparation. And the best bit? We won’t be going to the trouble of steaming the Dango dough; instead, we’ll simply shape it into small balls and cook them in boiling water for a few minutes.
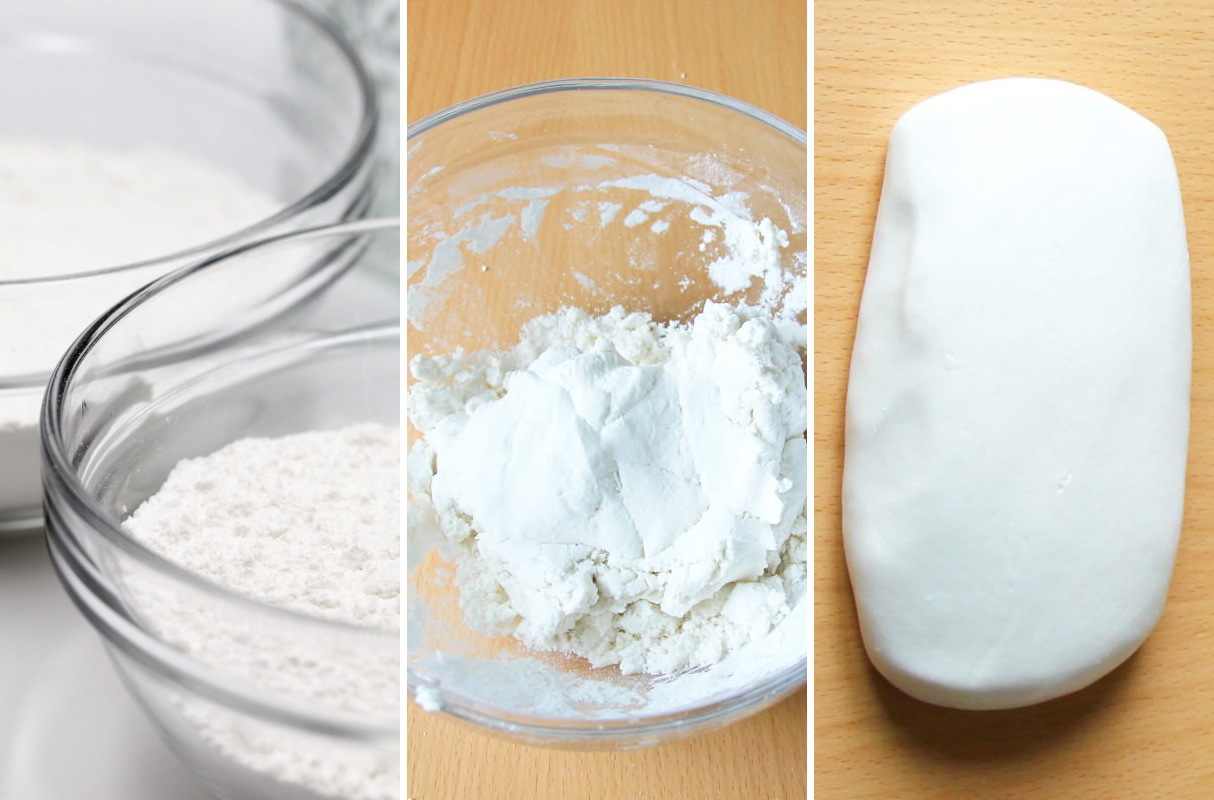
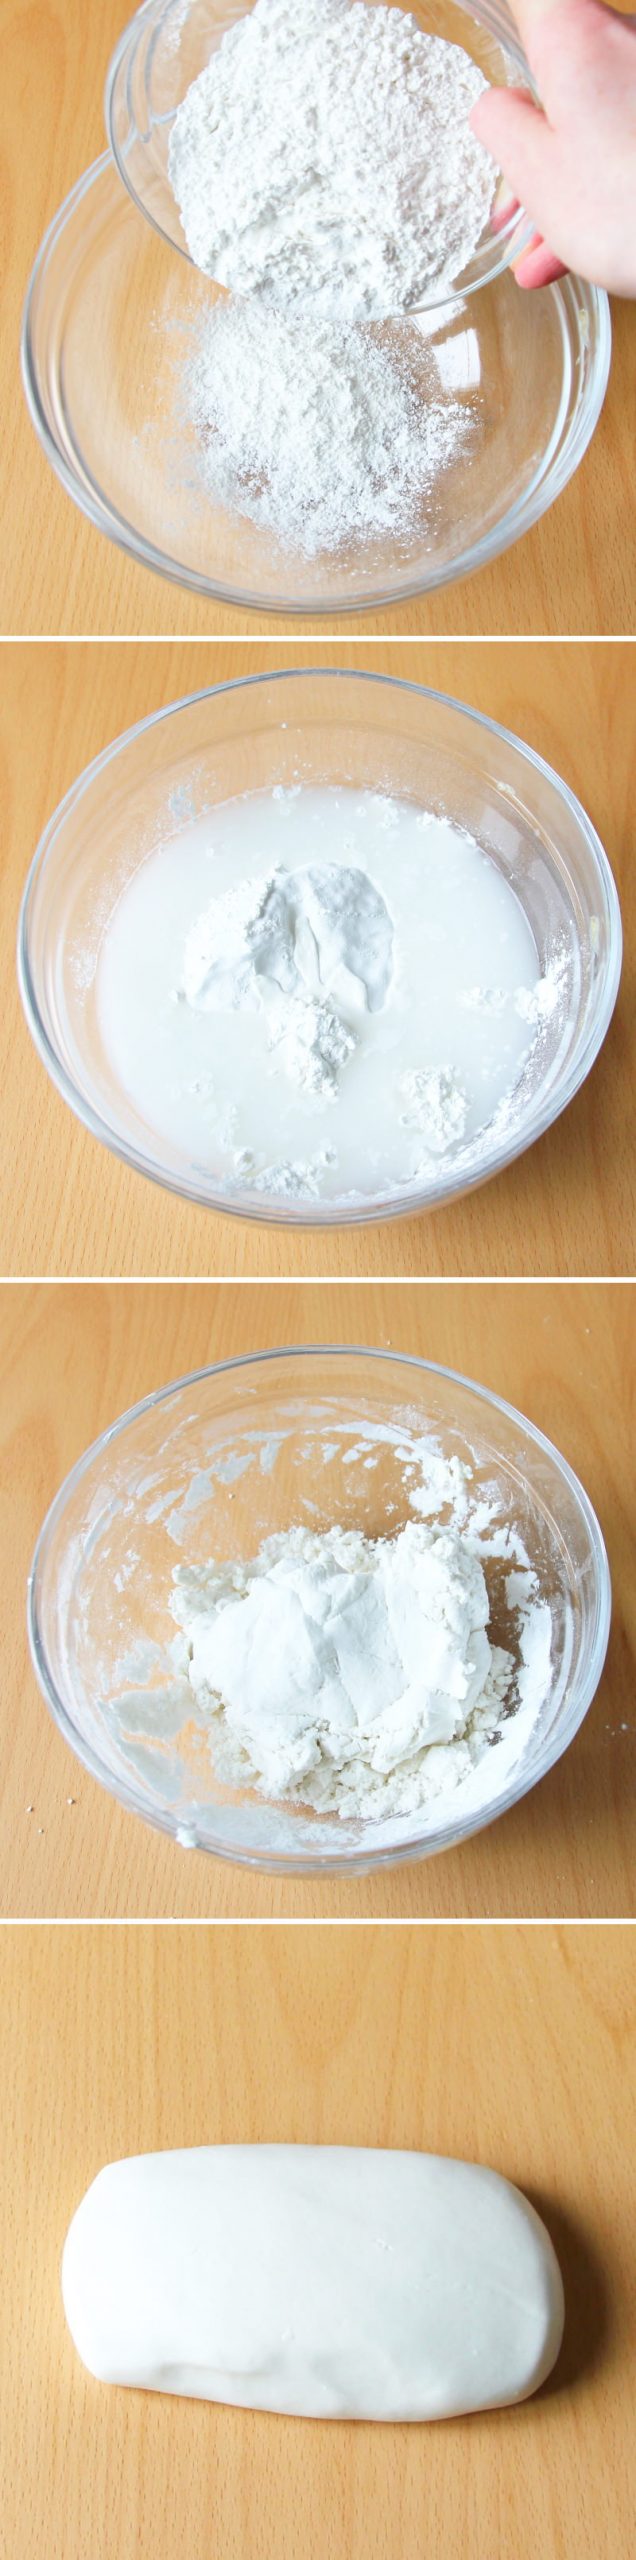
To do this, mix the glutinous rice flour and rice flour together in a bowl. Gradually add the water to the flour mixture – stir it in with a spoon at first, then knead everything together with your hands to form a firm dough. The dough should feel firm but not dry – it should also be supple without becoming runny. If not, add either small amounts (no more than 1 tsp at a time) of glutinous rice flour or water and knead again until you have the ideal dough.
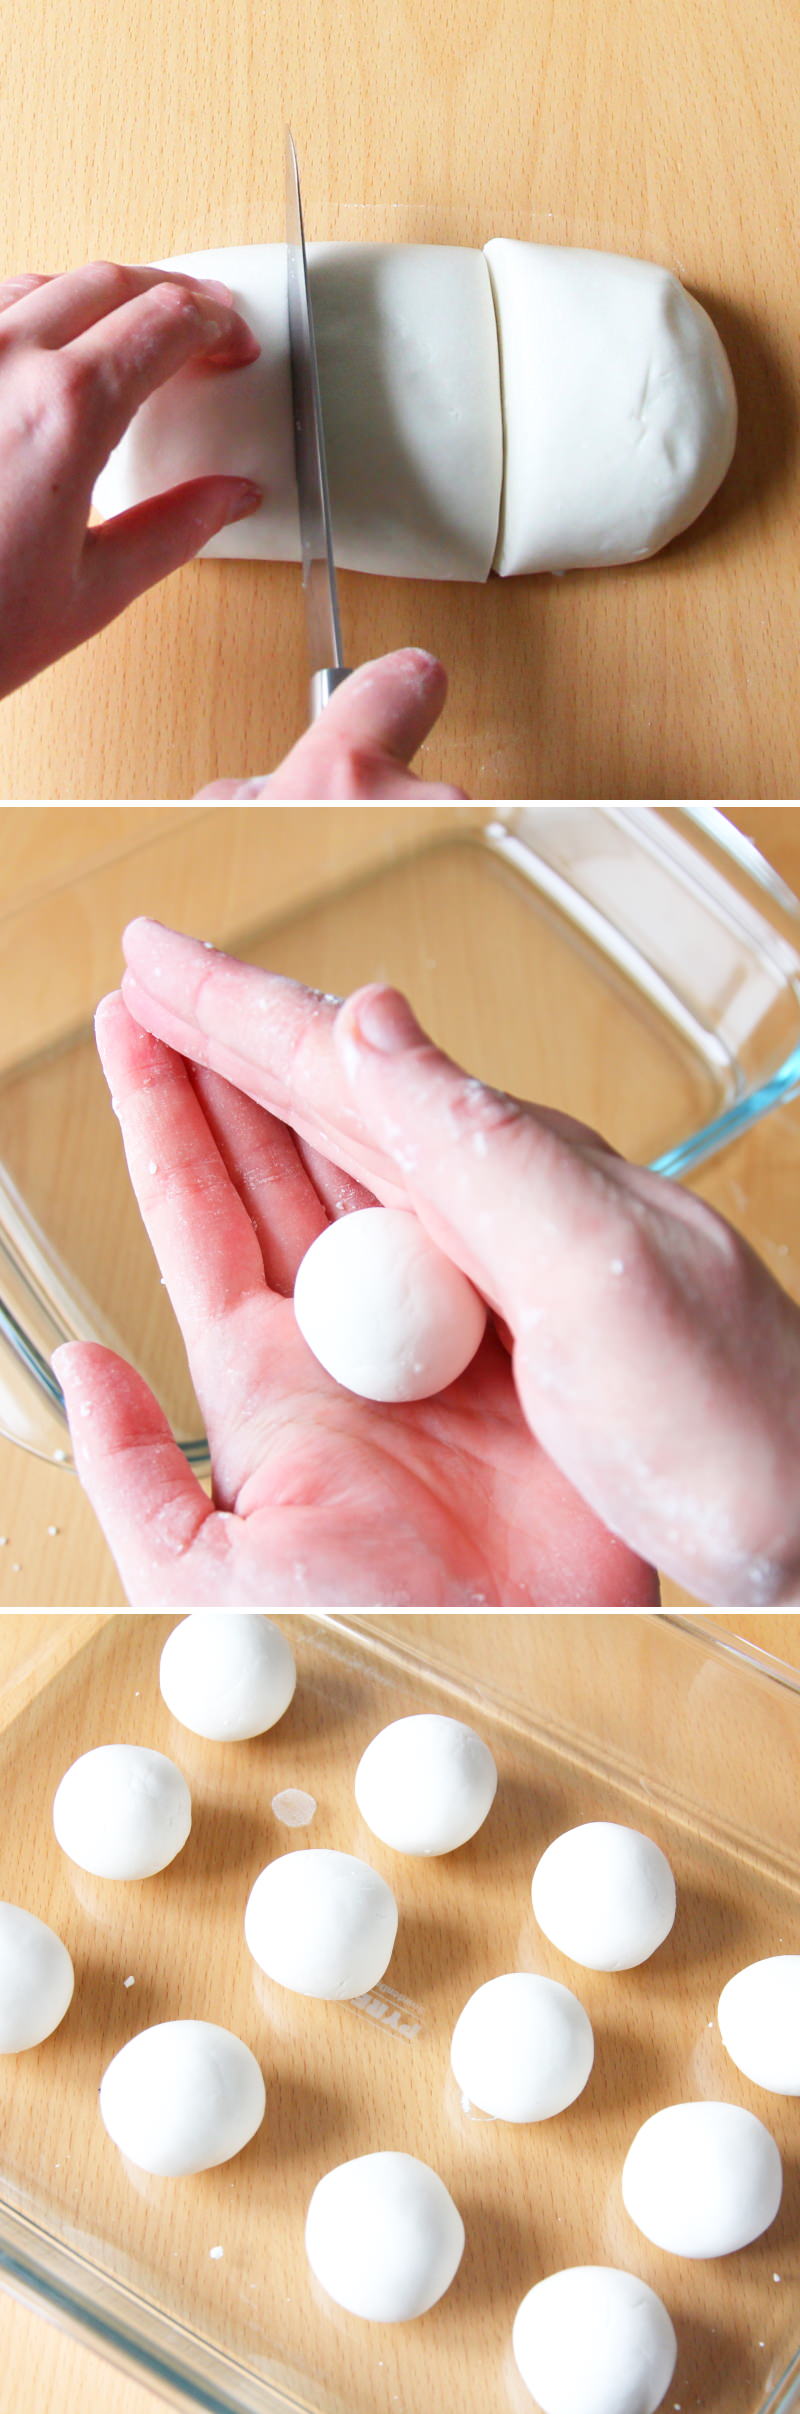
Now divide the dough into 12 large or 24 small pieces, roll them into balls between your flat palms and place them in gently boiling water for 5 minutes. In the meantime, prepare a bowl of ice-cold water. Then lift the balls out of the water with a slotted spoon or a sieve and place them in the prepared cold water. Rinse briefly under cold water and then leave to drain on kitchen paper.
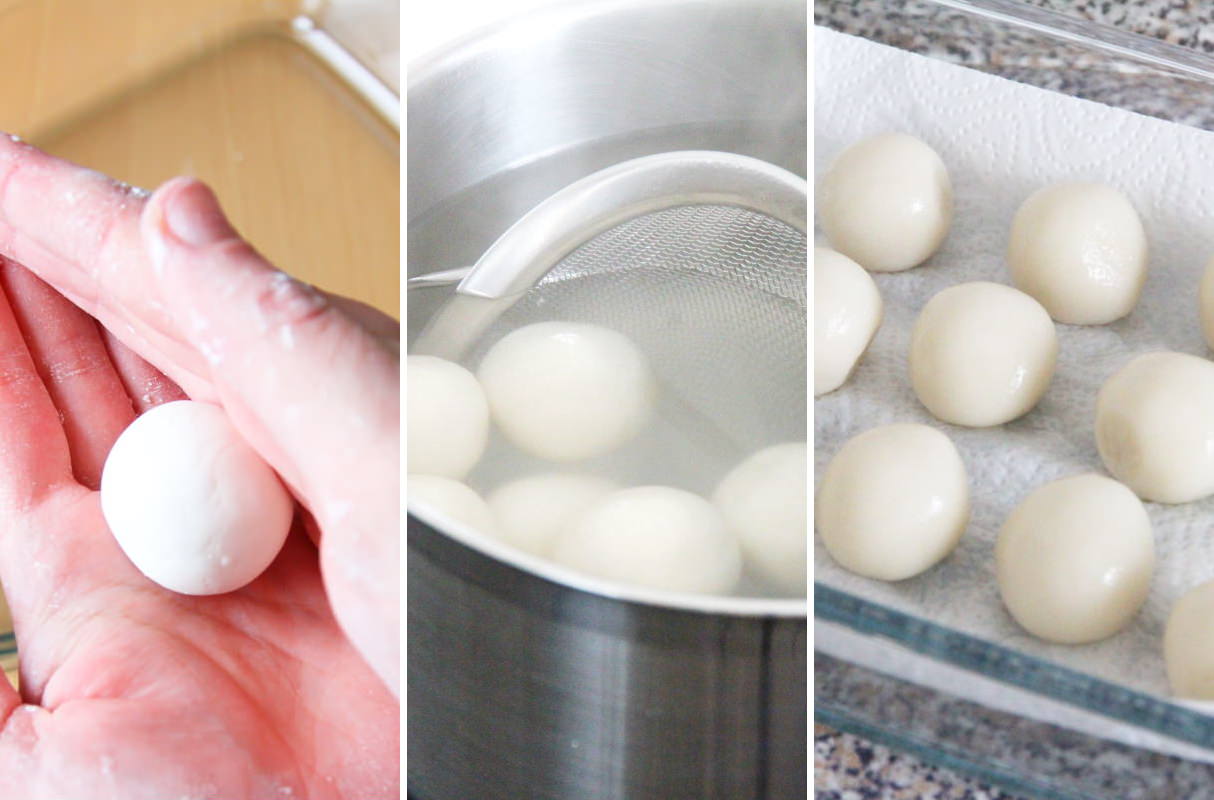
Voilà – the Dango are now ready and are best used straight away. Large Dango are best threaded onto a skewer, whilst small Dango taste great with a fruity fruit salad. Here are some of my favourite Dango recipes for culinary inspiration:
- Hanami Dango – three kinds of glutinous rice balls for cherry blossom season
- Mitarashi Dango – glutinous rice balls with a sweet glaze
- Matcha Dango – rice balls with green tea & sweet matcha syrup
- Dango with a summery berry filling served with fruit salad & honey syrup
- Autumnal fruit salad with mini Dango balls & warm orange syrup
Making Japanese desserts is often very time-consuming, and the individual steps can be difficult to replicate. However, this recipe for homemade Dango is a wonderfully simple way to easily make an authentic Japanese dessert yourself. And now let’s get started – have fun cooking!
Basic Dango Recipe
Serves 4 | 20 minutes | 86 kcal
🖨️ Print PDF 📌 Save this pinDon’t miss out on this wonderful basic recipe for homemade Dango! With these small, slightly chewy rice balls, you can whip up traditional Japanese desserts in no time at all – without any fiddly steaming or long waiting times. All you need are the right ingredients and a few simple steps to make this basic ingredient for authentic Japanese desserts yourself!
Ingredients (4 portions = 12 large or 24 small Dango)
100 g glutinous rice flour (im Shop ansehen)*
100 g rice flour (im Shop ansehen)*
175 ml water
Method (20 minutes)
Step 1
Gather the ingredients for the homemade Dango rice balls.
Step 2
Mix the glutinous rice flour and rice flour in a bowl. Gradually add the water to the flour mixture, stir initially with a spoon and then work it into a firm dough with your hands.
Tip: The dough should feel firm but not dry – it should also be supple without becoming runny. If not, add either small amounts (no more than 1 tsp at a time) of glutinous rice flour or water and knead again until you have the ideal dough.
Step 3
Cut the dough in half with a knife, cut each half in half again, and then cut each of those halves into thirds – in other words, divide the dough into 12 equal pieces. Shape each piece of dough into neat balls between the palms of your hands. This will give you 12 balls of equal size.
Tip: If you halve each piece of dough again, you’ll end up with 24 mini Dango balls.
Step 4
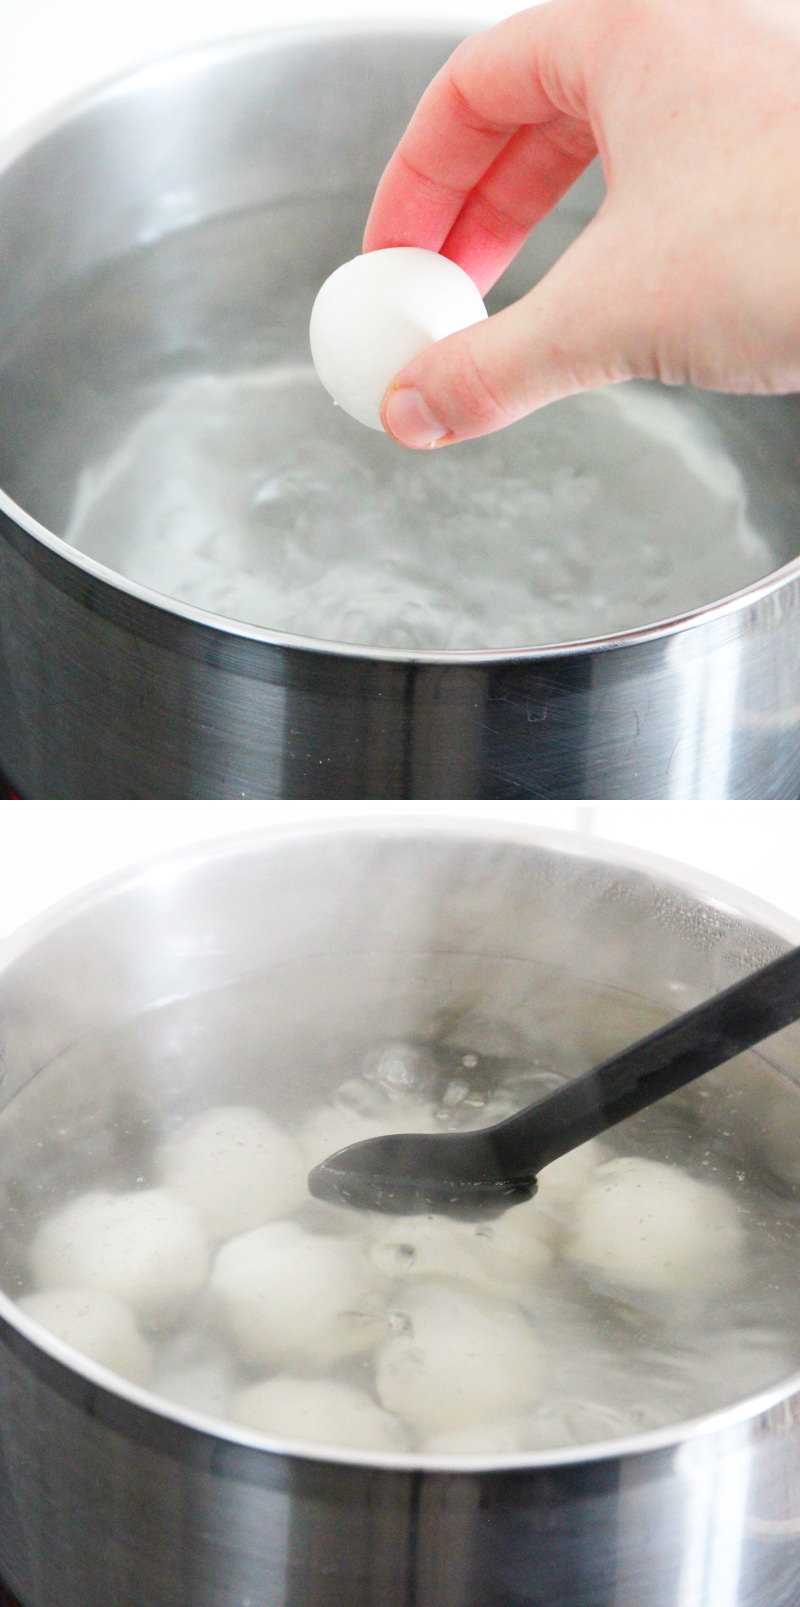
Bring 2 litres of water to the boil in a large saucepan, then reduce the heat to medium. Add all 12 balls (if making 24 small balls, please cook 12 Dango at a time in two batches) to the boiling water, stir gently once (to prevent the balls from sticking to the bottom) and cook for 5 minutes, so that each ball has risen to the surface of the water.
Step 5
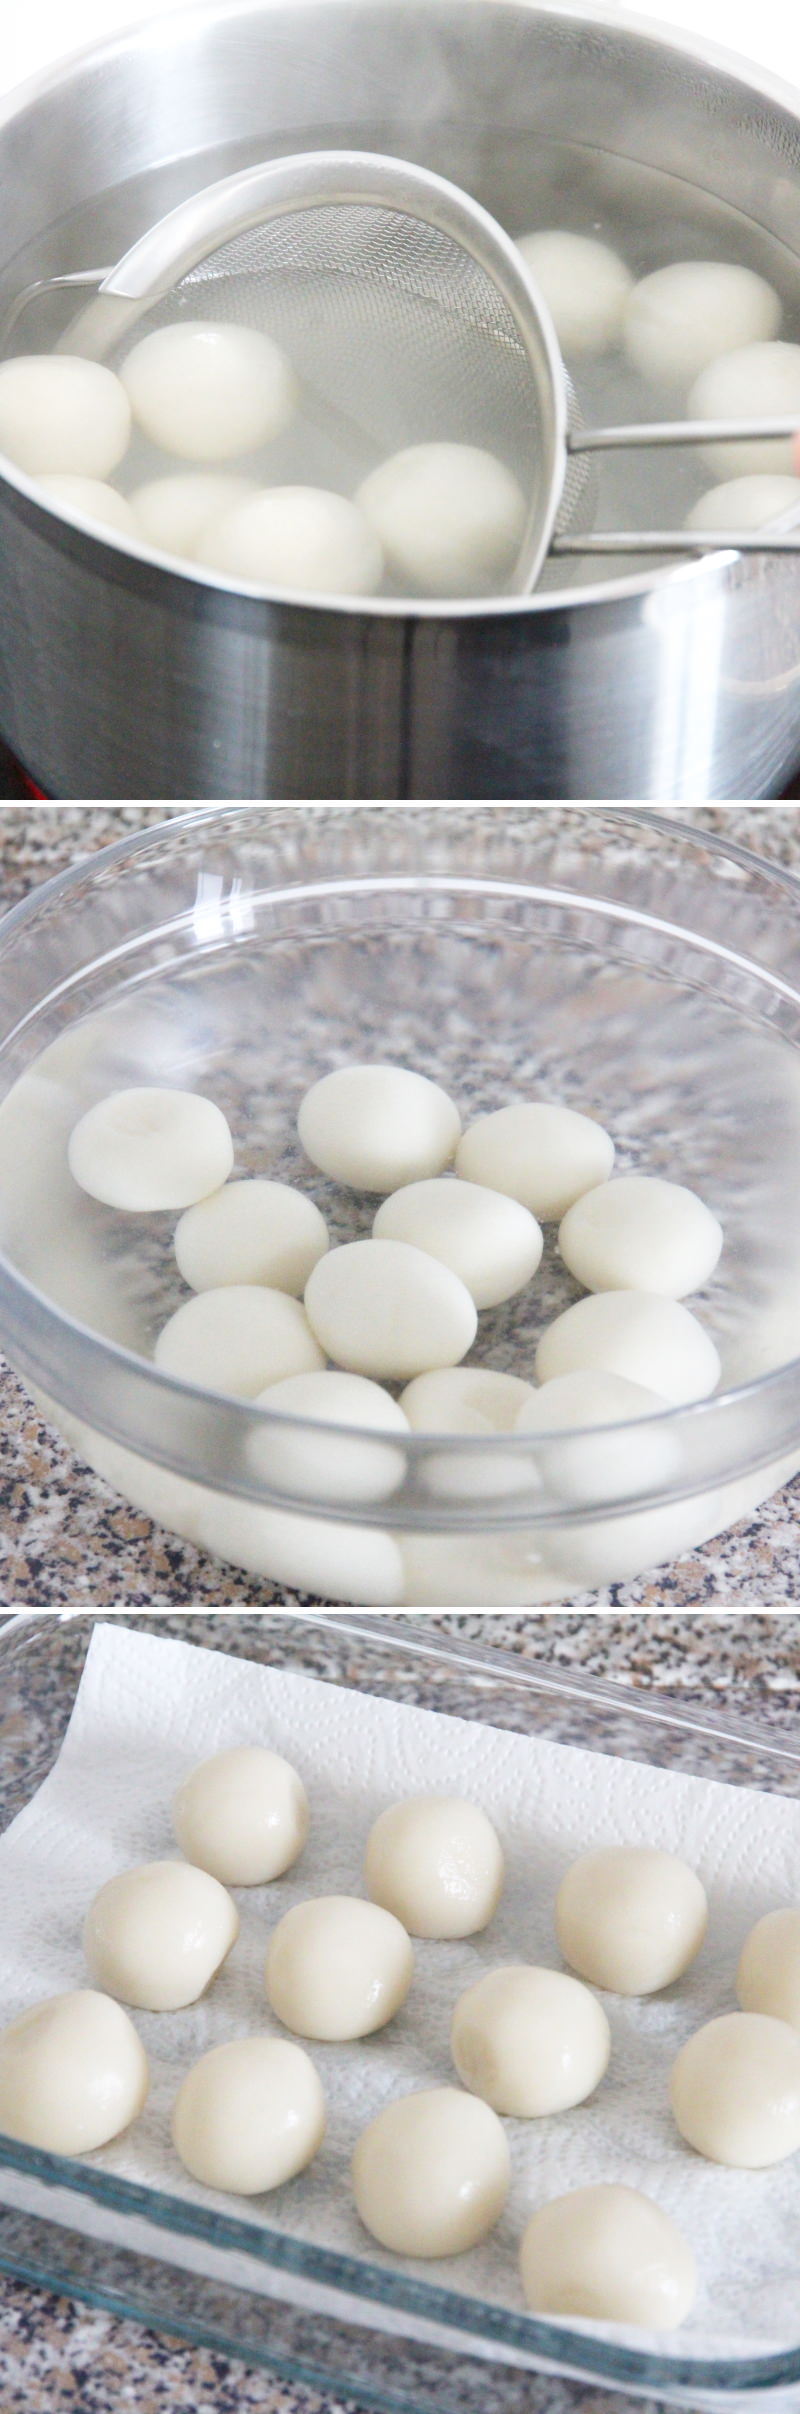
Meanwhile, prepare a bowl of ice-cold water. Then lift the balls out of the water using a slotted spoon or a sieve and place them in the prepared cold water. Rinse briefly under cold water and then leave to drain on kitchen paper.

Step 6
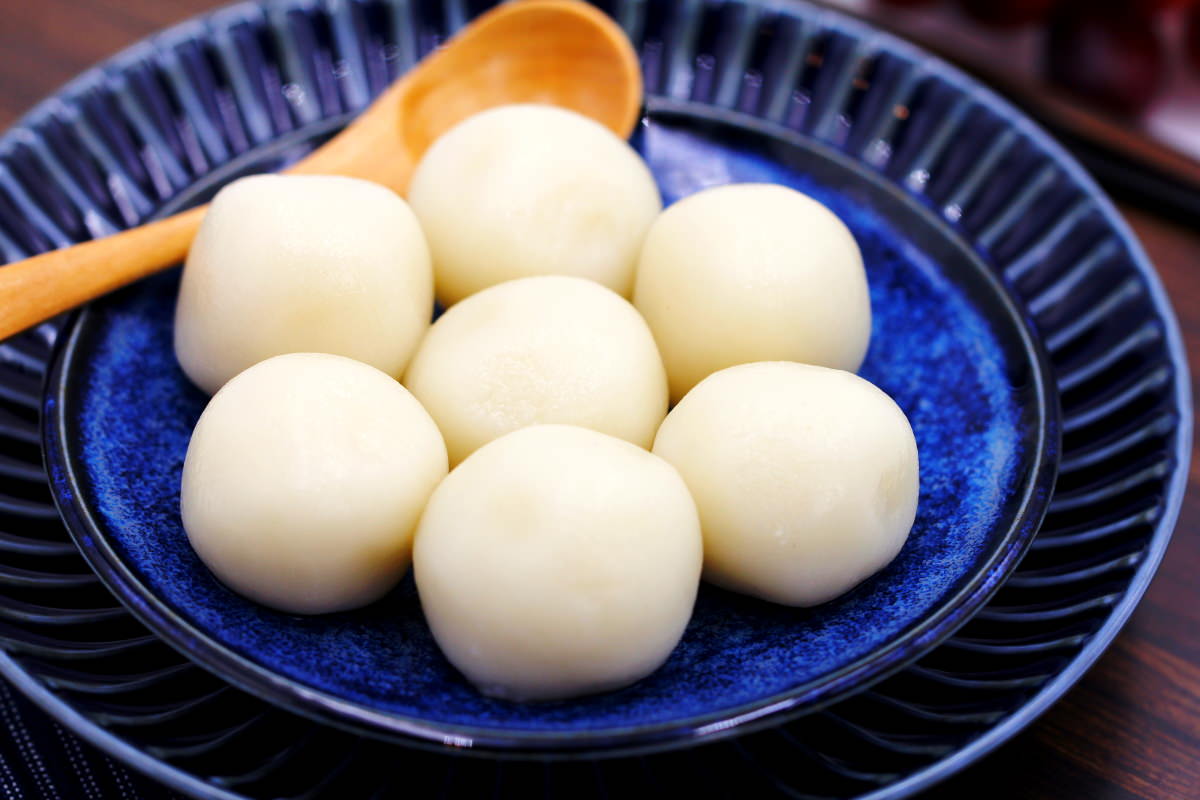
It’s best to use the dango straight away. Large dango are best served on a skewer, whilst small dango taste great with a fruity fruit salad. Done – Itadakimasu!
Are you looking for even more delicious Japanese sweets that will have you and your guests wrapped around your little finger? Here are my most popular recipes:
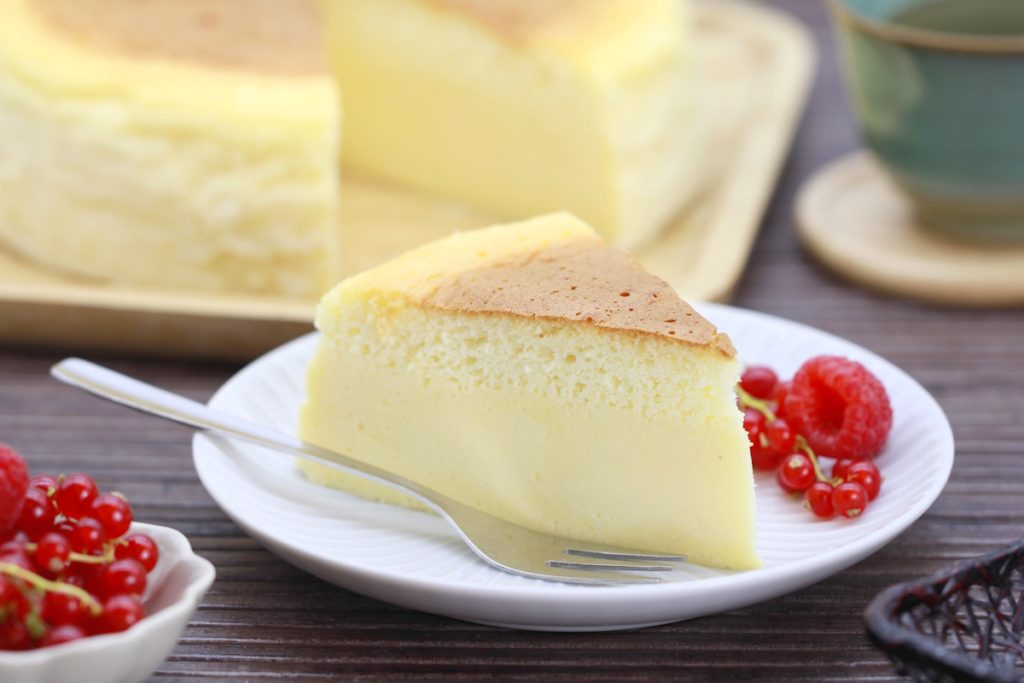
Japanese cheesecake: The best recipe for a fluffy soufflé-style cheesecake just like in Japan
Japanese cheesecake is one of Japan’s most popular desserts and delights with its exceptionally light…
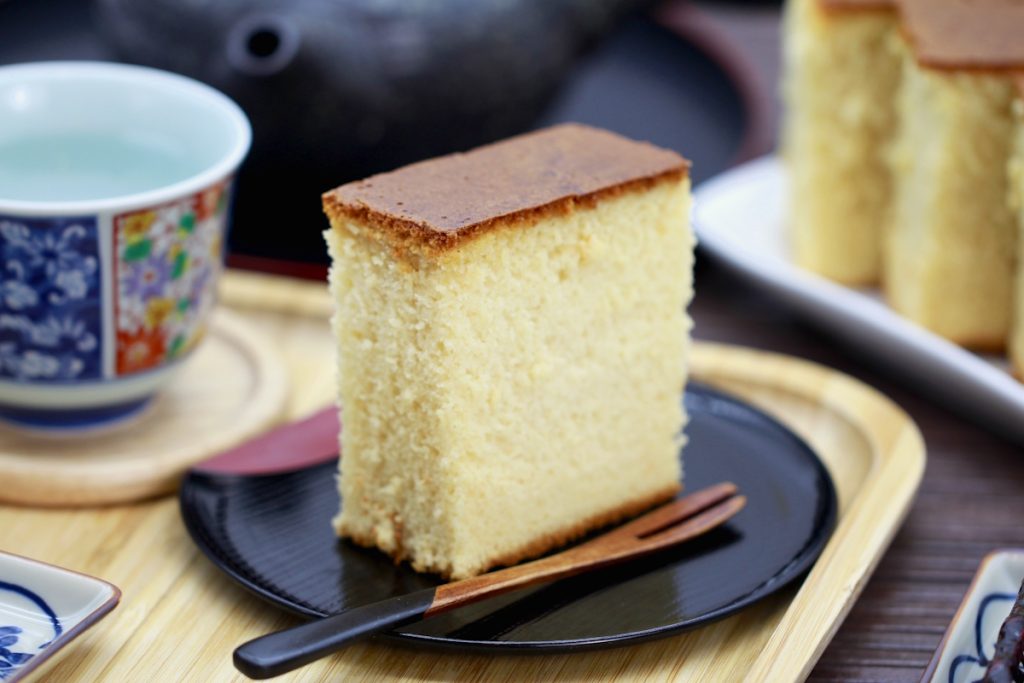
How to make Castella (Kasutera) yourself: How to make this Japanese honey cake
Why is Castella often described as Japan’s moistenest cake? Although Kasutera consists of just a…
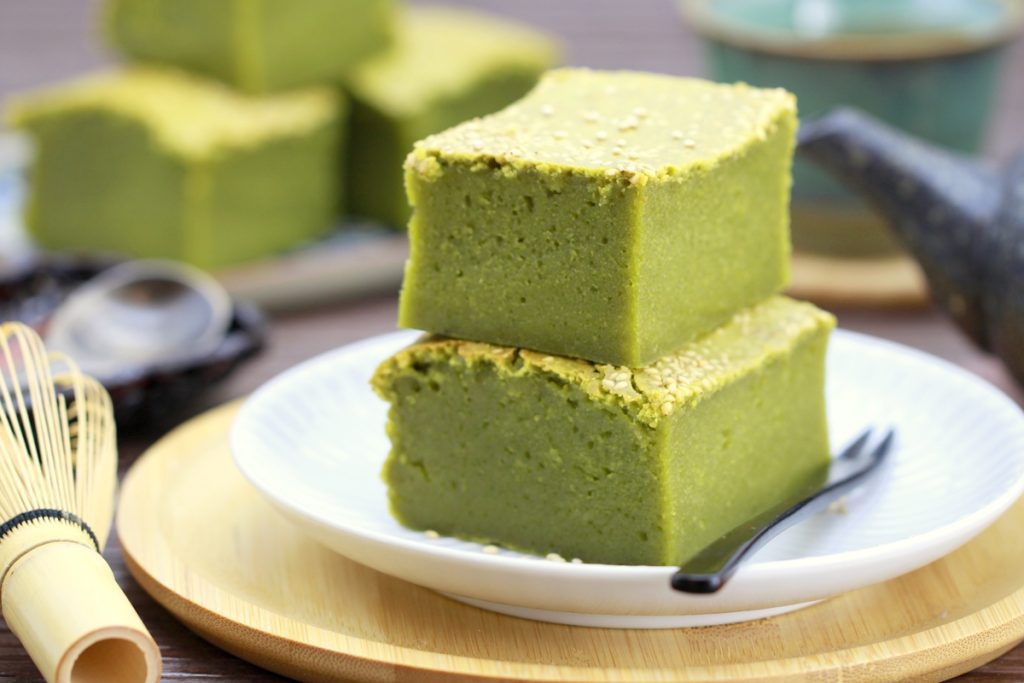
Make your own Matcha butter Mochi: Hawaiian Mochi cake with green tea
If you drink Matcha regularly, you might be familiar with this: at some point, you…
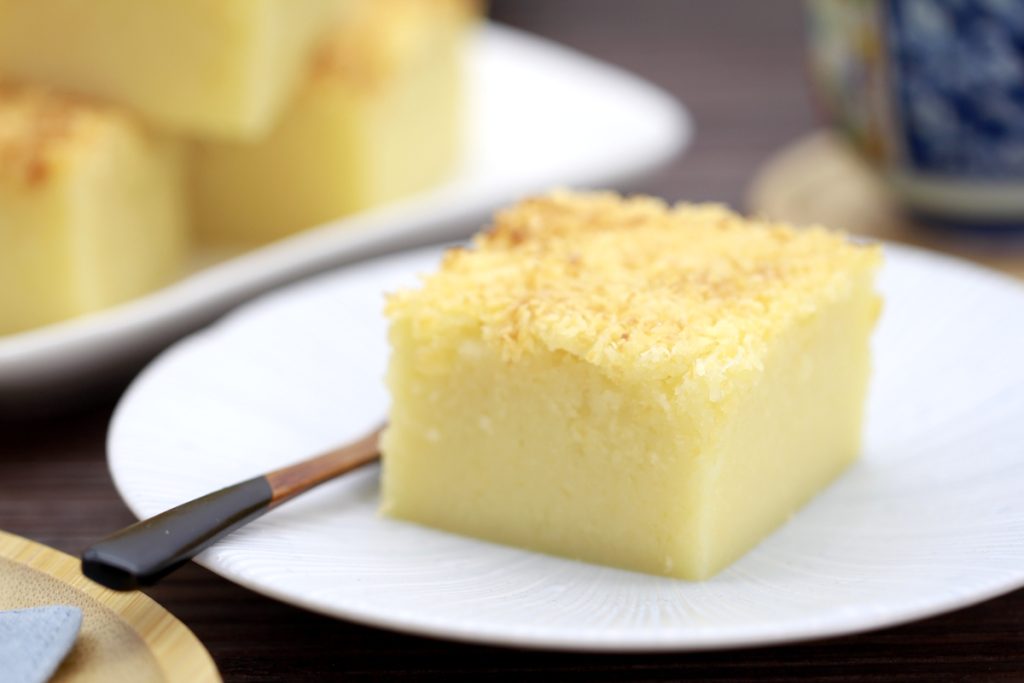
Butter Mochi (Hawaiian Mochi Cake – gluten-free)
Butter Mochi is one of those recipes that’s hard to pigeonhole. It looks like a…
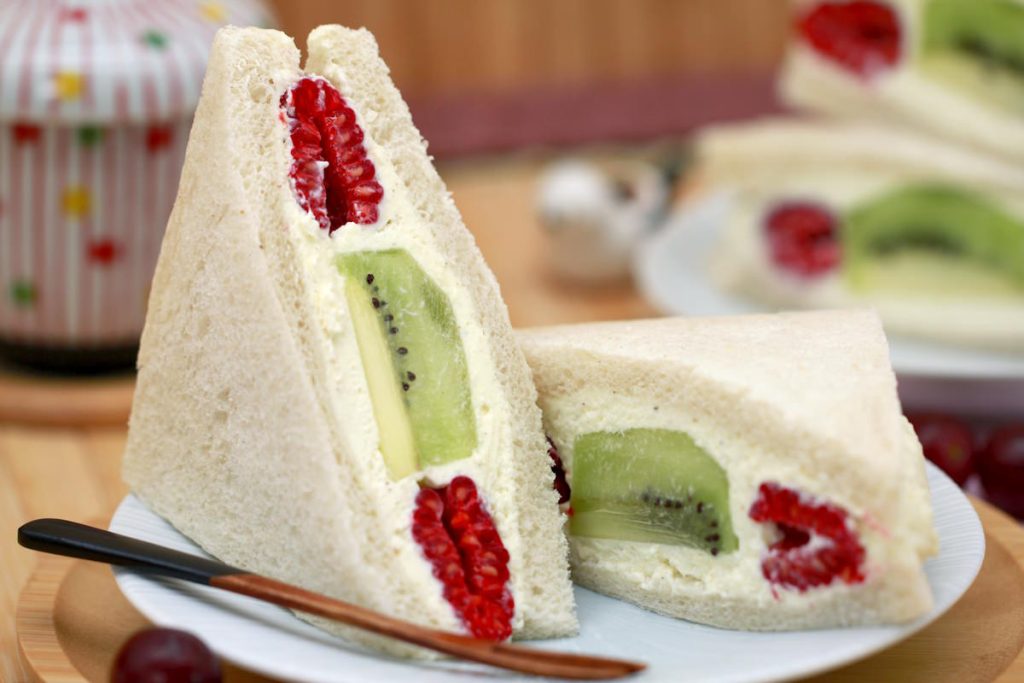
Make your own Fruit Sando: a fluffy cream sandwich with fruit – simple, fresh & typically Japanese
In Japan, it can remain surprisingly hot well into September – and it was on…
Warabi Mochi: Make your own delicate summer dessert with Kinako & Kuromitsu syrup
When the weather warms up, the appetite for light, refreshing sweets grows in Japan –…
Have you tried out the recipe? Let me know in the comments – I can’t wait to hear from you.