

Language:


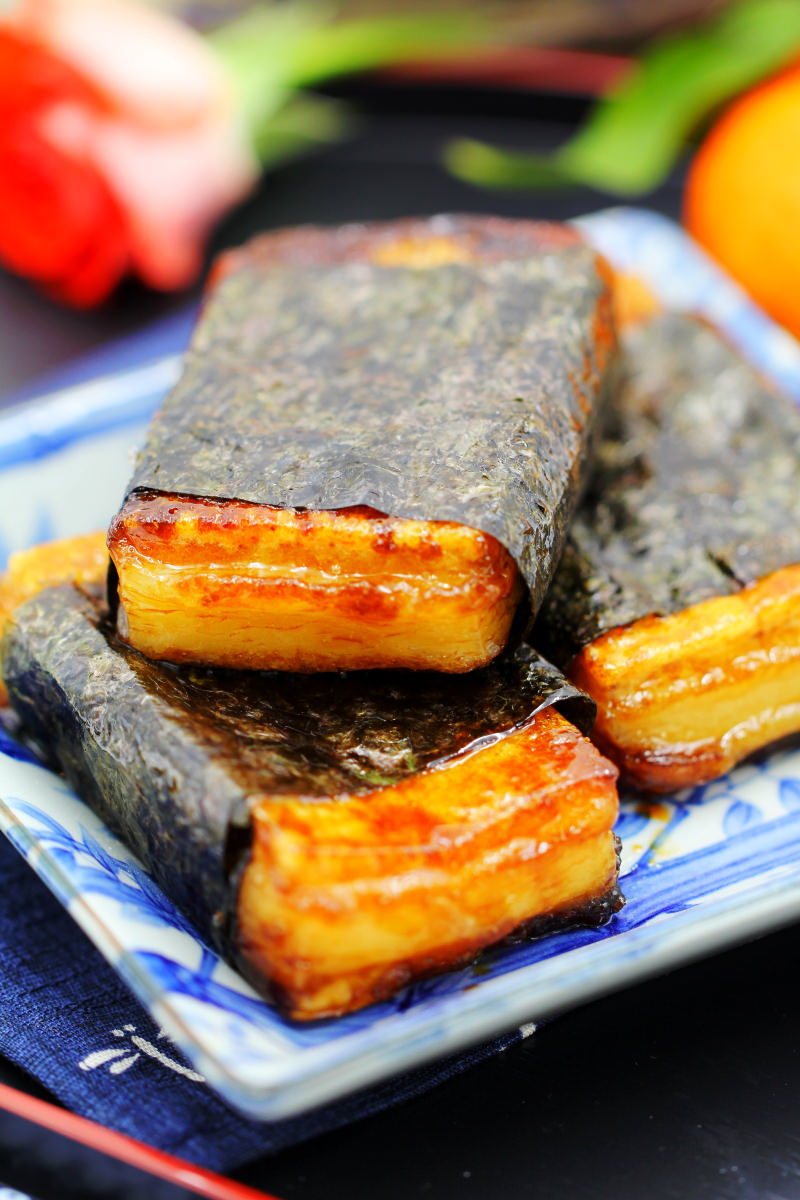
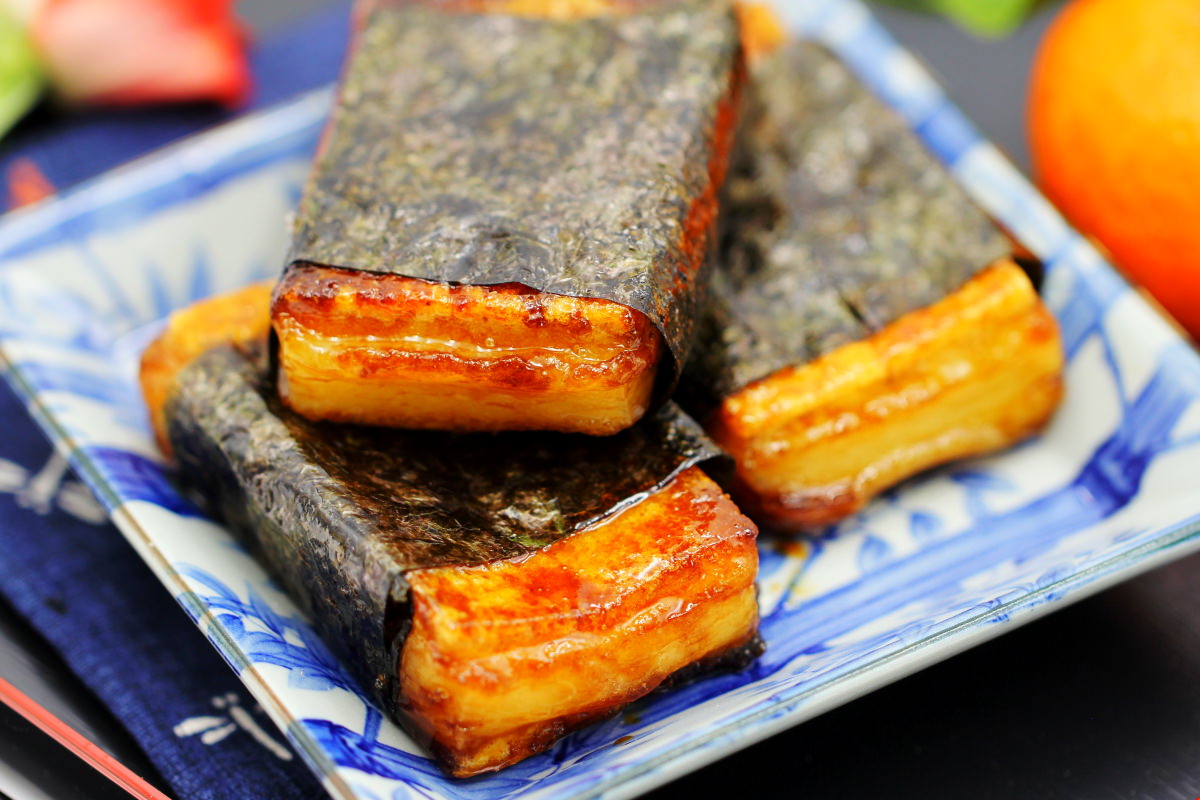
Isobeyaki – so unassuming, yet a real explosion of flavour! These phenomenal yakimochi are pan-fried until soft on the inside and crispy on the outside. The savoury nori wrapper is surpassed only by the caramelisedsauce made from soya sauce and sugar.
For many of you, the word ‘Mochi’ will surely bring to mind a whole range of delicious Japanese sweets. For example, ice-cold Mochi, daifuku filled with sweet adzuki bean paste, or colourful Dango skewers. But watch out – Mochi can do so much more!
My tip: Would you like to find out more about Japanese Mochi? Then let yourself be enchanted by the world of Japanese rice cakes here: → Make Mochi yourself: 7 recipes that really work!
In Japanese cuisine, Mochi – rice cakes made from pounded glutinous rice – are prepared not only as sweet treats but also as delicious savoury dishes. The savoury, flavourful recipes in particular – such as ozoni or chikara Udon – have opened up a whole new culinary world for me.
So today I’d like to share another delicious Mochi recipe from Japan with you: savoury isobeyaki – yakimochi in sweet soya sauce and crispy Nori. Believe me, it’ll blow you away!
The Japanese word isobe means ‘rocky coast’, whilst yaki refers to frying or grilling. In Japan, rocky coasts are closely associated with seaweed, specifically Nori. You’ll no doubt be familiar with nori as the crispy, slightly savoury wrapper on maki Sushi rolls. Taking this a step further, isobeyaki means that something fried is wrapped in nori. In modern usage, isobeyaki refers to fried Mochi wrapped in savoury nori sheets.
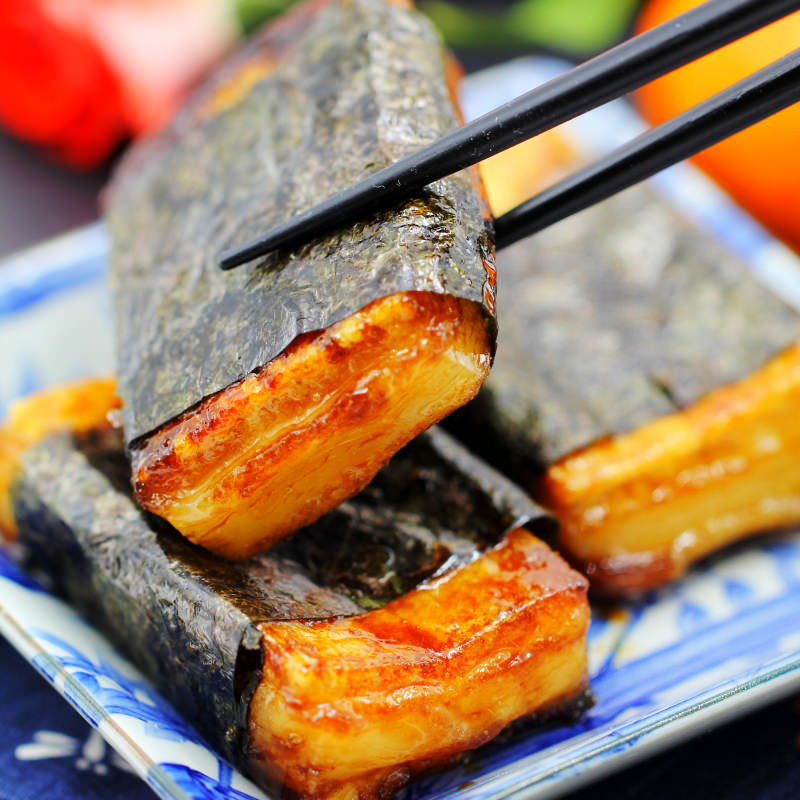
And believe it or not, isobeyaki is one of the most popular traditional recipes in Japanese cuisine for savoury snacks. This little dish is particularly popular at New Year – but generally speaking, warm Mochi simply tastes twice as good in winter!
Tip: Even if you’re still a bit sceptical, make sure you make enough isobeyaki for everyone. These little flavour bombs are seriously addictive!
Traditional Japanese kirimochi play the most important role in today’s recipe. Kirimochi are made by pounding glutinous rice into a fine paste and then pressing and drying it into firm shapes. They are eaten all year round on many different occasions, but especially during the colder months. You’ll be surprised at just how versatile kirimochi are.
KUNDENLIEBLING
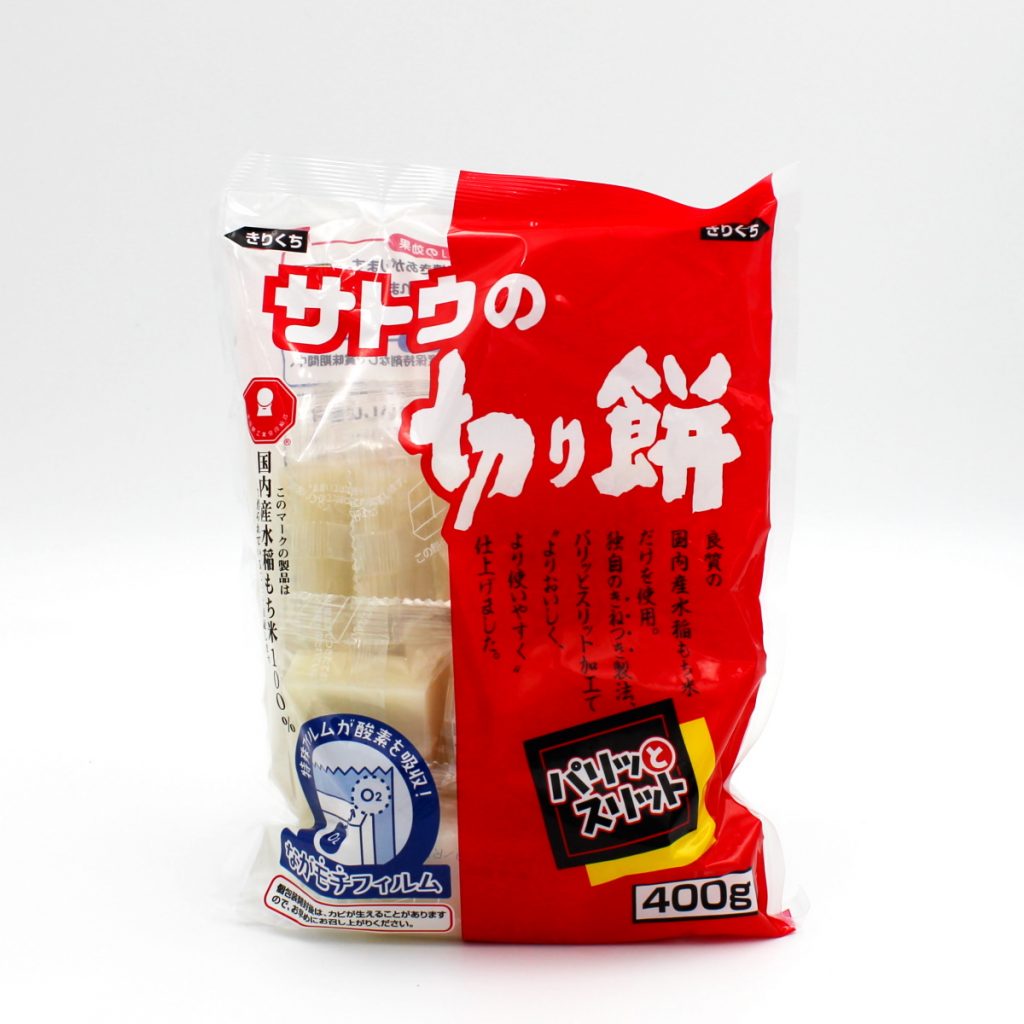
Kiri Mochi 400g (quadratische, getrocknete Mochi Reiskuchen), Sato
Kiri Mochi ist die wichtigste Zutat für herzhafte Mochi Rezepte. Sie werden gegrillt, gekocht oder gebraten und sind eins der vielseitigsten Lebensmittel der japanischen Küche.…
In stock
Kirimochi are usually grilled, boiled or fried – they cannot be eaten raw; instead, they must be heated through first. The most popular way to prepare them is grilled kirimochi. In Japan, a simple toaster oven or even an open fire is used for this. Alternatively, however, you can also use a conventional oven or a non-stick frying pan. The outside of kirimochi becomes crispy, which always reminds me very strongly of Japanese rice crackers – whilst the inside surprises you with a soft, slightly chewy texture.
Tip: Kirimochi usually have delicate perforations. This means that each block of kirimochi rice can be halved or quartered again using a large, sharp knife!
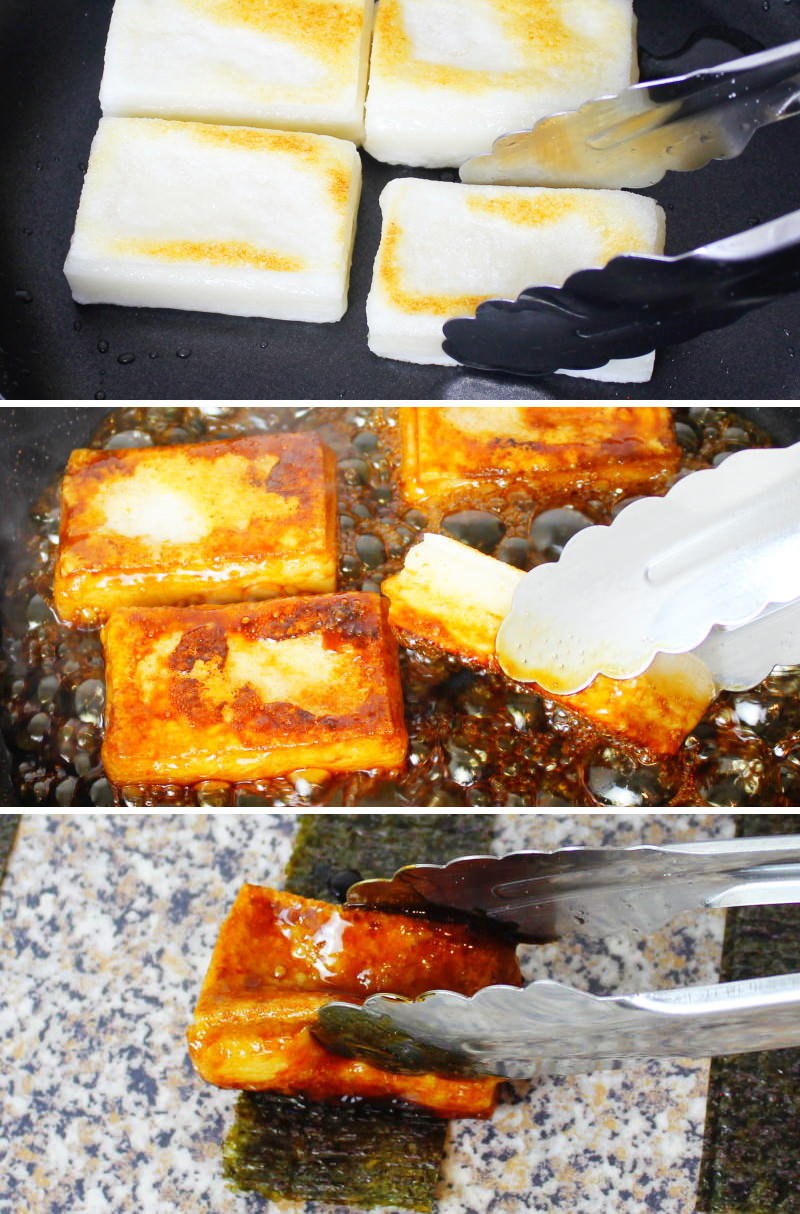
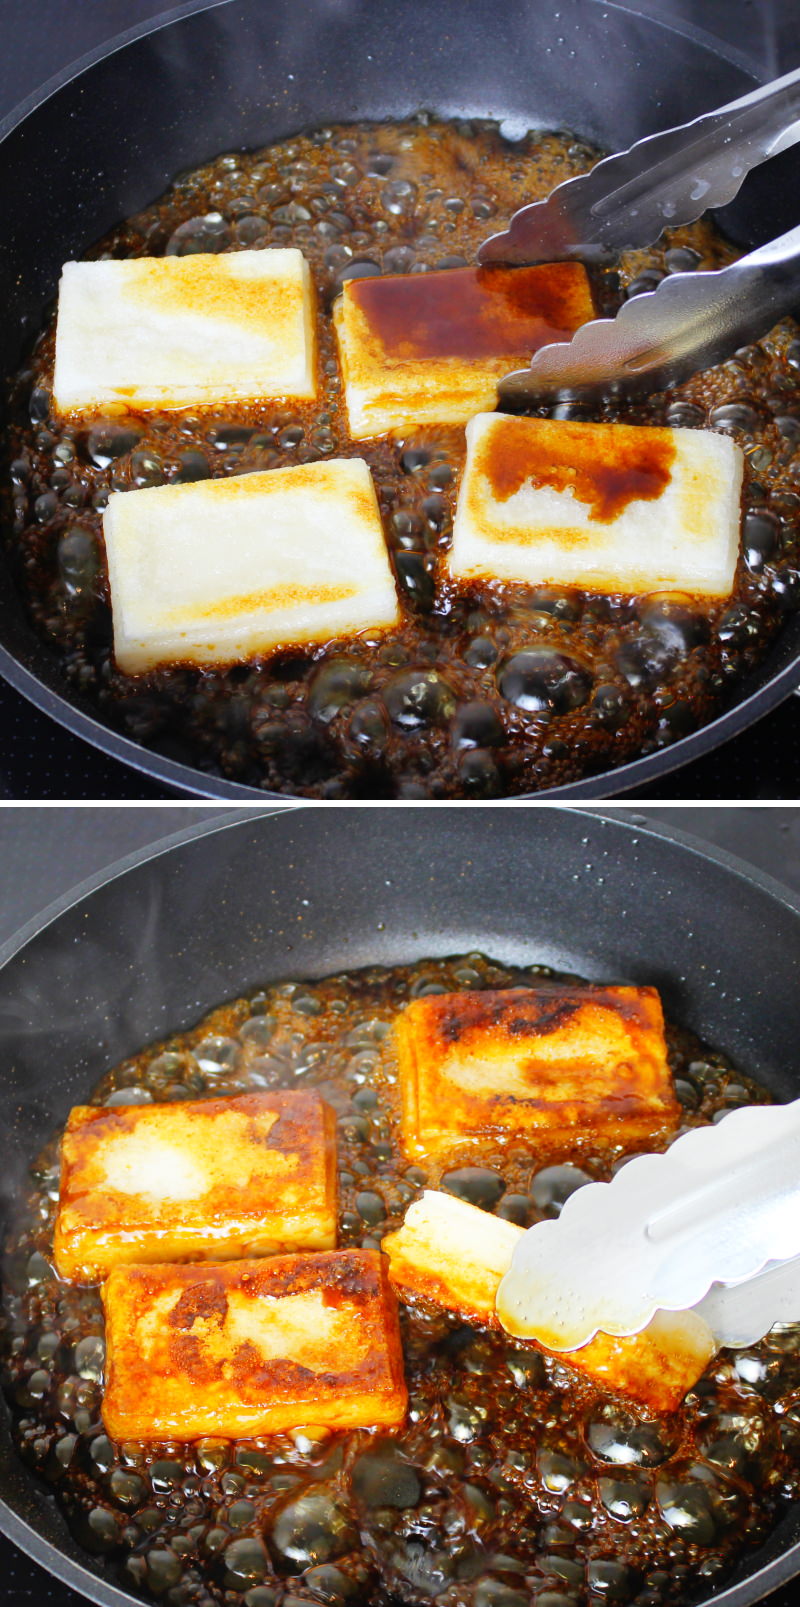
In this recipe for Isobeyaki, the kirimochi are fried over a medium heat in a hot pan with a little oil until they have taken on a light golden colour on both sides. Every now and then, the Mochi blocks should be turned carefully – ideally with tongs – so that they soften evenly on the inside. After about 5 minutes, the kirimochi will have taken on a lovely colour and will feel soft when turned.
Kirimochi should be a staple in your kitchen from now on. In my post on savoury Mochi recipes , I’ll show you even more delicious recipe ideas for kirimochi!
And this is precisely when the magic of this recipe happens: a sugar-sweetened soya sauce is poured over the toasted Mochi. It caramelises in a matter of moments and coats the crispy kirimochi in a marinade that tastes simply unbelievably delicious. It’s absolutely to die for!! The finishing touch is a coating of long strips of nori, whose flavour perfectly rounds off the dish. So simple, yet so good 😀
Tip: Isobeyaki should definitely be served warm. It goes best with a bit of Sake or green tea!
This sweet-and-savoury Mochi recipe is sure to become one of your favourite snacks for a cosy evening, especially as you can whip up this little treat yourself in just a few minutes. Here’s how it works, step by step:
Isobeyaki
Serves 4 | 10 minutes | 146 kcal
🖨️ Print PDF 📌 Save to PinterestSo unassuming, yet a real flavour explosion: Isobeyaki! These phenomenal Yakimochi are pan-fried until beautifully soft on the inside and crispy on the outside. The savoury nori wrapping is topped only by the caramelised sauce made from soy sauce and sugar. My tip: definitely serve warm!
Ingredients (4 portions = 4 pieces)
4 Kirimochi – square Mochi blocks (im Shop ansehen)*
1 nori sheet (im Shop ansehen)*
4 tbsp soya sauce (im Shop ansehen)*
4 tbsp sugar
2 tbsp oil (e.g. sunflower oil)
Preparation (10 minutes)
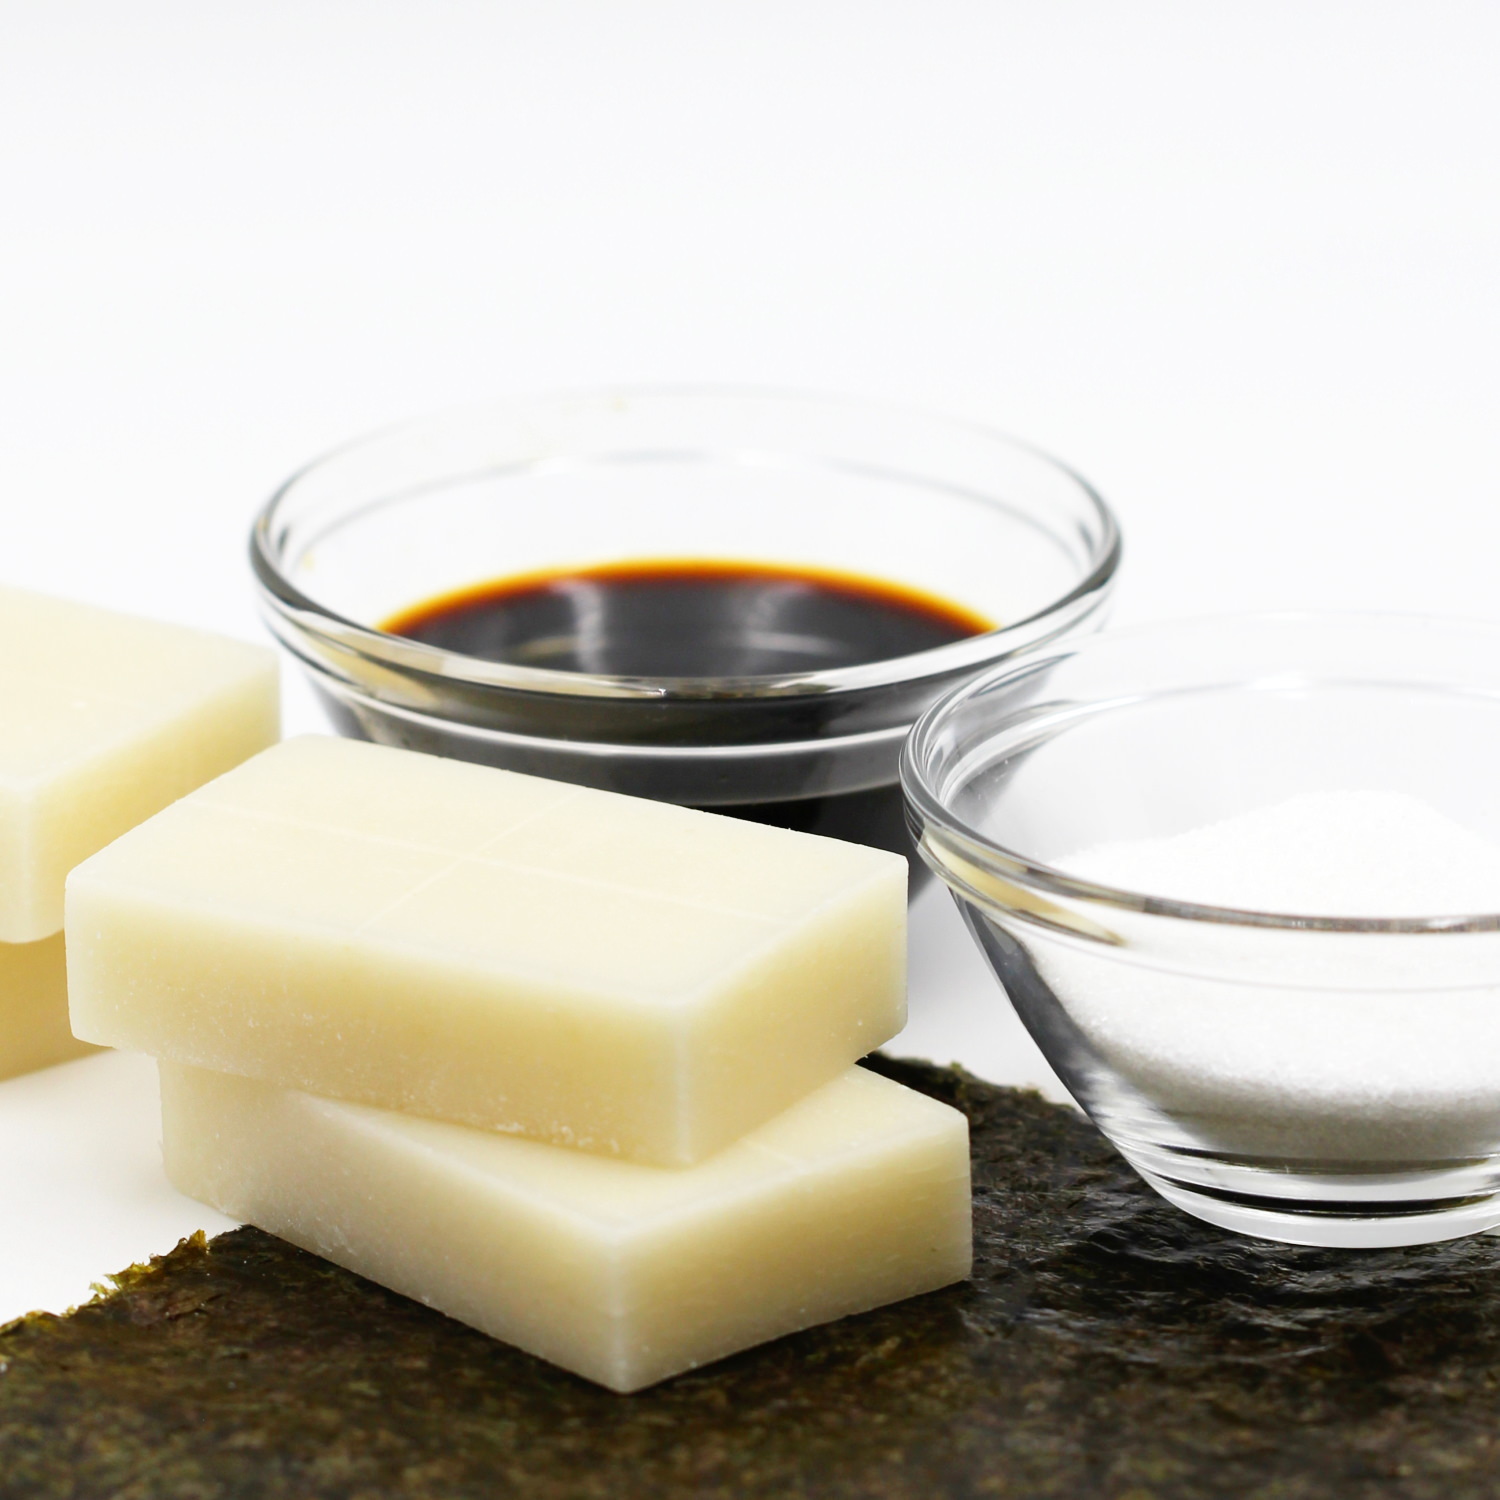
Step 1
Get the ingredients ready for Isobeyaki.
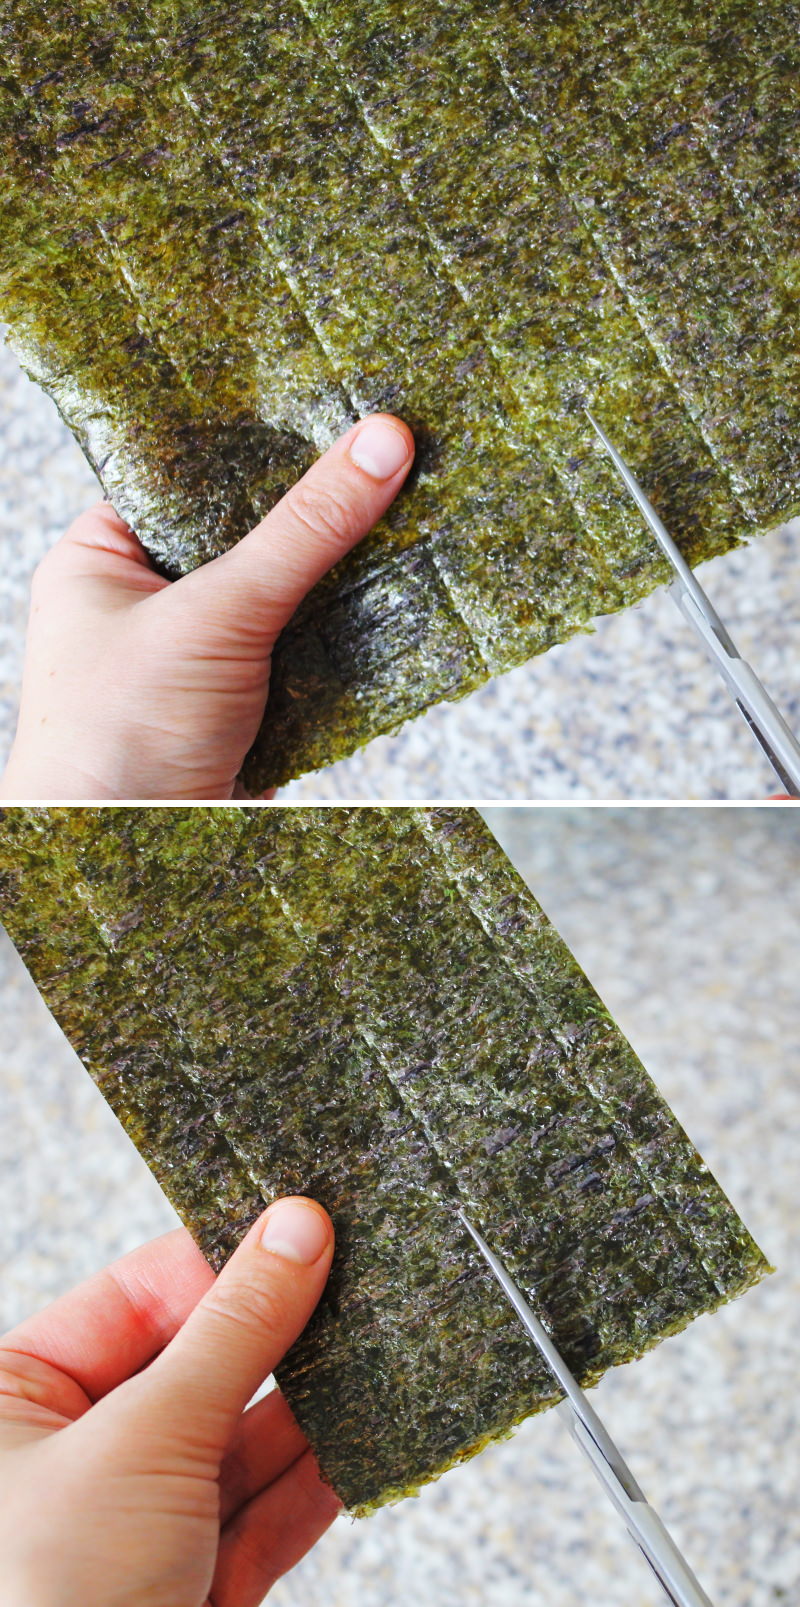
Step 2
Preparation: First, cut the nori sheet in half with scissors, stack both halves on top of each other and cut in half again, so that you end up with 4 long nori strips. Lay the strips on the clean work surface, spaced a little apart.
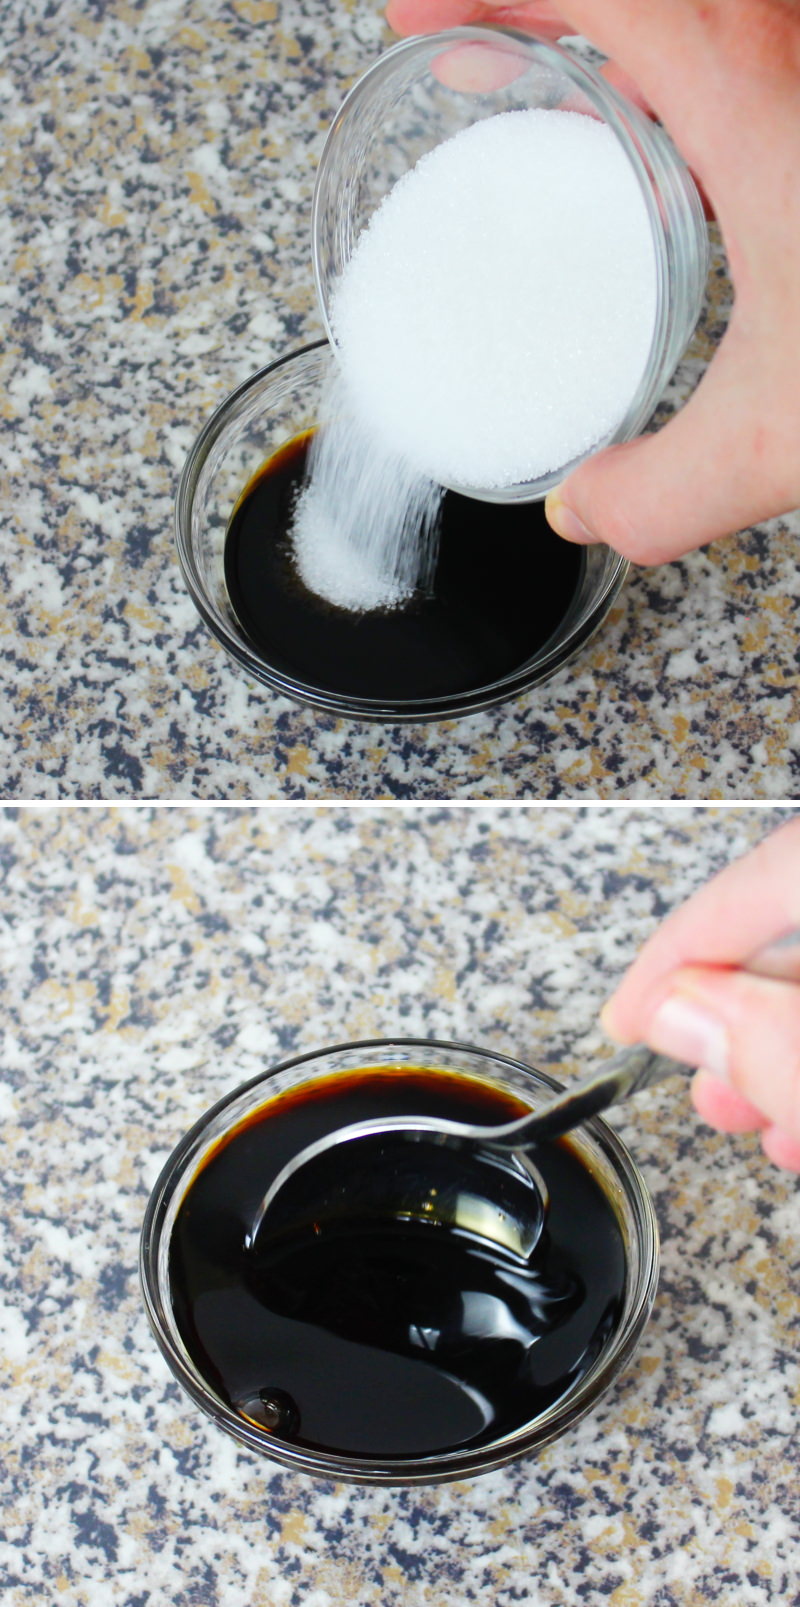
Step 3
Also, mix the soya sauce with the sugar and set aside.
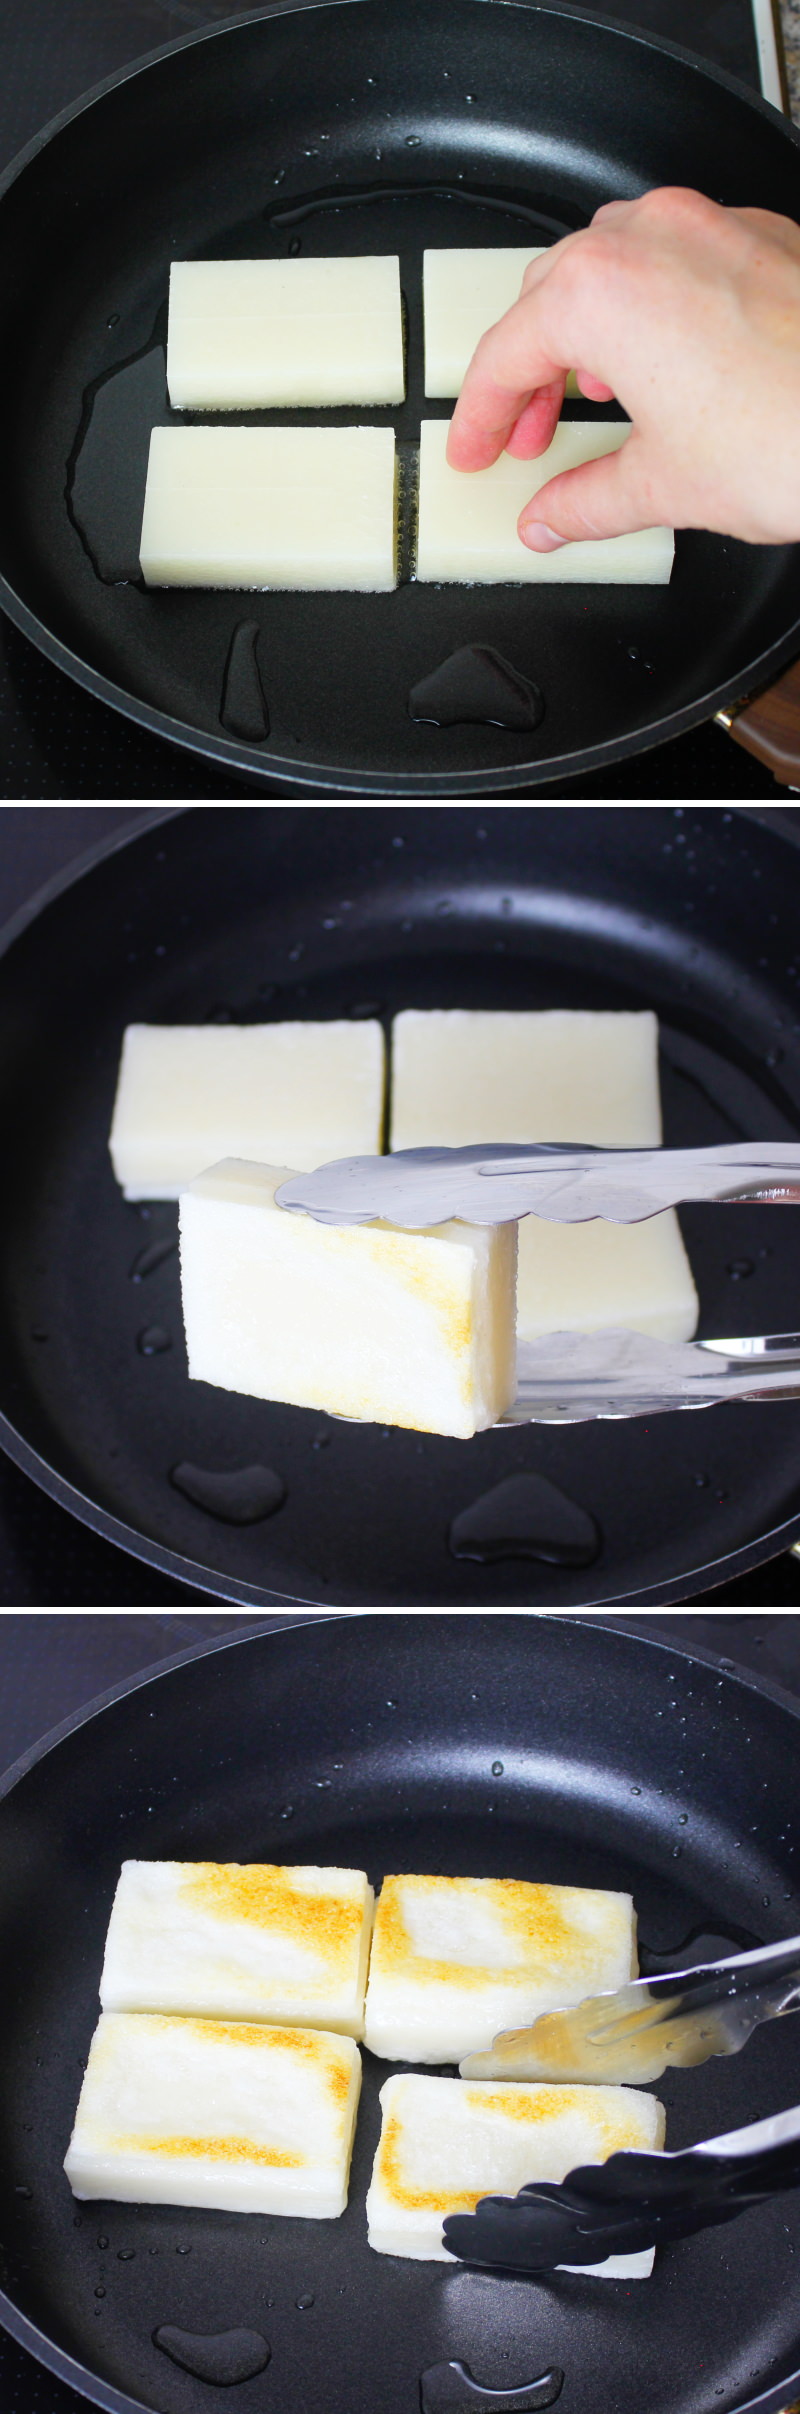
Step 4
Now heat the oil in a frying pan over a medium to high heat. Fry the kirimochi in it over a medium heat until they are lightly browned on both sides (this will take about 5 minutes). Carefully turn the Mochi blocks from time to time (preferably with tongs) so that they soften evenly on the inside.
Step 5
Once the kirimochi have taken on a nice colour and feel soft when turned, stir the mixture of soya sauce and sugar once more (to prevent the sugar from sticking to the bowl) and pour it over the kirimochi.
Caution: Please be careful, the mixture will bubble up vigorously!
Turn off the hob and, using the residual heat, ‘bathe’ the kirimochi in the hot sauce – that is, keep turning them over with tongs, so that the sauce, which is slowly thickening, clings to the kirimochi.
Step 6
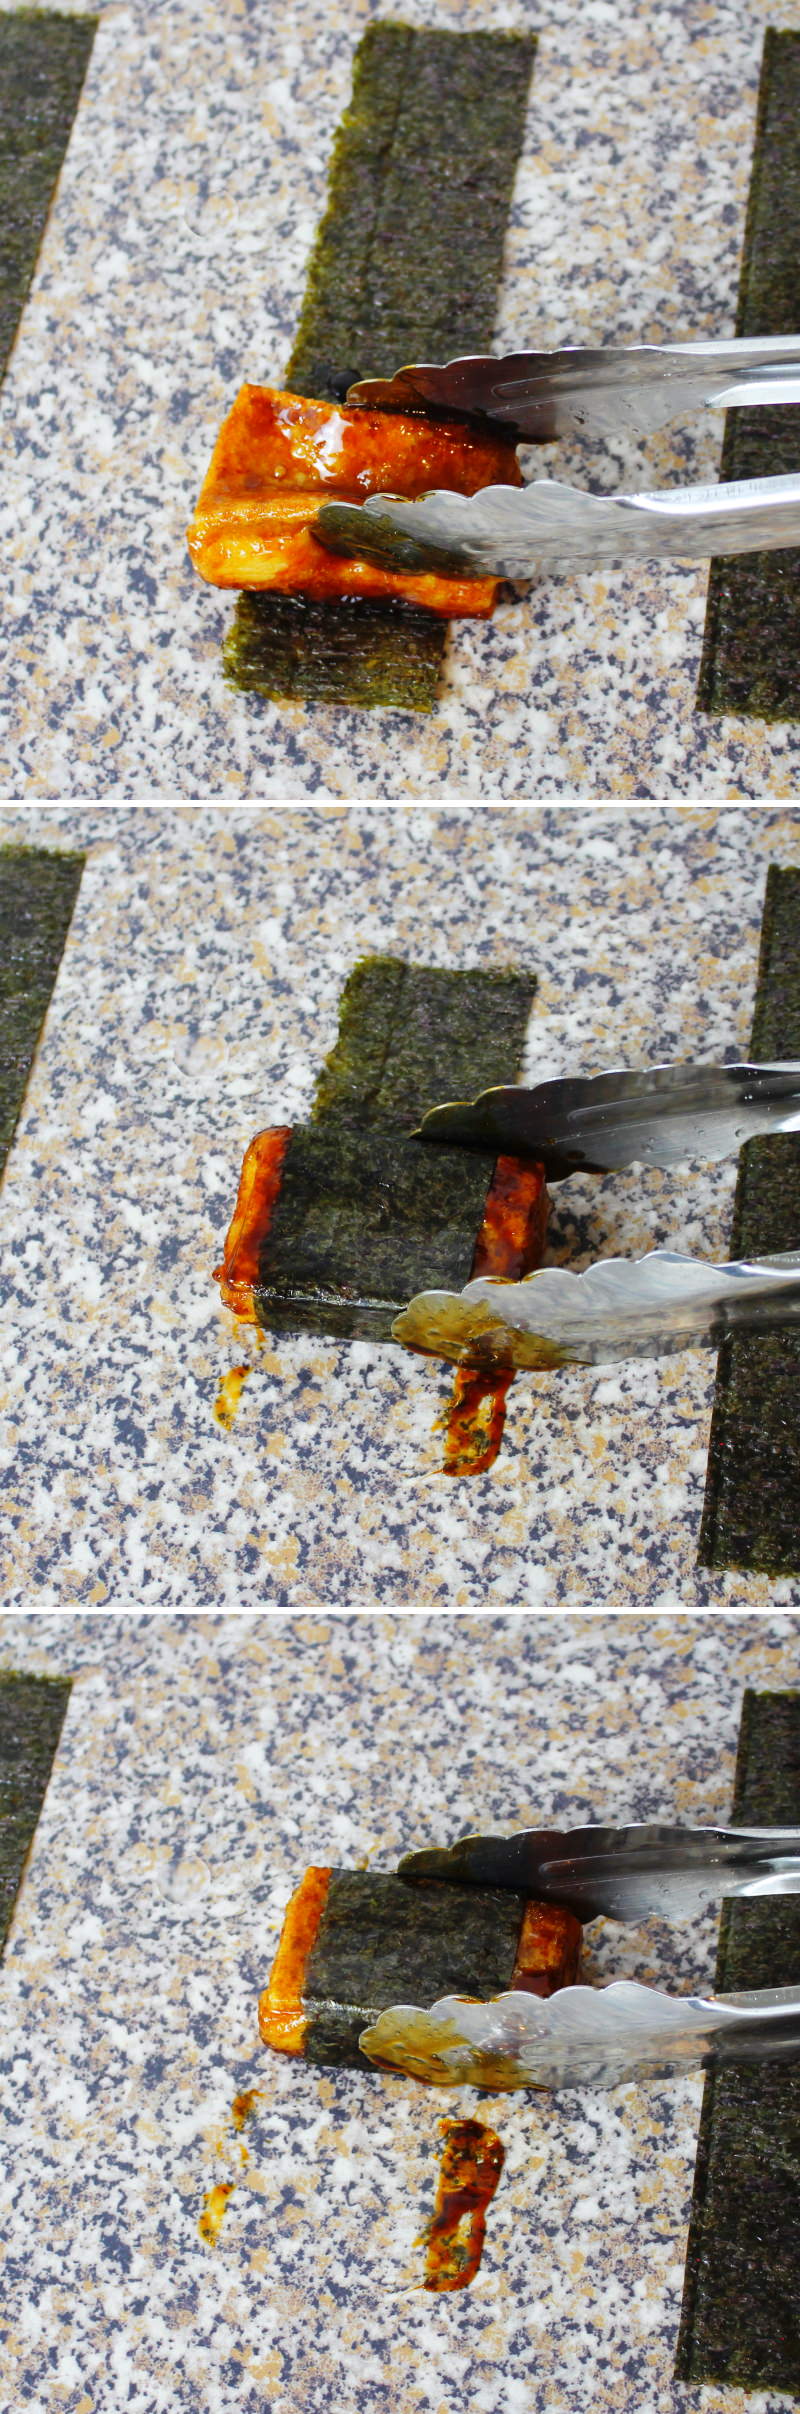
After about 2 minutes, wrap each fried kirimochi in one of the prepared nori strips .
Caution: It’s best to use tongs or two forks – it’s very hot!
Tip: Rinse the pan straight away with hot water, as the caramelised sugar is very difficult to scrub off later 😉
Step 7
Be sure to serve the finished Isobeyaki whilst still warm, ideally with Sake or green tea. Ready – Itadakimasu!
Are you looking for even more quick snack recipes from Japan? Here are my most popular ideas:
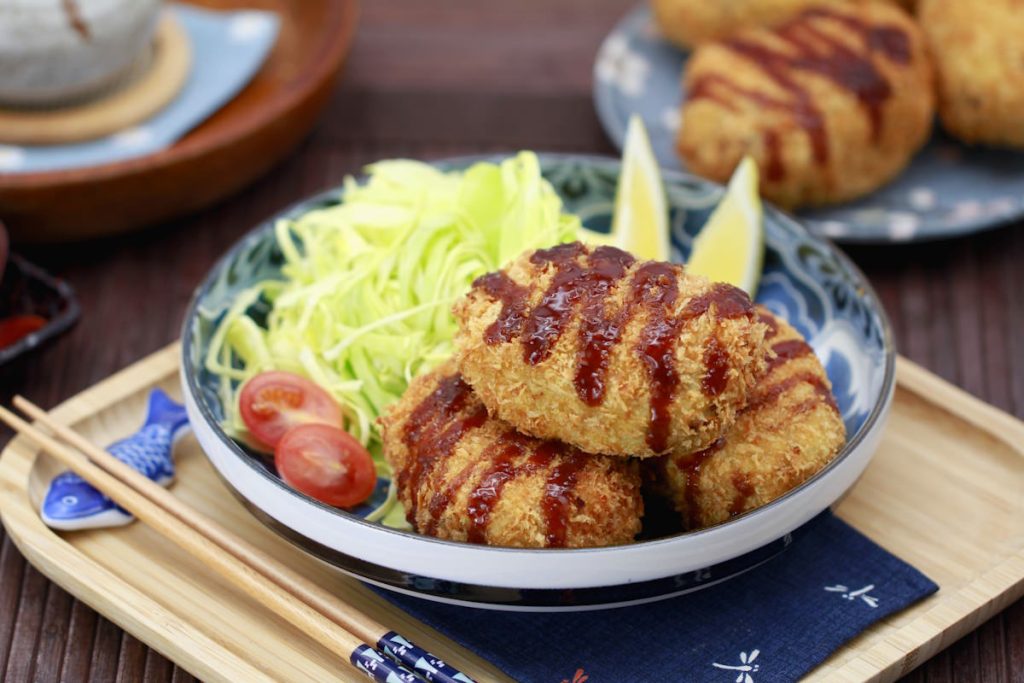
Korokke: Make your own Japanese croquettes | delicious street food from Japan
Korokke are among the best-known everyday fried dishes in Japanese cuisine. They combine simple ingredients with a straightforward technique and…

When I think of summer festivals in Japan, the many colourful yatai immediately spring to mind – small food stalls…
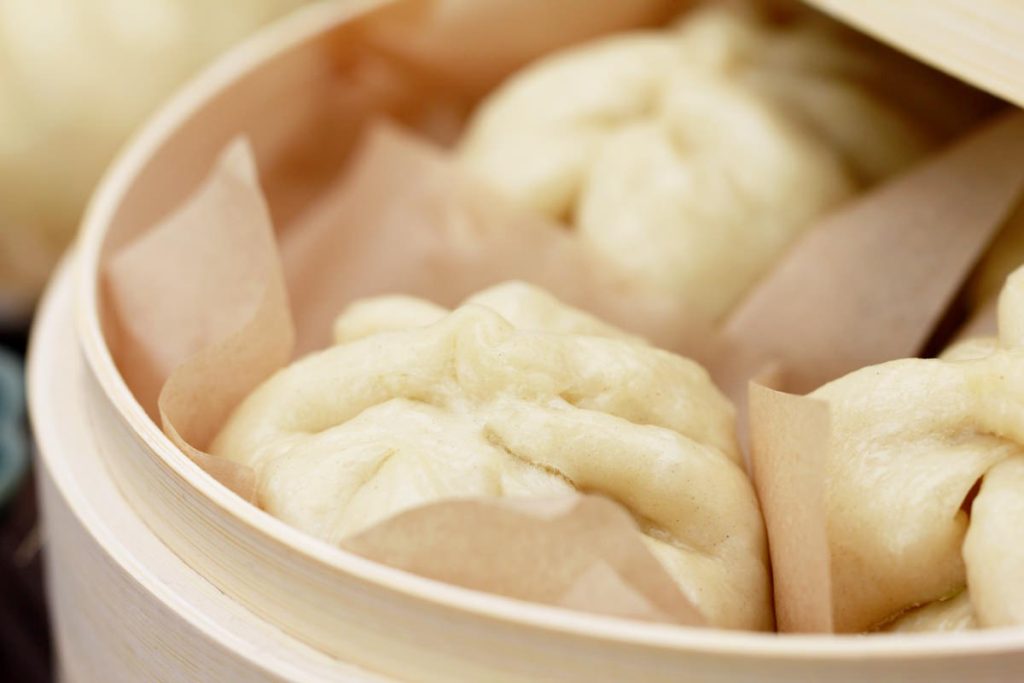
Homemade Nikuman: Steamed buns with a juicy filling – fluffy, savoury and perfect for on the go
Nikuman, the Japanese steamed buns with a savoury filling, are one of the absolute favourite snacks there during the colder…
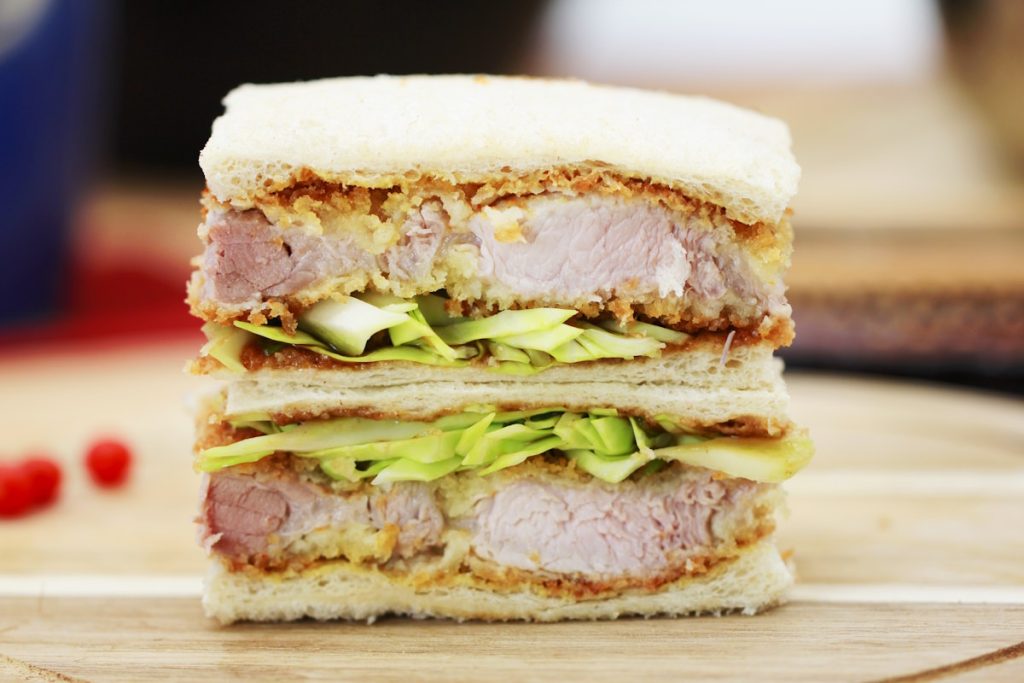
Katsu Sando: Japanese cutlet sandwich in a handy size – quick & really juicy!
Katsu Sando, the Japanese cutlet sandwich, is not only a culinary highlight, but also quick to prepare and ideal for…

Potatoes in soy sauce: crispy-sweet Daigaku Jagaimo, Japanese style
Daigaku Jagaimo are delicious, crispy potato bites glazed in a sweet and savoury marinade. These simple yet impressive soy sauce…
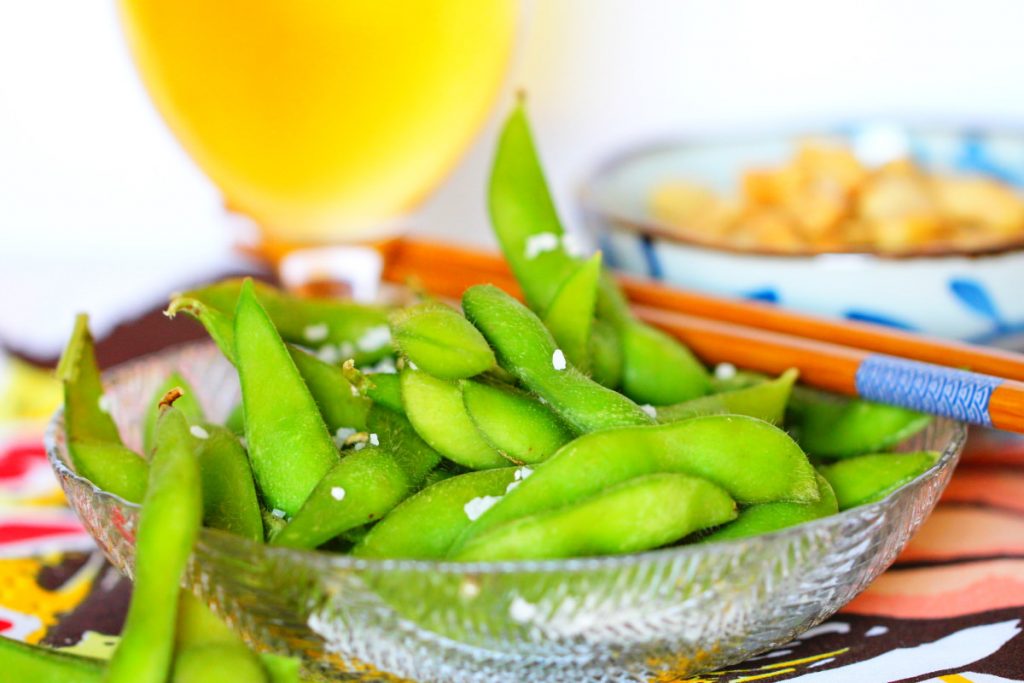
Edamame at home: the best way to prepare this Japanese soybean finger food!
Are you ready for a culinary journey to Japan, from the comfort of your own living room? With my simple…
Have you tried this recipe? Let me know in the comments – I’m really looking forward to hearing from you.