

Language:


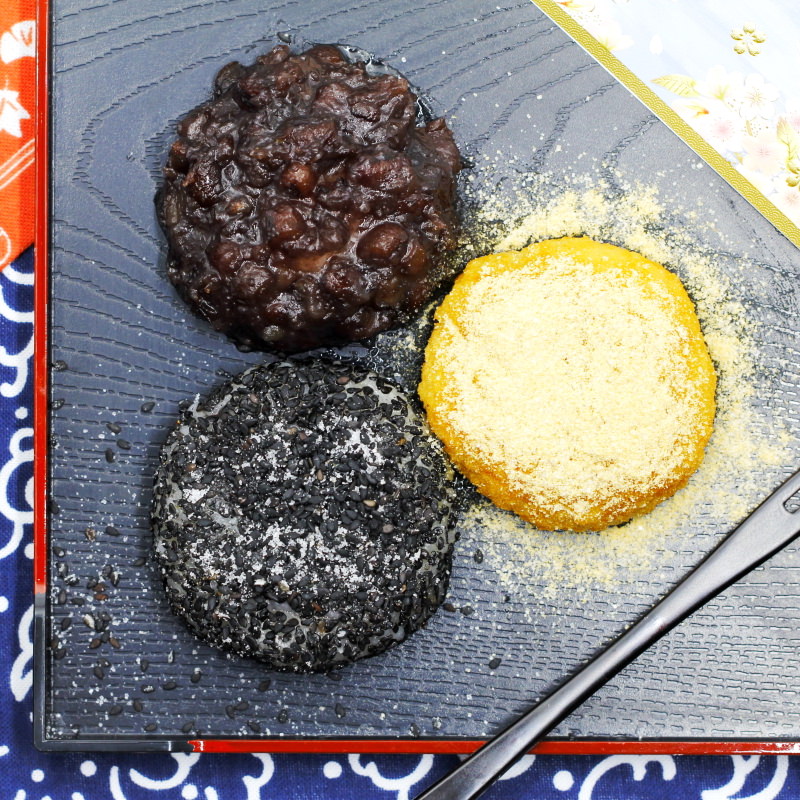
Botamochi in spring and ohagi in autumn: these sweet rice balls, made from Japanese glutinous rice and red bean paste, are best served in three varieties. Both with a topping of black sesame and roasted soya flour as well as in a ‘inside-out’ version, where the red bean paste is on the outside. Absolutely delicious!
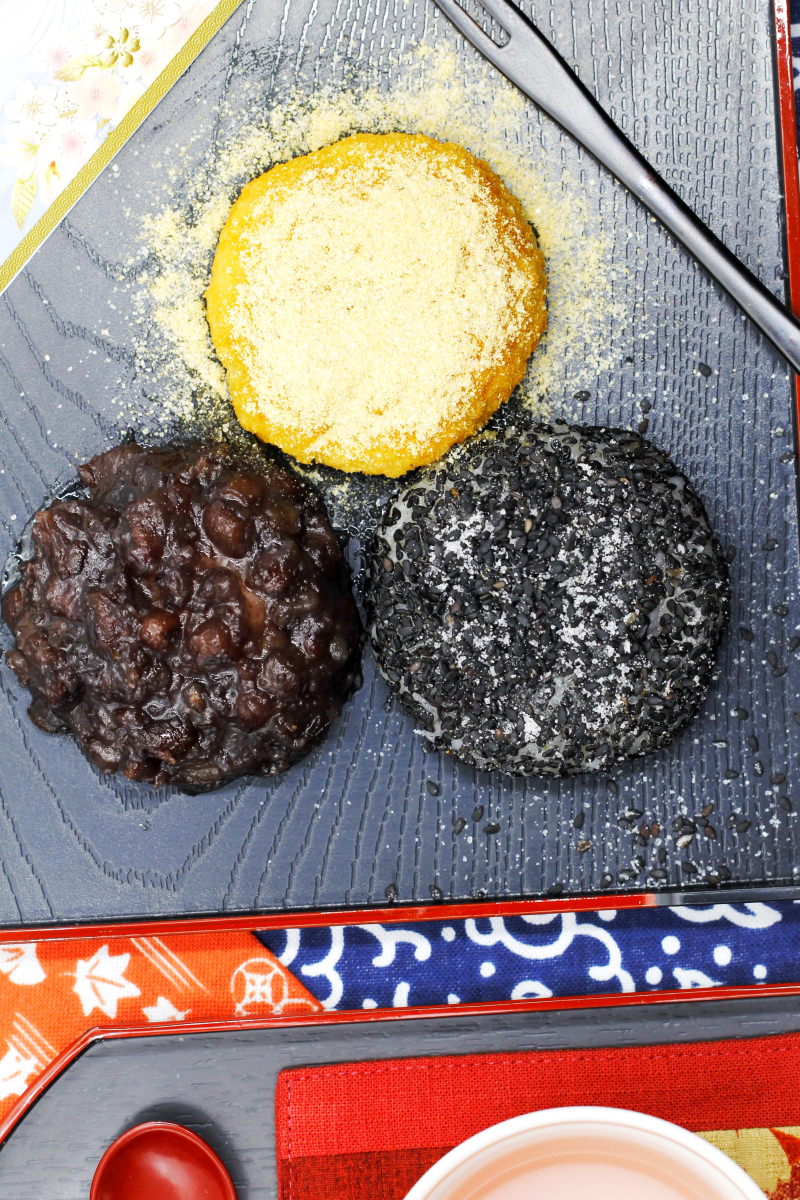
Living in Japan also means celebrating a wide variety of cultural, seasonal and religious festivals throughout the year. What makes them special is that each festival is celebrated with very specific culinary delicacies. Ohagi and Botamochi are just such festive treats!
These delicate, sweet glutinous rice cakes are made every year to mark the equinoxes in March and September. Both varieties are sweet rice balls filled with or coated in red bean paste. In autumn they are called ohagi, just like the lovely autumn flower, bush clover (Hagi in Japanese), and in spring they are called Botamochi, after the beautiful peonies (Botan) that bloom everywhere at that time.
To be perfectly honest, I find it very difficult to make these delicate Mochi as perfectly as the skilled professionals in Japan can… In Japan, ohagi all look absolutely identical, are beautifully oval-shaped, and the glutinous rice is positioned exactly in the centre when you cut into the rice balls. Well, perhaps I’m too impatient, or perhaps not careful enough. Do you ever feel that way too?
In any case, no recipe really convinced me, even though I’ve tried countless tips and guides. In the end, I’ve compiled the best instructions and spent a long time working on a suitable recipe that shows you, in a very simple way and with as few steps as possible, how to make this Japanese delicacy just like the Japanese do.
My aim is for your botamochi to turn out perfectly first time round! 😊 So let’s get started!
The basic version of these sweet rice balls is made from glutinous rice and red bean paste. The rice is shaped into small balls and coated on the outside with a sweet red bean paste.
Two further variations involve wrapping the red bean paste in glutinous rice and adding an extra coating of sweetened soya flour or sweetened ground black sesame seeds around each rice ball.
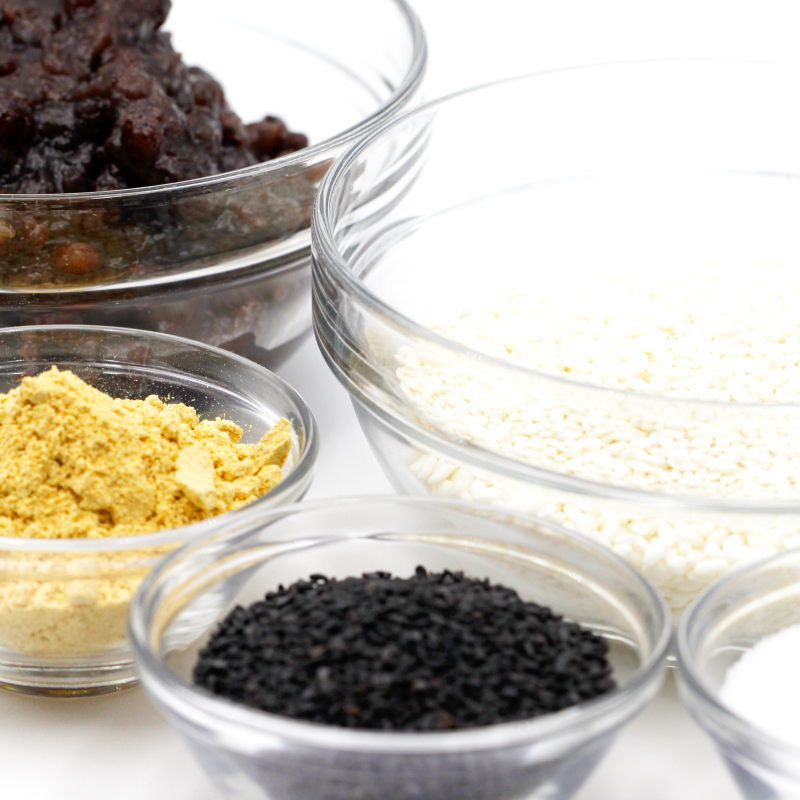
All you need for this recipe are:
- Mochigome – sweet, glutinous rice
- Tsubu-an – sweet red bean paste (see recipe)
- Kinako – roasted soya bean flour
- black sesame seeds (im Shop ansehen)
- Sugar
You might be wondering what exactly sweet, glutinous rice is? Genuine glutinous rice, or sweet rice, is known in Japan as mochigome or Mochi rice and is a very special variety of rice. The grains of sweet glutinous rice are snow-white, shorter and rounder than other varieties of rice in Japan, and are used exclusively for making Mochi (rice cakes) and other traditional sweets such as rice crackers.
Thanks to its wonderful properties, glutinous rice becomes very sticky and quite chewy when cooked. It also has a sweet flavour, even though it’s cooked without sugar! This makes it ideal for making Japanese sweets. Glutinous rice is also often ground into a fine flour to produce sweet glutinous rice flour (im Shop ansehen), which you’ll need for classic daifuku Mochi or Dango.
My tip: Would you like to find out more about these irresistibly sweet Mochi? Then let yourself be enchanted by the world of Japanese rice cakes here: → Make Mochi yourself: 7 recipes that really work!
But be careful: some people might think you could replace glutinous rice with ordinary Japanese short-grain rice. Wrong!! These are two completely different types of rice with different uses. Japanese short-grain rice (sometimes also called ‘Sushi rice’) is the rice you use to make Sushi, Onigiri or other rice accompaniments for Japanese dishes. Genuine Japanese glutinous rice, or mochigome, is mainly used to make sweets and snacks.
I wouldn’t recommend replacing Japanese glutinous rice with Thai or Chinese long-grain glutinous rice, as these contain too much starch!
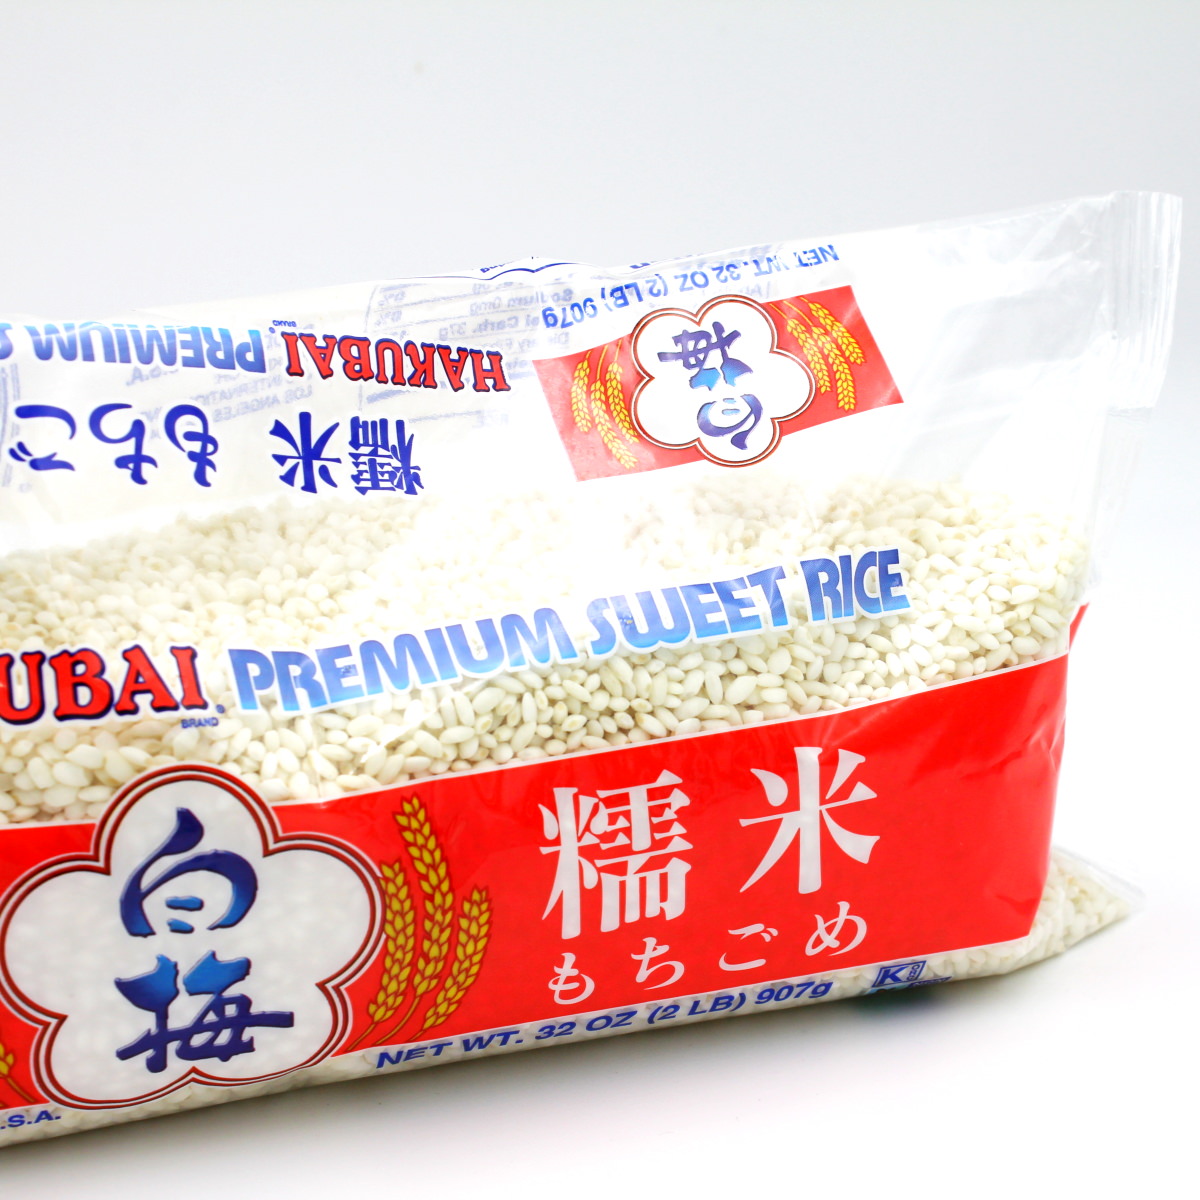
Psst: Although Japanese glutinous rice is also referred to as ‘glutinous’, it actually contains no gluten. This rice is therefore safe for a gluten-free diet.
Before cooking, we’ll wash the sweet rice and soak it in cold water for 30 minutes to further enhance its sticky texture. We’ll then cook the sticky rice in a saucepan until done and carefully pound it with a suitable tool – either a traditional wooden pestle or simply a flat glass – to create a cohesive mass of sticky rice.
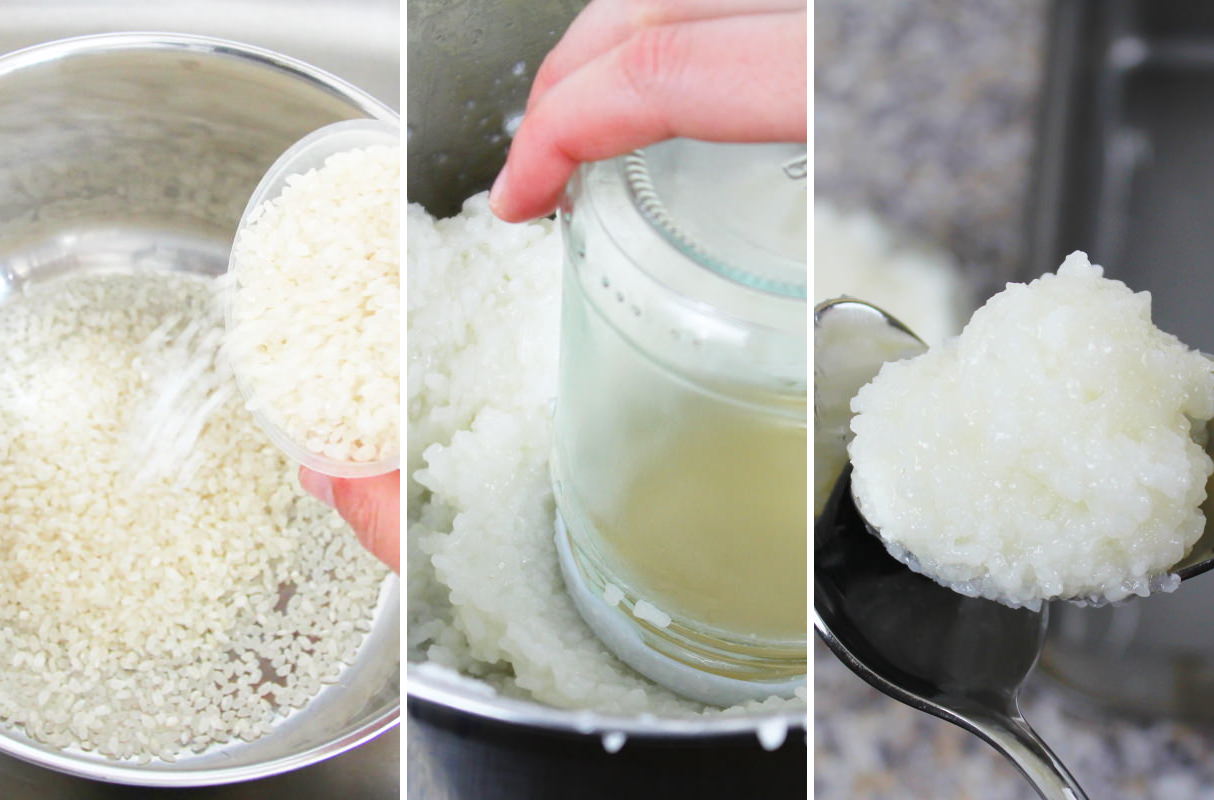
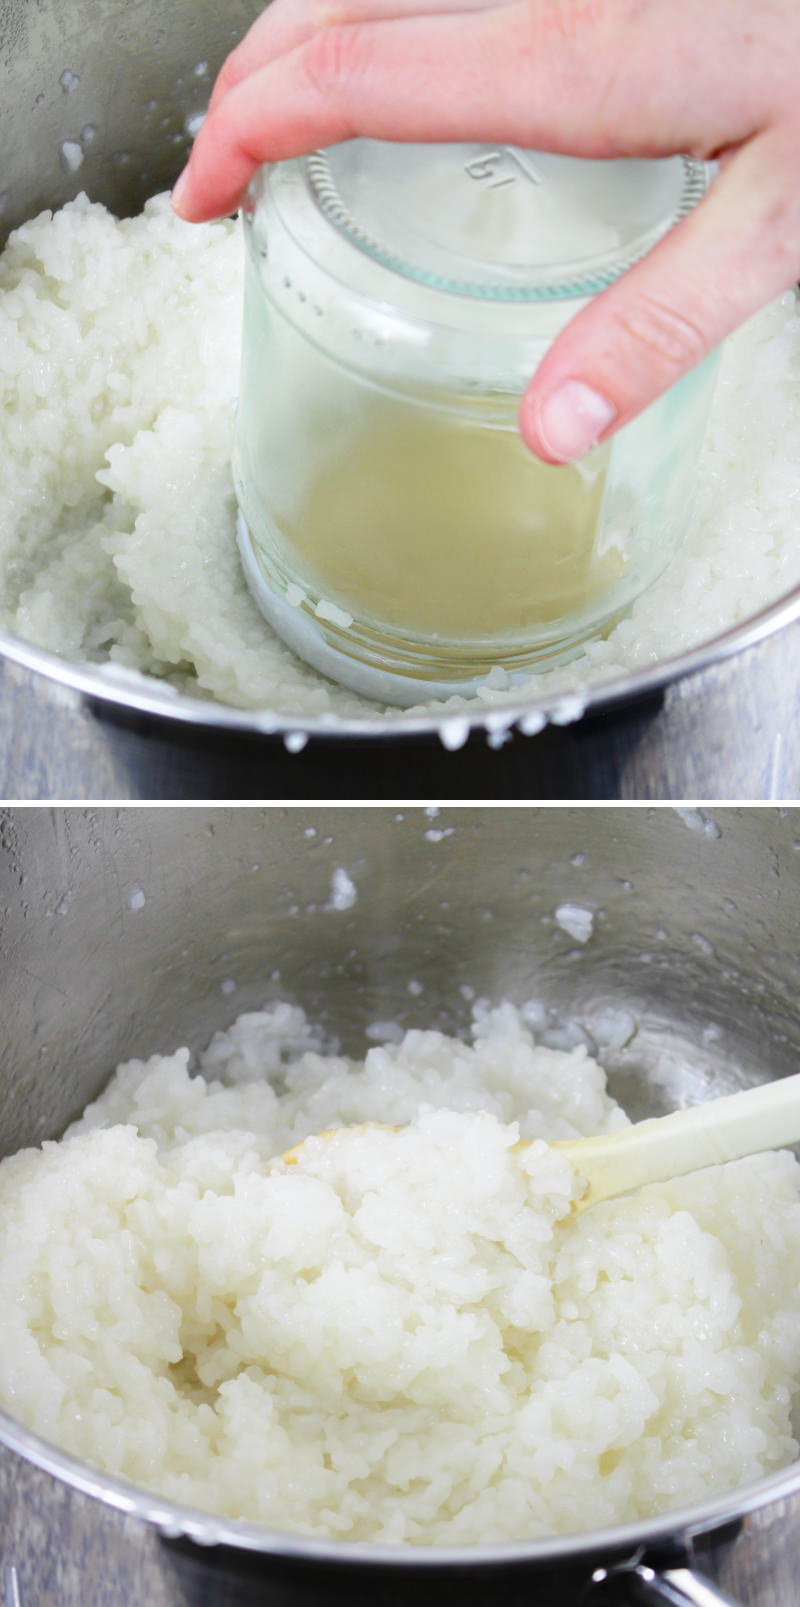
Tip: What makes ohagi (botamochi) special is the distinct texture of the rice when you eat it. Unlike other Mochi specialities, which use fine rice flour, the rice is only partially pounded and should not be completely mashed.
Then we shape the pounded rice into balls and coat them with sweet red bean paste. This creamy paste is called anko, or simply an, and is made from adzuki beans. It is the very best choice when it comes to the perfect accompaniment for traditional Japanese sweets and pastries. → Here’s my simple recipe for homemade red bean paste!
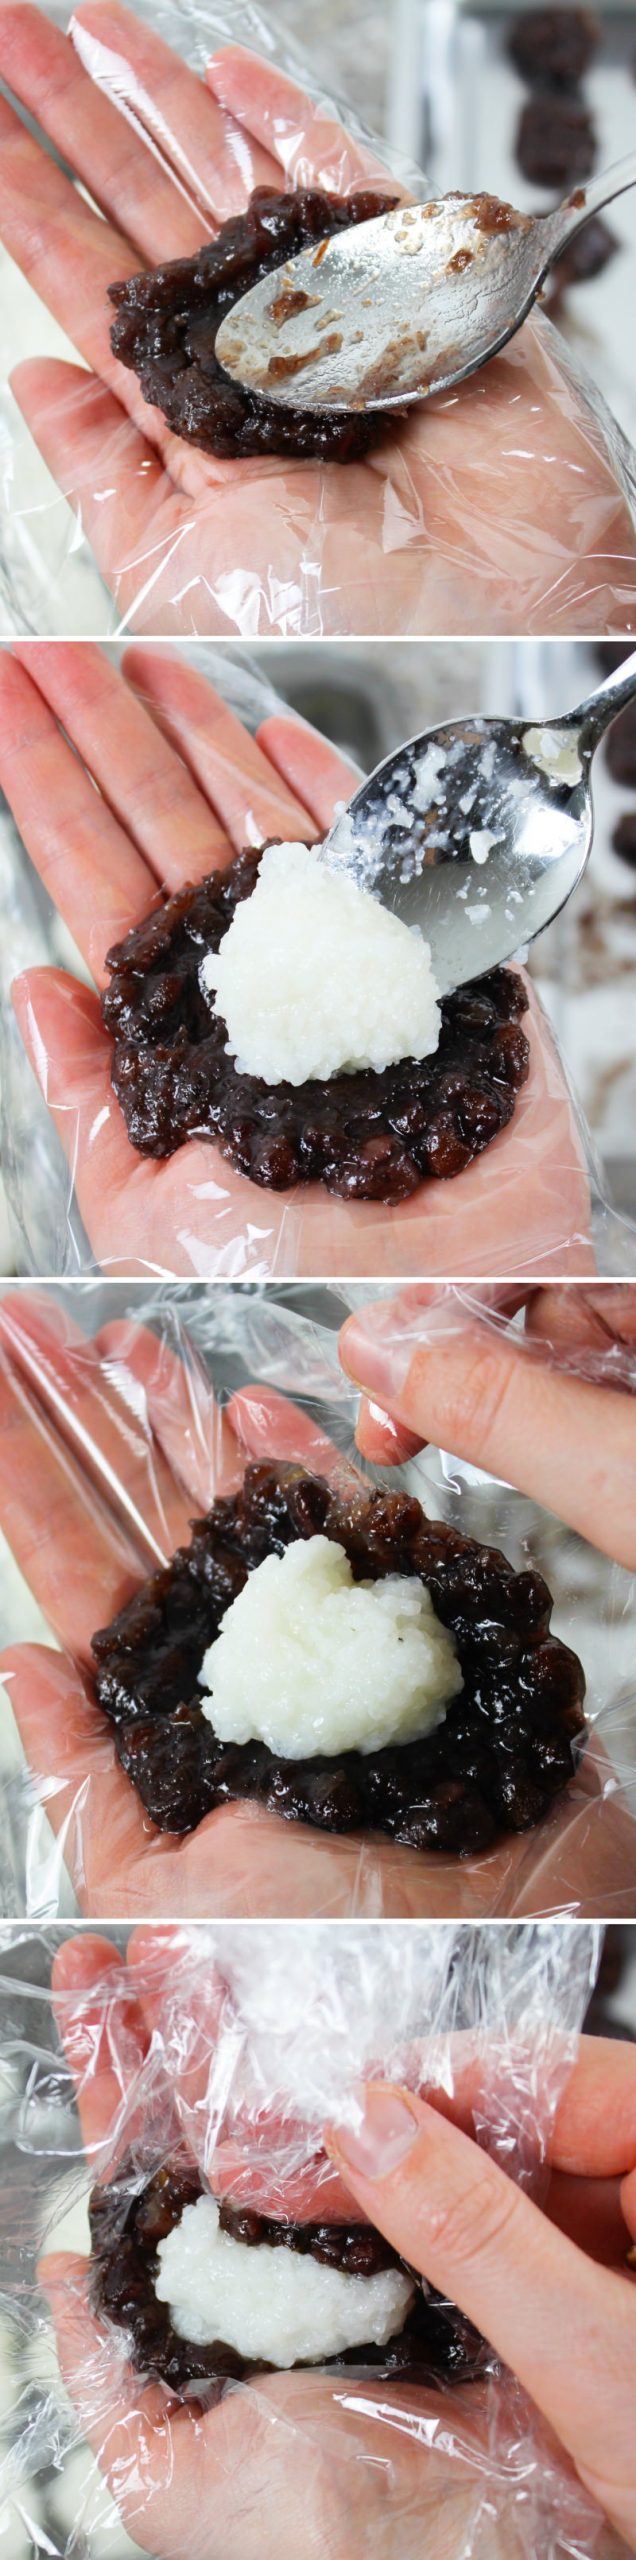
I use a bit of cling film to help coat the rice balls with anko. This makes a huge difference when shaping the delicious botamaochi, as it’s quite tricky to spread a thin layer of red bean paste around the rice balls.
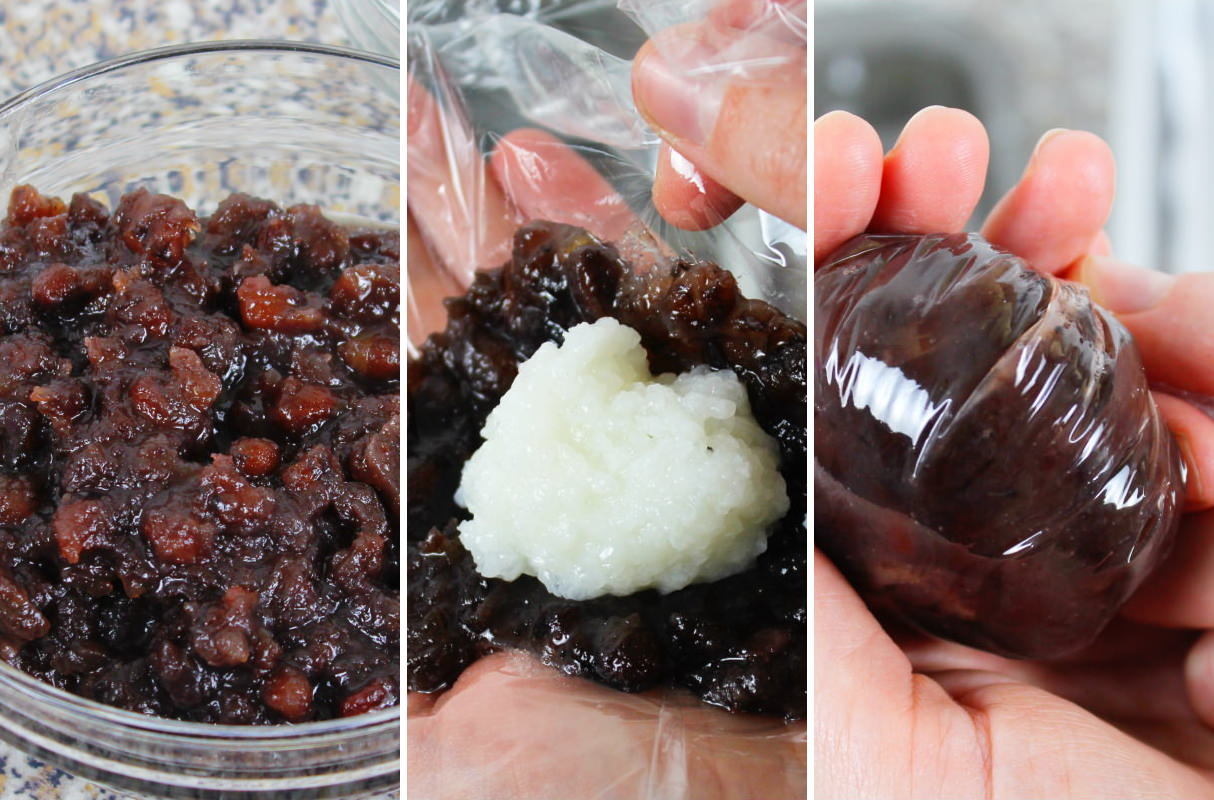
Tip: I recommend weighing out both the warm sticky rice and the red bean paste and shaping them separately before moving on to the final steps, so that all you have to do then is put everything together!
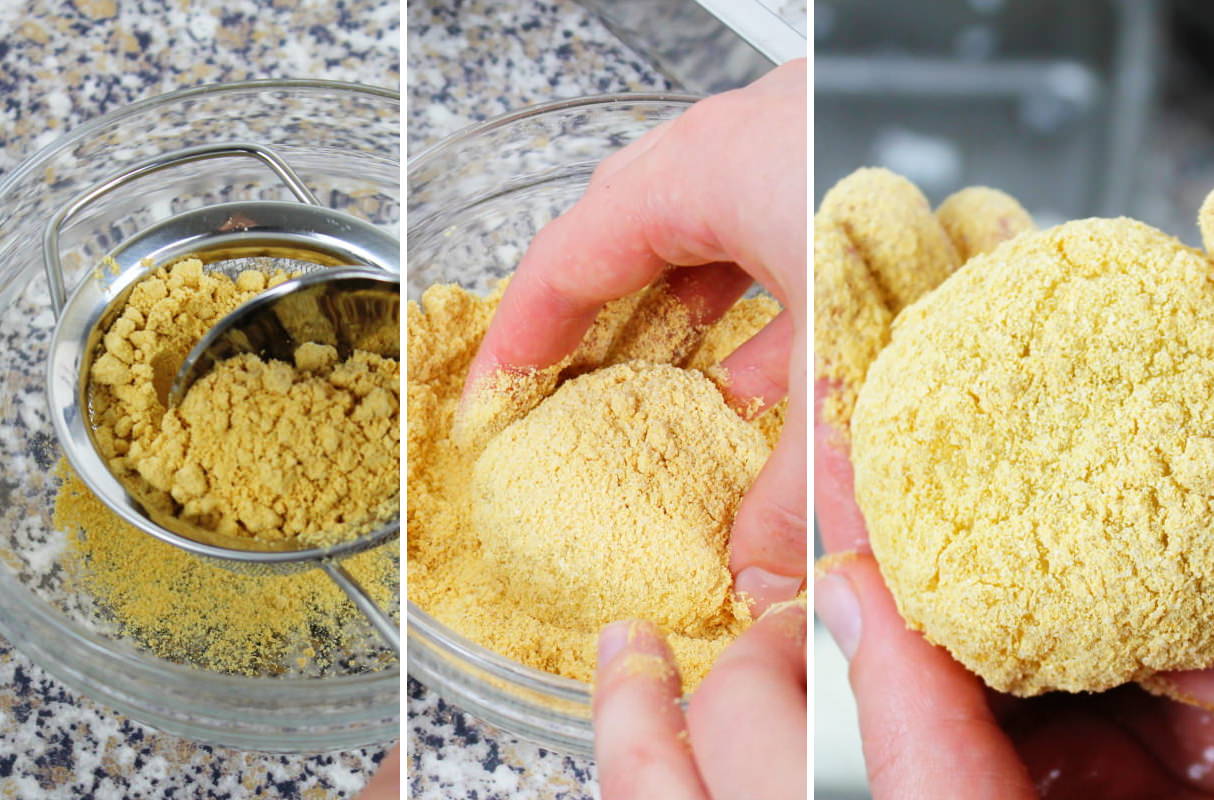
For the other two variations, we’ll fill the rice balls with sweet red bean paste and coat them with either sweetened soya flour (Kinako) or sweetened ground black sesame seeds (im Shop ansehen) .
Don’t be surprised if, a few minutes after you’ve rolled the rice balls in black sesame seeds and soya flour, the moisture from the rice seeps into the topping… This will cause the colour to change slightly. It’s therefore best to set some of the topping aside and sprinkle it fresh over the rice balls just before serving.
As the cakes are made from glutinous rice, they are not suitable for storage in the fridge. The cool temperature will only make the rice balls hard and they will lose their soft texture. It is therefore best to store them at room temperature, covered with a tea towel, and enjoy them as soon as possible (ideally within 12 hours).
TOP RECOMMENDATION
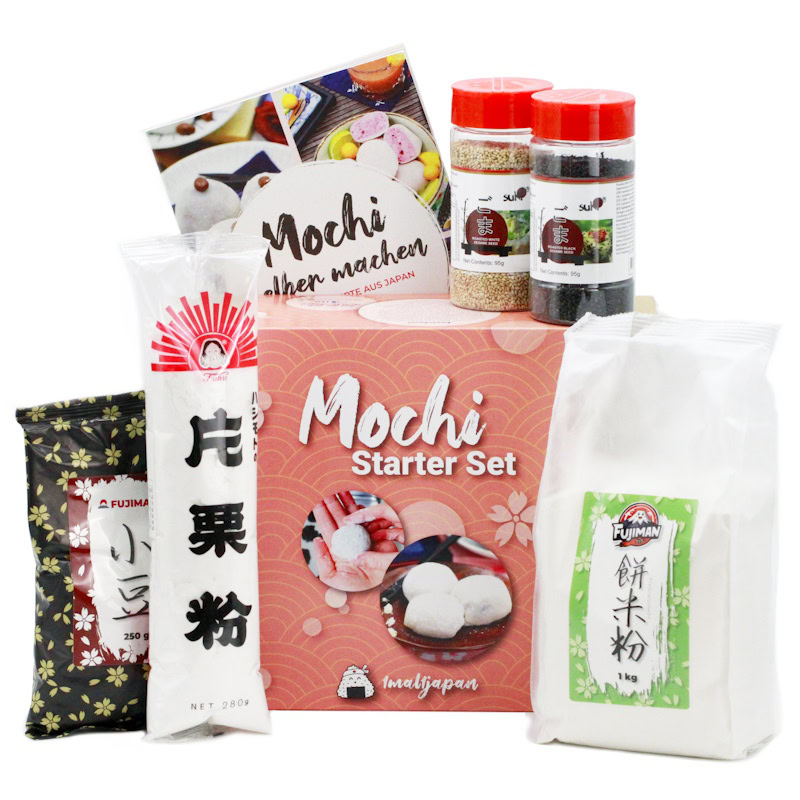
Mochi Starter Set | Klebreiskuchen selber machen, vegan
6-tlg. Kochset für 4 große Portionen Klebreiskuchen, inkl. Rezeptheft, glutenfrei & vegan. Mit dem Mochi Kochset stellst du japanische Reiskuchen ganz einfach selbst her –…
In stock
I hope you’ll really enjoy this recipe for three kinds of glutinous rice cakes made with mochigome:
Botamochi & Ohagi
Makes 15 | 60 minutes | 298 kcal
🖨️ Print PDF 📌 Save this pinBotamochi in spring and Ohagi in autumn: these sweet rice balls, made from Japanese glutinous rice and red bean paste, are best served in three varieties. They can be topped with black sesame seeds and roasted soya flour, or enjoyed in an ‘inside-out’ version where the red bean paste is on the outside. Absolutely delicious!
Ingredients (15 pieces = 4 portions)
250 g mochigome
400 ml water
400 g Tsubu-an – coarse anko, make your own red bean paste (→ to the recipe)
40 g Kinako (soya bean flour)
30 g black sesame seeds (im Shop ansehen)
20 g sugar
Useful tools:
Suribachi
Method (60 minutes)
Step 1
Prepare the ingredients for the Japanese botamochi. The homemade tsubu-an (click here for the recipe for homemade anko) should now be ready and completely cooled!
Step 2
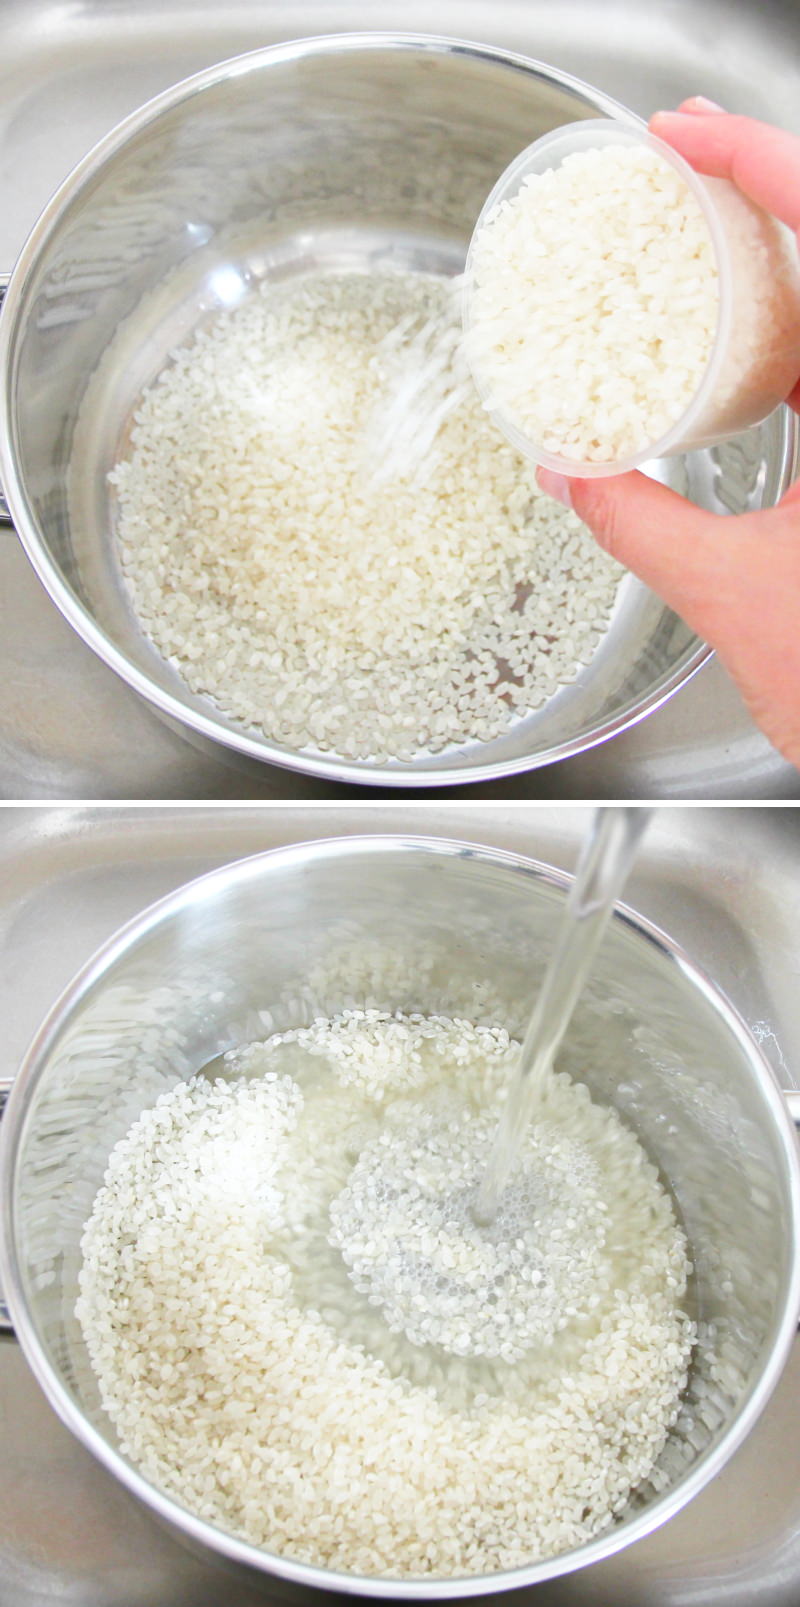
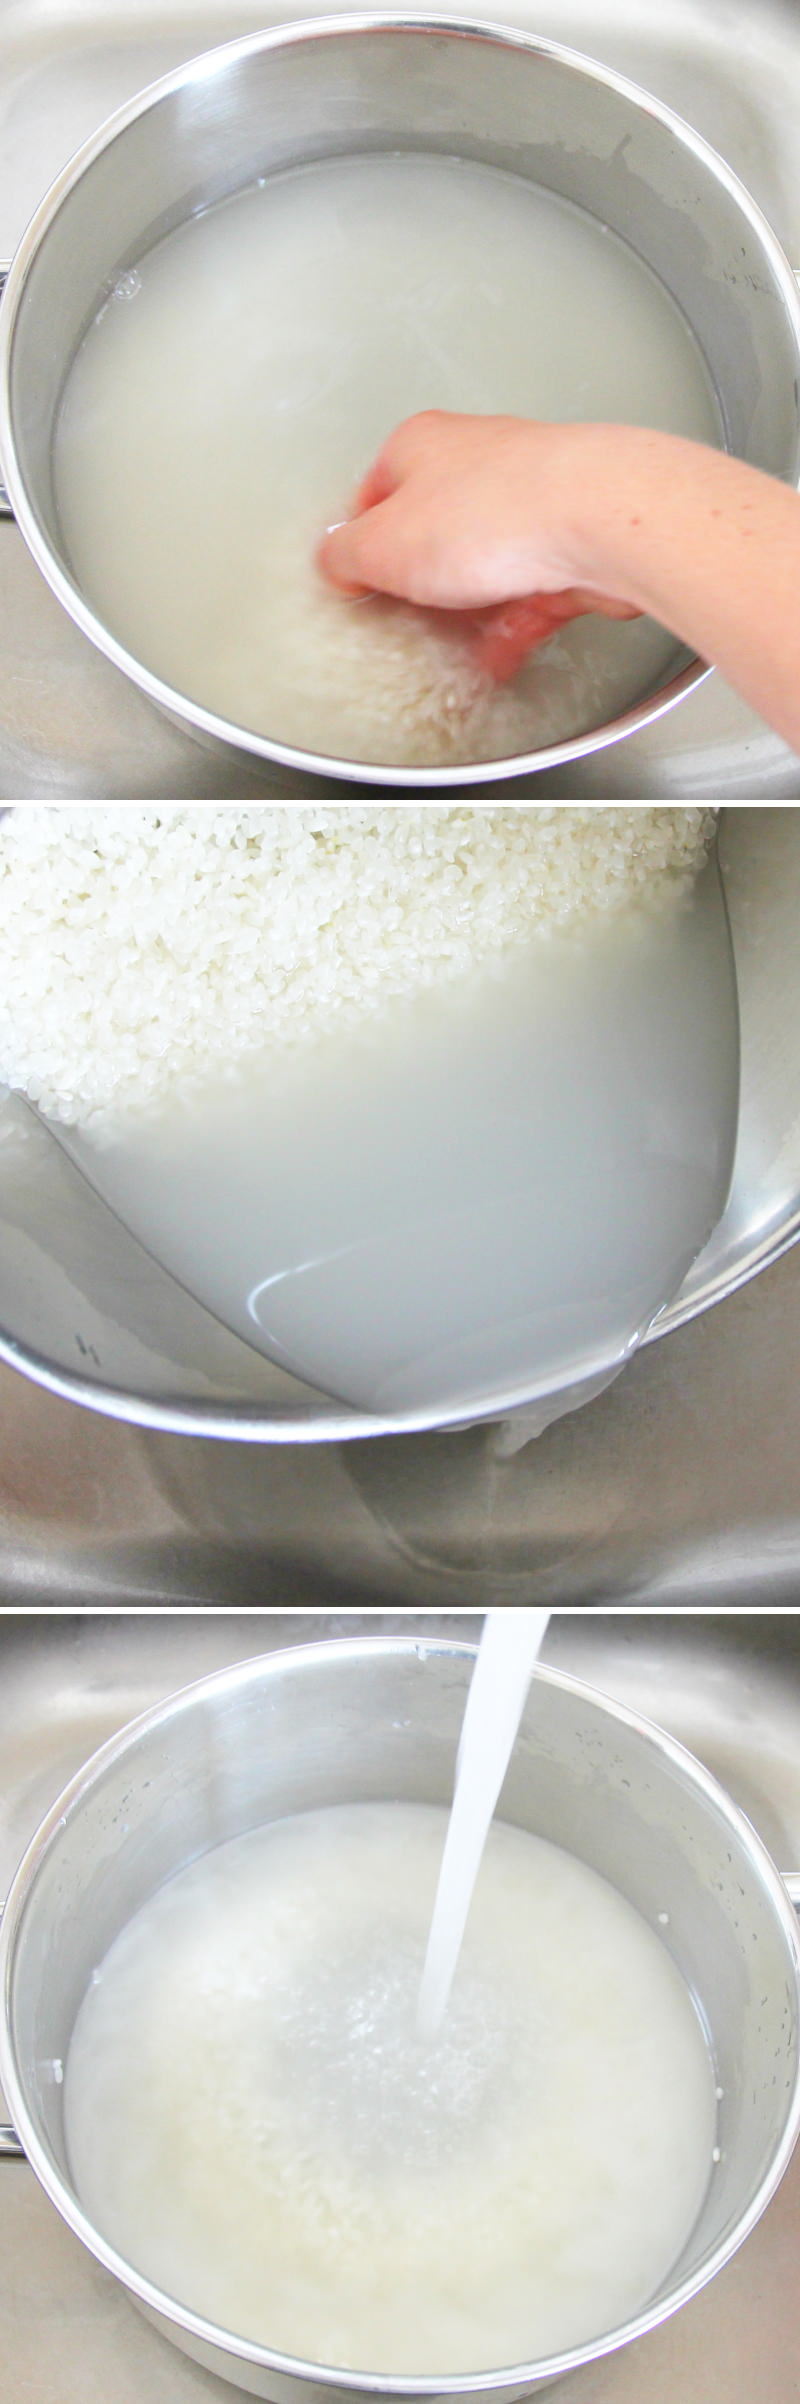
First, we’ll prepare the Japanese glutinous rice: to do this, place the Mochigome rice in a saucepan (or a large bowl) and fill it with plenty of cold water .
Step 3
Now carefully wash the rice with your hands using circular movements and applying gentle friction between the grains .
Slowly drain off almost all the water (using a sieve) and rinse the rice in the pot in the remaining water .
Now refill with fresh cold water and wash carefully using circular movements.
Step 4
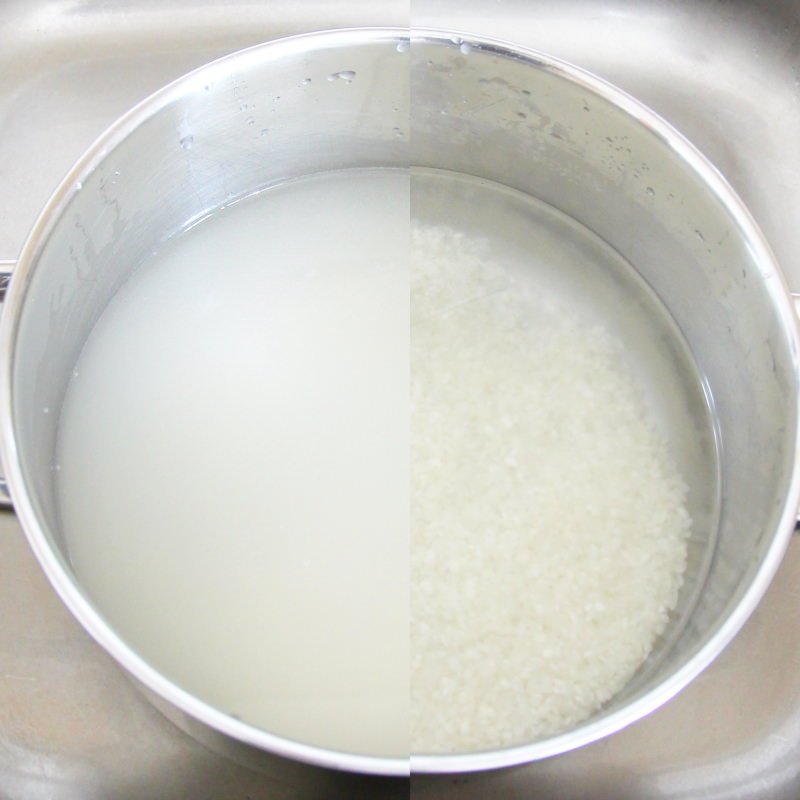
Repeat the process of washing and draining the rice grains at least three times until the water runs clear (you’ll see the difference when comparing before and after).
Then leave the rice to soak, completely covered with water, for 30 minutes (do not skip this step!).
Step 5
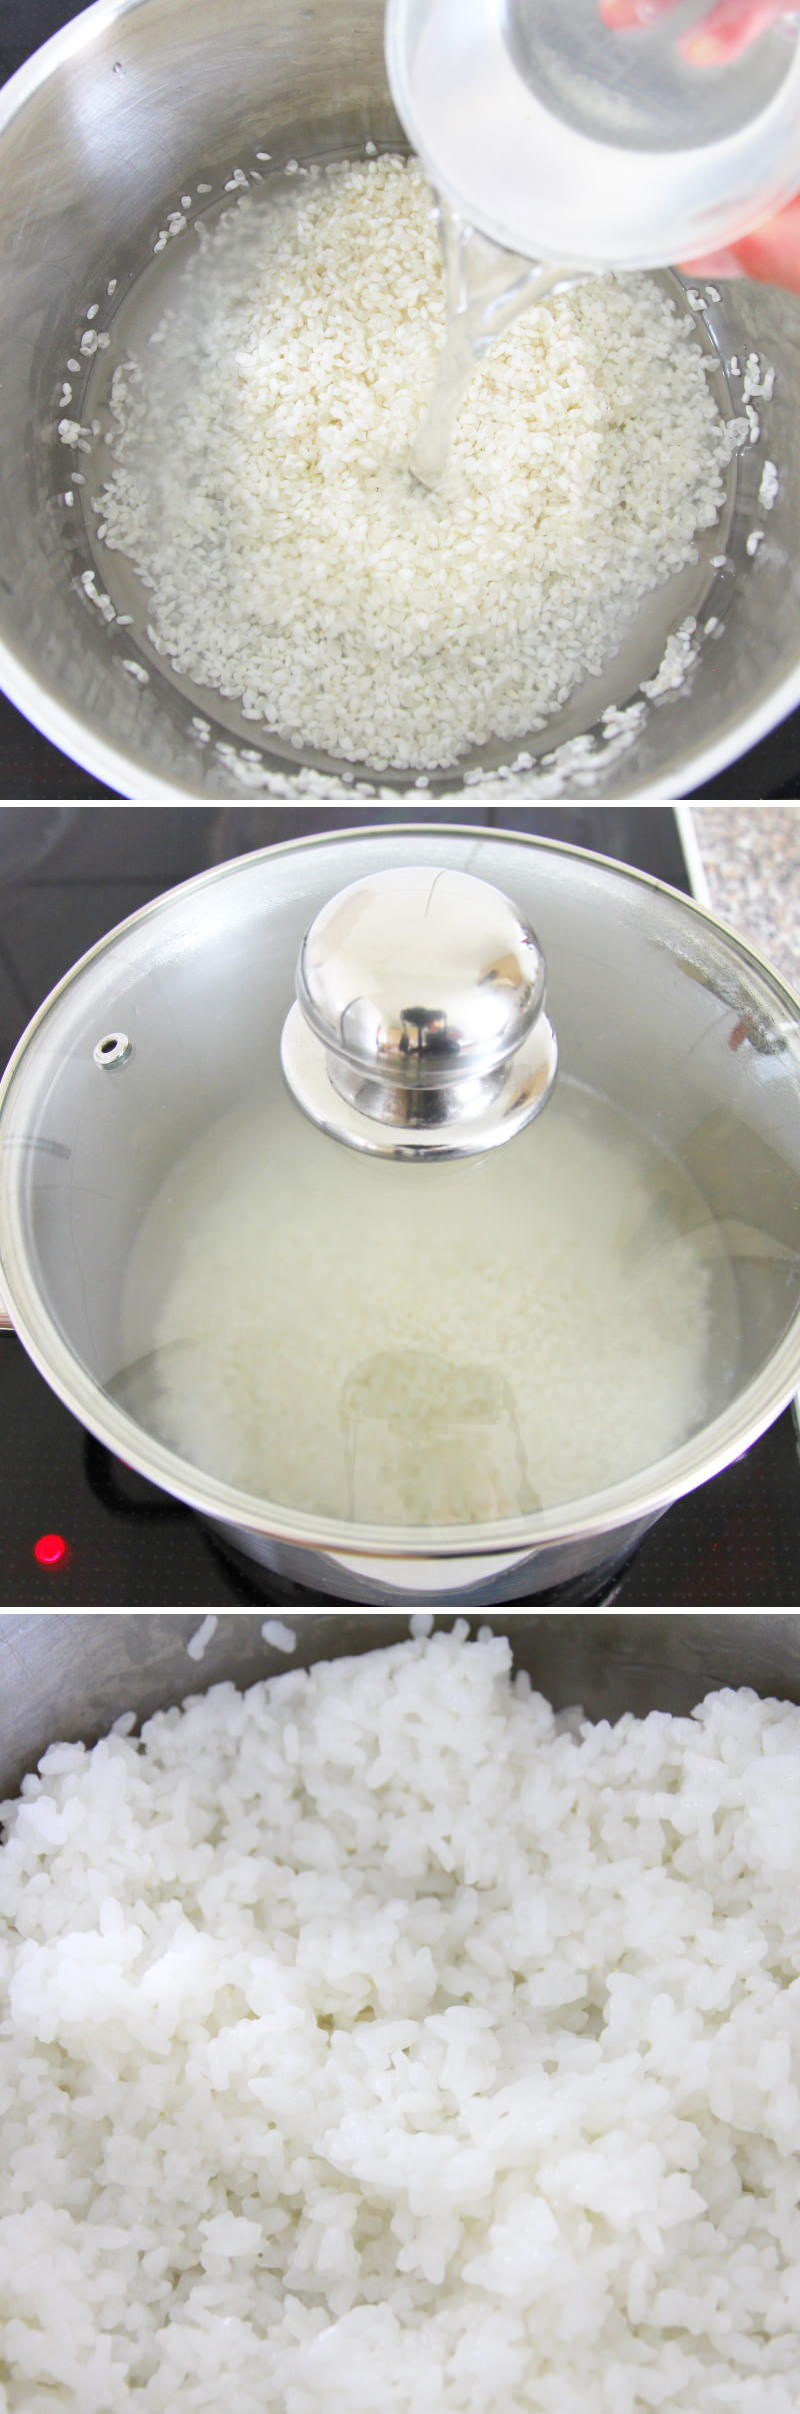
After the resting time, drain the water completely (through the sieve again if necessary).
Pour 400 ml of fresh water over the Mochi rice in the saucepan.
Now place the saucepan containing the rice and water on the hob, put the lid on and bring to the boil over a medium heat.
As soon as the rice comes to the boil, turn the heat down to the lowest setting and simmer gently for 13 minutes with the lid on. Do not open the lid during this time!
Step 6
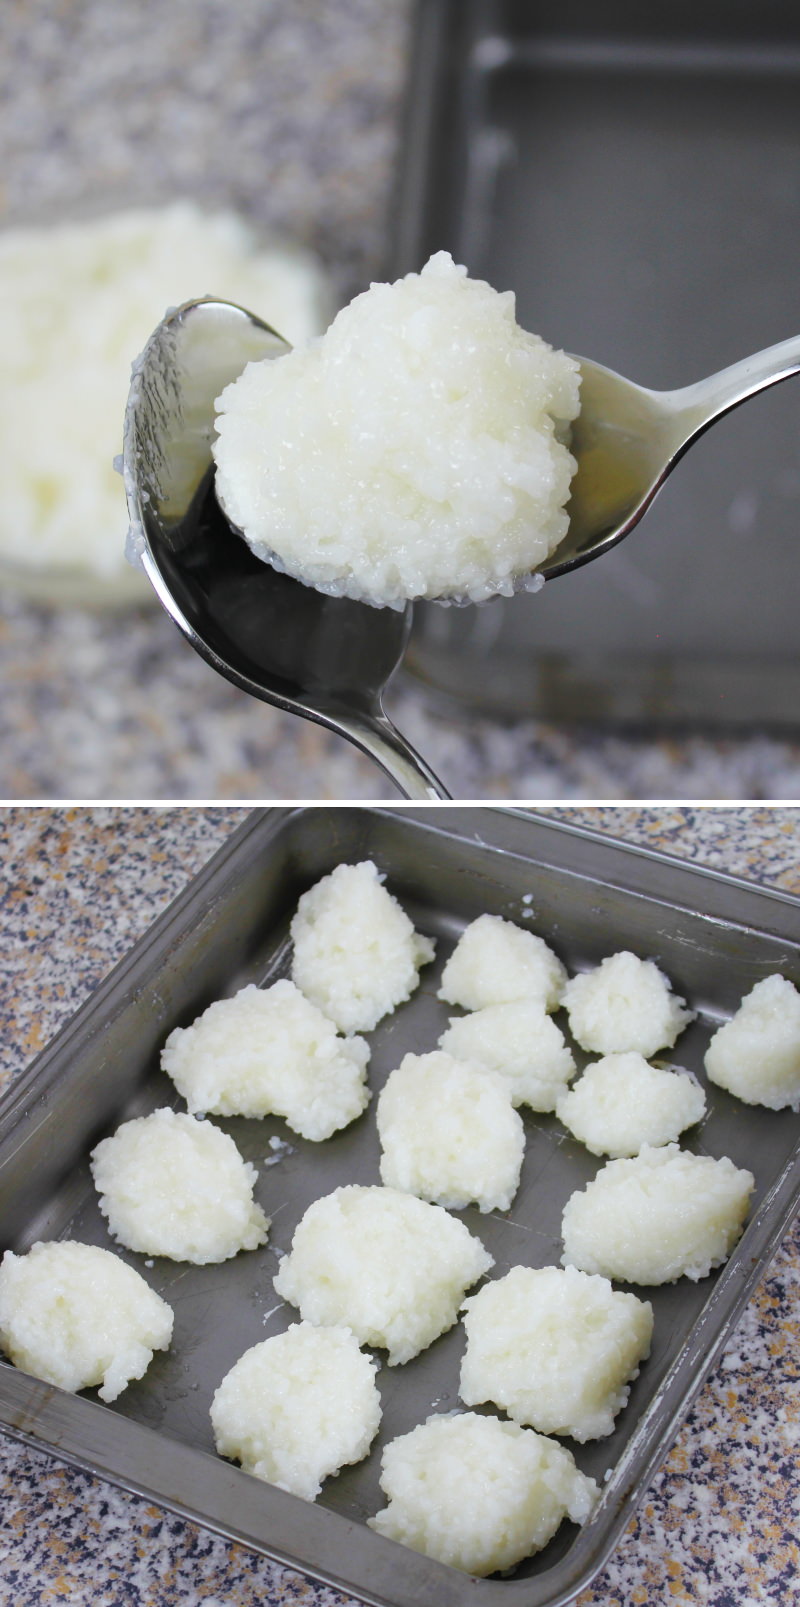
As soon as the rice is cooked, turn off the heat completely and remove the pan from the hob. Pound the cooked rice with a wooden pestle (you can also use a screw-top jar or similar container with a flat base), so that the rice grains stick together really well.
Step 7
Now portion the rice: To do this, weigh out 5 x 20 g (about 1 tbsp) of mashed rice and then weigh out a further 10 x 40 g. Using two large spoons, shape each portion into a total of 15 (5 small and 10 large) balls. Place all the balls on a plate and set them aside .
Tip: The balls don’t have to be perfect; it’s more about getting the portions right!
Step 8
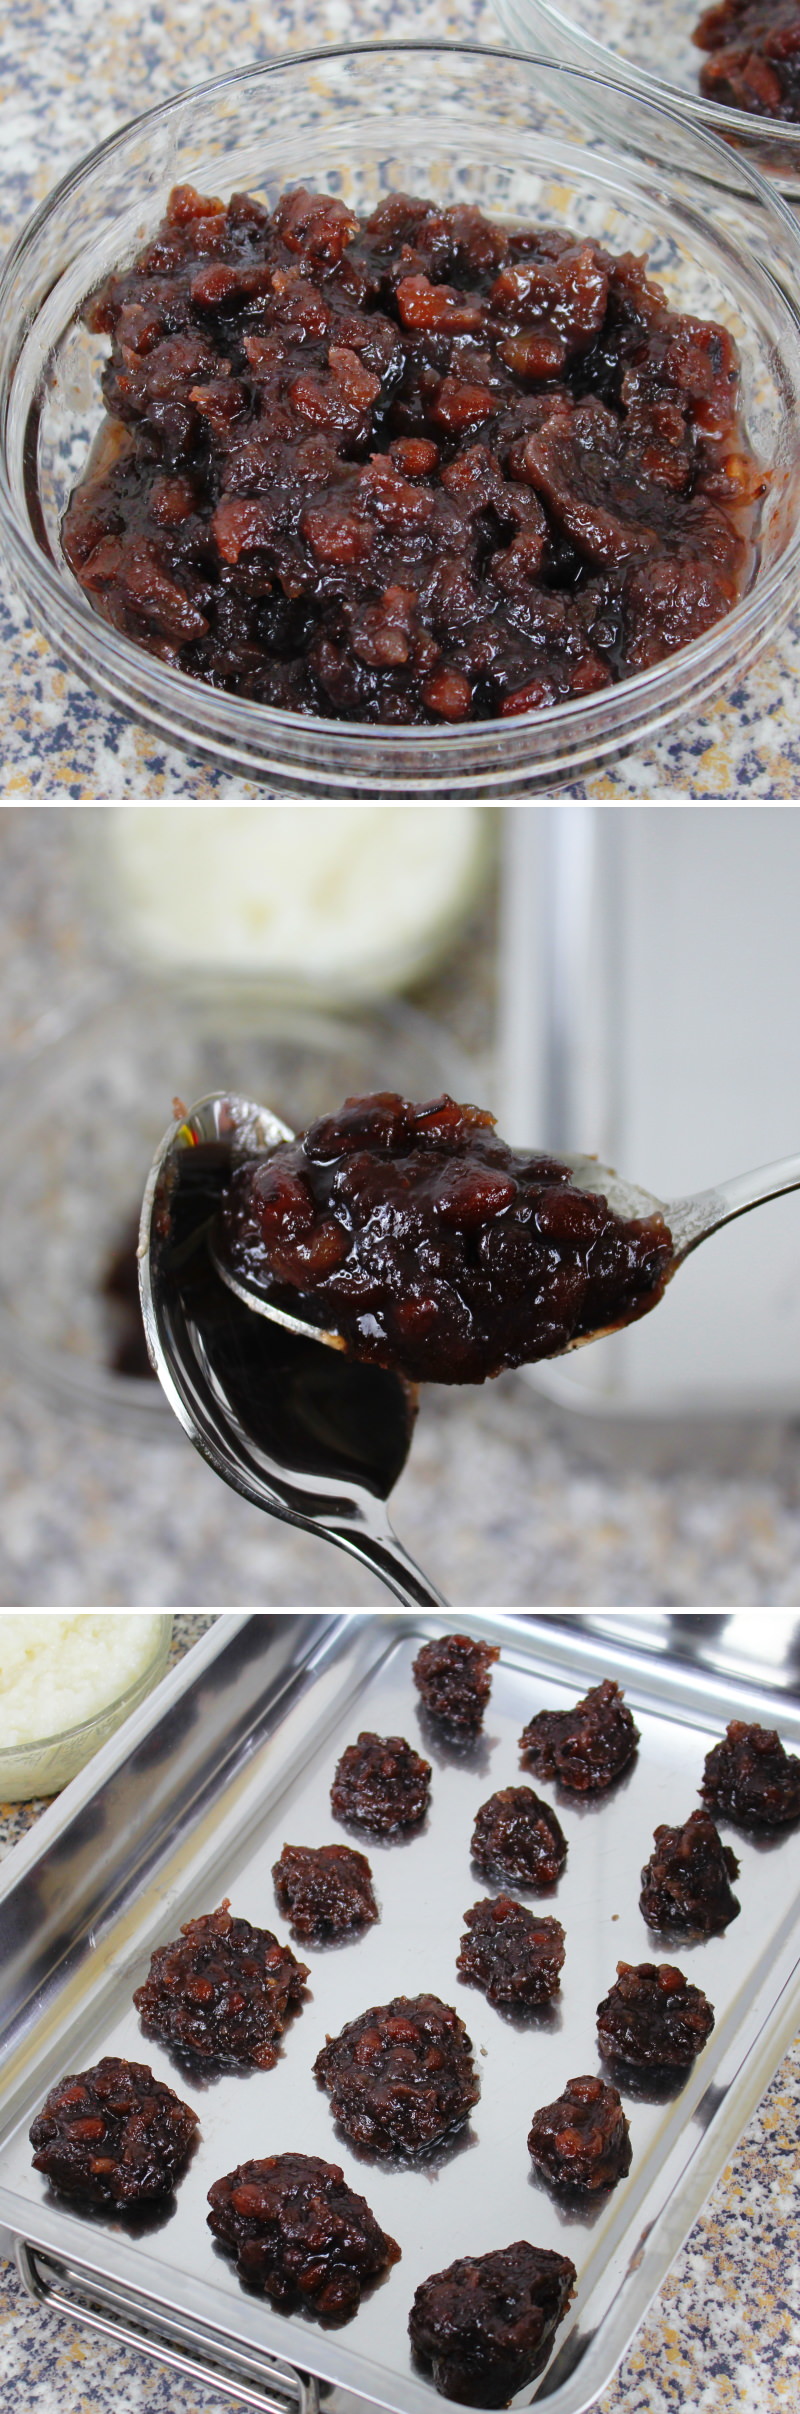
Let’s turn our attention to the tsubu-an: Here we need 5 x 40 g and 10 x 20 g of red bean paste. Shape these into balls between spoons and set them aside.
Step 9
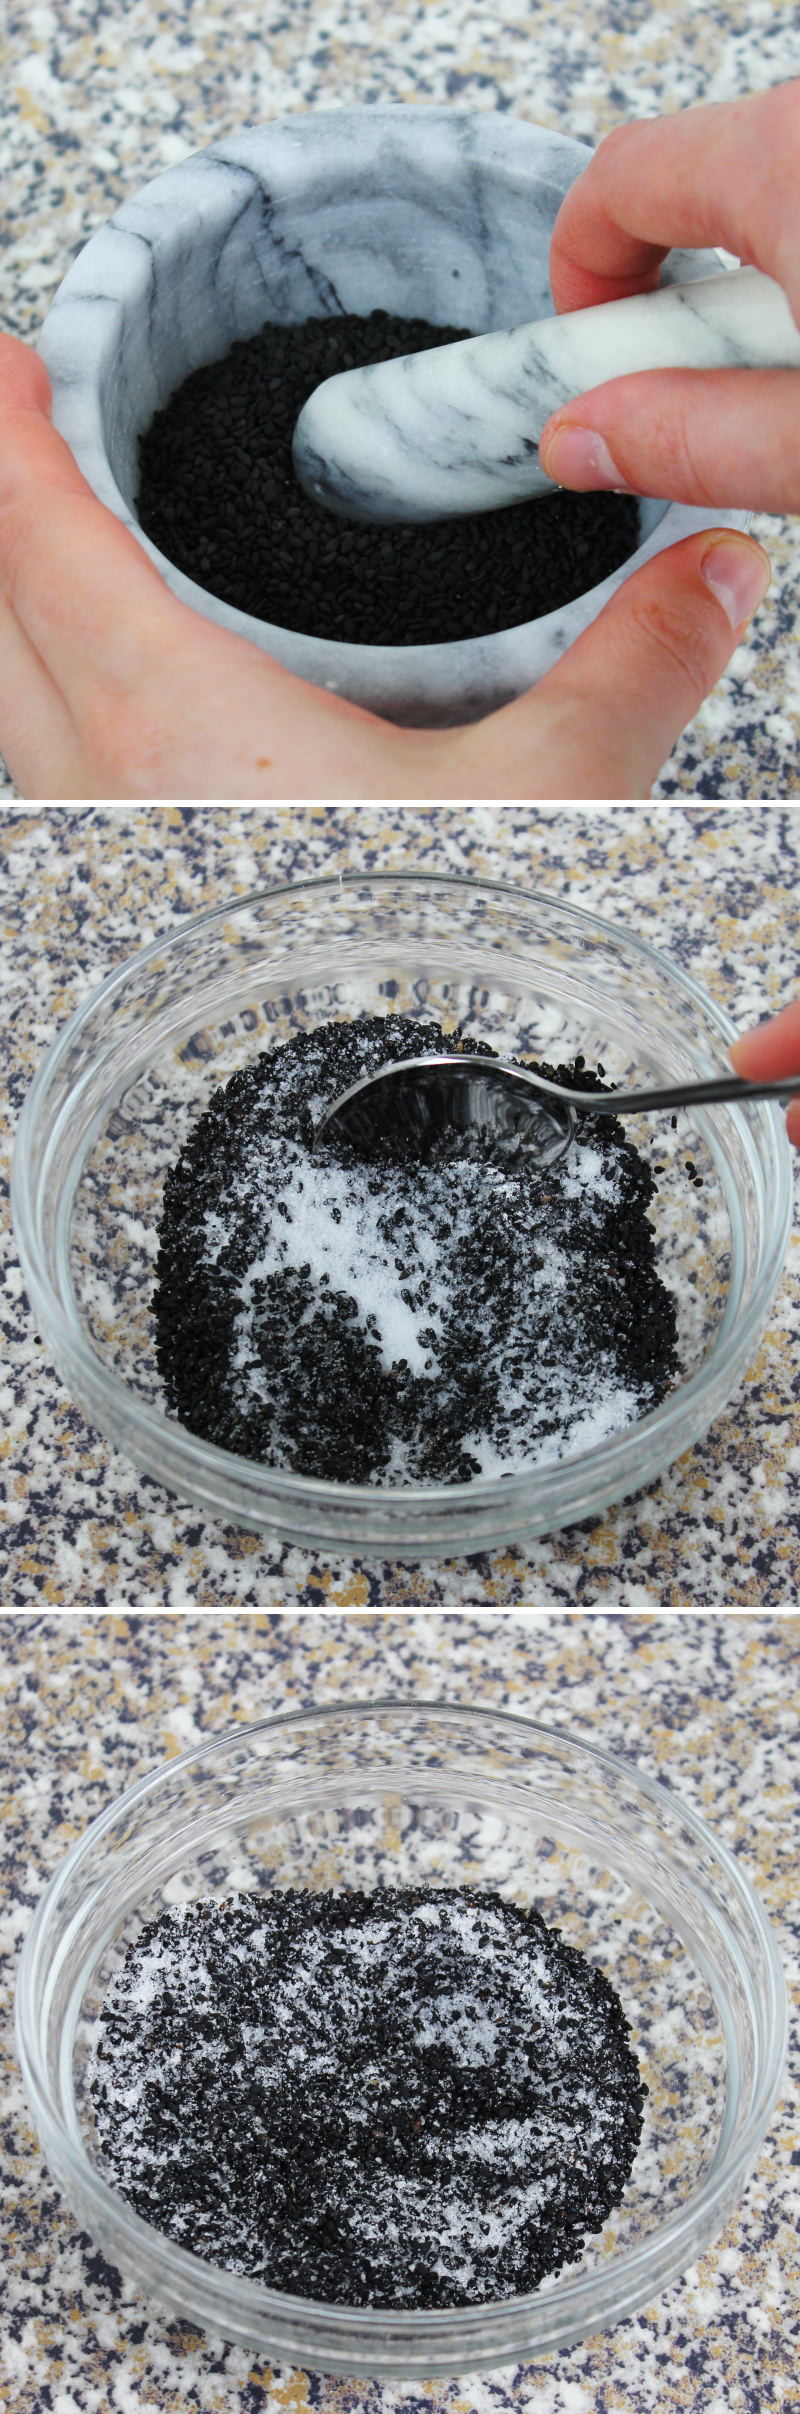
Now prepare the toppings: To do this, place the black sesame seeds in a mortar and crush them coarsely. Mix them together with half the sugar in a bowl.
Step 10
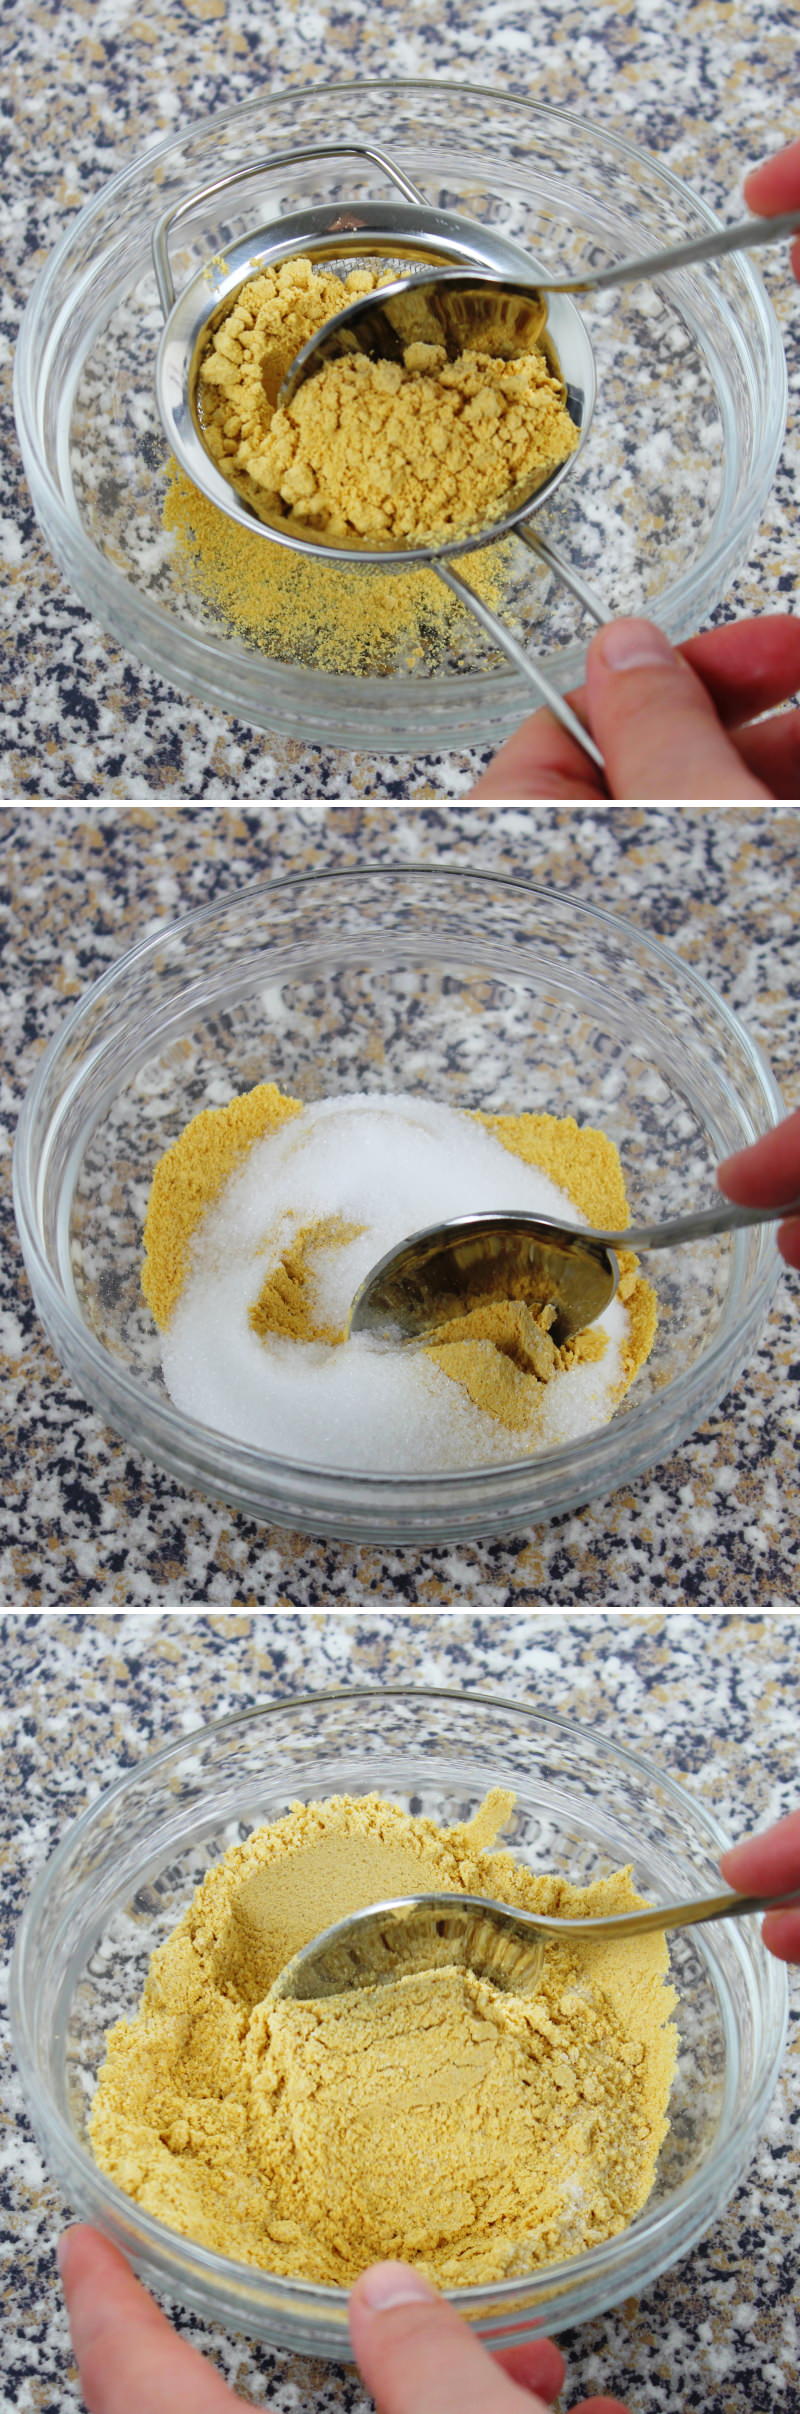
Sift the Kinako (soya bean flour) through a sieve into another bowl and mix with the remaining sugar.
Step 11
So, next we’ll shape the Mochi into three different varieties: For the first variety, place a little cling film in the palm of your hand, then place one of the large Tsubu-an (40 g anko) balls into it and press it flat and into a circle with a spoon. Now place a small rice ball (20 g mochigome) in the centre and wrap it in the tsubu-an using the cling film.
Step 12
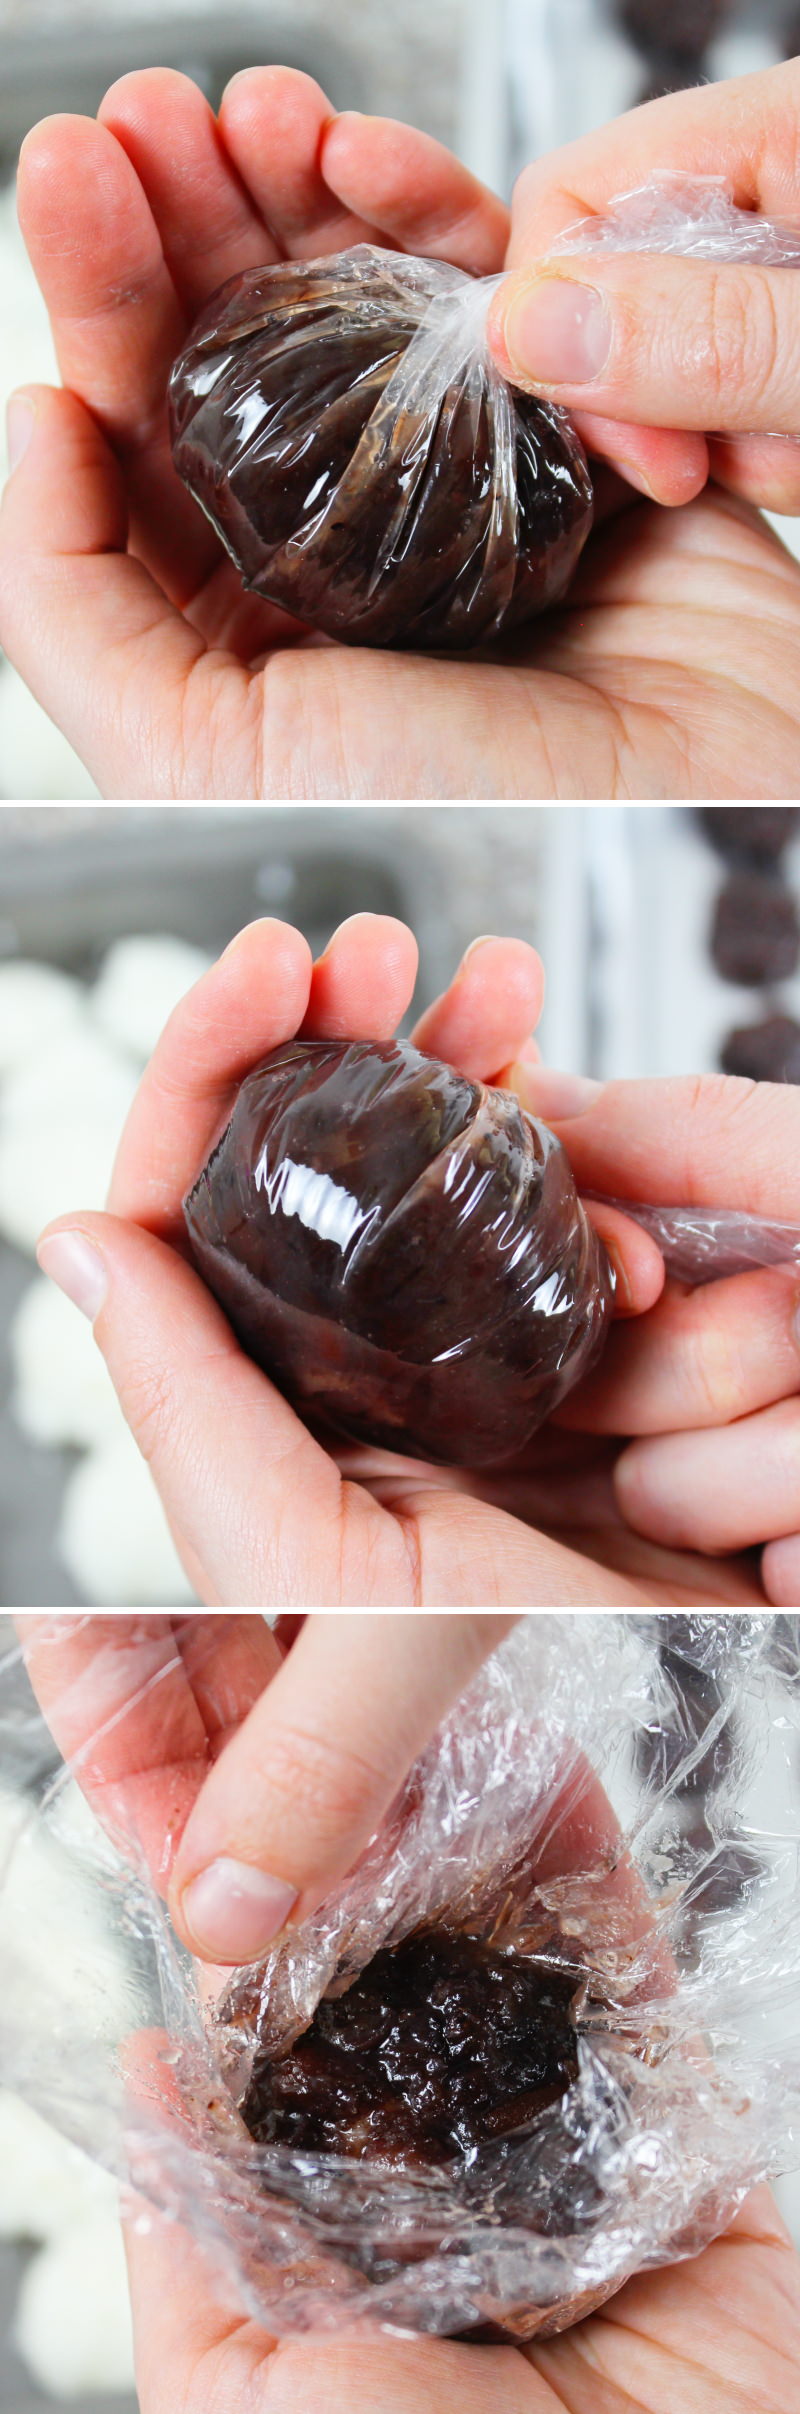
Pull the cling film together and use it to shape everything into a nice round shape, then carefully remove it and arrange the Mochi on a plate. Prepare 4 more botamochi (rice on the outside, anko on the inside) in this way.
Step 13
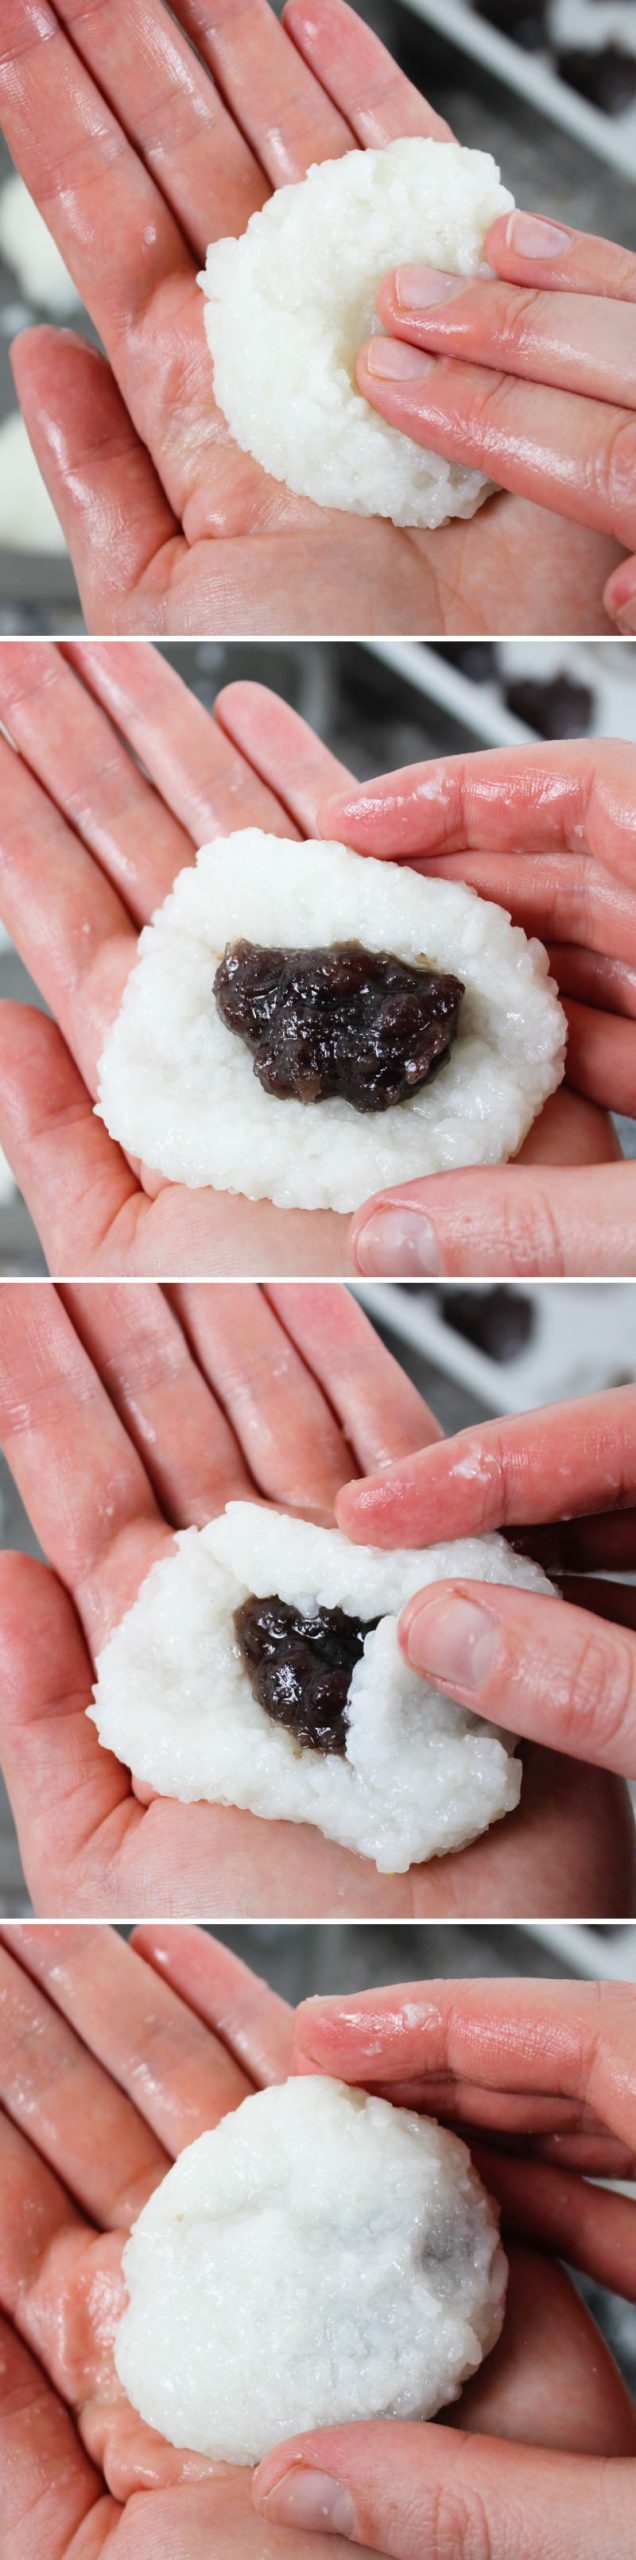
For the second method, moisten your hands under running water, then take a large ball of rice (40 g mochigome) and flatten it. Place a small ball of tsubu-an (20 g anko) in the centre and completely enclose it with the rice. Shape a further 9 balls in this way.
Step 14
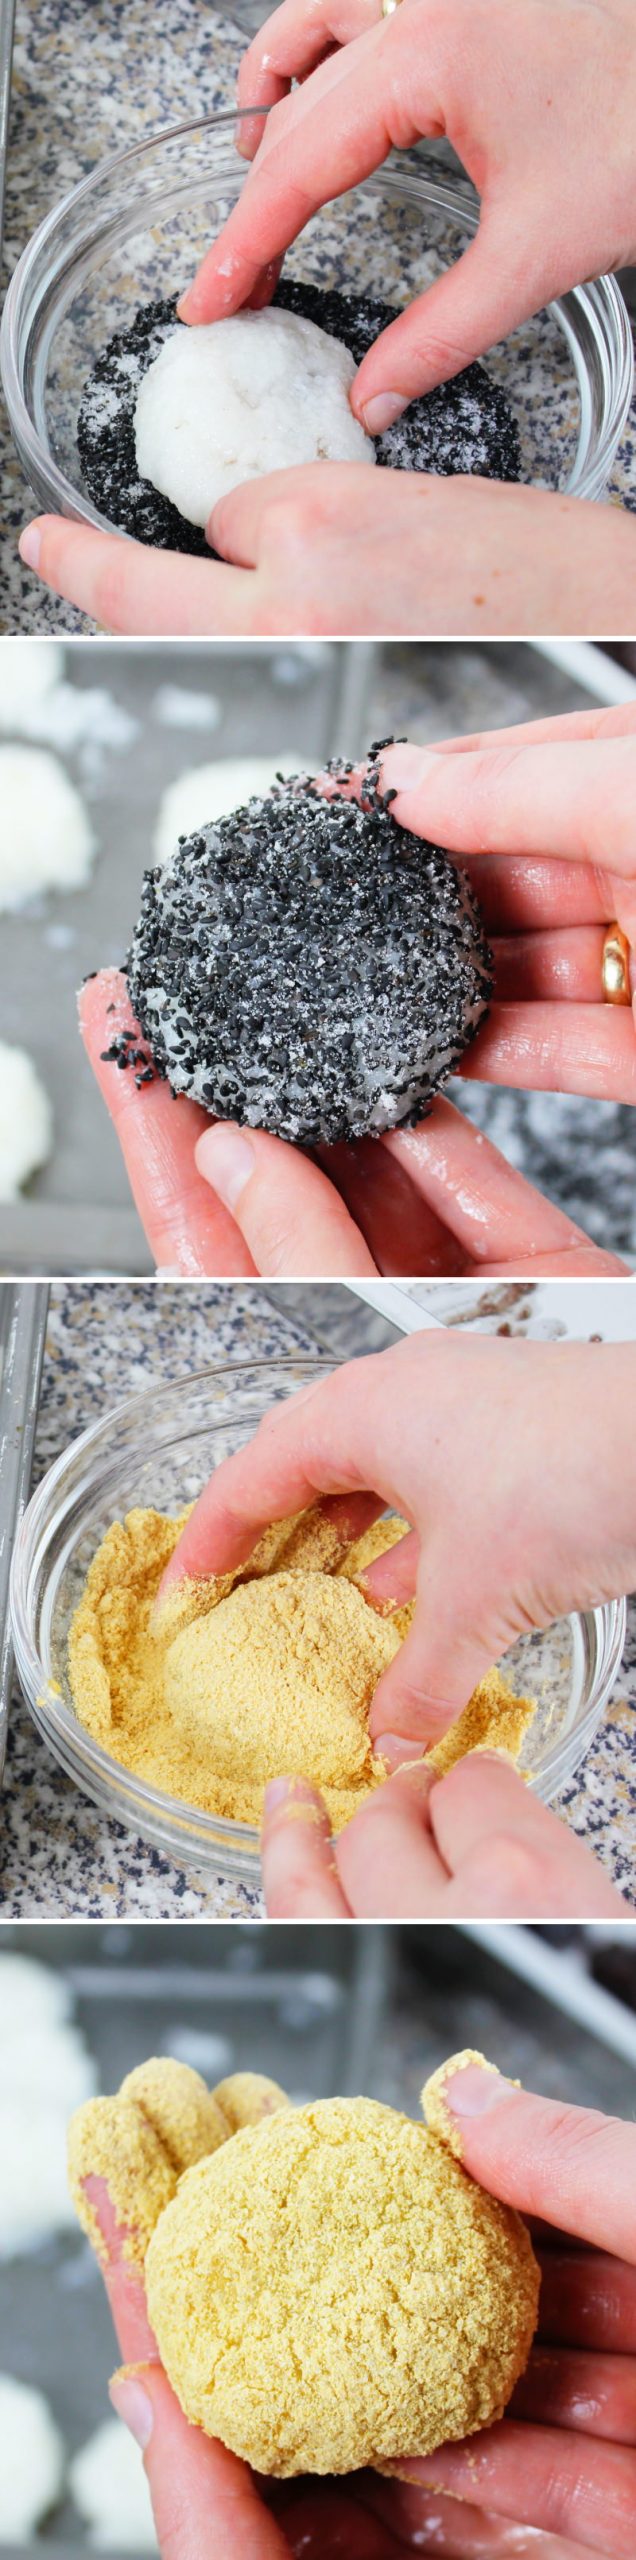
Then take these 10 balls (rice on the outside, anko on the inside) and coat 5 of them in sesame sugar and 5 of them in Kinako sugar. Carefully coat the rice with this mixture.
Step 15
Place all the mochi on a serving plate. Best eaten straight away. Ready – Itadakimasu!
Are you looking for even more delicious Japanese desserts that will delight your guests? Here you’ll find my most popular recipes:
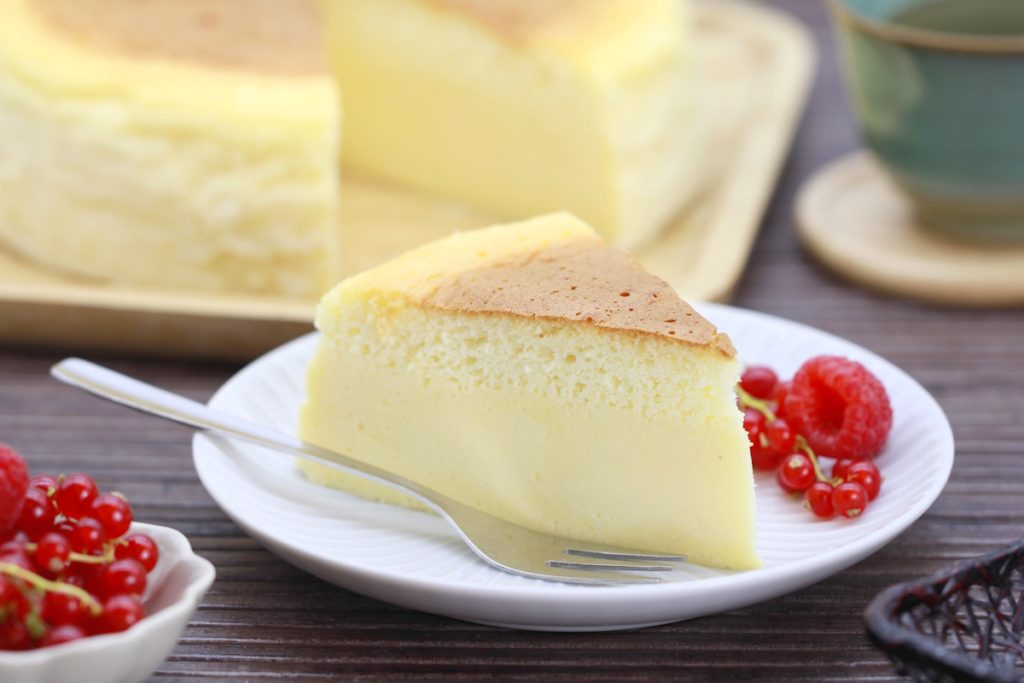
Japanese cheesecake: The best recipe for a fluffy soufflé-style cheesecake just like in Japan
Japanese cheesecake is one of Japan’s most popular desserts and delights with its exceptionally light and airy texture. Unlike classic…
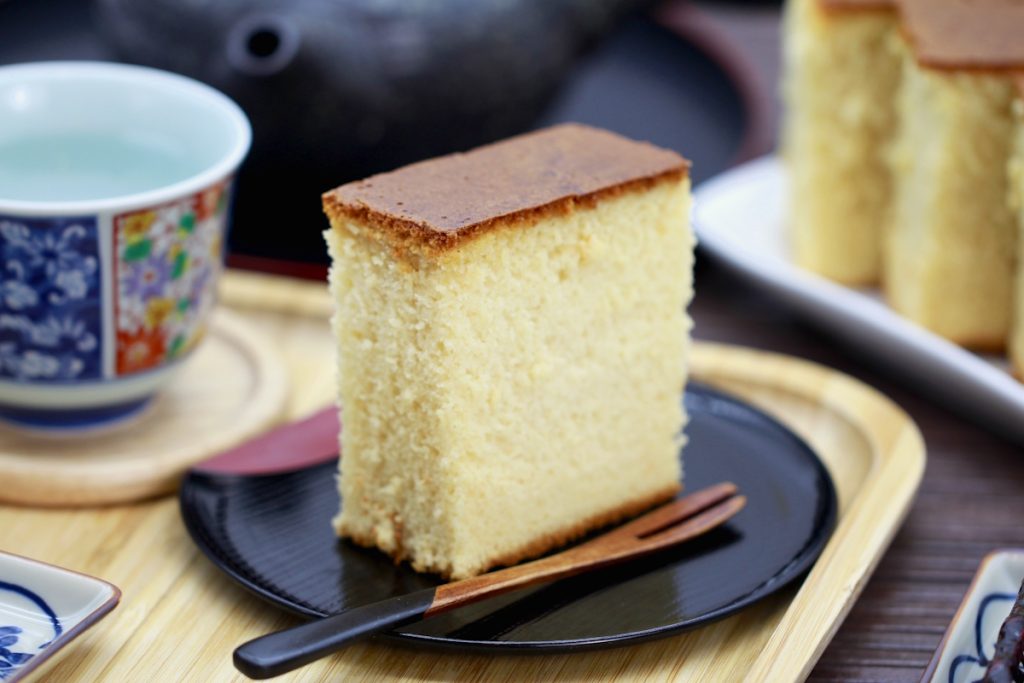
How to make Castella (Kasutera) yourself: How to make this Japanese honey cake
Why is Castella often described as Japan’s moistenest cake? Although Kasutera consists of just a few ingredients, the special preparation…
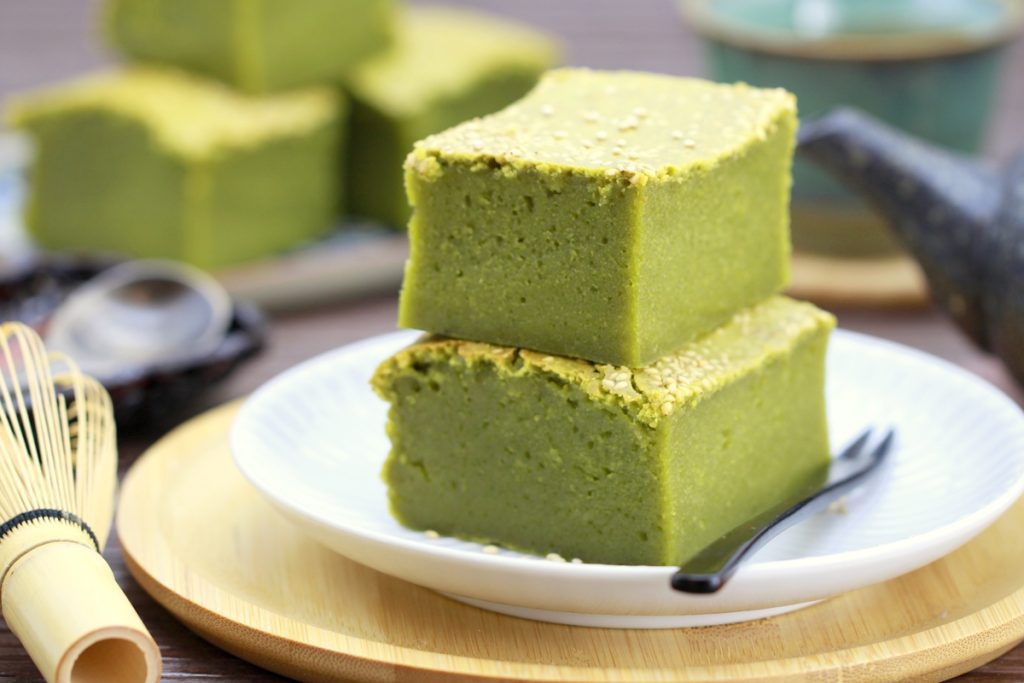
Make your own Matcha butter Mochi: Hawaiian Mochi cake with green tea
If you drink Matcha regularly, you might be familiar with this: at some point, you end up with more Matcha…
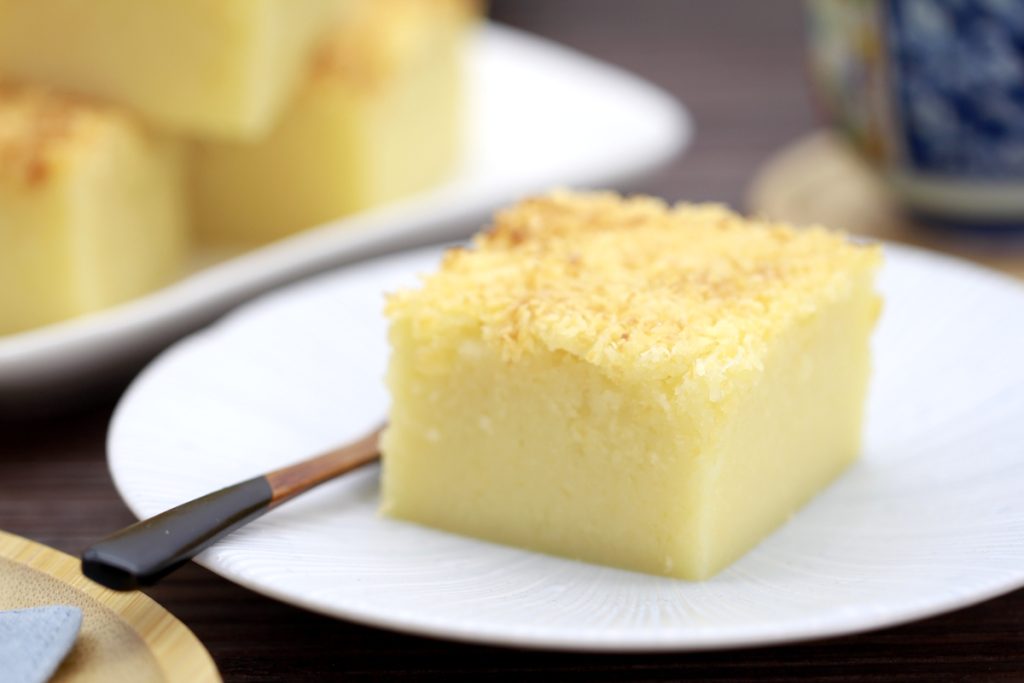
Butter Mochi (Hawaiian Mochi Cake – gluten-free)
Butter Mochi is one of those recipes that’s hard to pigeonhole. It looks like a simple tray bake, but has…
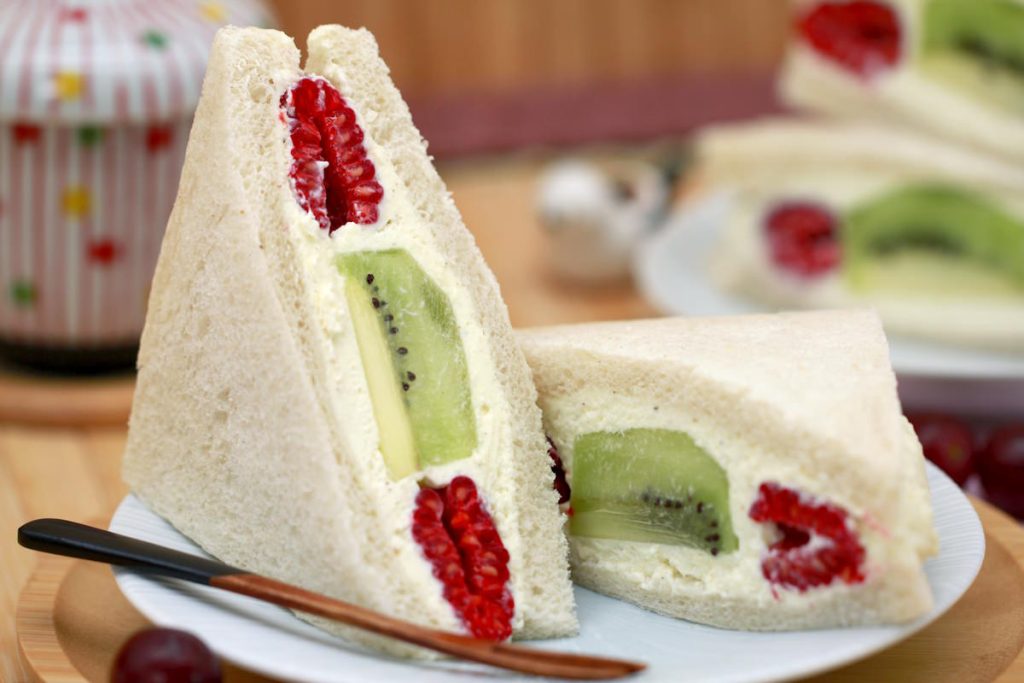
Make your own Fruit Sando: a fluffy cream sandwich with fruit – simple, fresh & typically Japanese
In Japan, it can remain surprisingly hot well into September – and it was on just such a muggy late-summer’s…
Warabi Mochi: Make your own delicate summer dessert with Kinako & Kuromitsu syrup
When the weather warms up, the appetite for light, refreshing sweets grows in Japan – and hardly any dessert embodies…
Have you tried out the recipe? Let me know in the comments – I can’t wait to hear from you.