Language:


A delicate chocolate centre is enhanced with a homemade sesame salt mixture and encased in a light mochi dough. It sounds like poetry, doesn’t it? And that’s exactly why you simply must try this wonderful, chocolatey speciality from Japan. Just a few ingredients, a few simple steps, and your heavenly chocolate Mochi are ready!
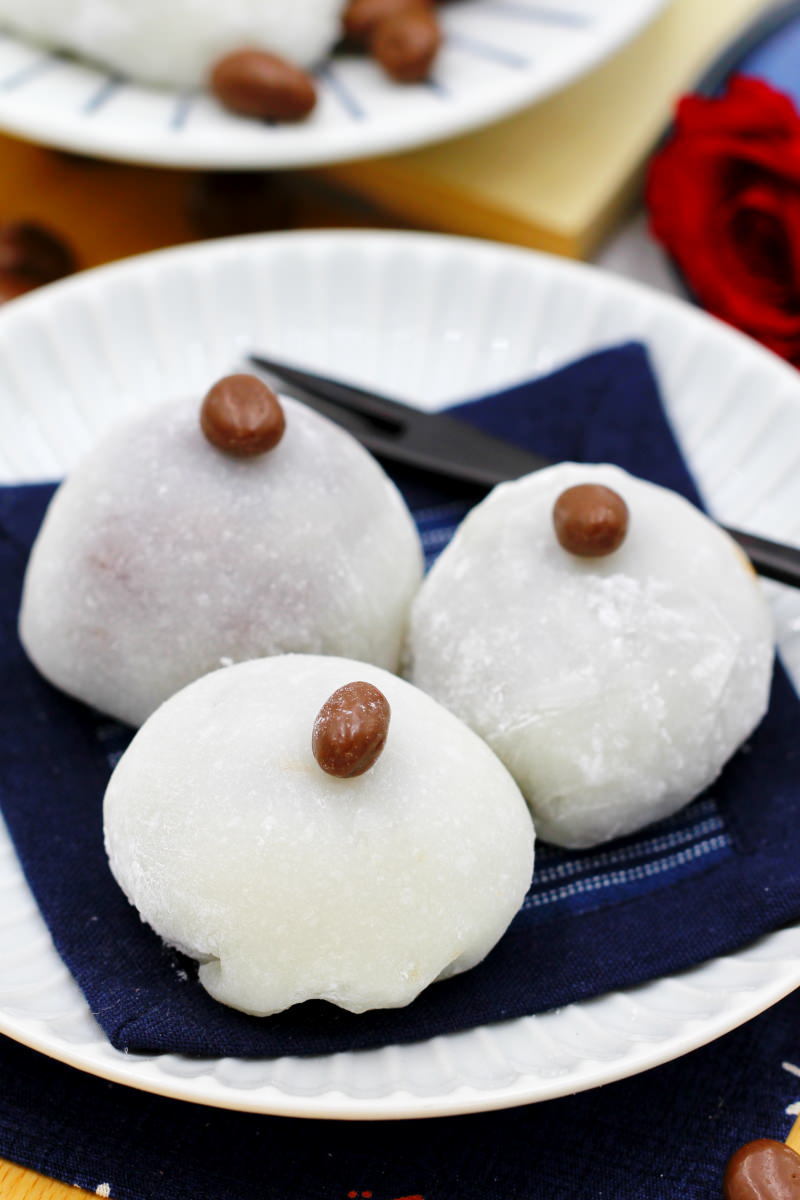
Listen up – this almost unassuming Mochi variation hides a melt-in-the-mouth chocolate centre inside. And the best bit? You can easily make this tempting chocolate cream yourself with just a few ingredients!
I simply can’t keep this recipe from you… In today’s recipe for Japanese glutinous rice balls, I’ll show you how to make Mochi filled with a homemade truffle filling. The cream is refined with a touch of gomashio, a typical Japanese sesame salt.
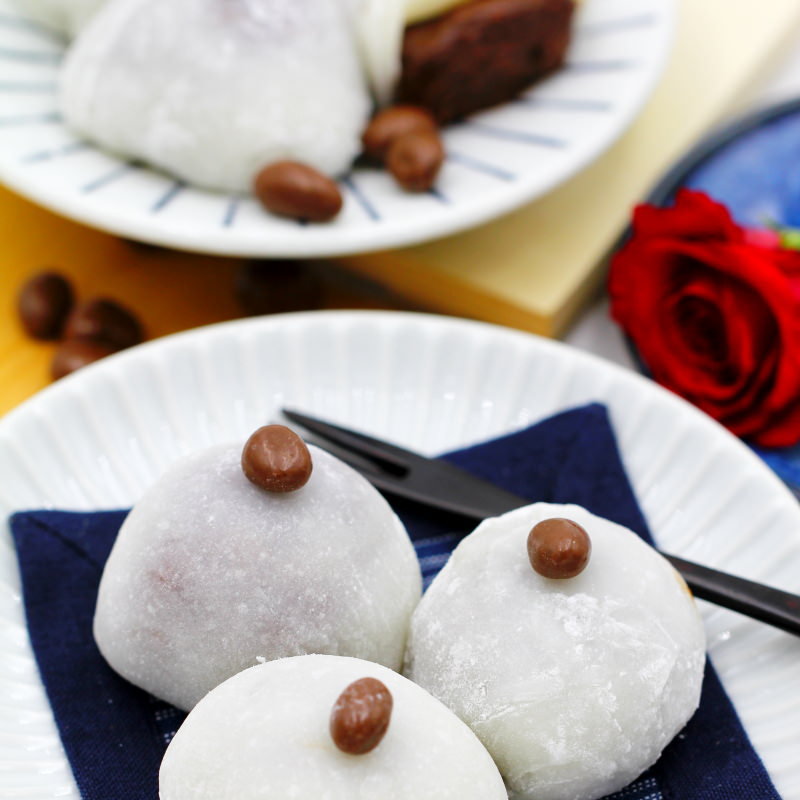
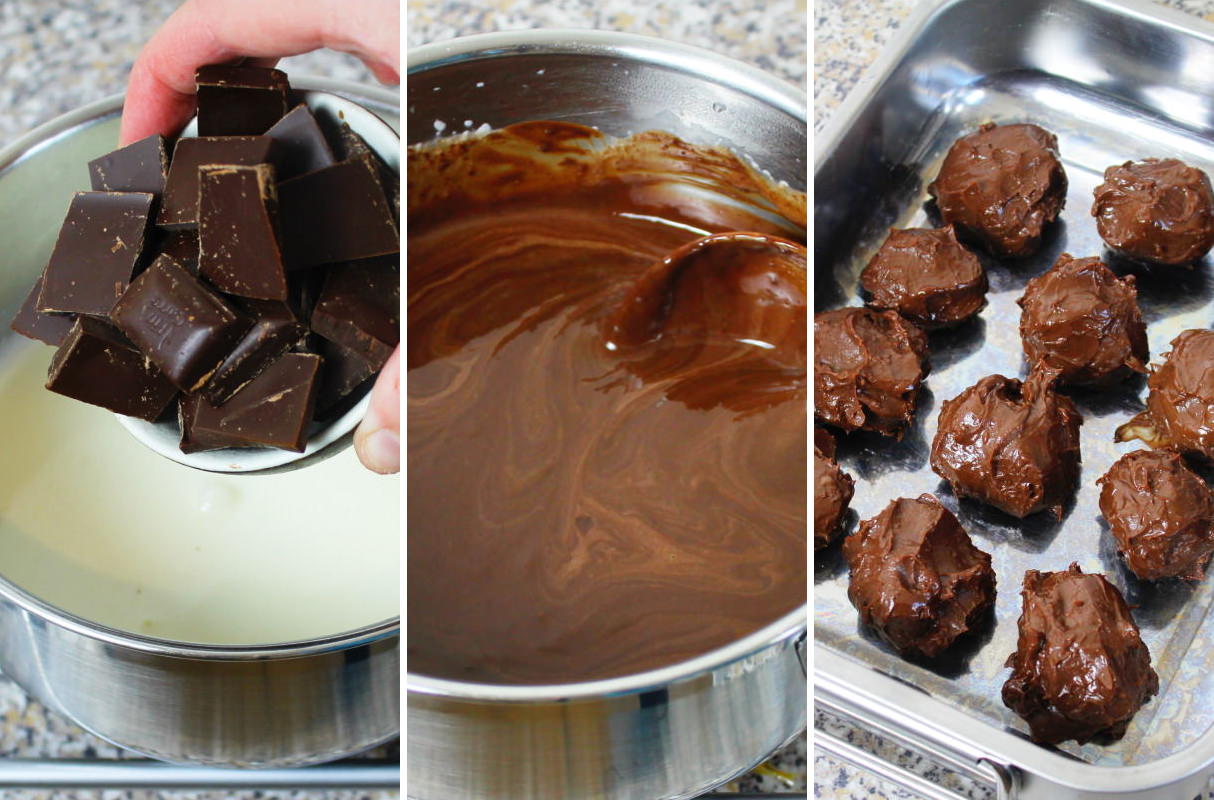
The chocolate cream we’re making together today is also known as ganache, truffle cream or Parisian cream. Essentially, it is a delicate cream made from chocolate couverture and whipped cream, which is also very popular in other cuisines for filling and coating pastries and sweets.
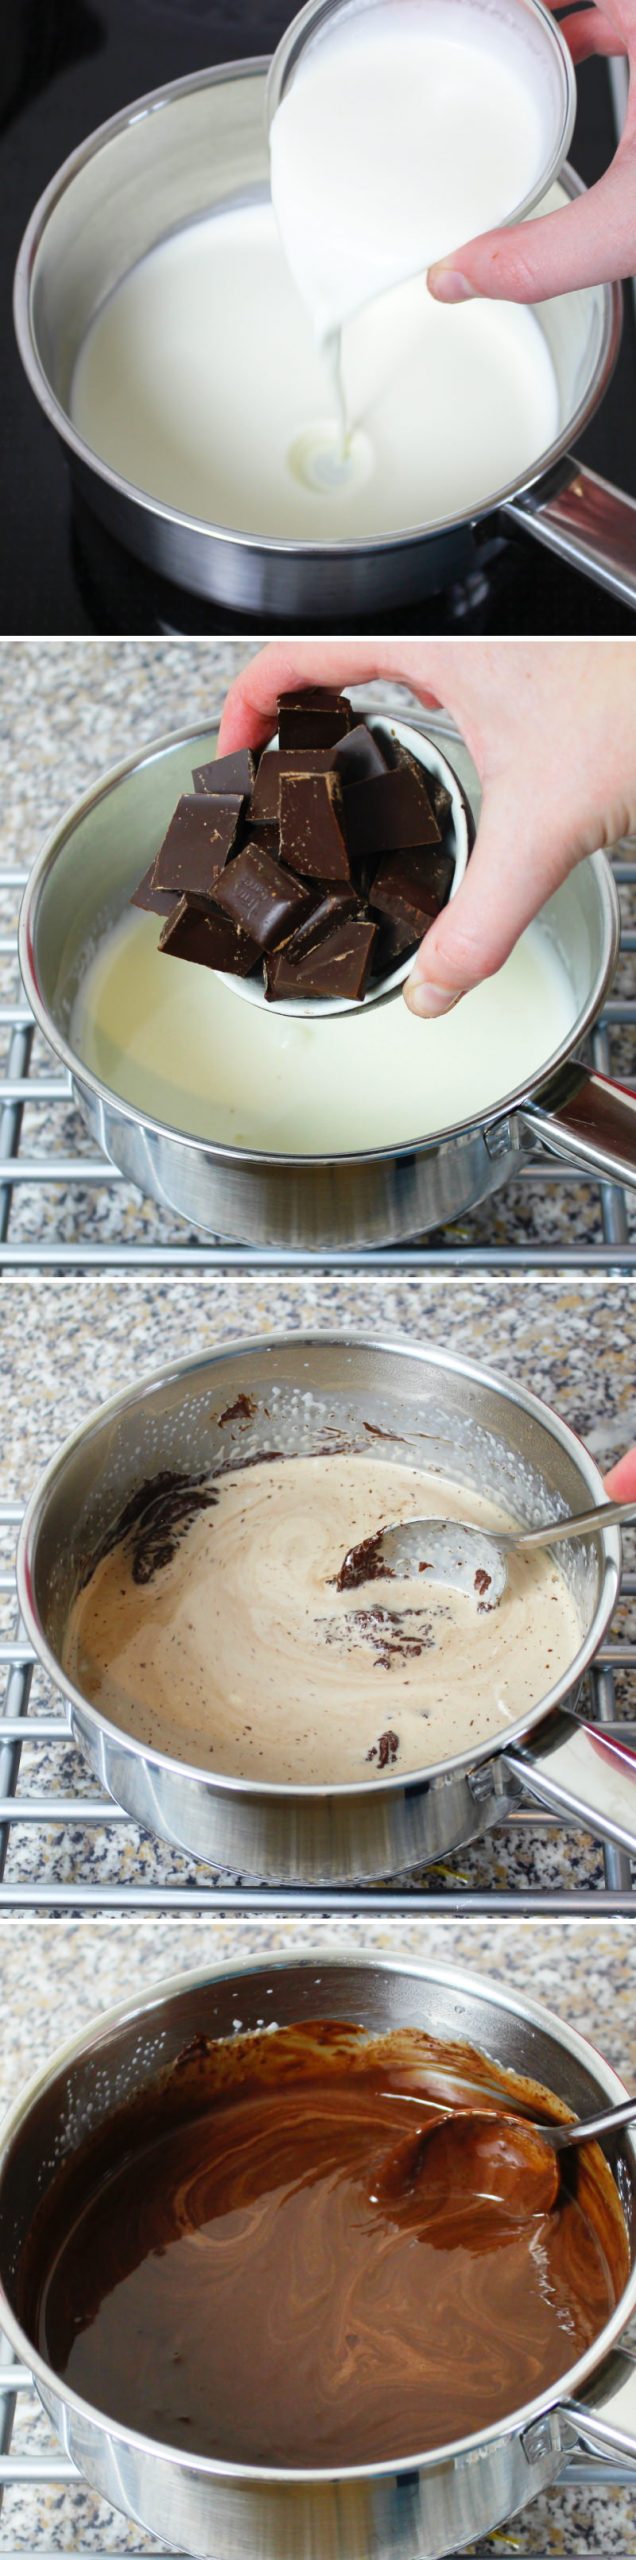
To make it, the cream is brought to the boil briefly in a saucepan over a medium heat. Dark chocolate is then melted in the hot cream until a smooth, creamy mixture is formed.
First, we leave the chocolate cream to cool to room temperature, then chill it thoroughly in the fridge overnight. The next day, we can shape the cold ganache into lovely balls, which are simply perfect as a filling for Mochi.
Please note: The truffle mixture should ideally be left to chill thoroughly in the fridge overnight. So it’s best to start preparing it the day before!
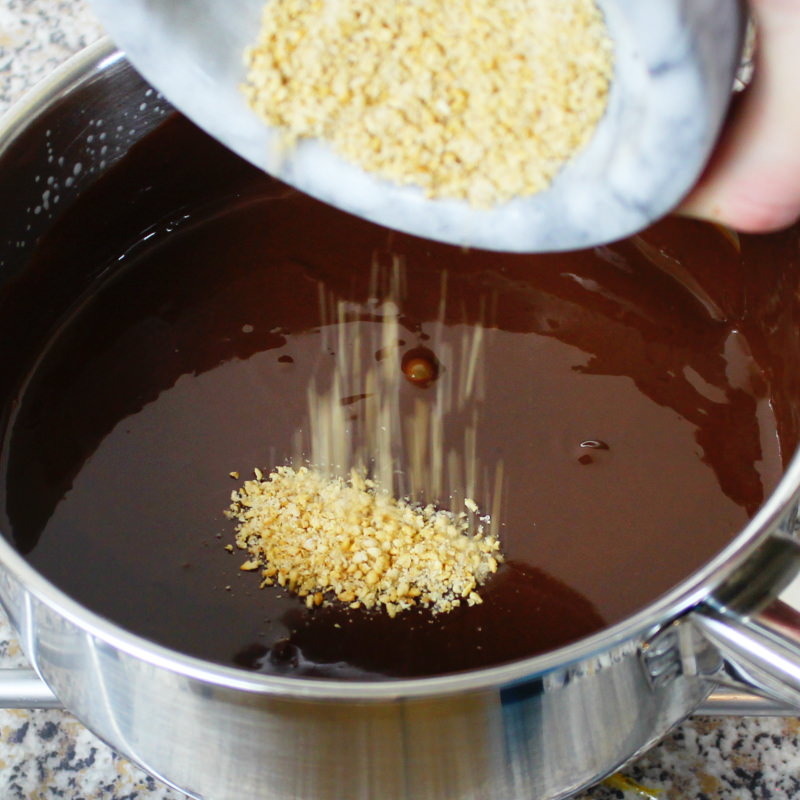
We’ll refine the truffle cream with some homemade gomashio made from white, toasted sesame seeds (im Shop ansehen) and a little salt. Incidentally, sesame is used very frequently in Japanese cuisine to season or enhance dishes. For example, sesame is the key ingredient in Shichimi Togarashi or as a topping for Ramen noodle soups. Although it’s generally used in savoury dishes, sesame can also be incorporated into recipes for sweet treats.
Tip: Not sure whether salty sesame and chocolate go together? No problem – you can also flavour the cream with coffee, vanilla, nuts or almonds!
My tip: Would you like to find out more about irresistibly sweet Mochi? Then let yourself be enchanted by the world of Japanese rice cakes here: → Make Mochi yourself: 7 recipes that really work!
The truffle cream is encased in a dough made from Japanese glutinous rice flour, known as Mochi. Japanese glutinous rice cakes are made by steaming glutinous rice (im Shop ansehen) that has been ground into flour, along with sugar and water. These three ingredients are mixed together in a bowl and stirred into a dough.
TOP RECOMMENDATION
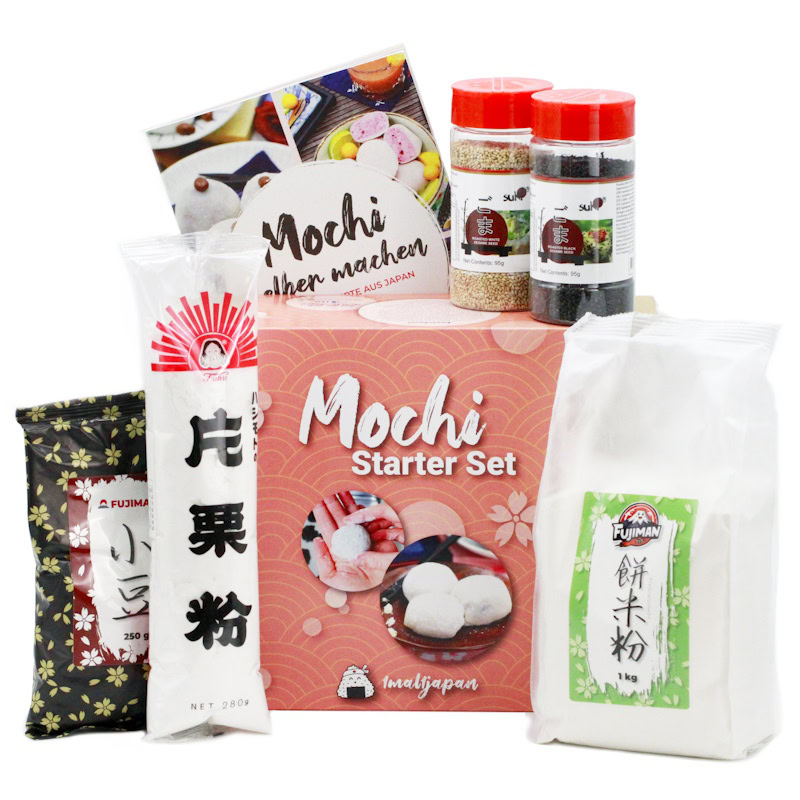
Mochi Starter Set | Klebreiskuchen selber machen, vegan
6-tlg. Kochset für 4 große Portionen Klebreiskuchen, inkl. Rezeptheft, glutenfrei & vegan. Mit dem Mochi Kochset stellst du japanische Reiskuchen ganz einfach selbst her –…
In stock
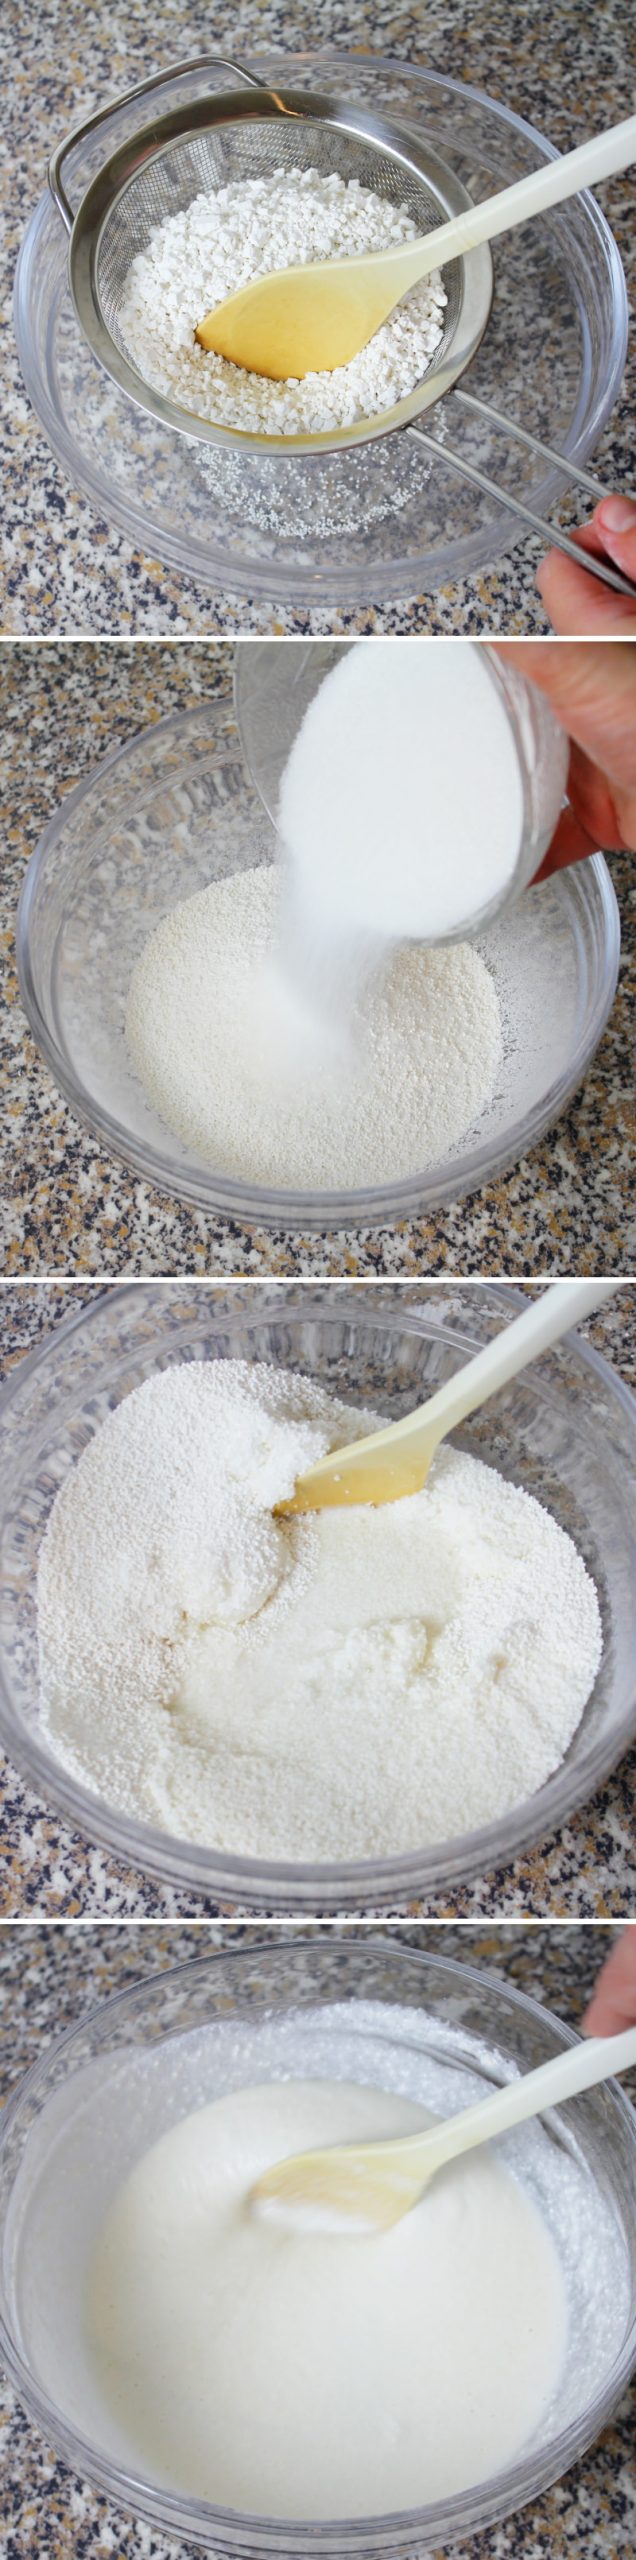
To begin with, the mixture is very stiff, almost lumpy. But please don’t let that put you off! Just keep stirring with a spoon. The sugar will slowly dissolve and the dough will become runny again after a short while. When the dough reminds you of icing, it’s ready.
I used a sticky, glutinous rice flour (im Shop ansehen) for this. It should also work with another type of glutinous rice flour, but be careful – please don’t use just any ‘normal’ rice flour! It absolutely must be glutinous rice flour for the Mochi to turn out properly.
There are all sorts of different methods for cooking the mochi dough. In my recipe for chocolate mochi here, I’ll show you how to cook it using a traditional steamer insert in a saucepan.
You can also cook the dough in a non-stick frying pan or in the microwave. It’s best to follow my simple instructions in the recipe for mochi dough.
Either way, once cooked, we’ll roll out the dough and cut it to size.
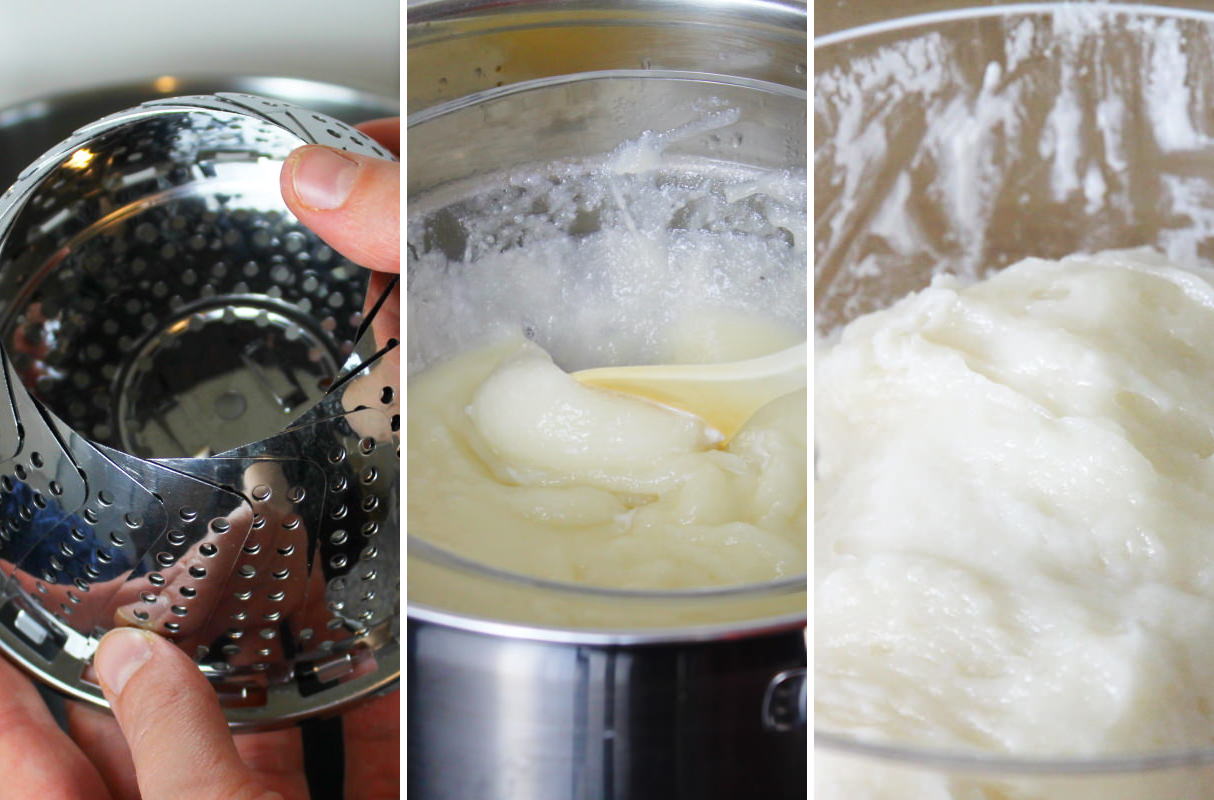
I’m convinced that these homemade chocolate Mochi with a refined Japanese-style truffle cream filling will turn out beautifully and taste delicious! When shaping the Mochi, make sure that the filling is completely enclosed by the Mochi dough. You can find all the further details and a few extra tips here in the recipe for chocolate Mochi:
Chocolate Mochi
Makes 12 | 90 minutes | 323 kcal
🖨️ Print PDF 📌 Save to PinterestA delicate chocolate centre is enhanced with homemade sesame salt and encased in a light Mochi dough. It sounds like poetry, doesn’t it? And that’s exactly why you absolutely must try this wonderful, chocolatey speciality from Japan. Just a few ingredients, a few simple steps, and your heavenly chocolate Mochi are ready!
Ingredients (12 pieces = 4 portions)
150 g glutinous rice flour (im Shop ansehen)
100 g sugar
180 ml water
200 g dark chocolate
200 ml cream
2 tsp white, toasted sesame seeds (im Shop ansehen)
1/2 tsp salt
100 g katakuriko (potato starch) (im Shop ansehen)
Useful equipment:
Steamer (im Shop ansehen)
Suribachi mortar
Method (90 minutes)
Step 1. Step
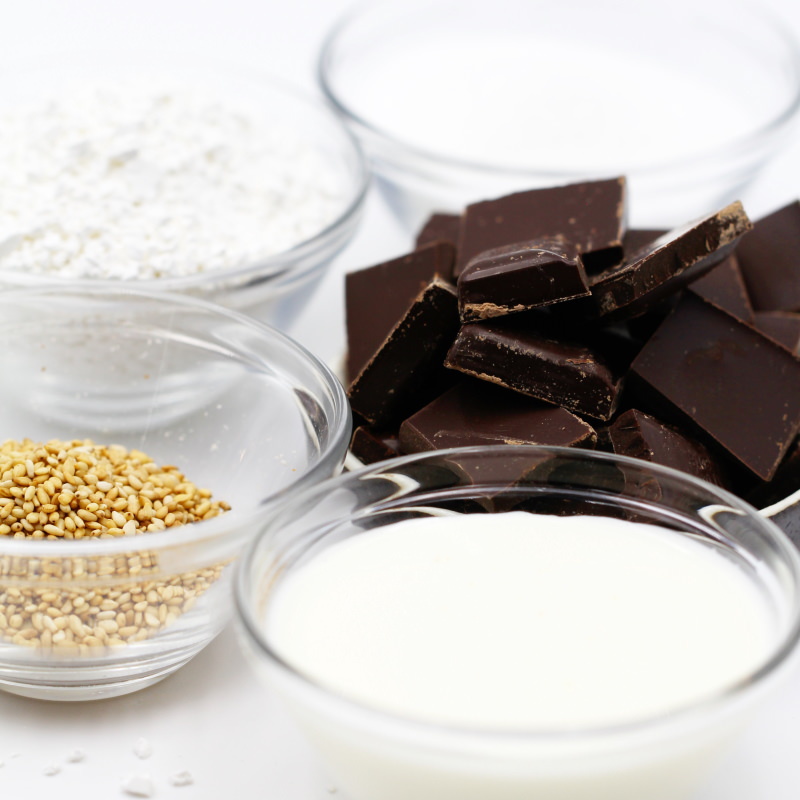
Get the ingredients for the delicious chocolate Mochi ready.
Step 2
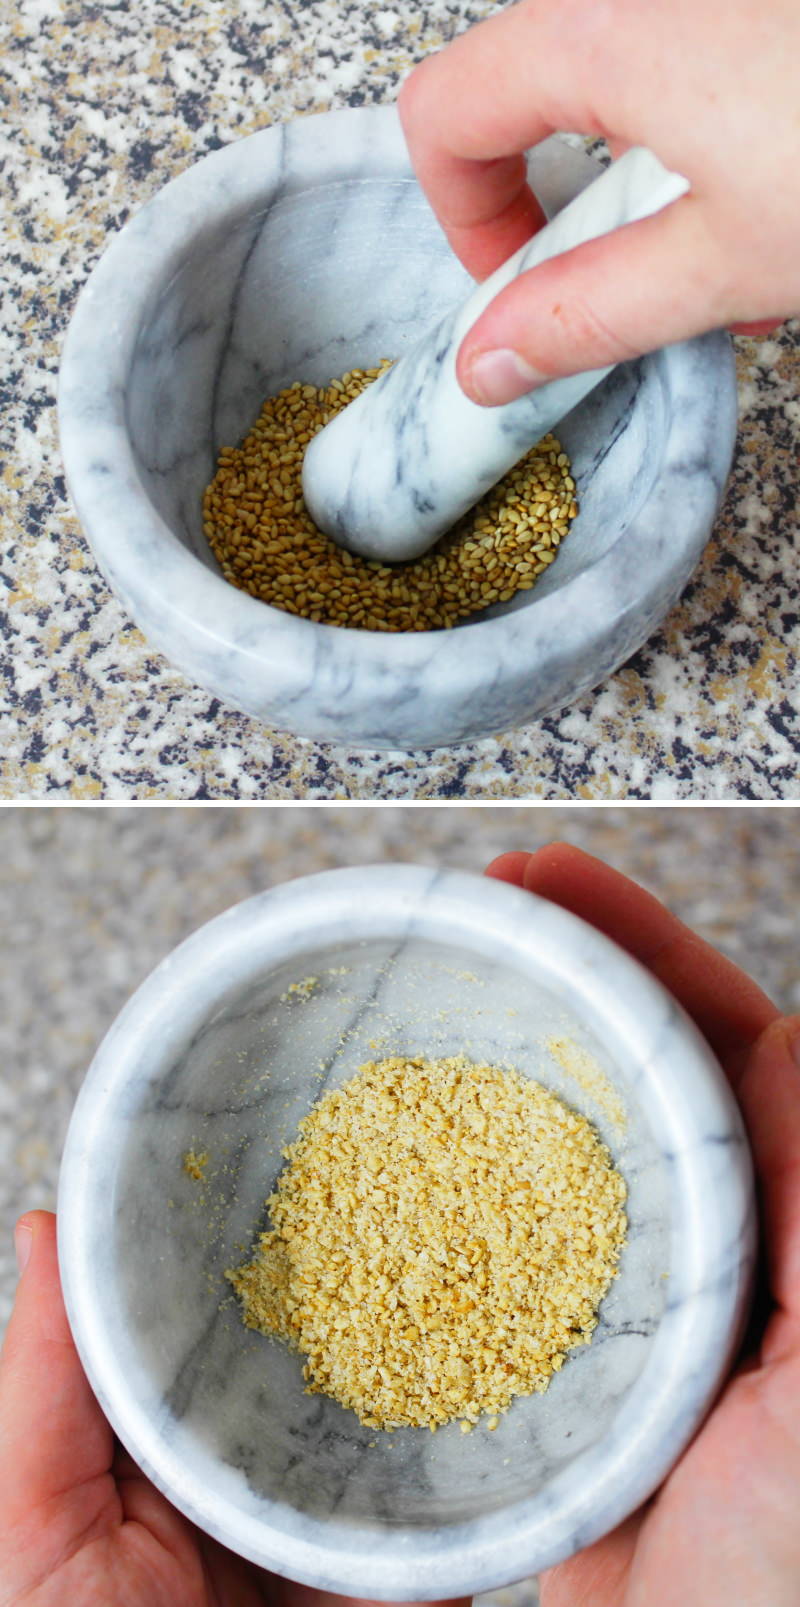
First, we’ll prepare the chocolatey, slightly salty filling: To do this, place the toasted sesame seeds and the salt in a mortar and grind them finely.
Step 3
Pour the cream into a saucepan and bring to the boil briefly over a medium heat, then remove from the heat immediately. In the meantime, roughly break up the chocolate and add it to the hot cream. Stir the two together until the chocolate has completely melted and a smooth mixture has formed. It’s best to incorporate as little air as possible, so stir gently and do not whisk.
Step 4
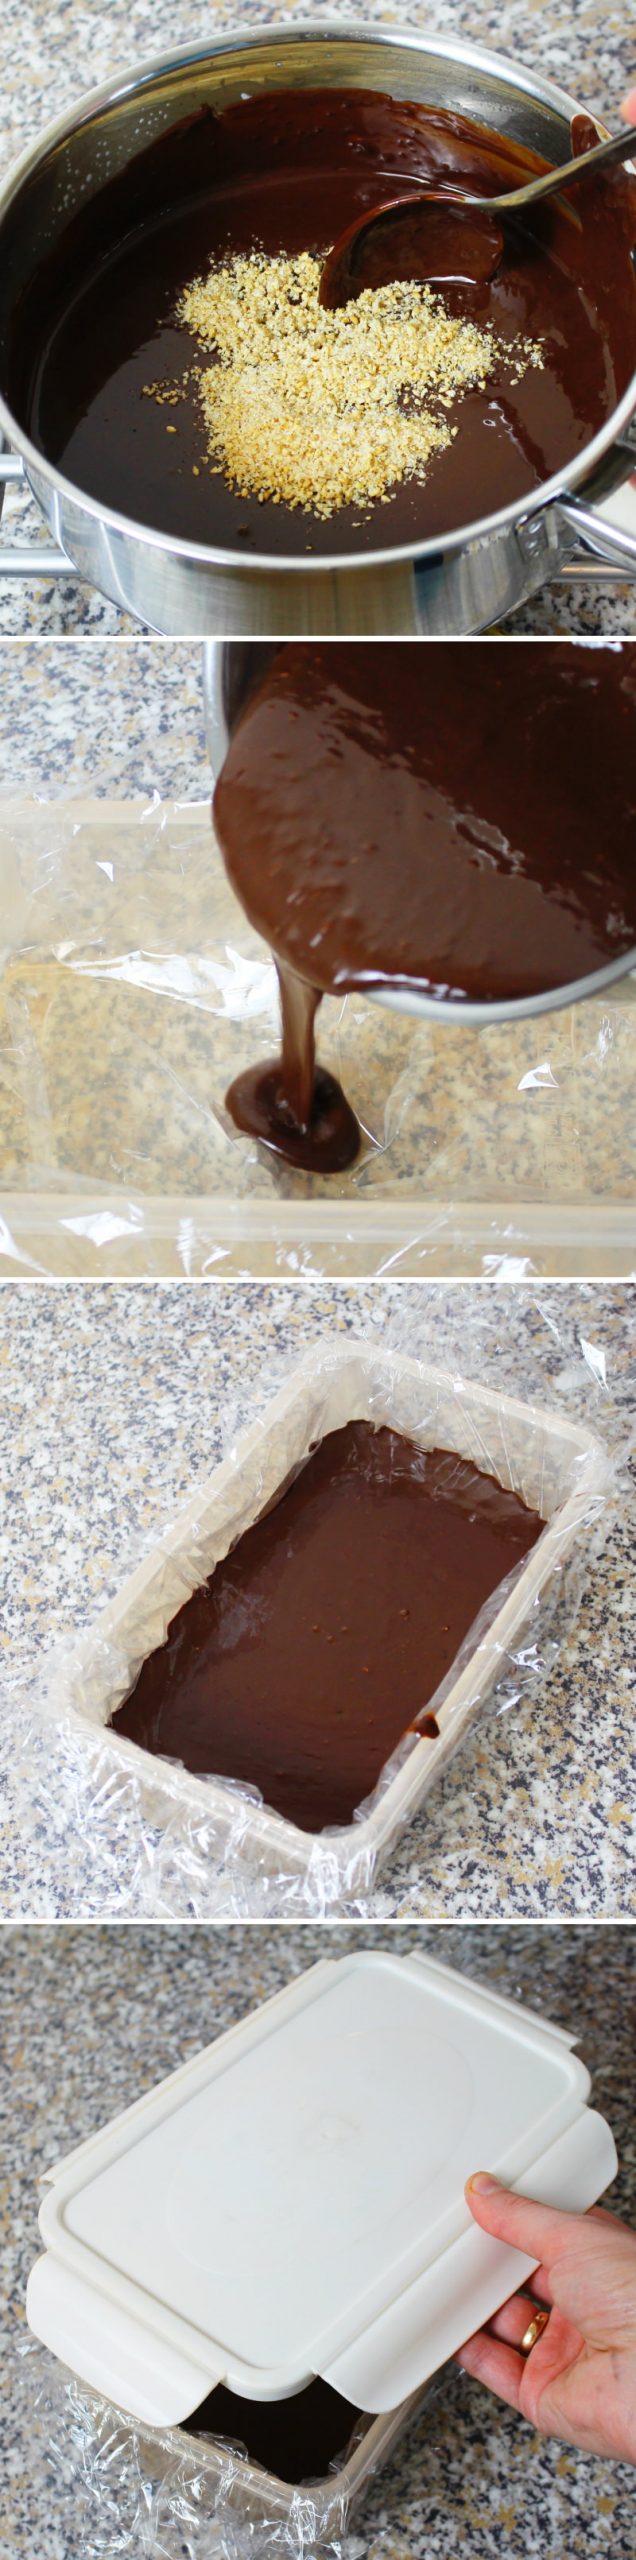
Add the homemade sesame salt to the chocolate mixture and mix briefly.
Line a sealable container with cling film or similar. Transfer the prepared chocolate and sesame salt filling into the container, seal it and leave to cool at room temperature for 30 minutes.
Then place in the fridge for several hours (preferably overnight).
The chocolate will set into a smooth ganache and can then be used as a filling for the Mochi.
Step 5
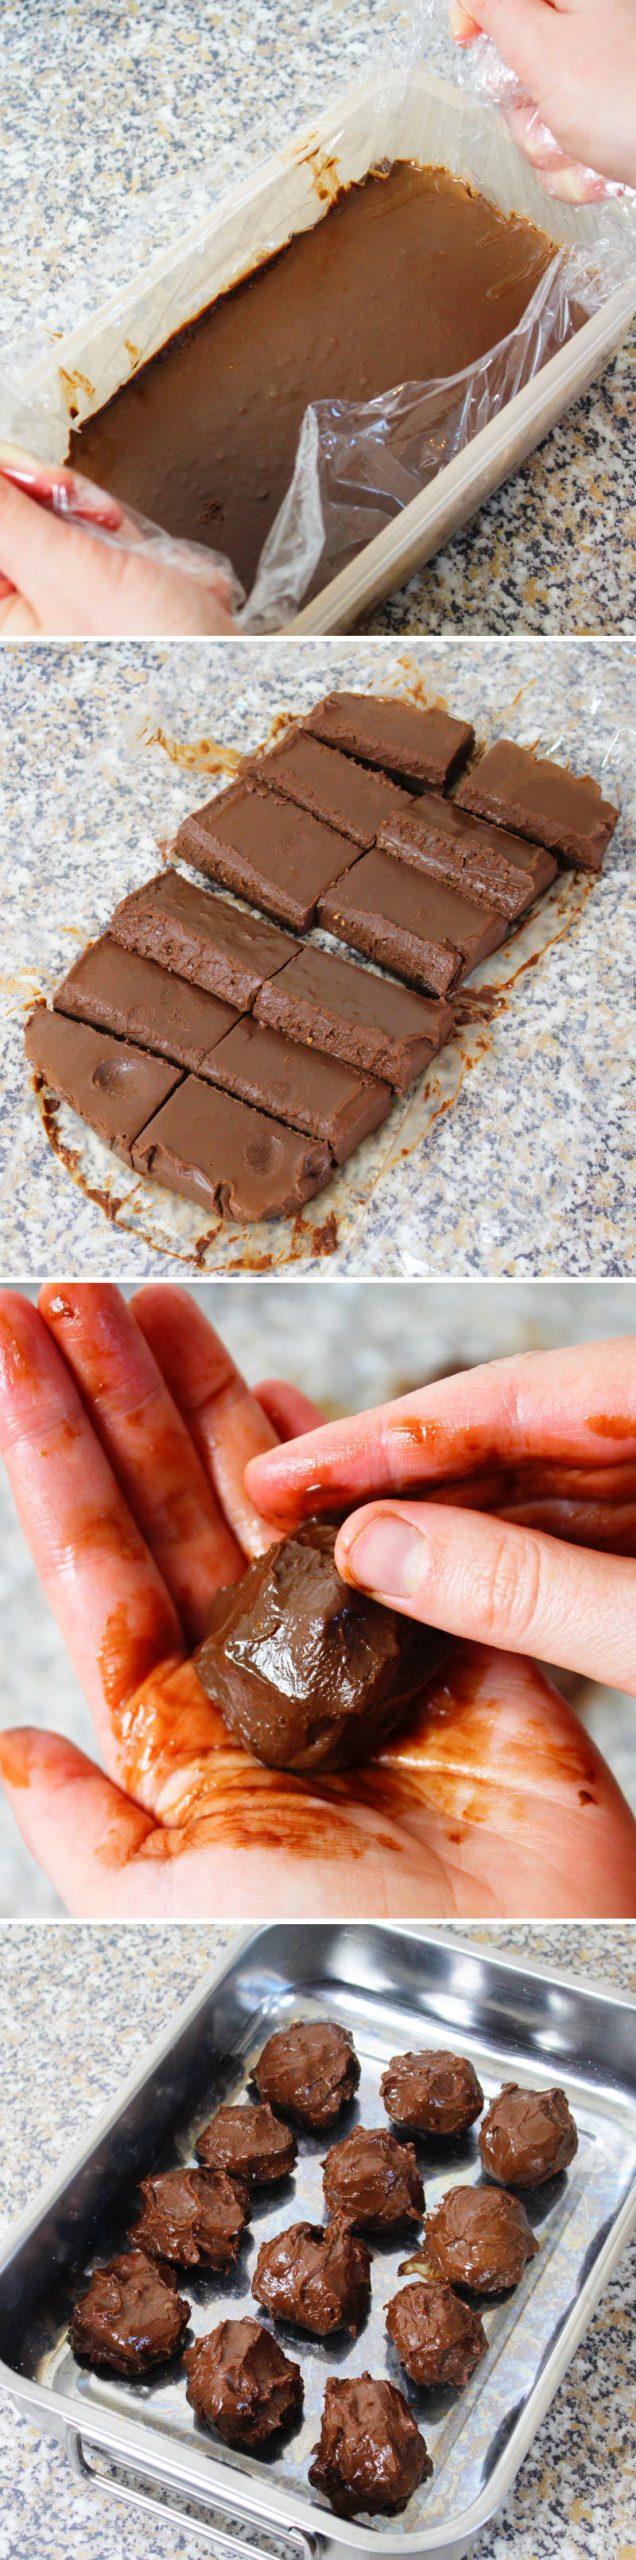
Once the chilling time is up, lift the filling out of the container using the cling film and cut it into 12 roughly equal pieces with a knife. Then roll each piece between your palms to form small balls. Place all the balls back into the container, close the lid and return it to the fridge until ready to use.
Step 6
Now we move on to the mochi dough: Sift the glutinous rice flour through a sieve into a medium-sized bowl, add the sugar and mix thoroughly with the water .
Tip: To begin with, the mixture will be very thick, almost lumpy. Don’t let that put you off! Just keep stirring with a spoon. The sugar will slowly dissolve and the dough will become runny again after a while.
If the dough reminds you of icing, it’s ready.
Step 7
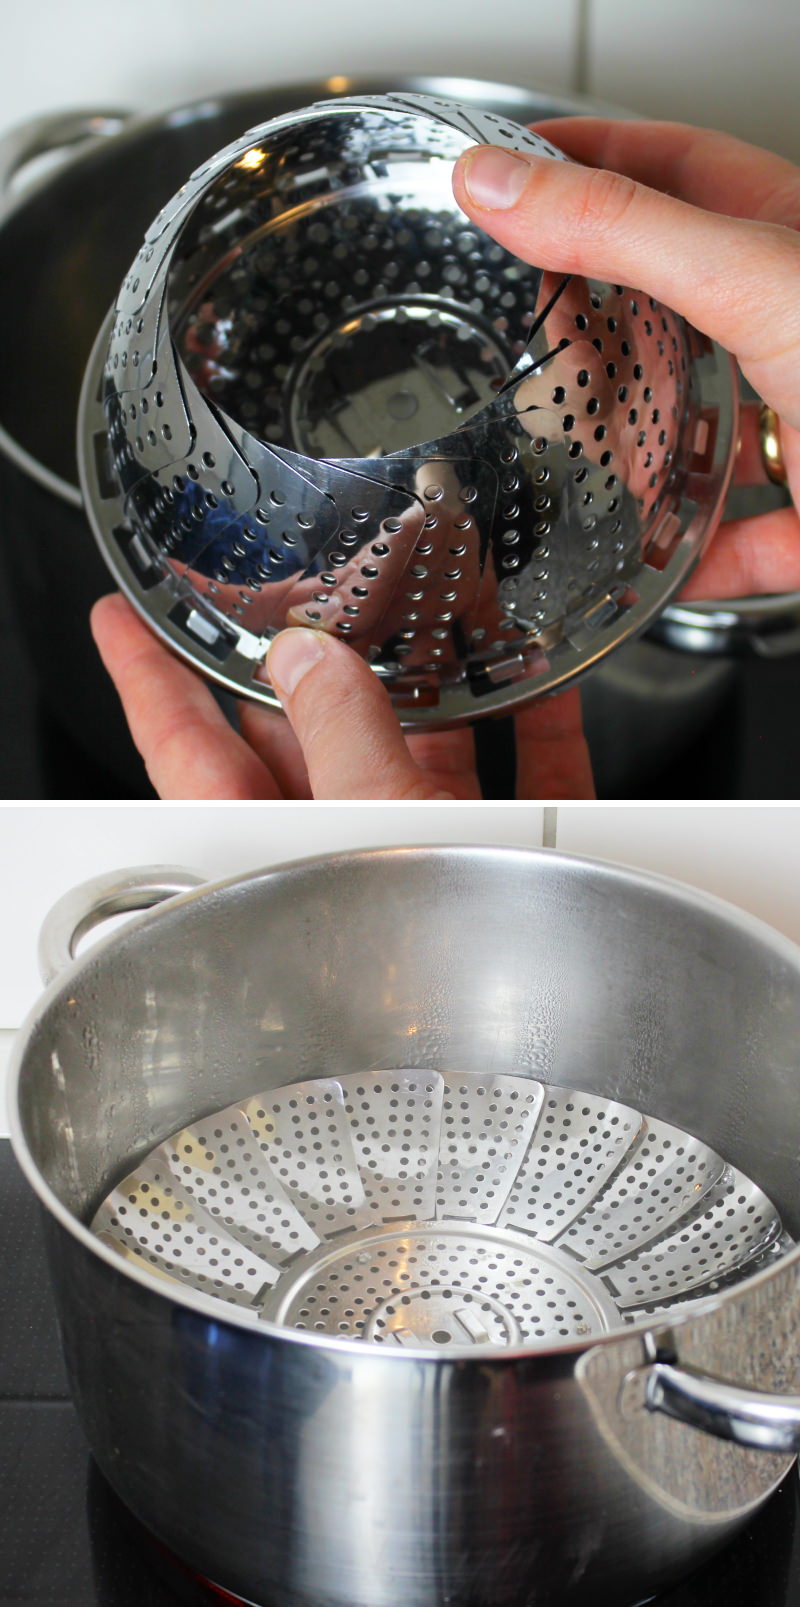
Fill a large saucepan (the medium-sized bowl from the previous step should fit comfortably inside) with about two fingers’ depth of water and place a steamer inside (only the legs of the steamer should be in the water). Bring the water to the boil.
Tip: To make the dough in a pan or in the microwave, follow my basic recipe for mochi dough!
Step 8
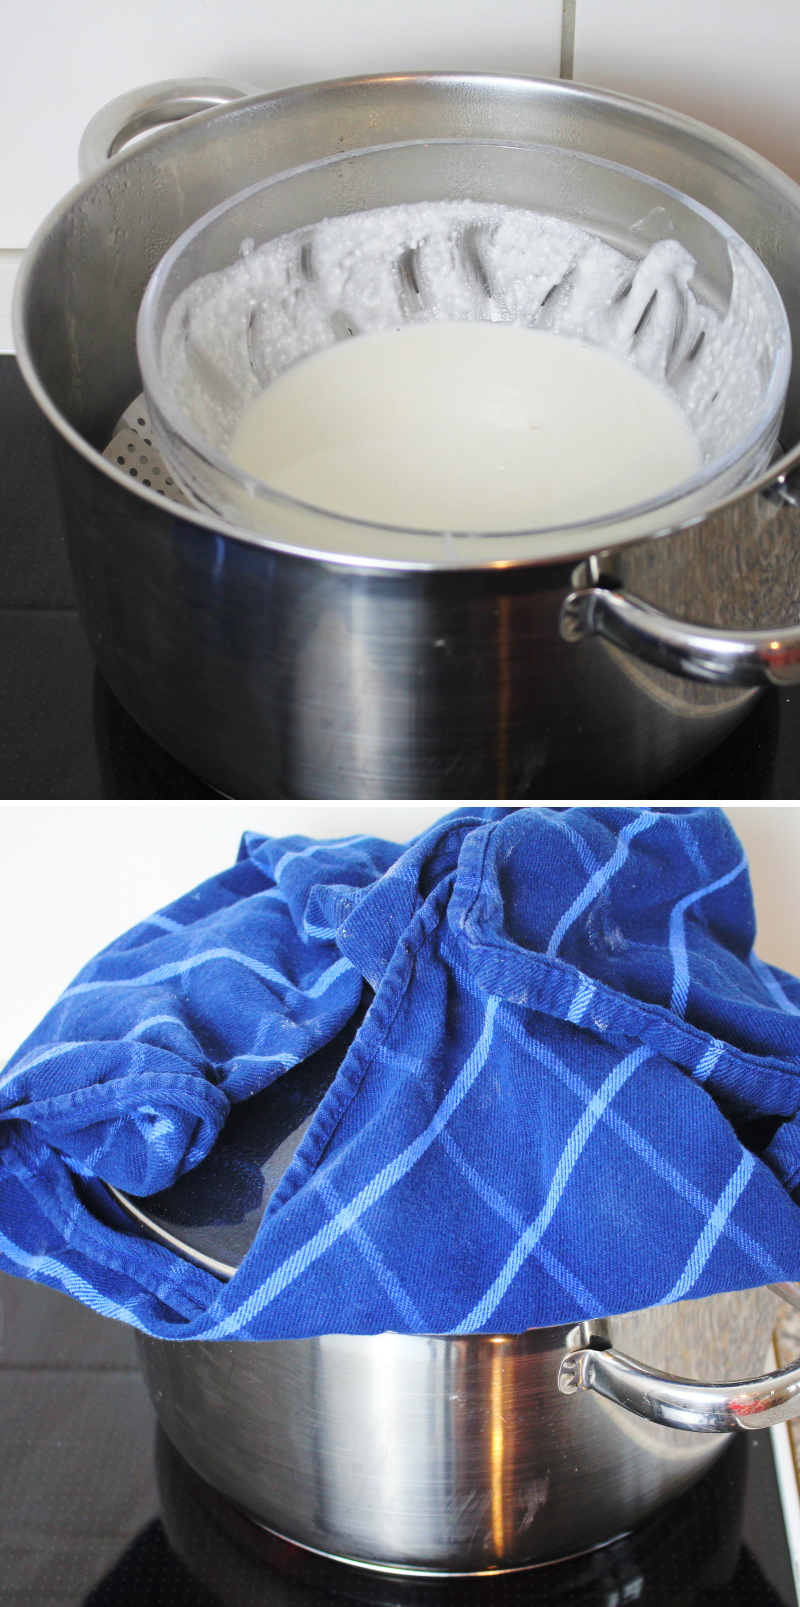
Place the bowl containing the dough into the steamer. Wrap the lid of the pot with a kitchen towel (to prevent condensation from dripping into the dough), fold the ends of the towel upwards and place the lid on the pot. Reduce the heat so that the water beneath the steamer is just simmering very gently. Steam the dough for 15 minutes.
Step 9. Step
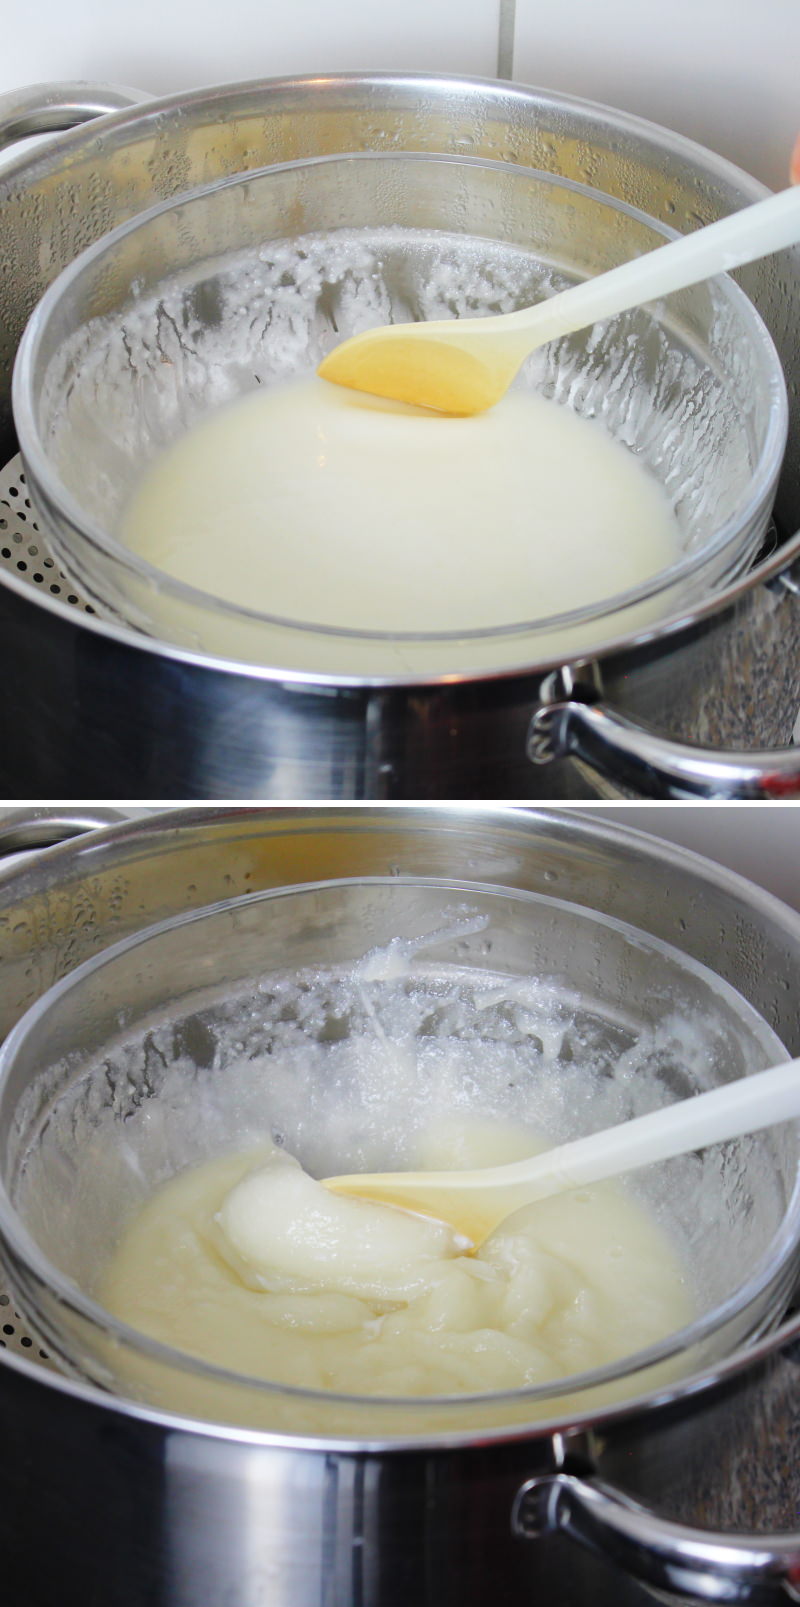
Halfway through the steaming time, remove the lid, stir the dough with a slightly damp spoon and replace the lid, including the tea towel. Caution: Risk of burns – please use oven gloves or pot holders!
Step 10
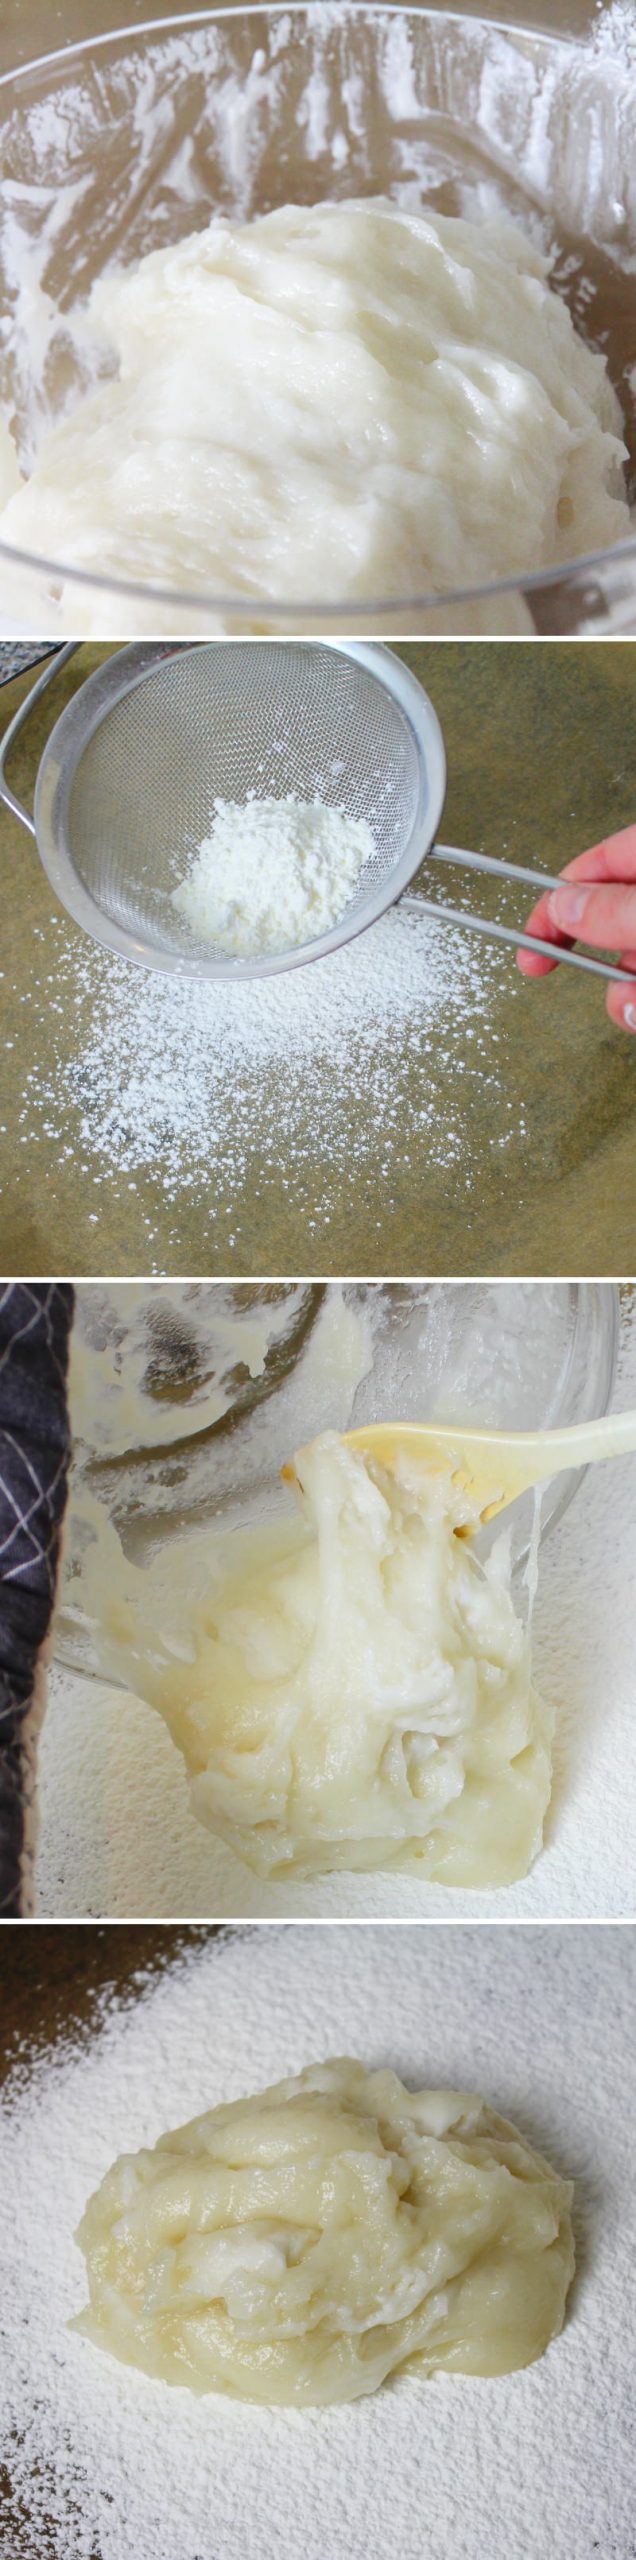
Shortly before the end of the cooking time Line a baking tray with baking paper and dust generously with cornflour using a sieve. Then, as soon as the dough is ready (it should be a white, thick, cohesive mass that is no longer runny but still slightly moist), remove the bowl from the steamer. Using a spoon, transfer the dough from the bowl directly into the cornflour so that it doesn’t stick. Leave to cool briefly (for about 5 minutes).
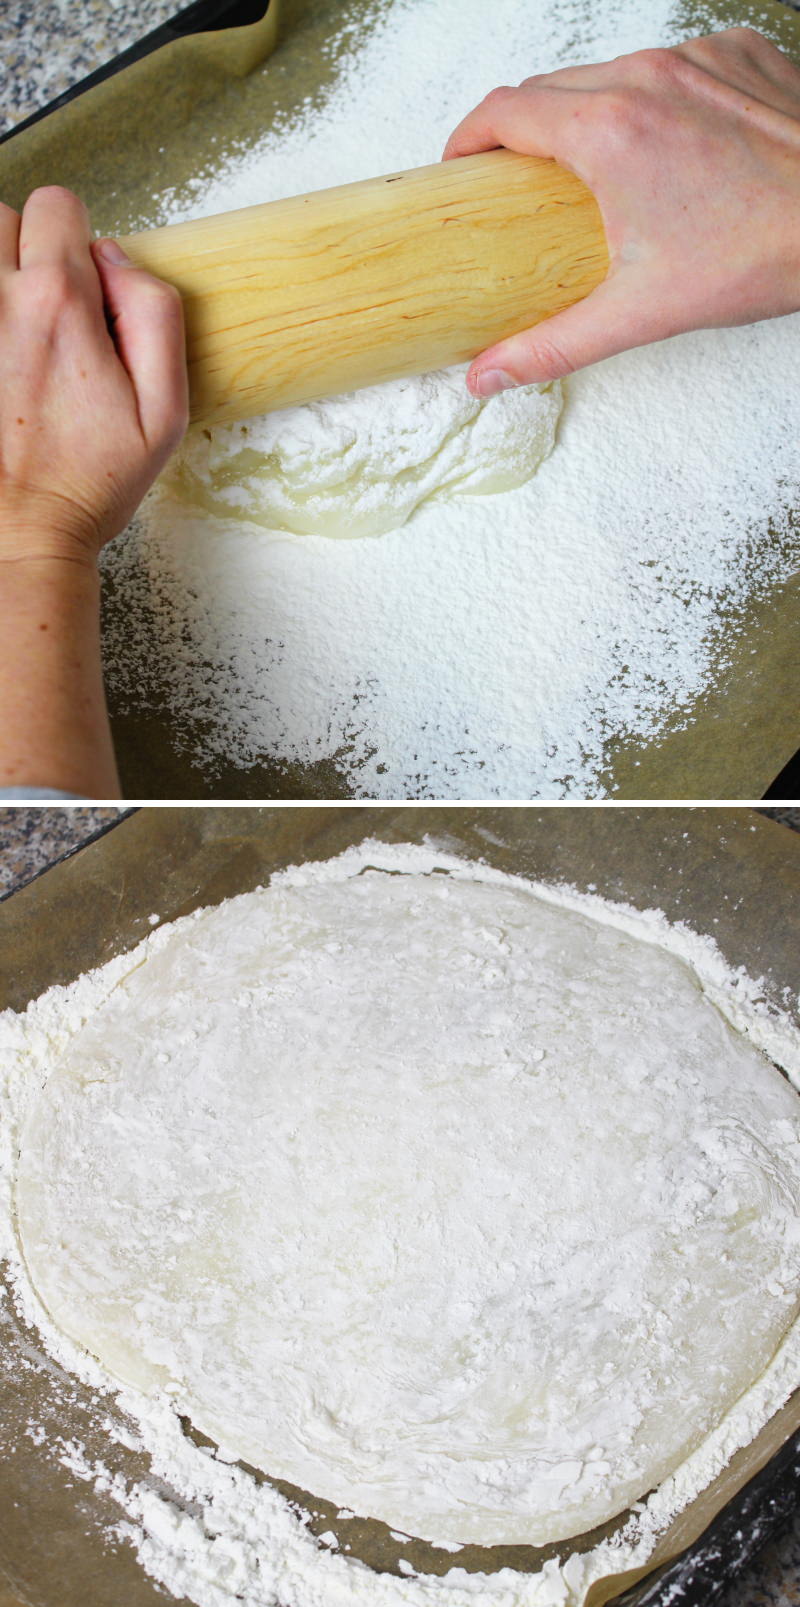
Step 11
Once the dough has cooled slightly, dust it with a little cornflour. First, gently flatten it a little with your hands, then roll it out into a square shape using a rolling pin. The dough should be about 5 mm thick after rolling.
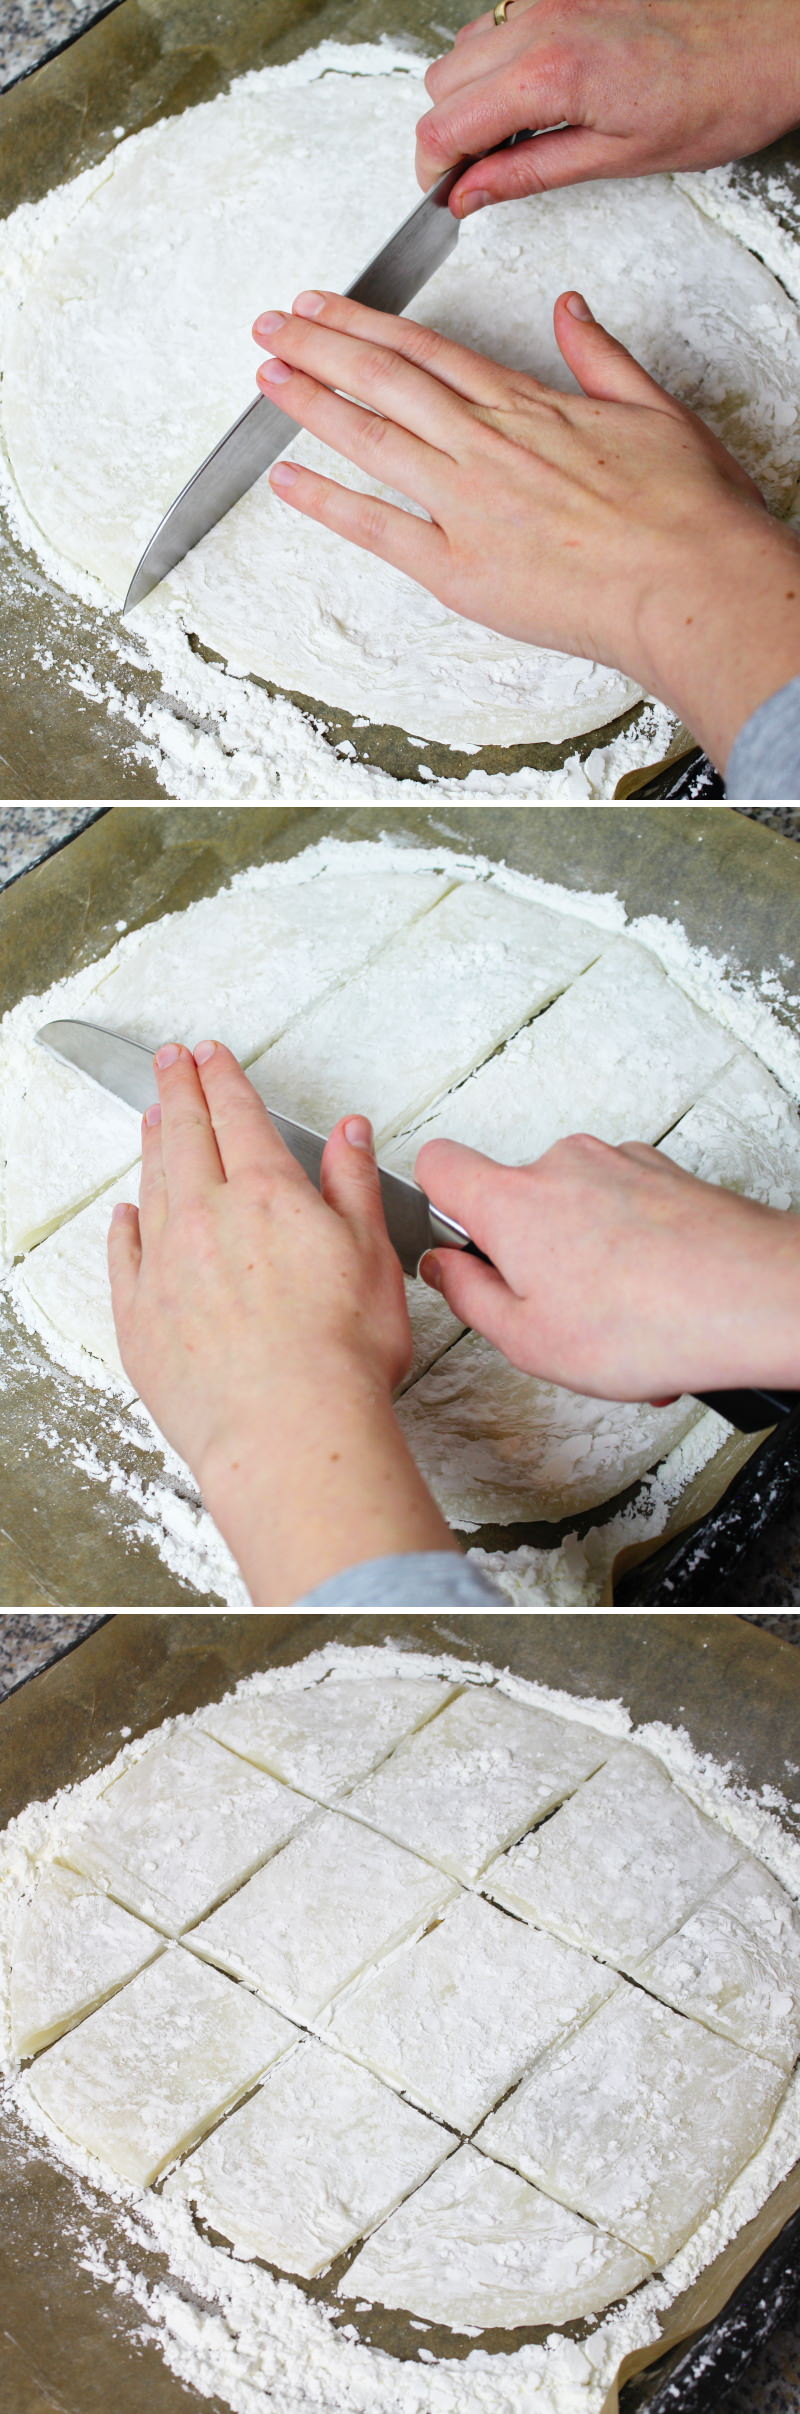
Step 12
Cut the dough into 12 roughly equal-sized squares using a sharp knife. Also, take out the chocolate and sesame balls.
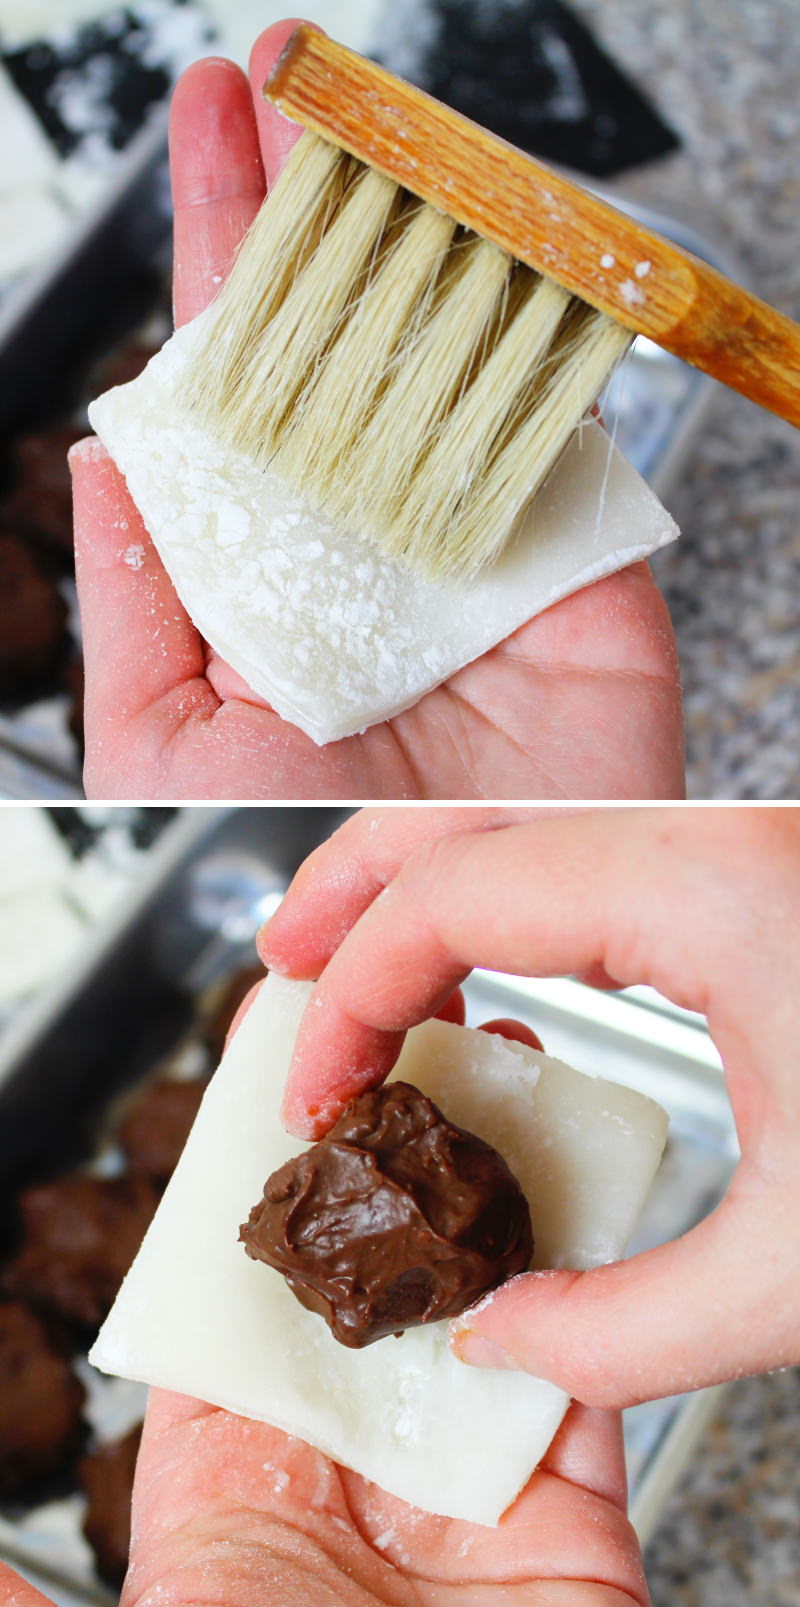
Step 13
Carefully lift out each piece of dough, remove the excess cornflour – for example, with a pastry brush – and place a portion of the filling in the centre of the dough.
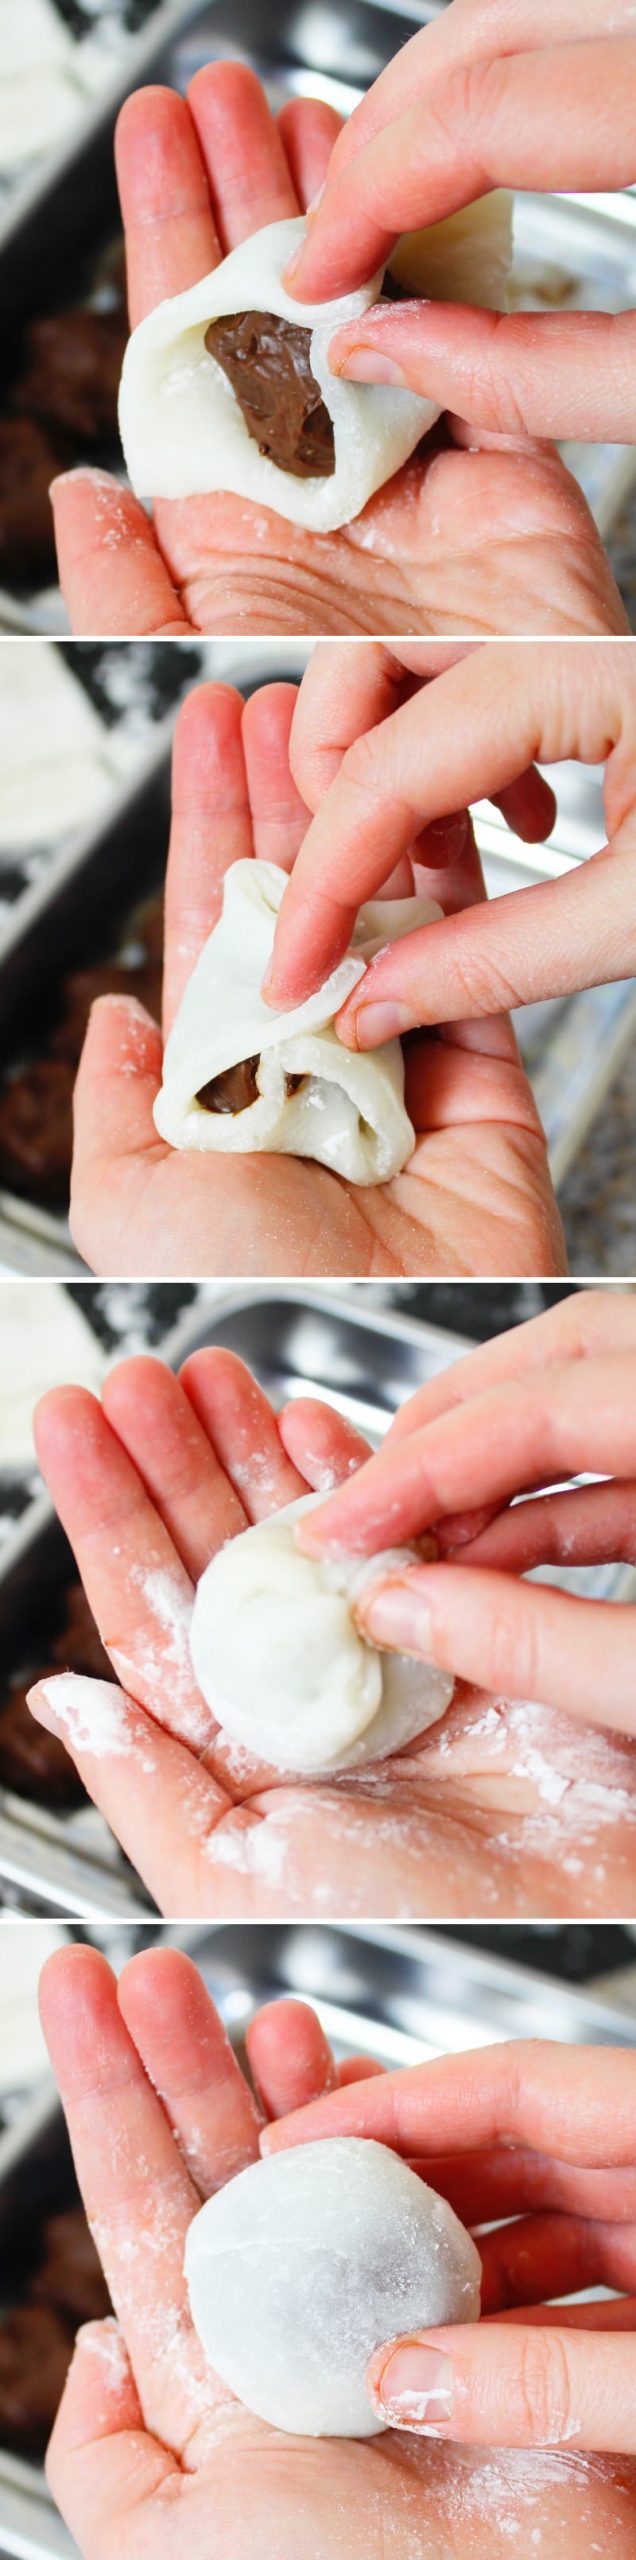
Step 14
Using your fingertips, press two opposite corners of the dough firmly together in the centre over the filling, then fold the other two corners together in the same way. The filling inside should be completely enclosed by the Mochi dough.
Tip: The point where all the folds meet is the underside of the Mochi – so the appearance isn’t particularly important. The main thing is that the Mochi dough on the top doesn’t tear!
Step 15
Make all the remaining chocolate mochi in the same way and place them on a serving plate. Best eaten straight away. Done – Itadakimasu!
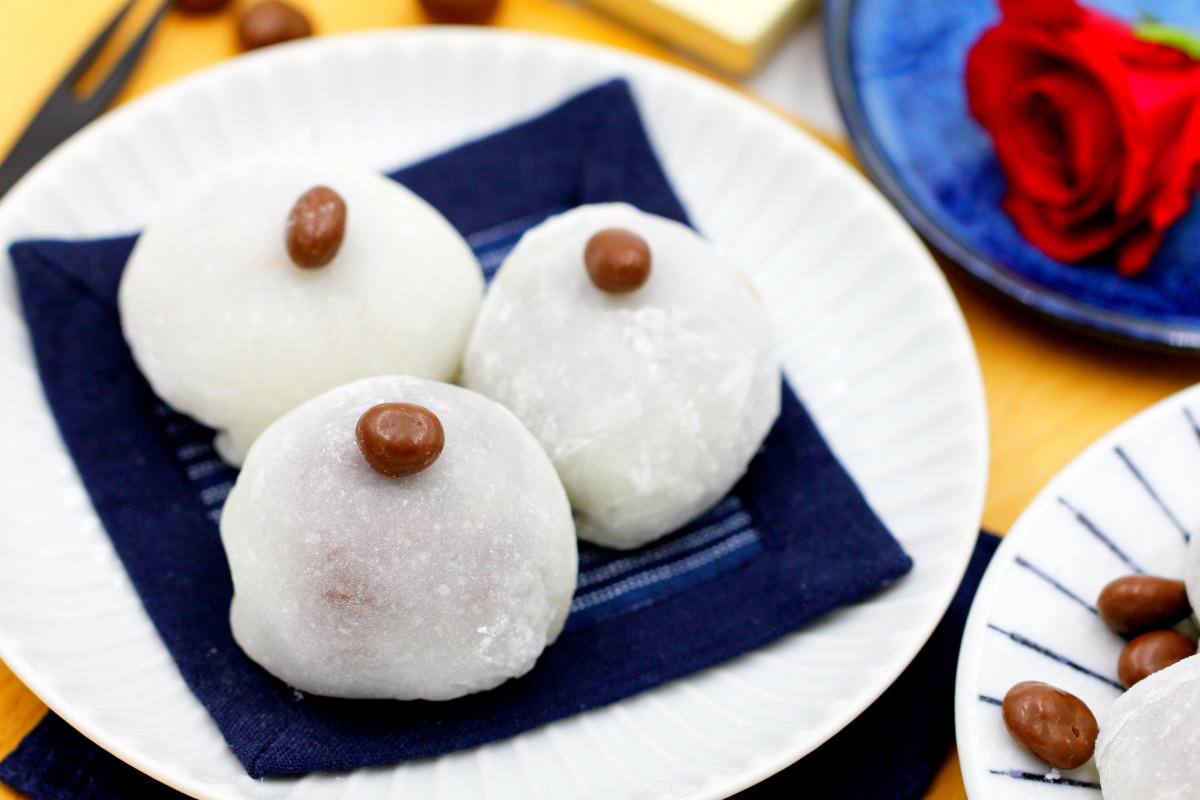
Are you looking for even more delicious Japanese desserts that will delight your guests? You can find my most popular recipes here:
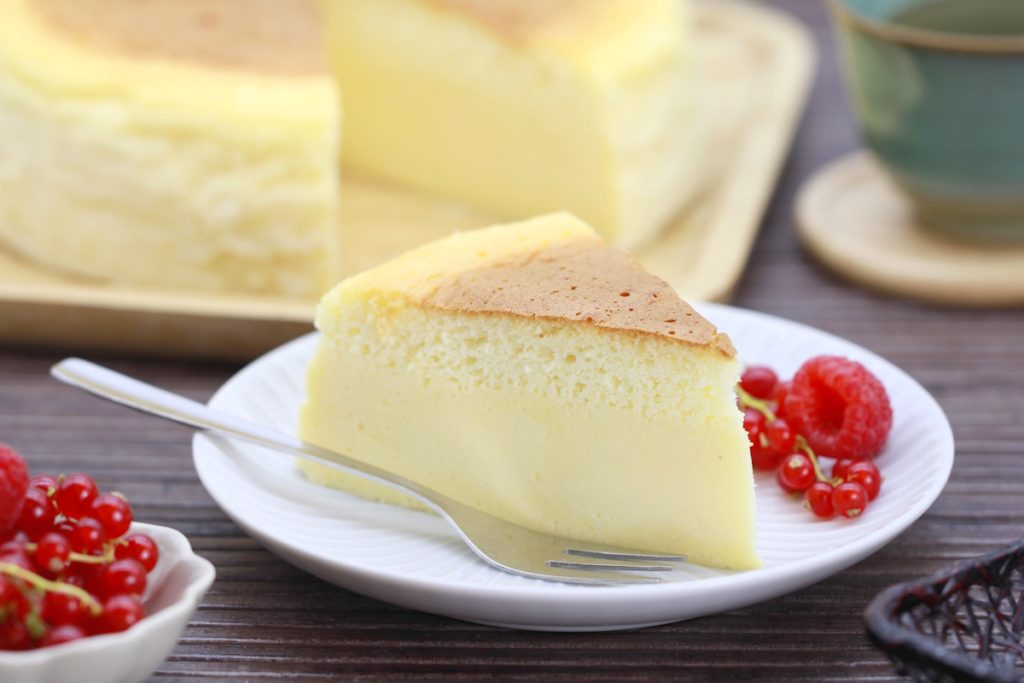
Japanese cheesecake: The best recipe for a fluffy soufflé-style cheesecake just like in Japan
Japanese cheesecake is one of Japan’s most popular desserts and delights with its exceptionally light and airy texture. Unlike classic…
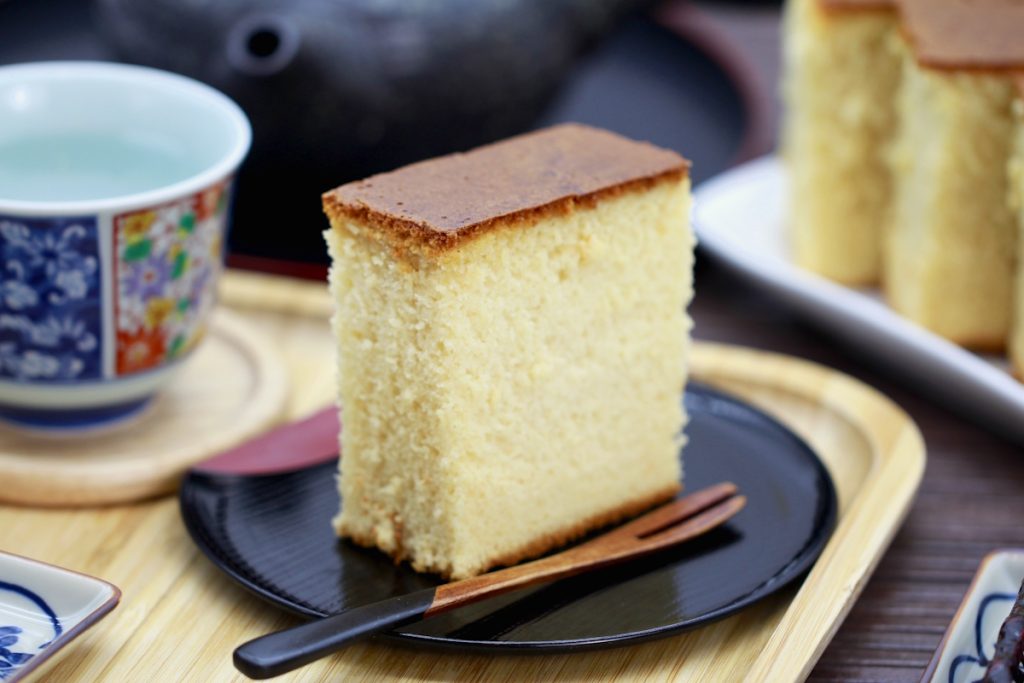
How to make Castella (Kasutera) yourself: How to make this Japanese honey cake
Why is Castella often described as Japan’s moistenest cake? Although Kasutera consists of just a few ingredients, the special preparation…
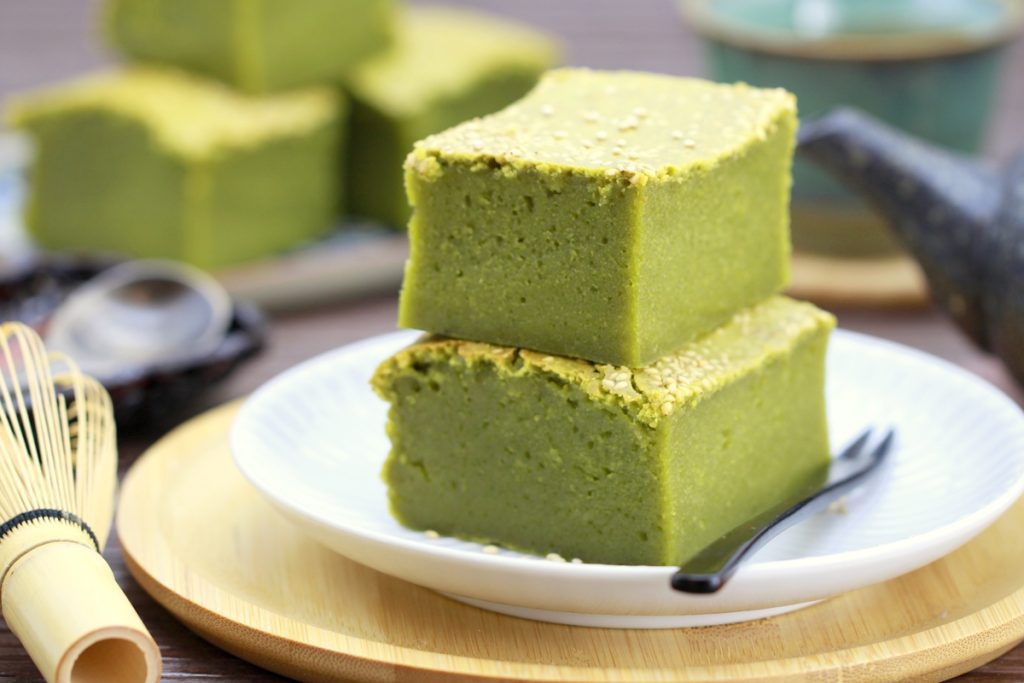
Make your own Matcha butter Mochi: Hawaiian Mochi cake with green tea
If you drink Matcha regularly, you might be familiar with this: at some point, you end up with more Matcha…
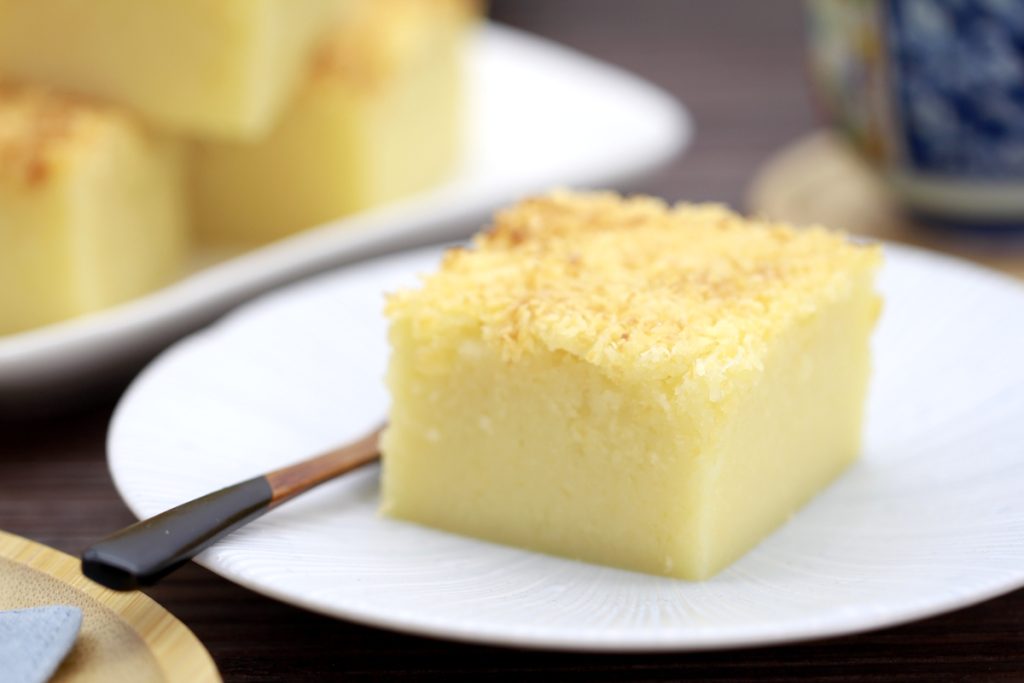
Butter Mochi (Hawaiian Mochi Cake – gluten-free)
Butter Mochi is one of those recipes that’s hard to pigeonhole. It looks like a simple tray bake, but has…
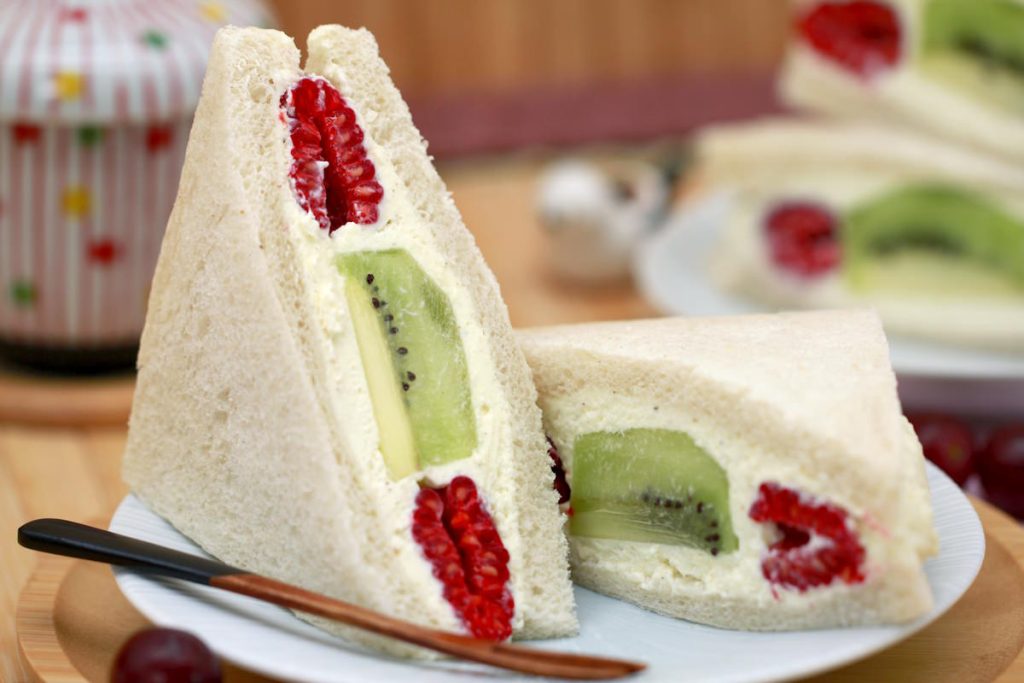
Make your own Fruit Sando: a fluffy cream sandwich with fruit – simple, fresh & typically Japanese
In Japan, it can remain surprisingly hot well into September – and it was on just such a muggy late-summer’s…
Warabi Mochi: Make your own delicate summer dessert with Kinako & Kuromitsu syrup
When the weather warms up, the appetite for light, refreshing sweets grows in Japan – and hardly any dessert embodies…
Have you tried this recipe? Let me know in the comments – I’m really looking forward to hearing from you.