Sprache:
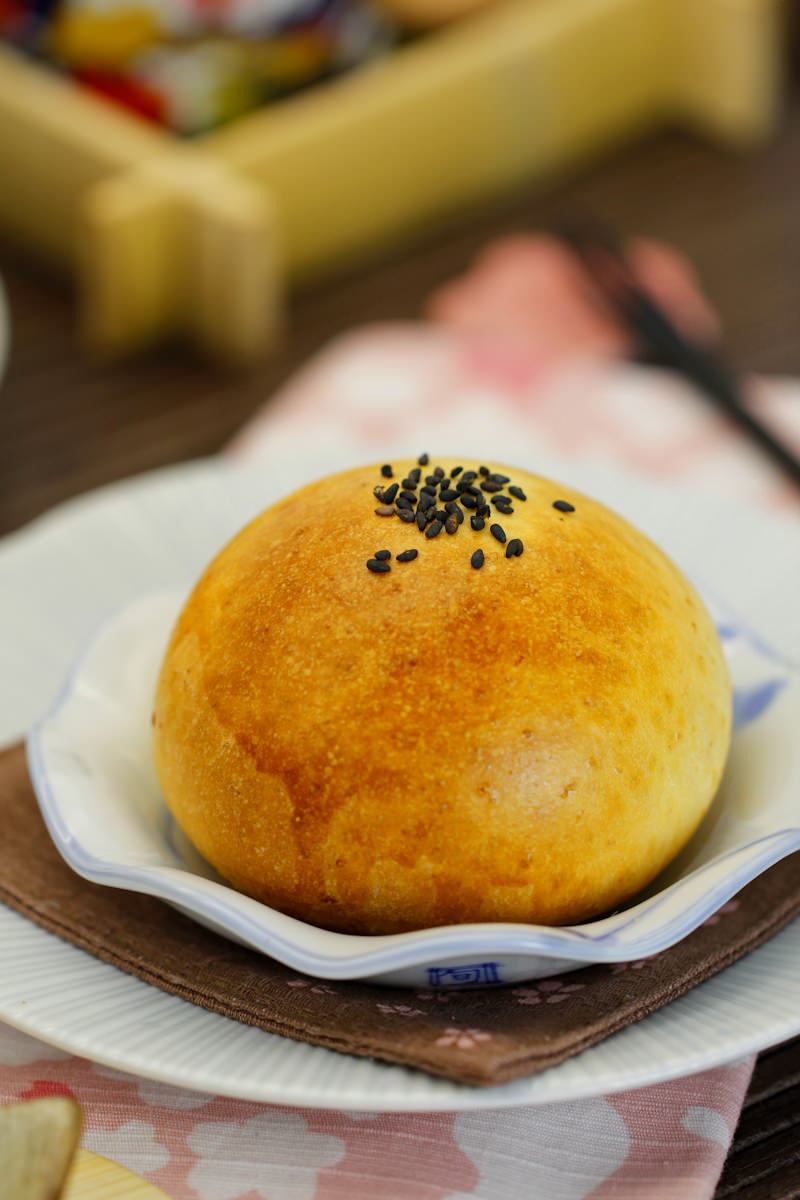
Wondering what the secret is behind the popular Japanese anpan buns? Let yourself be tempted today by the sweet magic of red bean paste, nestled in fluffy yeast dough! This traditional pastry isn’t just a classic in Japanese bakeries, but can also become a highlight in your own kitchen. Immerse yourself in a recipe that perfectly combines flavour and tradition. Are you ready to bake perfect anpan with me?
Are you also fascinated by the diverse flavours and textures of Japanese baked goods? If so, then you’ll love anpan! This traditional Japanese speciality hides sweet bean paste inside a light and soft dough. With this recipe, I’ll guide you through each passage of the baking process step by step.
Anpan – A sweet journey through time
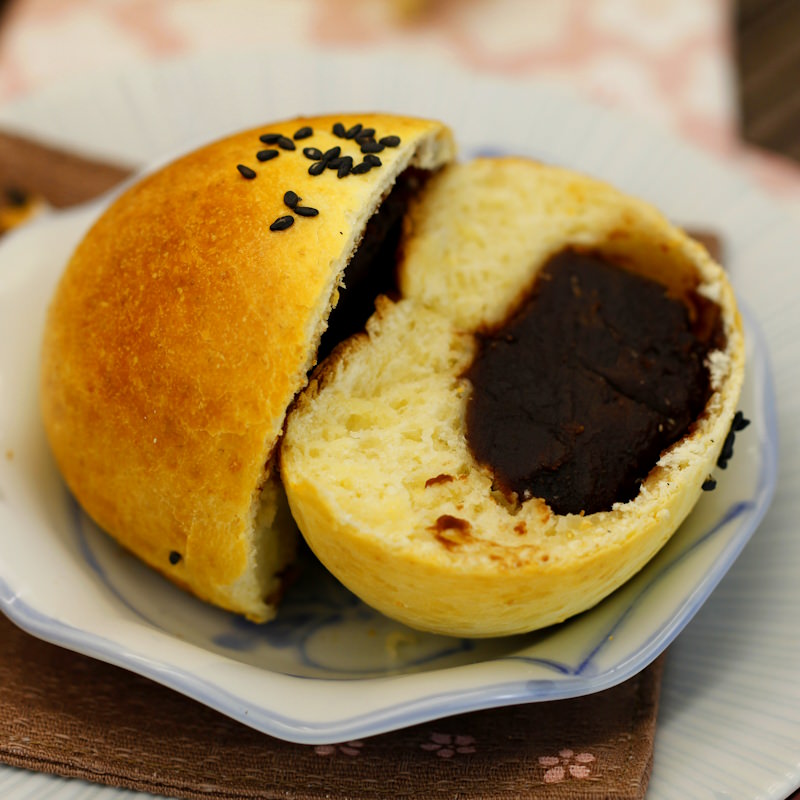
Anpan (あんパン) is more than just a pastry. For many Japanese people, it is a piece of childhood, a sweet memory of days gone by. The dough, so fluffy and soft, envelops the anko (red bean paste), which provides a special taste experience with its natural sweetness.
In Japan, bread is called “pan”, a word derived from Portuguese. “An-pan” therefore literally means “sweet bean bread”. This pastry has fans of all ages and can be found in every Japanese bakery, each with its own secret recipe.
But who actually had the brilliant idea of putting sweet red bean paste inside a bun? This question had been on my mind too, and during my research I came across an interesting story. The origins of anpan date back to 1875 and are closely linked to a samurai named Kimura.
After the end of the samurai era, he sought a new vocation and became a baker. Soon afterwards, he founded the now famous Kimuraya bakery and revolutionised the pastry by replacing mochi with bread, thus creating the anpan.
DIY Anko – the key to the perfect Anpan
Before you start the actual baking process, I recommend that you make the anko (red bean paste) yourself. Although it may seem time-consuming, the result is all the more rewarding.
Anko is a very famous, typical Japanese bean paste – it is made from small, red adzuki beans, which are gently cooked and heavily sweetened. Due to the thin skin of the beans, the finished paste is particularly soft, creamy and perfect for making all kinds of traditional Japanese sweets.

Please make sure to prepare a coarse, nice and firm bean paste! This is also called Tsubu-an. The coarse consistency is ideal for use as a filling for anpan, Mochi, dorayaki or taiyaki. Click here for the recipe!
Making sweet red adzuki bean paste at home is much easier than you think. All you need are adzuki beans, sugar and water! You can find adzuki beans in Asian grocery shops, health food shops or, of course, here in our online shop:
CUSTOMER FAVOURITE
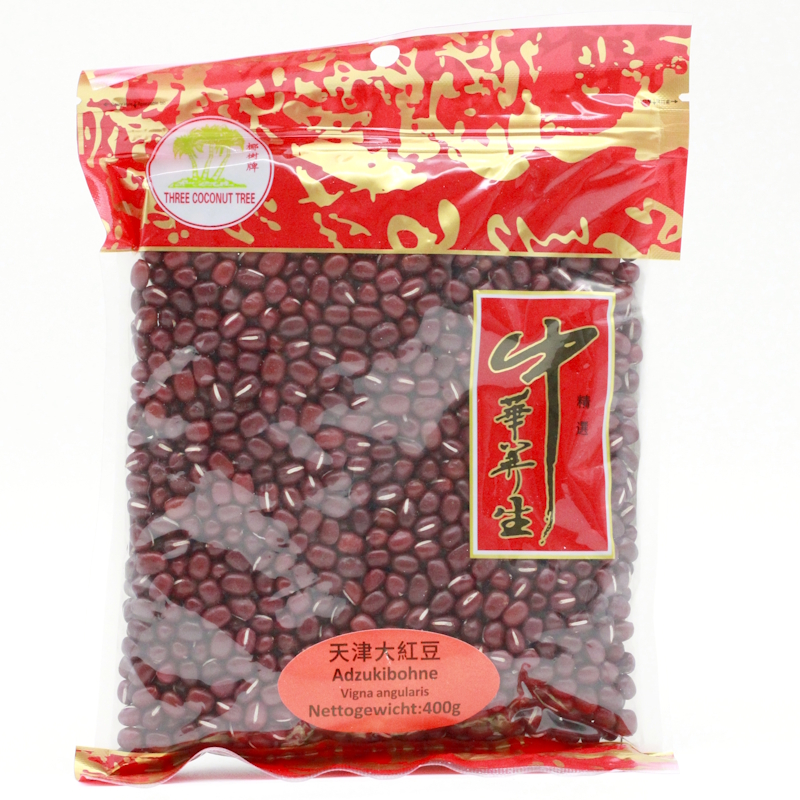
Adzukibohnen 400g (getrocknete rote Bohnen, für Anko, Mochi, Dango & Dorayaki), Three Coconut Tree
Diese getrockneten Adzukibohnen sind eine klassische Zutat der japanischen Küche und werden häufig für süße Bohnenpaste (Anko) verwendet. Sie eignen sich ideal für traditionelle Desserts…
In stock
However, if you want to save time, you can also find ready-made anko in Asian grocery shops.
Making anpan yourself
Baking bread can seem daunting at first, but anpan is a wonderful place to start. It is one of the simplest Japanese breads and perfect for baking beginners. My detailed instructions, complete with photos, will guide you safely through the process.
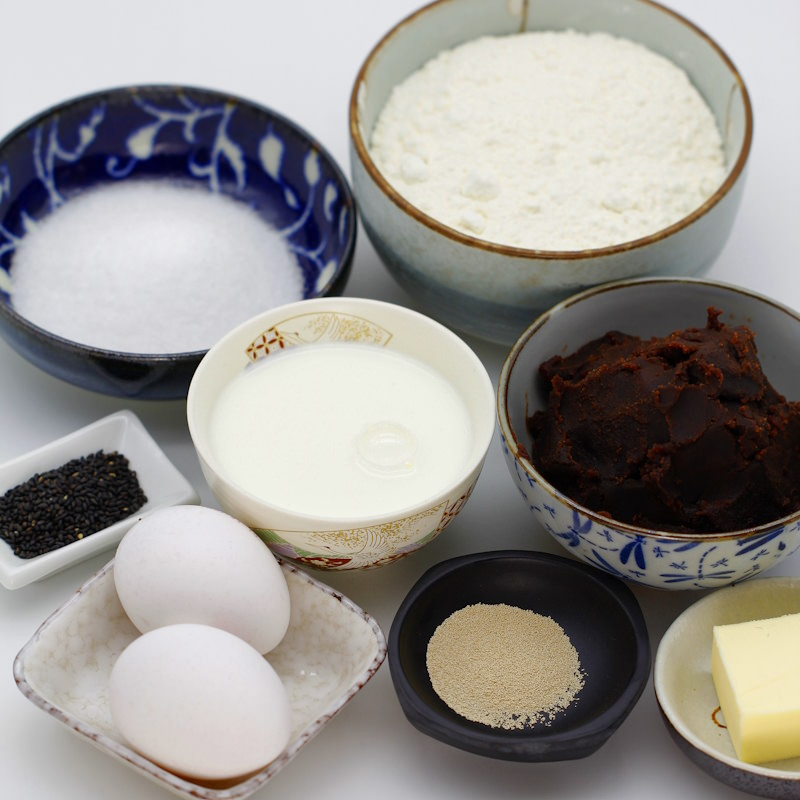
And this is what you’ll need for anpan:
- Flour
- Sugar
- Salt
- Yeast (here: dried yeast)
- Milk
- Butter
- Eggs
- Coarse anko (sweet red bean paste) > to the recipe
- Sesame, black (im Shop ansehen)
Depending on the type of bean used, there are different varieties of anpan. For example, there is the classic anpan with dark bean paste and the light Shiro anpan made from white beans. For a special touch, you can add Matcha powder (im Shop ansehen) to the flour or choose between sesame and poppy seeds.
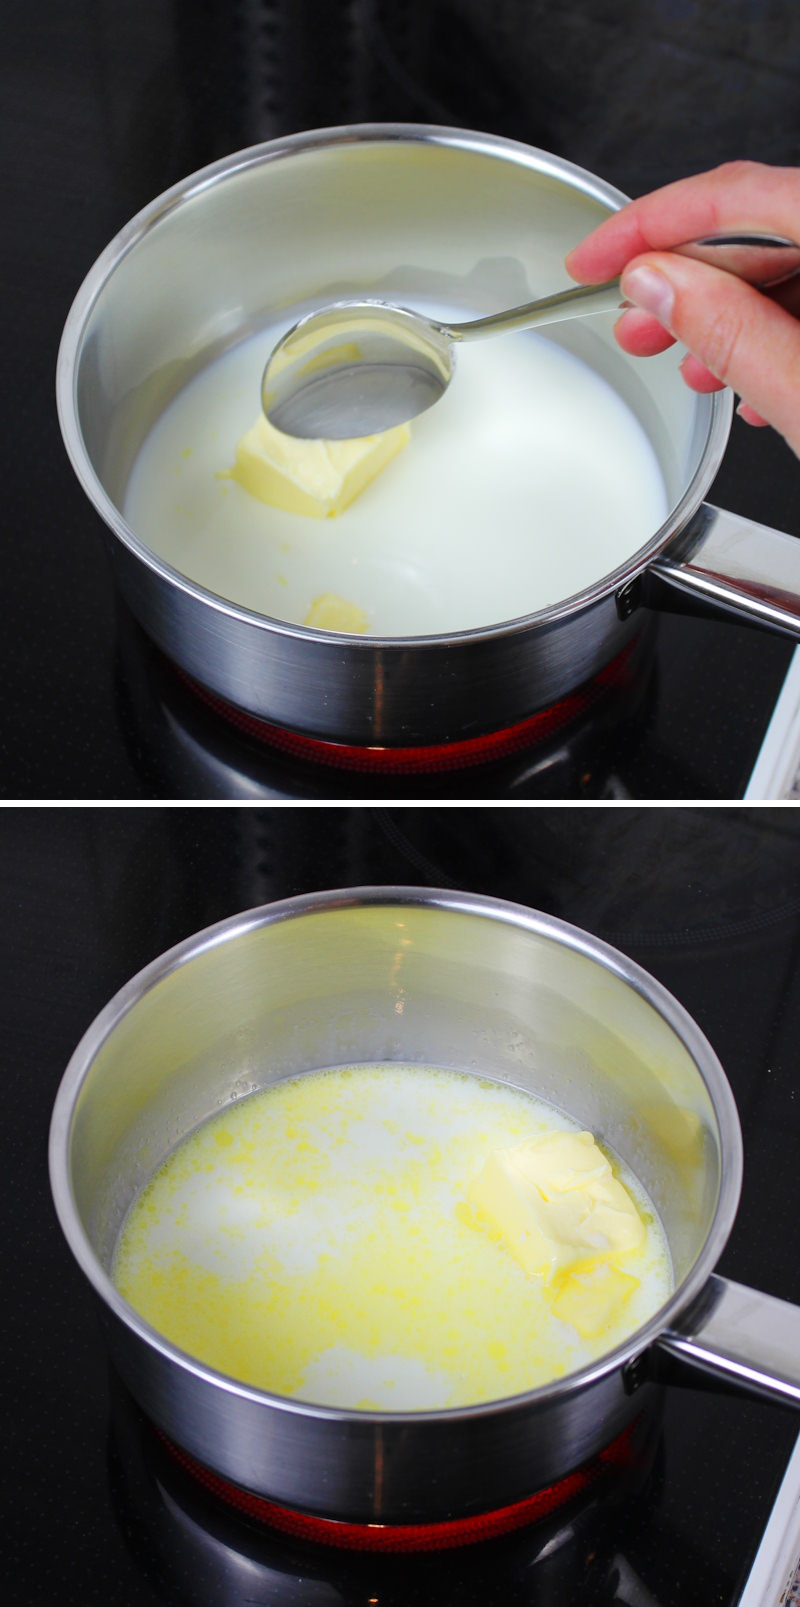
To begin with, gently heat the milk with the butter and, once the butter has melted, mix in a beaten egg. In a separate bowl, mix the flour, starch, sugar, salt and dried yeast, then combine with the milk-butter-egg mixture to form a yeast dough.
After kneading thoroughly, the dough is covered and left to rise in a warm place for about an hour. Meanwhile, small anko balls are formed from the bean paste. Once the dough has risen, it is divided into eight equal pieces and each piece is rolled out into a flat circle. An anko ball is placed in the centre of each dough circle and the dough is carefully sealed.
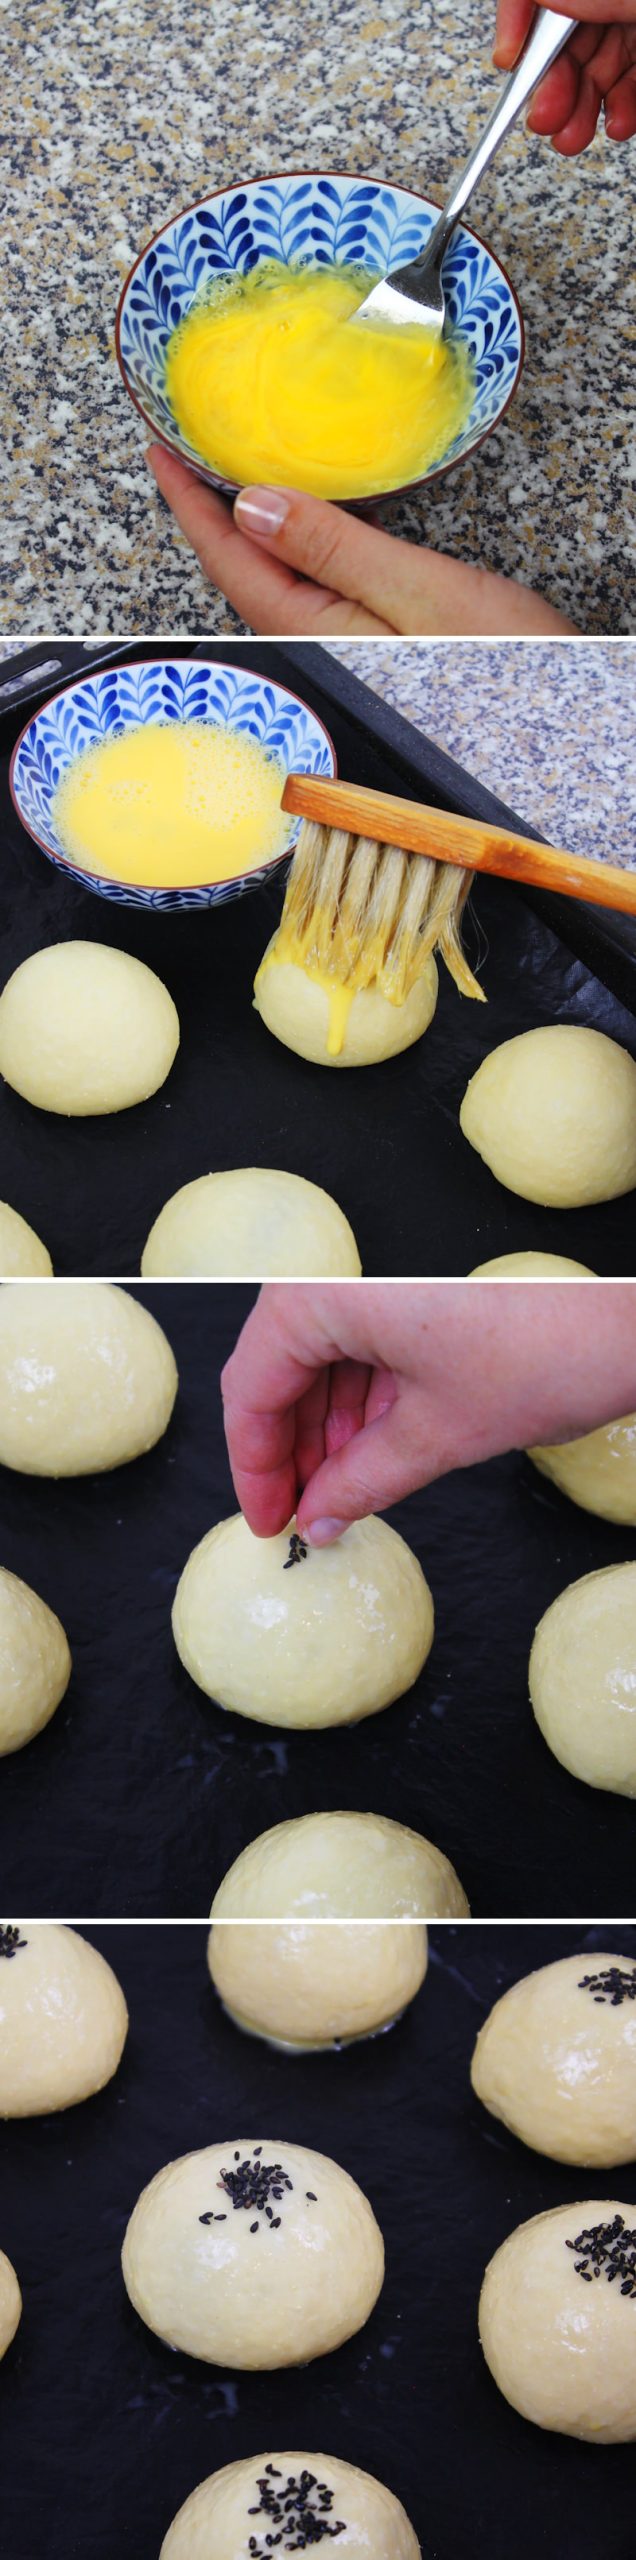
The raw anpan are then placed on a baking tray, brushed with an egg and water mixture and sprinkled with black sesame seeds. After a further resting period of 30 minutes, they are baked at 180°C (fan oven) for 13–15 minutes until lightly browned.
Anpan are best served slightly warm. To store them, you can keep them in the fridge or freeze them and reheat them briefly in the oven when needed.
Anpan may seem simple at first glance, but it certainly requires patience and precision. But the effort is well worth it. Once you’ve perfected this recipe, you’ll never want to buy shop-bought sweet bean buns again. So, what are you waiting for? Embark on the delicious journey of making anpan and win the hearts of your loved ones in no time!
If you have any questions or suggestions, please feel free to use the comments section below the recipe 😊. Have fun and good luck making traditional Japanese anpan!
Anpan
Makes 8 | 120 minutes | 247 kcal
🖨️ Print PDF 📌 Save pinWondering what the secret is behind the popular Japanese anpan buns? Let yourself be tempted today by the sweet magic of red bean paste, nestled in fluffy yeast dough! This traditional pastry isn’t just a classic in Japanese bakeries, but can also become a highlight in your own kitchen. Immerse yourself in a recipe that perfectly combines flavour and tradition. Are you ready to bake perfect anpan with me?
Ingredients (makes 8)
For the yeast dough:
300 g flour (e.g. type 550 wheat flour)
50 g sugar
1 pinch salt
4 g yeast (here: dried yeast)
100 ml milk
35 g butter
1 egg
For the filling:
300 g firm Tsubu-an Anko (sweet red bean paste) > to the recipe
For the topping:
1 egg
3 tbsp water
2 tsp black sesame seeds (im Shop ansehen)
Useful tools:
Japanese Yukihiara saucepan
Preparation (2 hours)
Step 1
Prepare the raw materials for making anpan at home.
Tip: If you want to use homemade anko, it should already be cooked and, ideally, have been left to cool overnight (you can find the recipe for anko here).
Step 2
First, we’ll prepare the yeast dough: To do this, pour the milk into a small saucepan and add the butter . Heat both slowly and, as soon as the butter has melted, remove from the heat. Leave to cool briefly.
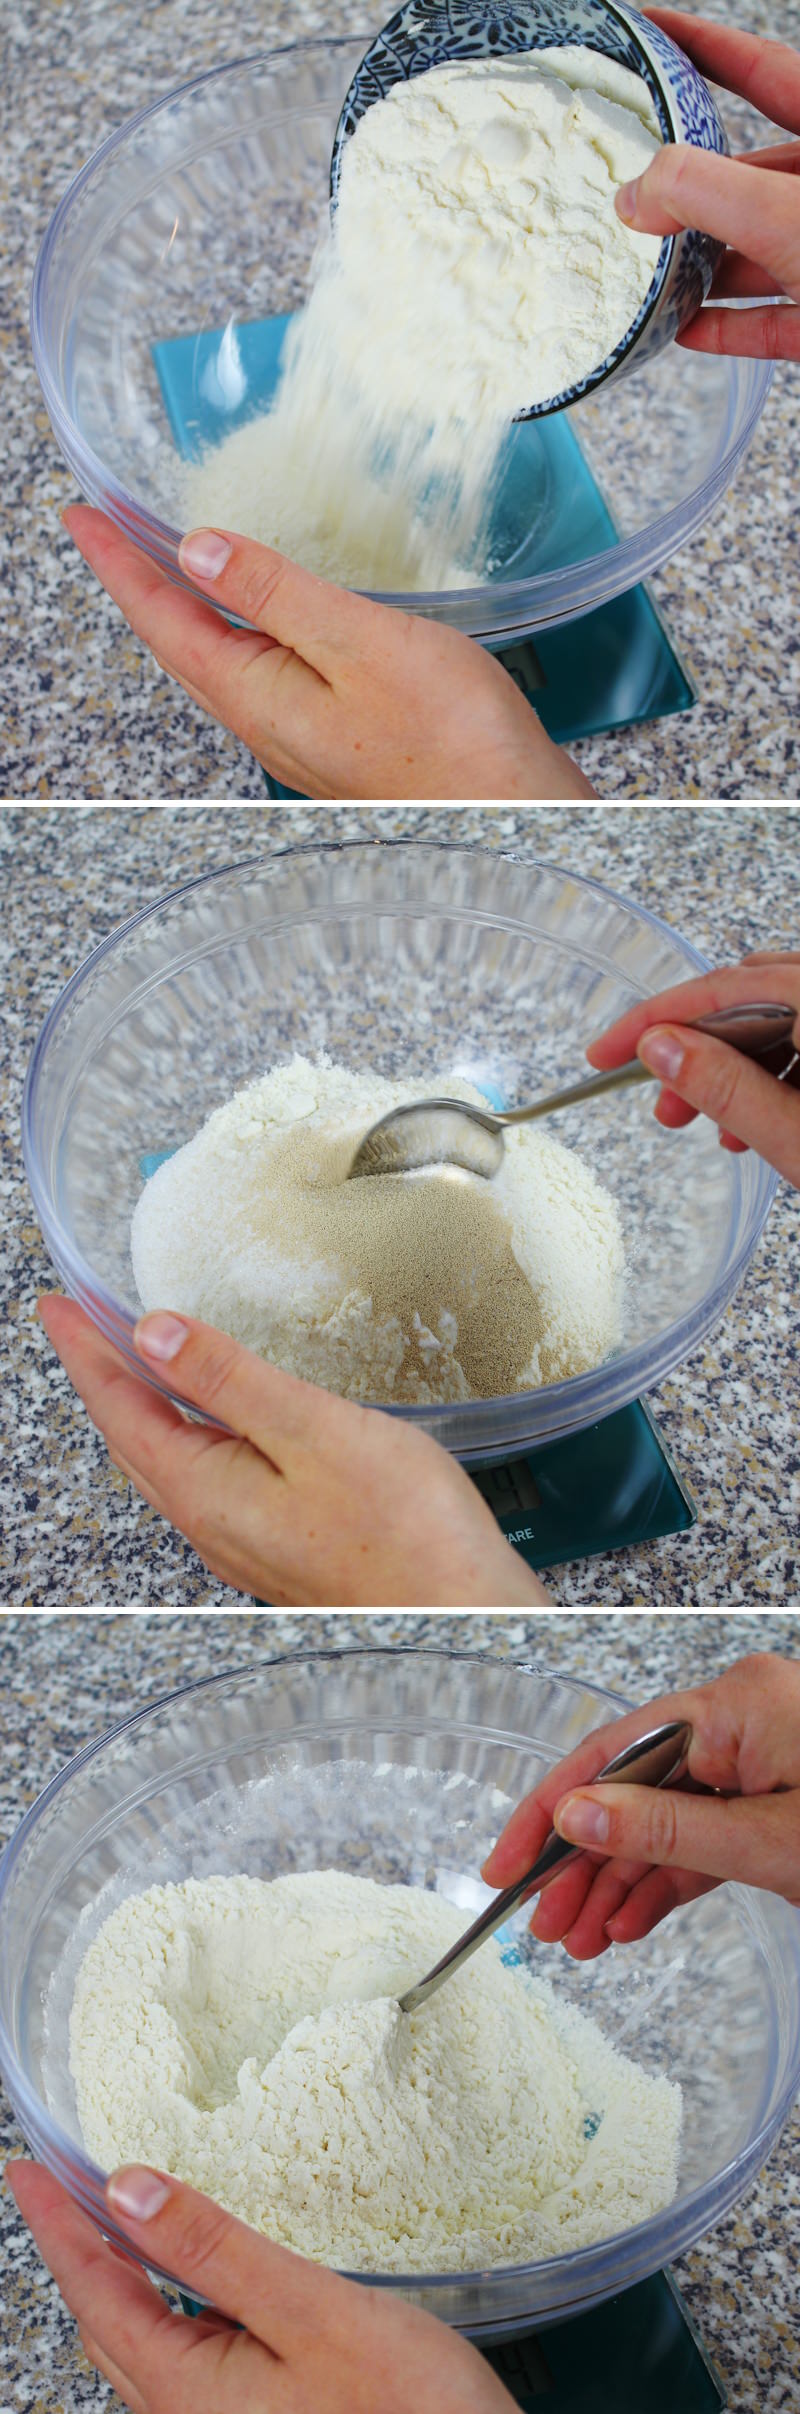
Step 3
Meanwhile, in a large bowl, add the flour, sugar, salt and dried yeast for the yeast dough and mix together with a spoon.
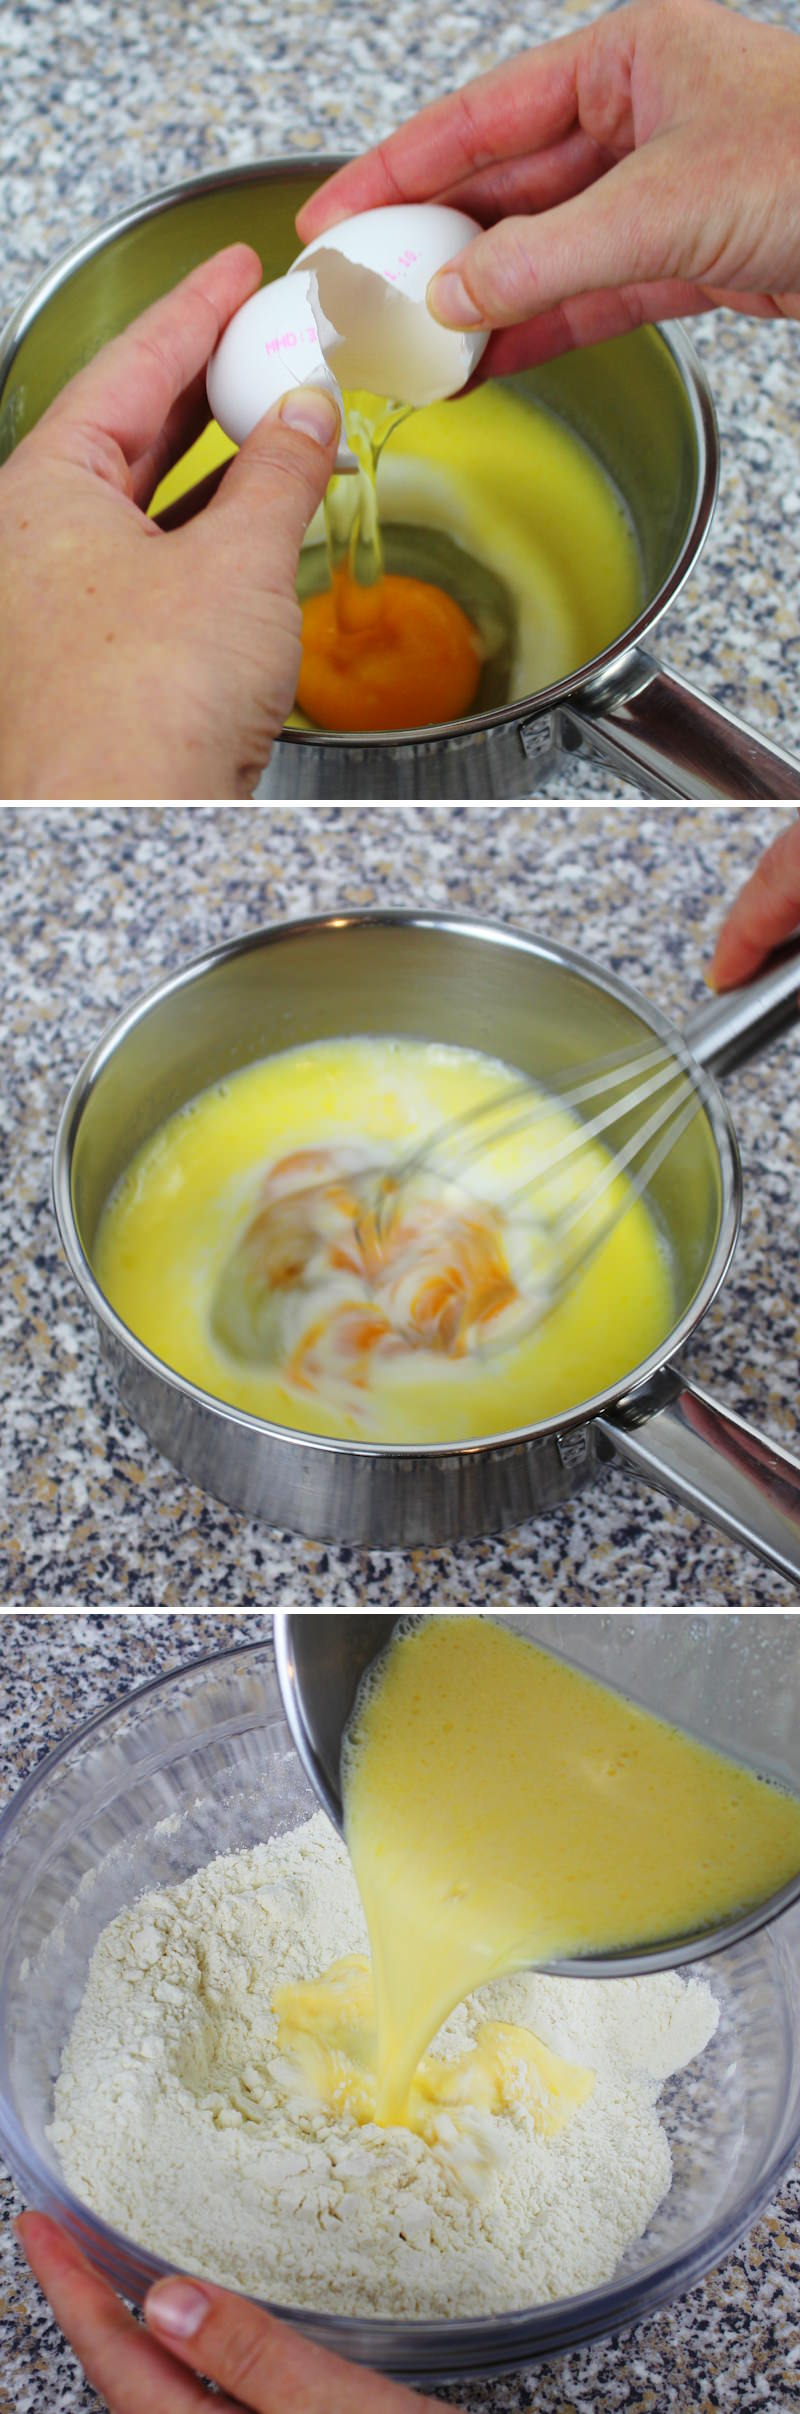
Step 4
Then crack the egg into the milk and butter mixture, whisk together and add to the bowl with the dry ingredients.
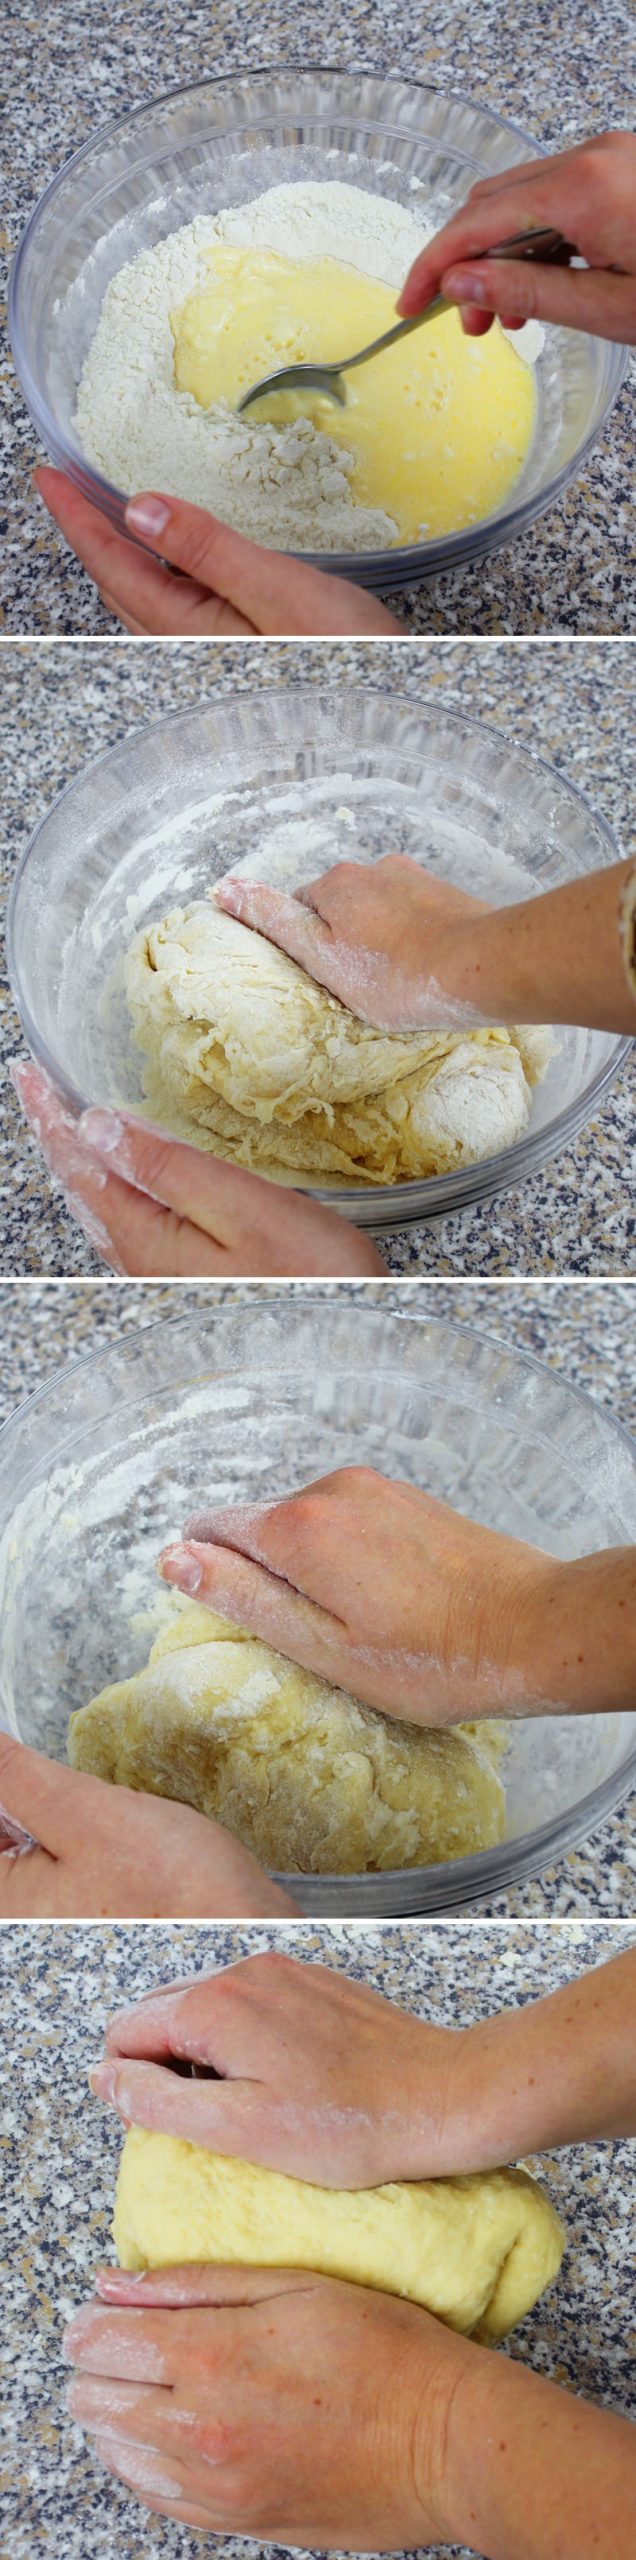
Step 5
First mix everything together with the spoon , then knead carefully and vigorously with your hands in the bowl and subsequently on a clean work surface until a smooth yeast dough forms (knead vigorously with the palms of your hands for about 5 minutes). If the dough sticks to your palms, gradually knead in some flour.
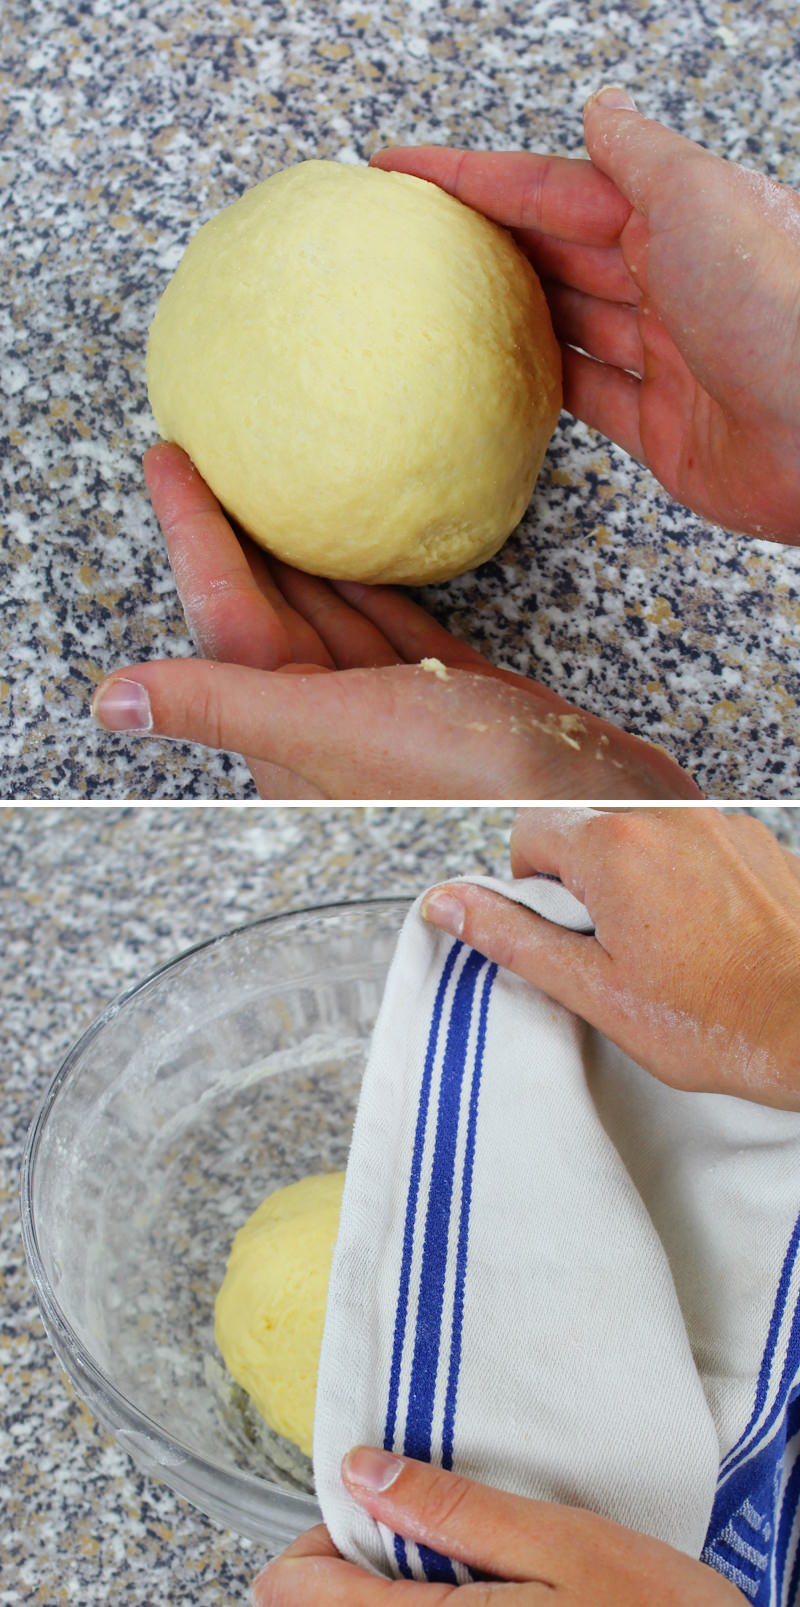
Step 6
Shape the dough into a ball and leave it to rise in the bowl for about 1 hour, or until it has doubled in size, covered with a slightly damp towel in a warm place.
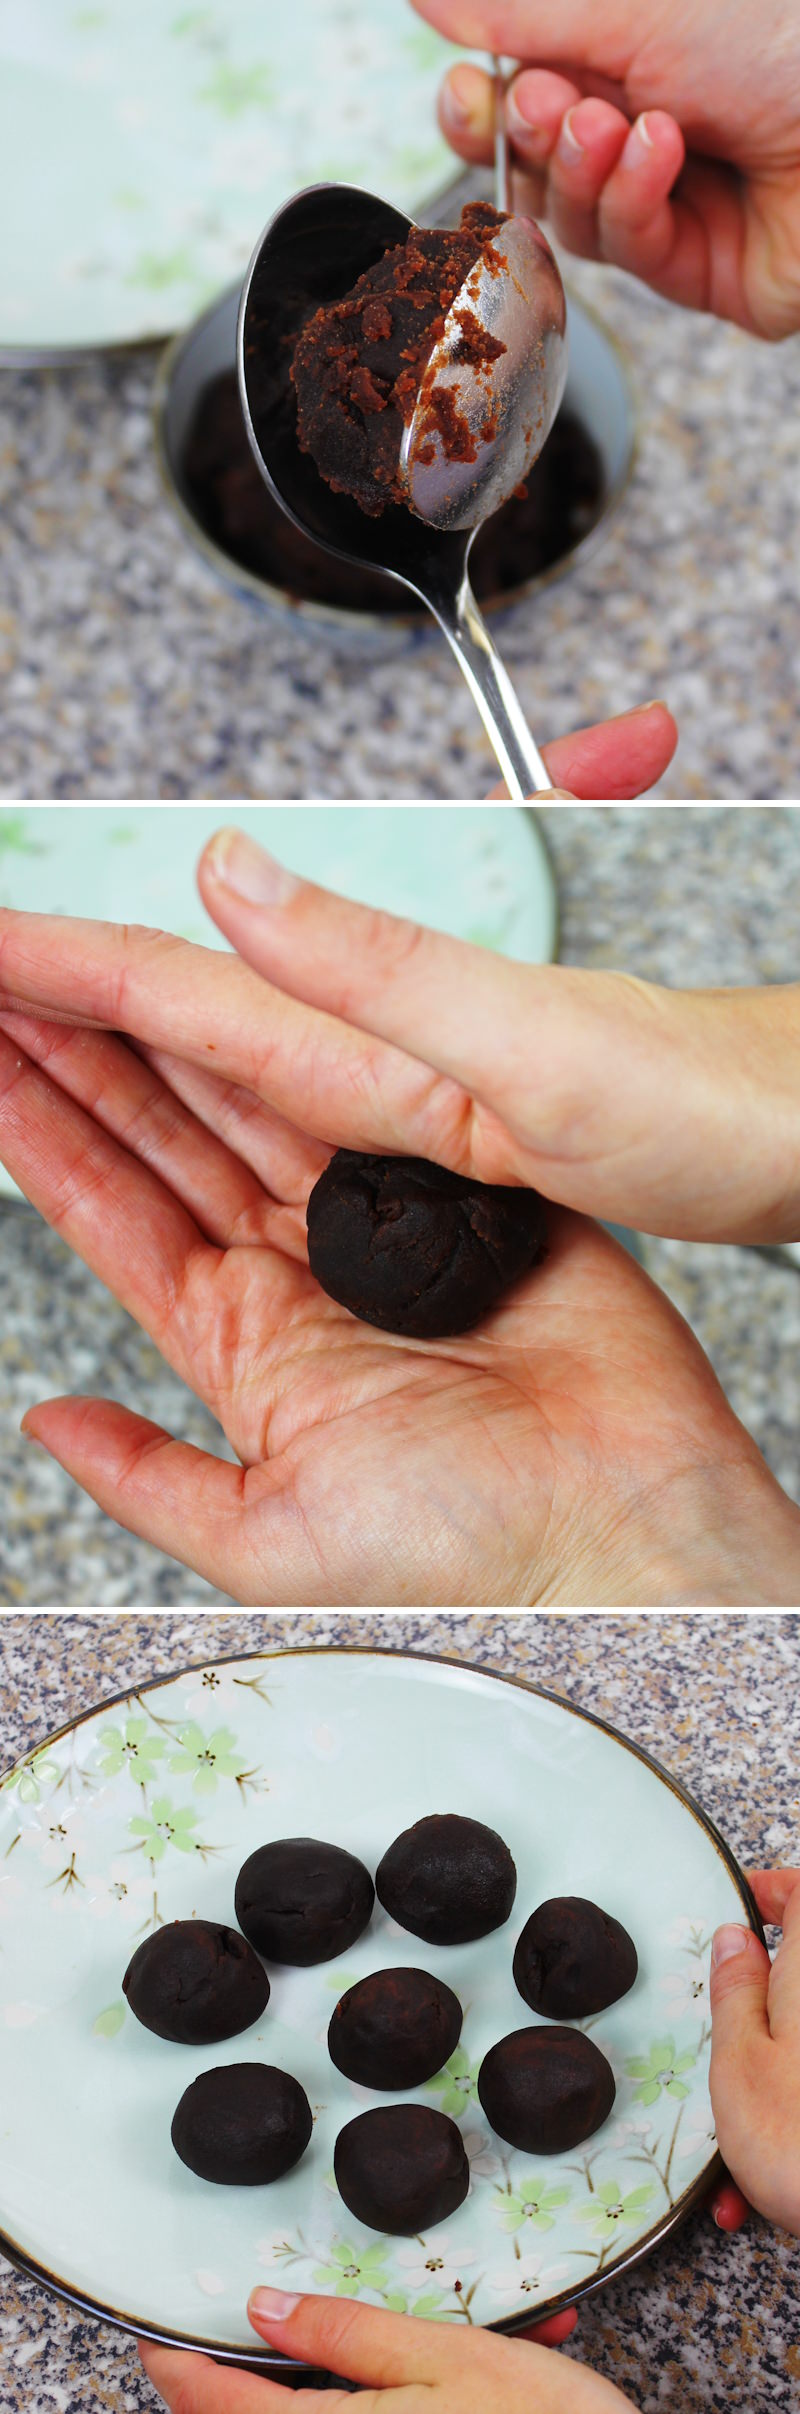
Passaggio 7
In the meantime, we’ll prepare the anko: To do this, take about 35–40 g of the bean paste and shape it into 8 round balls either between two spoons or in the palms of your clean hands. Set aside on a plate.
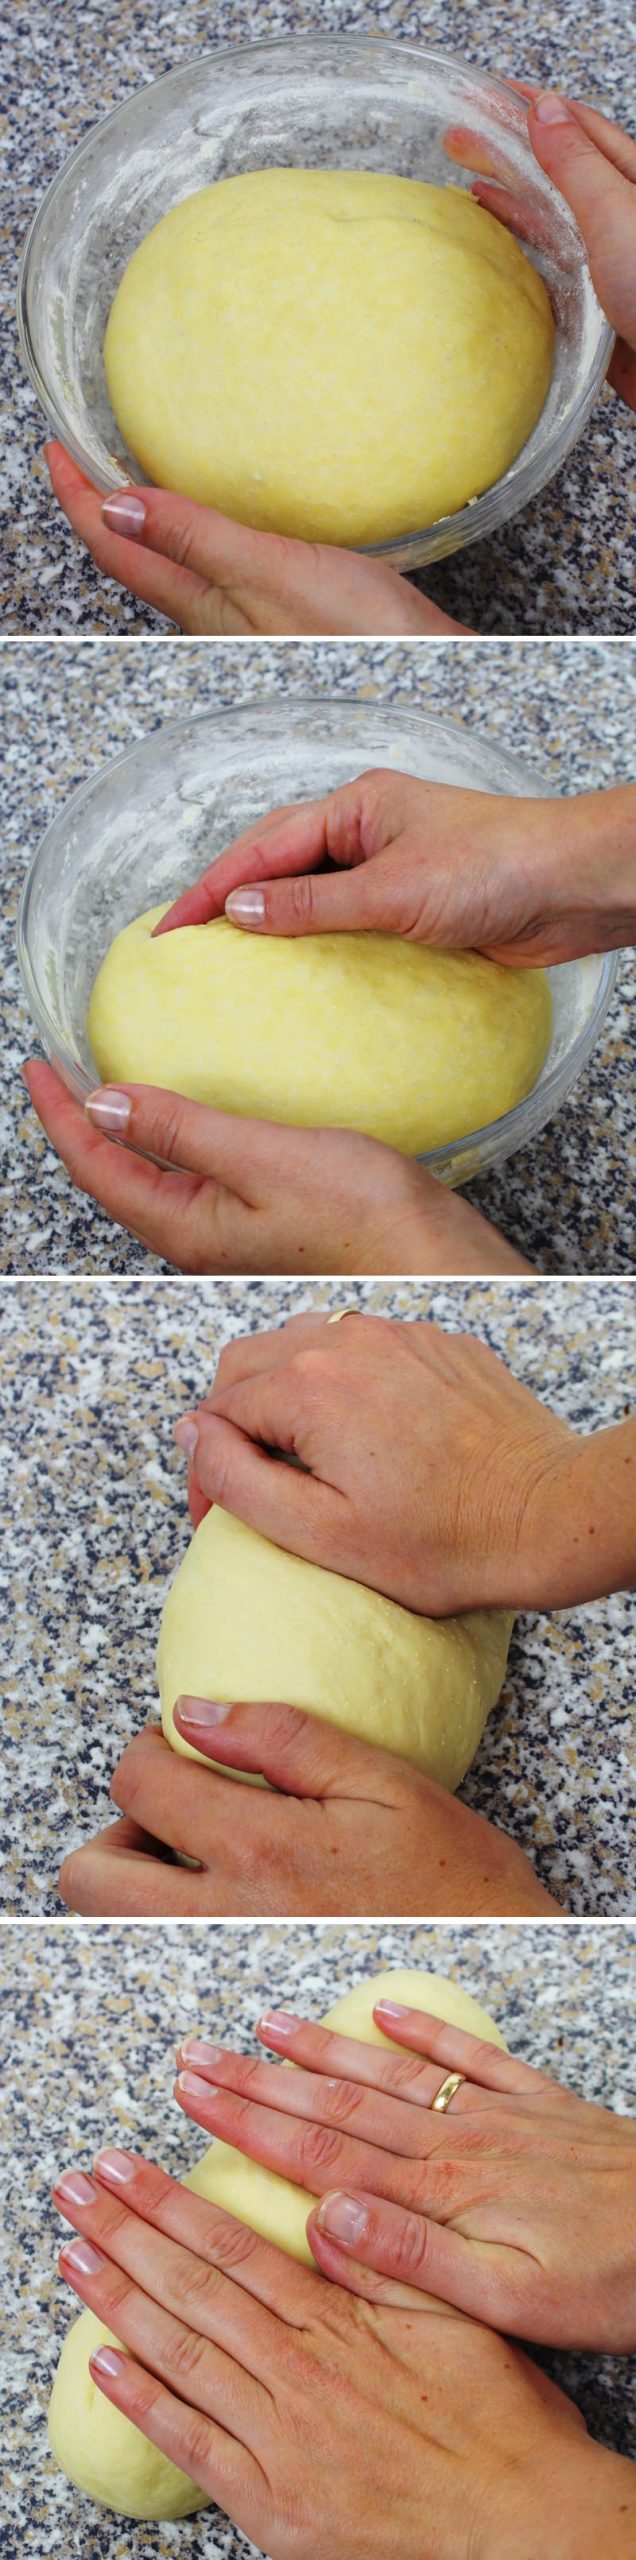
Step 8
Back to the yeast dough: Once the yeast dough has doubled in size, lift it out of the bowl and knead briefly. Then shape into an elongated roll.

Step 9
Now cut this dough into 8 equal pieces and shape into uniform balls. The best way to do this is to roll them into a ball between your palms and then smooth them out on the work surface.
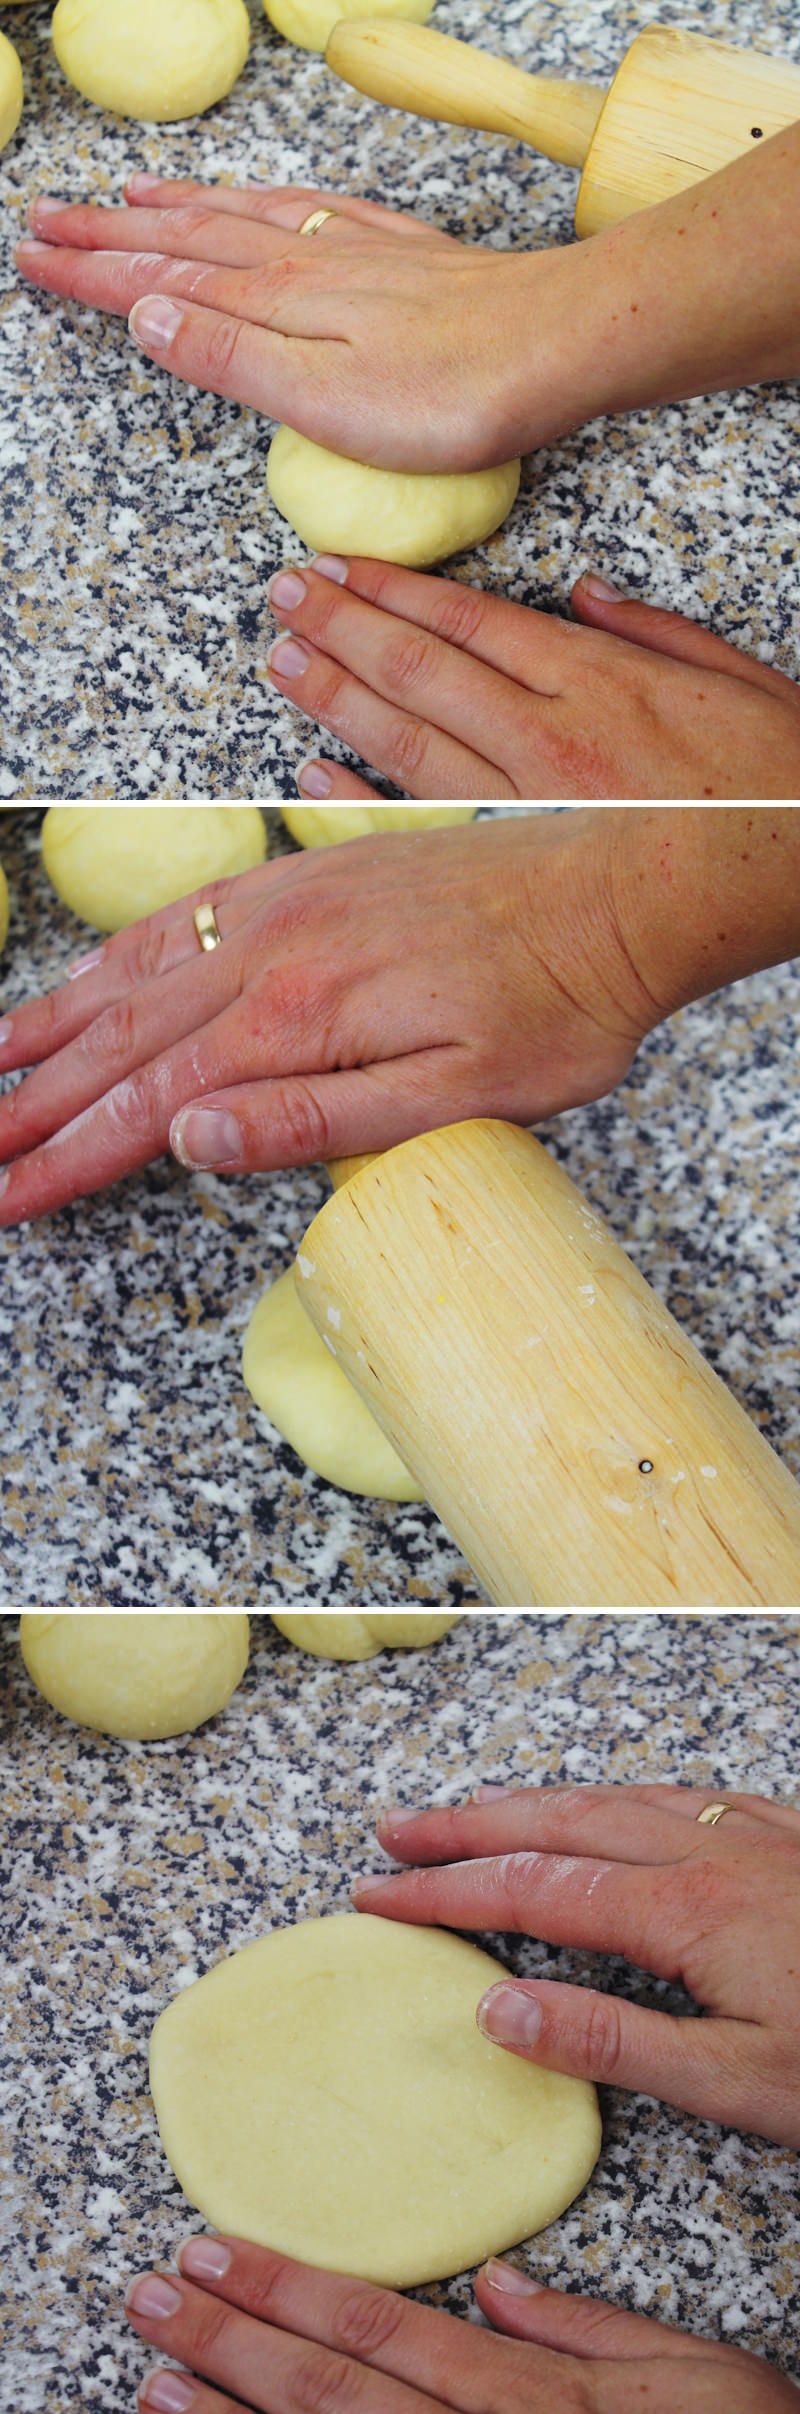
Step 10
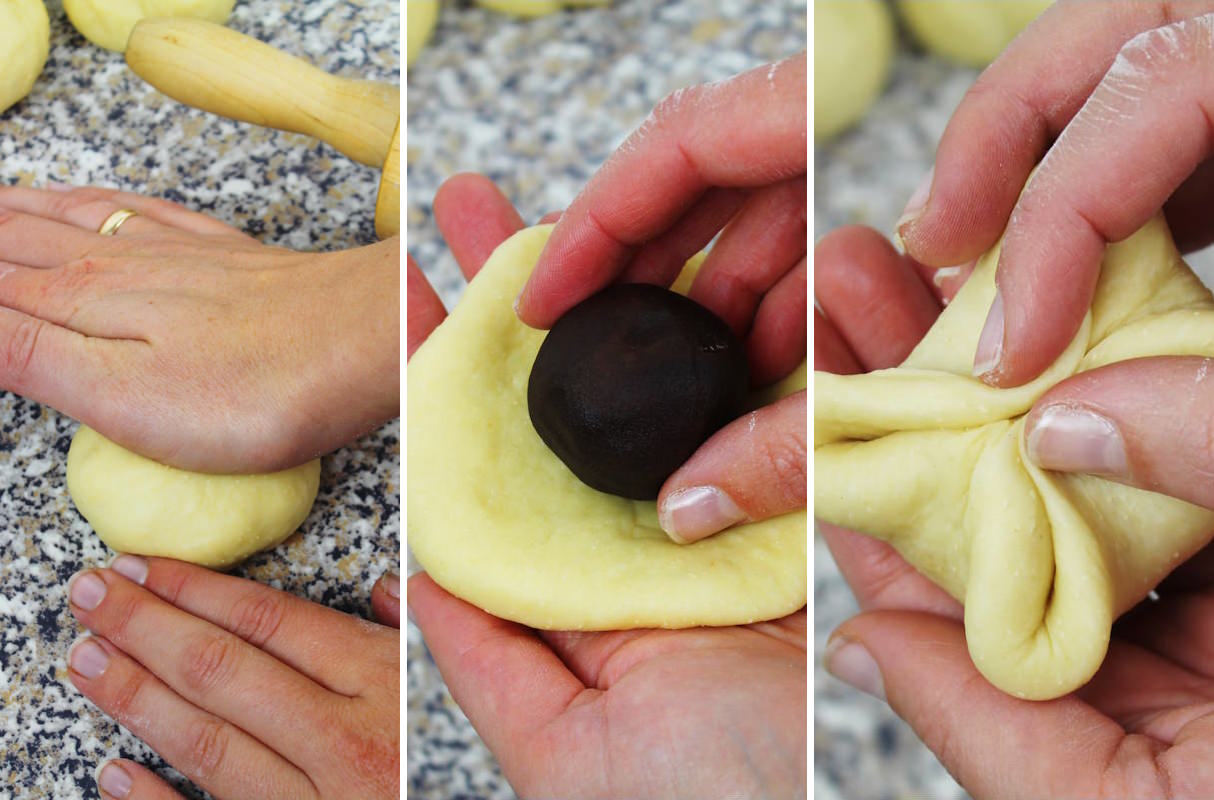
Gently flatten a ball of yeast dough on a clean work surface with the palm of your hand, then roll it out with a rolling pin into a circle (diameter approx. 10 centimetres) </ . Make sure the edge is nice and flat.
Step 11
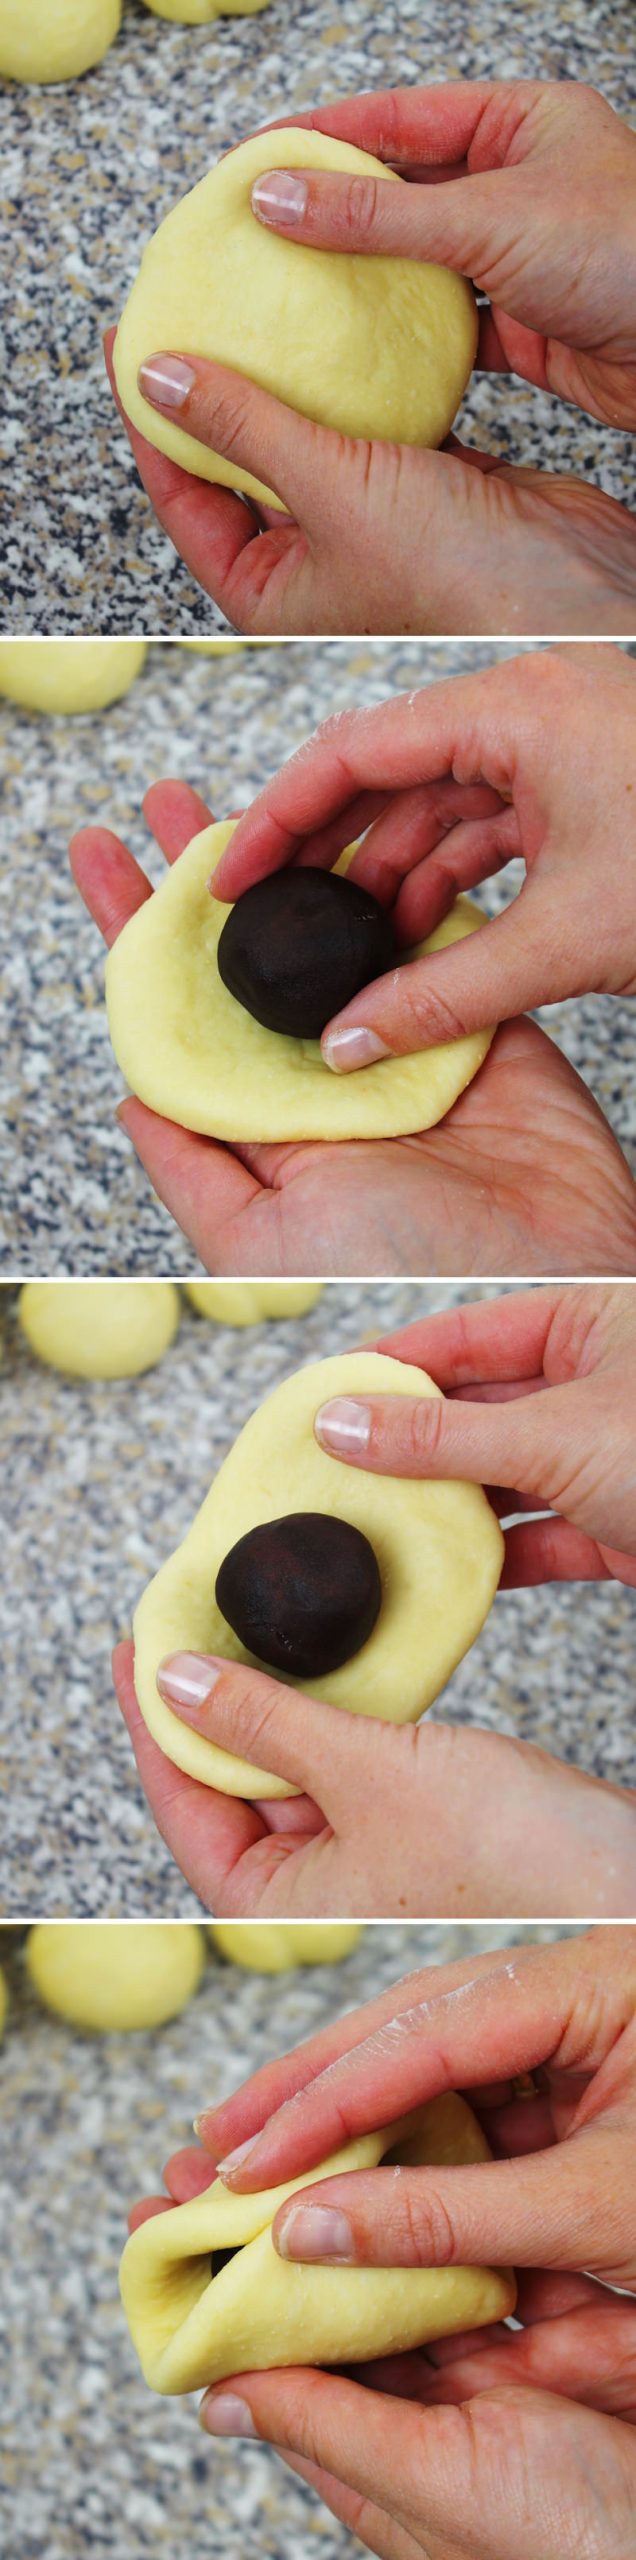
Stretch the dough disc out a little more with your hands and place a ball of anko bean paste in the centre.
Using your fingers, take two opposite sides of the dough edge and press both sides firmly together with your fingertips.
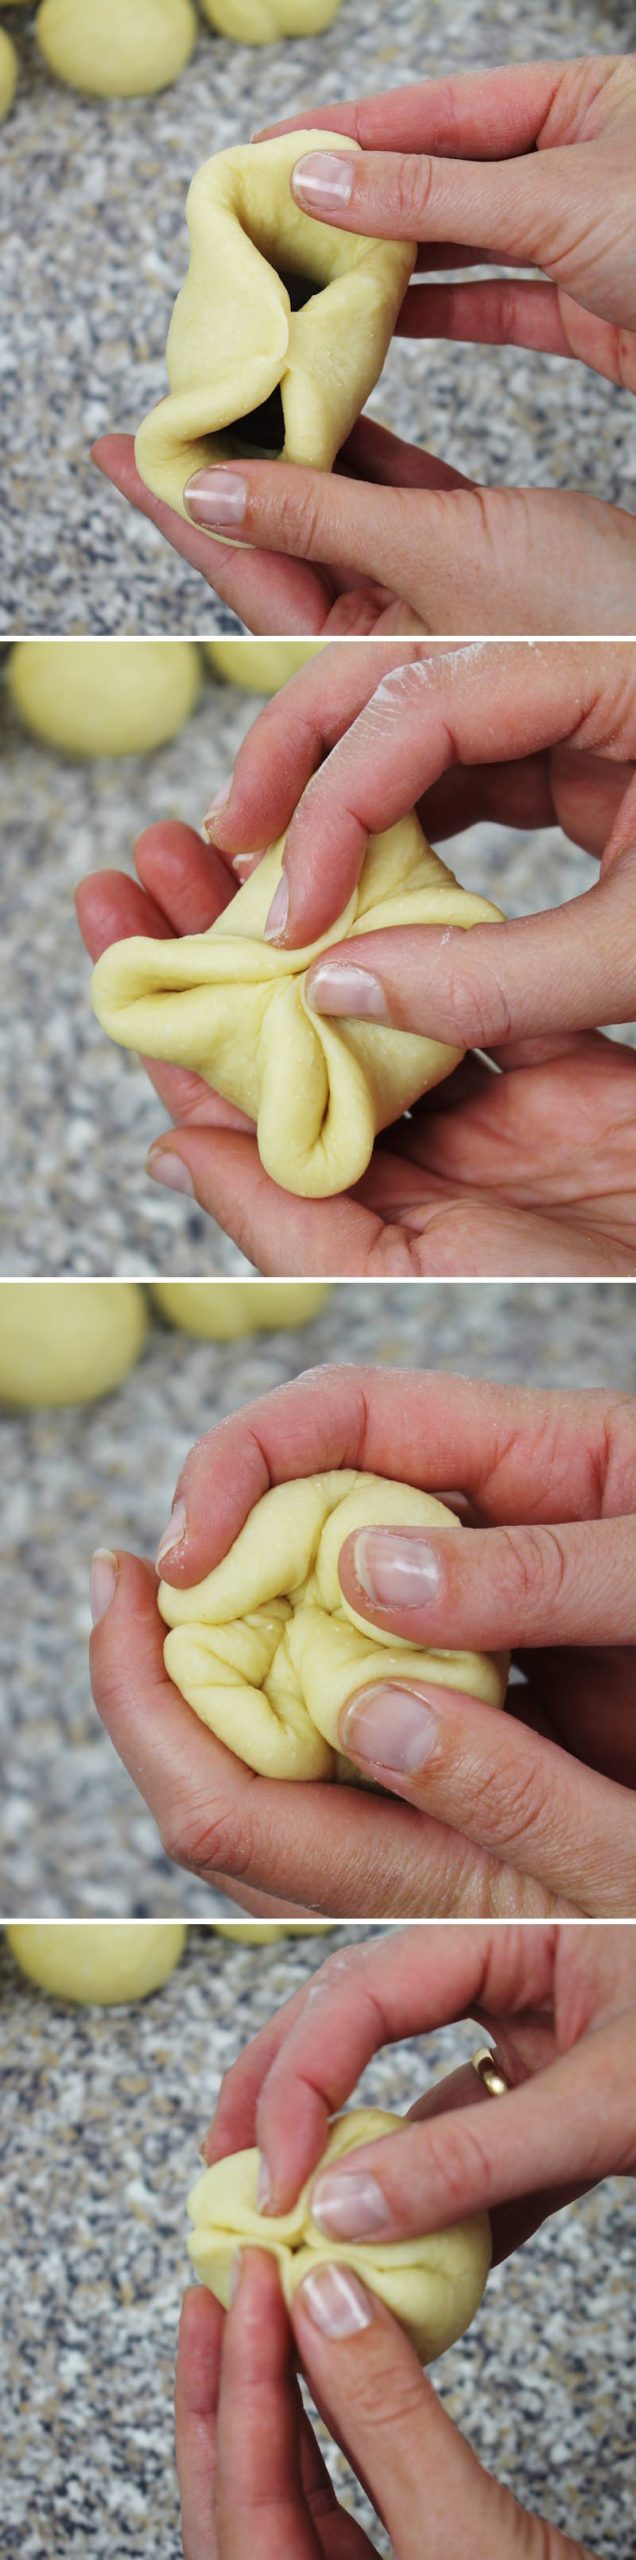
Step 12
Then bring the other two sides together in the middle and gradually seal the yeast dough tightly.
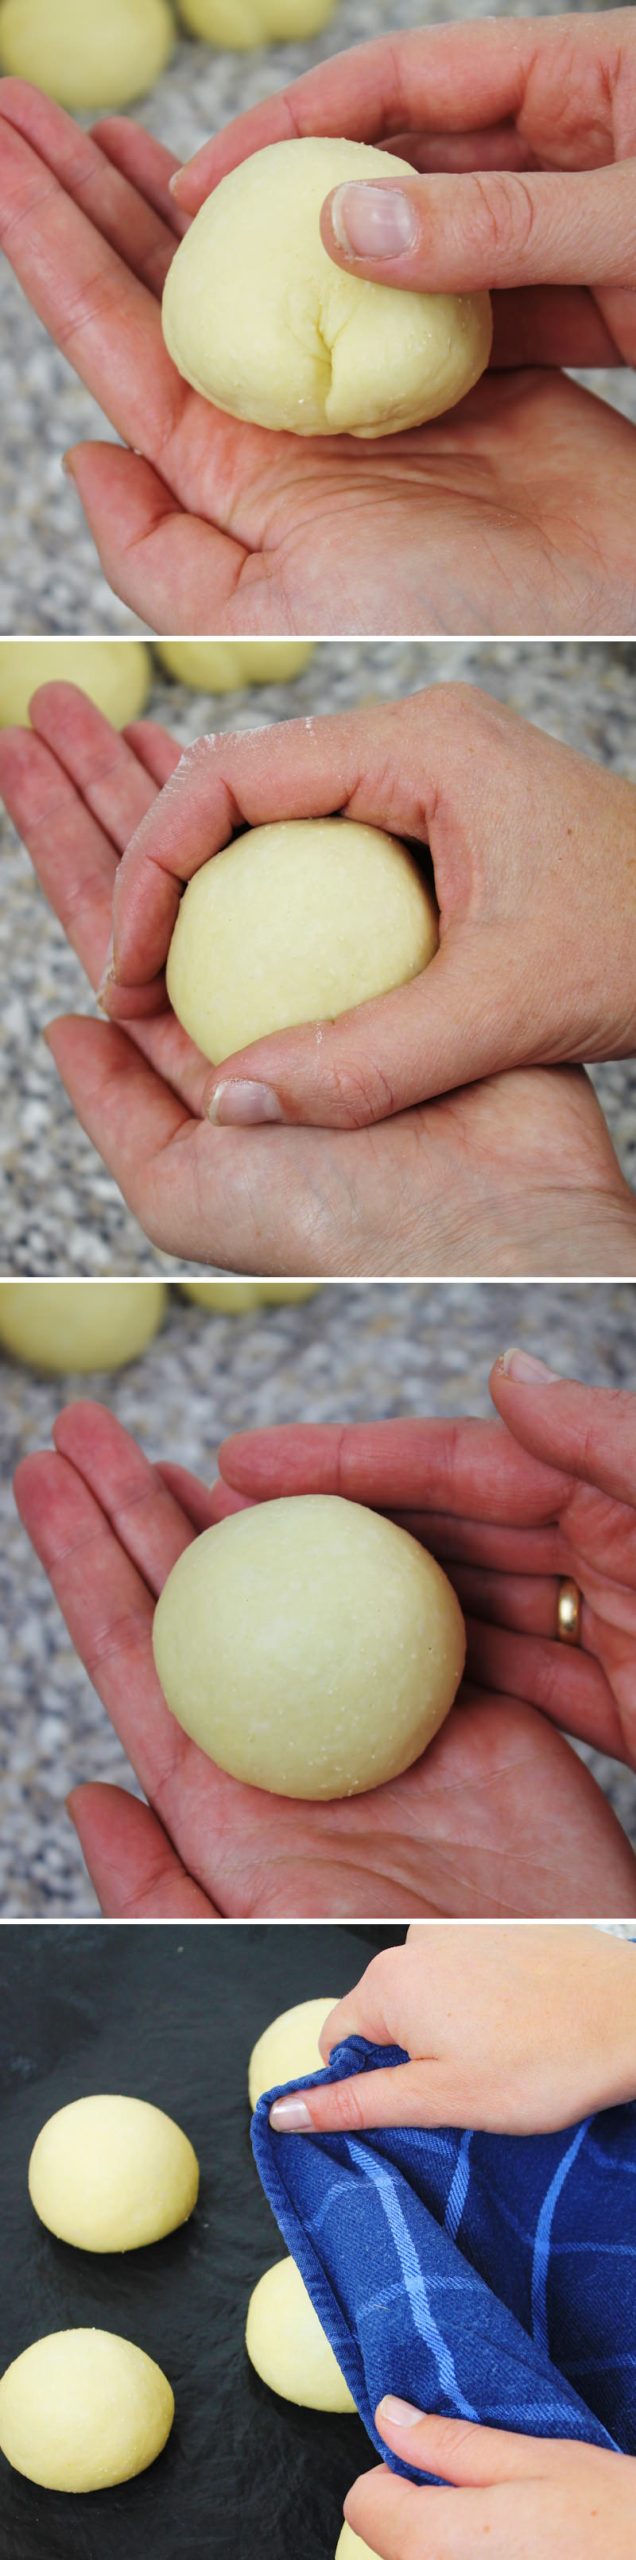
step 13
Shape them into nice round balls between your palms and place them, with the ‘seam’ facing downwards, on a baking tray lined with baking paper. Prepare all 8 rolls in this way and leave them to prove, covered, in a warm place for 30 minutes.
Step 14
After 15 minutes, for the topping, whisk the egg with the water in a small bowl. Brush each bun with this mixture using a pastry brush. Then garnish each anpan with a little black sesame.
Also preheat the oven to 180°C (fan-assisted) .

Step 15
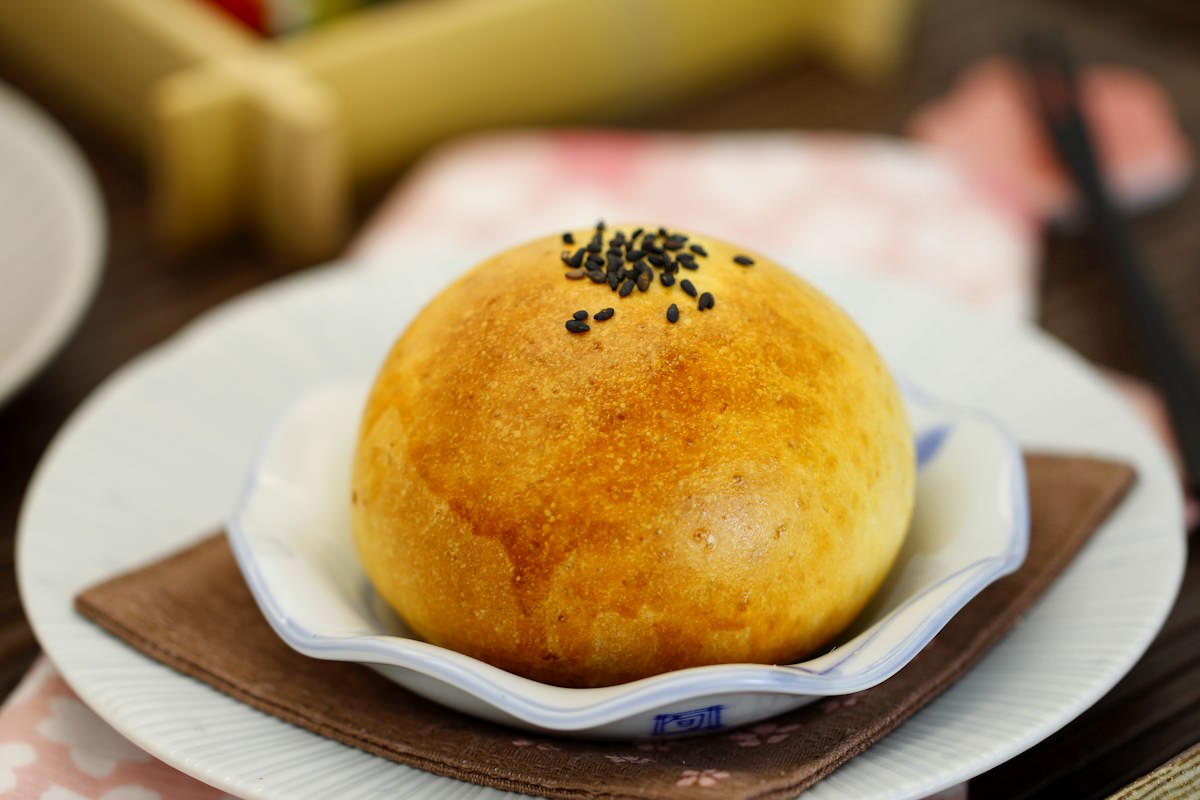
After the proofing stage, place the Anpan in the oven and bake for 13–15 minutes until the buns are lightly browned.
Step 16
After baking, leave the anpan to cool on a wire rack, but feel free to serve them fresh (slightly warm) . That’s when they taste best! Done – Itadakimasu!
Tip: Once the anpan have cooled completely, place them in an airtight container or bag and store in the fridge for up to 3 days or freeze for up to a month. Then defrost and bake briefly in the oven at 180ºC until crispy on the outside.
Of course, there are plenty of other dishes that go really well with this recipe for the whole family! Here you’ll find my favourite recipe ideas from Japan:
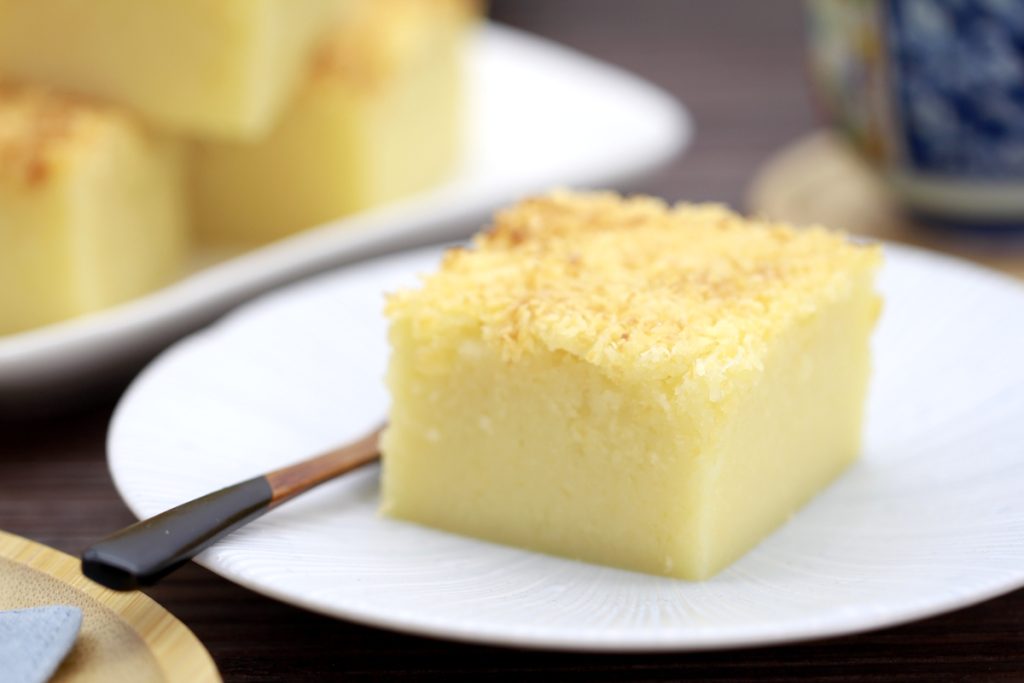
Butter Mochi (Hawaiian Mochi Cake)
Butter Mochi ist eines dieser Rezepte, die man nur schwer in eine Schublade stecken kann. Es sieht aus wie ein…
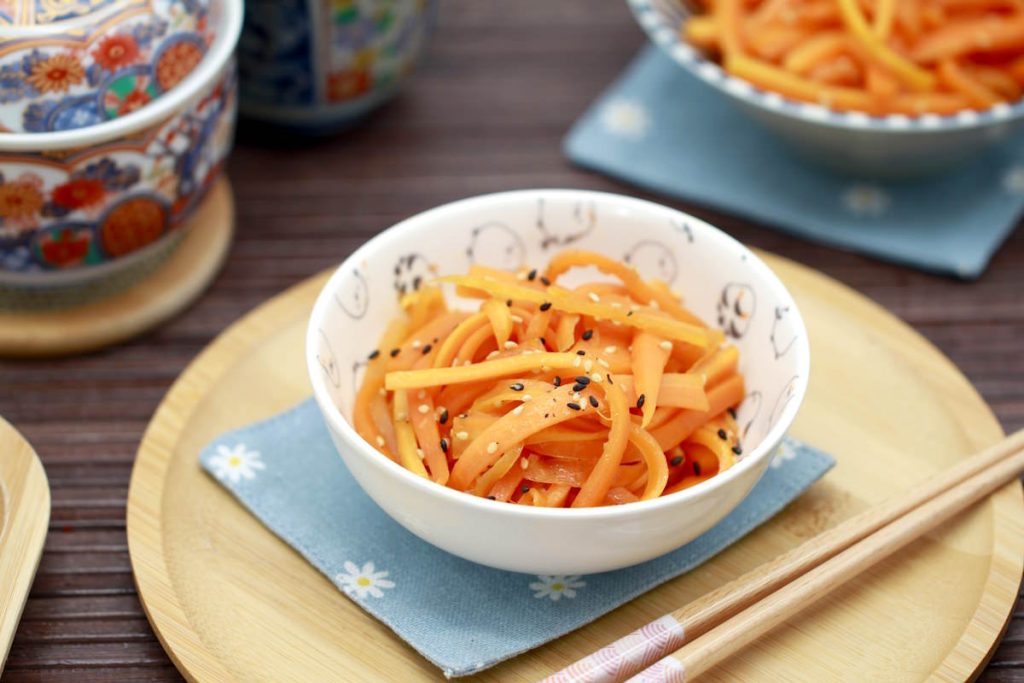
Make your own Ninjin no Kinpira: Japanese carrot side dish in the Kinpira style
Ninjin no Kinpira is a simple Japanese side dish made from finely sliced carrots that are briefly stir-fried and then…
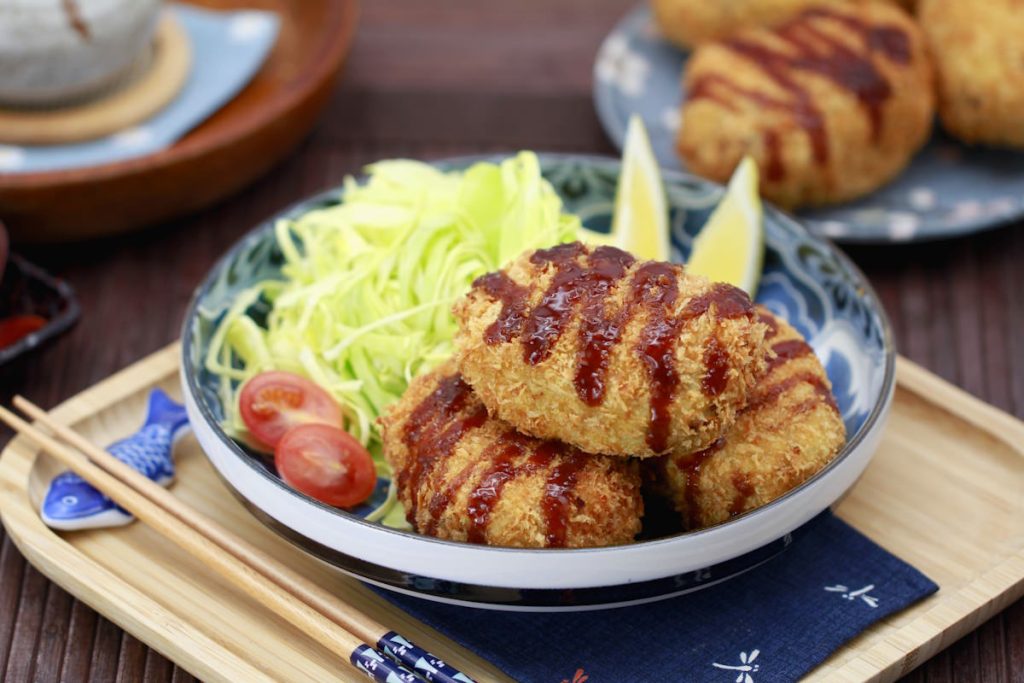
Korokke: Make your own Japanese croquettes | delicious street food from Japan
Korokke are among the best-known everyday fried dishes in Japanese cuisine. They combine simple ingredients with a straightforward technique and…
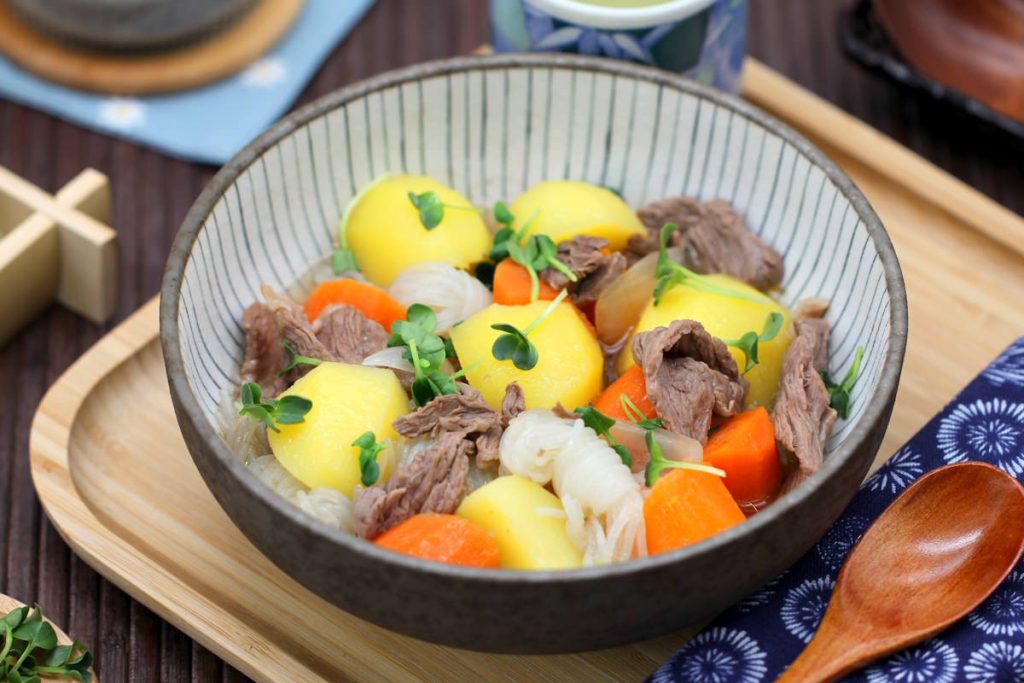
Nikujaga: Japanese potato and beef stew | Recipe for everyday cooking
I ate Nikujaga for the first time at my host family’s house in Fukui. It wasn’t a special occasion, just…

Make your own Omurice: Japanese omelette with ketchup rice & vegetables | delicious Omuraisu
Omuraisu is one of those dishes that brings an instant smile to almost every Japanese person’s face. A light, fluffy…
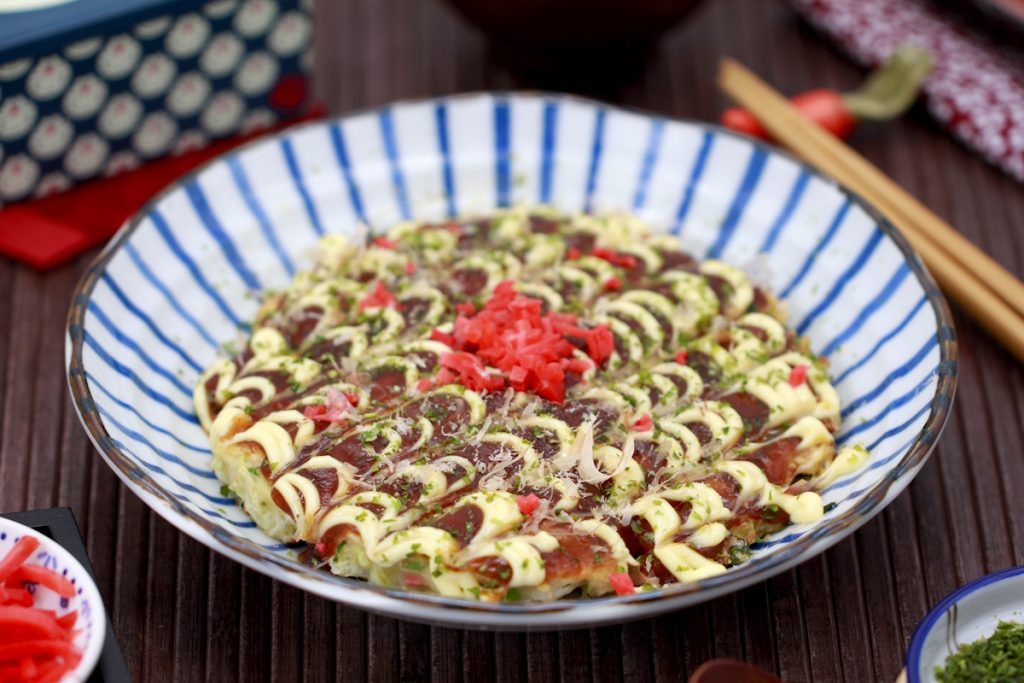
Make the best Okonomiyaki yourself: Basic recipe for Japanese cabbage pancakes, Osaka-style
For me, Okonomiyaki is one of those dishes that instantly puts me in a good mood. A hearty pancake, lots…