

Language:


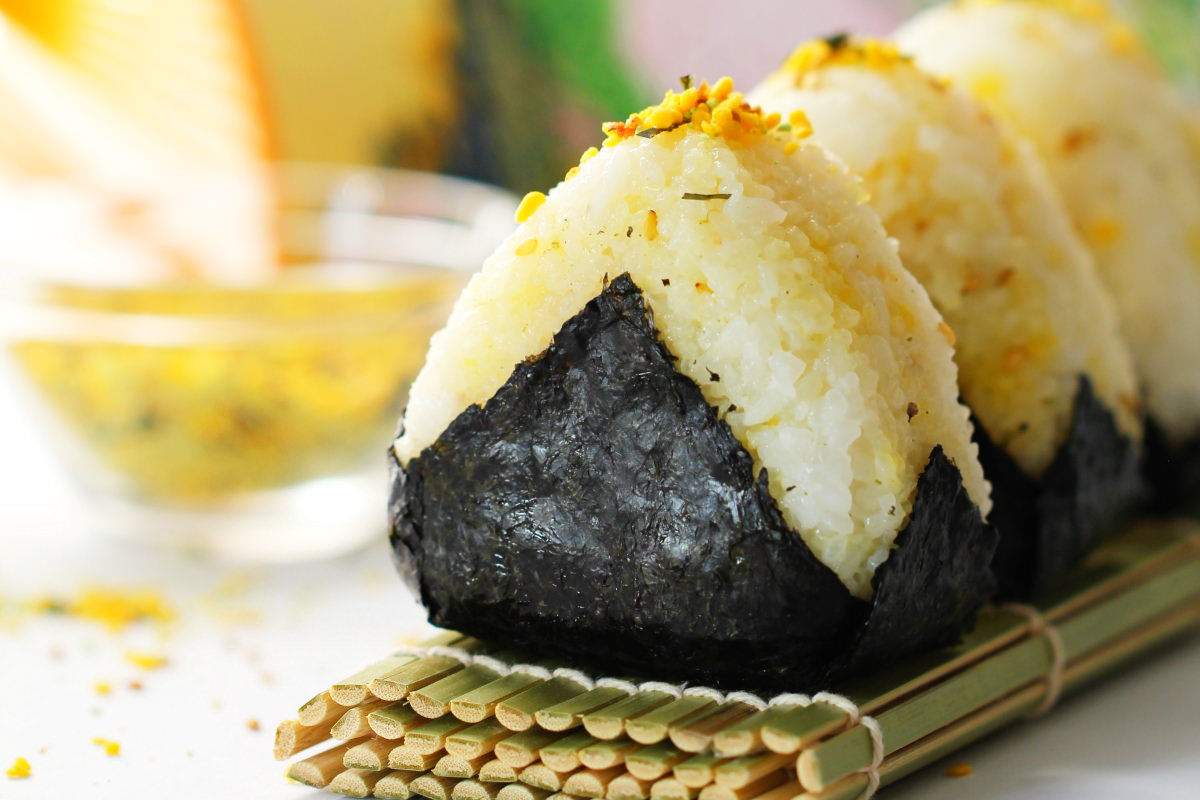
Onigiri with Furikake is one of the easiest recipes for making your own Japanese rice balls with a delicious filling. With these instructions, you can whip up your own onigiri from cooked rice in 30 minutes – they’re perfect as a snack for on the go or as part of a Bento – they’re fresh, filling and typically Japanese!
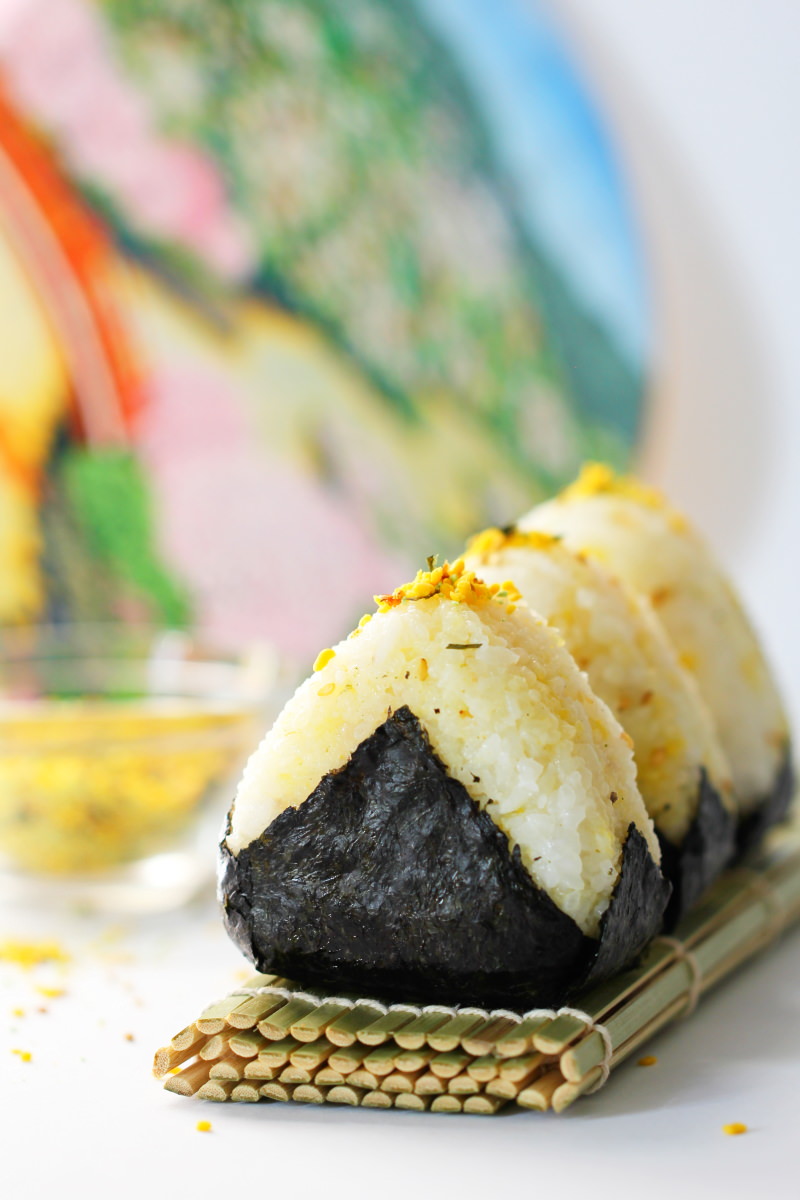
Onigiri are Japanese rice balls filled with various ingredients, such as tuna and mayonnaise salad or sour umeboshi plums, and wrapped in dried Nori seaweed sheets.
But it’s not just the filling of these Japanese rice triangles that can be chosen to suit your personal taste. You can also decorate their shape with lovely motifs, quirky designs and cute elements. There are really no limits to your imagination 🤩.
Well, sometimes you just need a simple basic recipe that quickly and easily conjures up the dish you want, don’t you? So if you’re looking for a lovely, tasty guide to making Japanese rice balls, you’ve come to the right place!
TOP RECOMMENDATION
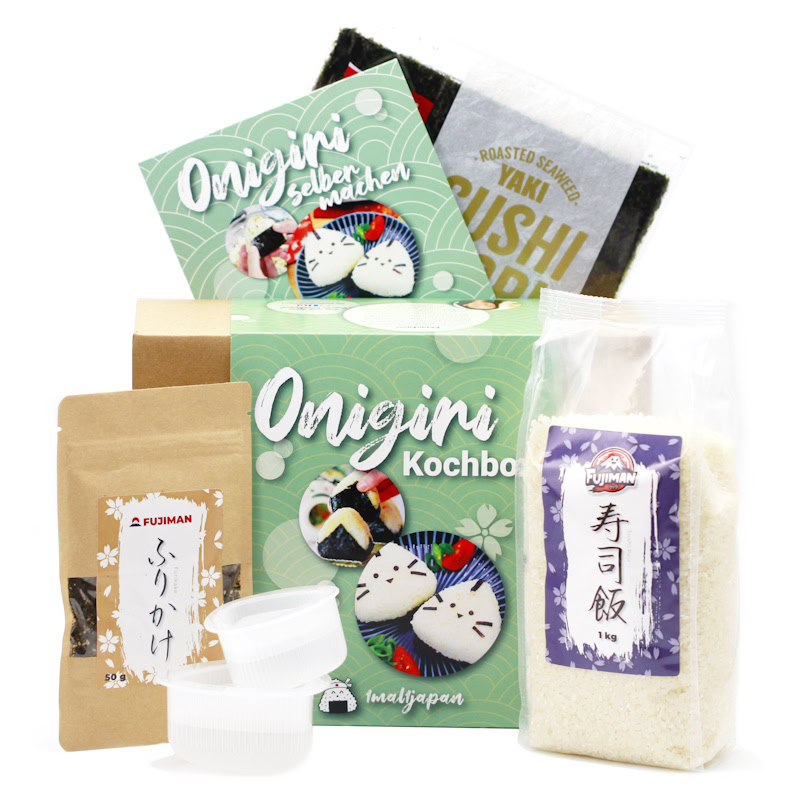
Onigiri Kochbox | Reisbällchen selber machen
5-tlg. DIY Set, inkl. 3 Rezeptideen für japanische Reisdreiecke | vegan, Geschenkidee für Anime Fan. Mit dem Onigiri Kochset gelingen dir japanische Reisdreiecke ganz einfach…
In stock
Onigiri are usually filled with a fairly flavourful filling, as the rice ‘absorbs’ a lot of the flavour. If you use too little filling, or if it isn’t very flavourful, the Onigiri will quickly taste bland.
So today, we’re going to enhance the freshly cooked rice, made according to a Japanese recipe (click here for my guide to cooking rice in a saucepan), with a delicious, aromatic Furikake seasoning!
Furikake is a very special, typically Japanese seasoning mix for rice. The combination of, for example, toasted sesame seeds and delicate seaweed creates a crunchy, savoury mix perfect for authentic rice recipes!
By the way: Furikake rice seasoning is used by mixing it into the cooked rice by the tablespoon or sprinkling it on top.
Furikake was originally developed in the Japanese prefecture of Kumamoto to promote a balanced diet amongst the population – the very first form of furikake was actually called “Gohan no Tomo”, meaning “A friend for rice” 😊. True to this original intention, furikake remains a versatile seasoning designed to make Japanese rice even more delicious!
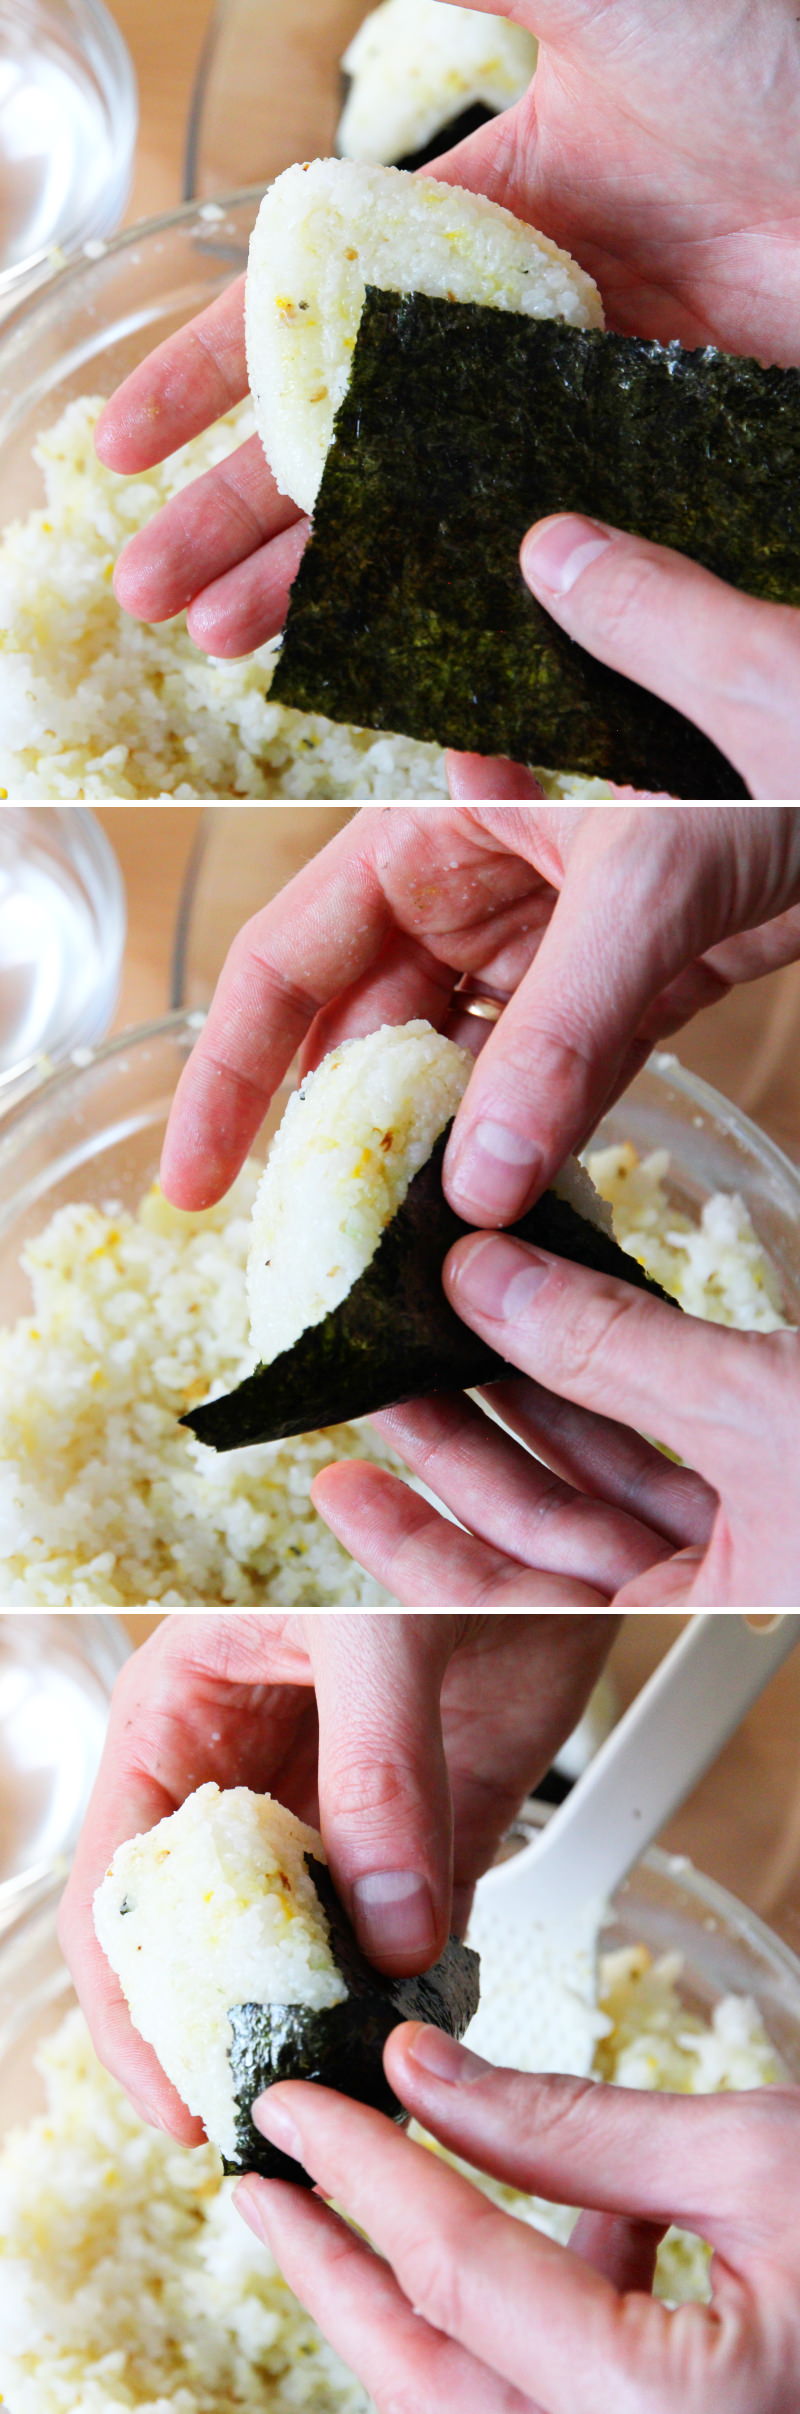
We’ll also need some crisp Nori seaweed sheets! For an average-sized rice ball, you’ll need a sheet of seaweed measuring about 8 cm – you can easily cut this to size from a standard Sushi Nori sheet (im Shop ansehen) using a pair of scissors. Then wrap the sheet around one of the three sides of the rice ball, and you’re done!
Tip: If the nori sheet doesn’t stick, moisten the loose area with a little water and press it down firmly for a moment!
And now I hope you have fun and good luck making your Onigiri with Furikake!
Onigiri with Furikake
Makes 6 | 30 minutes | 193 kcal
🖨️ Print PDF 📌 Save this pinOnigiri with Furikake is one of the easiest recipes for making your own Japanese rice balls with a delicious filling. With these instructions, you can whip up your own onigiri from cooked rice in just 30 minutes – they’re perfect as a snack for on the go or as part of a Bento box – they’re fresh, filling and typically Japanese!
Ingredients (for 6 large / 12 small rice balls)
600 g cooked rice (see recipe):
✔ 300 g loose rice (im Shop ansehen)*
✔ 300 ml water (fresh, cold tap water)
✔ 1 pinch salt
15–20 g Furikake (rice seasoning) (im Shop ansehen)*
3 sheets of Nori (im Shop ansehen)*
Useful utensils:
Onigiri mould – Rice mould set for triangular rice balls (im Shop ansehen)*
Preparation (30 minutes)
Step 1
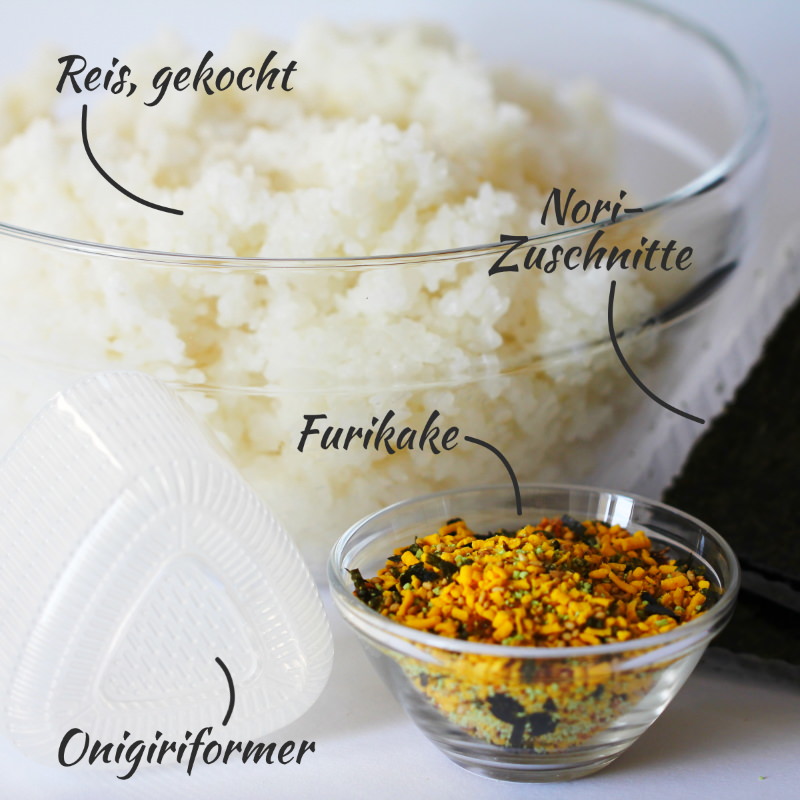
Prepare the ingredients for the onigiri with Furikake and get the rice ready (see the recipe here in a rice cooker or in a saucepan and leave to cool for 20 minutes).
Step 2
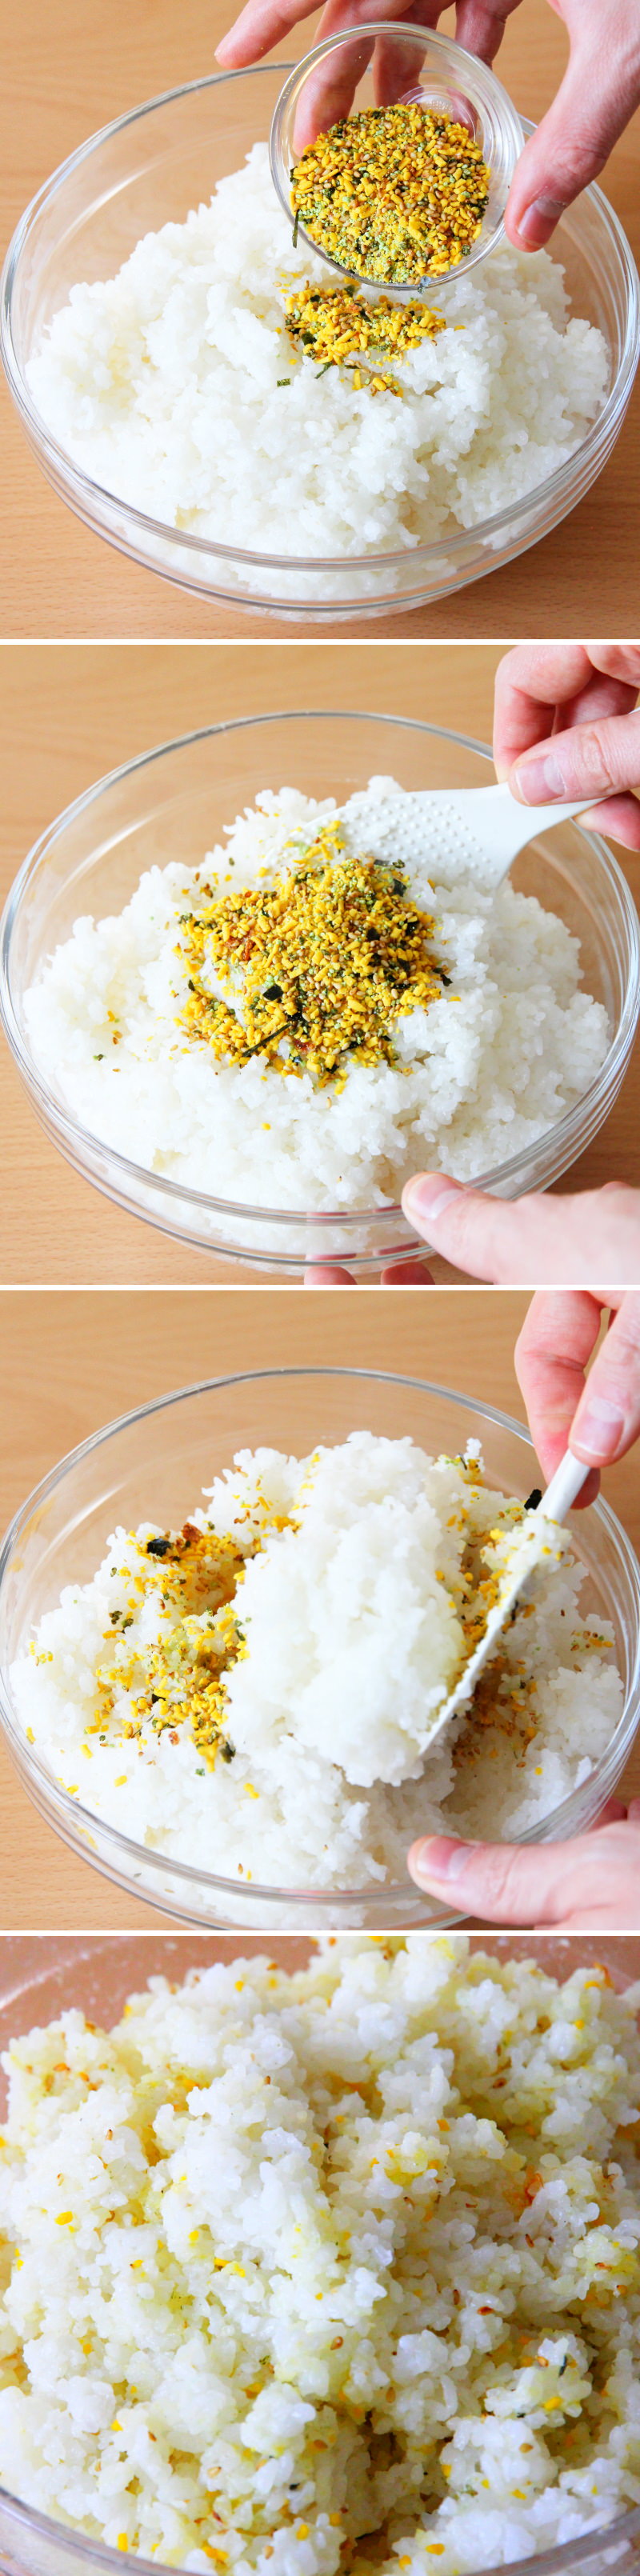
Mix the prepared rice thoroughly with the Furikake .
Step 3
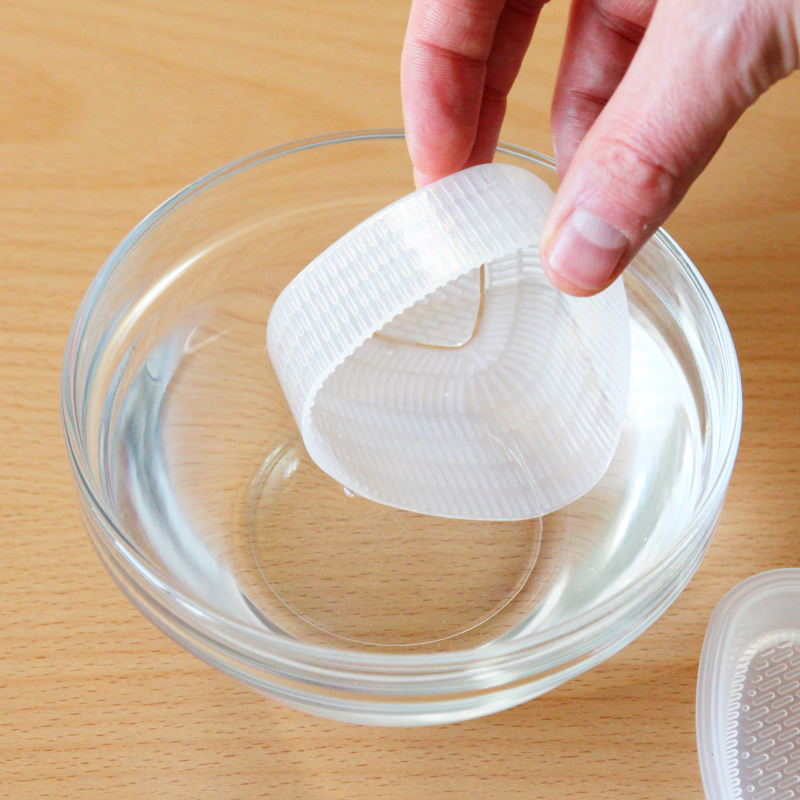
Fill a small bowl with lightly salted water and set it aside. To shape the rice balls, dip the onigiri mould (both the large and small sides) into the water and allow to drain briefly.
Step 4
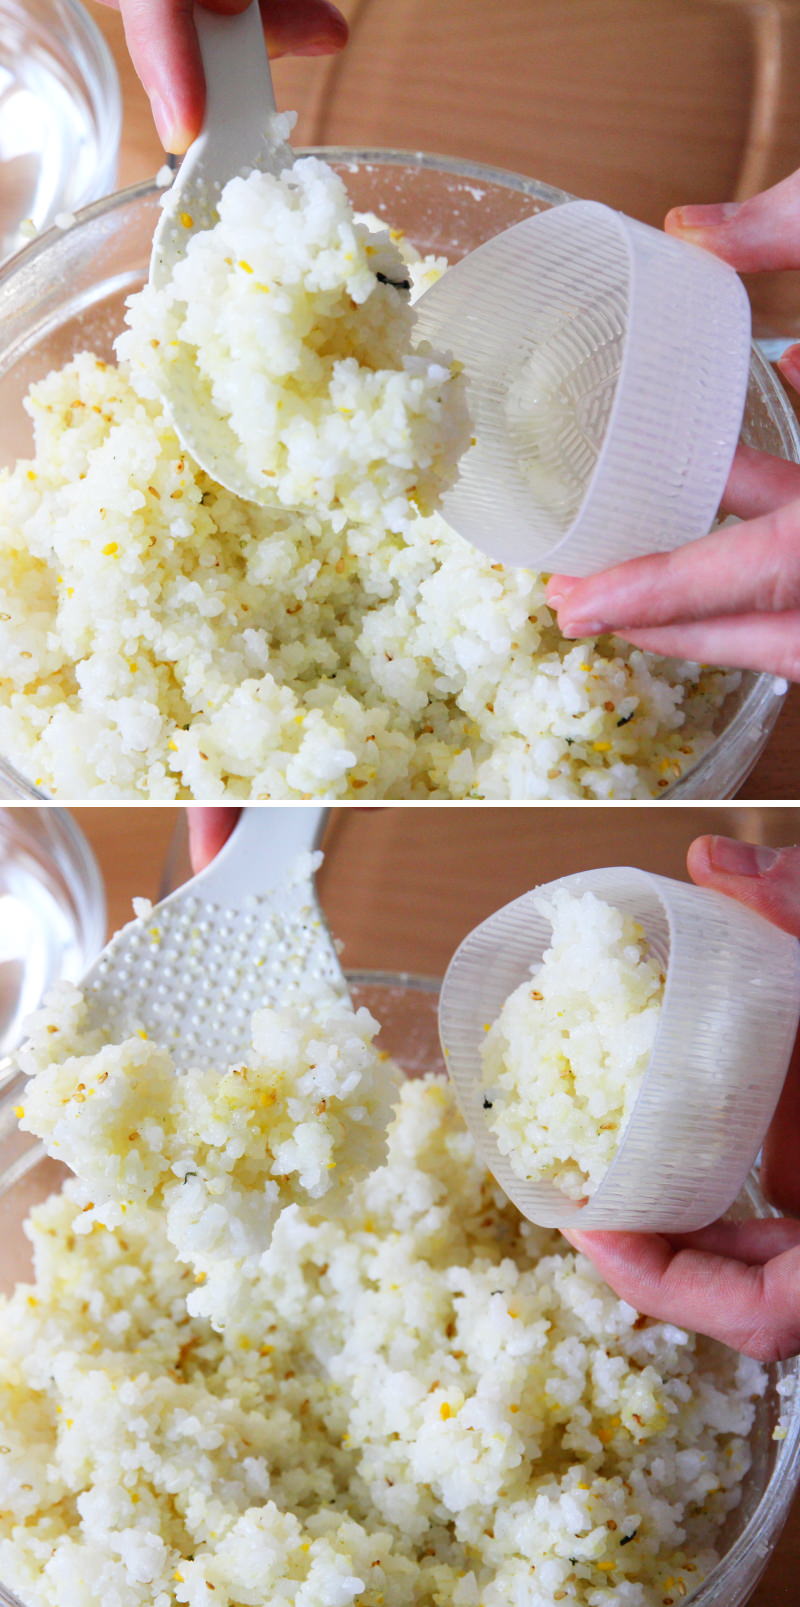
Fill the wide side of the onigiri mould with about 100g of the Furikake rice. Caution: Do not fill beyond the rim, otherwise it will spill out the sides.
Step 5
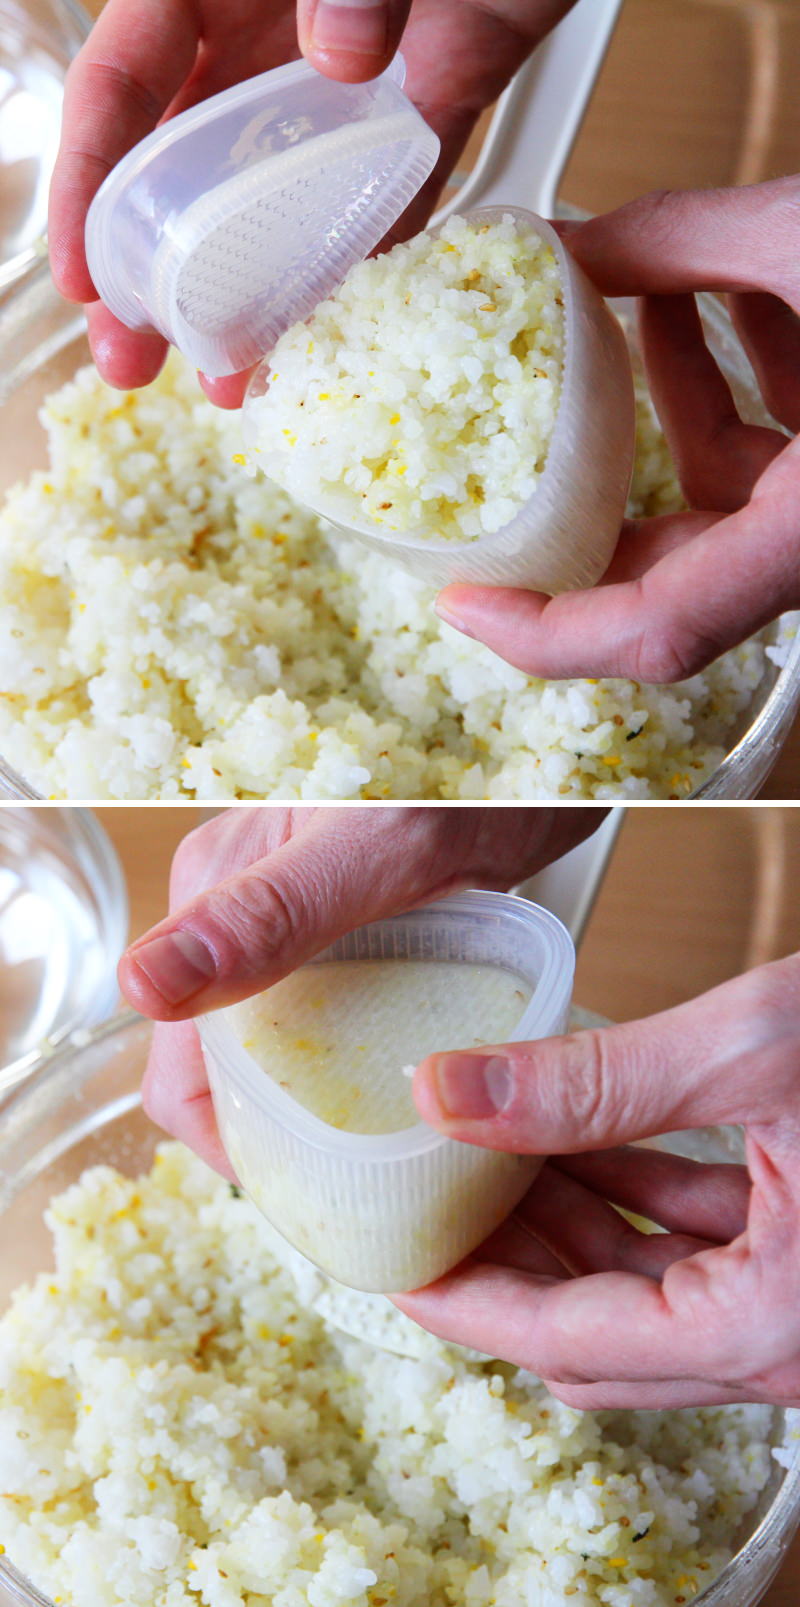
Now place the lid of the onigiri mould onto the rice and press both sides together gently.
Step 6
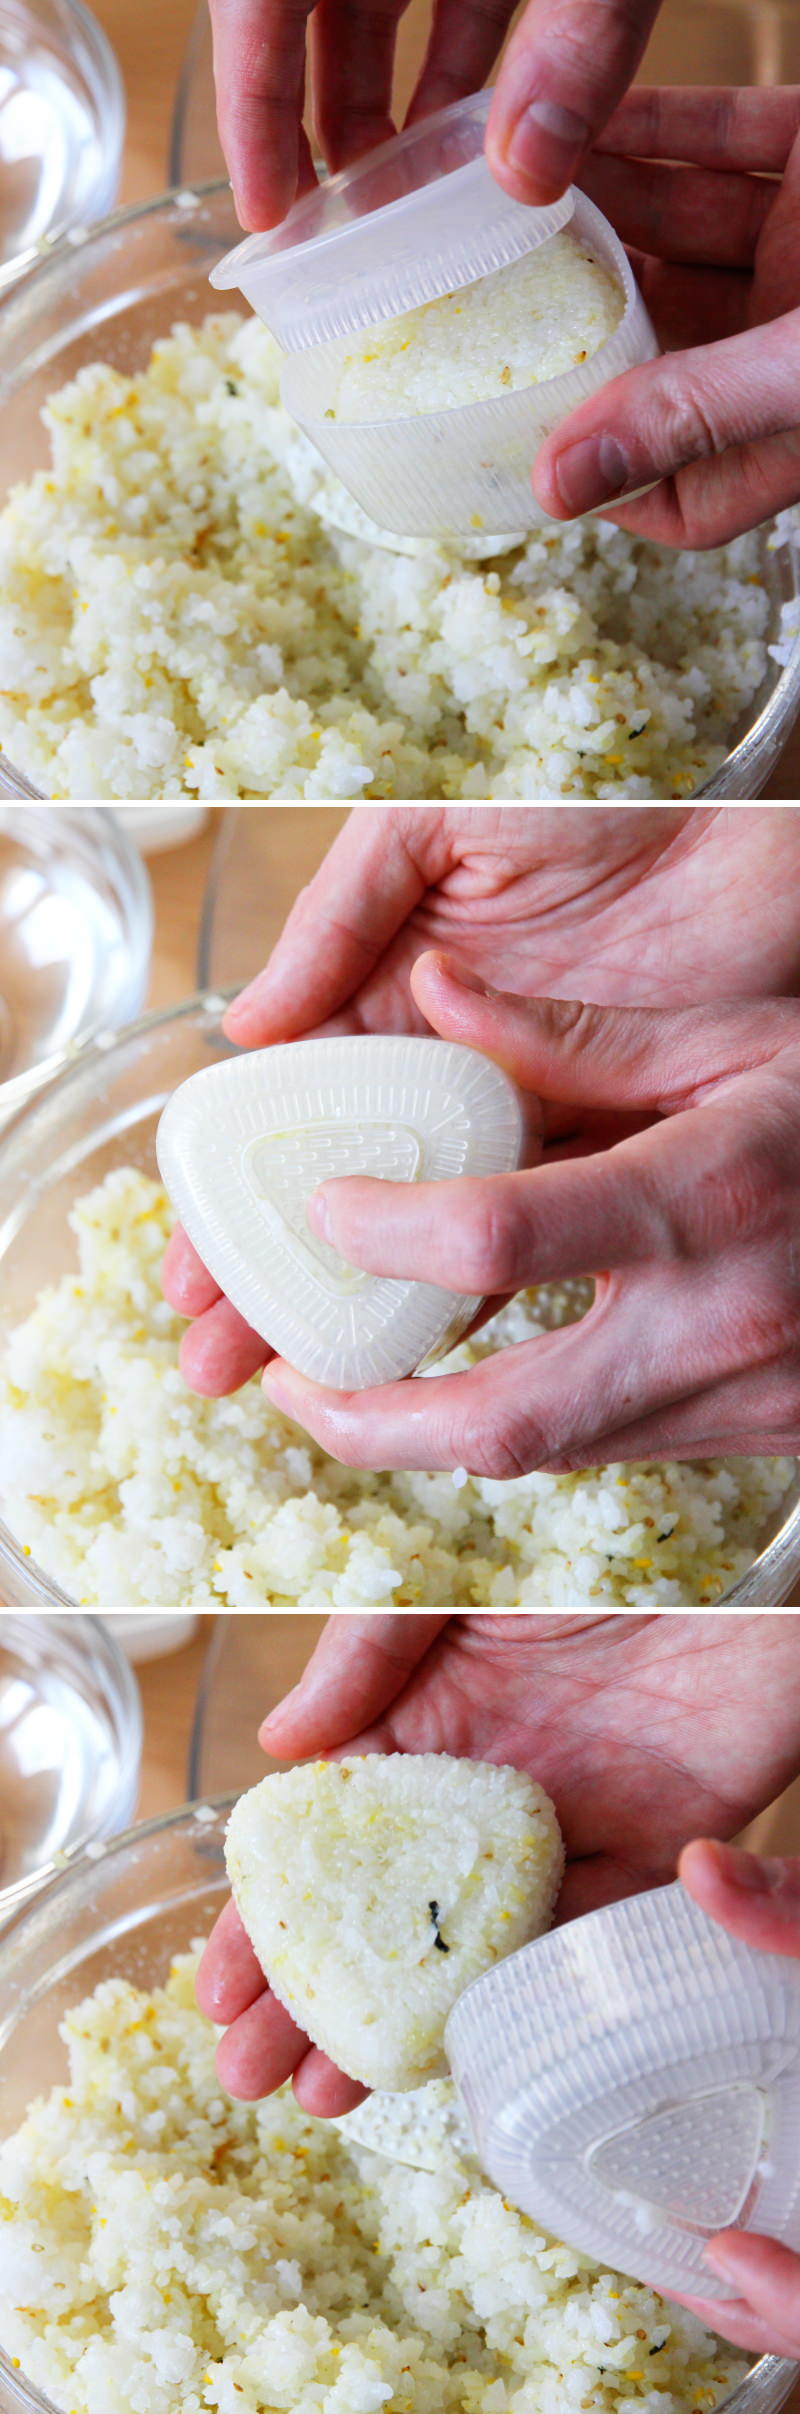
Open the onigiri mould by removing the lid. On the back of the mould’s long side, gently press the small triangle inwards to remove the rice triangle from the mould.
Step 7
Cut the Nori sheets in half or into thirds with a pair of scissors, as you prefer. Now wrap the rice triangle in Nori however you like.

Step 8
Once the Onigiri is ready, it should be eaten as soon as possible. Onigiri are best when fresh, as the rice quickly dries out after a while and the nori sheet becomes slightly soggy. Done – Itadakimasu!
Are you looking for even more wonderful Onigiri recipe ideas from Japan? Here you’ll find my most popular guides:
No post found!
Has anyone tried this recipe yet? Let me know in the comments – I’m really looking forward to hearing from you.