

Language:


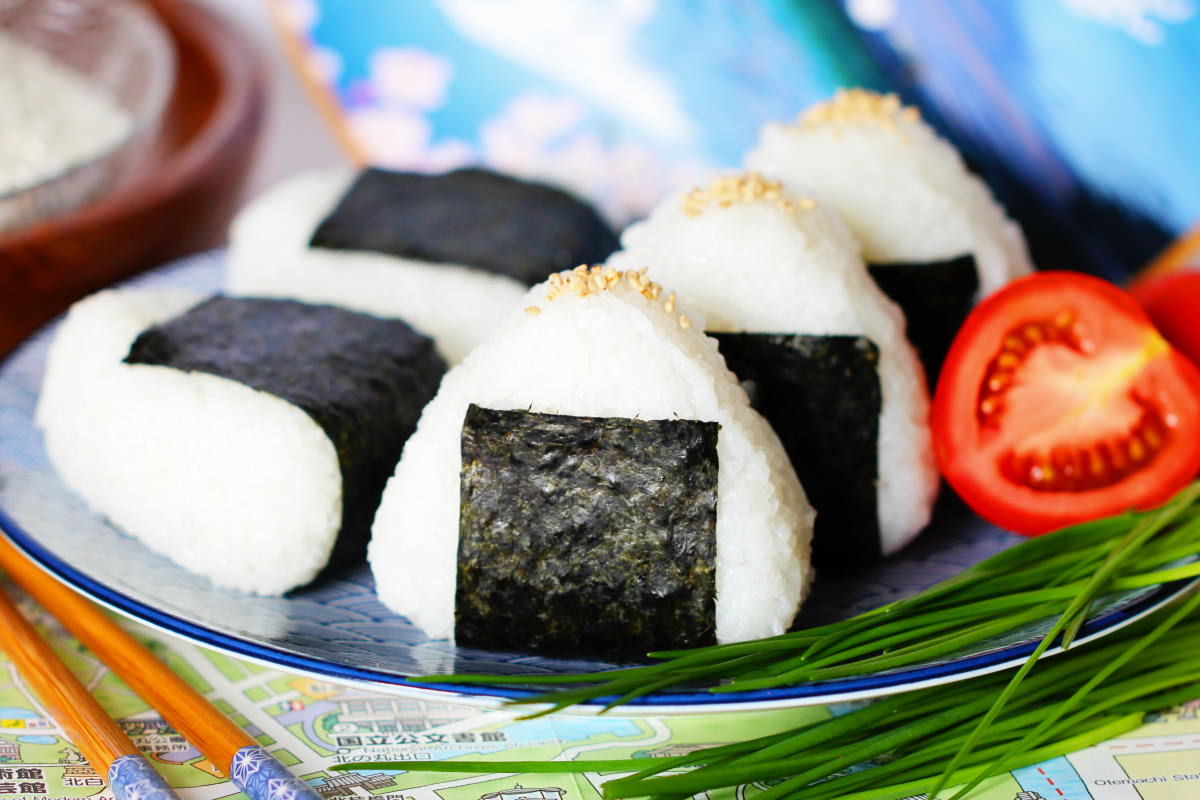
These Onigiri with smoked salmon and fresh garden herbs are packed with aromatic ingredients and make ideal (and quick) snacks for on the go. For the delicious filling, today we’re using wonderful salmon, fresh chives and crunchy sesame seeds! In this recipe, you’ll learn in no time how to make Onigiri just like in Japan very easily using simple ingredients.
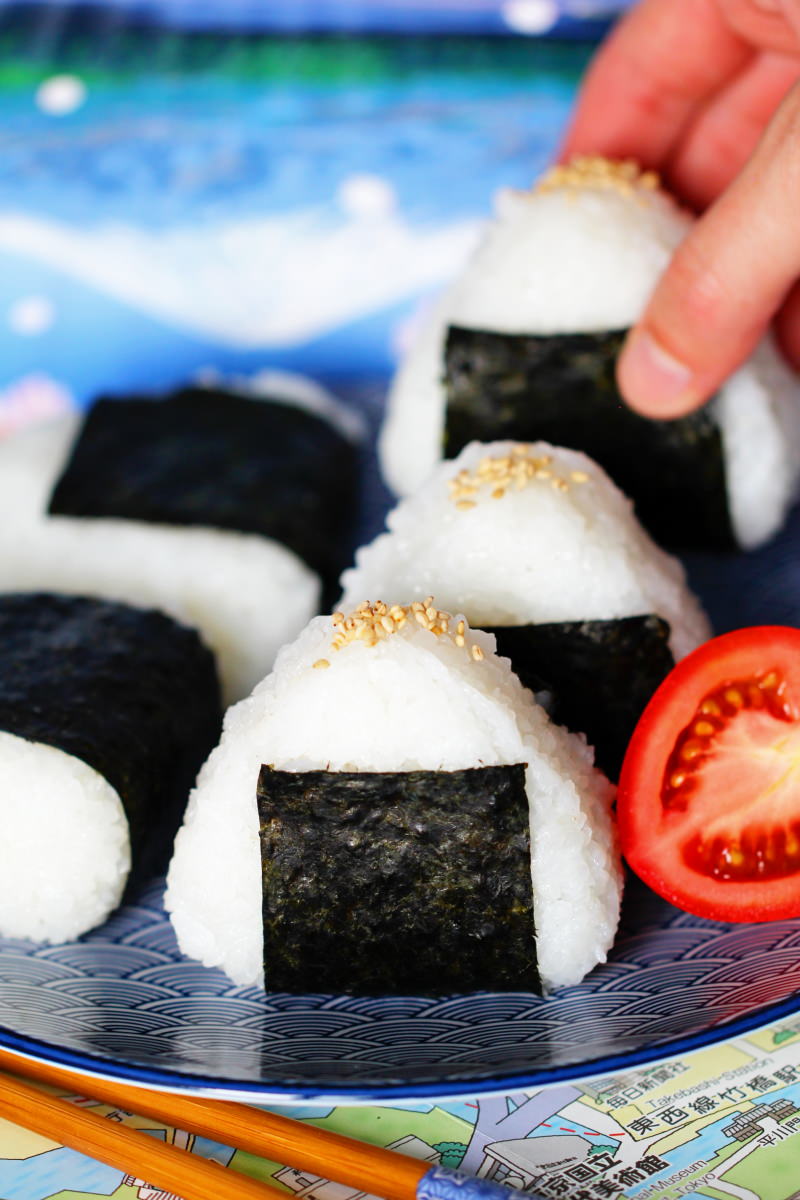
They’re triangular, they’re delicious, they’re perfect for on the go! – Onigiri. These little Japanese rice balls are the equivalent of a hot dog for a New Yorker, a sandwich for an English person, or a filled roll for us Germans.
This Japanese snack for when you’re feeling peckish is shaped from white Japanese rice and is often wrapped in a sheet of seaweed (Nori).
TOP RECOMMENDATION
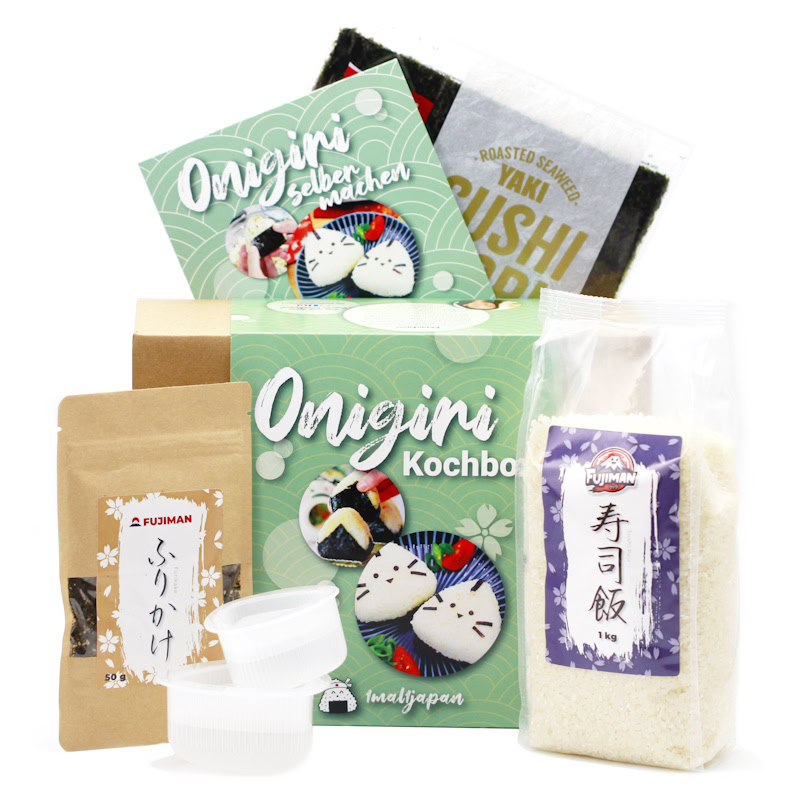
Onigiri Kochbox | Reisbällchen selber machen
5-tlg. DIY Set, inkl. 3 Rezeptideen für japanische Reisdreiecke | vegan, Geschenkidee für Anime Fan. Mit dem Onigiri Kochset gelingen dir japanische Reisdreiecke ganz einfach…
In stock
Onigiri not only make rice portable and easy to eat, but also contain a delicious filling, such as tuna in mayonnaise, umeboshi (pickled sour plums) or Furikake (a typical Japanese rice seasoning).
For the Japanese, this handy little triangle symbolises a moment of respite and pause in the stressful (albeit very orderly) Japanese daily routine. Even though the snack is available in every conceivable variation in convenience shops across Japan, it evokes memories of childhood, outings and moments of pure enjoyment.
The basis for this recipe is delicious Japanese rice, for which it is best to use short-grain (or round-grain) white rice (im Shop ansehen) . This contains a lot of starch and therefore absorbs liquid well, which in turn means that it sticks together nicely after cooking – a must for delicious Onigiri!
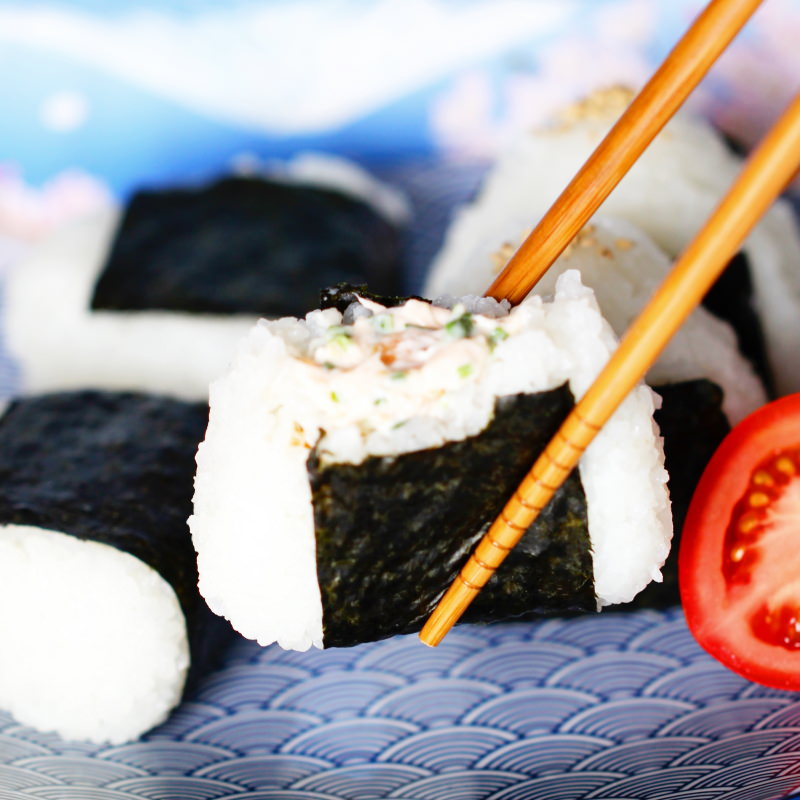
We’ll also be whipping up a heavenly, tender filling made from savoury smoked salmon, which we’ll enhance with mayonnaise (im Shop ansehen), sesame seeds (im Shop ansehen) and, of course, fresh garden herbs. I’ll show you exactly how it all works now! Have fun and good luck making these simple Onigiri with a smoked salmon filling!
Onigiri with smoked salmon
Makes 6 | 30 minutes | 159 kcal
🖨️ Print PDF 📌 Save this pinThese Onigiri with smoked salmon and fresh garden herbs are packed with flavourful ingredients and make ideal (and quick) snacks for on the go. For the delicious filling, we’re using wonderful salmon, fresh chives and crunchy sesame seeds today! In this recipe, you’ll learn in no time how to make Onigiri just like in Japan, using simple ingredients.
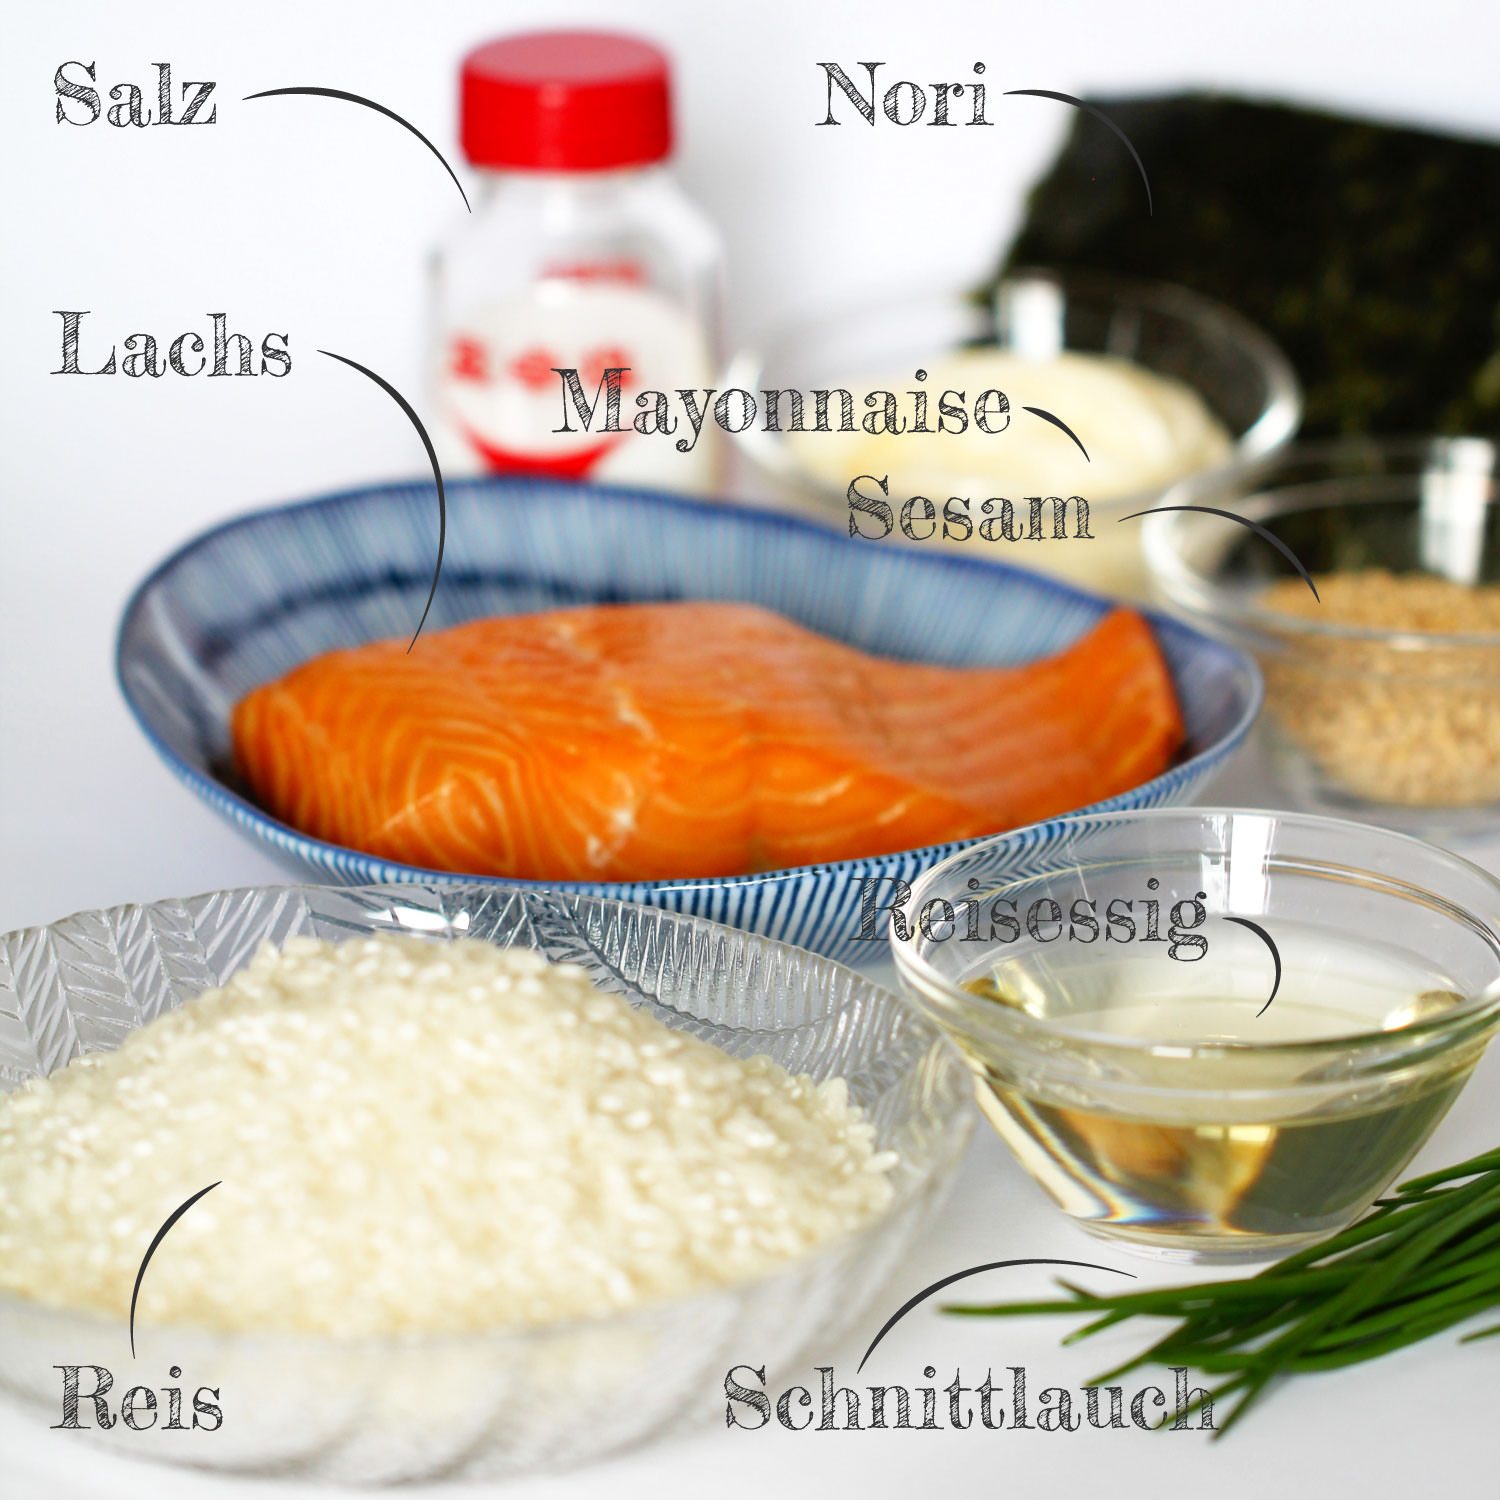
Ingredients (for 6 large / 12 small rice balls)
600 g cooked rice (see recipe):
✔ 300 g loose rice (im Shop ansehen)*
✔ 300 ml water (fresh, cold tap water)
✔ 1 pinch salt
For the filling:
50 g smoked salmon
1 bunch chives
2 tsp toasted sesame seeds (im Shop ansehen)*
2 tbsp mayonnaise (im Shop ansehen)*
2 nori sheets (im Shop ansehen)*
Useful utensils:
Onigiri mould – Rice mould set for rice triangles (im Shop ansehen)*
Method (30 minutes)
Step 1
Prepare the ingredients for the Onigiri and get the rice ready (see the recipe here in a rice cooker or in a saucepan and leave to cool for 20 minutes).
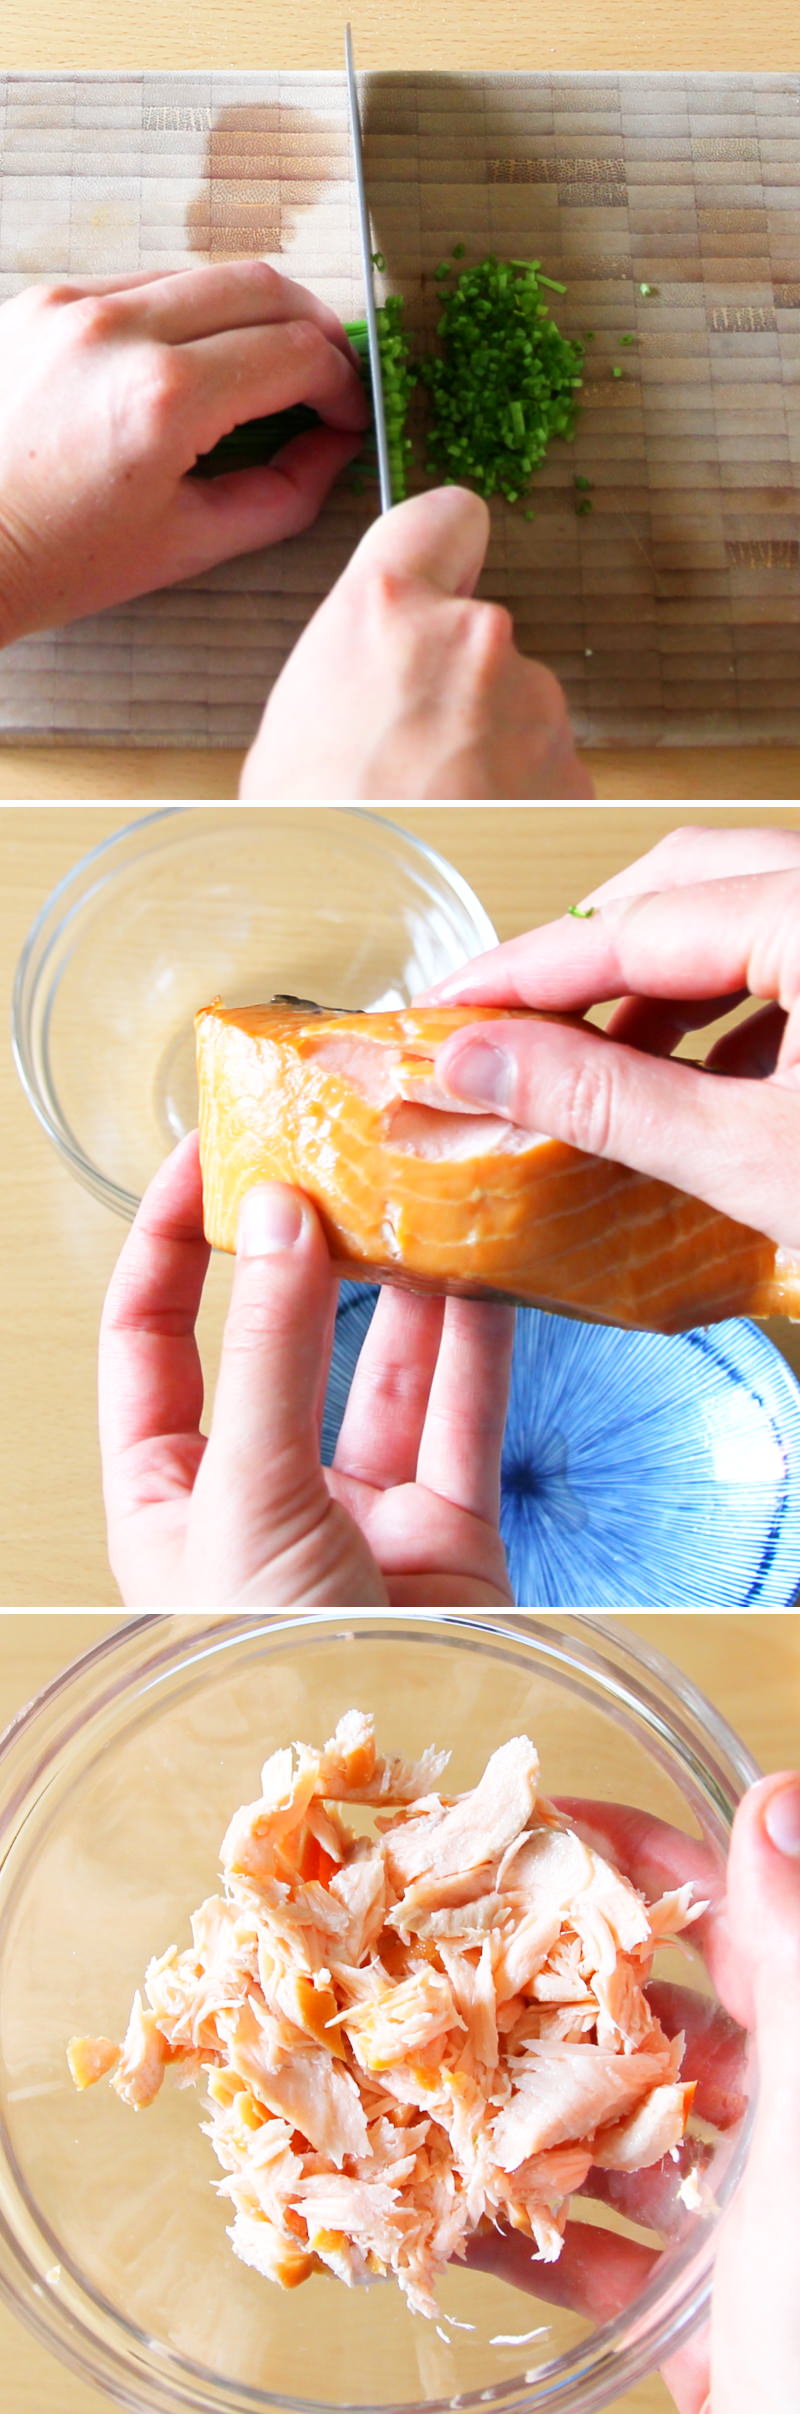
Step 2
First, prepare the filling for the Japanese rice balls. To do this, wash the chives , pat them dry and cut them into fine rings (ideally with a large knife). Also, flake the smoked salmon into small pieces and place them in a bowl.
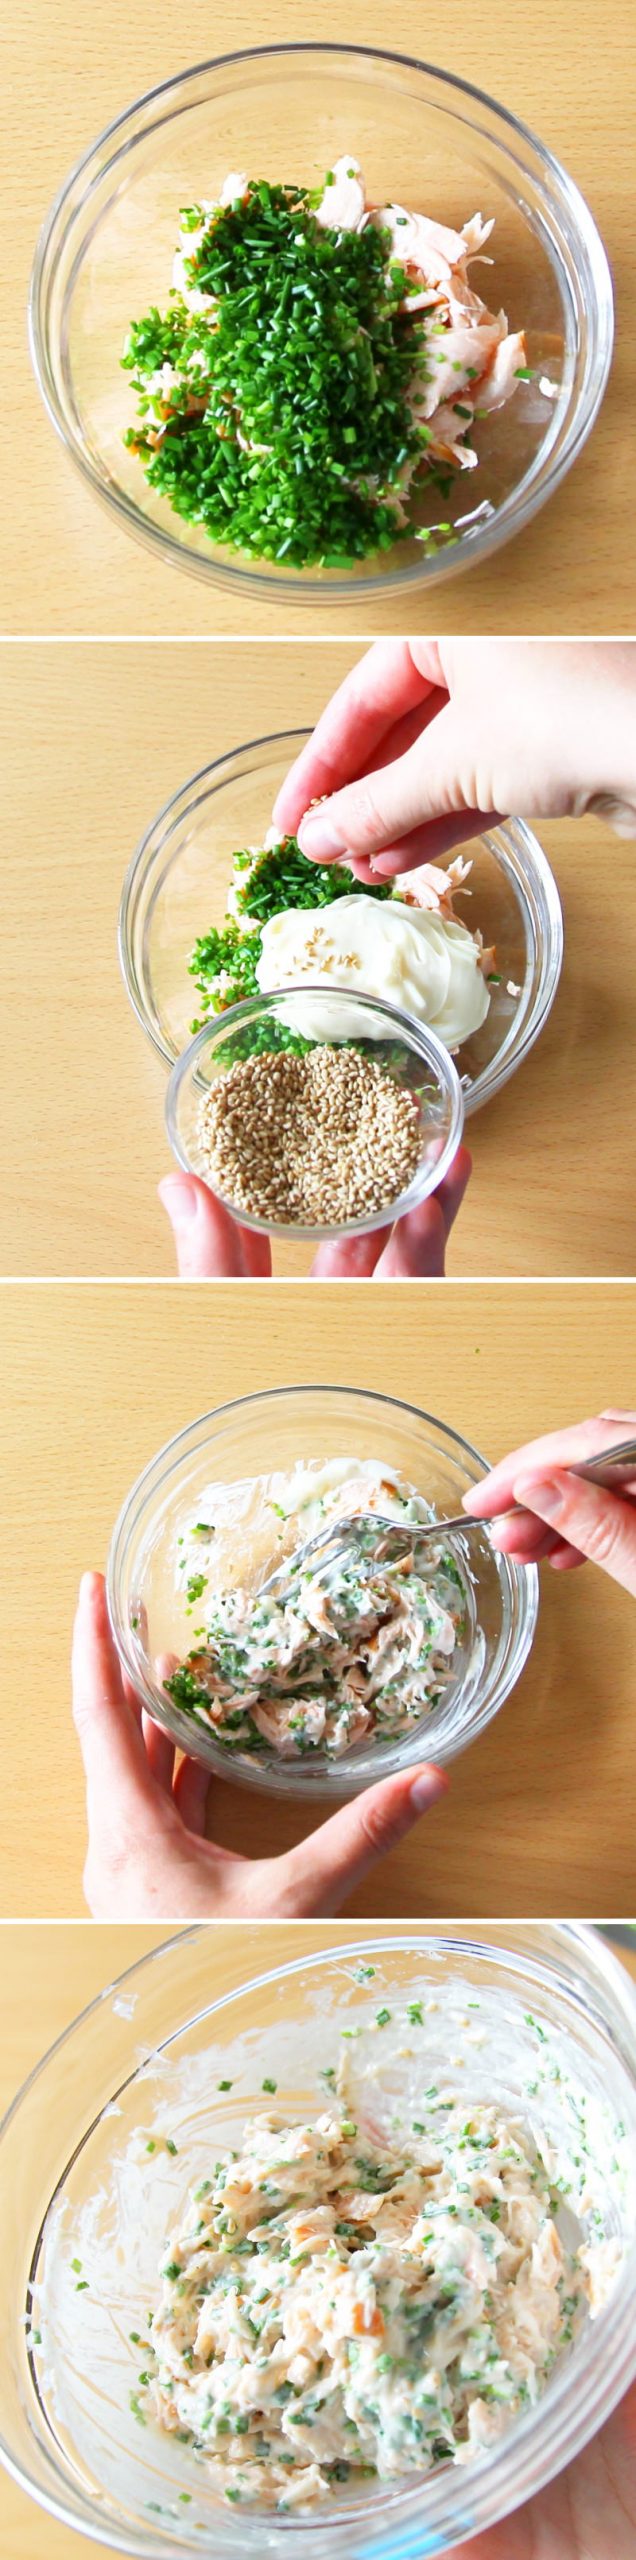
Step 3
Add the chives, mayonnaise and sesame seeds to the smoked salmon, then mix with a fork and gently mash into a smooth mixture.
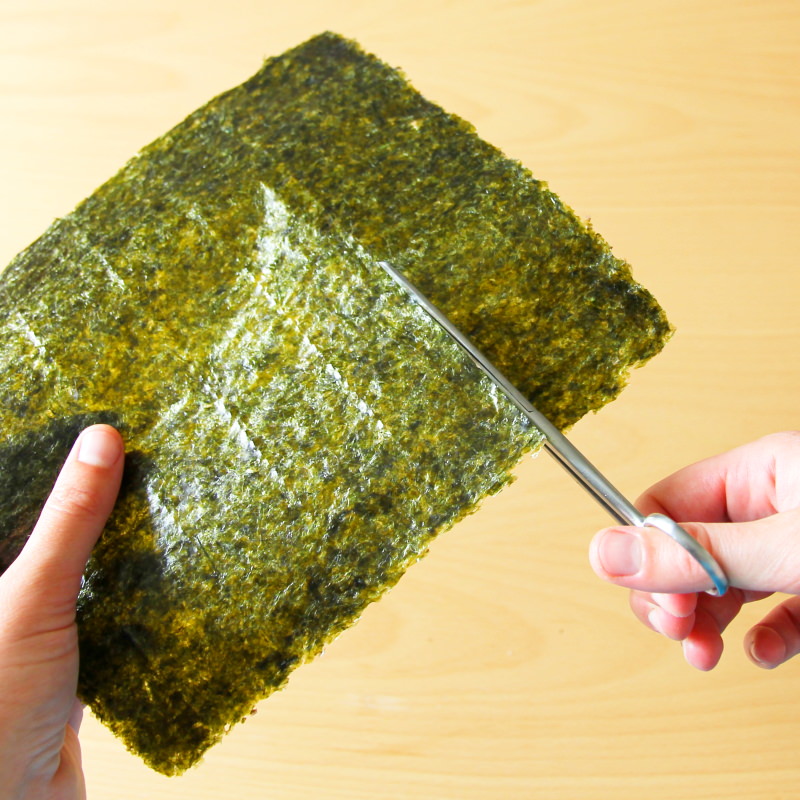
Step 4
Cut the Nori sheets into thirds using scissors (i.e. cut them to 4 x 8 cm).
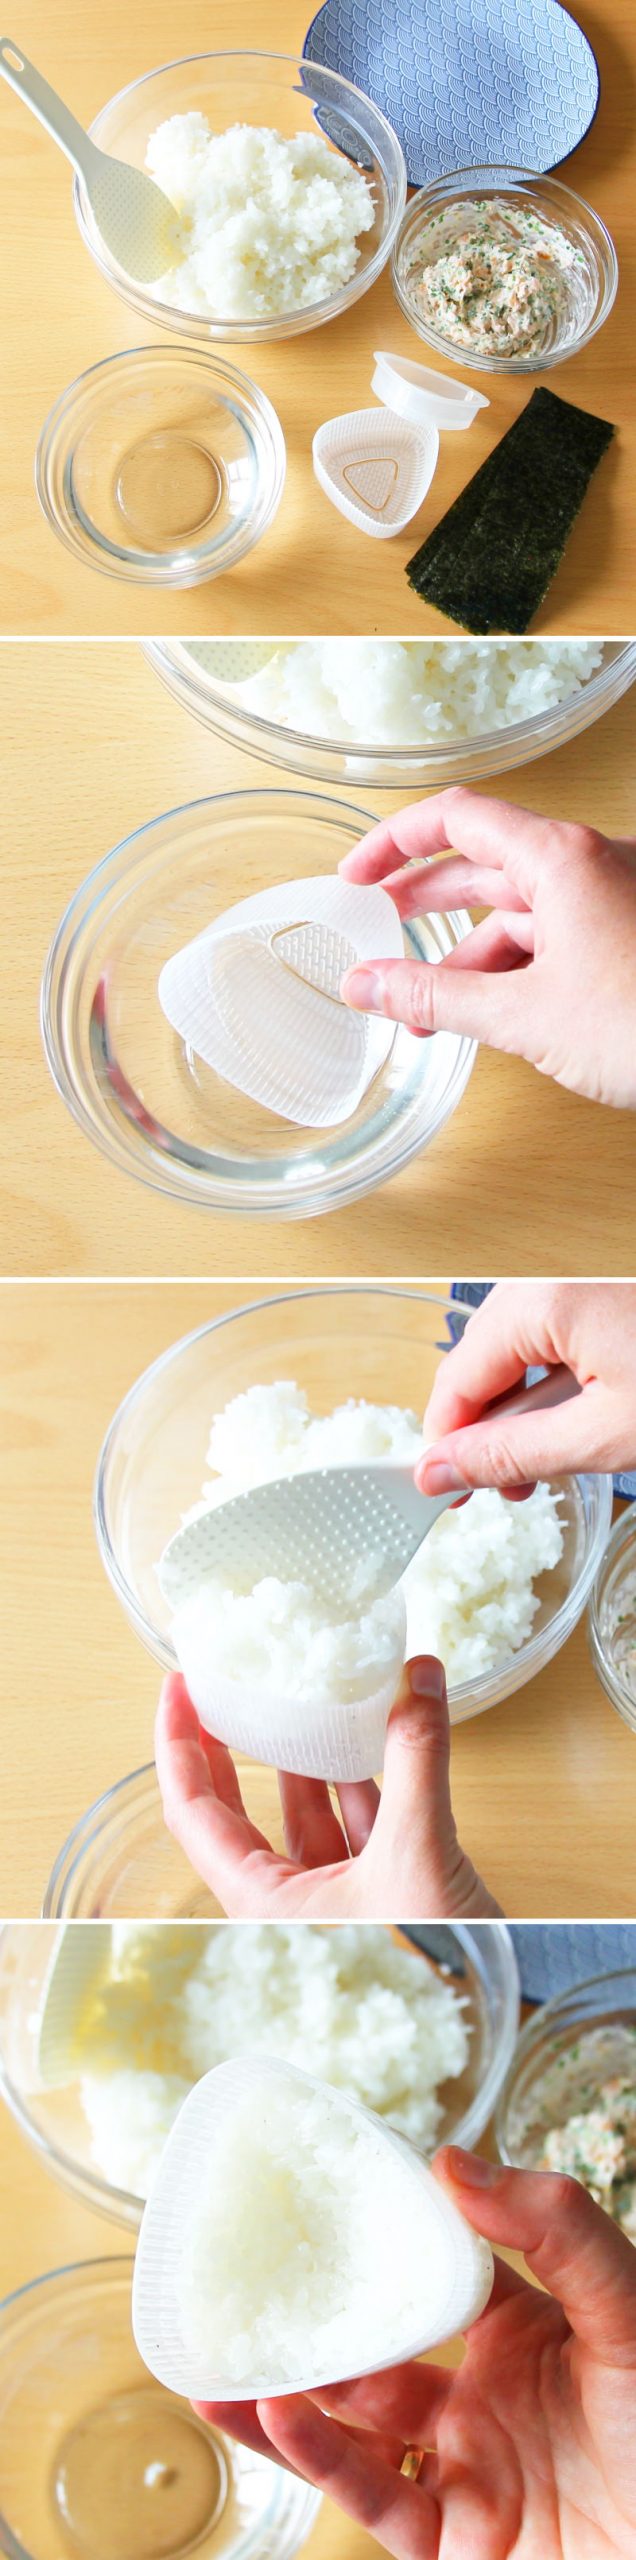
Step 5
Fill a small bowl with lightly salted water and set it aside. To shape the rice balls, dip the onigiri mould (large and small sides) into the water and allow to drain briefly.
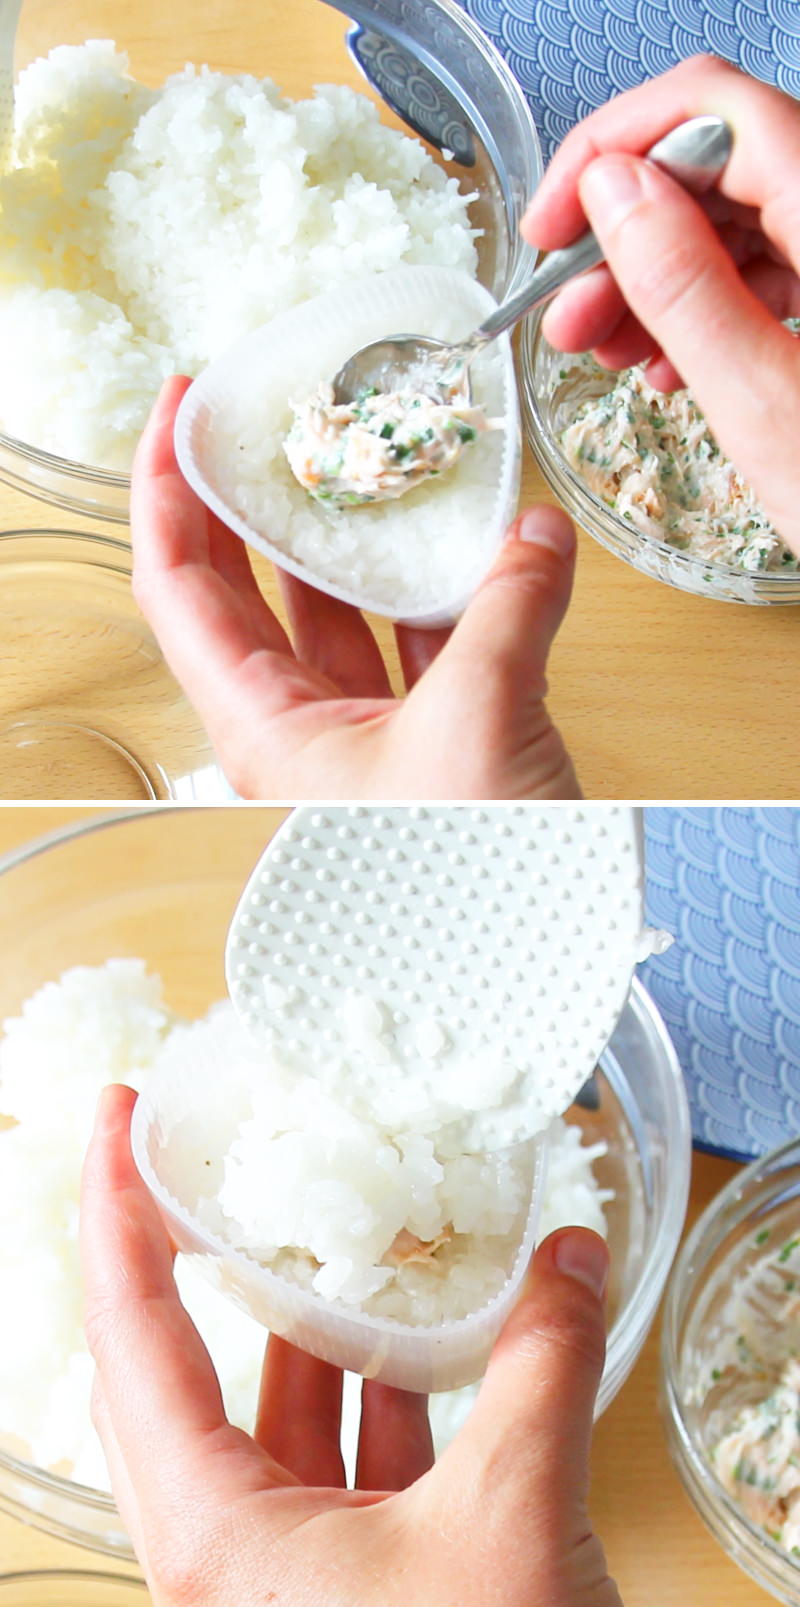
Fill the large side of the onigiri mould halfway with about 50 g of the prepared rice and form a small hollow in the centre for the filling.
Step 6
Using a teaspoon, place a little of the filling into the hollow (but not too much, otherwise it will all spill out). Then fill the mould with 50 g of rice (but do not fill it beyond the rim, otherwise it will also spill out from the sides).
Step 7
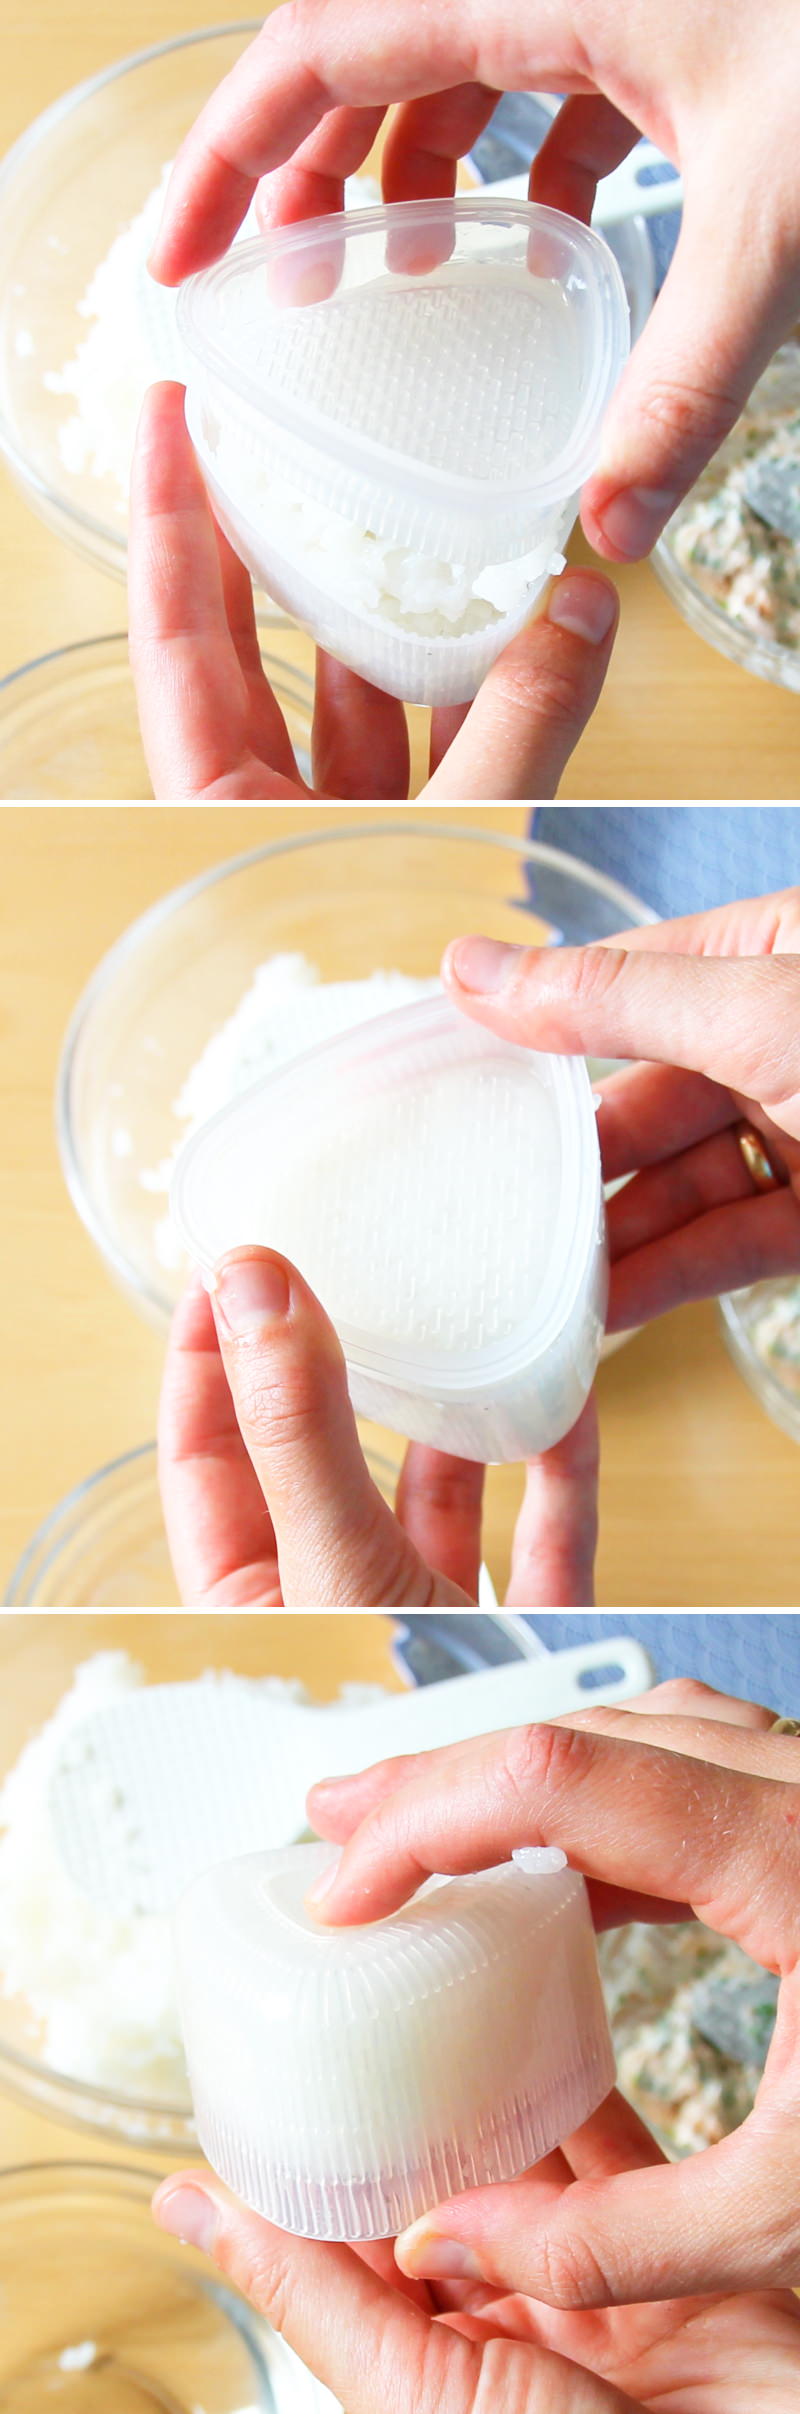
Now place the lid of the onigiri mould onto the rice and press both sides together with gentle pressure. Open the onigiri mould by removing the lid. On the back of the mould’s long side, gently press the small triangle inwards to remove the rice triangle from the mould.
Step 8
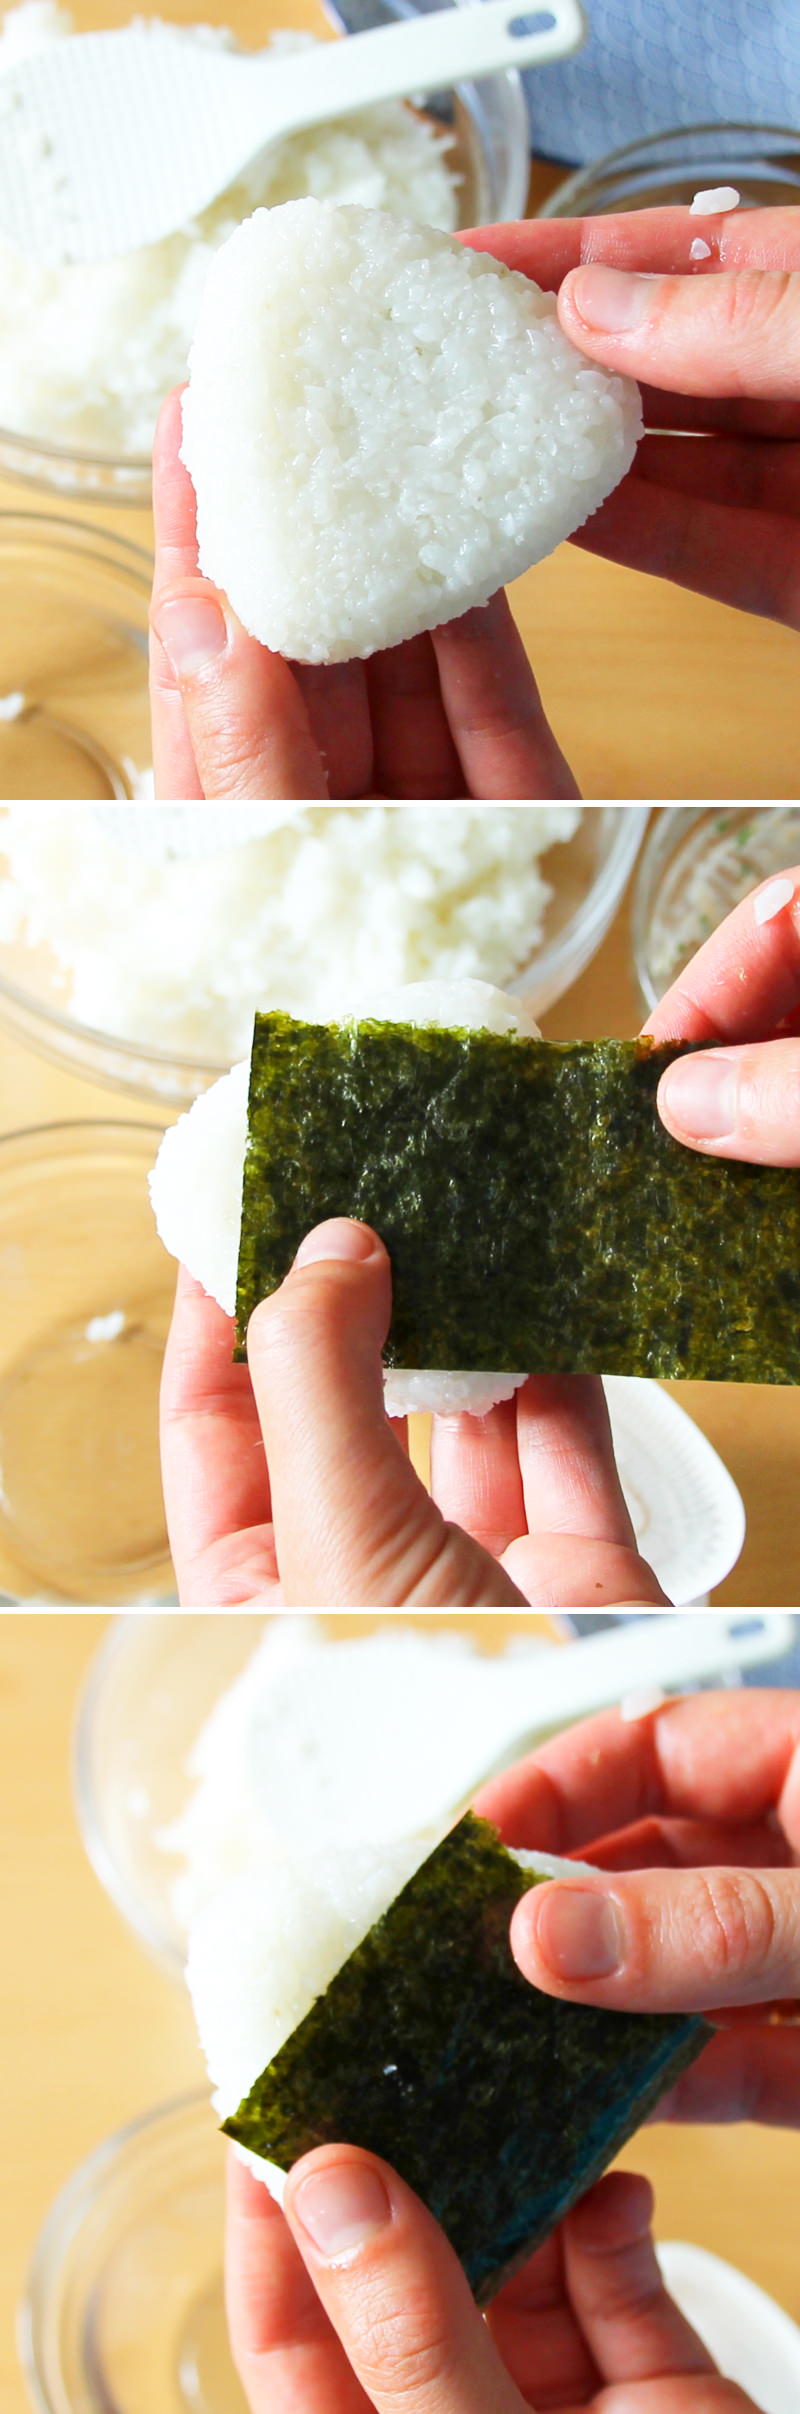
Now wrap the rice triangle in the cut-to-size Nori sheets however you like.
Step 9
Once the Onigiri is ready, it should be eaten as soon as possible. Onigiri are best when fresh, as the rice quickly becomes dry after a while and the Nori sheet turns slightly mushy. Done – Itadakimasu!
Are you looking for even more wonderful Onigiri recipe ideas from Japan? Here you’ll find my most popular guides:
No post found!
Has anyone tried this recipe yet? Let me know in the comments – I’m really looking forward to hearing from you.