Language:


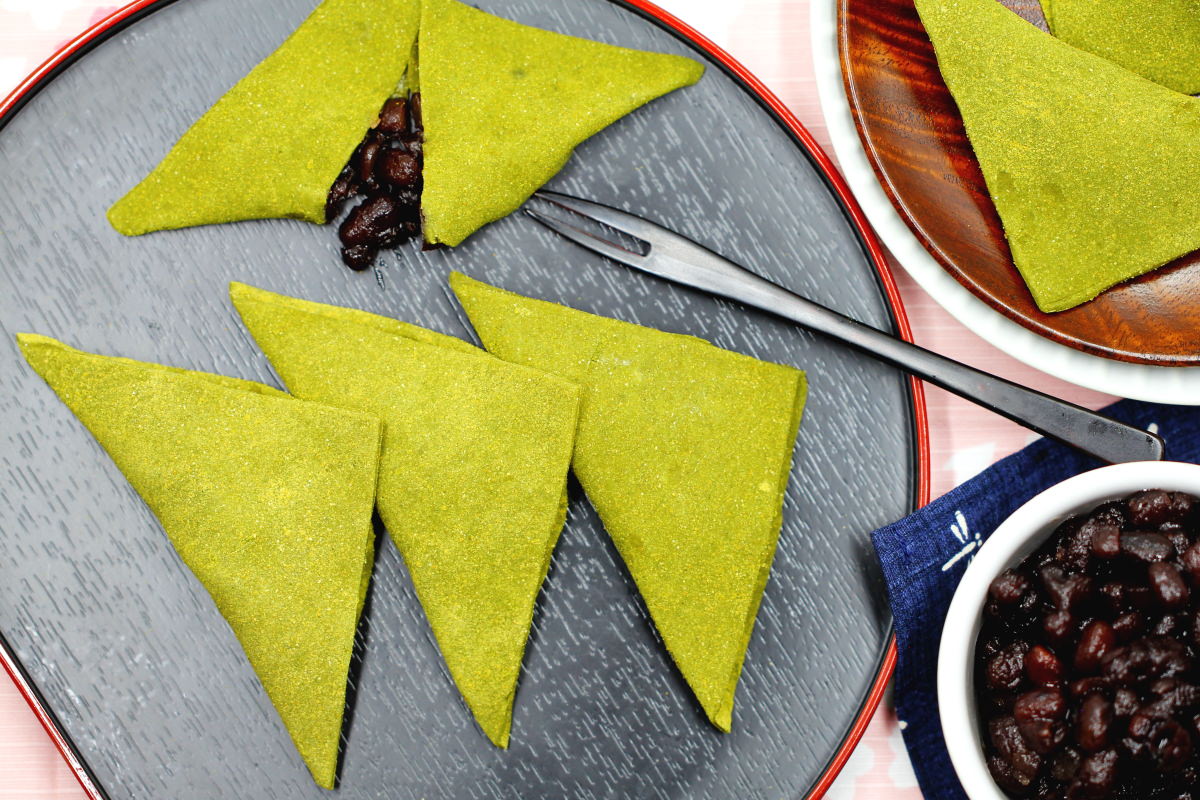
Yatsuhashi is the most popular traditional Japanese sweet from Kyoto. These delicate triangles are made from a soft Mochi dough that tastes wonderfully of cinnamon and Matcha – with a sweet adzuki bean paste hidden inside. With just a few ingredients and a few simple steps, you can make these sweet matcha-cinnamon Mochi at home.
Almost everyone who takes a trip to the historic city of Kyoto – one of Japan’s most beautiful cities, with ancient temples, stunning Japanese gardens and fabulous food – returns home with a box brimming with yatsuhashi. If you don’t have the chance to visit Kyoto right now, don’t worry! I’ll show you how you can easily make them yourself. Let’s bring the beauty of Kyoto into your home. Let’s get started!
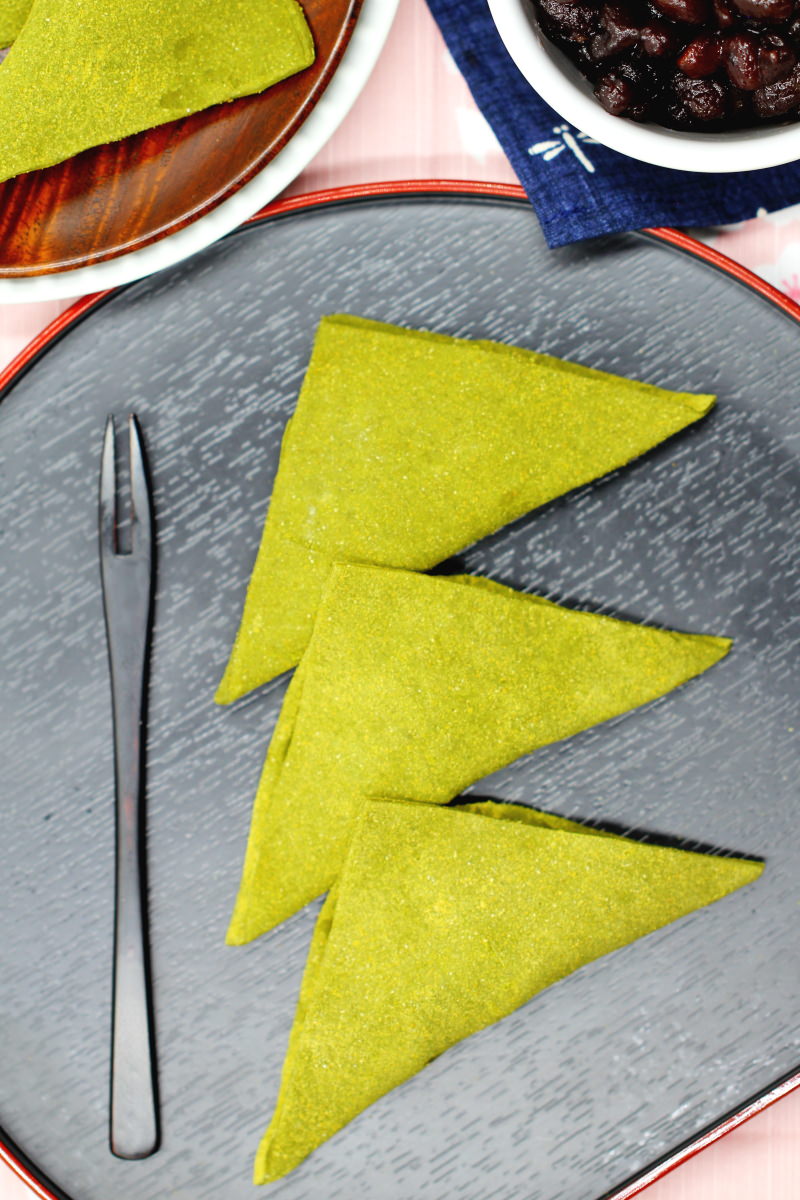
Yatsuhashi actually means something like ‘eight bridges’. What does that have to do with sweets, you might ask? Yatsuhashi can be prepared in two ways. They can be served either unbaked or baked. The latter method – baking – is the oldest way of preparing them.
In this method, the mochi dough is baked in the oven in long, rectangular shapes. The result looks like long planks laid across a pond to form a footbridge. A romantic tale from a bygone era, in which the main character walks across a footbridge that zigzags eight times – a ‘yatsuhashi’ – is closely associated with Kyoto as the place of lost love and beauty depicted here. Hence the name Yatsuhashi…
TOP RECOMMENDATION
Mochi Starter Set | Klebreiskuchen selber machen, vegan
6-tlg. Kochset für 4 große Portionen Klebreiskuchen, inkl. Rezeptheft, glutenfrei & vegan. Mit dem Mochi Kochset stellst du japanische Reiskuchen ganz einfach selbst her –…
In stock
So, to summarise briefly: when the mochi dough is rolled out flat and then baked until it is nice and crispy, these biscuits are simply called Yatsuhashi. This is the most traditional method.
The unbaked version is called Nama Yatsuhashi. The carefully steamed mochi dough, usually flavoured with ground cinnamon and Matcha, is rolled out and cut into small rectangular shapes – that’s it, no baking required. Nama Yatsuhashi, which are filled with a sweet, red adzuki bean paste, are by far the most popular variety these days. The thin mochi squares are folded into a triangle and filled with coarse Tsubu-an (adzuki bean paste).
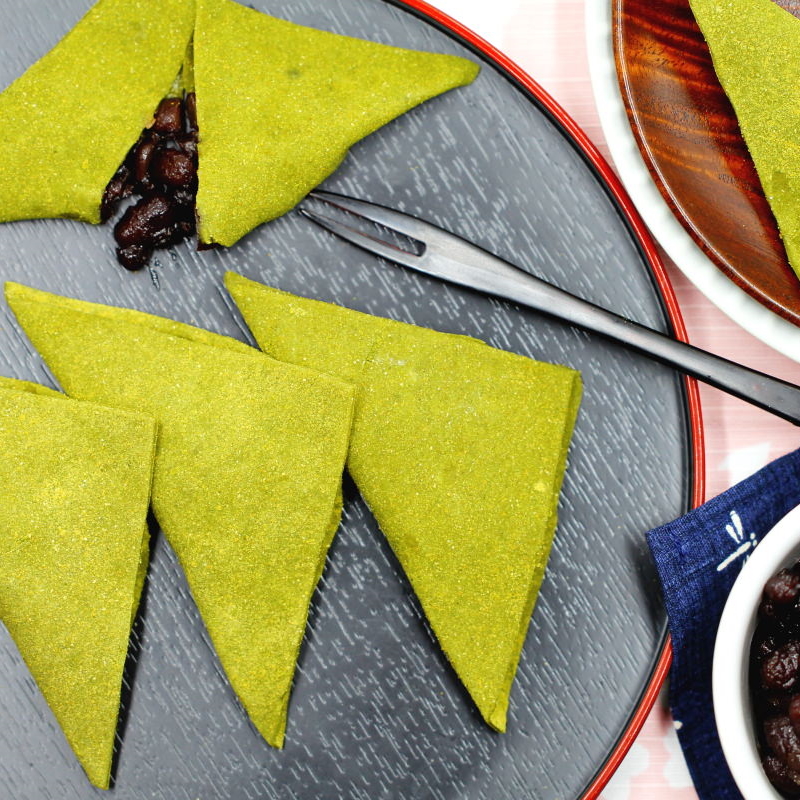
It’s absolutely brilliant to be able to share this fantastic recipe with you today. Especially as these delicious sweets from Kyoto are completely gluten-free ! What’s more, they’re more or less fat-free and, of course, vegan. Well, they’re definitely not sugar-free 😉.
My tip: Want to find out more about these irresistibly sweet Mochi? Then let yourself be enchanted by the world of Japanese rice cakes here: → Make mochi yourself: 7 recipes that really work!
The dough for yatsuhashi is made from glutinous rice flour, rice flour (im Shop ansehen) and sugar. To prepare it, mix everything together very carefully. To begin with, the mixture is very stiff, almost lumpy. Don’t let that put you off! Just keep stirring with a spoon. The sugar will slowly dissolve and the dough will become runny again after a while. If the dough reminds you of icing, it’s ready.
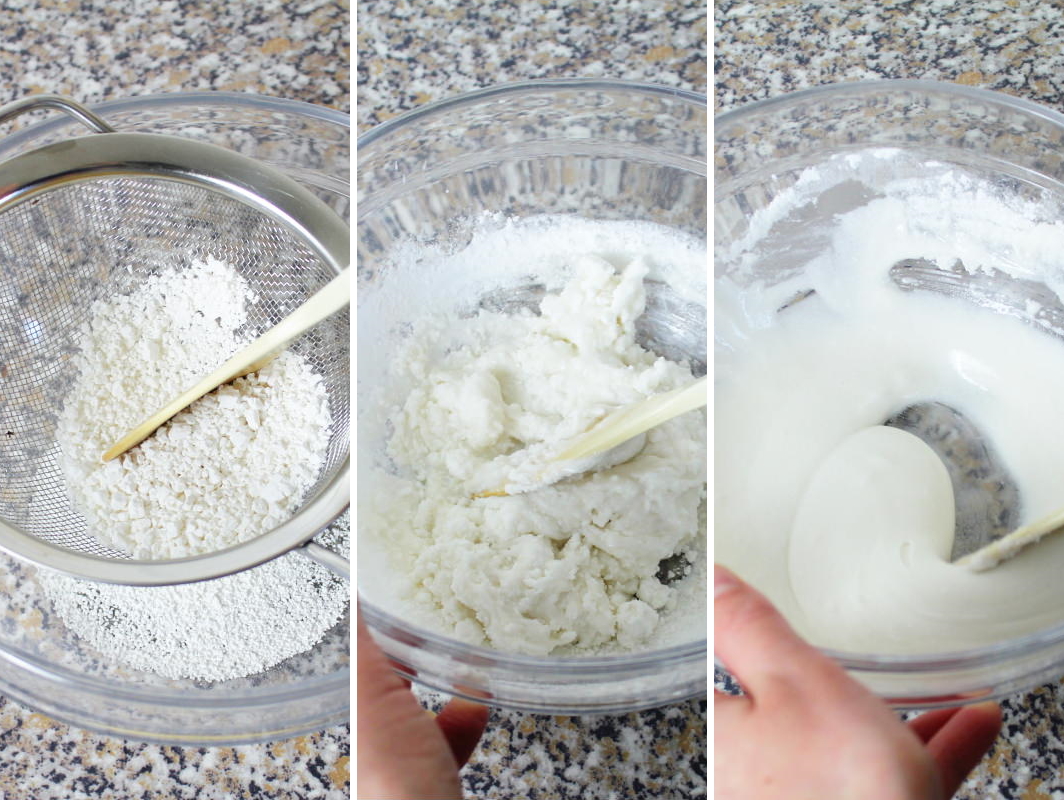
Tip: Depending on which rice flour you buy and use, you may need to adjust the amount of water for the dough! Add it in small sips until the mochi dough for yatsuhashi has a velvety consistency (almost like runny icing).
A few words about the ingredients: Everyone probably has sugar in their cupboard at home. The types of rice flour, however, are a bit more specialised. This is because glutinous rice flour, which is specifically intended for making Mochi, isn’t available everywhere. Glutinous rice flour is produced by grinding genuine glutinous rice (mochigome) and is called shiratamako in Japan. When shopping, make sure not to use just any old rice flour! It absolutely must be glutinous rice flour for the rice cakes to turn out right.
CUSTOMER FAVOURITE
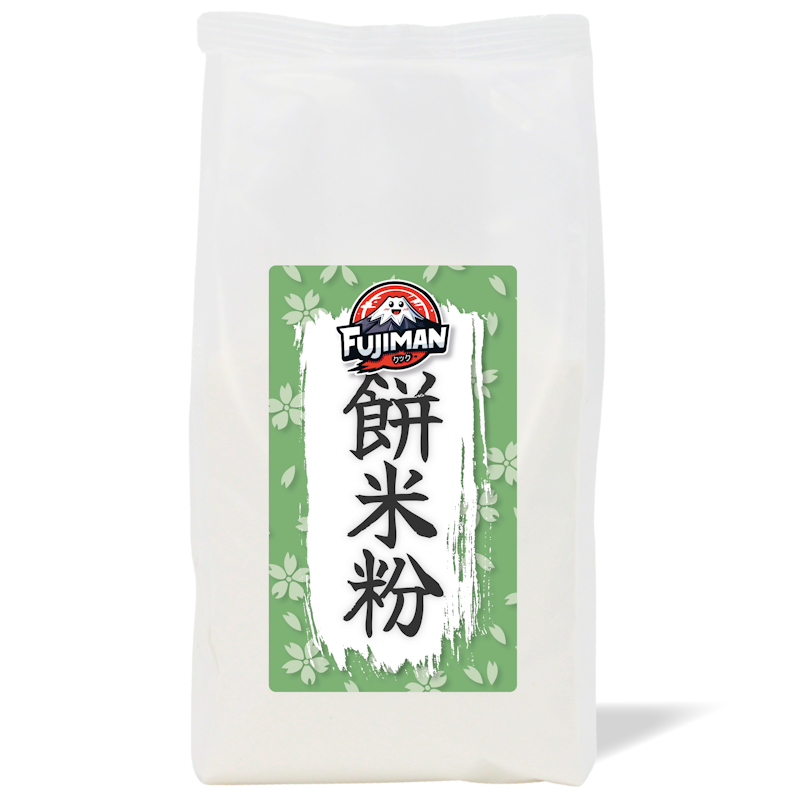
Klebreismehl 940g (glutinous), Fujiman
Klebreismehl für Mochi, Dango & japanische Desserts . Dieses Klebreismehl von Fujiman besteht aus fein gemahlenem Rundkornreis und sorgt für die typische weiche, elastische Textur…
In stock
By the way: if you’re looking for shiratamako, bear in mind that its texture is quite crumbly and coarse, even though it is glutinous rice flour.
Joshinko is also a type of rice flour, though its texture is rather fine. It is used particularly in the making of Dango, as Dango are meant to be less elastic than Mochi made from glutinous rice flour. Joshinko is made by grinding ordinary, non-glutinous short-grain rice. You can find this rice flour in most Asian shops.
Back to the batter: Place the bowl containing the liquid batter in a steamer and leave to steam undisturbed for 12 minutes. Next, mix the Matcha and cinnamon together and, quite simply, as soon as the batter is cool enough to touch with your hands without burning your fingers, knead them into the batter.
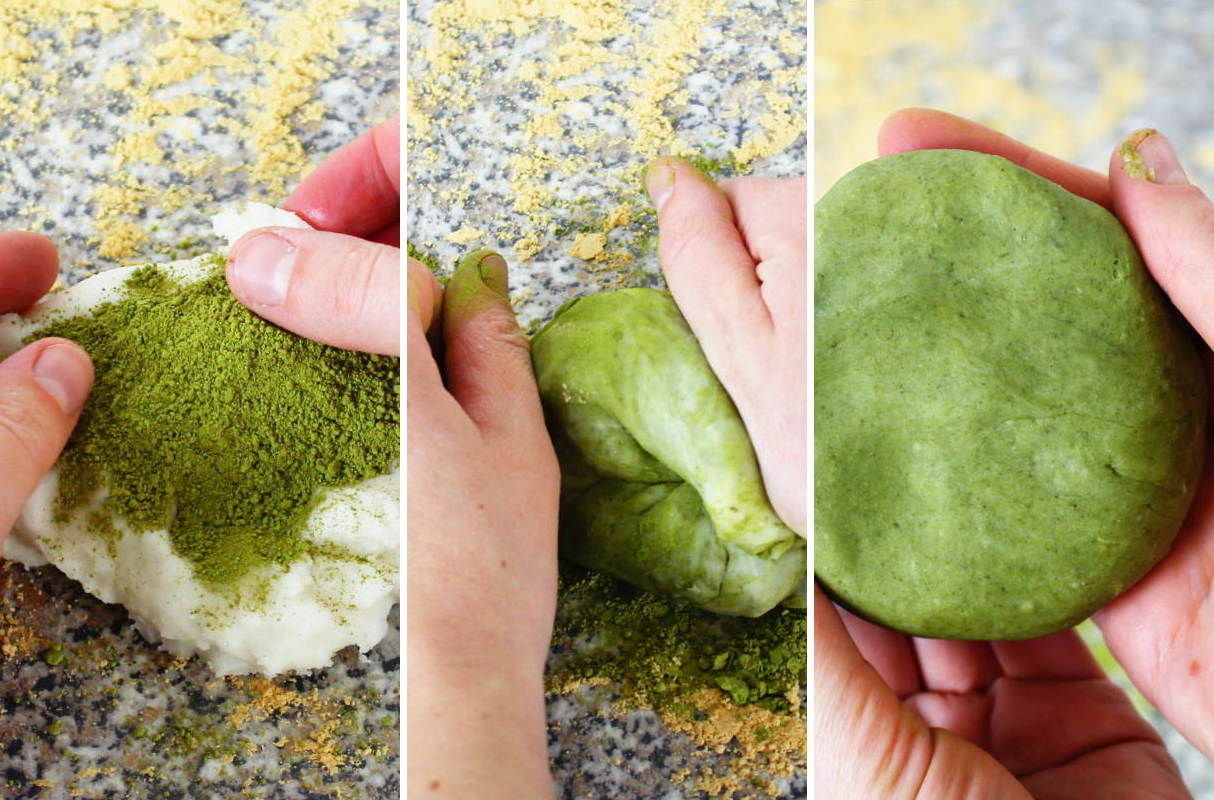
Cinnamon and Matcha provide the aromatic highlights in this Japanese recipe. If you’re pottering about in the kitchen and your flat smells of cinnamon and green tea, no one’s likely to guess that you’re making a traditional Japanese Mochi speciality :). Feel free to use your favourite type of cinnamon for this recipe!
For the Matcha, I recommend using a good-quality Matcha. Our Matcha from Japan (im Shop ansehen) has a darker colour and a more bitter taste than tea-grade Matcha, and is slightly cheaper. It is therefore much better suited as a flavouring for baking and cooking. However, due to its intensity, it is not particularly recommended for drinking as a tea.
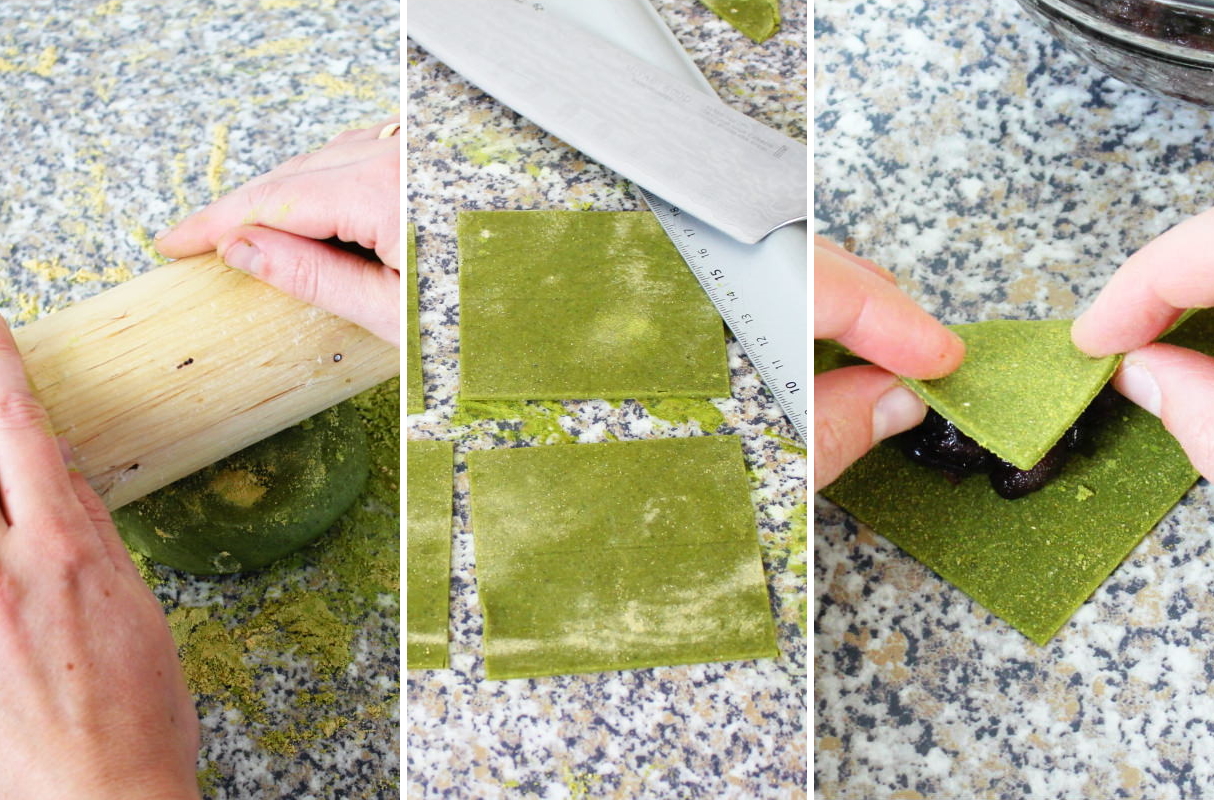
Once the dough has been seasoned and kneaded thoroughly, it is rolled out, cut to size and filled with a delicious adzuki bean paste.
Adzuki bean paste, sometimes also known as anko or an, is a typical Japanese sweet red bean paste. This dark red paste made from cooked adzuki beans is one of the most important basic ingredients for wagashi, or traditional Japanese confectionery. It is usually used as a filling for Mochi and dorayaki, to which it adds a pleasant sweetness.
You can buy ready-to-use anko, or even better: here’s my popular recipe for sweet red bean paste made from adzuki beans anko.
Just fold them up and you’re done! You should serve the Nama Yatsuhashi within 24 hours at the latest, otherwise they’ll dry out. But don’t worry, these little treats won’t be left untouched for that long – I promise!
This recipe shows you how to make Nama Yatsuhashi from Kyoto at home:
Nama Yatsuhashi
Serves 4 | 30 minutes | 169 kcal
🖨️ Print PDF 📌 Save this pinYatsuhashi is the most popular traditional Japanese sweet from Kyoto. These delicate triangles are made from a soft mochi dough that tastes wonderfully of cinnamon and Matcha – with a sweet adzuki bean paste hidden inside. With just a few ingredients and a few simple steps, you can make this delicious speciality at home.
Ingredients (10 pieces = 4 portions)
30 g glutinous rice flour (im Shop ansehen)*
50 g rice flour (im Shop ansehen)*
60 g sugar
65 ml water
2 tbsp (level) Matcha (im Shop ansehen)*
1/2 tsp cinnamon
a little Kinako (soya bean flour, alternatively potato starch *)
150 g Tsubu-an, coarse anko – make your own red bean paste (to the recipe)*
Useful equipment:
Steamer (im Shop ansehen)
Fine-mesh sieve (im Shop ansehen)
Preparation (30 minutes)
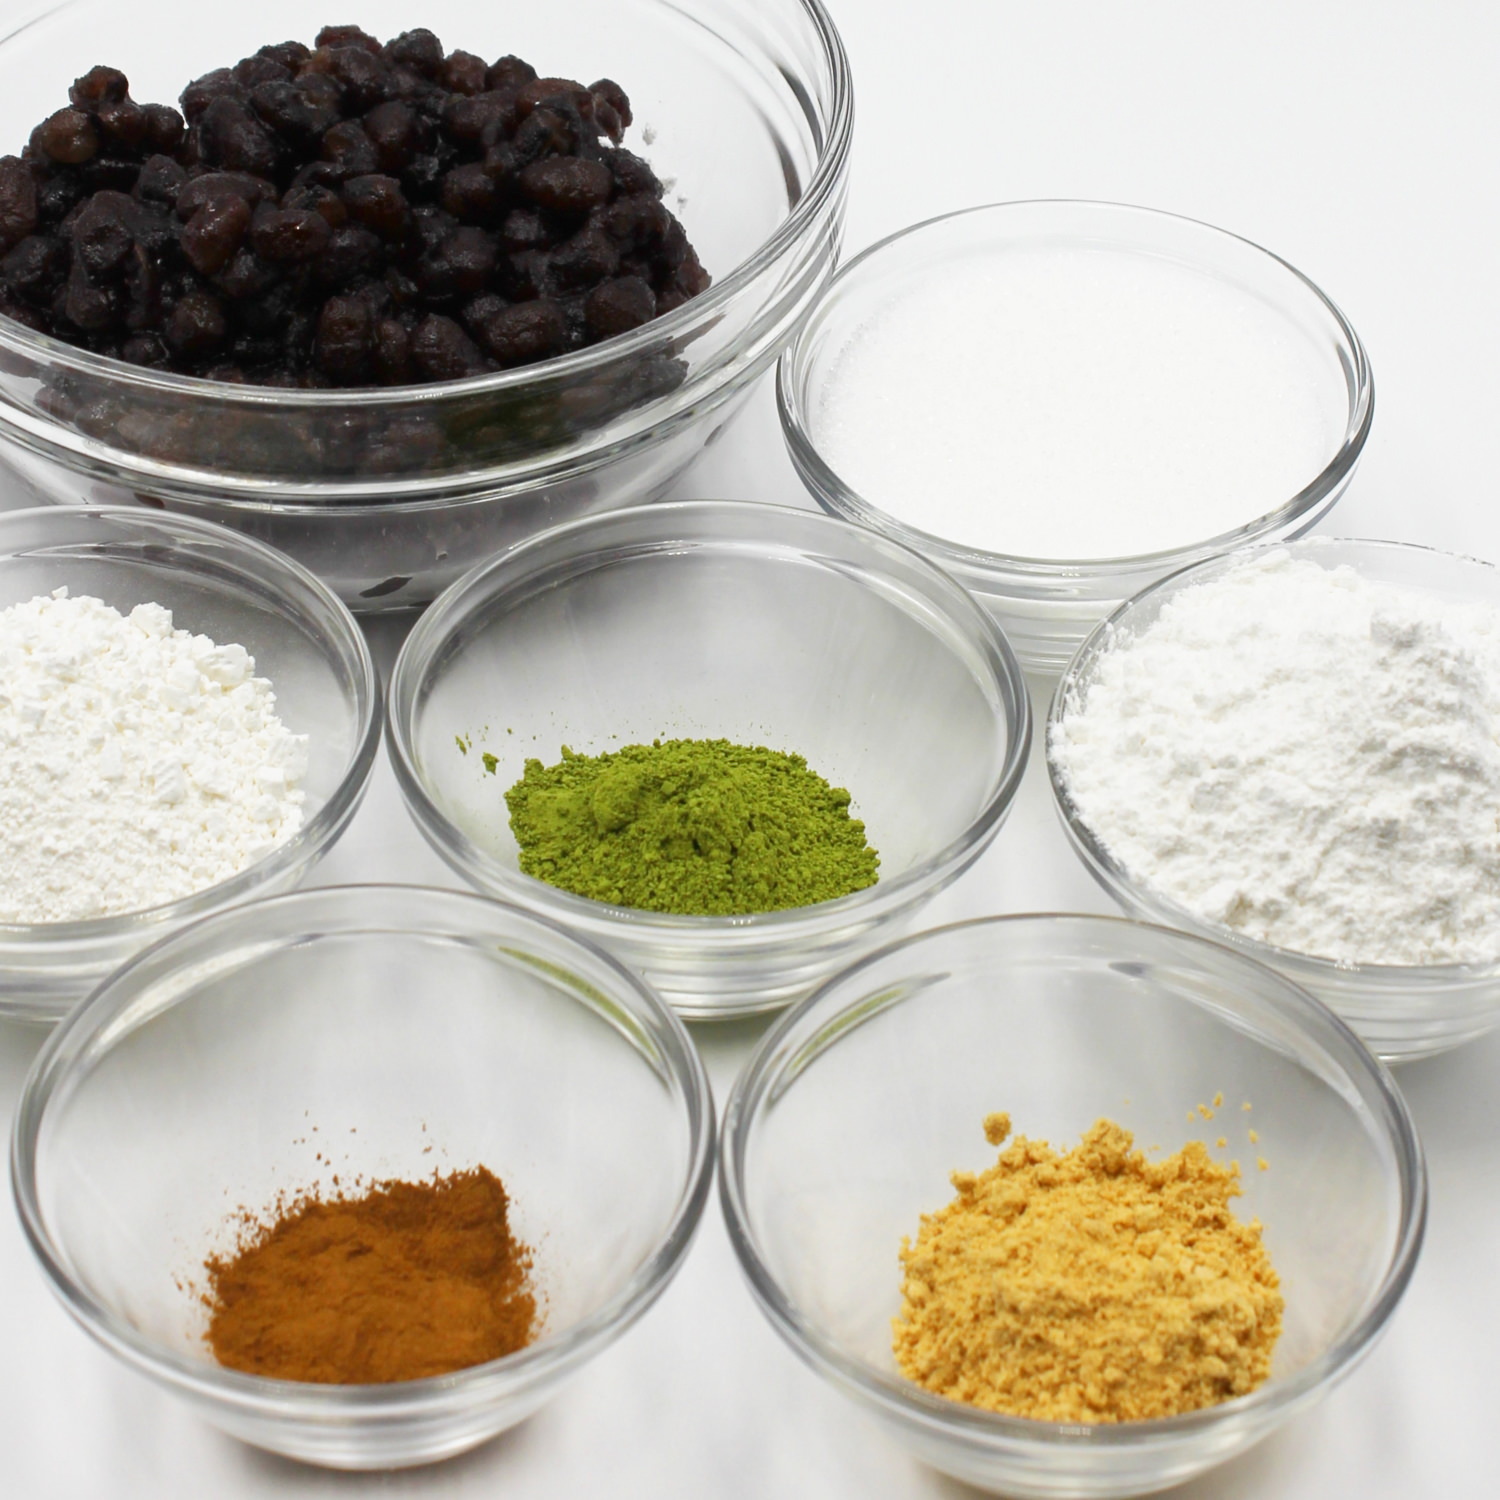
Step 1
Get the ingredients for Nama Yatsuhashi ready. If you decide to make homemade tsubu-an (click here for the recipe for homemade anko), it should already be prepared and completely cooled!
Step 2
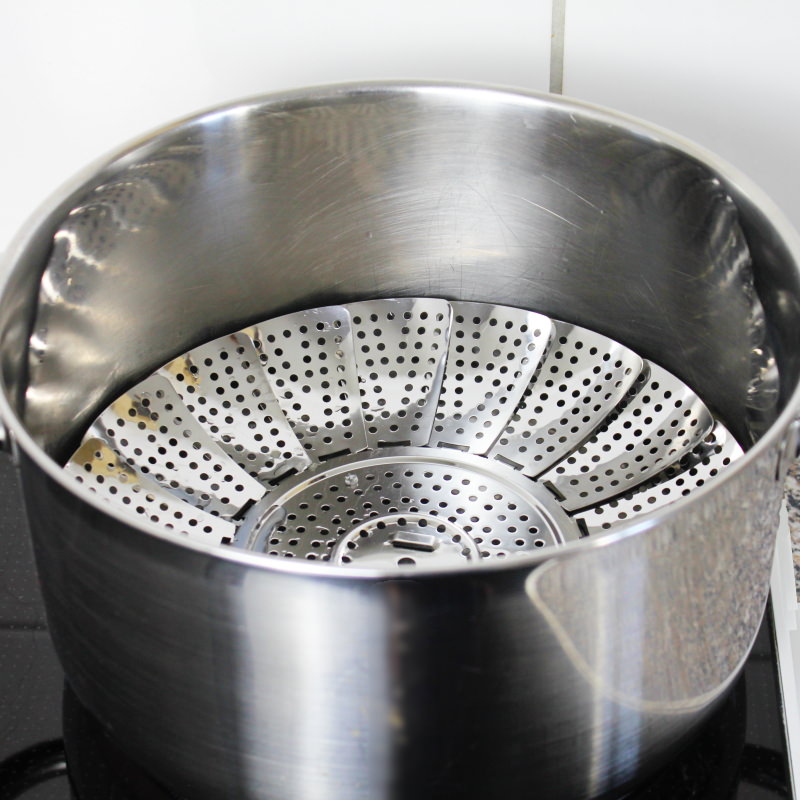
First, prepare the dough: To do this, start by filling a large saucepan (a medium-sized bowl, see next step, should fit comfortably inside) with about two fingers’ depth of water and place a steamer inside it (only the legs of the steamer should be in the water). Bring the water to the boil.
Step 3
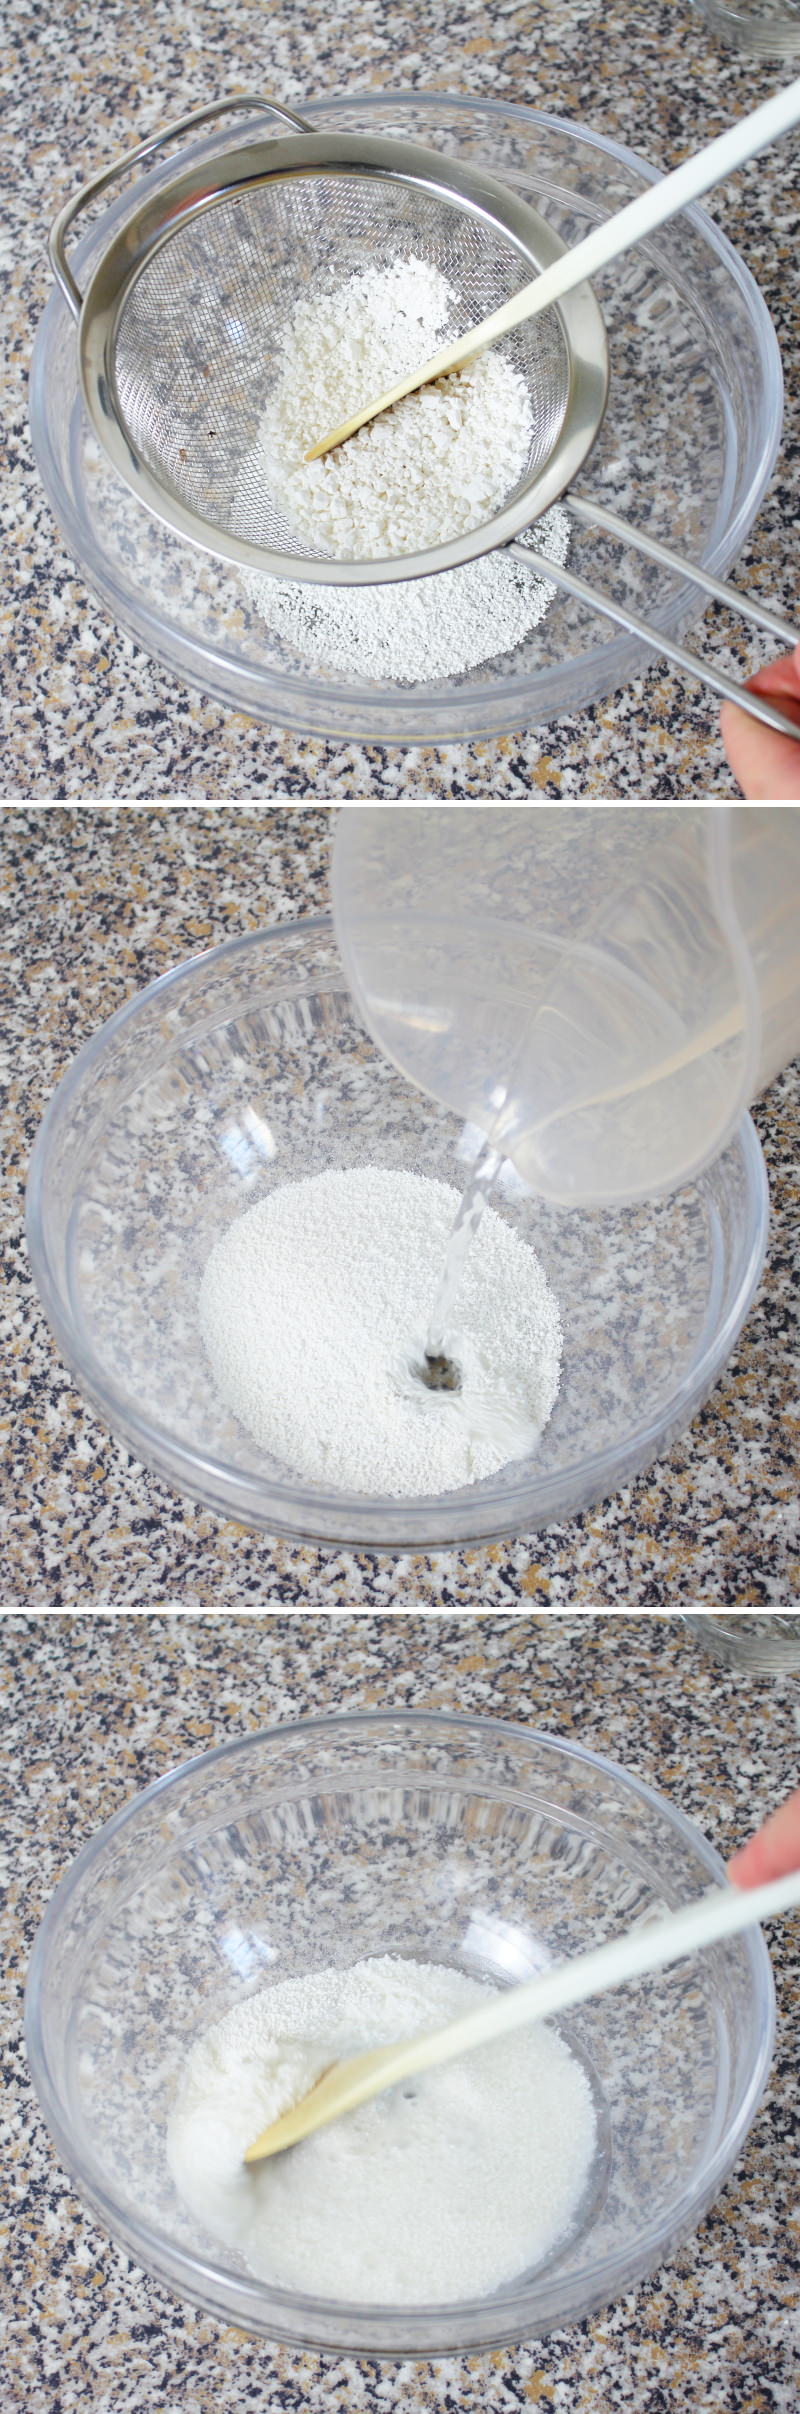
In the meantime, sift the glutinous rice flour through a sieve into a medium-sized bowl and mix thoroughly with the water .
Step 4
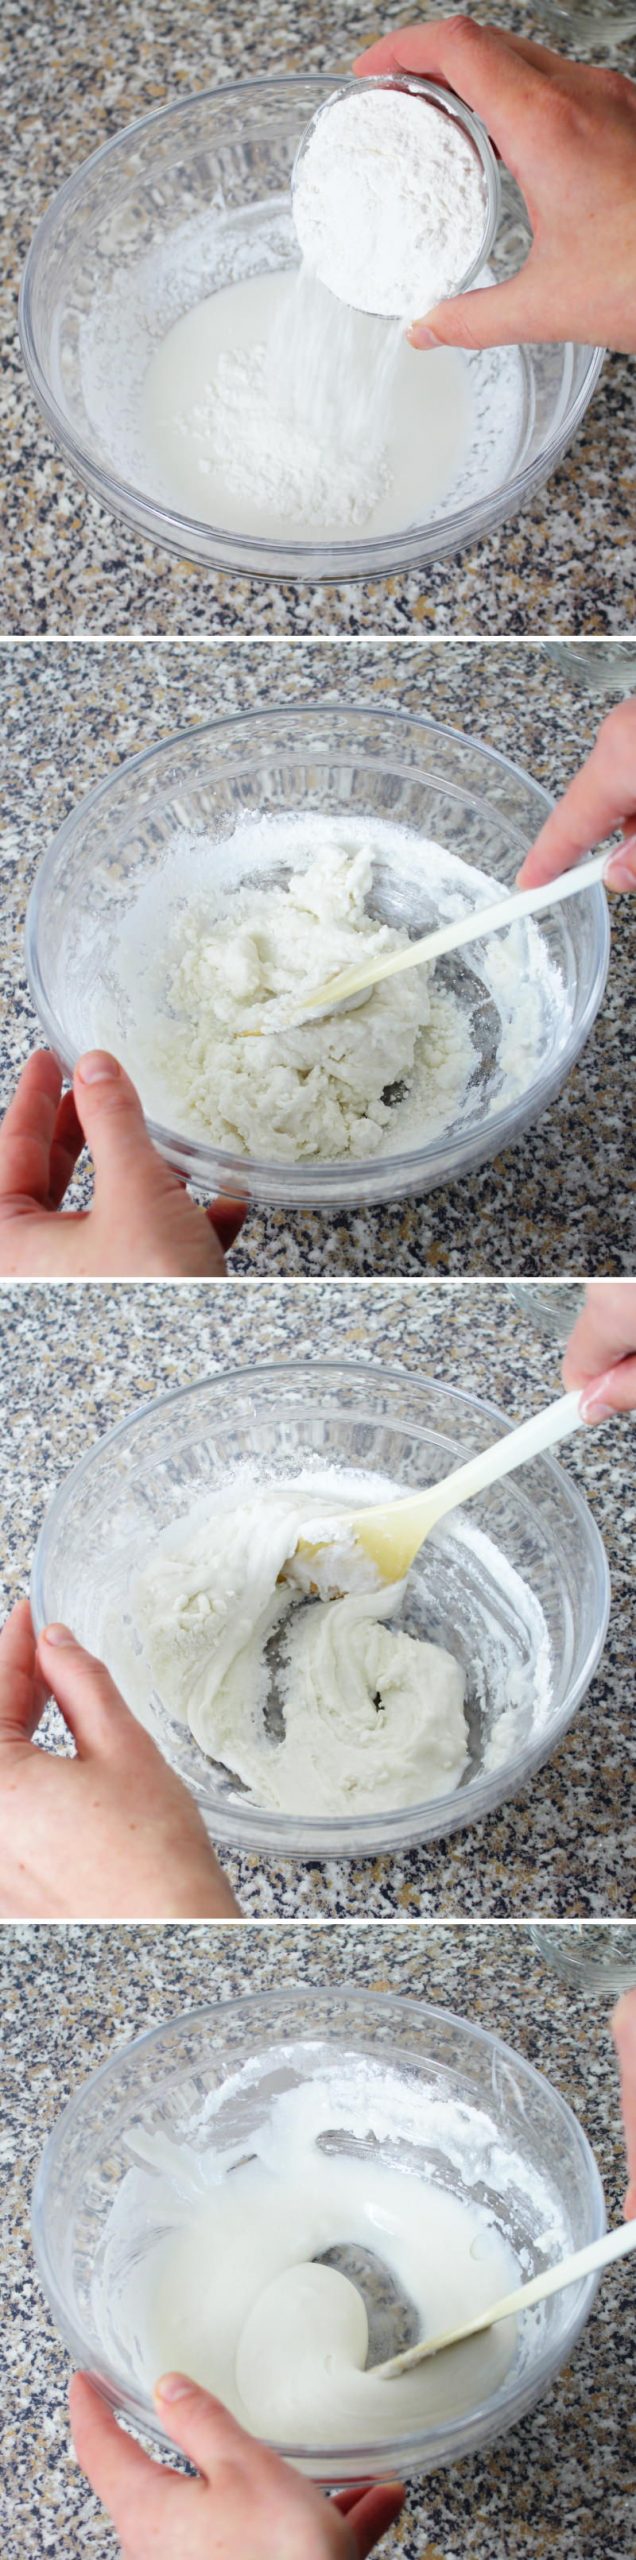
Next, add the rice flour and the sugar . Mix everything together very carefully and scrape it down from the sides of the bowl. Tip: To begin with, the mixture will be very thick, almost lumpy. Don’t let that put you off! Just keep stirring with the spoon. The sugar will slowly dissolve and the mixture will become runny again after a while. If the mixture reminds you of icing, it’s ready.
Step 5
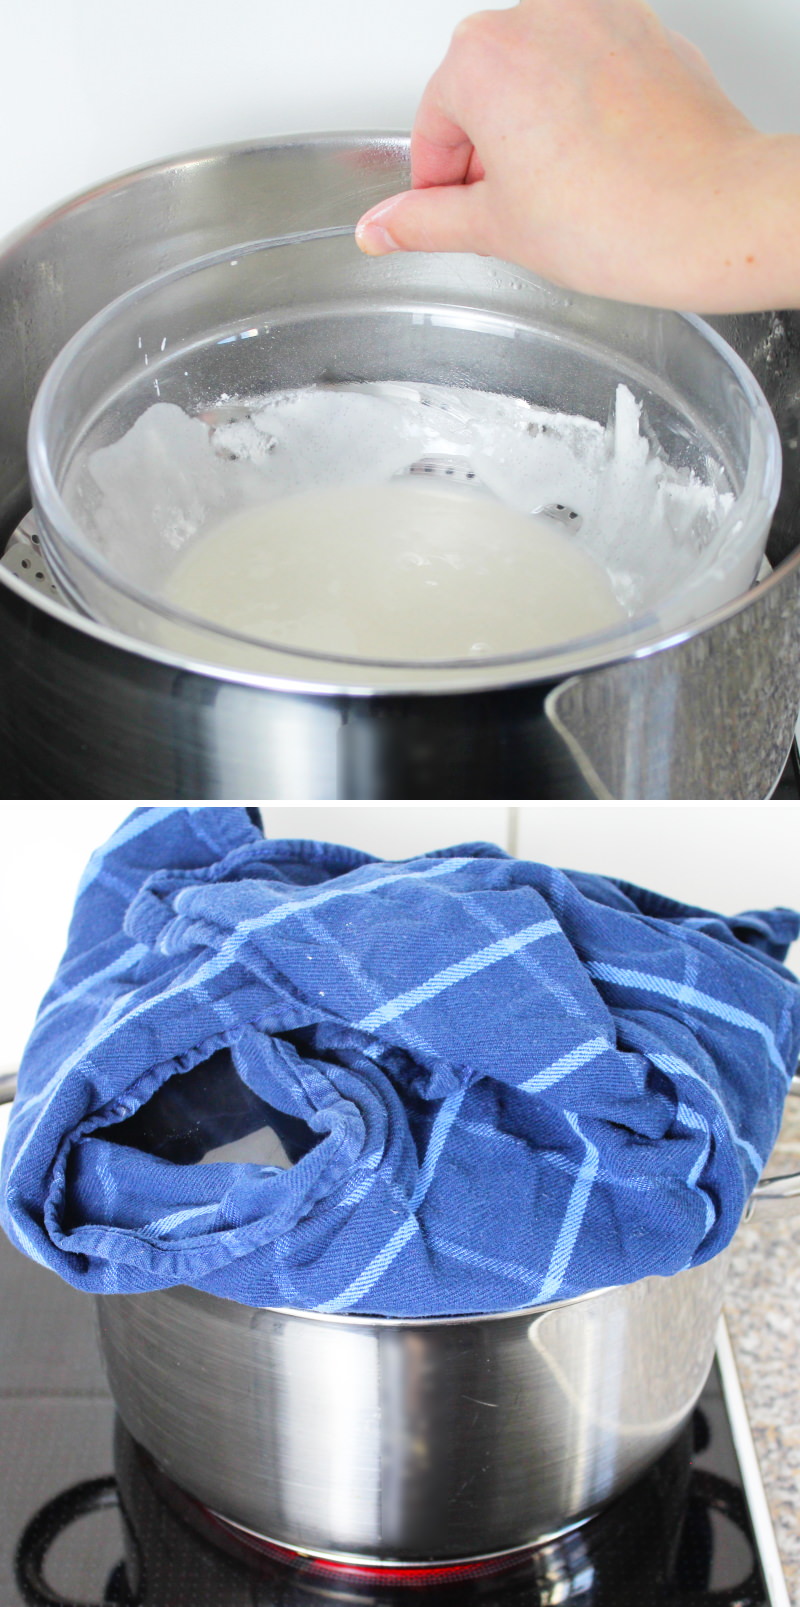
Place the bowl containing the batter into the steamer. Wrap the lid of the pot with a kitchen towel (to prevent condensation from dripping into the batter), fold the ends of the tea towel upwards and place the lid on the pan. Reduce the heat so that the water beneath the steamer is just simmering very gently. Steam the dough for 12 minutes.
Tip: To make the dough in a pan or in the microwave, follow my basic recipe for mochi dough!
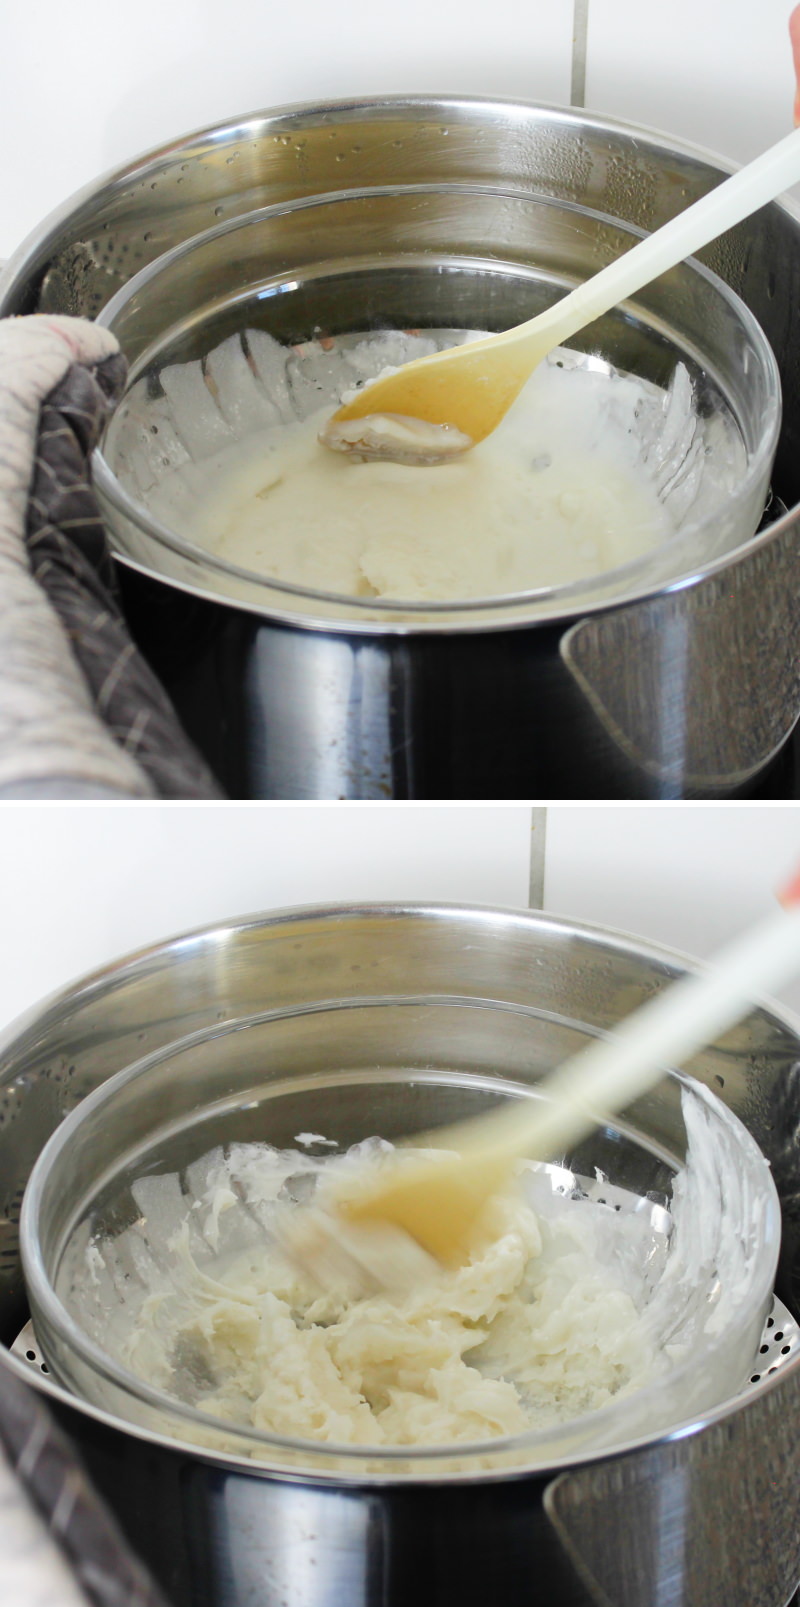
Step 6
Halfway through the steaming time, remove the lid, stir the dough with a slightly damp spoon and replace the lid, including the tea towel. Caution: Risk of burns – please use oven gloves or pot holders!
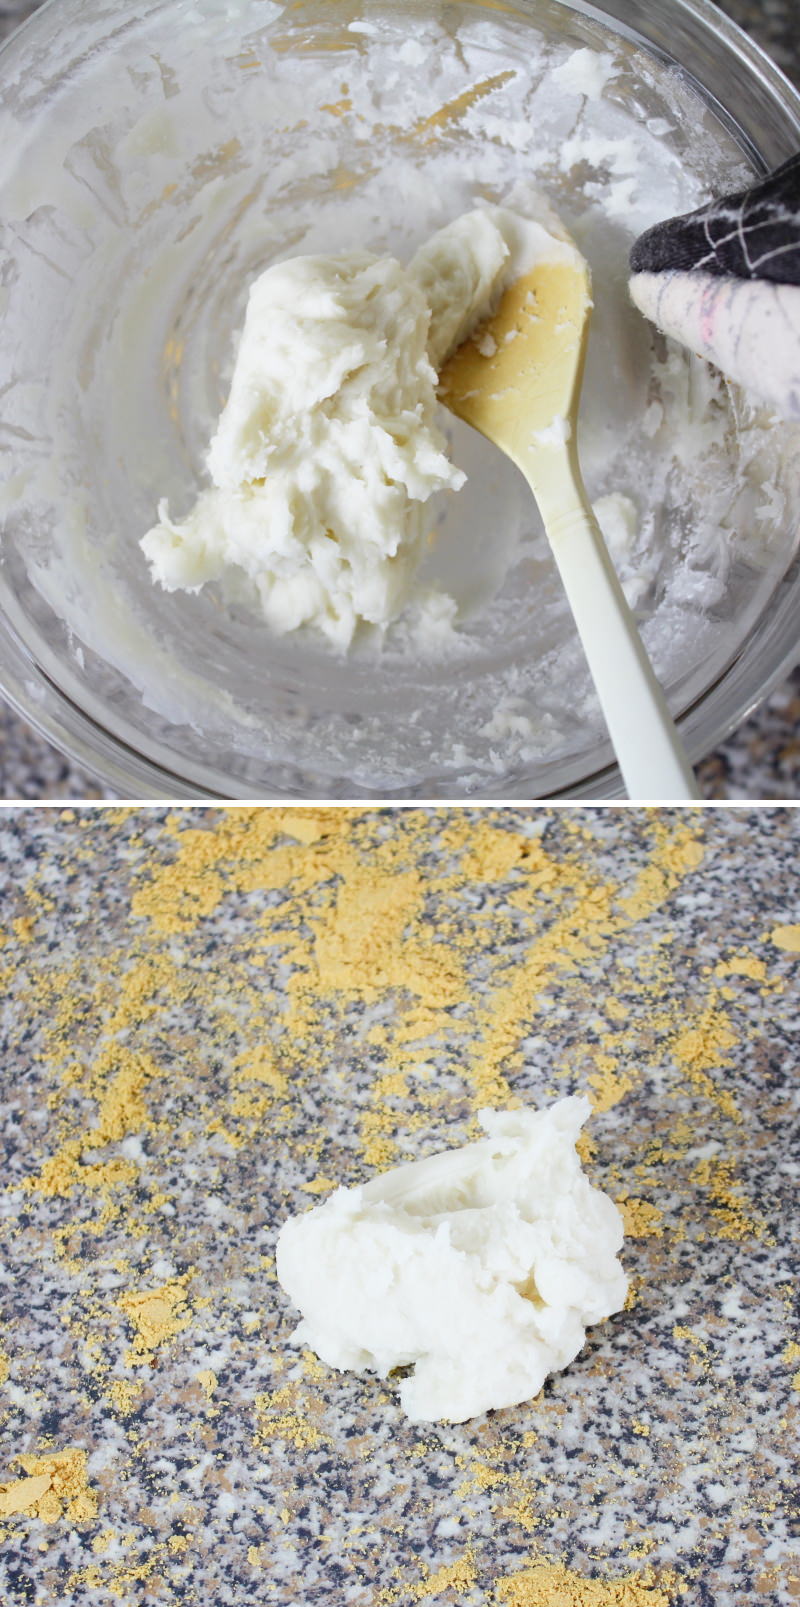
Step 7
Shortly before the 12 minutes are up, sprinkle half of the Kinako soya bean flour onto a clean work surface. Then, as soon as the dough is ready (it should be a firm, cohesive mass that is no longer runny), remove the bowl from the steamer. Using a spoon, transfer the dough from the bowl directly onto the soya bean flour to prevent it from sticking to the surface. Leave to cool briefly (for about 5 minutes).
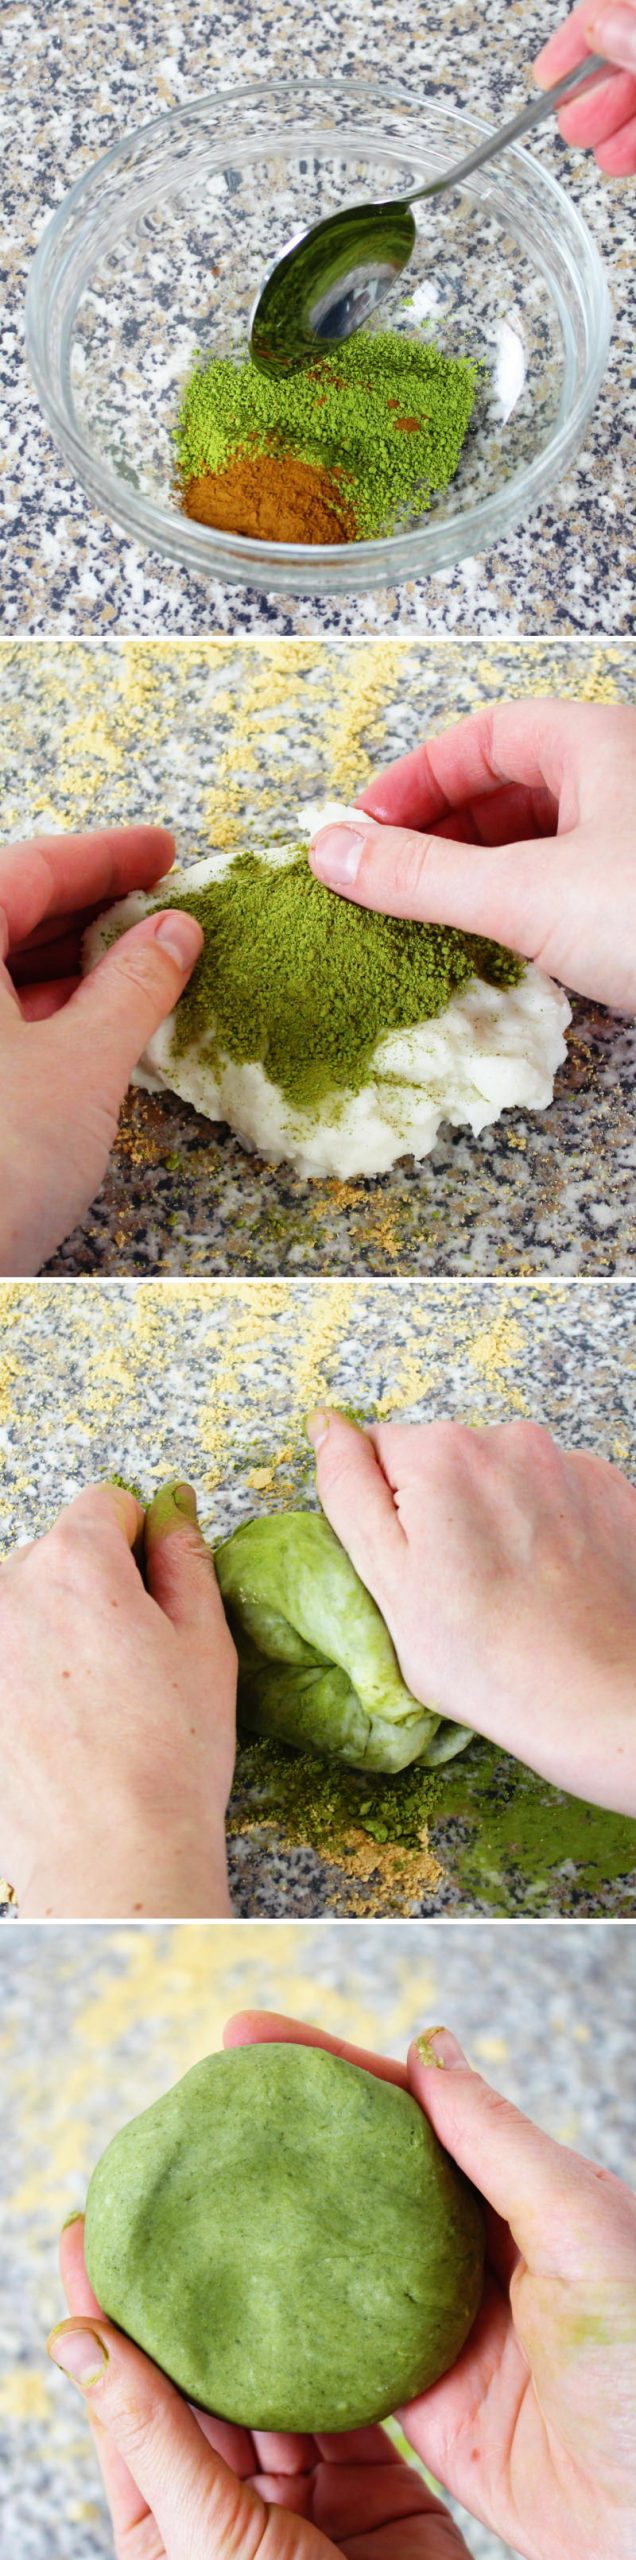
Step 8
Meanwhile, mix the Matcha and cinnamon together and simply add them to the dough. As soon as the dough is cool enough to handle without burning your fingers, knead the Matcha and cinnamon mixture into the dough.
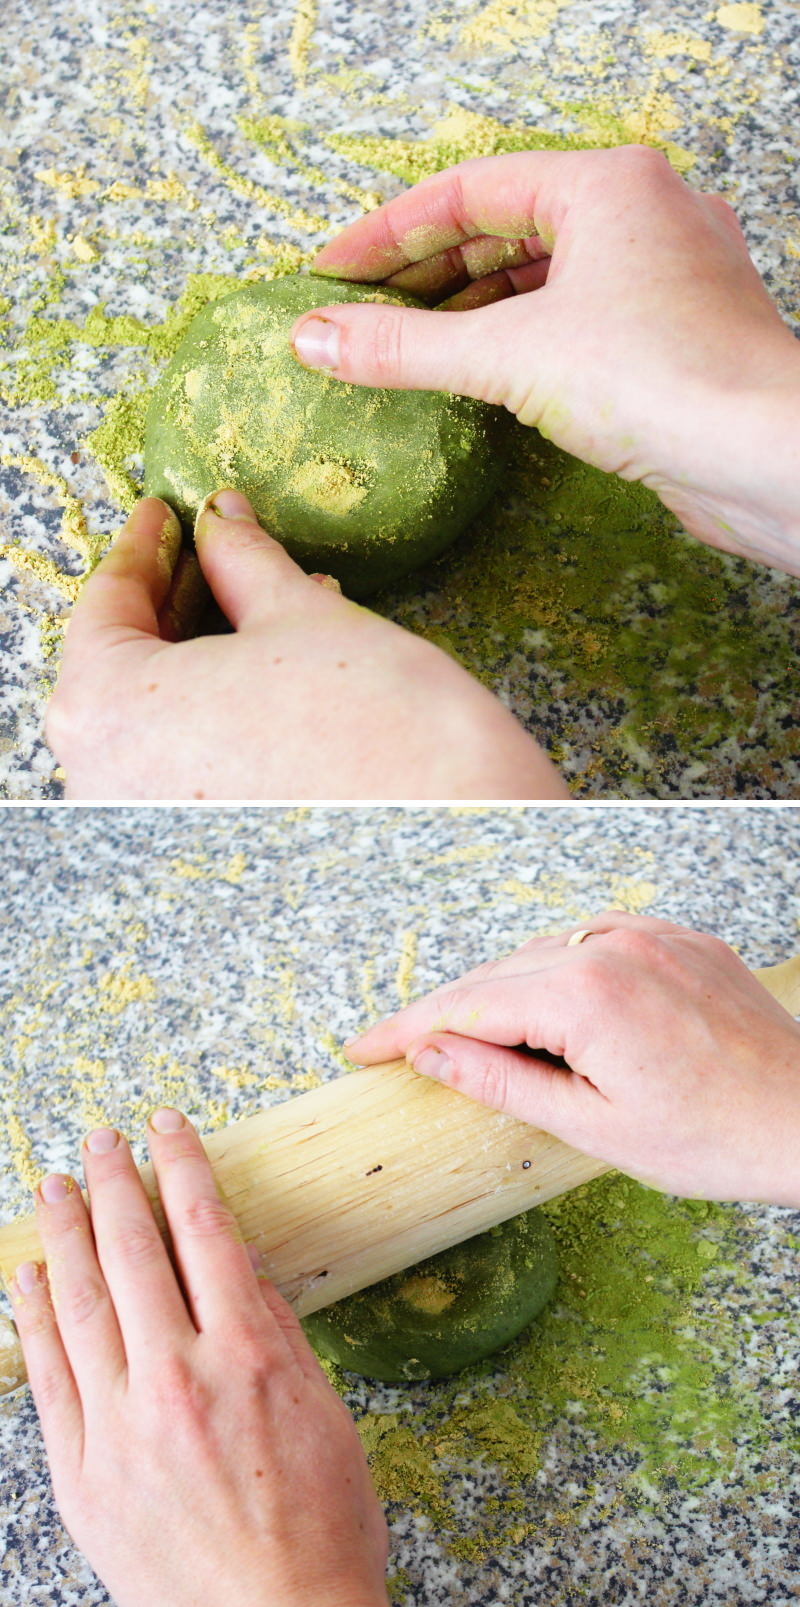
Step 9
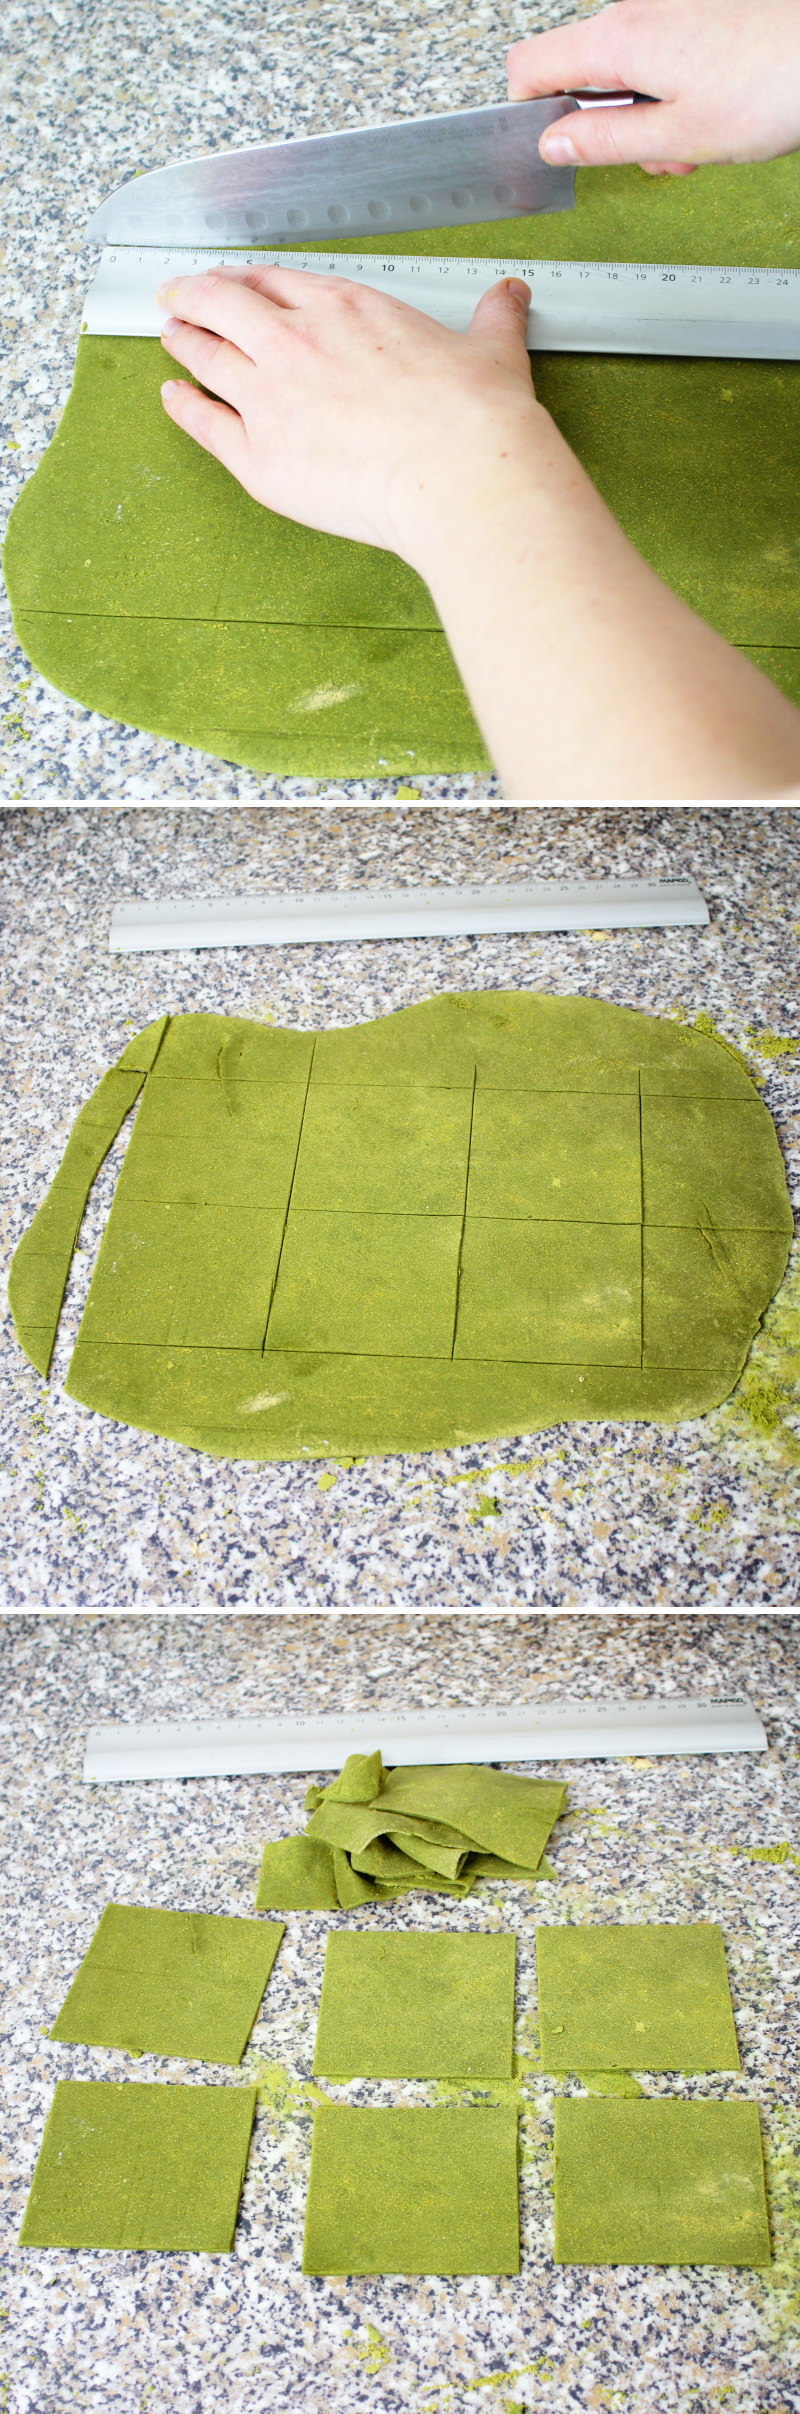
Sprinkle the soya flour over the work surface once more and dust a rolling pin with it. Roll out the Matcha-cinnamon-rice flour dough with the rolling pin, to a size slightly larger than 24 x 16 cm and no more than 3 mm thick.
Step 10
Then, using a large ruler or pre-cut squares of paper and a large knife, cut 8 x 8 cm squares out of the dough. This should give you 6 squares of dough.
Step 11
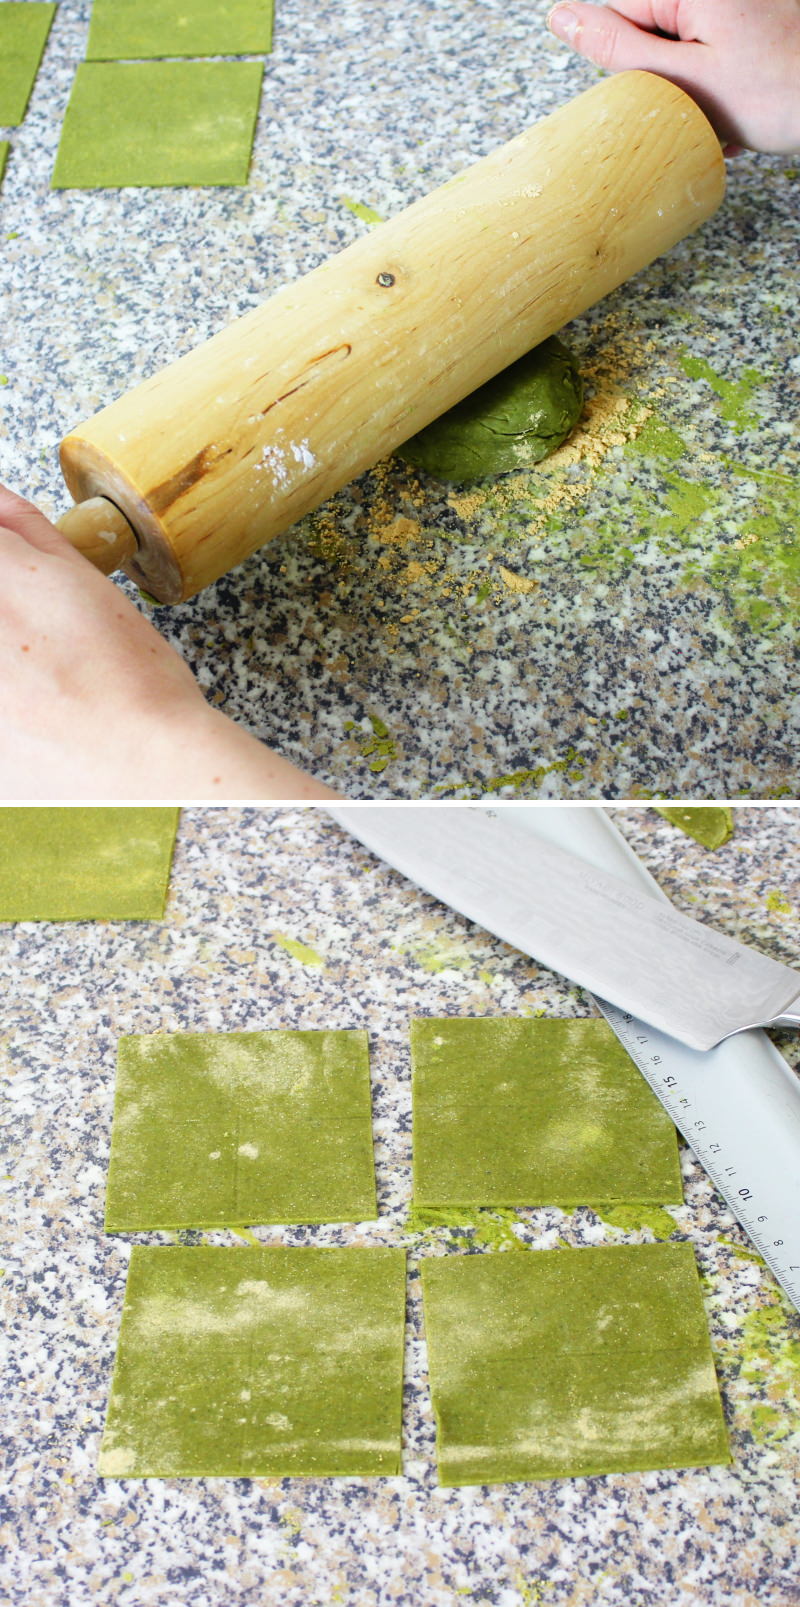
Knead the remaining dough back together, dust everything once more with soya flour and roll it out in the same way. Now roll it out to approximately 16 x 16 cm and no thicker than 3 mm. Cut out a further 4 squares measuring 8 x 8 cm. You should now have a total of 10 pieces of dough in front of you.
Step 12
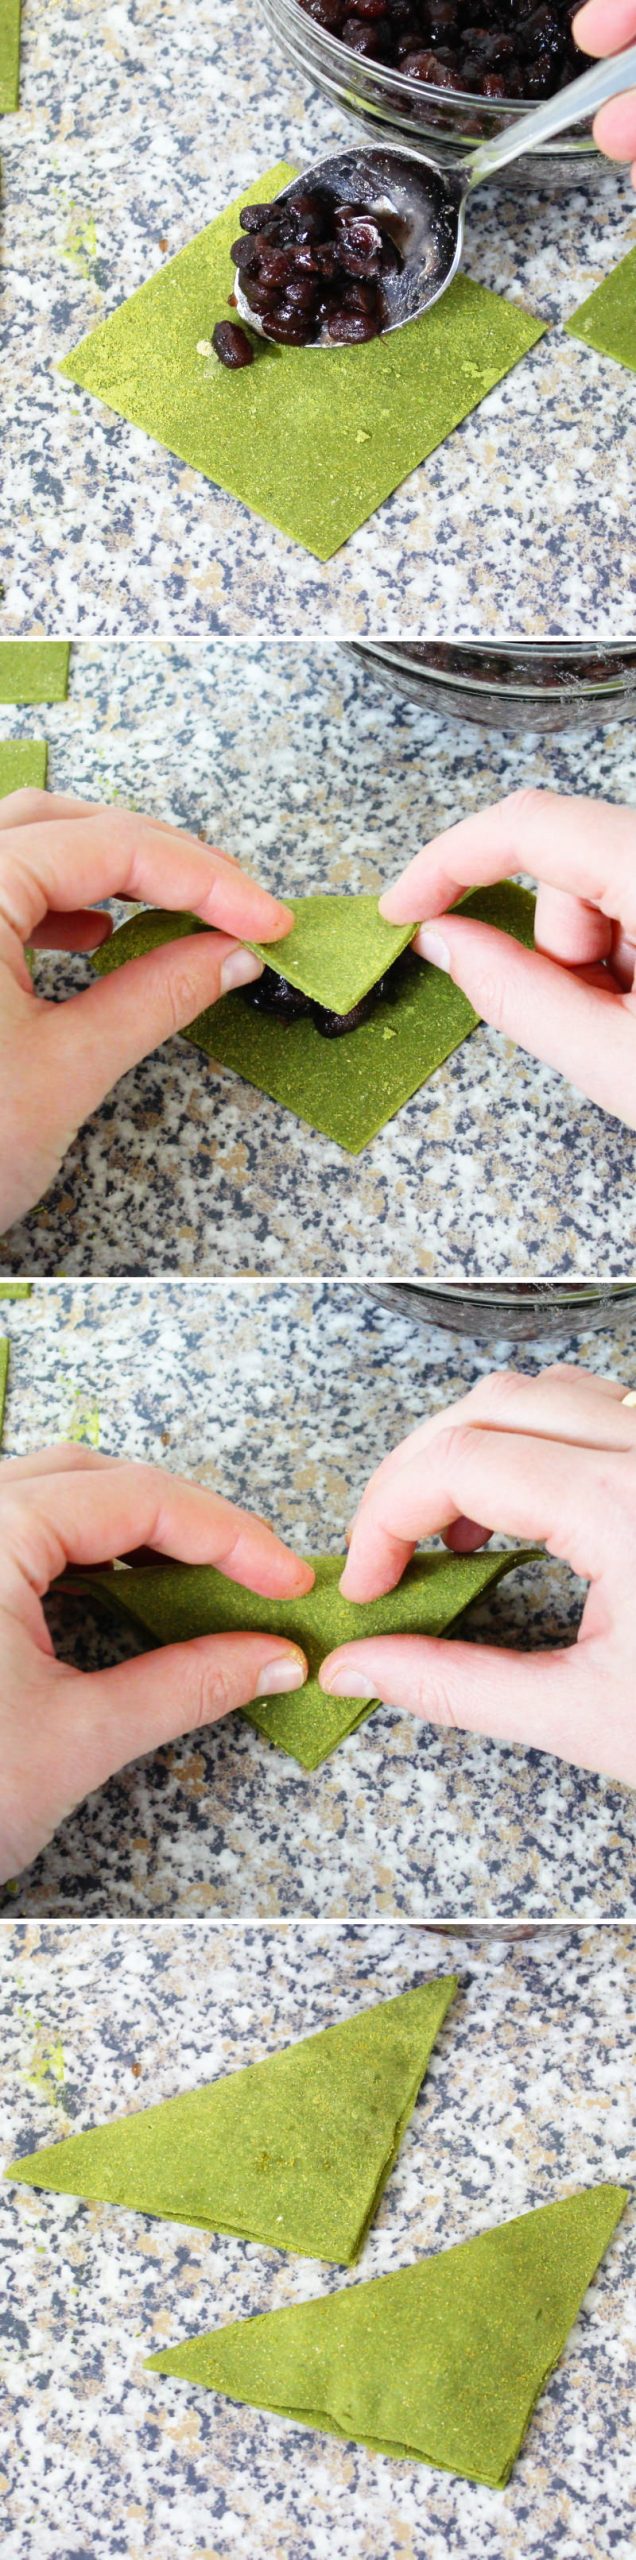
Now place about 15 g of tsubu-an (roughly 1/2 tbsp coarse anko) in the centre of each dough square. Then pull one of the corners over the centre towards the opposite side to form triangles, and press the edges together lightly (if necessary, use a little fresh water on your fingertips to help them stick together). Tip: Don’t use too much anko – less is more here!
Fill and fold all the dough pieces.
Step 13
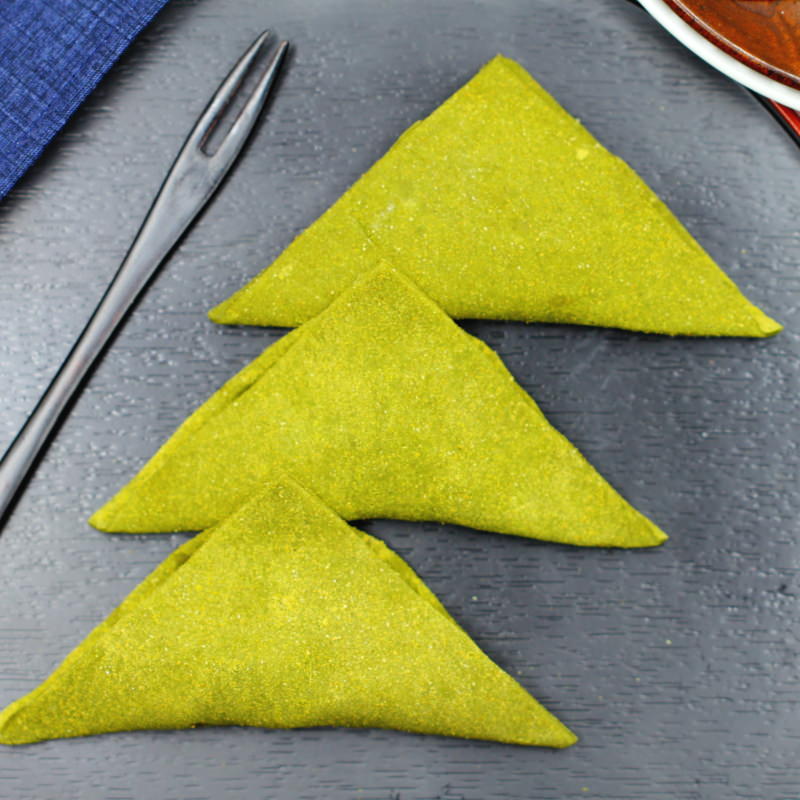
Serve the finished Nama Yatsuhashi within 24 hours at the latest, otherwise they’ll dry out. Ready – Itadakimasu!
Are you looking for even more delicious Japanese sweets that will have you and your guests eating out of your hand? Here are my most popular recipes:
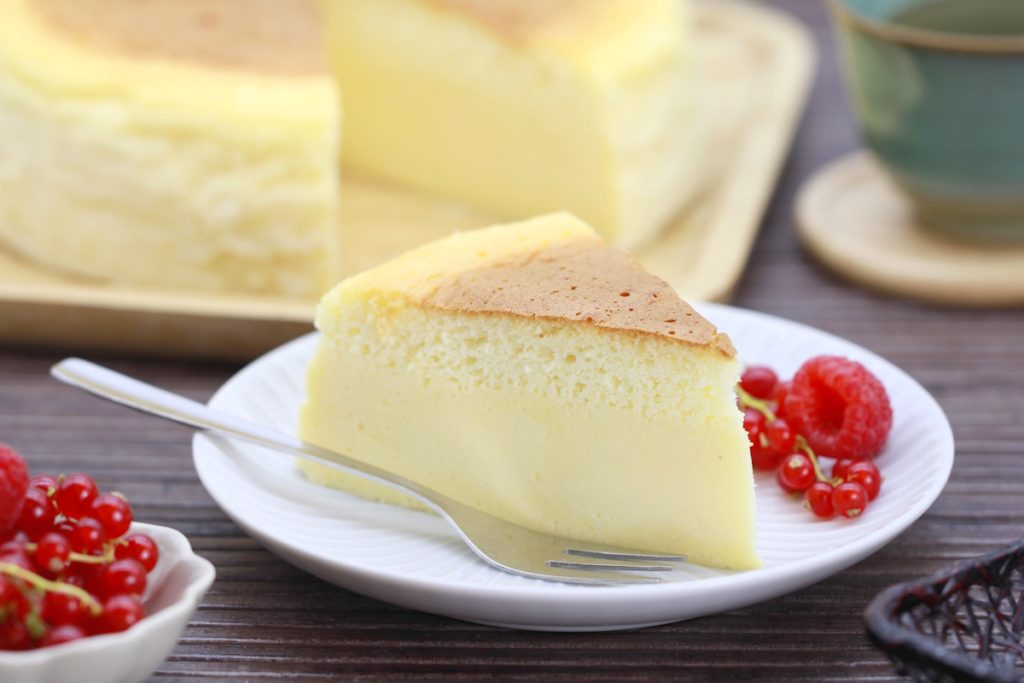
Japanese cheesecake: The best recipe for a fluffy soufflé-style cheesecake just like in Japan
Japanese cheesecake is one of Japan’s most popular desserts and delights with its exceptionally light and airy texture. Unlike classic…
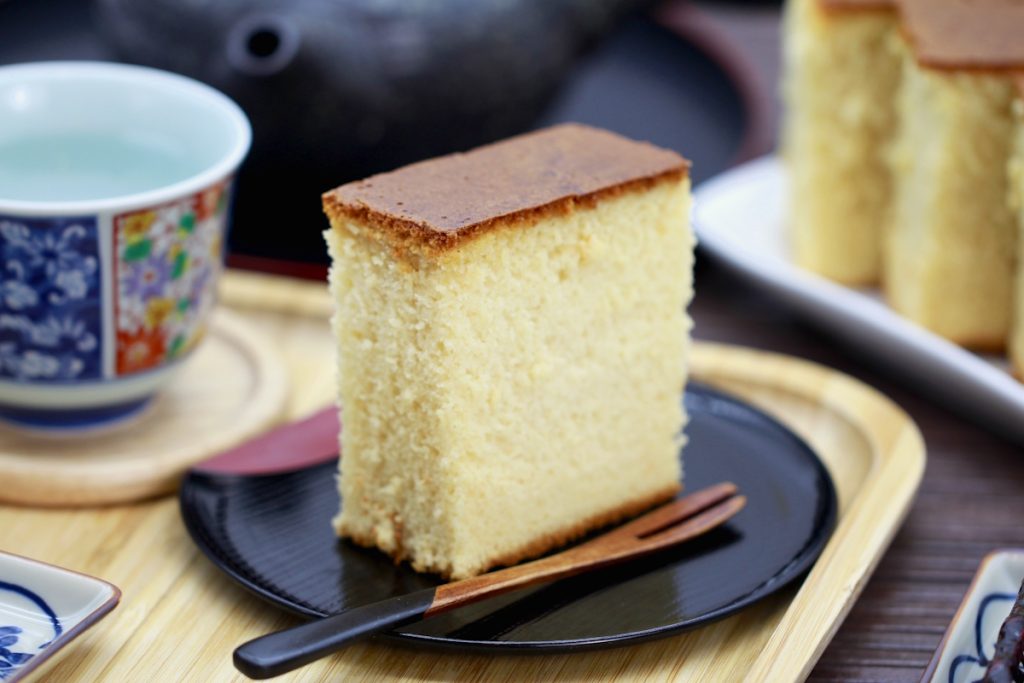
How to make Castella (Kasutera) yourself: How to make this Japanese honey cake
Why is Castella often described as Japan’s moistenest cake? Although Kasutera consists of just a few ingredients, the special preparation…
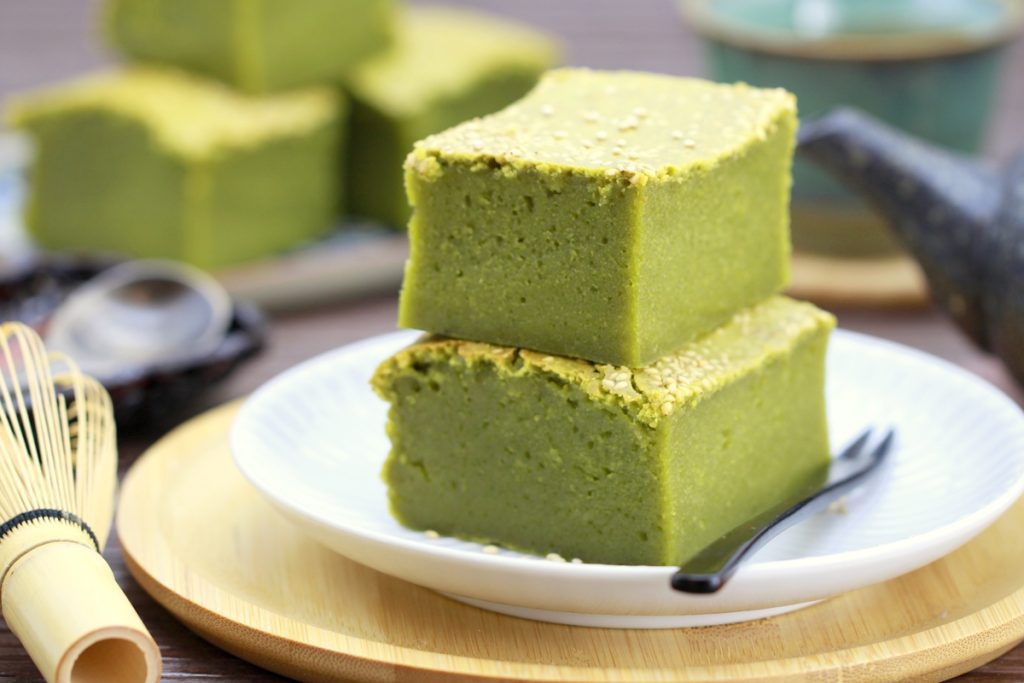
Make your own Matcha butter Mochi: Hawaiian Mochi cake with green tea
If you drink Matcha regularly, you might be familiar with this: at some point, you end up with more Matcha…
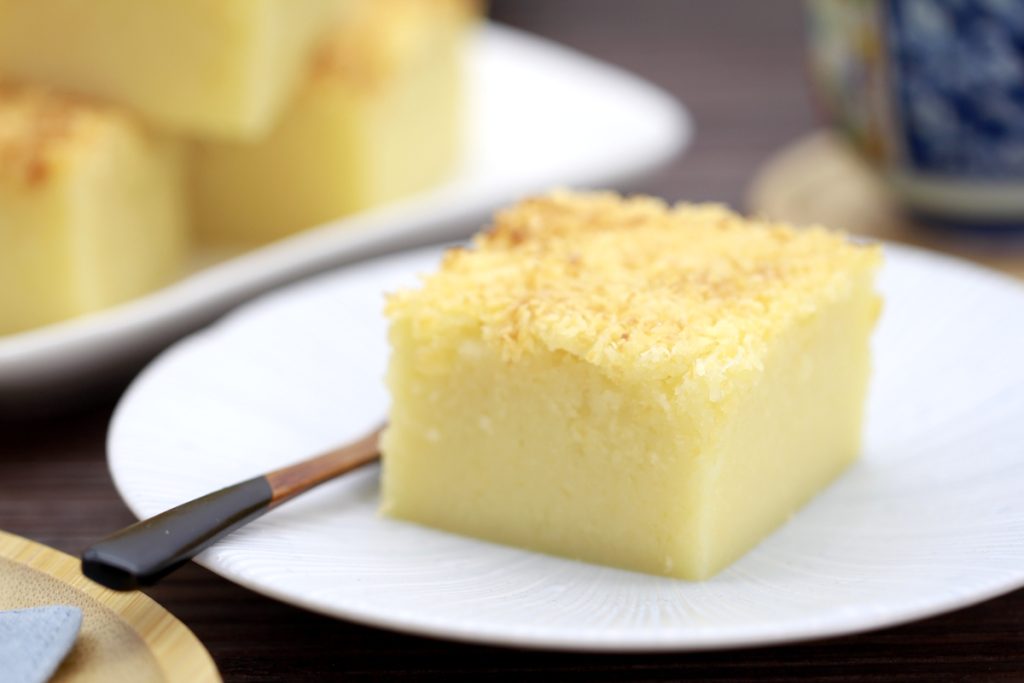
Butter Mochi (Hawaiian Mochi Cake – gluten-free)
Butter Mochi is one of those recipes that’s hard to pigeonhole. It looks like a simple tray bake, but has…
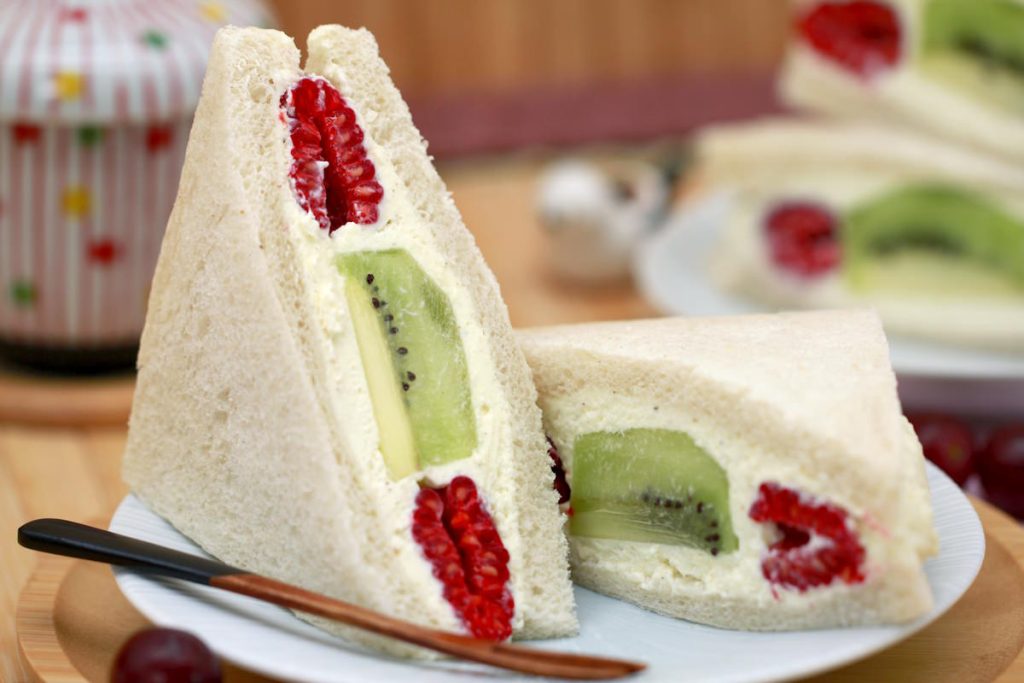
Make your own Fruit Sando: a fluffy cream sandwich with fruit – simple, fresh & typically Japanese
In Japan, it can remain surprisingly hot well into September – and it was on just such a muggy late-summer’s…
Warabi Mochi: Make your own delicate summer dessert with Kinako & Kuromitsu syrup
When the weather warms up, the appetite for light, refreshing sweets grows in Japan – and hardly any dessert embodies…
Have you tried out the recipe? Let me know in the comments – I can’t wait to hear from you.