

Language:


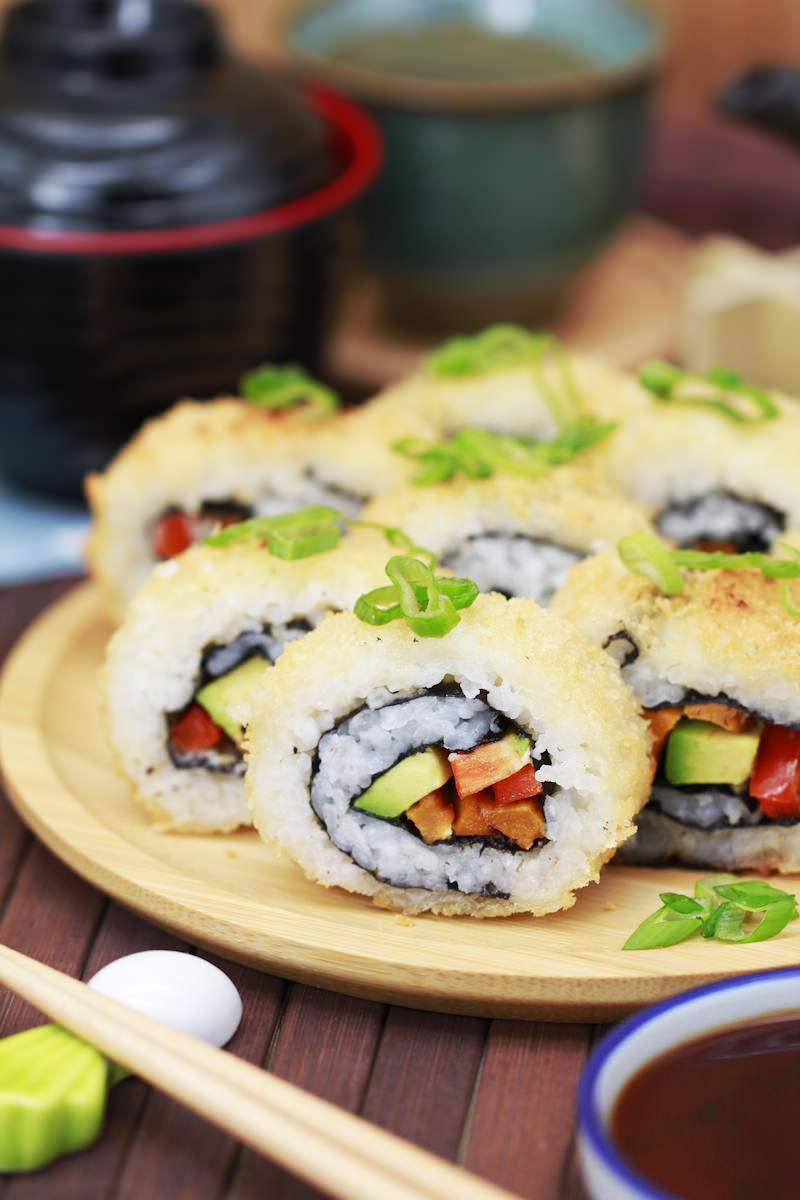
Golden brown and crispy on the outside, soft, fresh and full of flavour on the inside – Crispy Sushi Rolls combine the best of both worlds. These popular inside-out sushi rolls are first rolled in the traditional way with Sushi rice, nori seaweed and a delicious filling, then deep-fried until crispy. The result is a real treat: a gentle crunch from the crispy coating, followed immediately by the creamy, melt-in-the-mouth filling – irresistible!
Our recipe is also completely vegetarian, making it perfect for anyone who prefers not to eat fish or has avoided Sushi in the past because they don’t like raw fish. Freshly fried sweet potatoes, creamy cream cheese and crunchy vegetables make for a quick, delicious combination that’s perfectly encased in the golden batter. Ideal for special occasions, a cosy evening in, or simply when you fancy something really tasty from Japan!
What is Crispy Sushi?
Crispy Sushi Rolls – sometimes also known as Crunchy Rolls – are a creative twist on classic sushi rolls. Whilst traditional sushi varieties such as maki or Uramaki the focus is on delicate, fresh flavours, Crispy Rolls bring an additional, delicious texture into play: a crispy coating that crackles slightly on the first bite and then reveals the soft, aromatic centre.
Crispy Rolls originally come from fusion cuisine, particularly from the USA, where Sushi was reinterpreted and adapted to Western tastes. The idea of breading and deep-frying Sushi arose from a love of crispy foods – a concept that has quickly gained fans worldwide.
TOP RECOMMENDATION
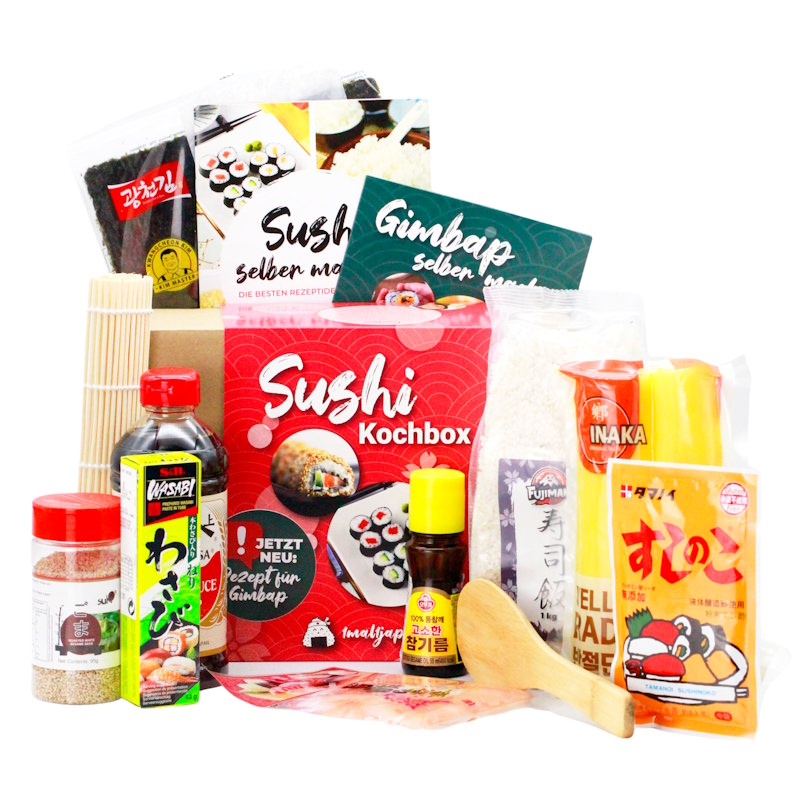
Sushi + Gimbap Kochbox | Reisrollen selber machen
11-tlg. DIY Sushi Set, inkl. Rezepte + Zubehör, für Anfänger & Kenner. Mit der Sushi + Gimbap Kochbox gelingen dir japanische und koreanische Rollen ganz…
In stock
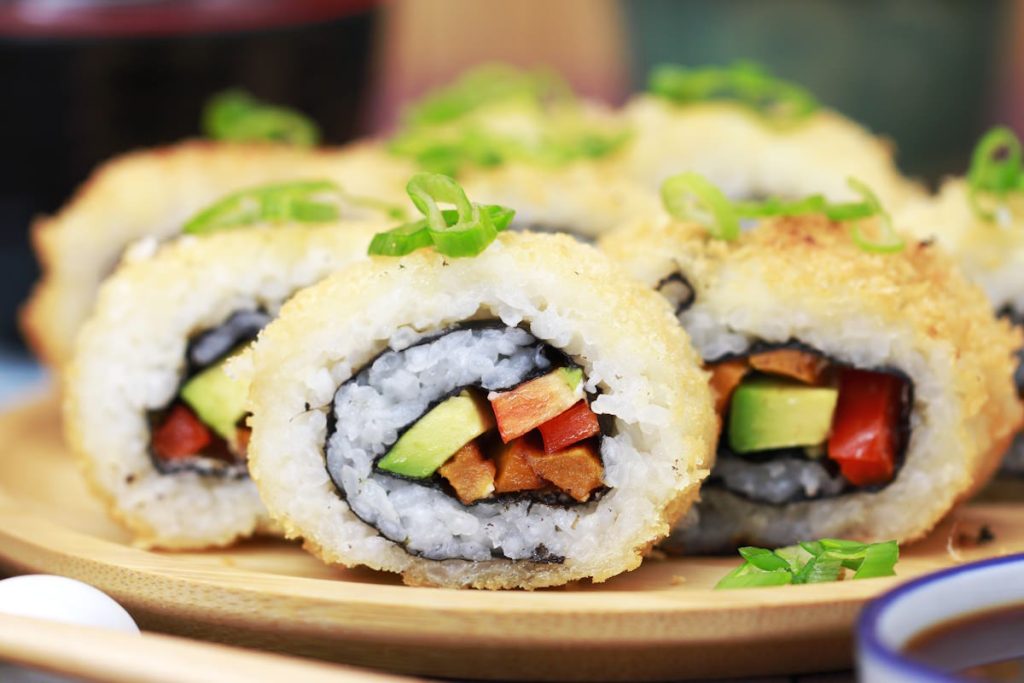
In our version, a classic inside-out roll (uramaki) is first prepared with aromatic sushi rice and a vegetarian filling . The finished rolls are then carefully breaded and deep-fried in hot oil until golden brown. The result is rolls that are deliciously crispy on the outside and wonderfully tender and fresh on the inside.
Whether as a special eye-catcher on a Sushi platter or as a highlight in their own right: Crispy Sushi Rolls offer an exciting taste experience that combines traditional techniques with modern ideas – and all without any raw fish!
How to make Crispy Sushi yourself: Here’s how
Making Crispy Sushi Rolls at home is easier than you might think – and it’s great fun! With a bit of preparation and the right ingredients, you can easily whip up these crispy treats in the comfort of your own kitchen.
The key ingredients for your crispy rolls:
- Sushi rice: Loose, slightly sticky and seasoned with Sushi no Ko – it forms the perfect base.
- Nori sheets: They stabilise the roll and hold the filling and rice together.
- Vegetable filling: Sweet potato, avocado and pepper create a colourful, creamy and fresh combination.
- Cream cheese: Gives the roll a wonderfully mild, slightly melt-in-the-mouth texture.
- Breading: A mixture of flour, katakuriko (potato starch) and panko provides the ultimate crunch.
- Nitsume sauce: The sweet-and-salty, reduced sauce perfectly rounds off the flavour of the rolls.
Whilst the rice is cooking and being seasoned, prepare the filling: cut the sweet potatoes into strips and fry until crispy, then slice the peppers and avocado fresh. Next, roll the inside-out Sushi rolls on a bamboo mat lined with cling film – with the rice on the outside and the vegetables and creamy cream cheese on the inside.
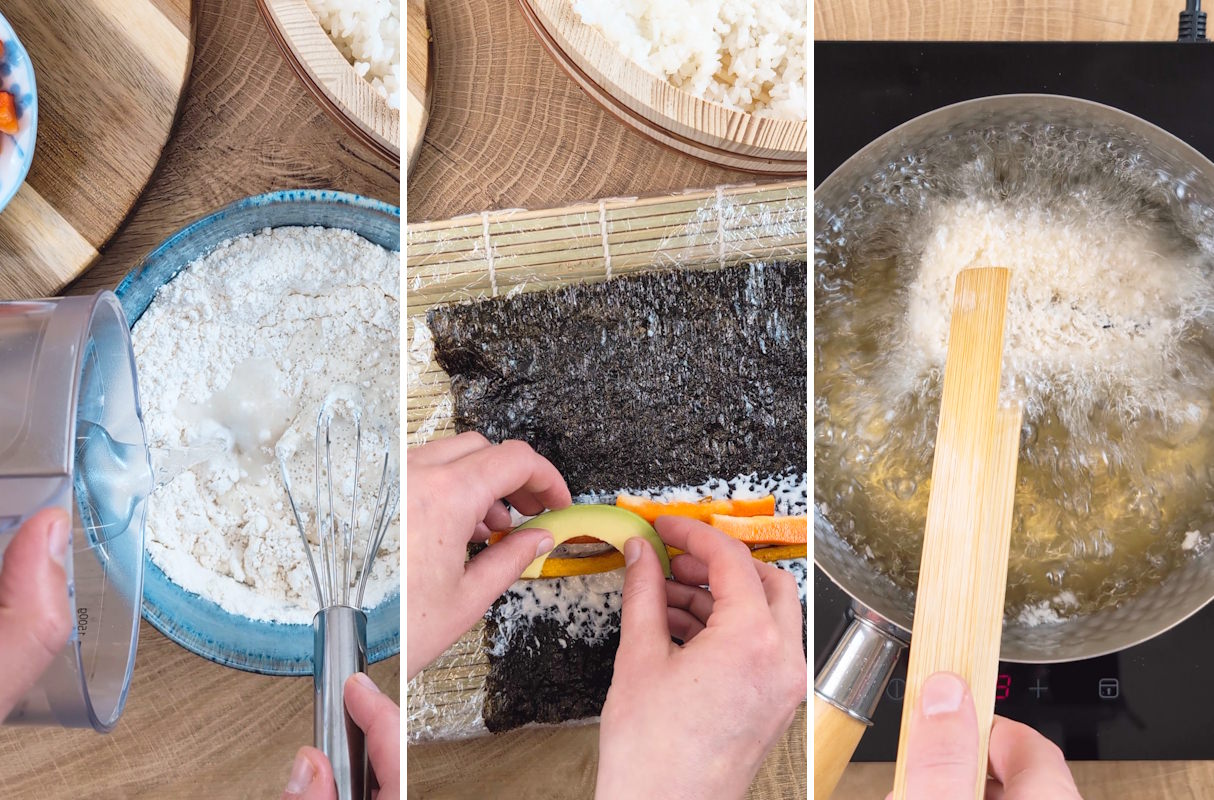
After a short resting period, carefully cut the rolls in half, dip them in a light Tempura batter, coat them generously with panko and then fry them in hot oil until golden brown.
Next, cut the crispy Sushi rolls into bite-sized pieces and drizzle a little of the aromatic nitsume sauce over them – and there you have it: your homemade crispy Sushi, which is guaranteed to delight everyone!
Now it’s time to roll: spread a thin layer of rice onto a nori sheet, arrange the prepared ingredients in the centre and roll everything up tightly using a Sushi mat. Finally, brush the rolls with sesame oil and sprinkle them with toasted sesame seeds before cutting them into bite-sized pieces.

Ideas for other fillings:
Corn & edamame: Sweet and crunchy – a great vegetarian option with plenty of bite.
Cream cheese & mango: Creamy and fruity – an exciting contrast of sweetness and tartness.
Shiitake mushrooms & carrots: Savoury and aromatic – particularly delicious if you lightly fry the shiitake.
Tempura vegetables: e.g. fried courgette, pumpkin or aubergine as a filling – for double the crispy enjoyment.
Kimchi & Tofu: A spicy combination for anyone who loves a bit more heat (Note: Kimchi isn’t always vegetarian, so check if necessary).
What goes well with them?
Crispy Sushi Rolls taste really good on their own, but small side dishes make the meal even more varied. A simple Misoshiru or a fresh cucumber salad with rice vinegar dressing. Edamame or yaki mochi make a great addition. This quickly creates a simple yet well-rounded meal.
Have you ever made crispy Sushi yourself? Which fillings are your favourites? Feel free to share your ideas and variations in the comments – I look forward to hear from you! Have fun rolling and enjoy your meal.
Crispy Sushi
serves 2 | 60 minutes | 293 kcal
🖨️ Print PDF 📌 Save this pinCrispy Sushi Rolls bring a bit of variety to the table: a crispy panko coating on the outside, a creamy filling on the inside – these vegetarian inside-out sushi rolls are perfect for anyone fancying a creative, modern take on Sushi. Filled with sweet potato, avocado and cream cheese, they’re not only delicious but also easy to make.
Ingredients (2 portions = 4 rolls)
For the rice:
300 g Sushi rice (im Shop ansehen)*
1 piece Kombu (approx. 10 x 15 cm) (im Shop ansehen) *
2 tbsp Sushi no ko (im Shop ansehen)*
300 ml water
For the filling:
1 small sweet potato
1 avocado
1 red pepper
4 tablespoons cream cheese
4 Nori sheets (im Shop ansehen)*
2 tablespoons oil (for frying the sweet potato)
½ teaspoon salt
For the batter:
100 g Tempura flour (im Shop ansehen)
*
200 ml water
150 g panko (im Shop ansehen)*
For the nitsume sauce:
50 ml Mirin (im Shop ansehen)*
50 ml Shoyu (im Shop ansehen)*
1 tbsp sugar
500 ml oil (for deep-frying, e.g. rapeseed oil)
Useful tools:
(optional) Cling film for sushi mat
Bamboo sushi mat (im Shop ansehen)
Santoku knife (im Shop ansehen)
Yukihiara saucepan
2-in-1 strainer & skimmer (im Shop ansehen)
Preparation (60 minutes)
Step 1
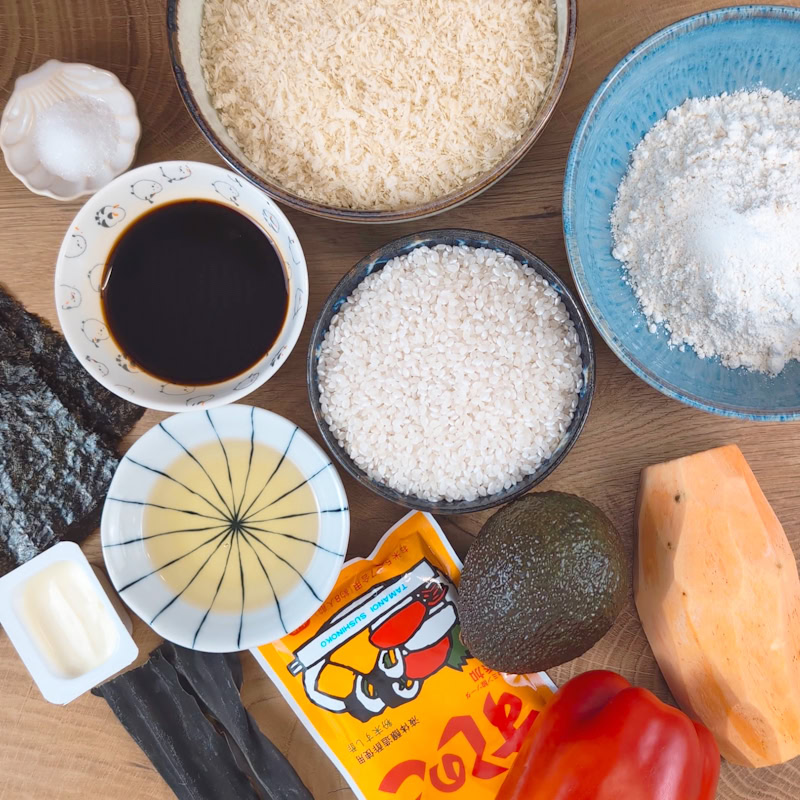
Gather the ingredients for your vegetarian crispy sushi.
Step 2
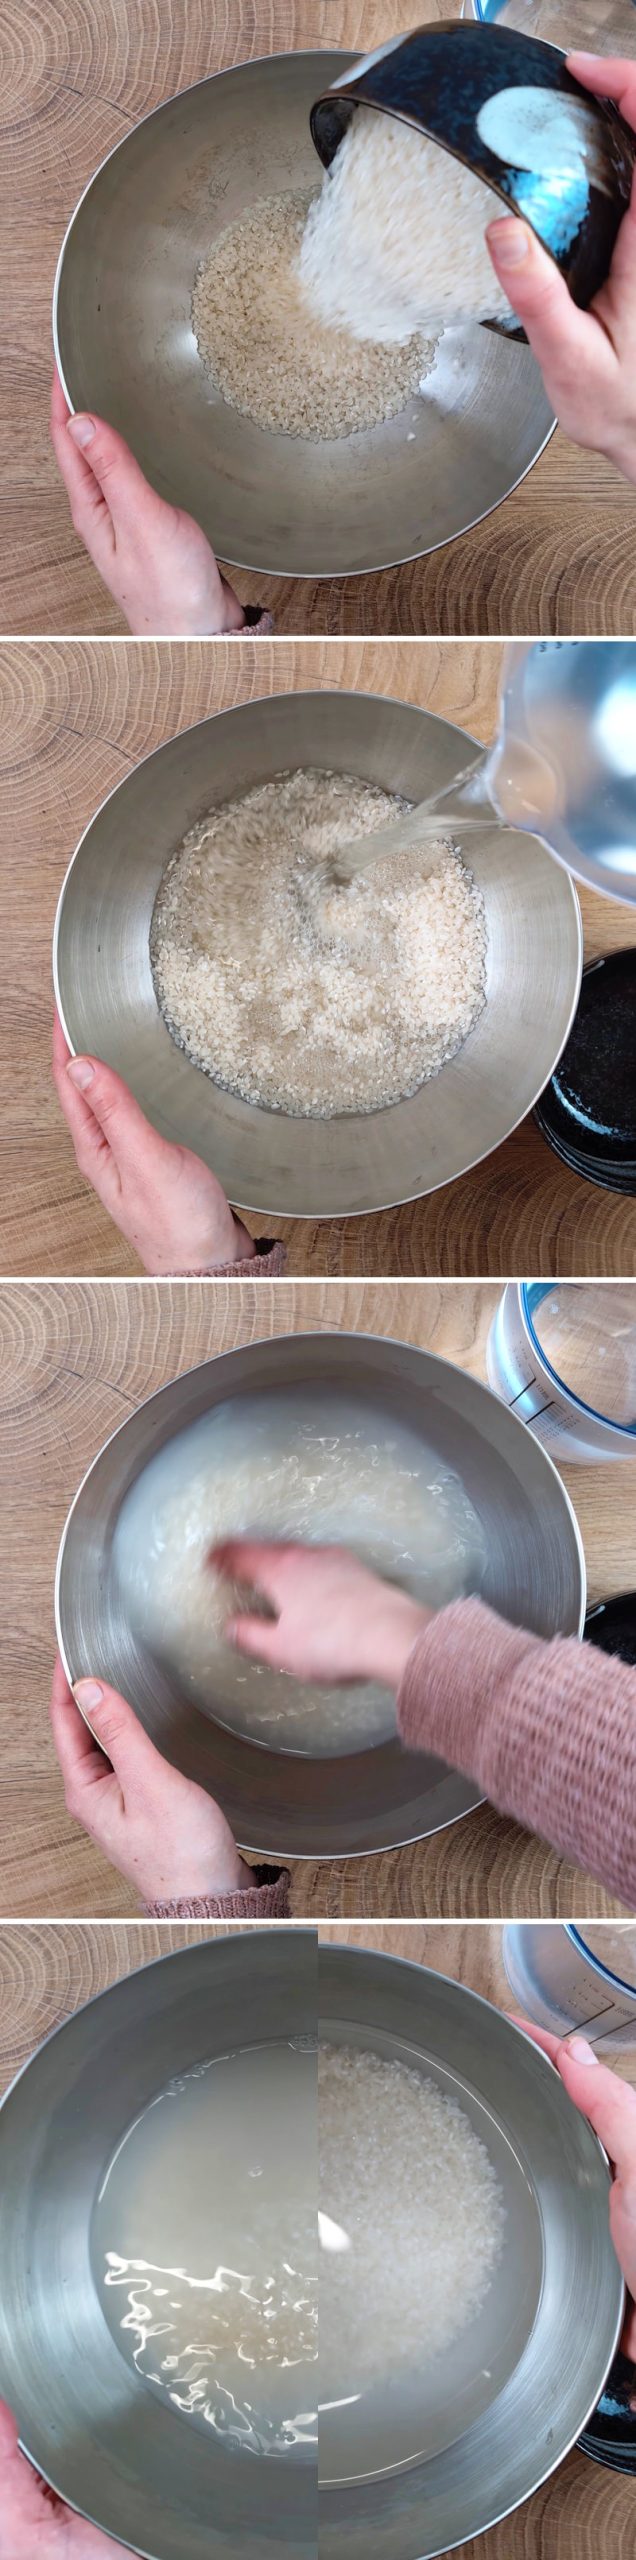
Start by washing the rice thoroughly. Place it in a large bowl, add plenty of cold water and rinse the rice several times until the water is almost clear. Add another 500 ml of water to the washed rice and leave it to soak for about 20–30 minutes.
Tip:
In the meantime, make a few shallow cuts in the piece of Kombu so that it releases more flavour during cooking.
Step 3
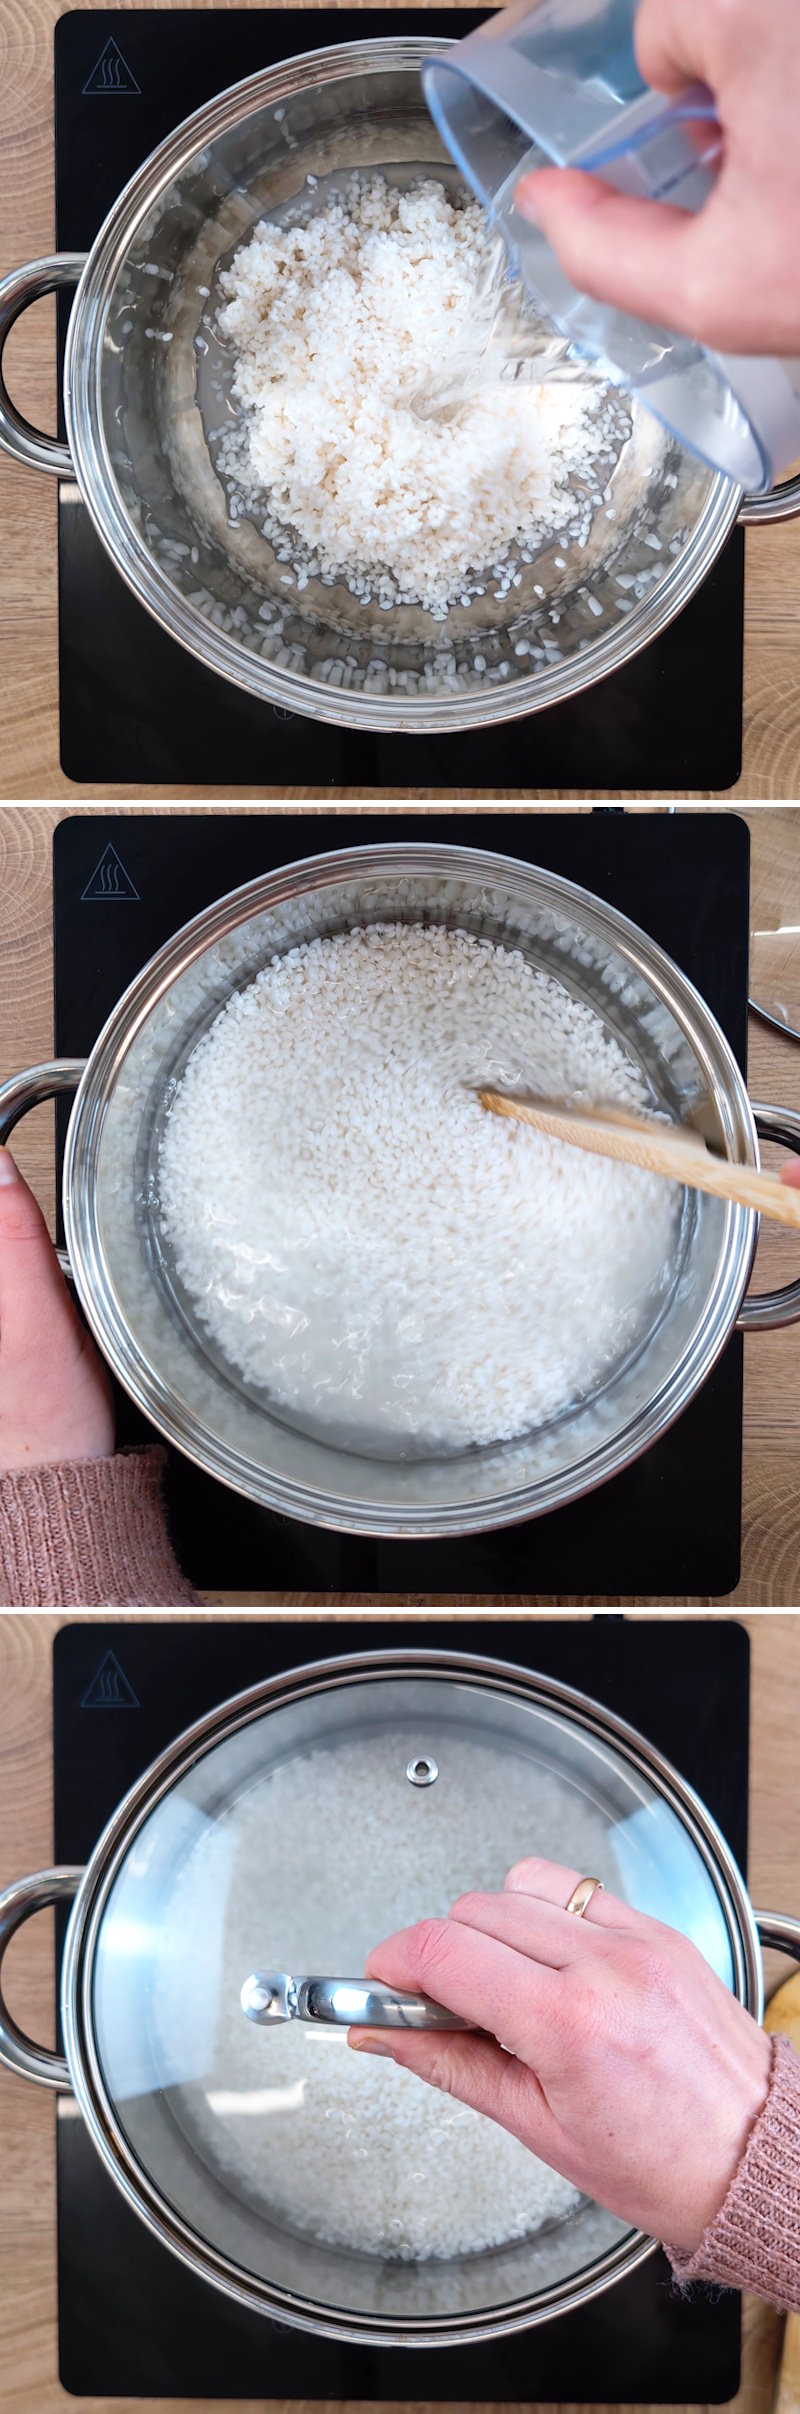
Once the rice has rested, drain off all the water.
Place the rice in a saucepan (or, if you prefer, a rice cooker) and add fresh water in a 1:1 ratio (for 300g of rice, this amounts to 300ml of water). Place the Kombu (if using) on top of the rice.
Now place the saucepan on the hob, put the lid on and bring to the boil over a medium heat. As soon as the rice comes to the boil, turn the heat down to the lowest setting and, with the lid on, simmer gently for 13 minutes. Do not open the lid during this time!
Step 4
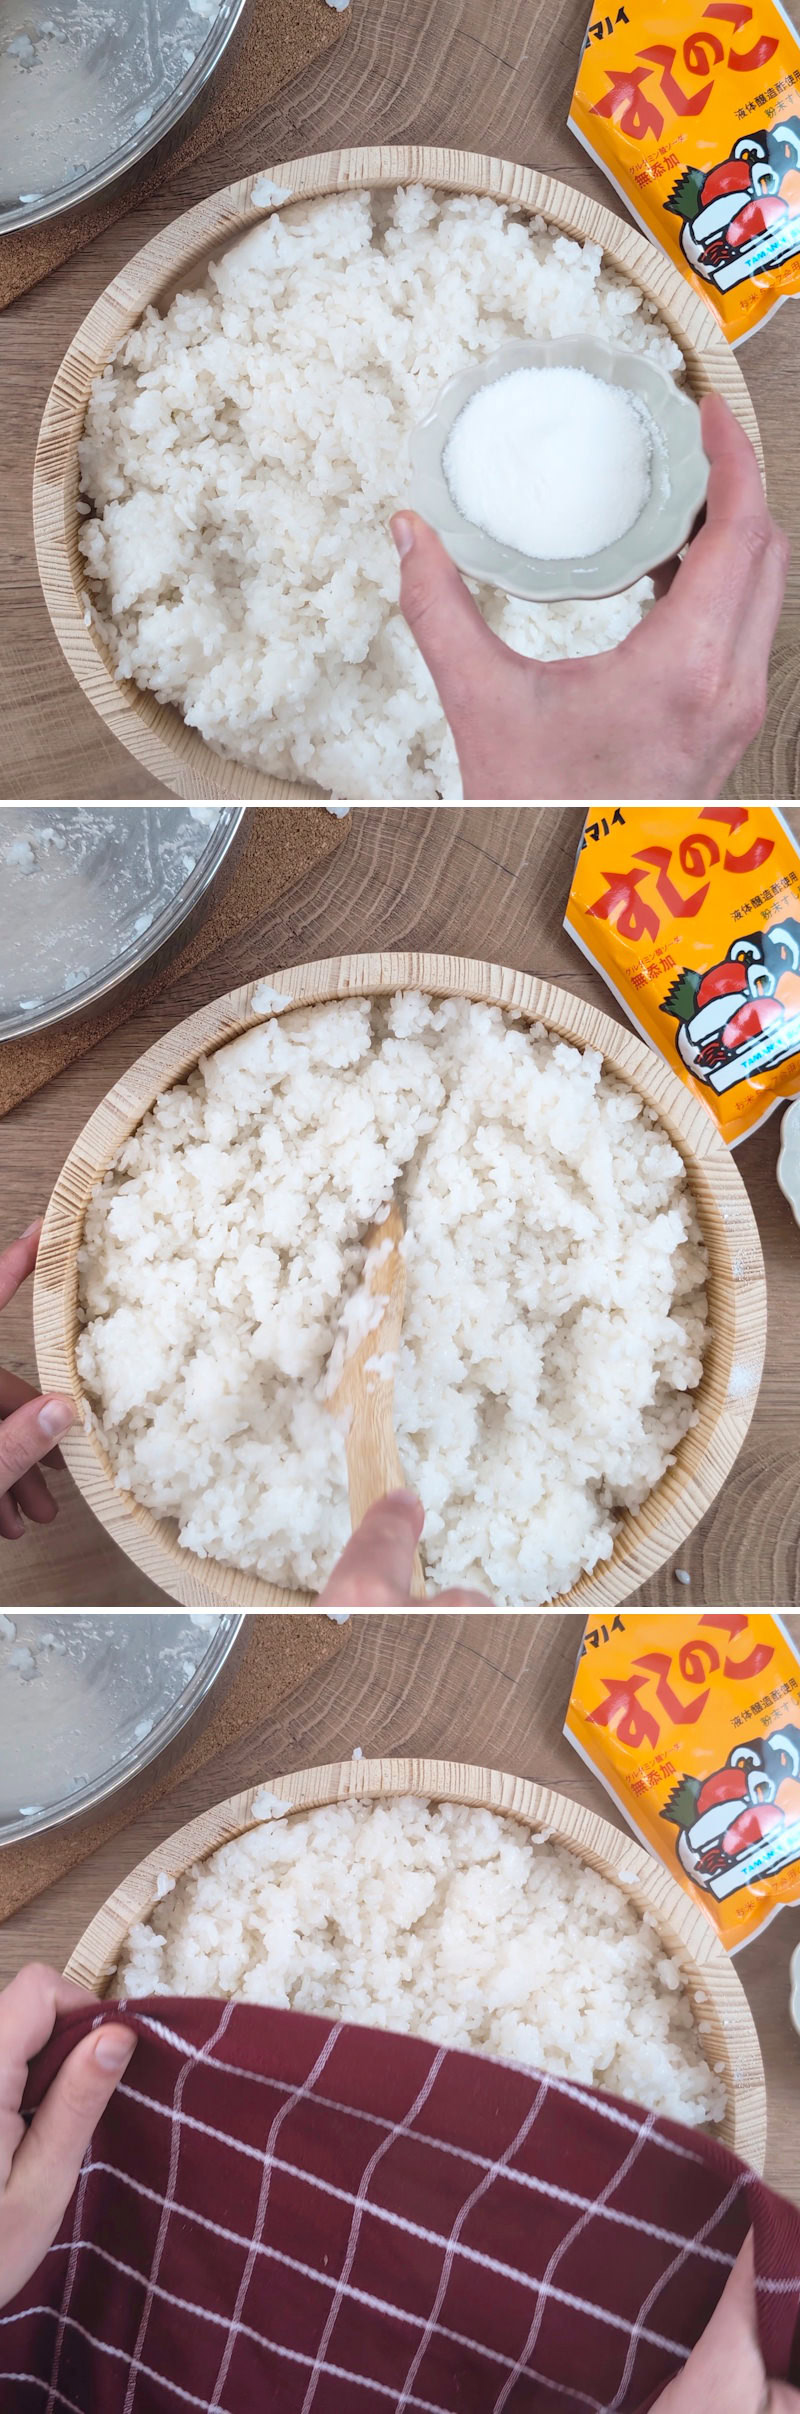
As soon as the rice is cooked, turn the heat off completely. Leave to stand with the lid on for 10 minutes. Then open the lid and remove the Kombu.
Transfer the cooked rice to a large bowl and season with 4 tbsp Sushi vinegar. Mix the rice using cutting motions with the spoon (do not stir vigorously, but gently fold in the seasoning).
Leave the rice covered to cool to body temperature – around 40°C – until ready to use; the rice should feel neither hot nor cold to the touch.
Step 5
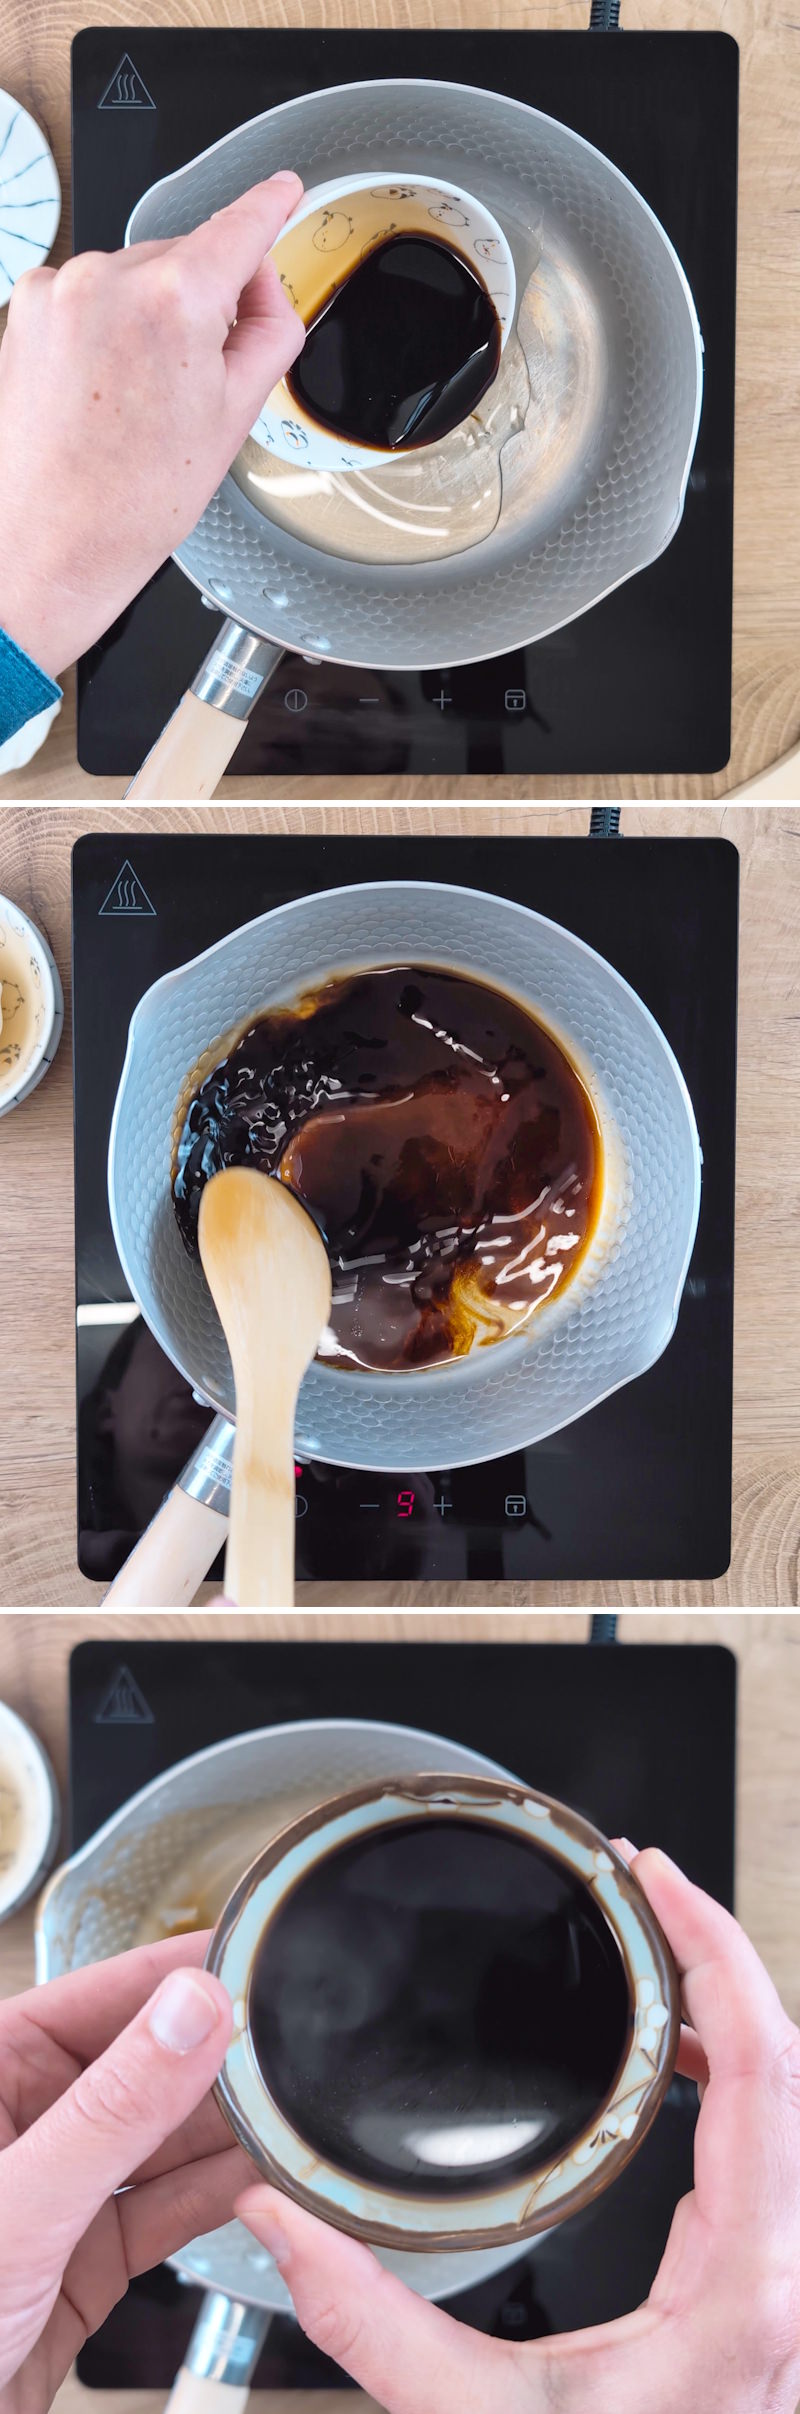
Whilst the rice is cooling, you can prepare the nitsume sauce: Add 50 ml Mirin, 50 ml soy sauce and ½ tbsp sugar into a small saucepan and bring to the boil. Simmer the sauce for 3–4 minutes until it thickens slightly. Then set aside and leave to cool.
Step 6
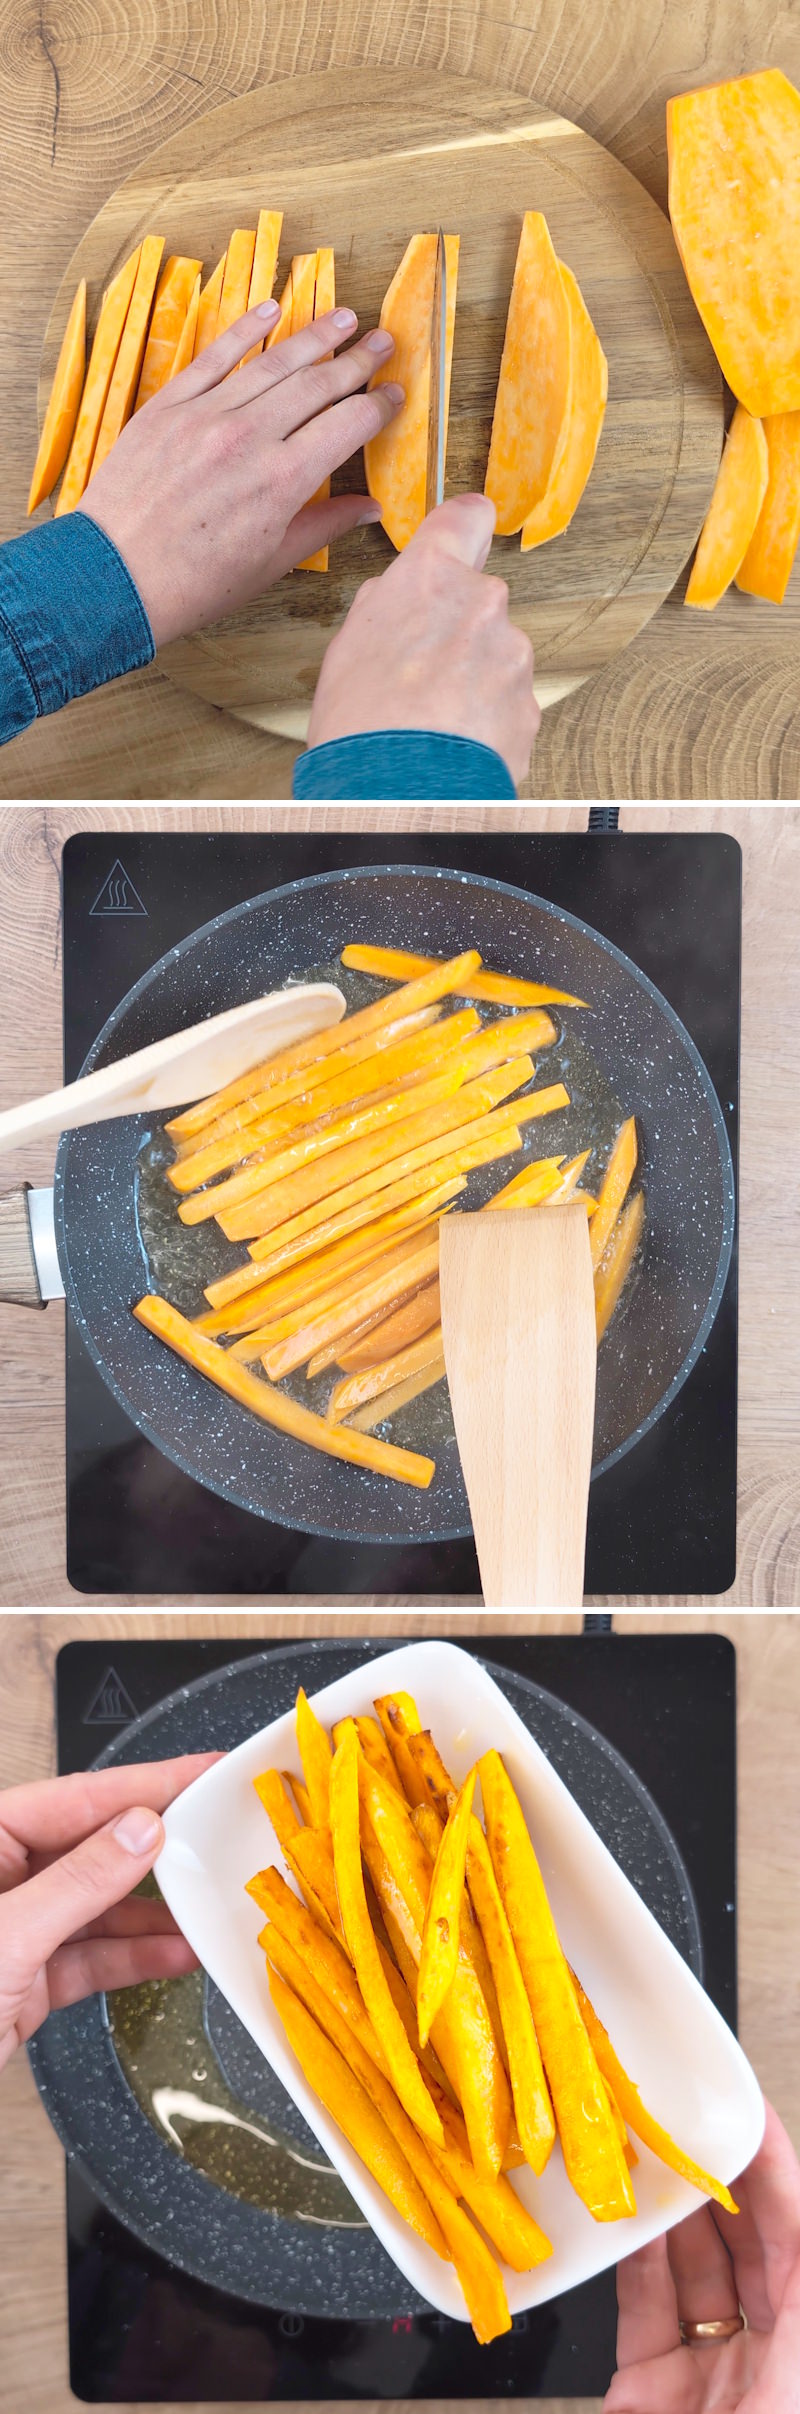
Now let’s prepare the filling: Peel the sweet potato and cut it into thin strips. Fry them in a little oil until golden brown and season them lightly with salt.
Step 7
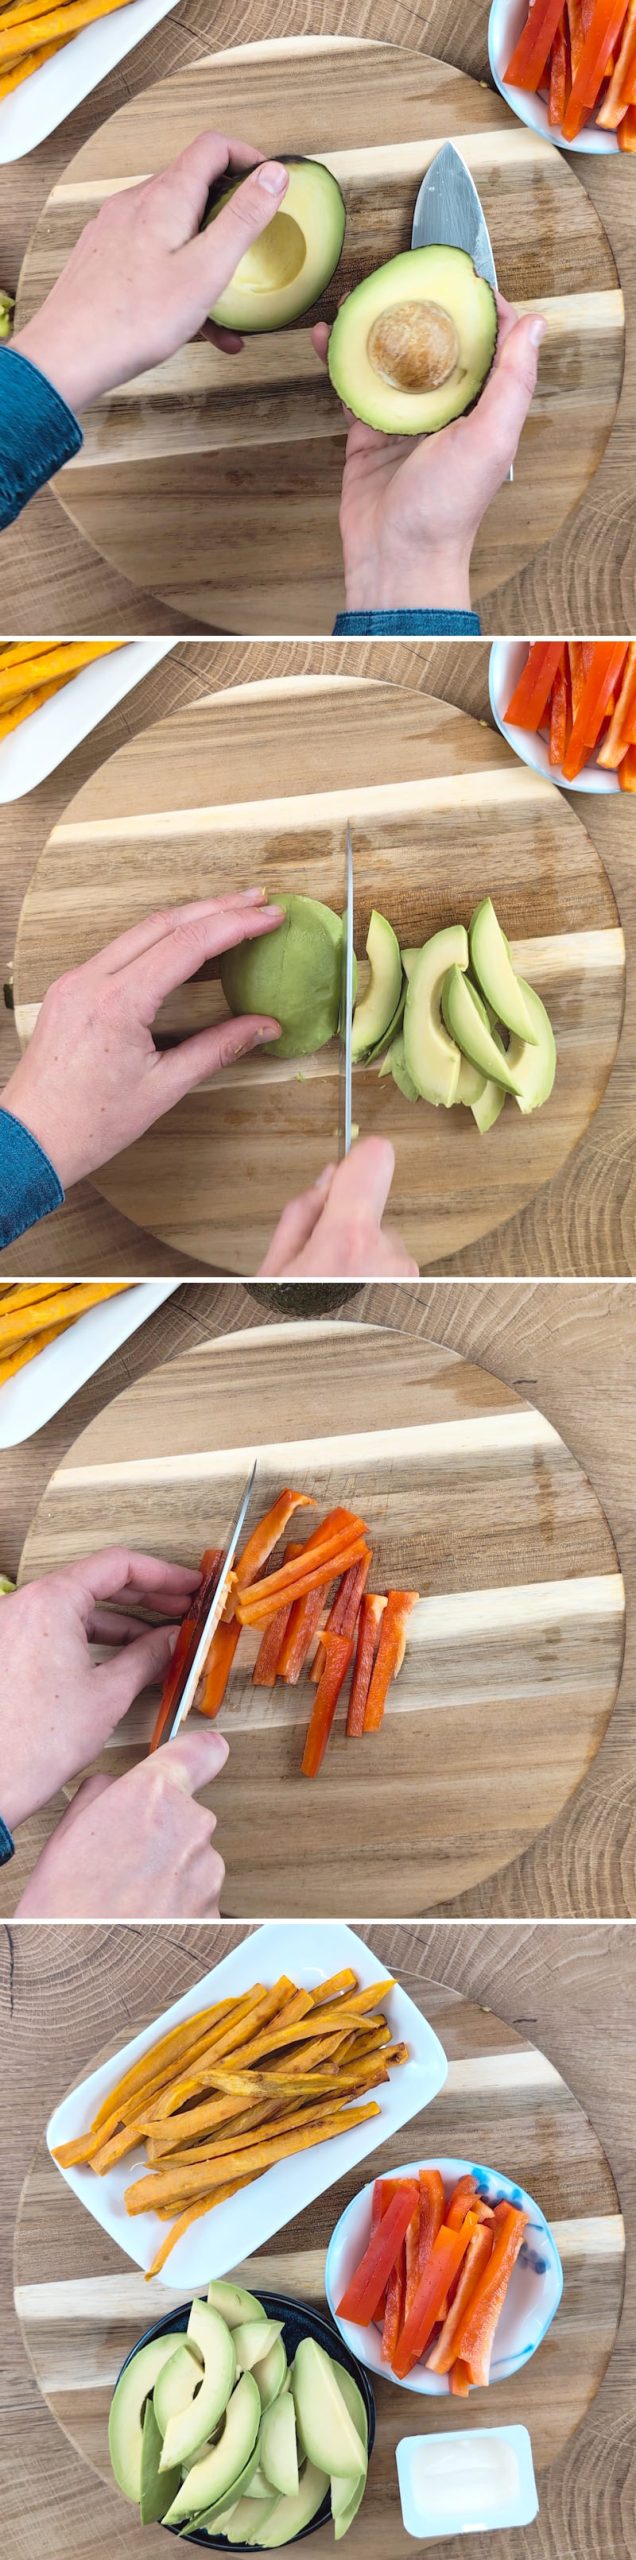
Cut the avocado in half, remove the stone and cut the flesh into fine strips. The pepper should also be deseeded and cut into thin strips. You can get the cream cheese ready now.
Tip: Feel free to wrap your Sushi mat in cling film so that the rice doesn’t stick to the bamboo. Also, have a bowl of fresh water to hand. Use this to moisten your hands repeatedly whilst spreading the rice – this prevents the rice from getting squashed as you spread it and keeps it nice and moist.
Step 8
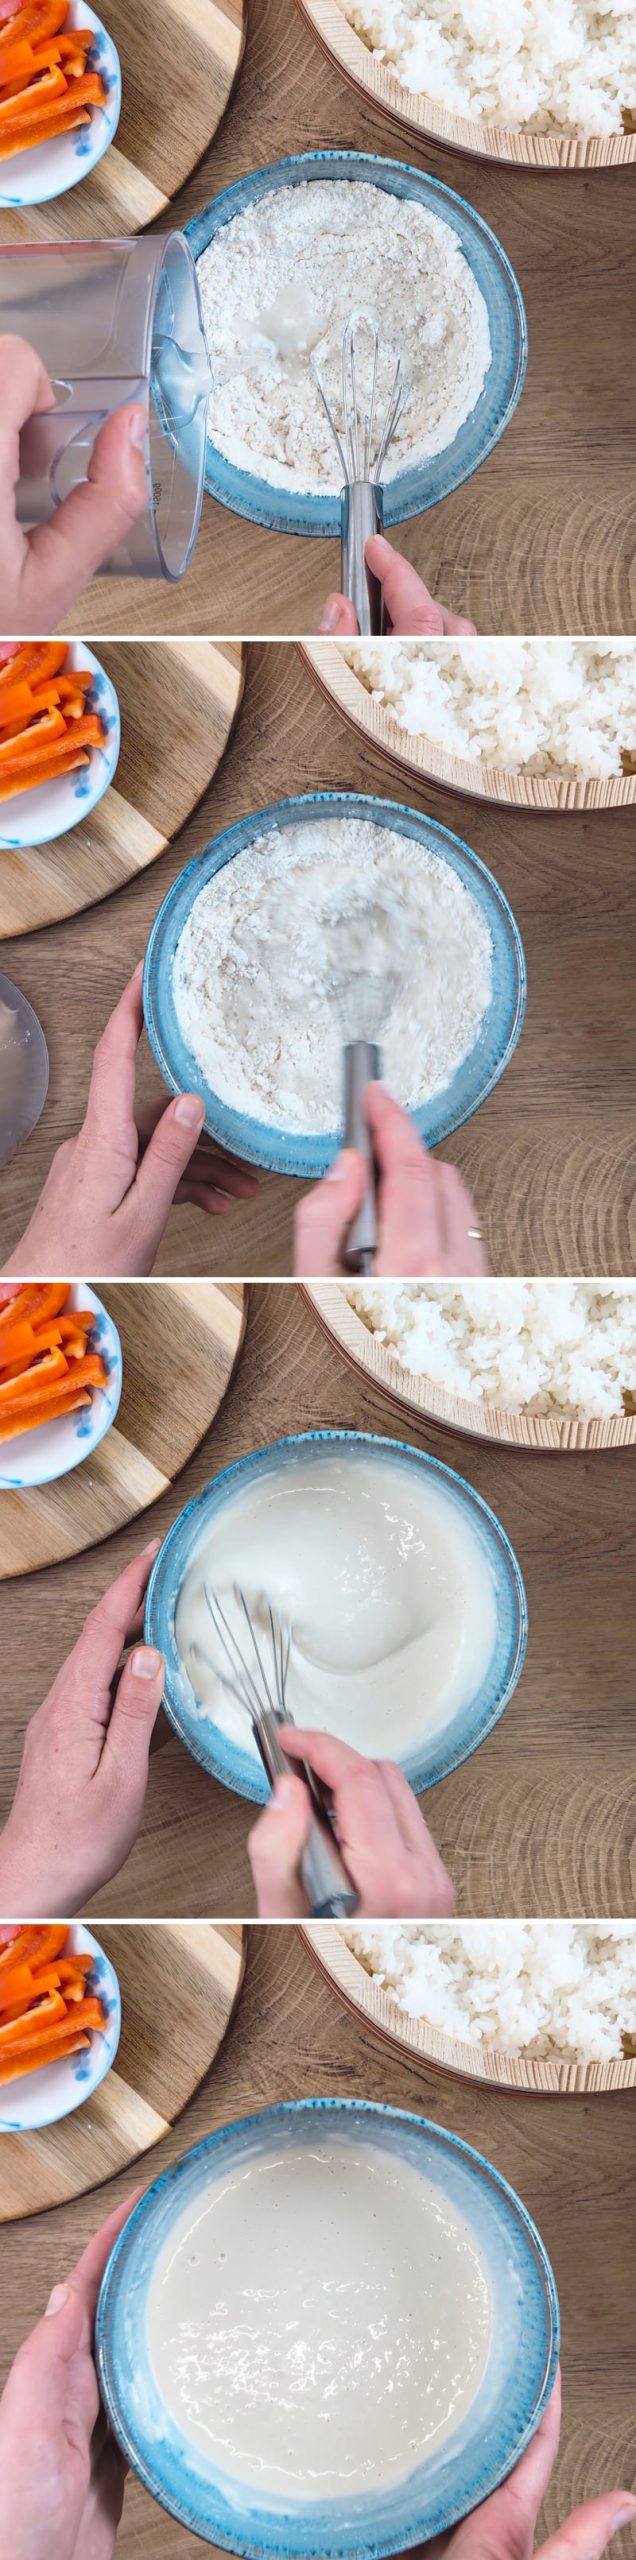
For the batter, mix 100 g tempura flour gradually with 200 ml cold water until you have a smooth tempura batter. Place the panko breadcrumbs in a second, shallow bowl.
Step 9
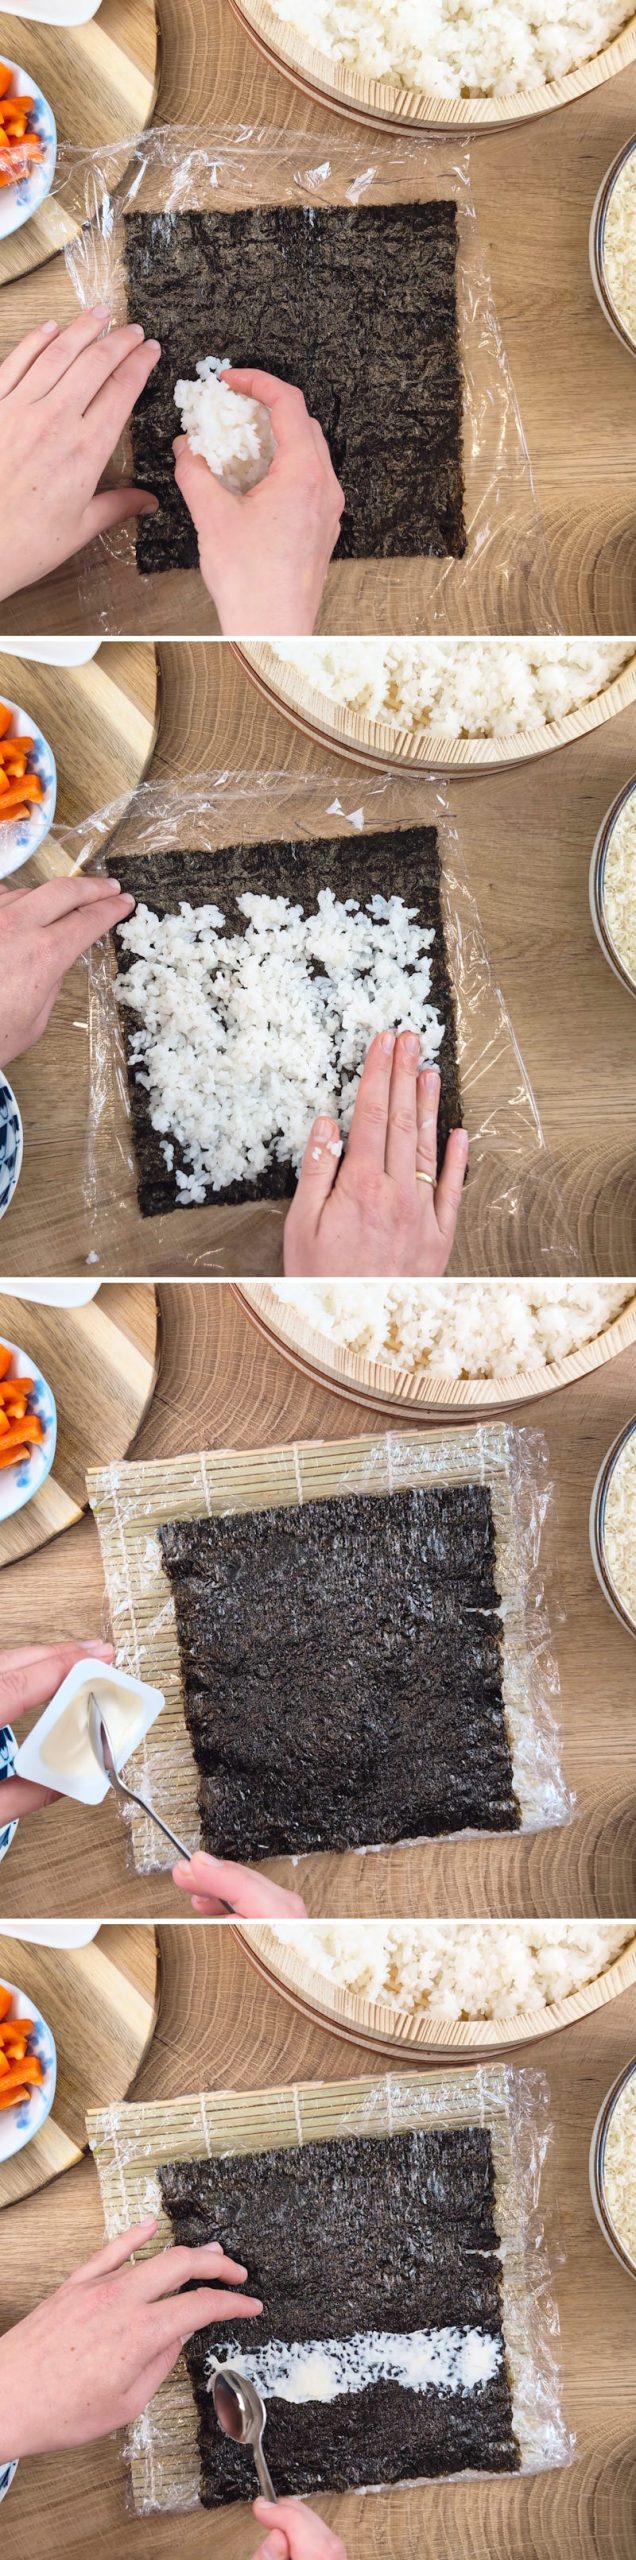
Lay another cling film out nice and straight on a clean work surface. Place a nori sheet on top, with the shiny side facing down. Spread approximately 75 g of cooled sushi rice evenly over the entire nori sheet (right up to the edges!) and press it down gently.
Now place the prepared bamboo mat on top of the rice (the mat and the nori sheet should be flush at the bottom) and carefully flip the whole thing over – the rice is now on the bottom and the nori sheet on top.
Remove the cling film.
Spread a little cream cheese in the centre of the nori sheet
Step 10
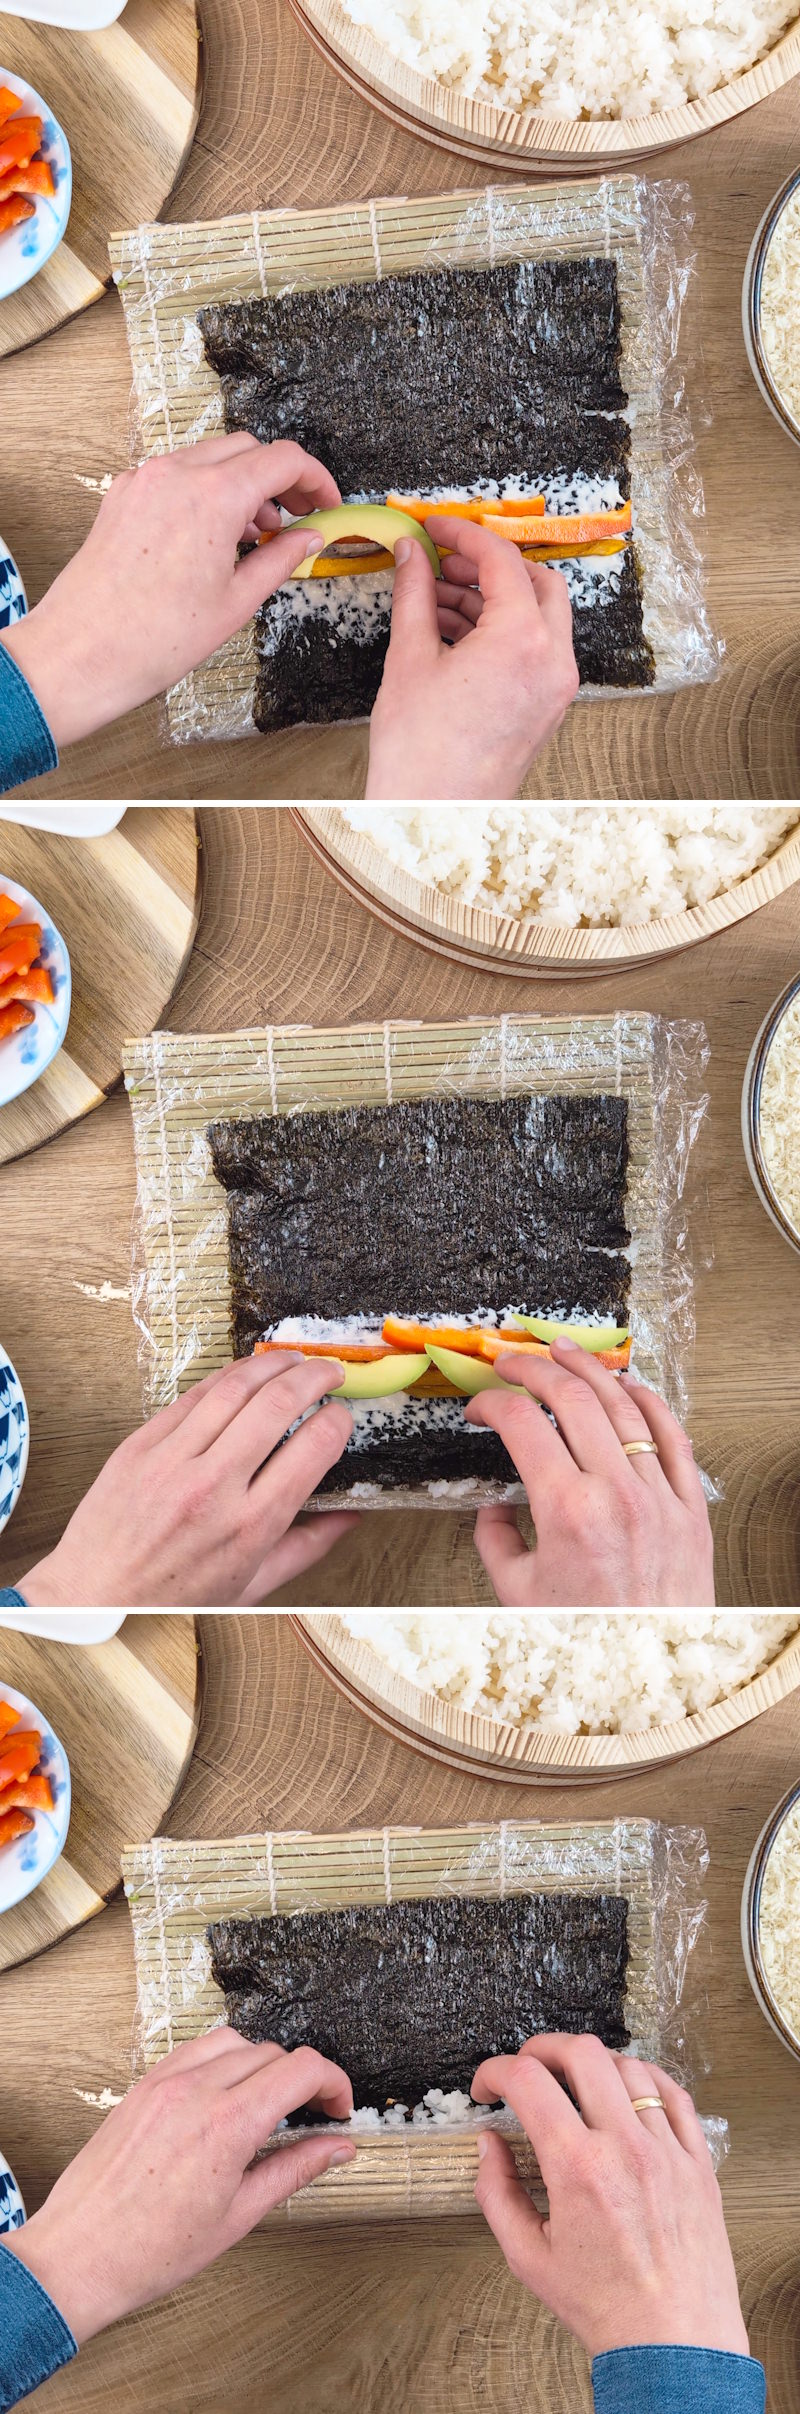
Arrange the fried sweet potato strips, the avocado and the peppers on top.
Step 11
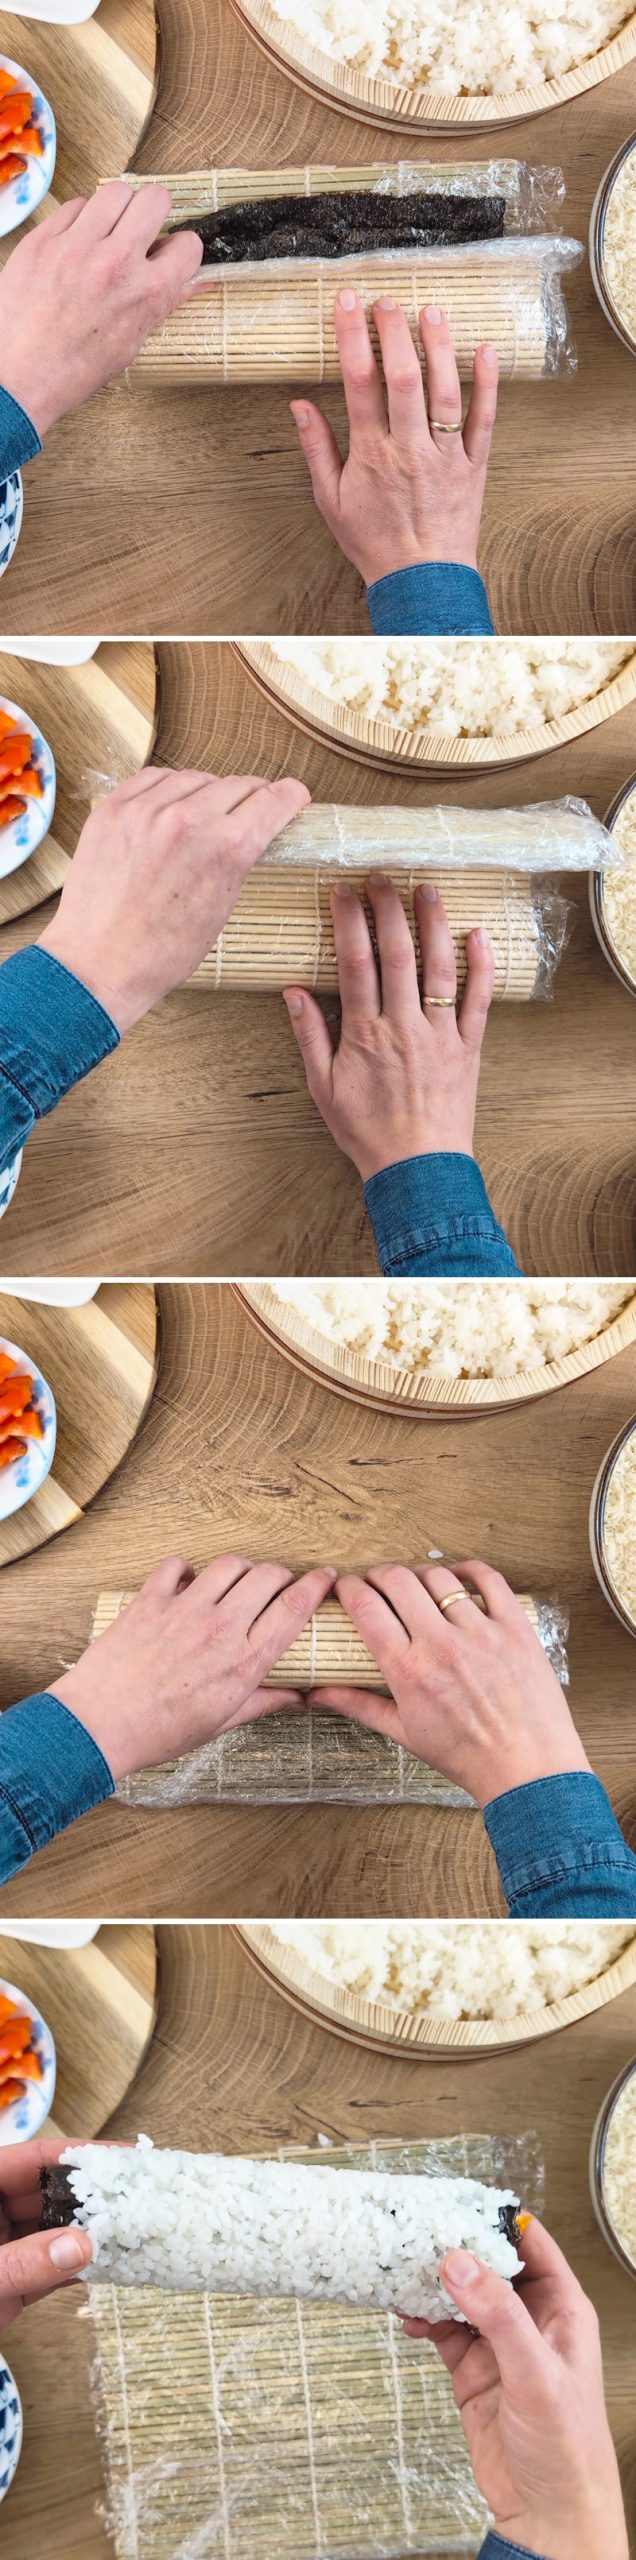
Roll everything up into a firm roll, applying light but even pressure. Shape a total of four rolls in this way. Chill the finished rolls for about 15 minutes.
Step 12
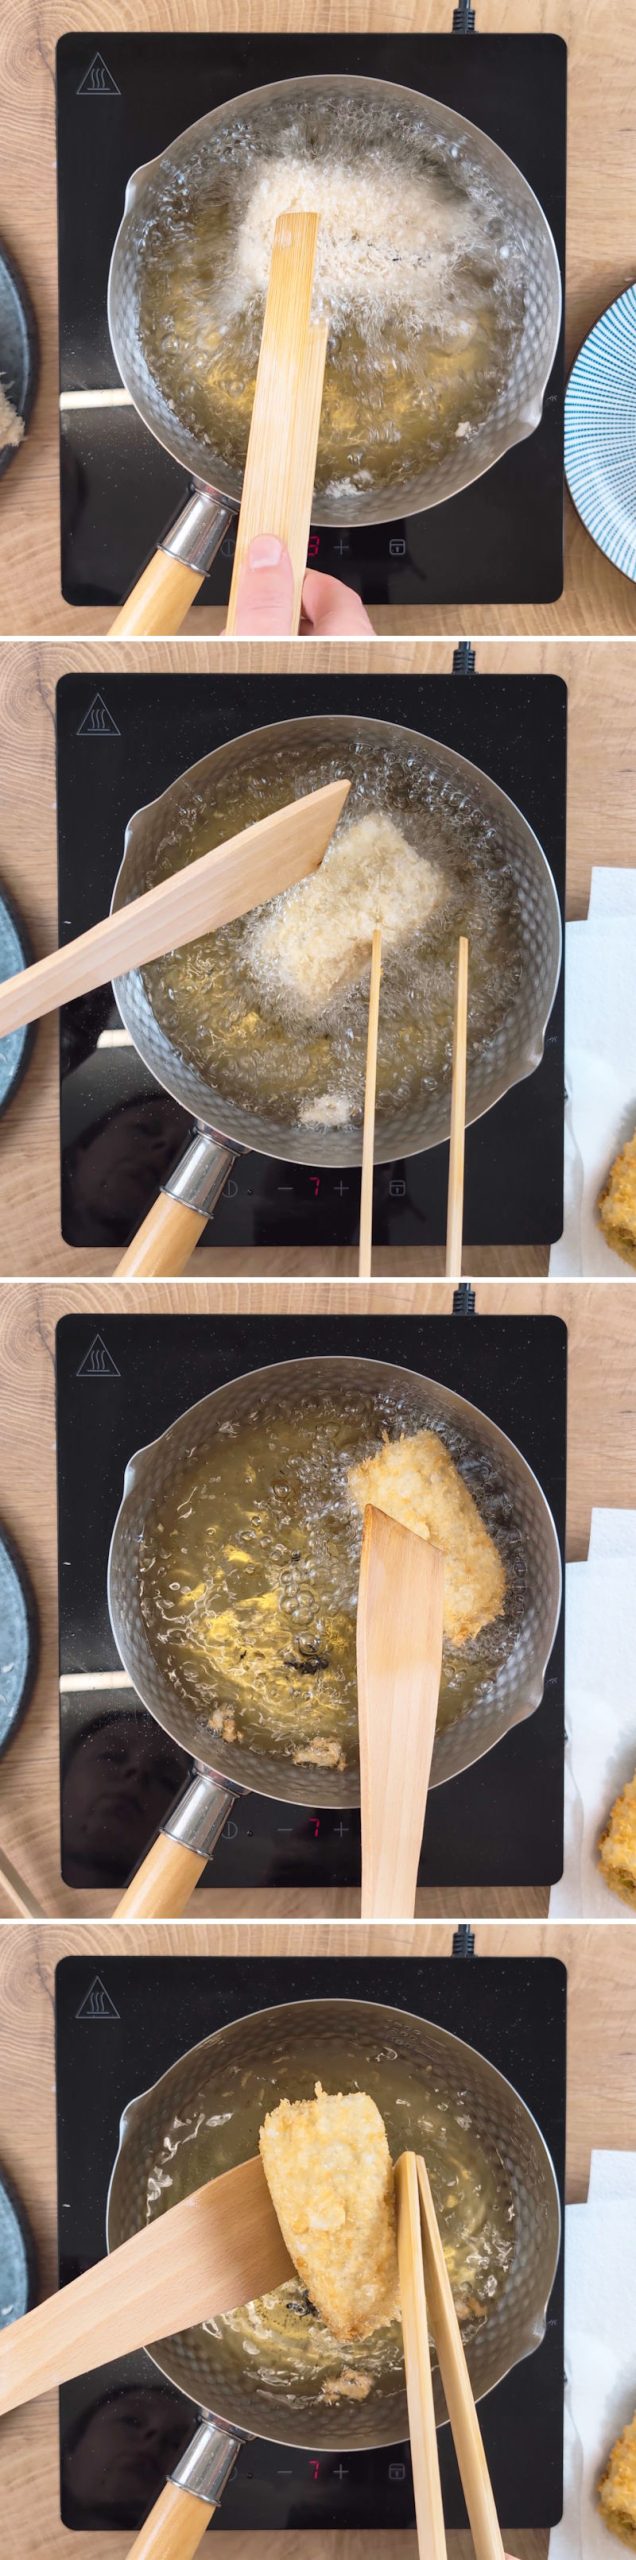
Now heat oil to 170–180 °C in a deep saucepan or wok, to a depth of about 4–5 cm.
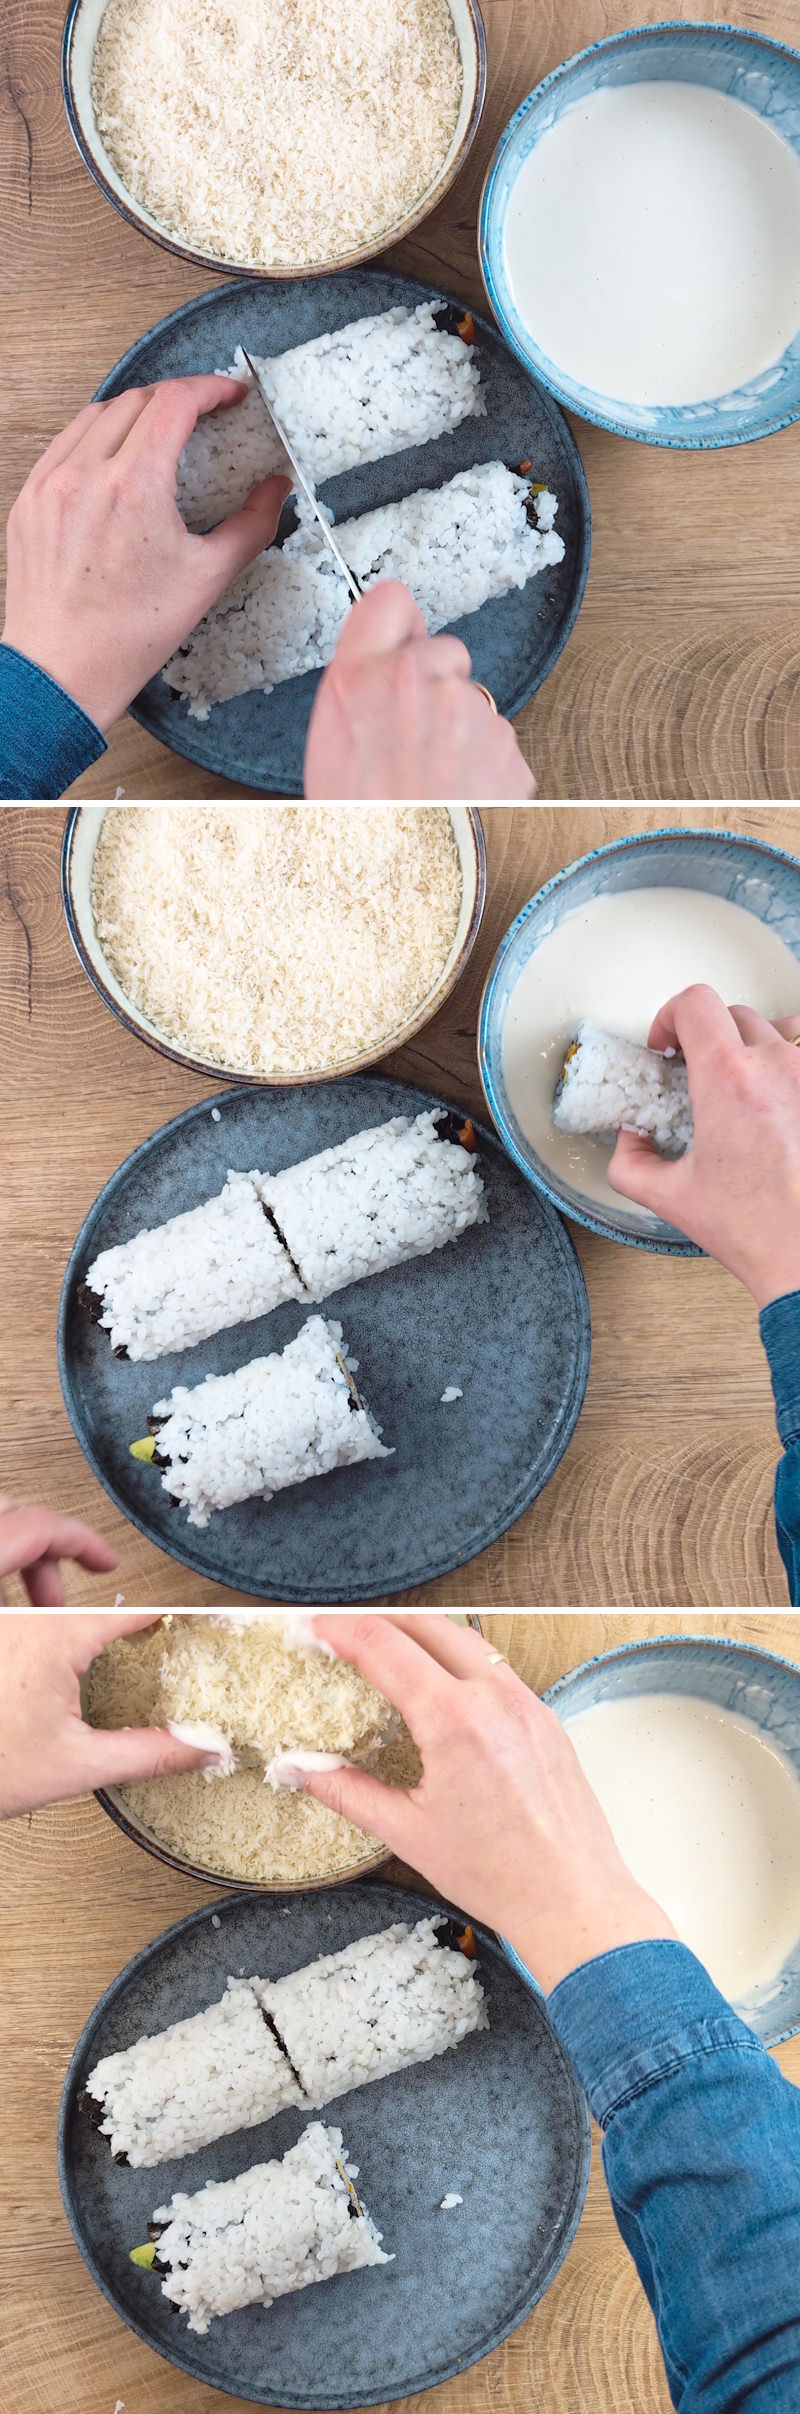
To ensure the rolls fit comfortably in the hot oil later, carefully cut them in half. Carefully dip each sushi roll into the tempura batter and then coat it generously in panko.
Step 13
Fry the breaded sushi rolls one by one in hot oil for 3–4 minutes, until they are golden brown and crispy. It’s best to turn them gently throughout so that the heavy sushi rolls don’t burn on the bottom. Then leave them to drain on kitchen paper.
Step 14
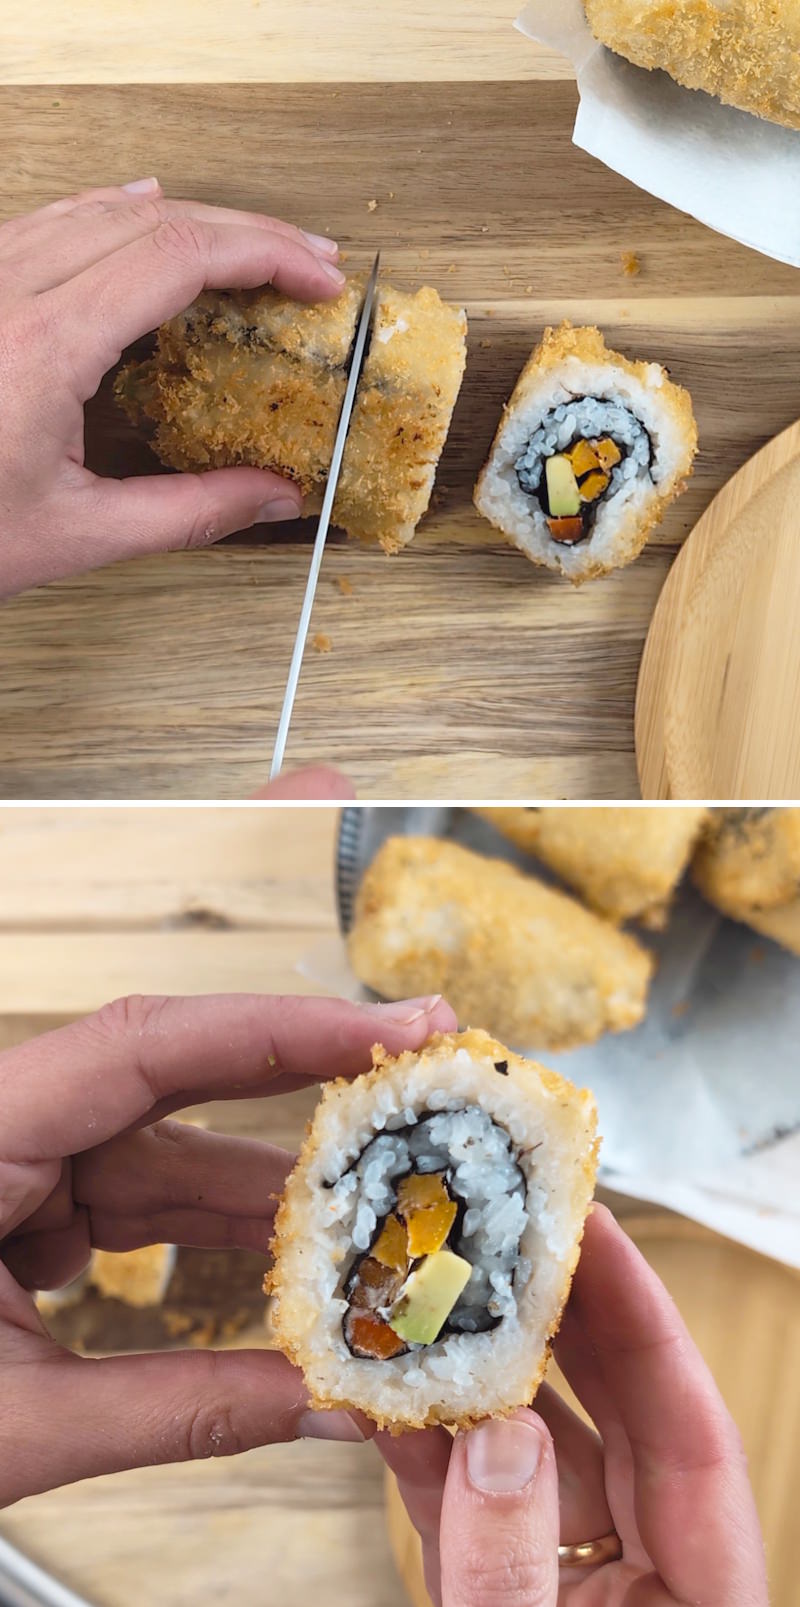
Cut the crispy rolls into bite-sized pieces using a damp, sharp knife. This will keep the coating nice and intact.
Arrange the finished Crispy Sushi Rolls on a plate and drizzle them with a little Nitsume sauce – or serve the sauce separately for dipping. Done – Itadakimasu!
Fancy some more delicious inspiration from Japan? Here you’ll find our best Sushi recipes:
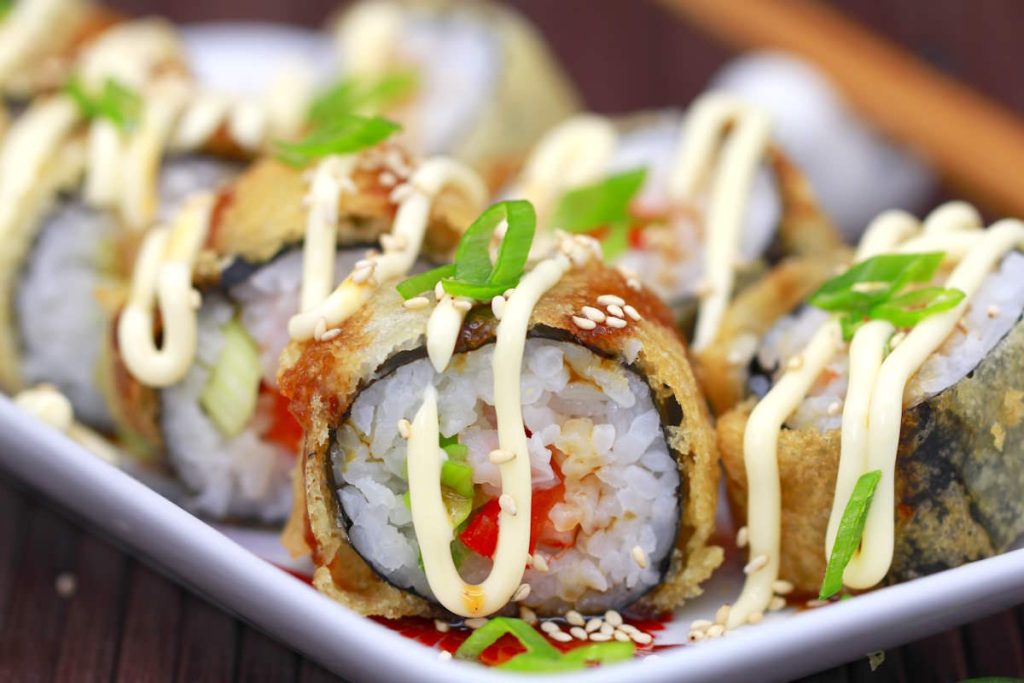
Make your own Tempura Sushi: Colourful, filled maki with a crispy coating – Age Sushi
Crispy on the outside, flavourful on the inside – Tempura sushi is the perfect combination…
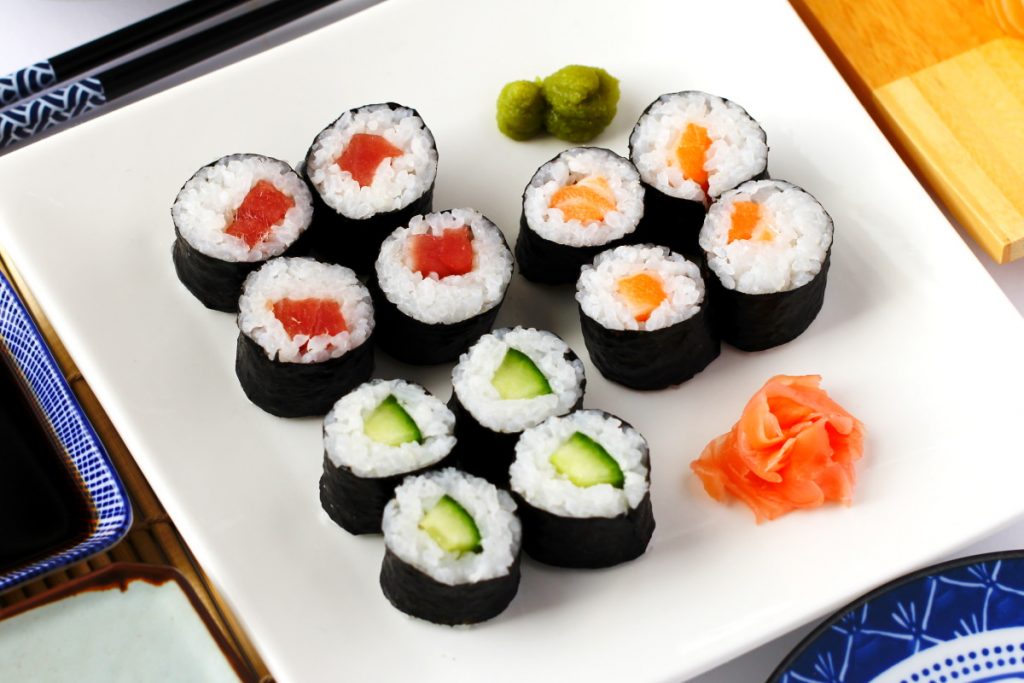
Hosomaki – Basic recipe for thin sushi rolls
Hosomaki are elegant sushi rolls with three classic fillings: salmon, tuna and cucumber. In this…
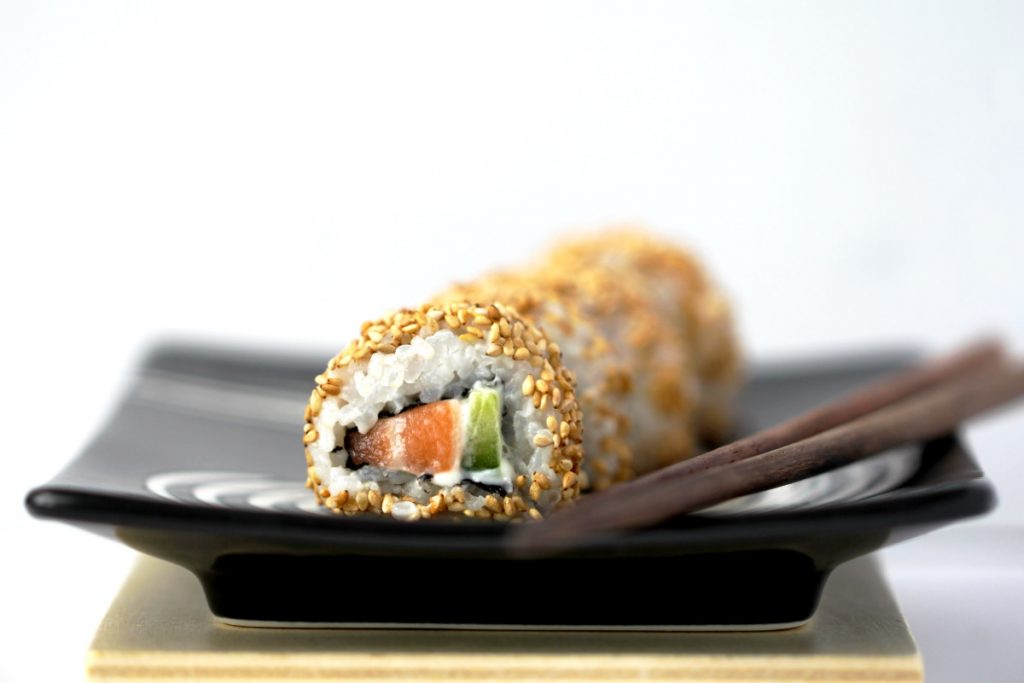
Uramaki – Inside-Out Sushi | California Rolls with Sesame Seeds
Outside Japan, uramaki are best known as California rolls or inside-out sushi. In this variation…
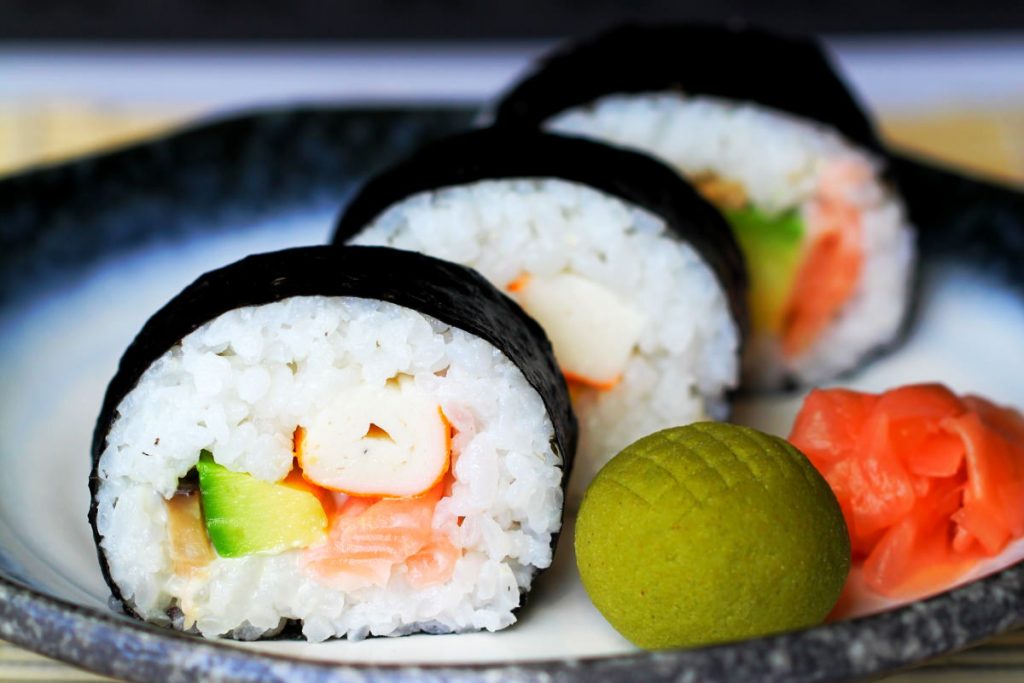
Futomaki – thick Sushi rolls with colourful fillings
Futomaki are the thick sushi rolls with a rich, varied filling of vegetables and seafood….
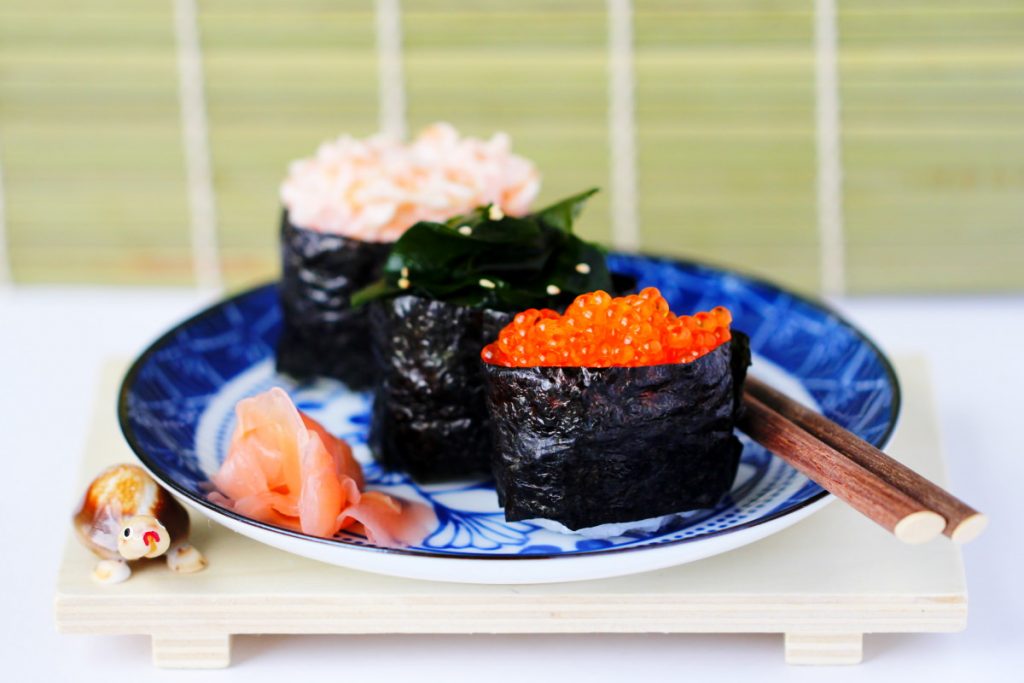
Gunkan Maki – Sushi boats with three different toppings
Gunkan Maki literally means ‘warship’ and is a type of nigiri sushi. The boat-shaped, oval…
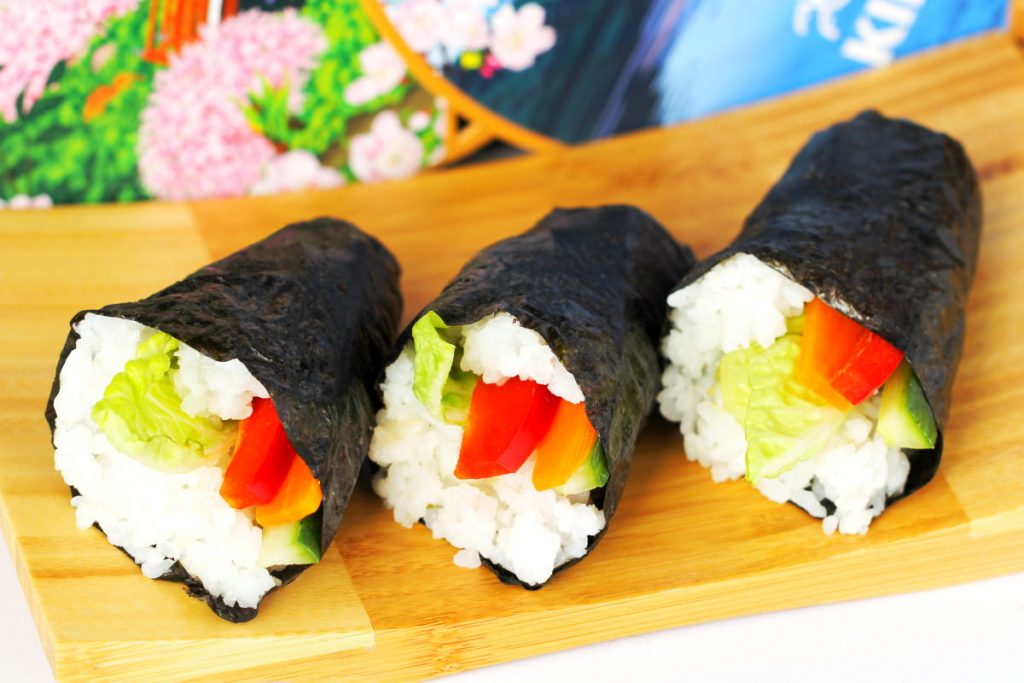
Temaki – hand-rolled Sushi with crunchy vegetables
Temaki, a wonderful variation on Sushi, is really very easy to make. This recipe, featuring…
Have you tried this recipe yet? Let me know in the comments – I can’t wait to hear from you.