

Language:


Nikumaki Onigiri are a very popular snack from Miyazaki Prefecture in southern Japan. People there queue up in long lines for this speciality to get their hands on a bite. It’s even served as a starter in high-end restaurants! The secret lies in the combination of succulent bacon, white rice and a delicious Teriyaki-style marinade! Today, I’ll show you the best way to make Nikumaki Onigiri yourself 😊.
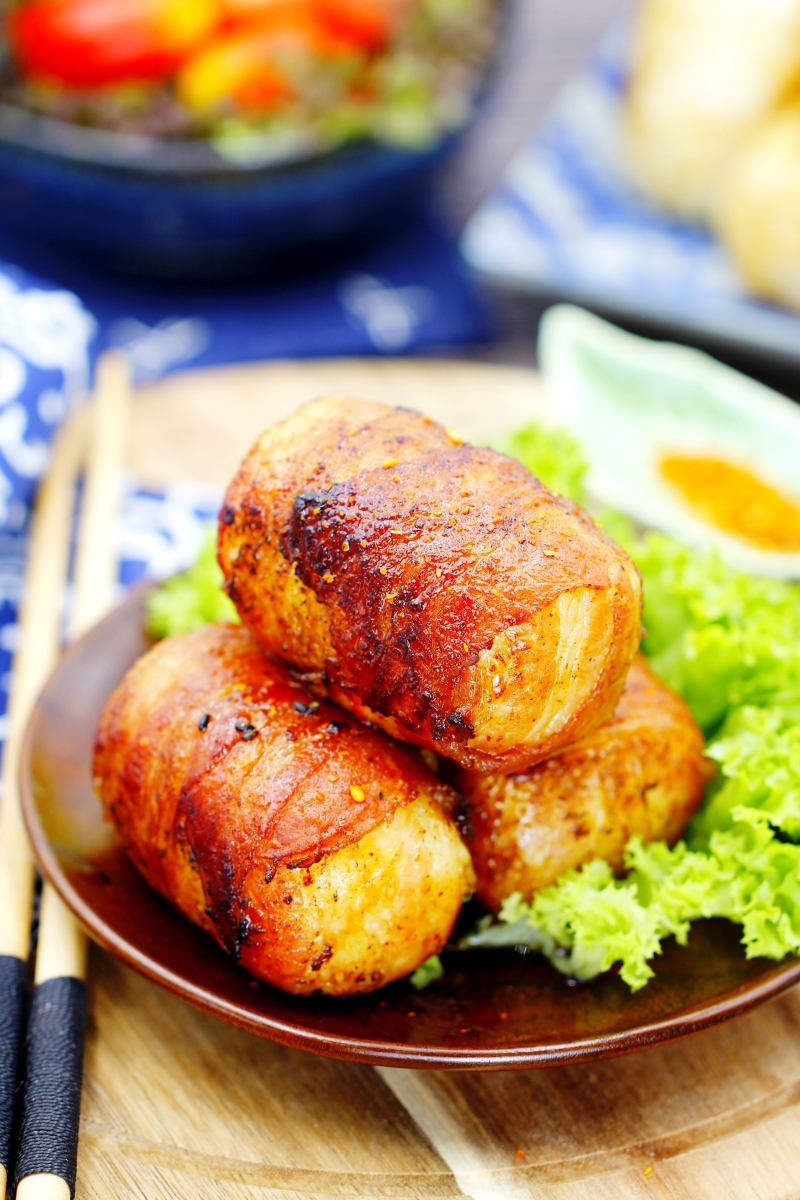
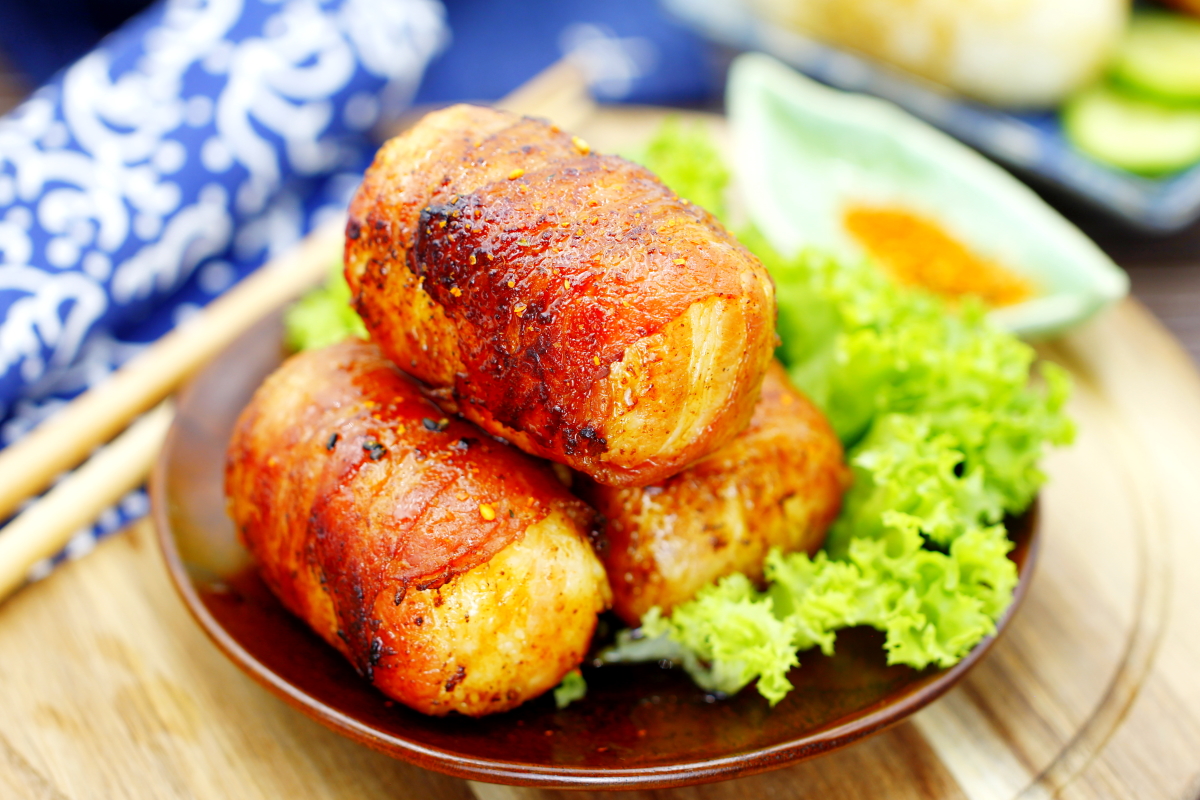
Nikumaki Onigiri are fried rice balls wrapped in thinly sliced bacon and marinated in a sweet and savoury Teriyaki sauce.
Actually, Onigiri wrapped in toasted seaweed are usually thought of as a light, wholesome snack for lunch or as a side dish in a Bento Box. Although they are still Onigiri, nikumaki onigiri, on the other hand, are a truly hearty and very filling meal. This type of Onigiri makes a meal in its own right – a delicate, fresh garden salad is the perfect accompaniment.
Nikumaki onigiri originated in the late 1990s at an onigiri takeaway in Miyazaki, located on the southern island of Kyushu. Initially, it was really just a meal for the staff at the shop. But as soon as it appeared on the regular menu, it became a hit in no time at all! Nikumaki Onigiri became so popular locally that it quickly spread across the country.
Now these tasty treats are offered by many Onigiri snack bars. Different shops use different ingredients for their nikumaki Onigiri. Whilst the original is made with pork in a sweet-and-salty sauce, other variations use beef or even cheese!
TOP RECOMMENDATION
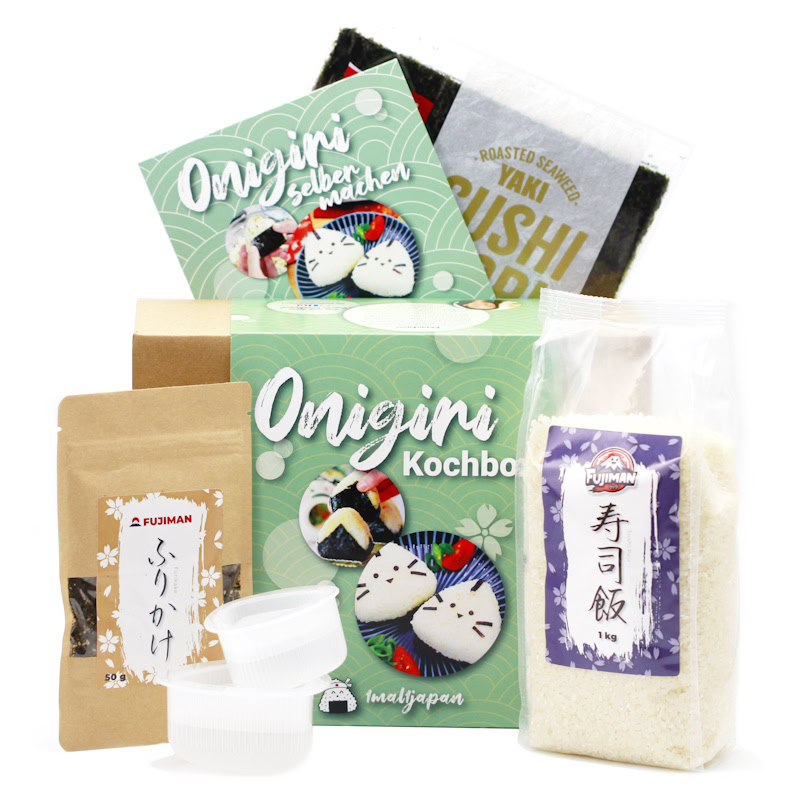
Onigiri Kochbox | Reisbällchen selber machen
5-tlg. DIY Set, inkl. 3 Rezeptideen für japanische Reisdreiecke | vegan, Geschenkidee für Anime Fan. Mit dem Onigiri Kochset gelingen dir japanische Reisdreiecke ganz einfach…
In stock
To make this recipe, we first shape the freshly cooked rice (or leftover rice from the day before) into long rolls for the Onigiri. We then gently brush these with homemade Teriyaki sauce and wrap them thoroughly in bacon.
Fry the bacon-and-rice rolls in plenty of oil on all sides until the bacon is nice and crispy all over. Then turn them over and coat them once more in the boiled Teriyaki sauce.
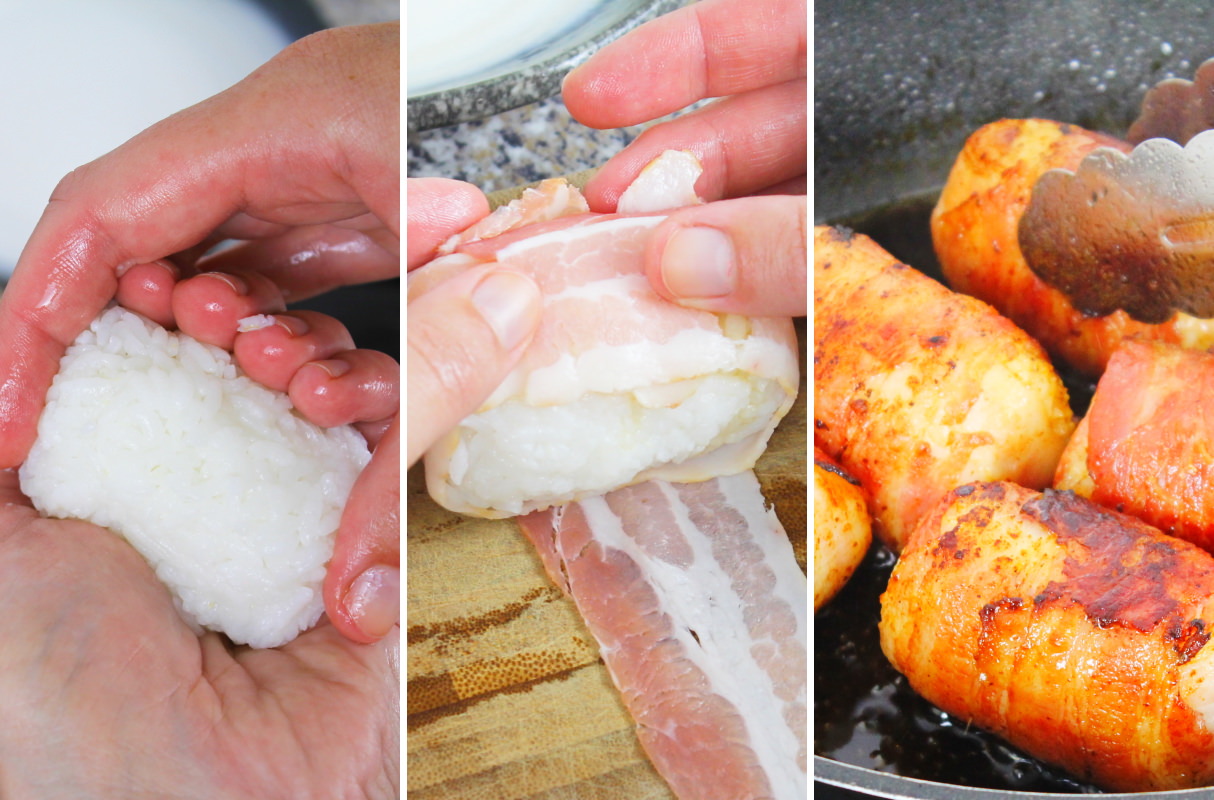
Tip: The remaining Teriyaki sauce from the pan can be served in a small bowl for dipping. When eating, it’s best to wrap the nikumaki Onigiri in a lettuce leaf and then hold it in your hand.
For the teriyaki sauce marinade, we use a combination of soya sauce, Mirin, Sake and sugar. The soya sauce (im Shop ansehen) naturally provides the desired saltiness for the white rice.
Mirin (im Shop ansehen) and a touch of sugar also give the sauce a slightly sweet flavour and help to caramelise everything gently. The Sake (im Shop ansehen) rounds off the dish and brings everything together!
By the way: if you make the rice rolls only half the size, you can serve them as mini nikumaki Onigiri as a starter!
From preparation to serving, this recipe really is a complete success. Enjoy giving it a go!
Nikumaki Onigiri
Makes 6 | 30 minutes | 296 kcal
🖨️ Print PDF 📌 Save pinNikumaki Onigiri are a very popular snack from Miyazaki Prefecture in southern Japan. The secret to this delicious speciality lies in the combination of succulent bacon, white rice and a delicious Teriyaki-style marinade! Today, I’ll show you step by step how best to make Nikumaki Onigiri yourself. By the way, they go perfectly with a crisp garden salad and a pinch of shichimi!
Ingredients (makes 6)
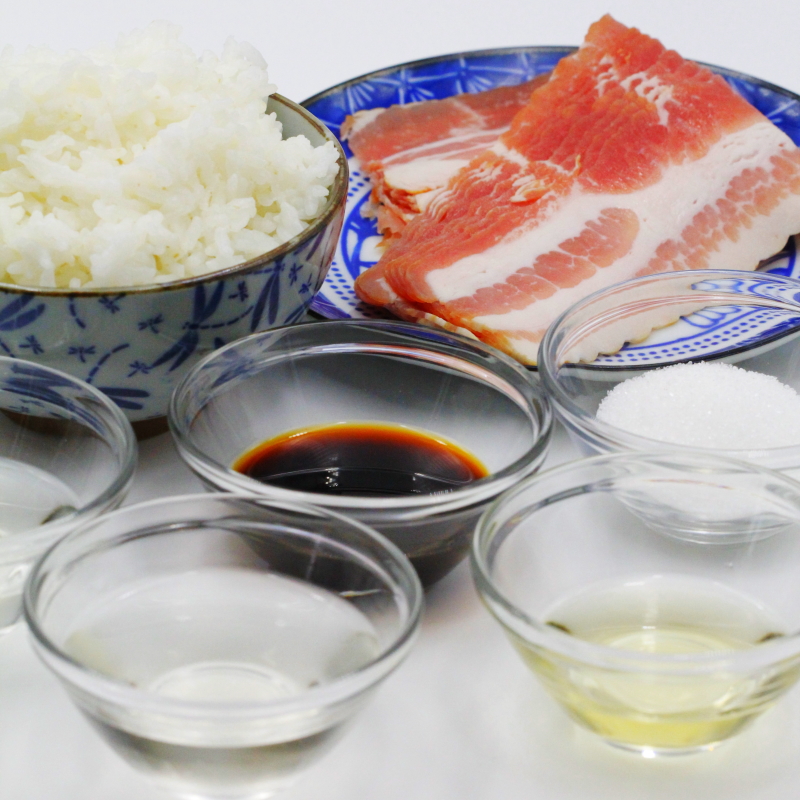
600 g cooked rice (see recipe):
✔ 300 g loose rice (im Shop ansehen)*
✔ 300 ml water (fresh, cold tap water)
✔ 1 pinch salt
12 slices of bacon, cut into thin strips (bacon or breakfast bacon)
plenty of oil (e.g. rapeseed oil)
For the teriyaki sauce:
60 ml soya sauce (im Shop ansehen)*
30 ml Mirin (im Shop ansehen)*
30 ml Sake (im Shop ansehen)*
1 tbsp sugar
Preparation (30 minutes)
Step 1
Prepare the ingredients for the Onigiri and get the rice ready (follow the recipe here in a rice cooker or in a saucepan + leave to cool for 20 minutes).
Step 2
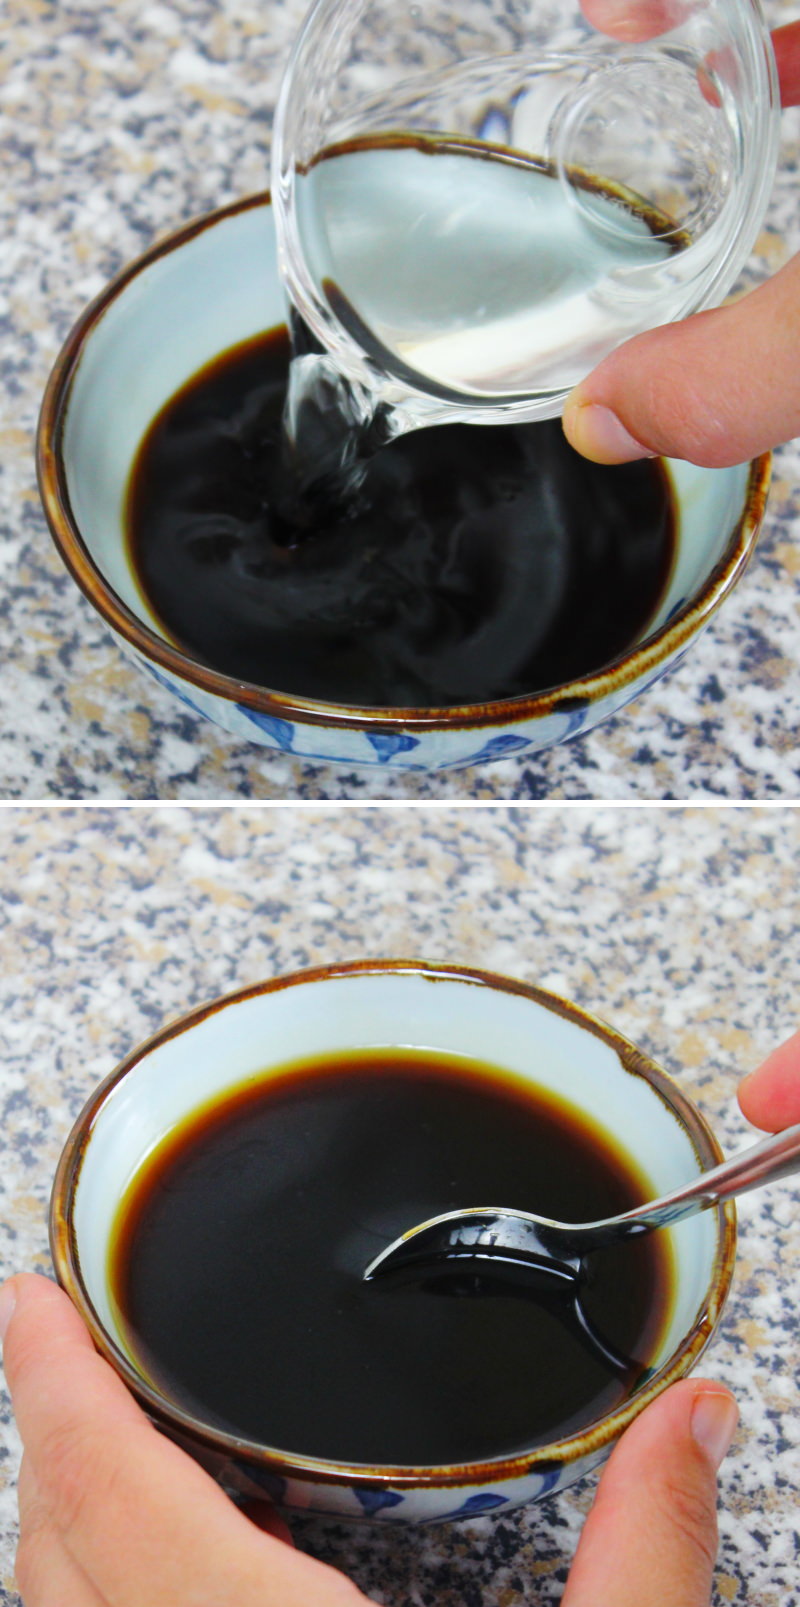
For the Teriyaki sauce, mix together soya sauce, Mirin, Sake and sugar in a small bowl. Set aside briefly.
Step 3
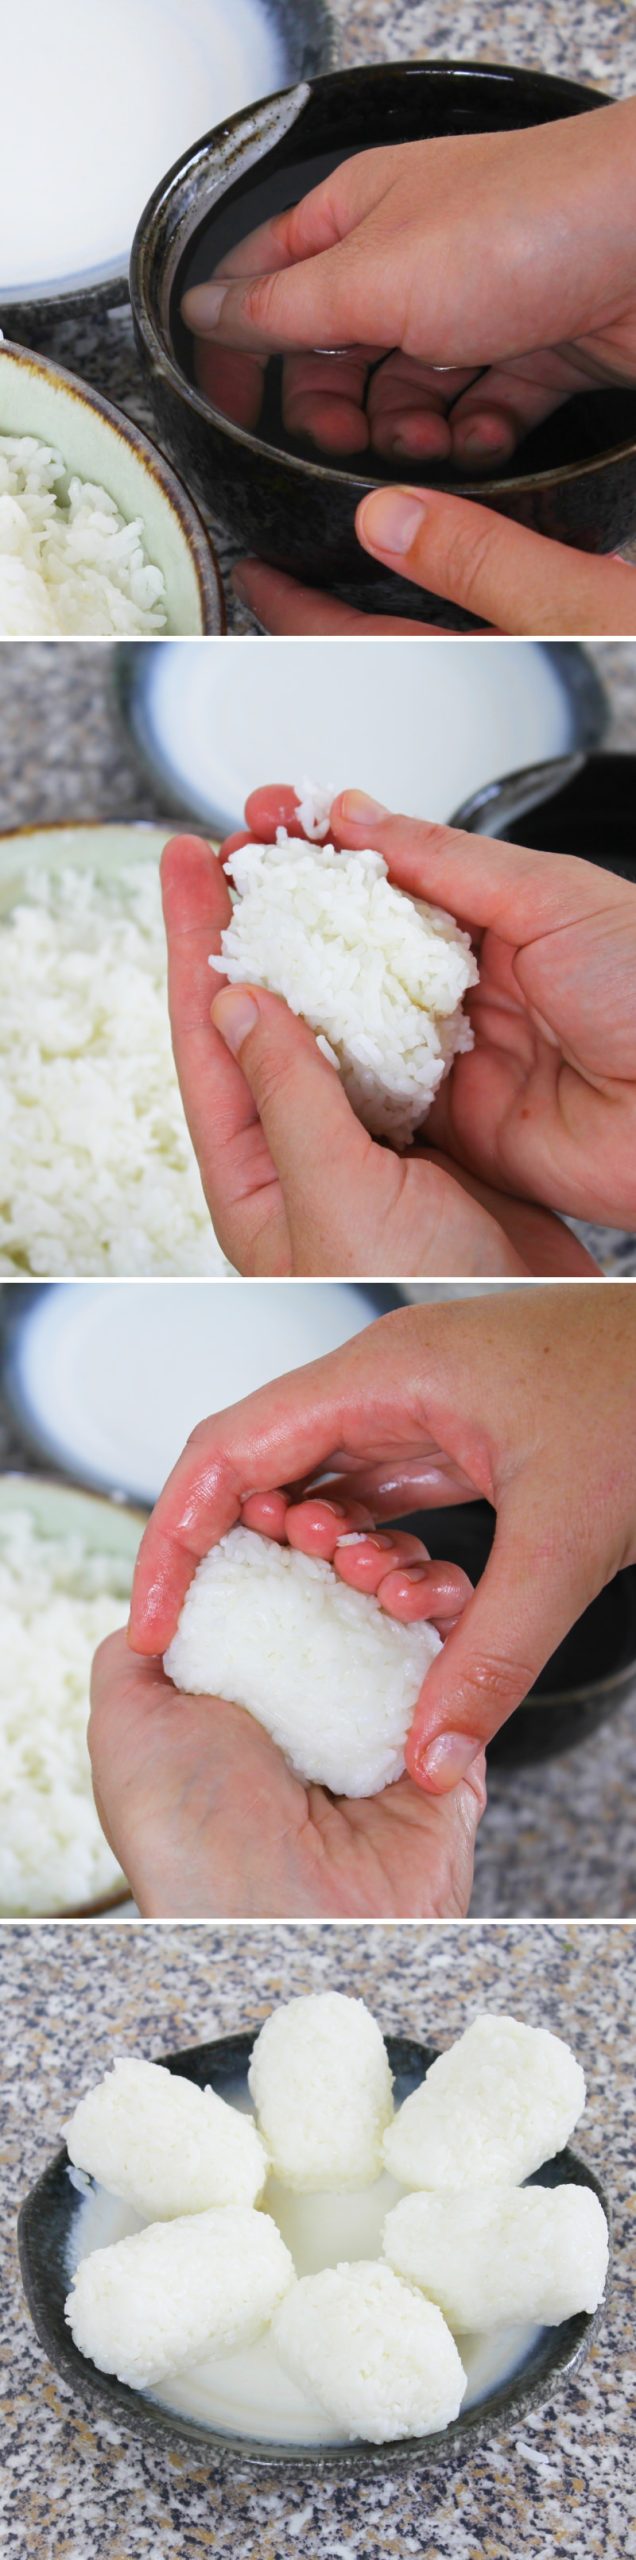
Fill a small bowl with lightly salted water and have it ready. Wet your hands thoroughly in the water (as if you were about to wash your hands) to shape the rice balls.
Take about 100 g of cooked rice and, using pressure, shape it between your wet palms into rolls with flat ends. It’s best to shape the round part with one hand and press the sides firmly with the other. Make a total of 6 thick rice rolls.
Step 4
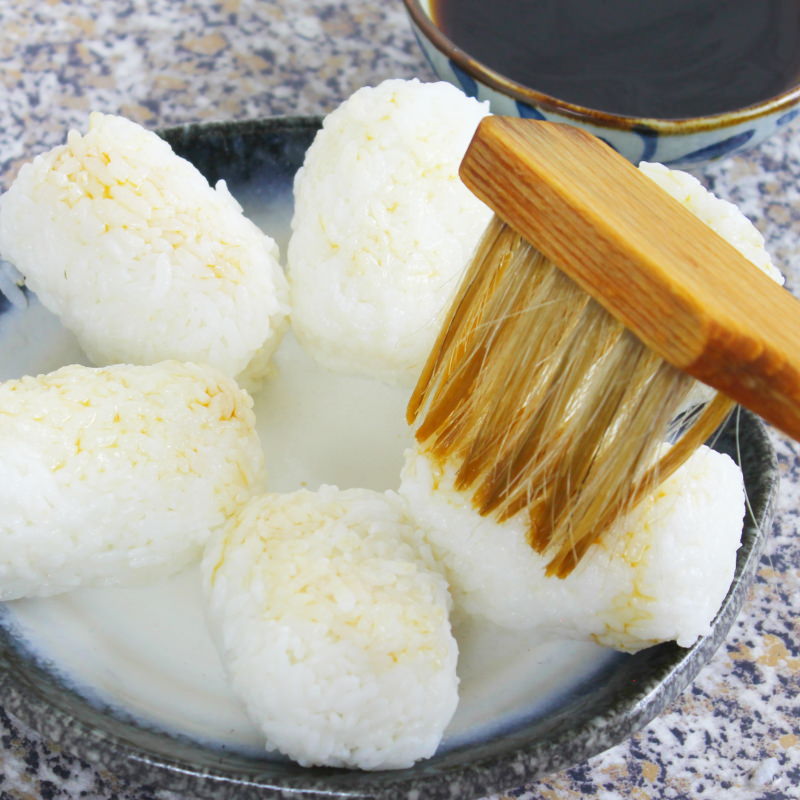
Brush each rice roll with a little Teriyaki sauce. Just a little, as you don’t want the rice to fall apart!
Step 5
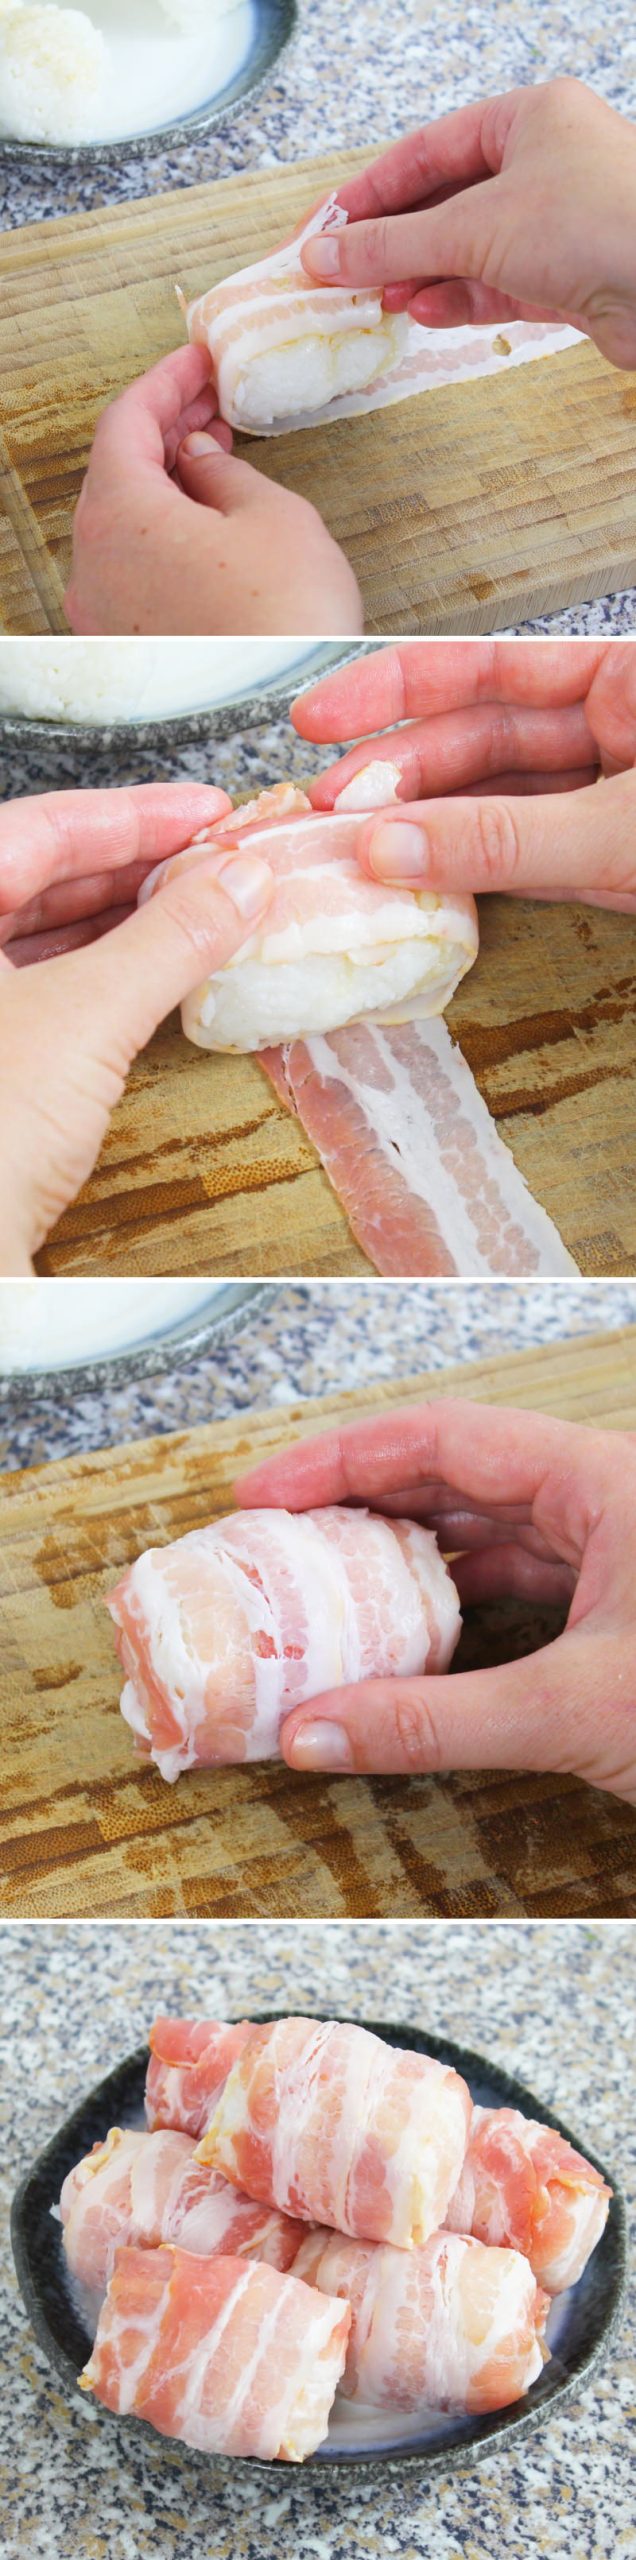
Next, wrap the rice rolls in bacon: To do this, wrap a strip of bacon lengthways around each roll. Then wrap another strip of bacon crossways around the rice roll.
Ideally, the rice should then be completely covered by the bacon. Wrap all 6 rice rolls in this way.
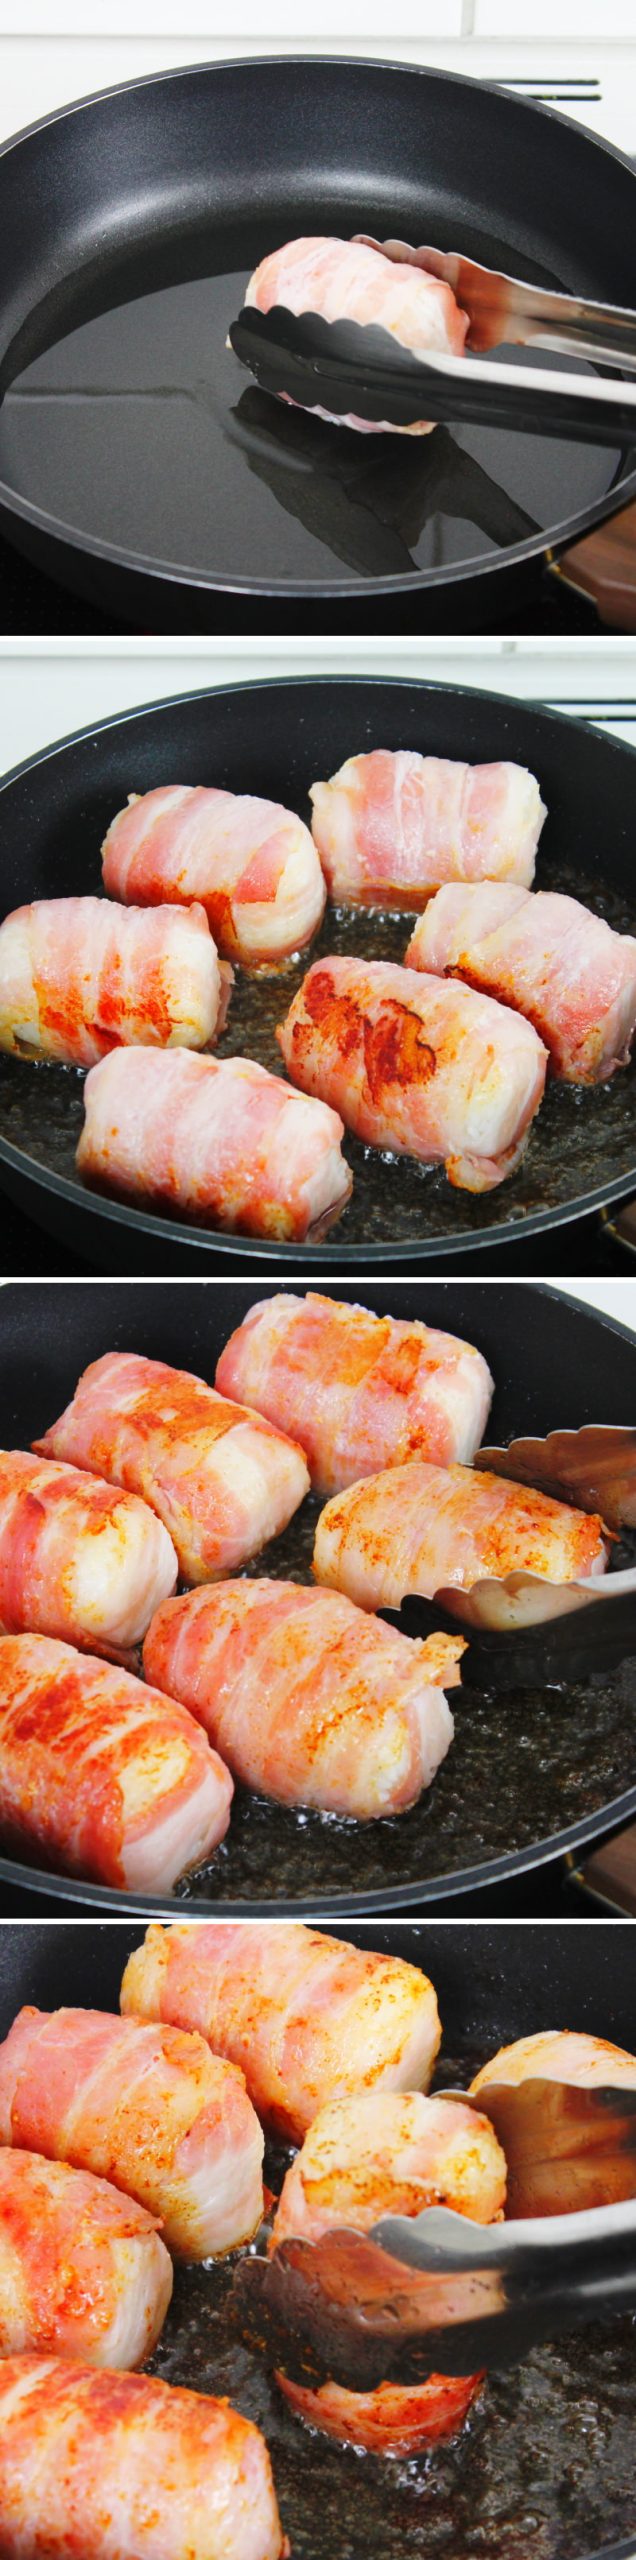
Step 6
Heat plenty of oil in a frying pan. Fry the bacon and rice rolls on all sides until the bacon is nice and crispy all over.
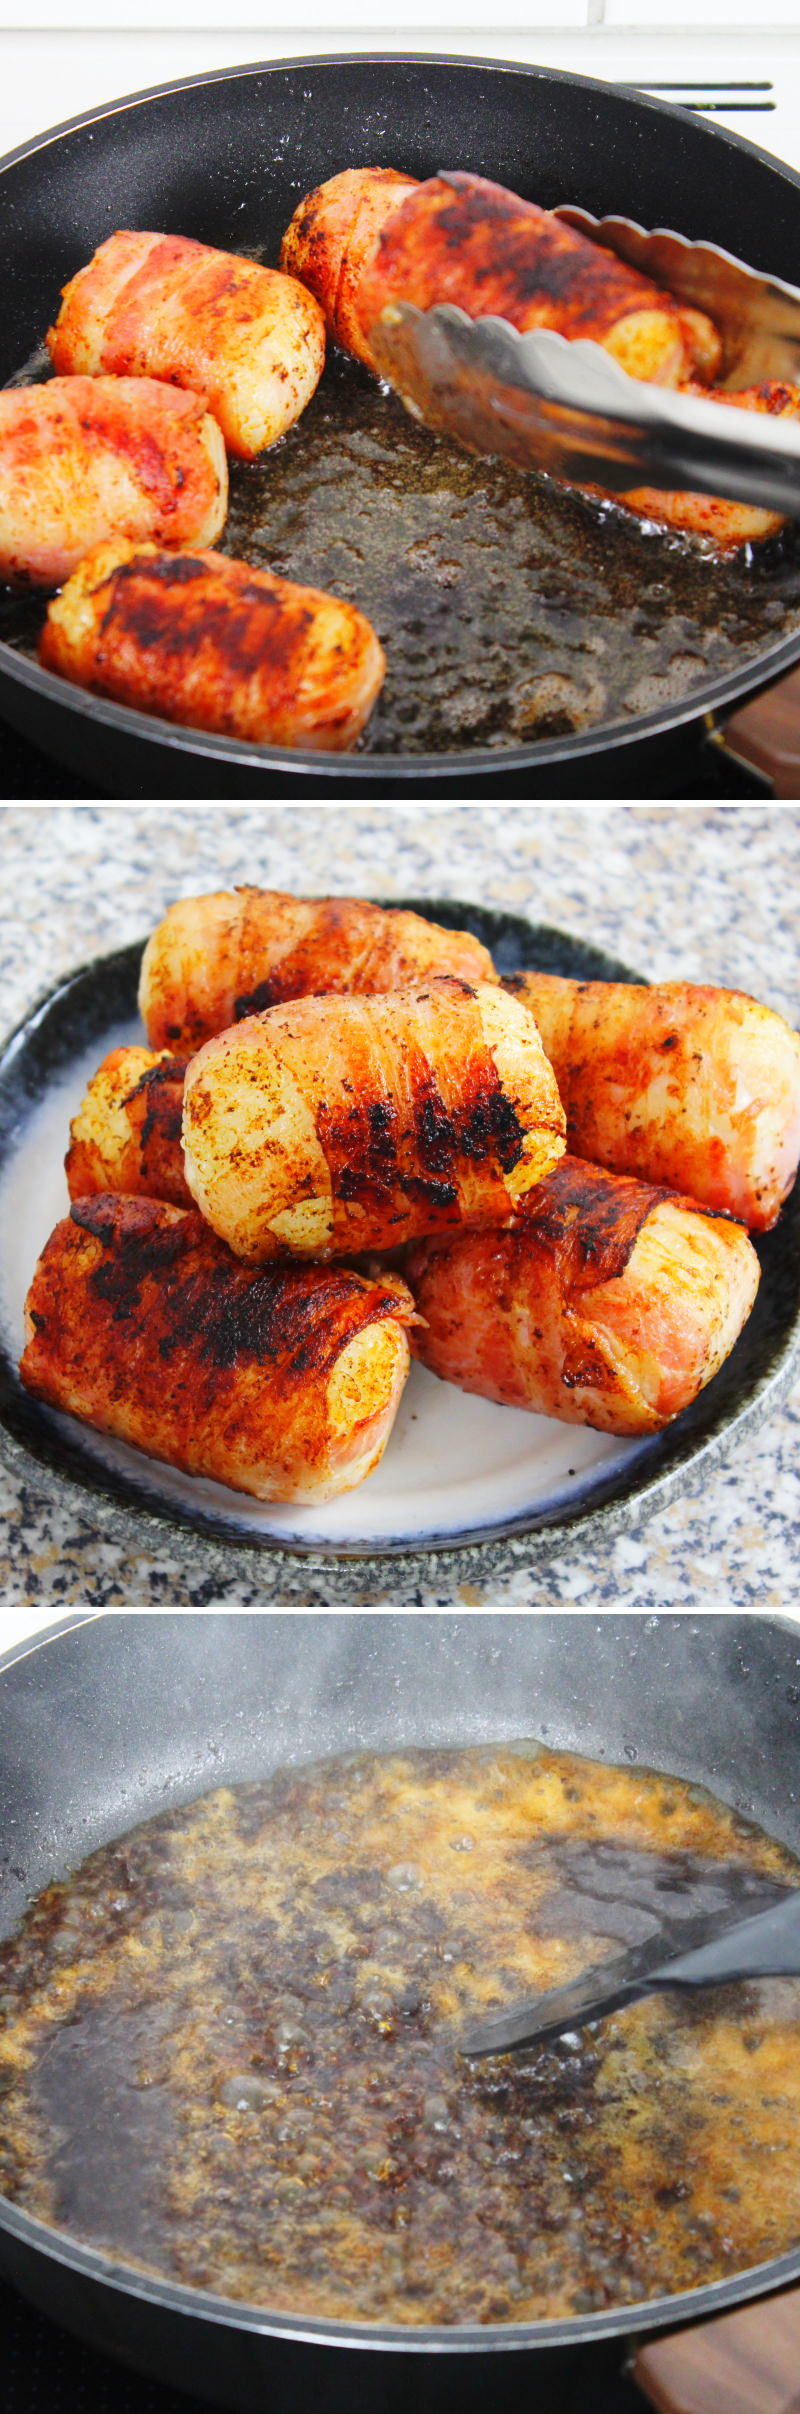
Step 7
Transfer all the rolls from the pan to a plate and pour the oil out of the pan.
Return the pan to the hob, add the Teriyaki sauce and bring to the boil.
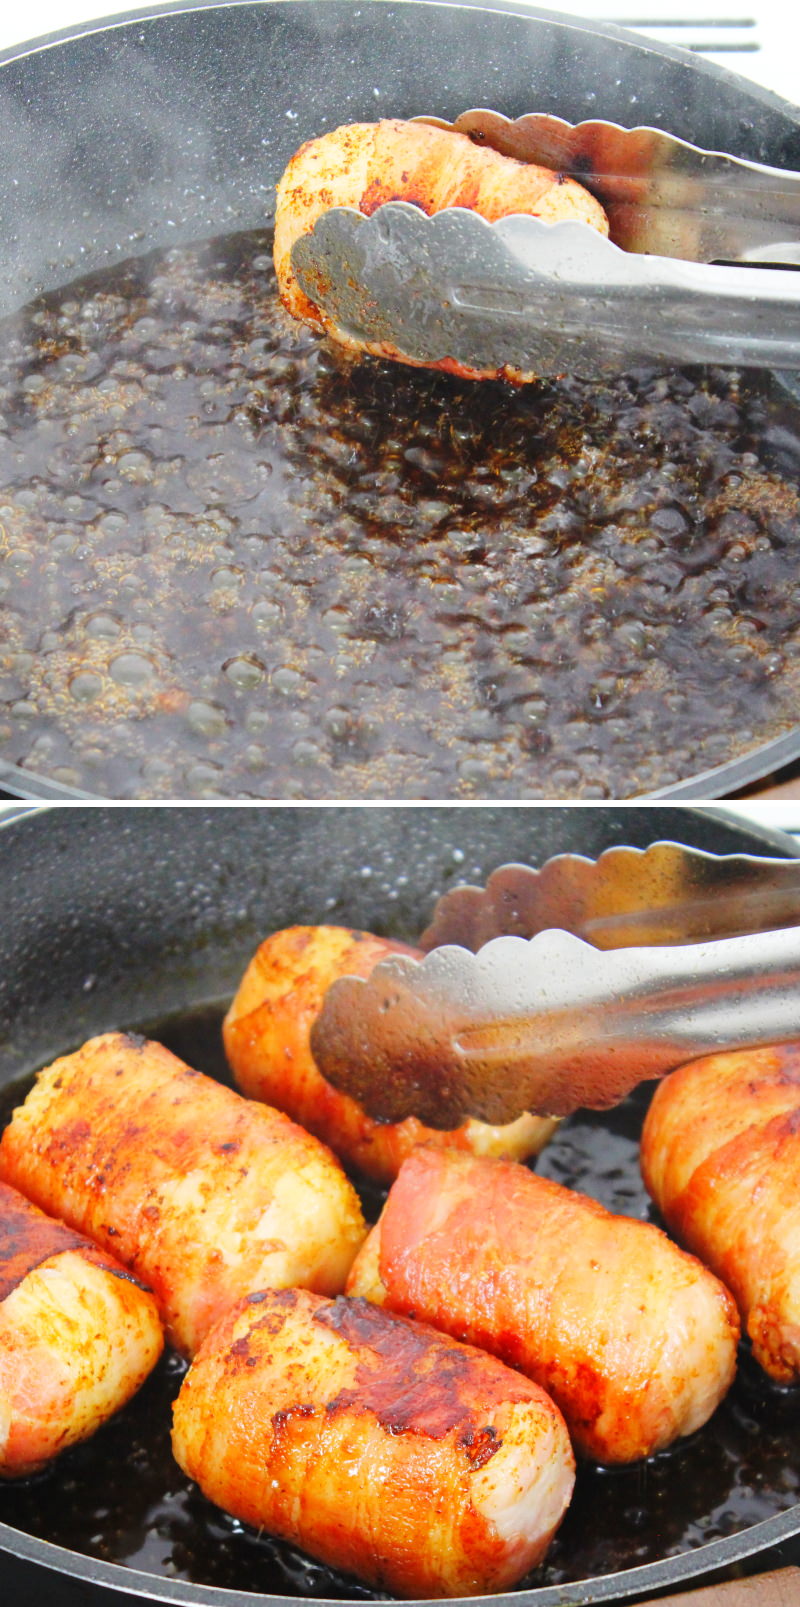
Step 8
As soon as the sauce comes to the boil, add the rice rolls and toss them in the Teriyaki sauce on all sides.
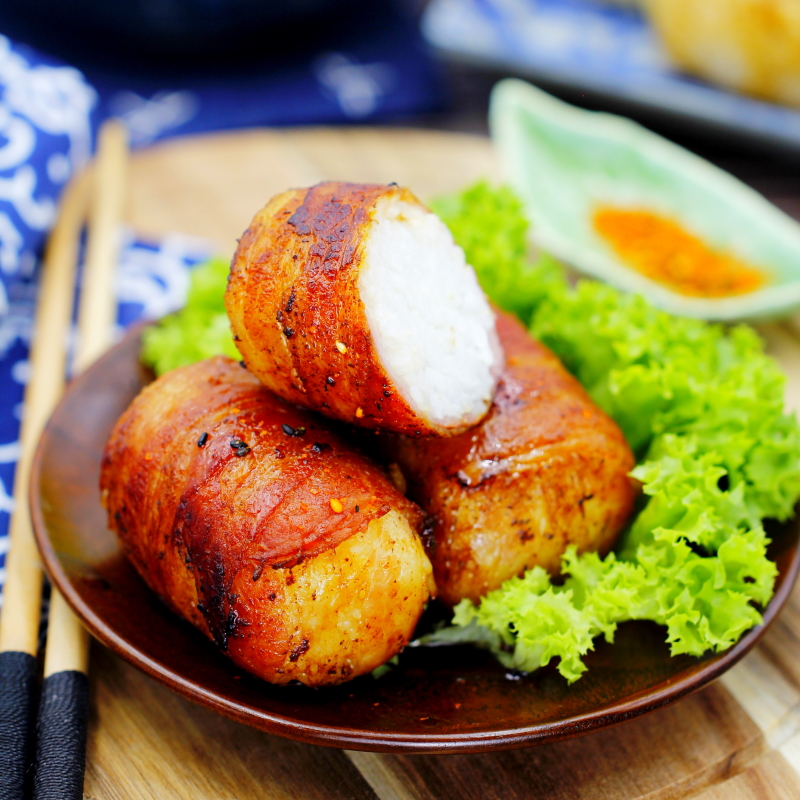
Step 9
Remove the finished Nikumaki Onigiri from the pan and enjoy them straight away, if possible. Or at least pack them up on the same day to take with you.
Tip: The sauce left in the pan can be served in a small bowl for dipping. For eating, it’s best to wrap them in a lettuce leaf and then hold them in your hand!
Done – Itadakimasu!
Are you looking for even more delicious Onigiri recipe ideas from Japan? Here you’ll find my most popular guides:
No post found!
Have you tried out the recipe? Let me know in the comments – I can’t wait to hear from you!