

Language:


Japanese Onigiri with salmon are the perfect snack for on the go and are among my absolute favourite rice balls! They’re delicious, filling and fun to make. Today I’ll show you how you can easily make the filling yourself using homemade salmon flakes and soya sauce, along with spring onions! Just a few ingredients, a couple of simple steps and you’re done – let’s get started!

Imagine you’re planning a little trip to the countryside… and you don’t want to take a sandwich for lunch yet again. It was precisely this thought that gave me the idea to simply make some delicious Onigiri for my little family and pack them up to take with us.
Because when it comes to feeding my little family on the go, I’ve learnt that it can be really helpful to have a few recipes in my cookbook that are quick to prepare, appeal to everyone and are really filling – yet don’t sit heavily in the stomach.
Onigiri rice balls made to a Japanese recipe are simply perfect for this! Because the lovely thing about Onigiri is that you can make them with all sorts of different fillings and seasonings! Meat, fish, vegetables or even just spices – anything goes!
Today I’d like to share my favourite recipe for salmon Onigiri with you. But what exactly are Onigiri?
Onigiri (おにぎり) is the Japanese word for ‘rice balls’. The name actually says it all: it’s literally cooked rice that’s shaped into a ball (or rather a triangle) and then wrapped in Nori seaweed.
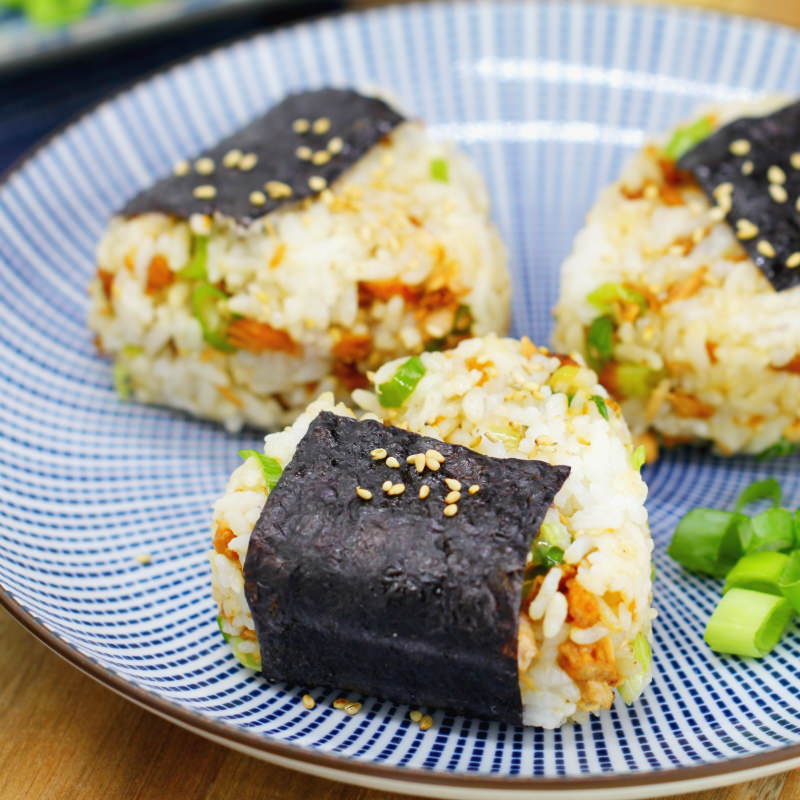
Today I’d like to show you my popular recipe for Onigiri with salmon. But what actually are onigiri? Onigiri (おにぎり) is the Japanese word for “rice ball”. The name really says it all: it’s literally cooked rice shaped into a ball (or rather a triangle) and then wrapped in nori seaweed.
To ensure the Onigiri retain their lovely shape, it’s important to use short-grain white rice (also known as Sushi rice) because of its sticky texture. Long-grain rice and brown rice aren’t sticky enough, so they won’t hold their shape!
TOP RECOMMENDATION
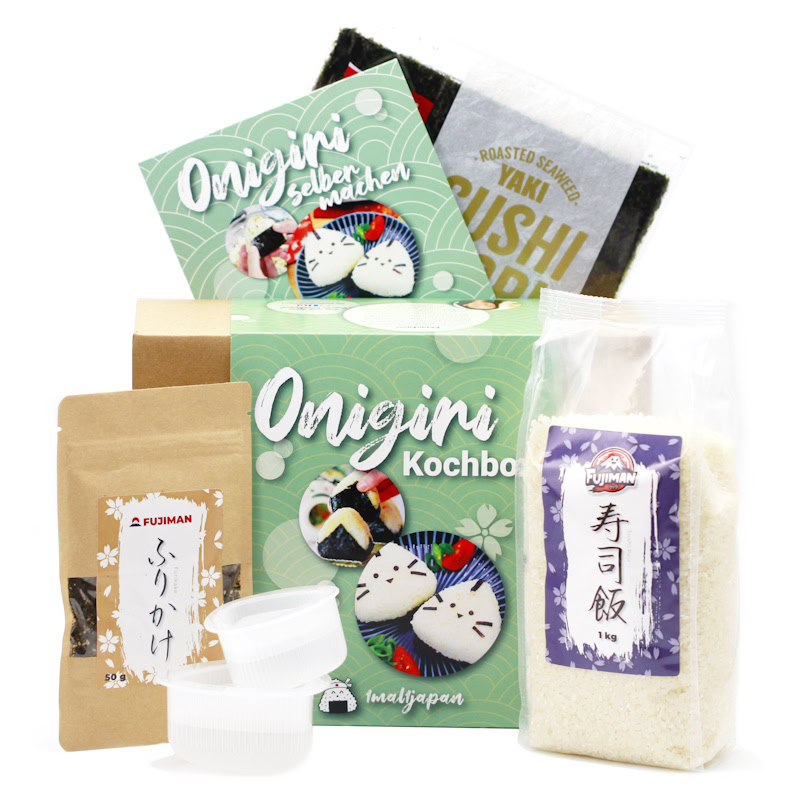
Onigiri Kochbox | Reisbällchen selber machen
5-tlg. DIY Set, inkl. 3 Rezeptideen für japanische Reisdreiecke | vegan, Geschenkidee für Anime Fan. Mit dem Onigiri Kochset gelingen dir japanische Reisdreiecke ganz einfach…
In stock
Salmon onigiri are undoubtedly one of the classic onigiri flavours. In Japan, onigiri with salmon are usually referred to as “鮭”, which is pronounced “sha-keh” – not to be confused with the alcoholic drink Sake 😉.
Tip: Onigiri are best eaten fresh, as the rice dries out quickly after a while and the nori sheet becomes slightly soggy. Please do not store them in the fridge; instead, wrap them in cling film or pack them in a lunchbox.
There are lots of ways to make salmon Onigiri, but today I’ll show you how to fry them in butter in no time at all, season them with soya sauce and turn them into a delicious, flavourful filling:
Onigiri with salmon
Serves 6 | 30 minutes | 235 kcal
🖨️ Print PDF 📌 Save this pinJapanese Onigiri with salmon are the perfect snack for on the go and are among my absolute favourite rice balls! They’re delicious, filling and fun to make. Today I’ll show you how you can easily make the filling yourself using homemade salmon flakes and soya sauce, along with spring onions! Just a few ingredients, a couple of simple steps and you’re done – let’s get started!
Ingredients (makes 6)
600 g cooked rice (see recipe):
✔ 300 g loose rice (im Shop ansehen)*
✔ 300 ml water (fresh, cold tap water)
✔ 1 pinch salt
100 g salmon fillet (skinless)
1 tbsp butter
2 tbsp Shoyu (im Shop ansehen)*
1 spring onion
1 tsp toasted sesame seeds (im Shop ansehen)*
1 sheet Nori (im Shop ansehen)*
Useful utensils:
Onigiri mould – Rice mould set for rice triangles (im Shop ansehen)*
Method (30 minutes)
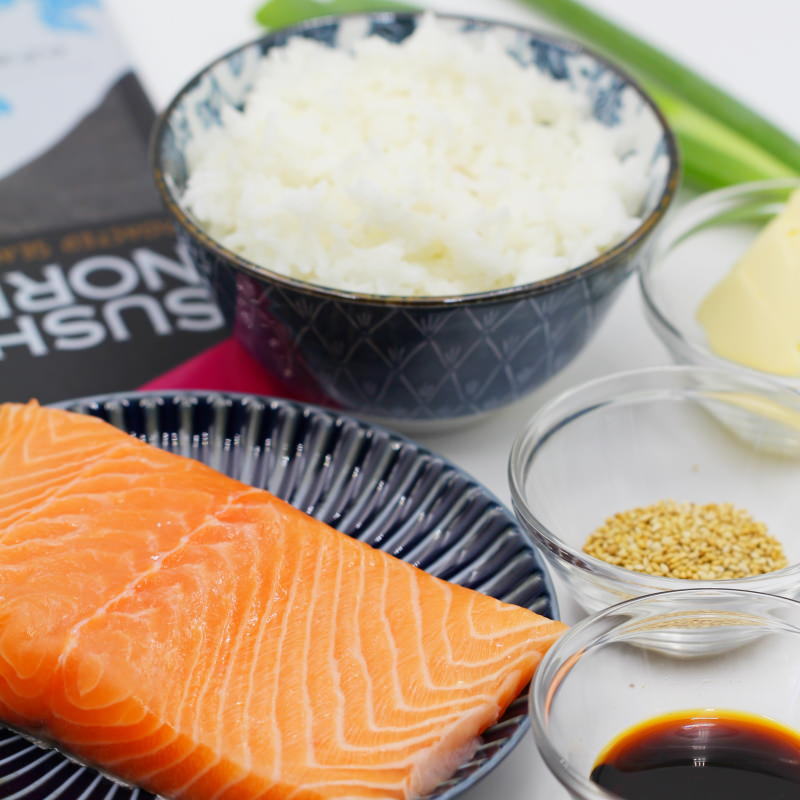
Step 1
Prepare the ingredients for the Onigiri and get the rice ready (see the recipe here in a rice cooker or in a saucepan + leave to cool for 20 minutes).
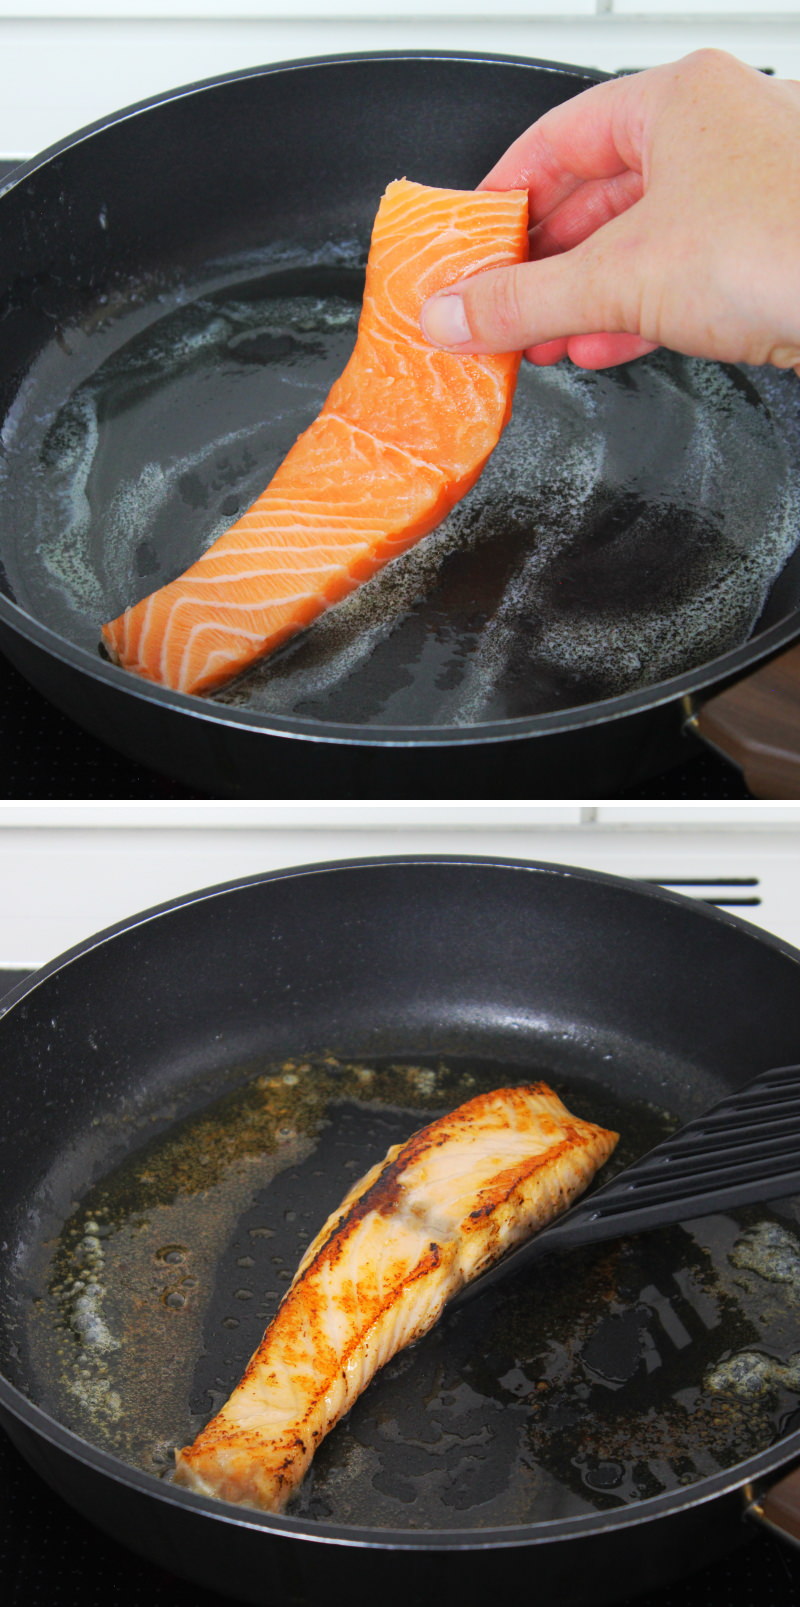
Step 2
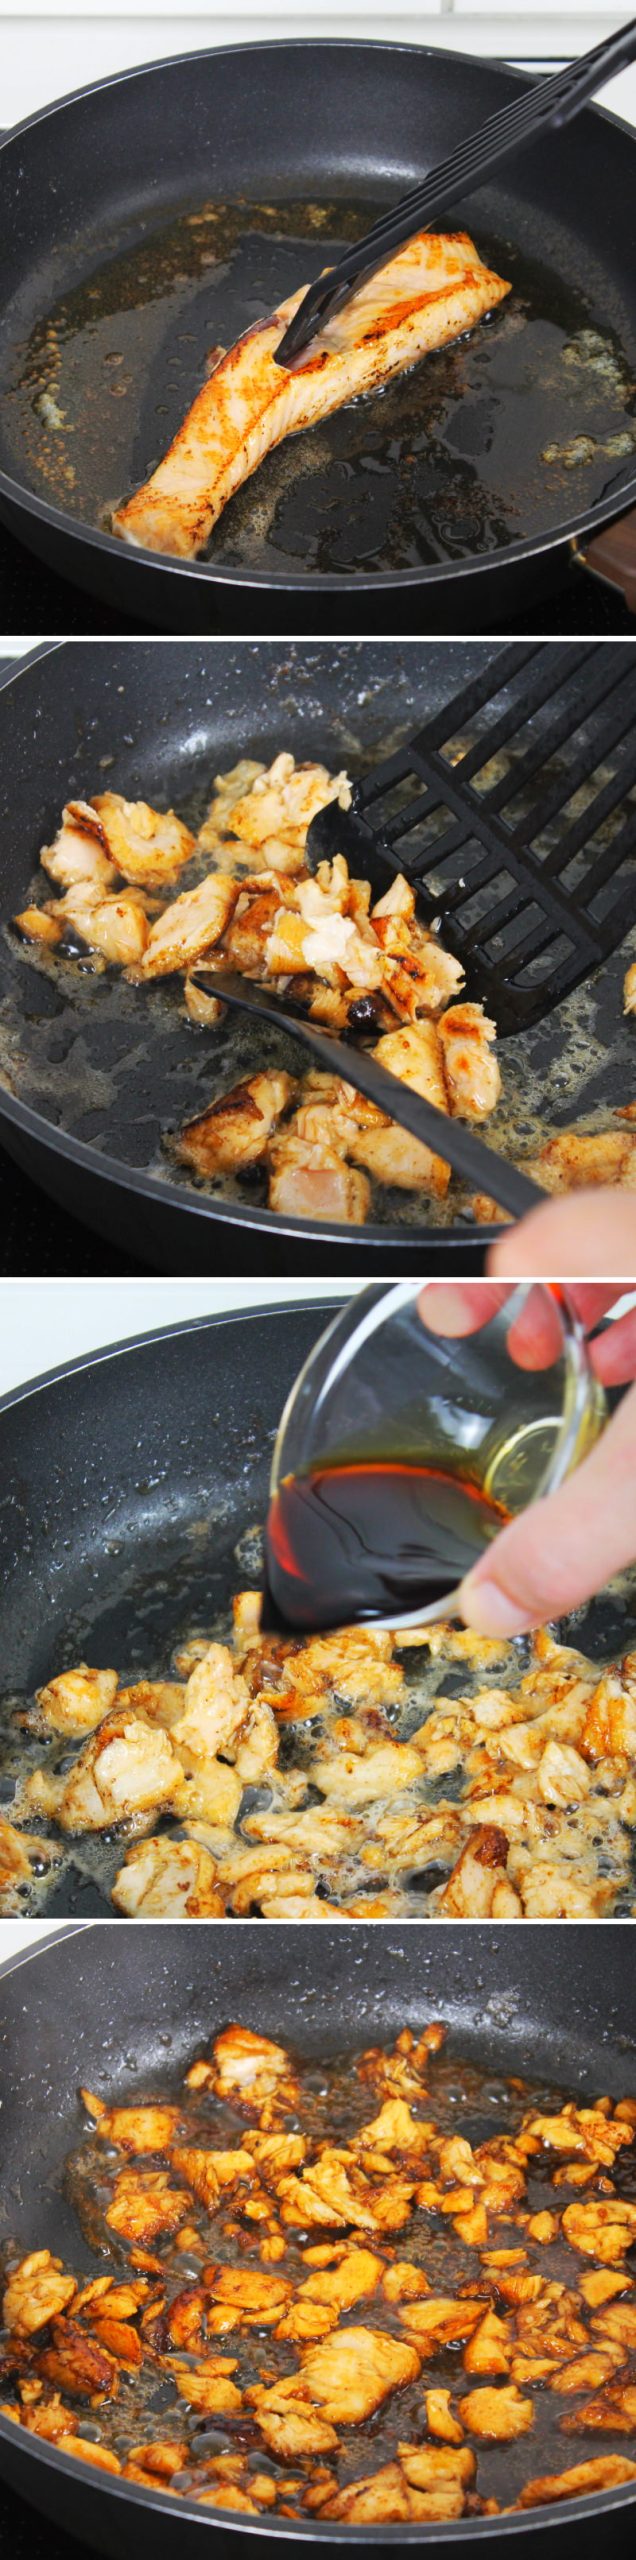
Prepare the filling for the Japanese rice balls: Heat the butter in a frying pan. As soon as the butter has melted and is foaming slightly, add the salmon and fry until crispy. Then turn the salmon over and fry the other side as well.
Step 3
Now break up the fried salmon in the pan so that small flakes form. Stir the soya sauce into the salmon flakes and simmer gently for 5 minutes.
Step 4
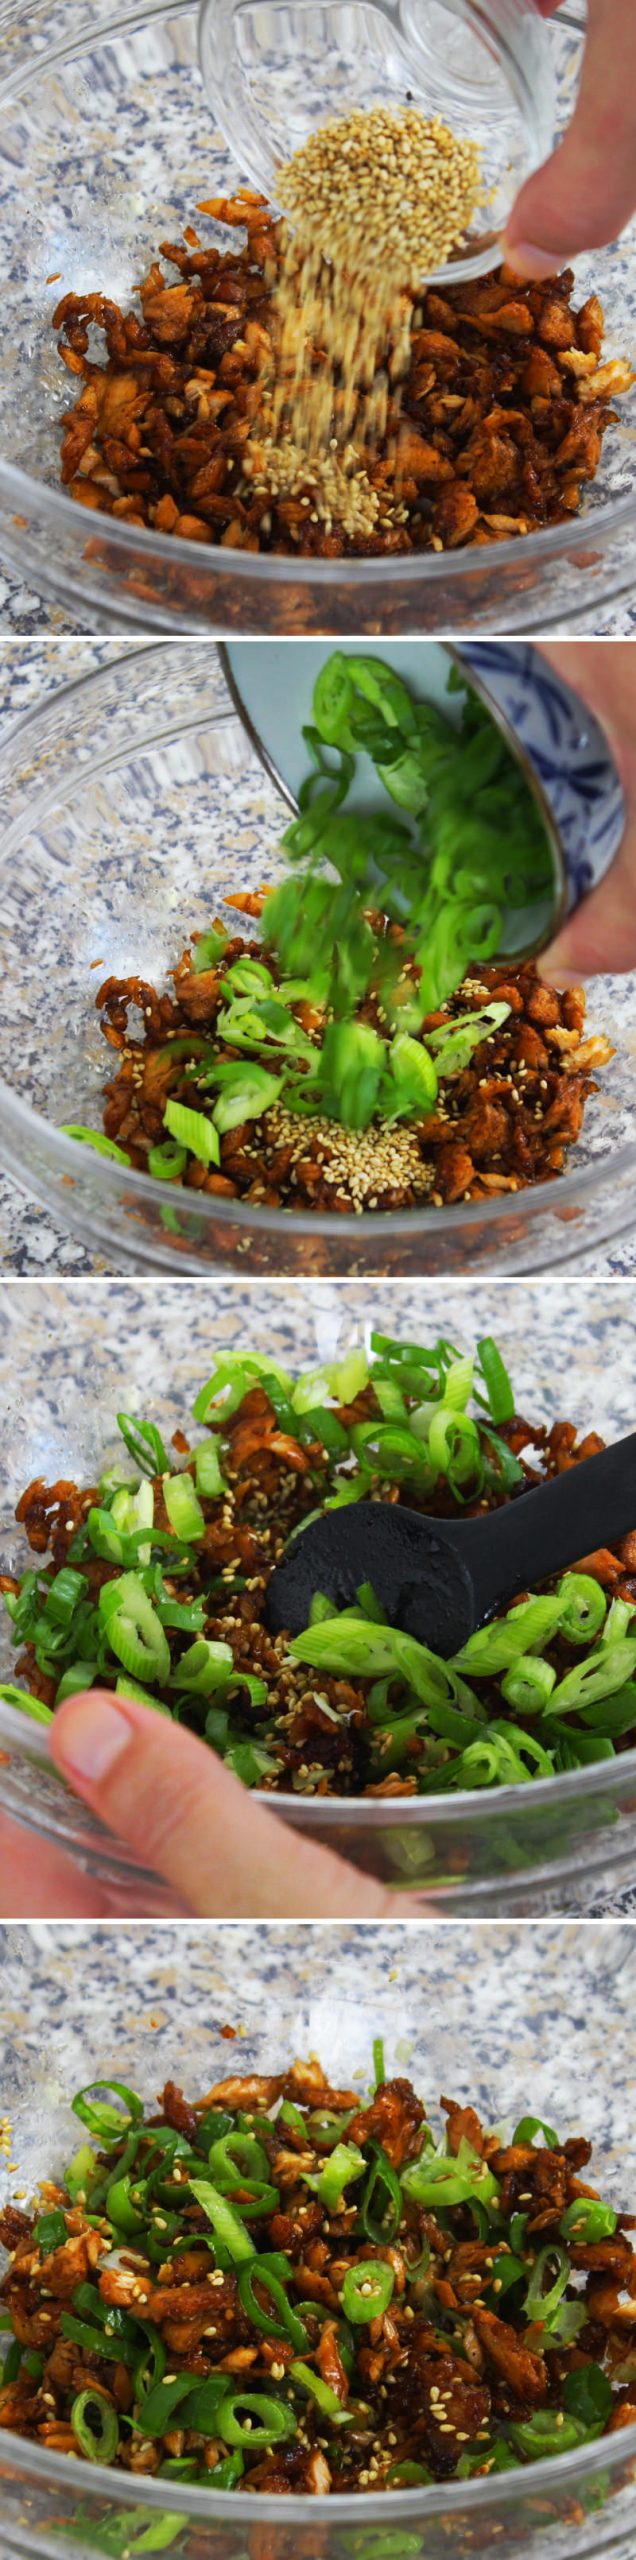
Then transfer to a bowl and leave to cool briefly. Also add sesame seeds . In the meantime, slice the spring onions into fine rings and add them to the salmon flakes. Mix everything together well!
Step 5
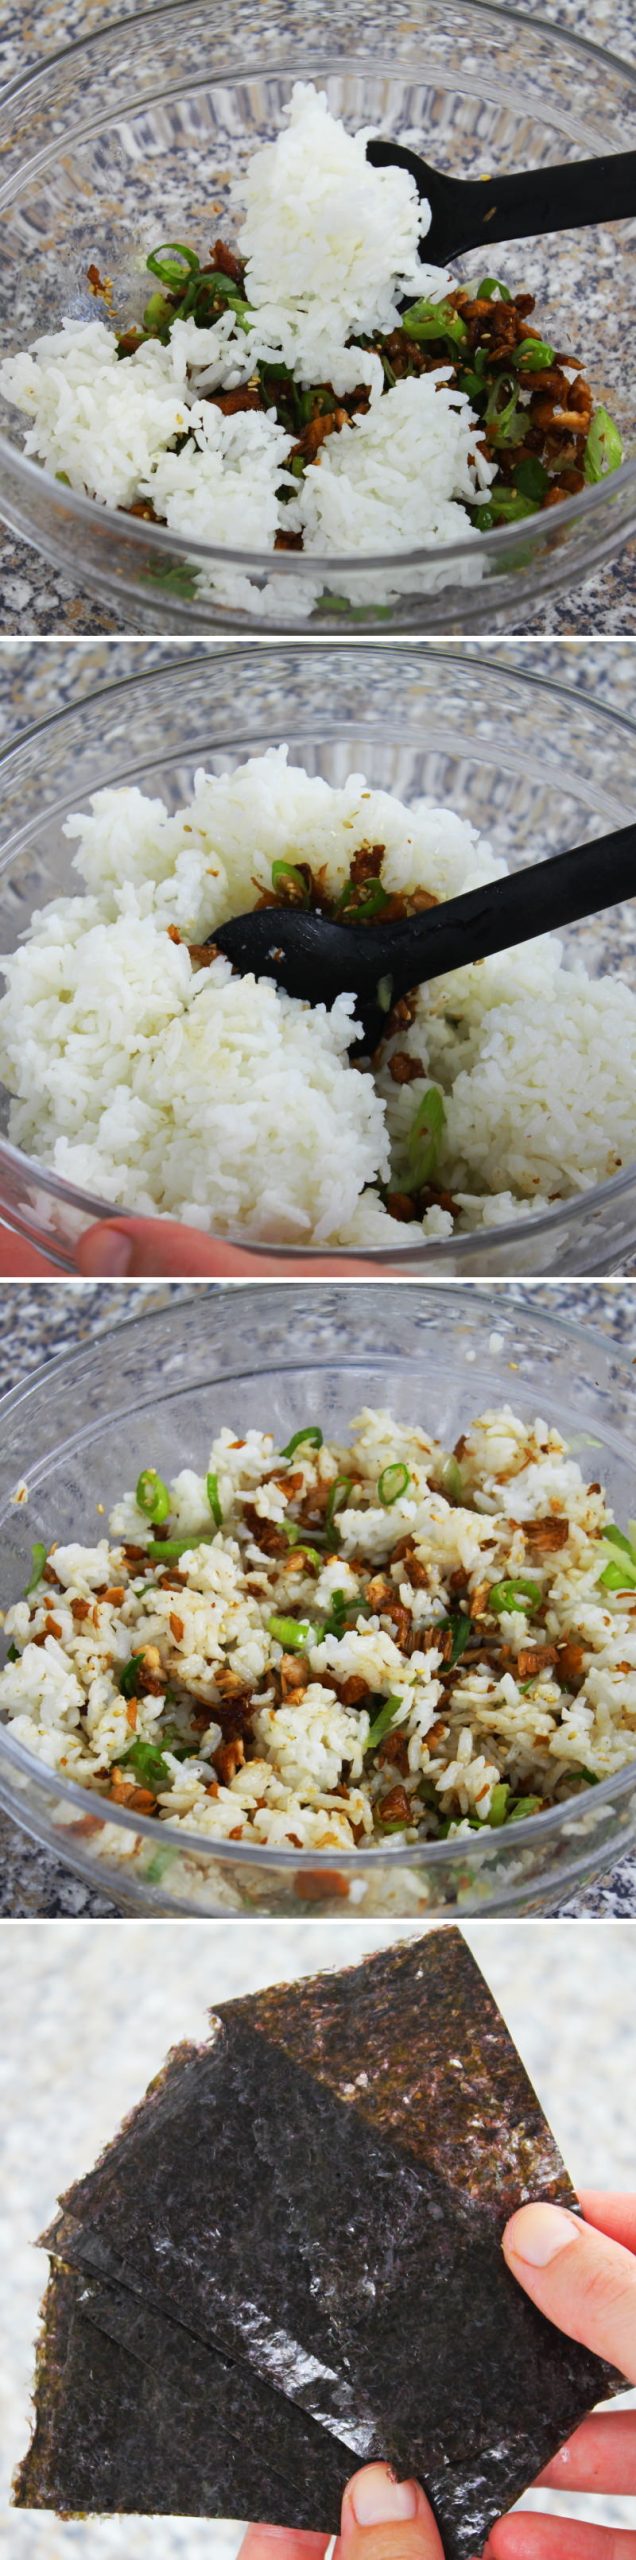
Gently fold the mixture into the cooked rice. Cut the nori sheet into small rectangles using scissors.
Step 6
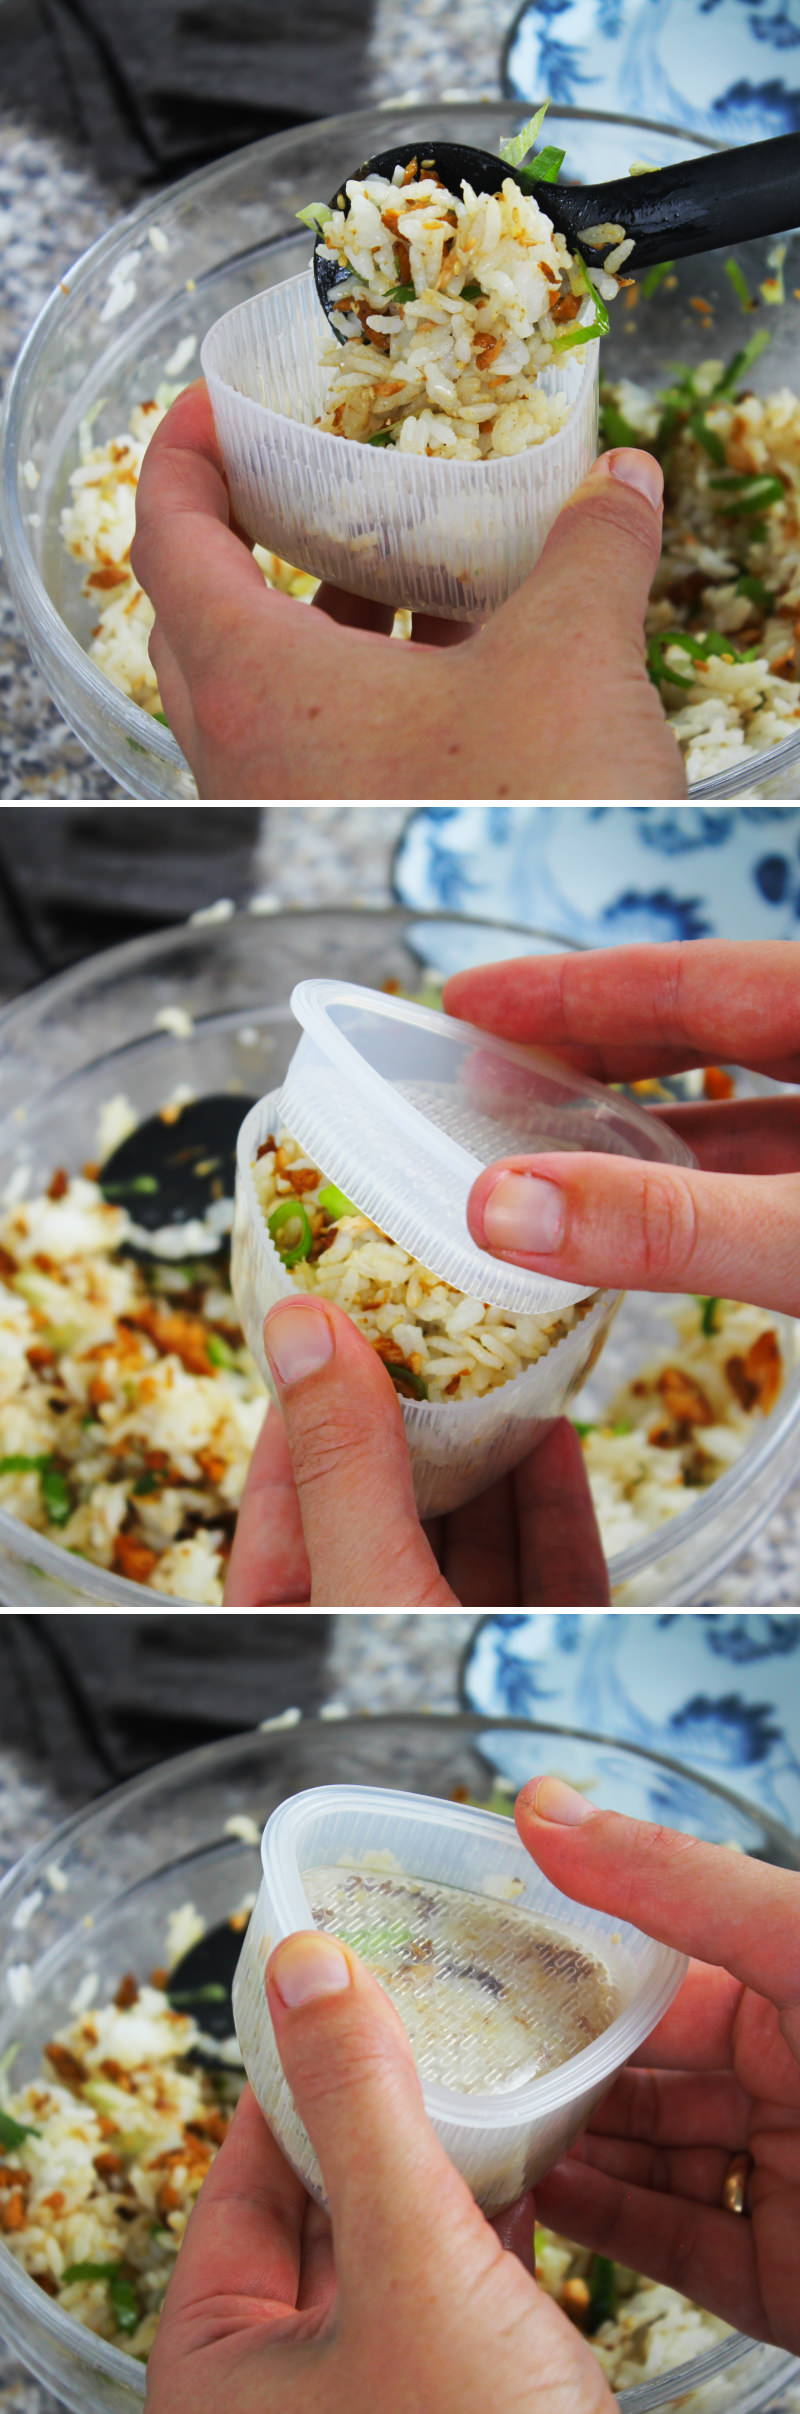
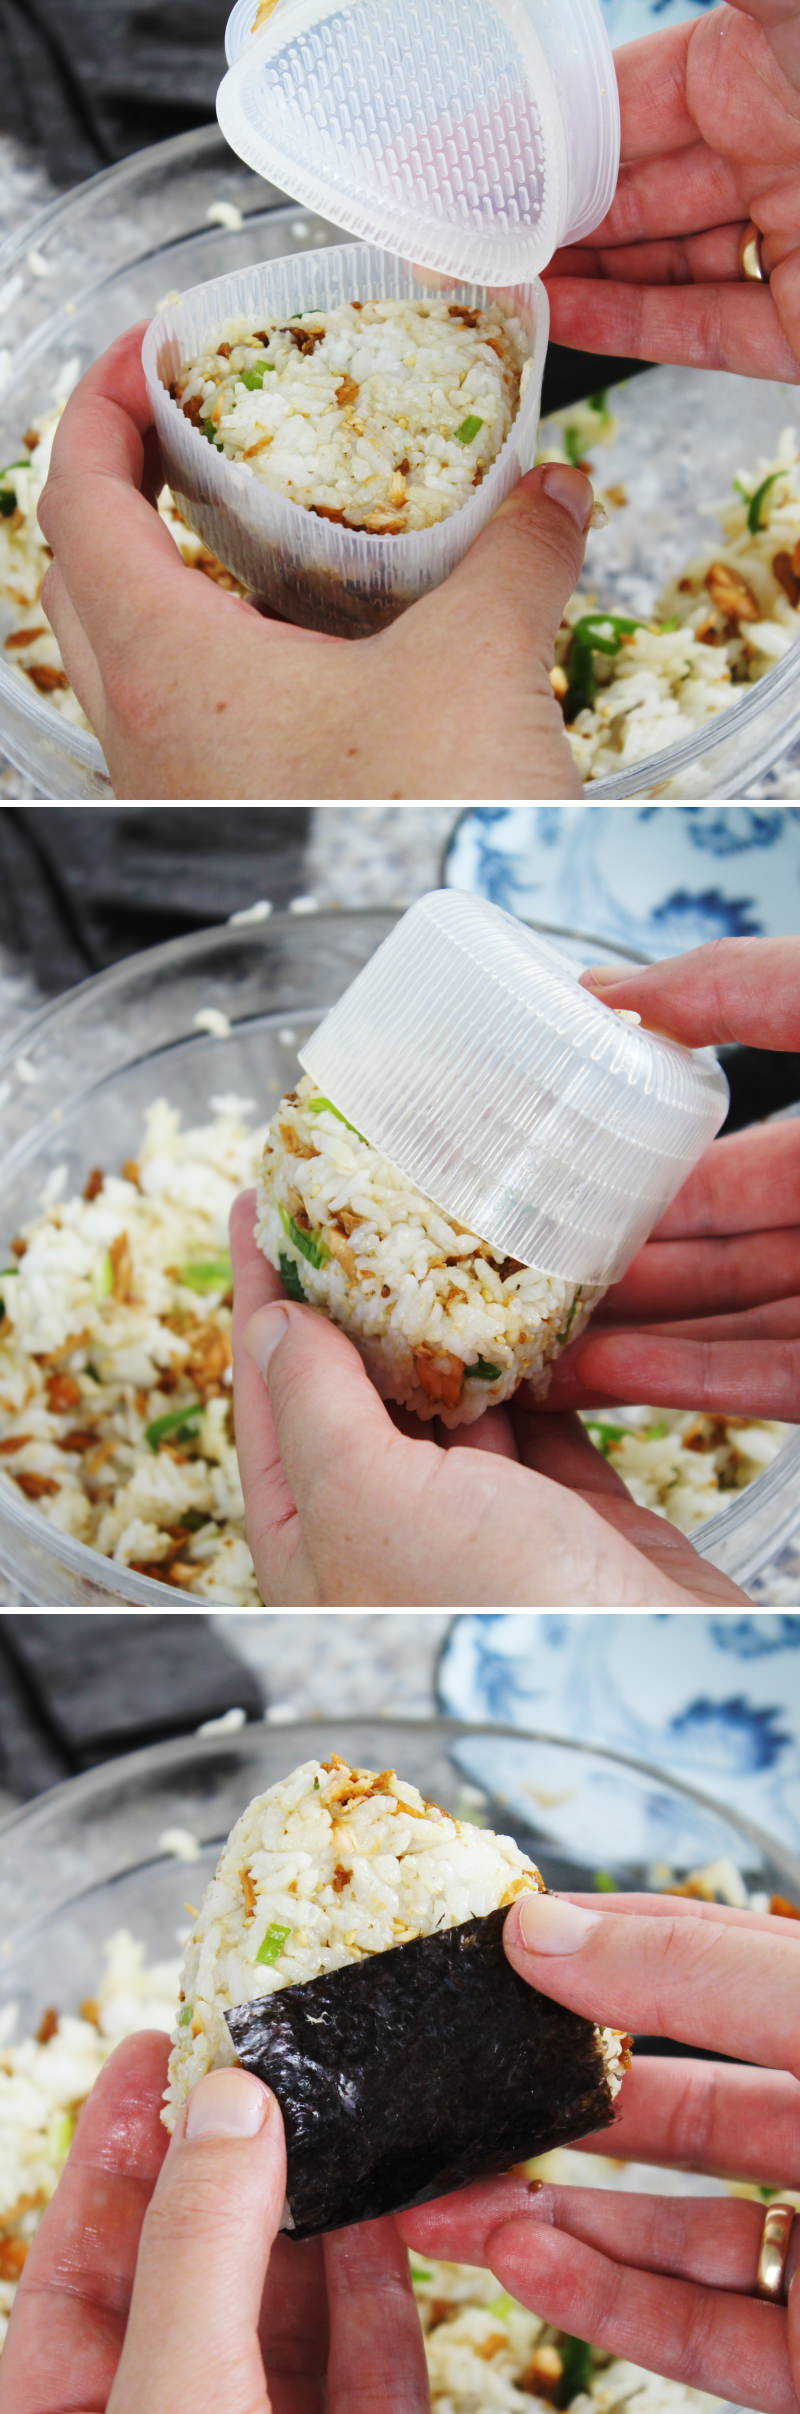
Fill a small bowl with lightly salted water and set it aside. To shape the rice balls, dip the onigiri mould (both the large and small sides) into the water and allow them to drain briefly.
Fill the large side of the onigiri mould with about 120 g of seasoned rice. Now place the lid of the onigiri mould onto the rice and press both sides together with gentle pressure.
Step 7
Open the Onigiri mould and remove the rice triangle from the mould. Now wrap the rice triangle in Nori however you like.
Step 8
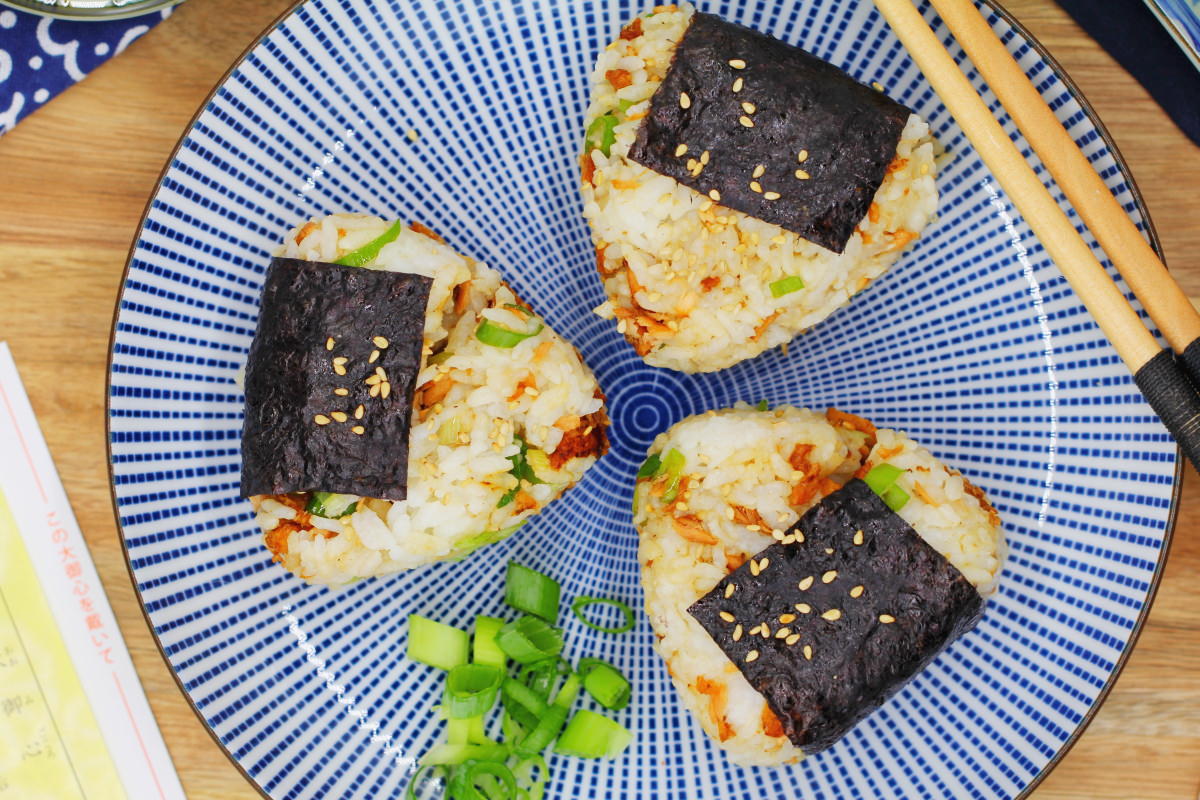
Once the Onigiri is ready, it should be eaten as soon as possible. Onigiri are best when fresh, as the rice dries out quickly after a while and the nori sheet becomes slightly soggy. Done – Itadakimasu!
Are you looking for even more delicious Onigiri recipe ideas from Japan? Here are my most popular guides:
No post found!
Have you tried out the recipe? Let me know in the comments – I can’t wait to hear from you!