Language:


Have you always wanted to make homemade nigiri like a pro? This simple recipe for hand-shaped Sushi shows you step by step how to amaze your guests. With the classic nigiri combination of tuna, salmon and prawns featured in this recipe, you can easily conjure up this Sushi classic at home!

Sushi is rice seasoned with vinegar, which is filled or topped with raw as well as cooked or marinated fish (or other seafood), vegetables or Japanese omelette.
TOP RECOMMENDATION
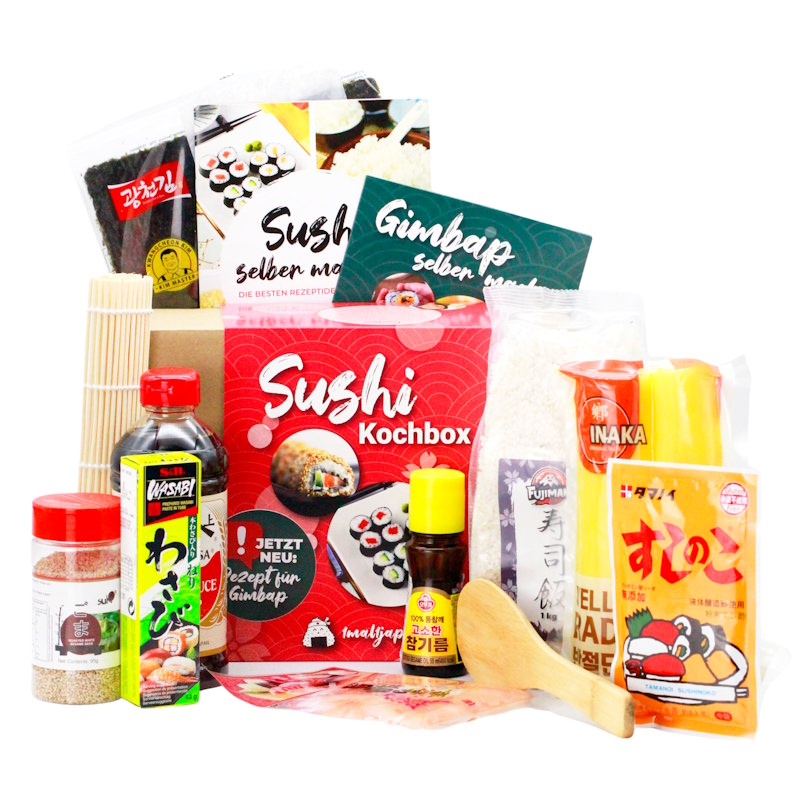
Sushi + Gimbap Kochbox | Reisrollen selber machen
11-tlg. DIY Sushi Set, inkl. Rezepte + Zubehör, für Anfänger & Kenner. Mit der Sushi + Gimbap Kochbox gelingen dir japanische und koreanische Rollen ganz…
In stock
The original idea behind Sushi was to preserve raw fish by combining it with rice. Today, it is a Japanese national dish that is served and eaten as a snack, starter or main course in a wide variety of forms – the creations range from generously filled bowls to artfully crafted rolls.
Why do we love Sushi?
- Sushi is low in fat and calories.
- Sushi is prepared using only the freshest ingredients.
- Sushi offers countless variations and flavours, even at home!
- Sushi isn’t just delicious, it’s also a work of art.
- It’s great fun to make your own Sushi!
The origins of nigiri Sushi – that is, hand-shaped Sushi – date back just over 150 years. The sushi shop owner Hanaya Yohei is now regarded as its inventor, who is said to have been the first person in Tokyo to shape the rice into a ball and top it with a slice of fish. This new form of Sushi, which took just a few minutes to prepare, proved hugely popular with Tokyo’s impatient city-dwellers and remains the most common form throughout Japan to this day!
The key to nigiri sushi is that the topping and rice are bound together so that the topping cannot fall off.
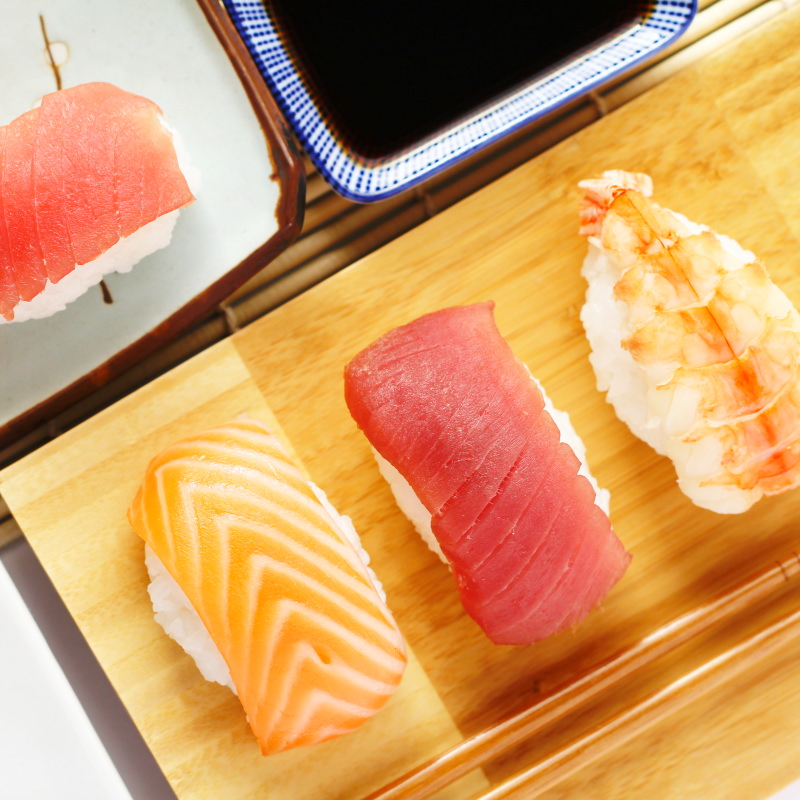
Maki, nigiri, inside-out and many, many more: Making the various Sushi fillings yourself really isn’t difficult! Here you’ll find the best recipes: → Make the 7 most popular types of Sushi yourself!
Find out how to shape perfect nigiri sushi from Sushi rice and toppings in this recipe! Have fun and good luck making your own nigiri sushi!
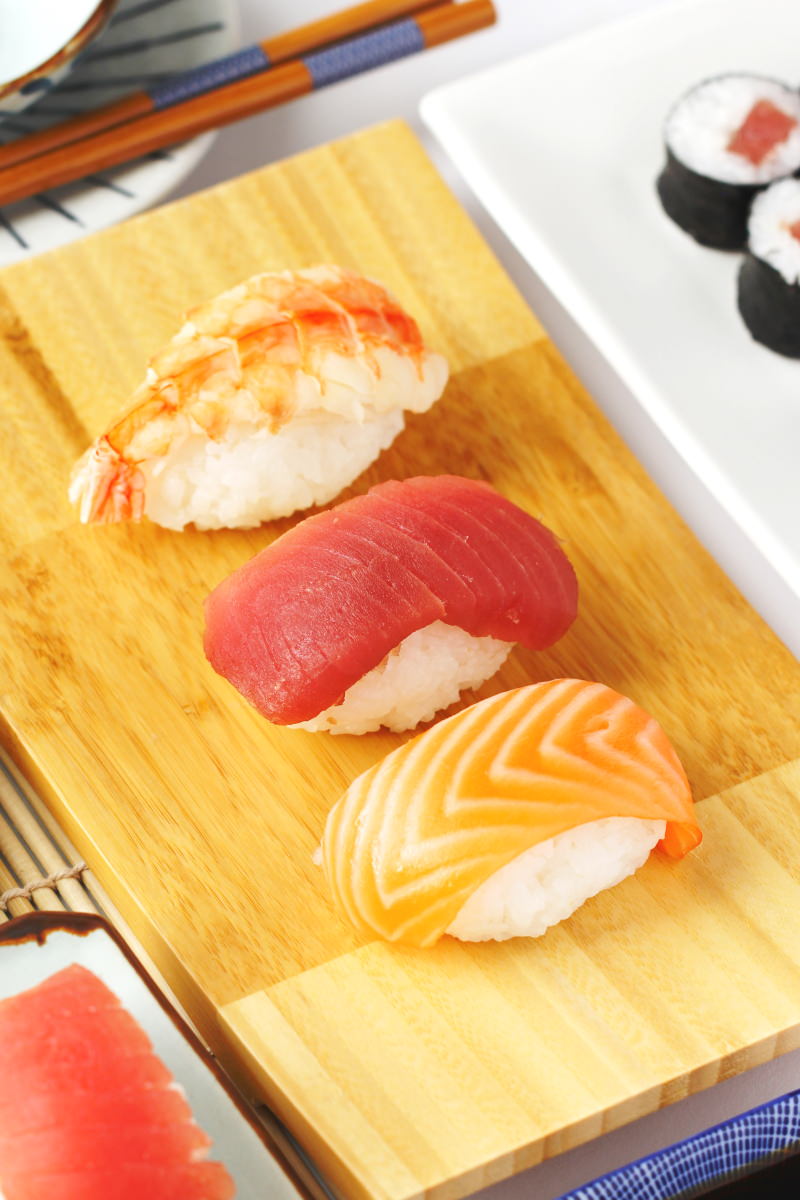
Nigiri Sushi
Serves 4 | 20 minutes | 385 kcal
🖨️ Print PDF 📌 Save this pinHave you always wanted to make homemade nigiri like a pro? This simple recipe for hand-shaped Sushi shows you, step by step, how to amaze your guests. With the classic nigiri combination of tuna, salmon and prawns featured in this recipe, you can easily conjure up this Sushi classic at home!
Ingredients (4 portions = 24 pieces)
600 g Sushi rice (see recipe):
✔ 300 g rice (im Shop ansehen)
✔ 1 piece Kombu (im Shop ansehen)
✔ 2 tbsp sushi no ko (im Shop ansehen)
100 g salmon
100 g tuna
8 prawns
wasabi (im Shop ansehen)
For the vinegar water:
250 ml water
1 tbsp rice vinegar (im Shop ansehen)
To serve (provide the following for each guest):
Wasabi (im Shop ansehen)
Sushi ginger (im Shop ansehen)
Soy sauce (im Shop ansehen)
Useful utensils:
Santoku knife (im Shop ansehen)
Japanese Yukihiara saucepan
Sushi serving set (im Shop ansehen)
Preparation (20 minutes / 60 minutes to cook the rice, if required)
Step 1
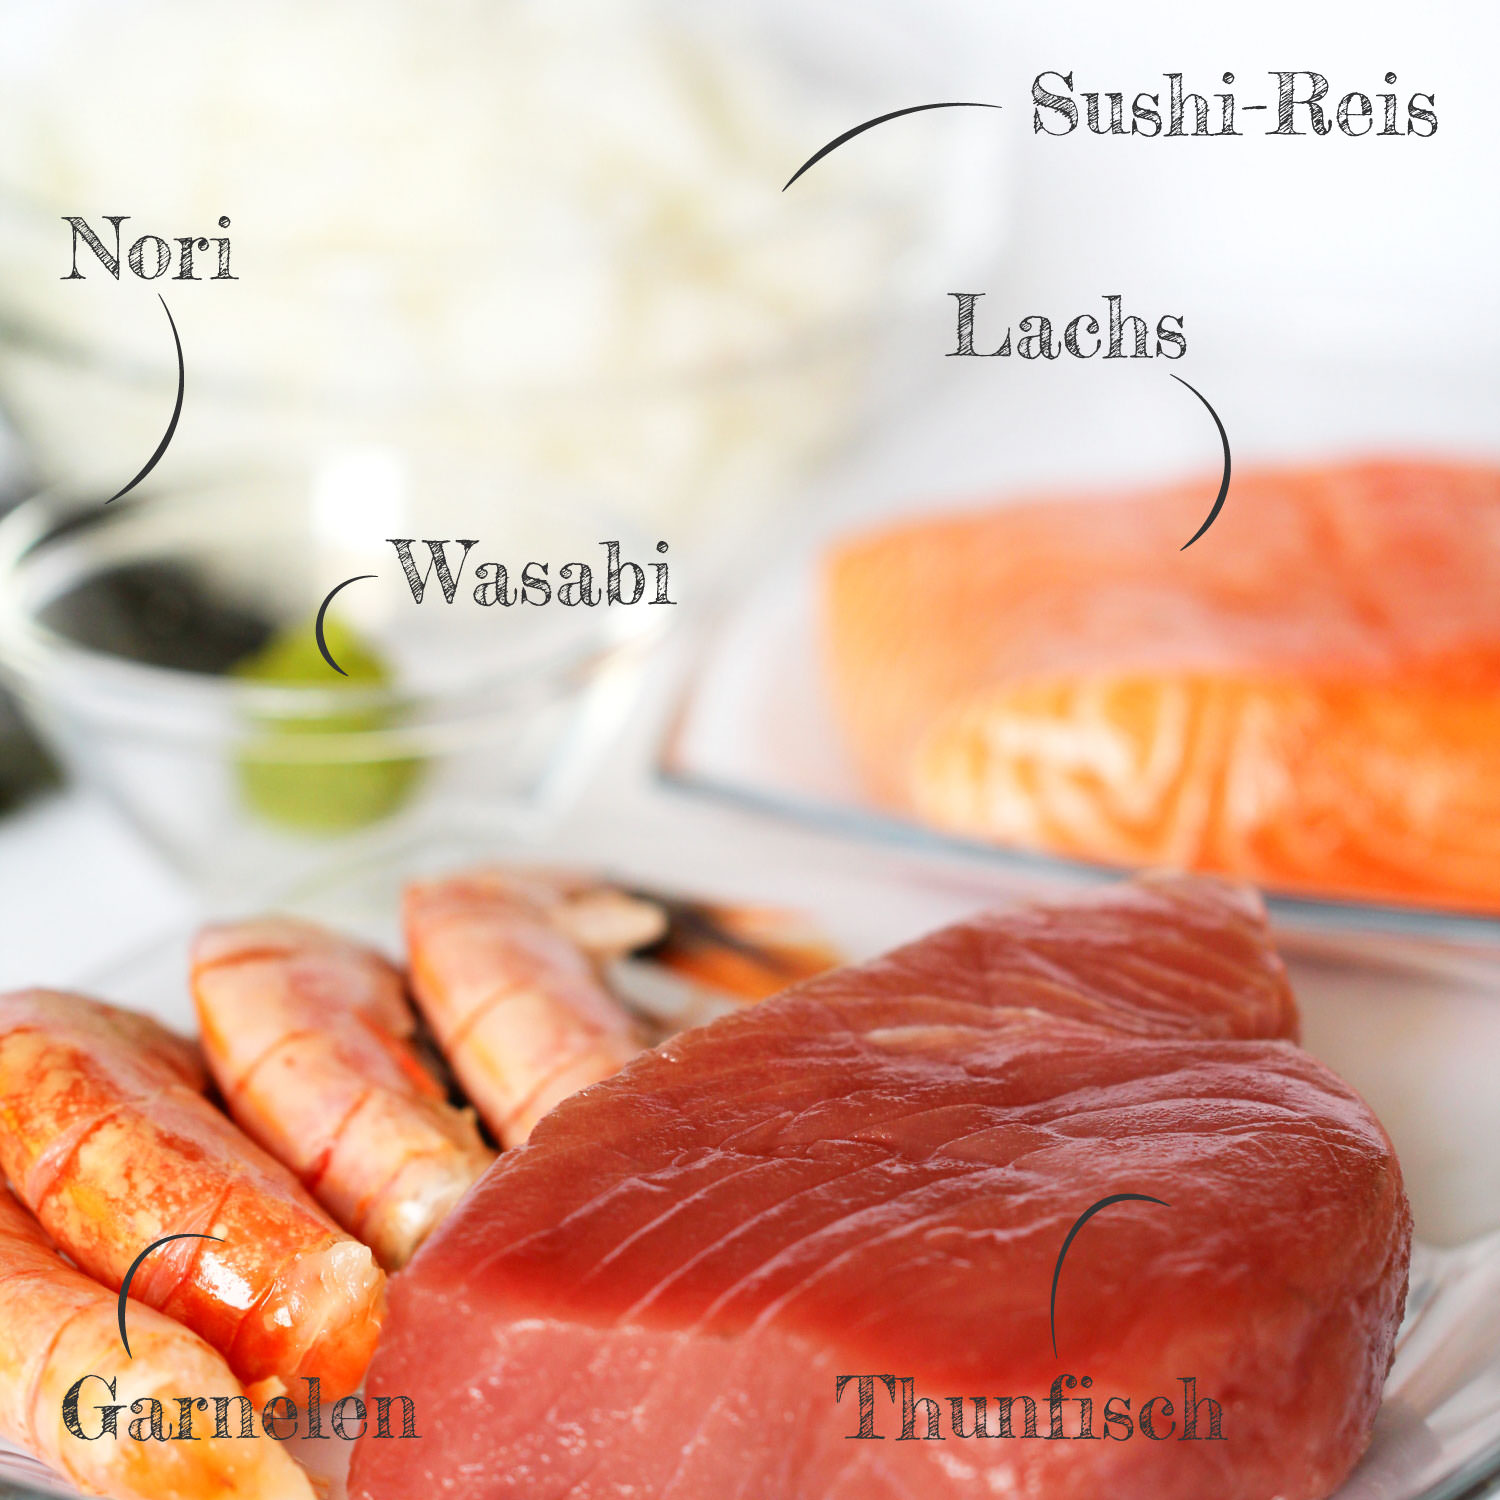
Gather the ingredients for the hand-shaped nigiri sushi and prepare the sushi rice (see here for the recipe for delicious Sushi rice) and leave to cool briefly. Also, prepare the vinegar water in a small bowl using fresh water and rice vinegar for shaping the rice.

Step 2
If you are making the wasabi yourself using wasabi powder: The mixing ratio is 5 tsp wasabi powder to 3 tsp water. Mix both together in a small bowl, shape into a ball if desired, and leave to stand for 5 minutes to allow the flavour to develop.
Step 3
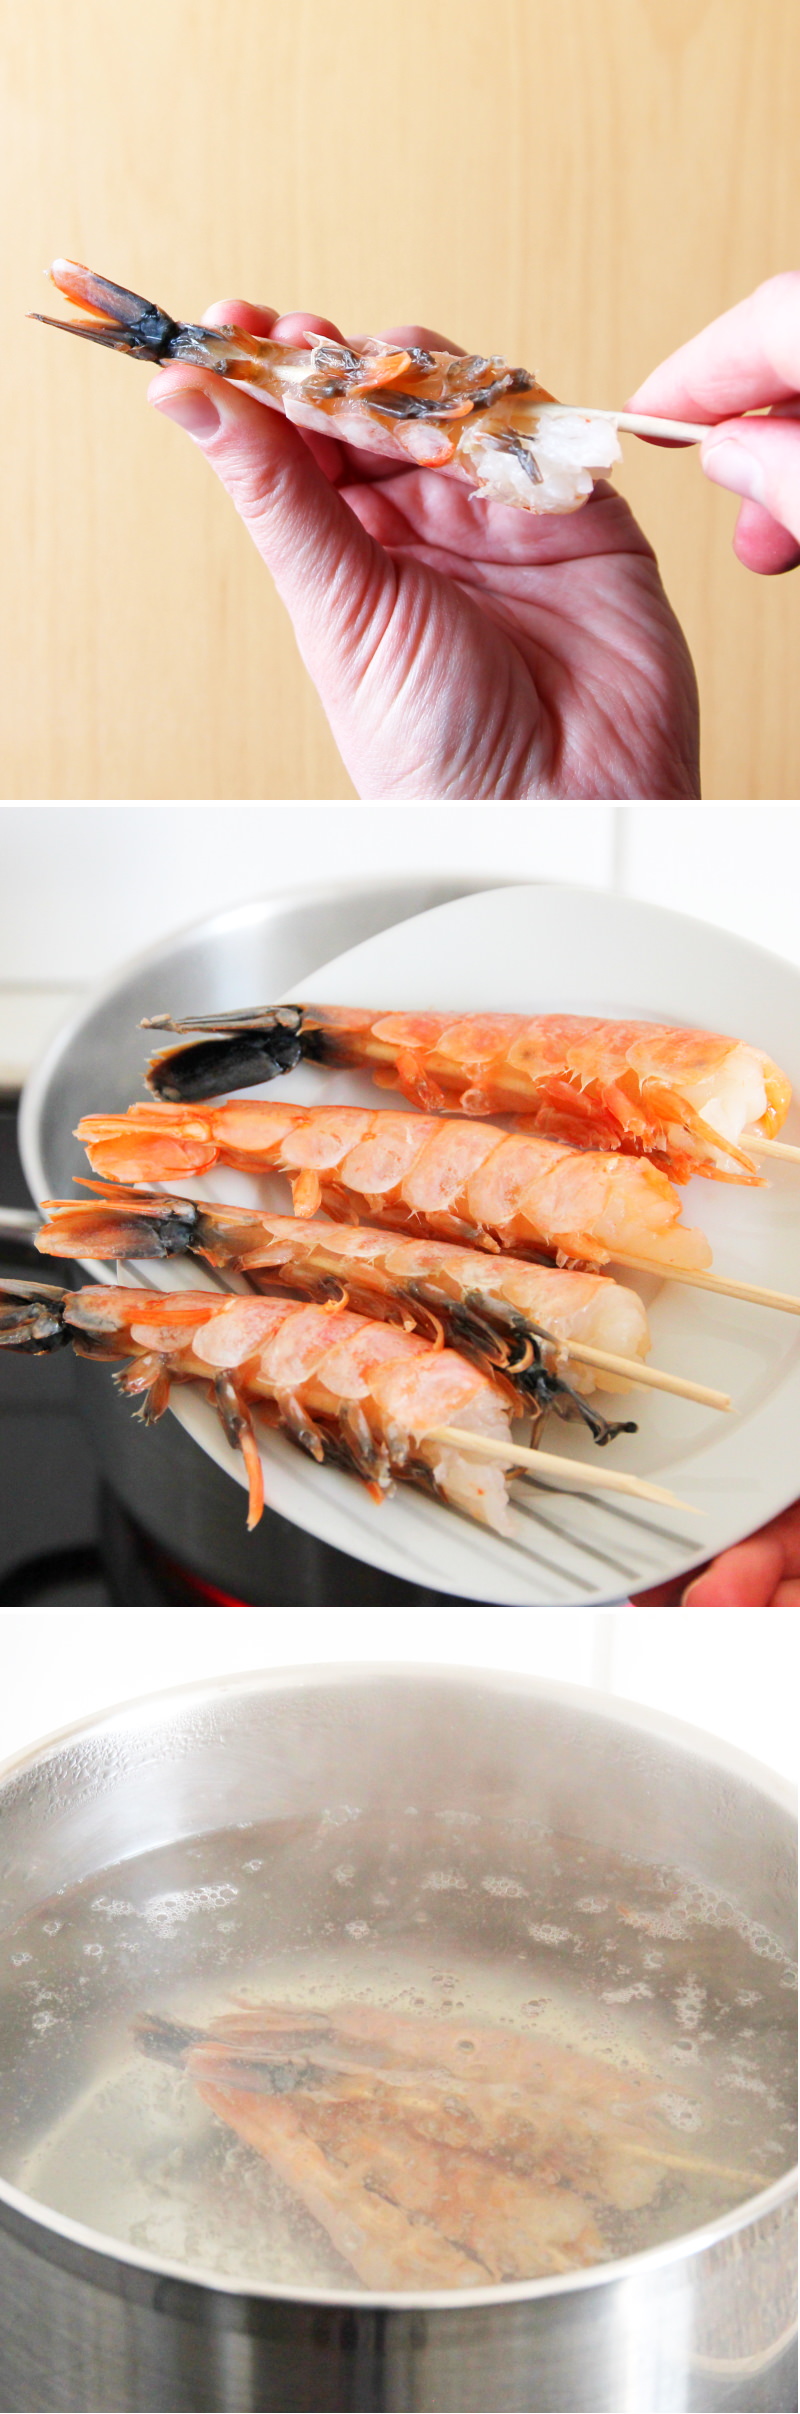
Whilst the rice is cooking, prepare the prawns: Bring a large saucepan of water to the boil. Hold each prawn in your hand with the legs pointing upwards. Slide a standard wooden skewer just beneath the transparent shell between the head and the body (this keeps the prawn straight whilst cooking) – but take care not to damage the prawn’s flesh. If necessary, trim the wooden skewers slightly so that the prawns fit into the saucepan. Place all the prawns into the gently simmering water and cook gently for 3 minutes (be sure to keep an eye on the time, as prawns cooked for too long become hard and chewy!).
Step 4
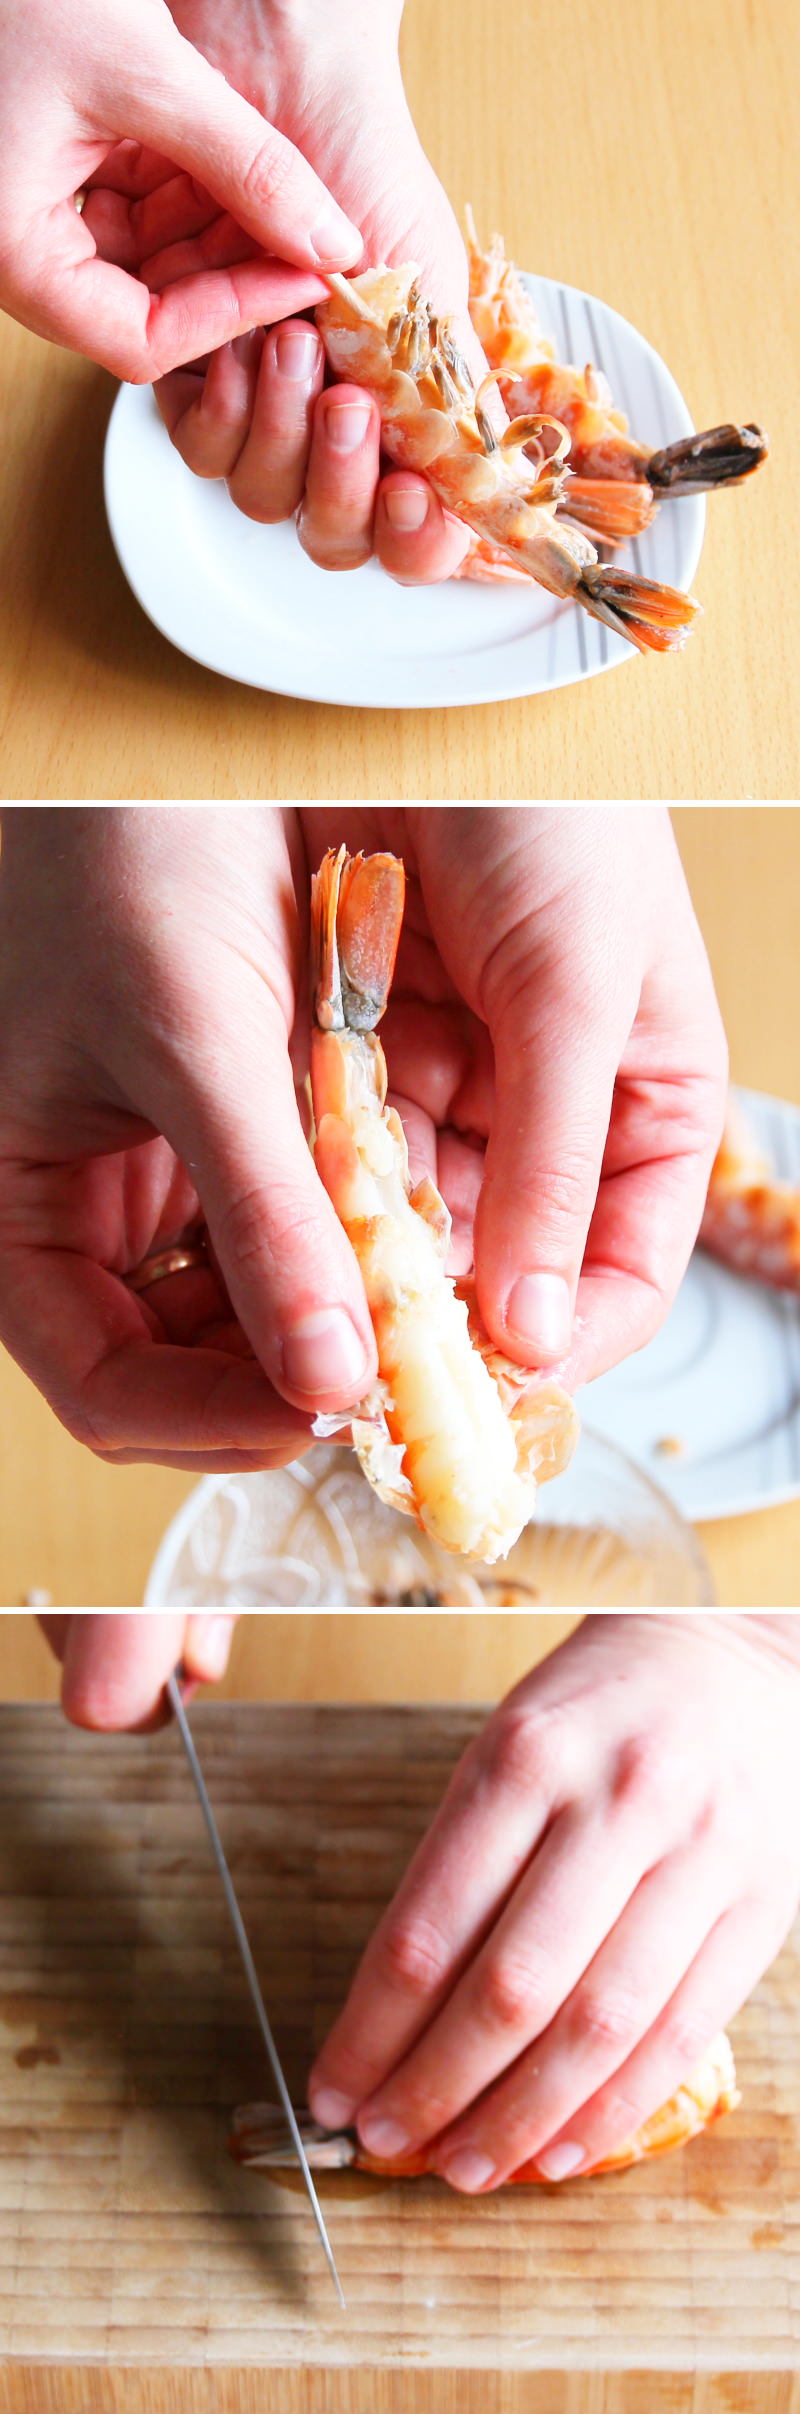
Once cooked, drain the prawns and leave them to cool. Now remove the skewer from each one and, if necessary, separate the head from the body. Hold each prawn in your hands with the legs facing upwards and, using your thumbs, carefully separate the shell from the flesh. Ideally, the tail should remain attached and simply be trimmed.
Step 5
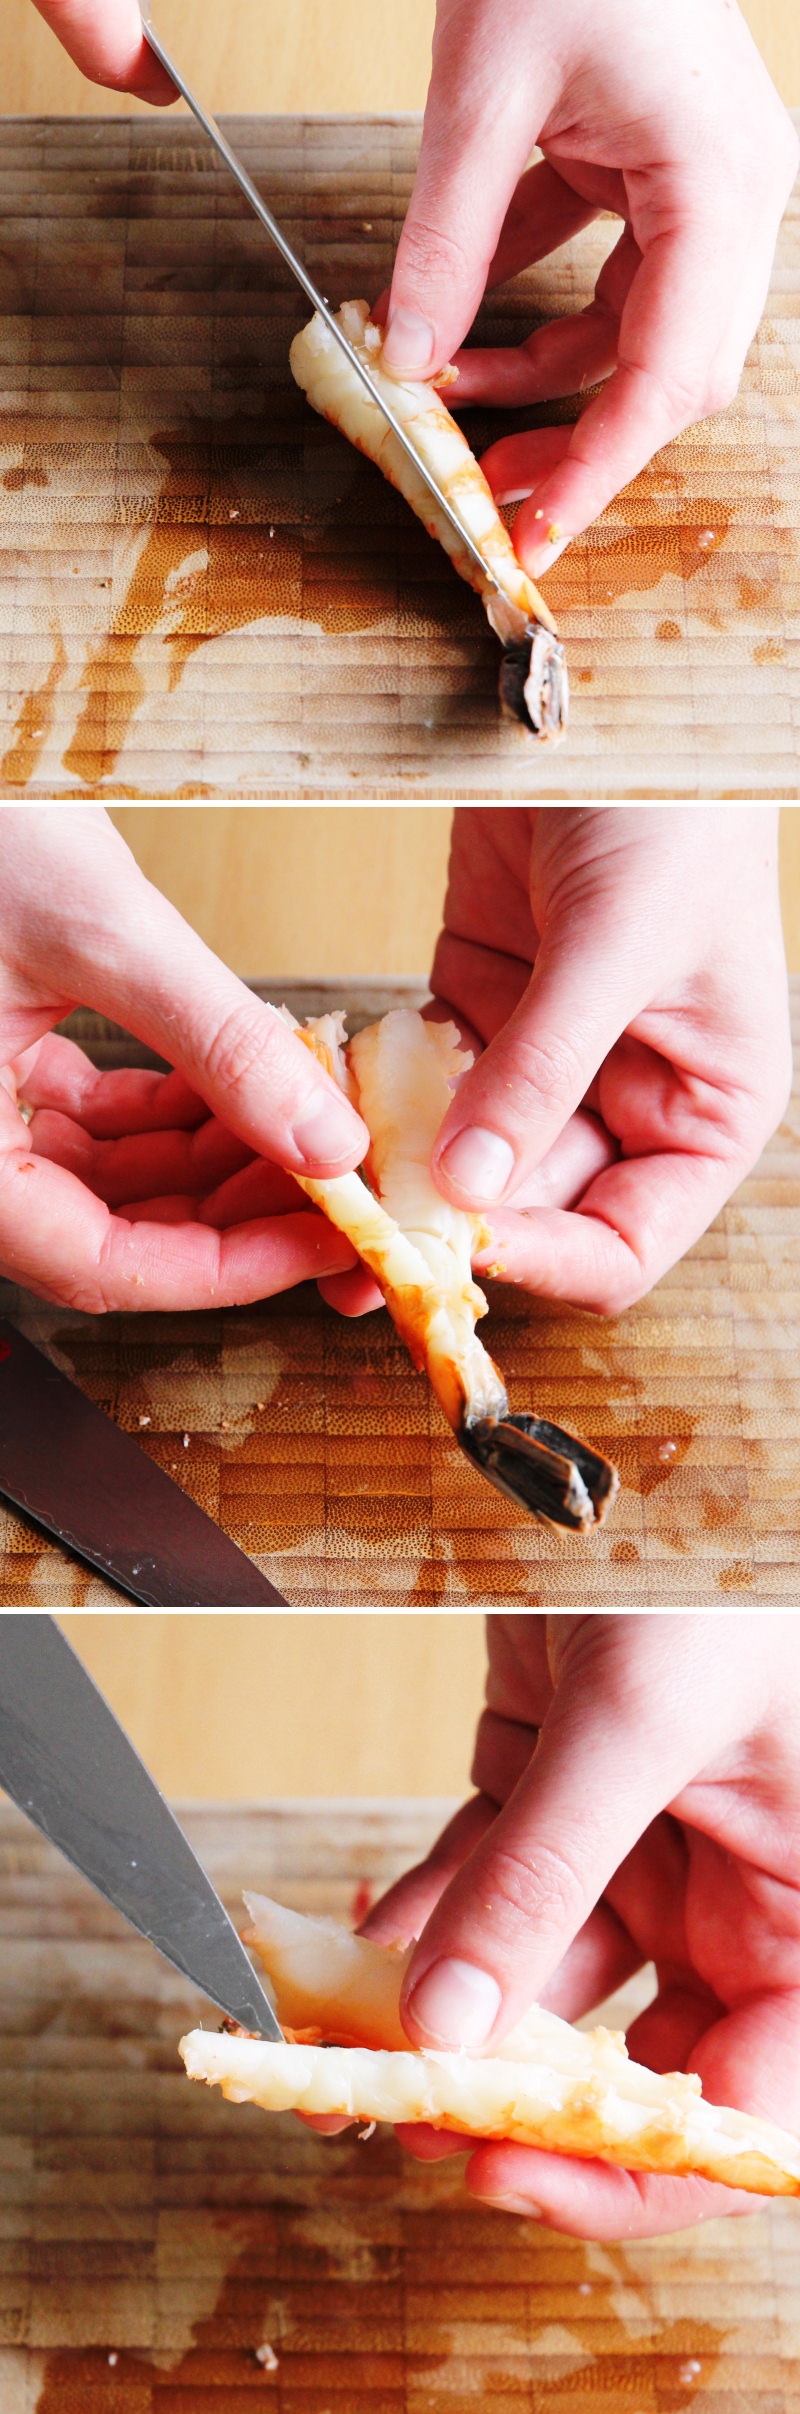
Make a straight cut along the underside of each prawn with a sharp knife and carefully remove the dark intestine with the knife. Prepare all the prawns and set them aside.
Step 6
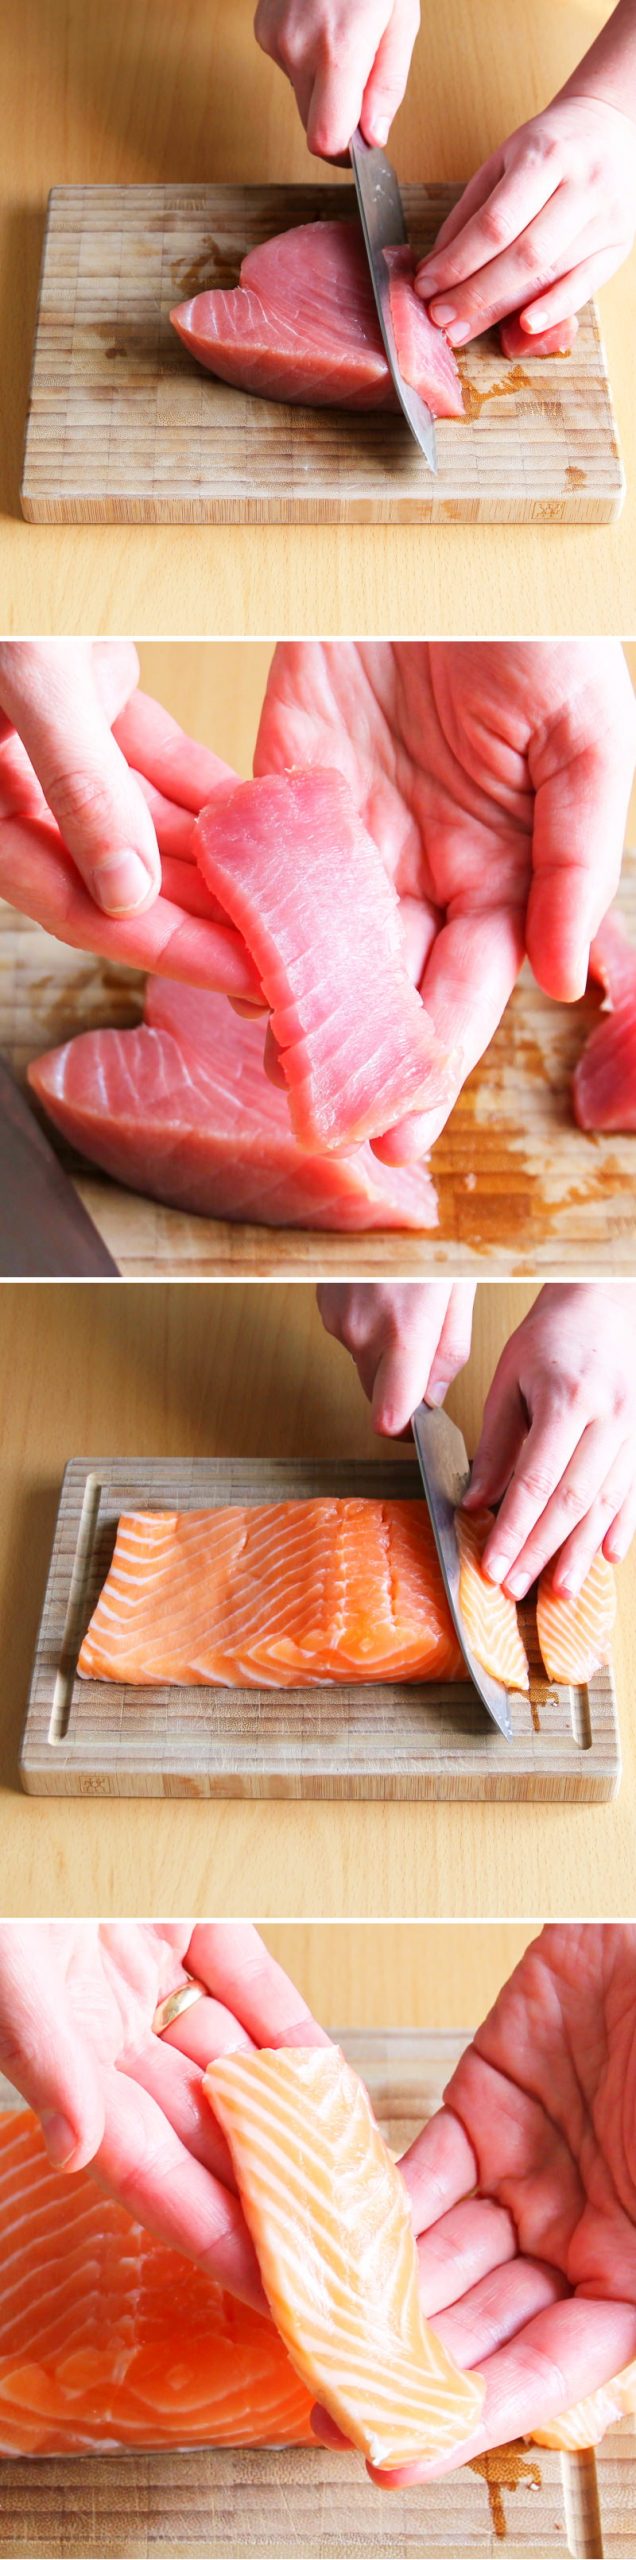
Next, prepare the fish: To do this, carefully slice both the tuna and the salmon into very thin slices (approximately 5 mm wide) using a sharp knife. Hold the knife at an angle (45°) to the fish fillet. Ideally, this will yield 8 slices of tuna and 8 slices of salmon.
Step 7
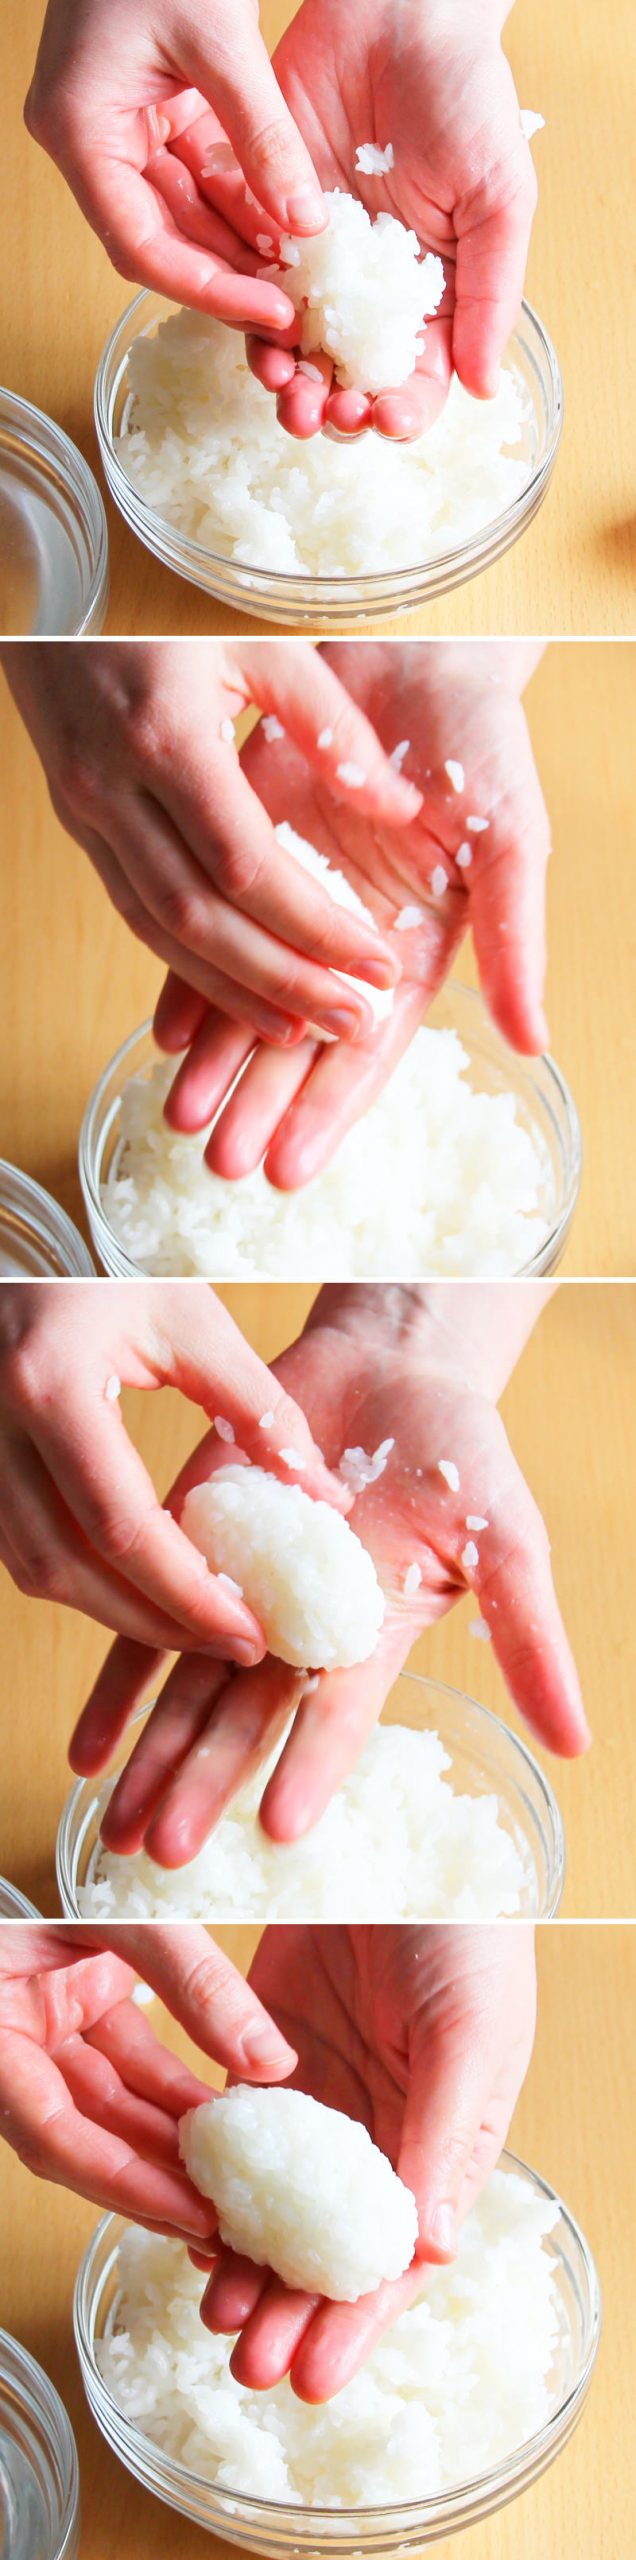
The sushi rice should now be fully cooked, seasoned and cooled. To shape the nigiri, moisten your hands in the bowl of water provided and shape a small amount of the Sushi rice (approx. 25 g) between your palms into an elongated oval roll. Place on a clean work surface and shape a total of 24 of these rice rolls.
Step 8
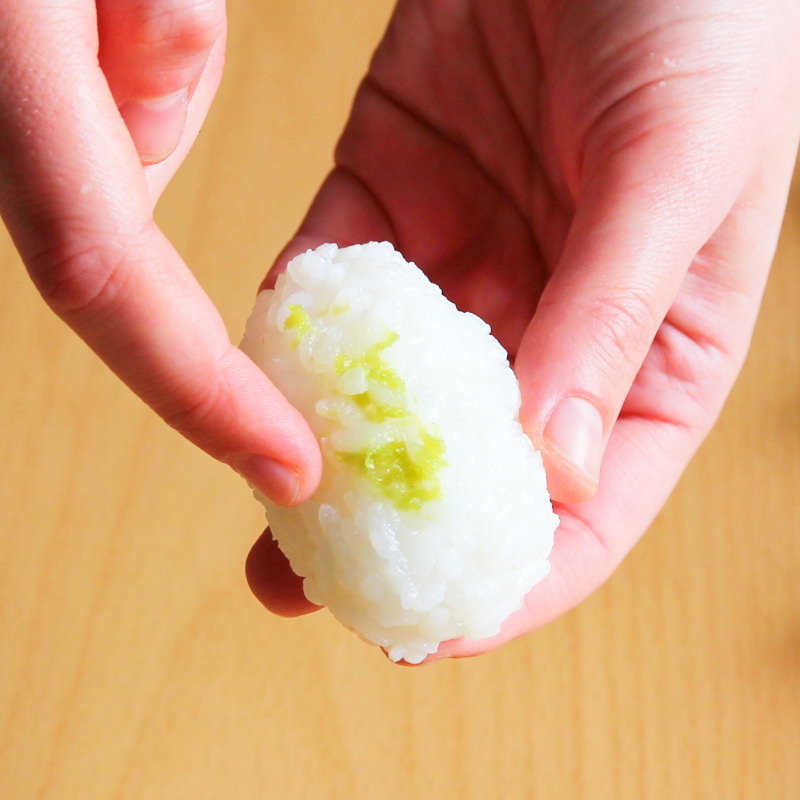
Now spread a small dollop of wasabi onto each rice roll (this can be omitted if desired).

Step 9
Arrange the prepared toppings – 8 prawns (spread out like butterflies), 8 slices of tuna and 8 slices of salmon fillet – on top of the rice portions and press down gently on all sides.
Step 10
The nigiri are now ready to serve: With 24 pieces per guest, arrange 2 tuna, 2 salmon and 2 prawn nigiri on each plate and serve with wasabi, sushi ginger and soya sauce. Done – Itadakimasu!

For even more recipes for your next Sushi party:
No post found!