Language:


I struggled with garaetteok for a long time. The dough simply never wanted to become properly supple, no matter how much effort I put into it. It was only when I was making handmade Udon again one day that it clicked: traditionally, you knead the tough noodle dough with your feet, because it’s almost impossible to work with by hand. That was exactly the solution I’d been missing with the rice cakes ! Since then, it’s finally been working, even without the heavy wooden pestle that’s traditionally used for this in Korea.
What I find so fascinating about this is that there are many such culinary parallels in Japan and Korea. At first glance, the cuisines seem very different, but when it comes to doughs in particular, it becomes clear just how similar the traditional techniques can sometimes be. Whether it’s Udon or garaetteok, in the end it’s always about giving the dough the right texture and elasticity. And that’s exactly what makes it so appealing to me: discovering old techniques, adapting them and experiencing them anew in my own kitchen.
What exactly are garaetteok?
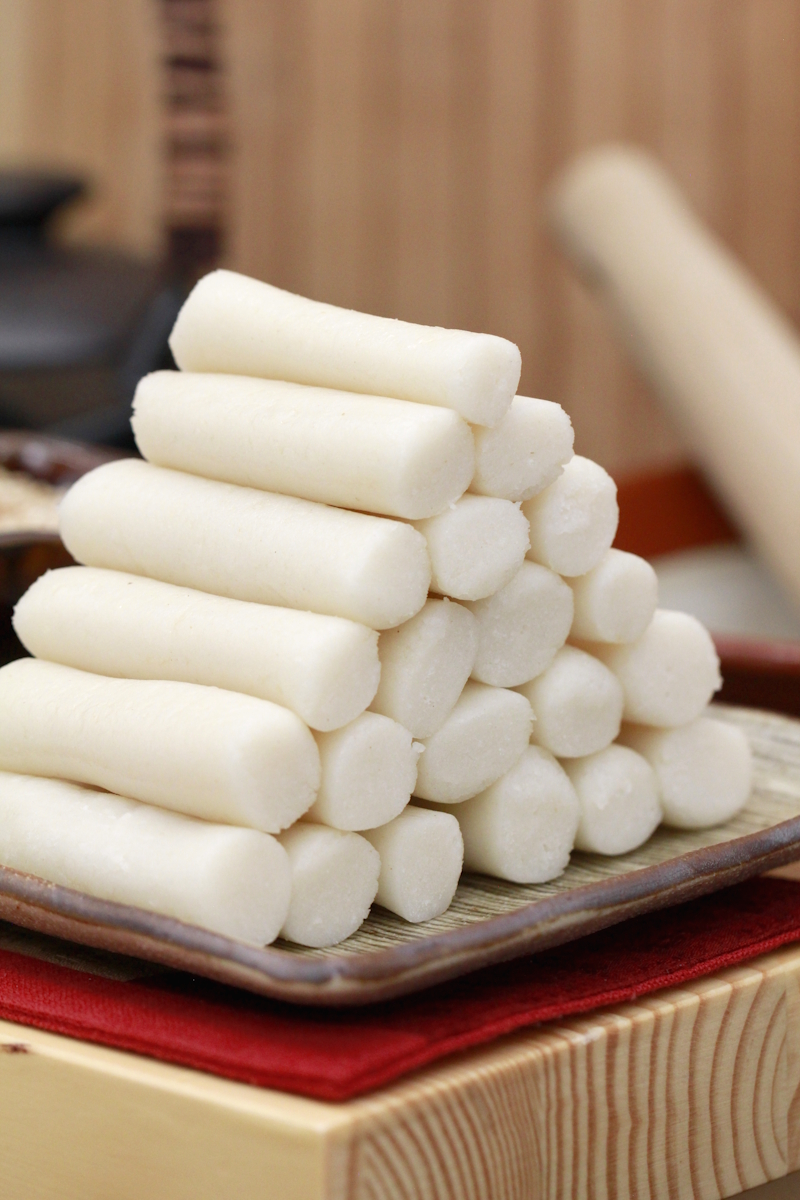
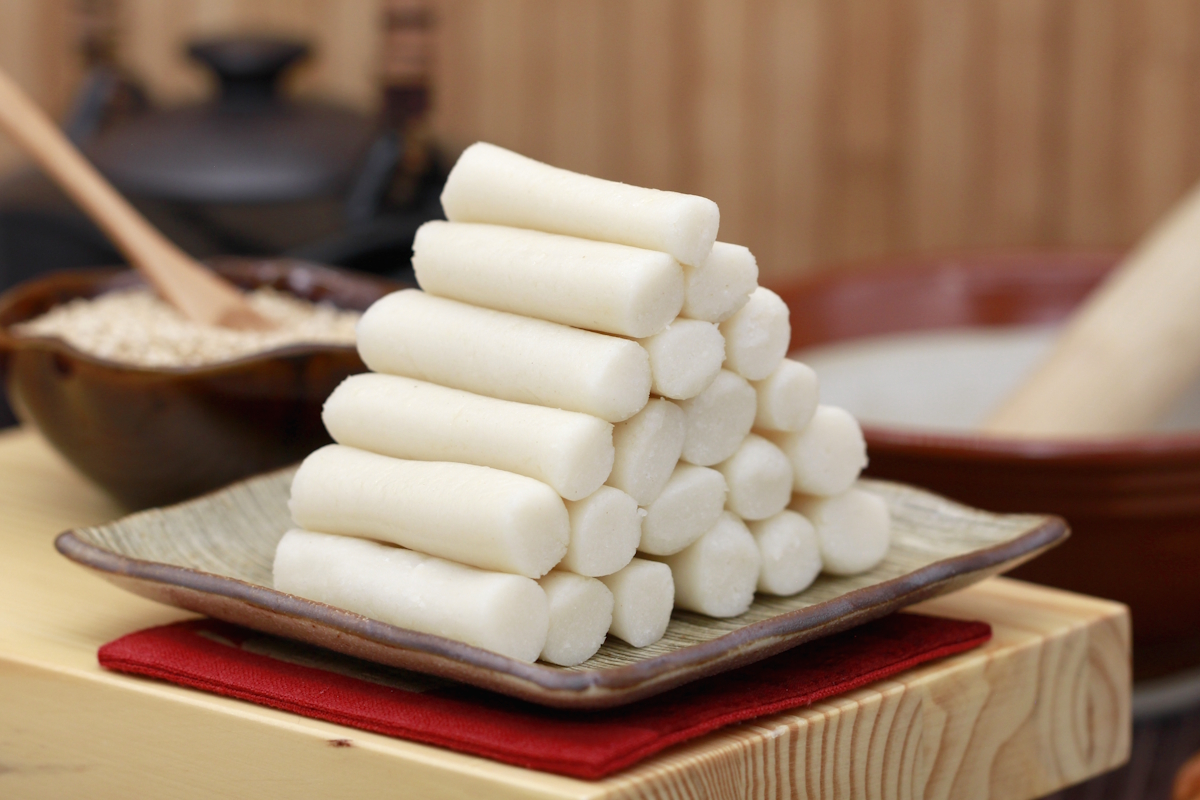
Garaetteok are elongated, cylindrical rice cakes made from very finely ground rice flour. Their flavour is mild and rather neutral, which is precisely what makes them so versatile. In Korea, they form the basis for some of the best-known dishes: first and foremost Tteokbokki, those sweet-and-spicy street food rice cakes in a fiery sauce. But they also play an important role in soups such as the traditional tteokguk served at New Year, or as an ingredient in stir-fries.
TOP RECOMMENDATION
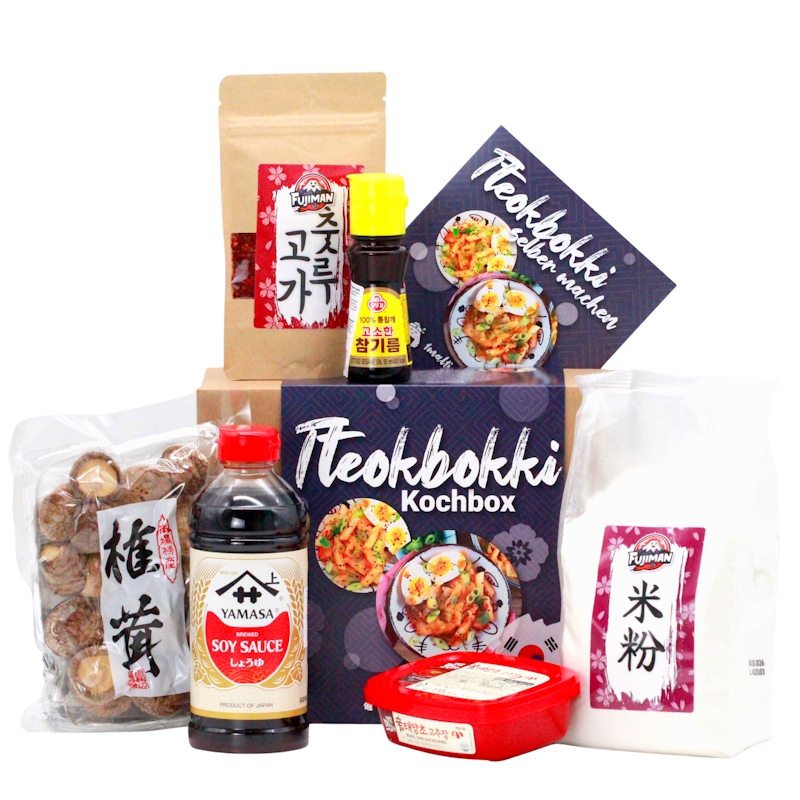
Tteokbokki Kochbox | für koreanische, scharfe Reiskuchen
7-tlg. Set für 4 Portionen koreanische, scharfe Reiskuchen, inkl. Anleitung, für Korean Streetfood Fans. Mit der Tteokbokki Kochbox bereitest du das beliebte koreanische Streetfood ganz…
In stock
Their distinctive feature is their unique consistency: soft yet elastic, almost slightly chewy, but in a pleasant way. This texture is achieved solely through vigorous steaming and kneading of the dough: a process that binds the starch in the rice flour and gives the Garaetteok their unmistakable firm bite.
How to use garaetteok
- Tteokbokki: Spicy rice cakes in gochujang sauce, often served with fish cakes, eggs and vegetables (see the recipe for Tteokbokki)..
- Tteokguk: Traditional New Year’s soup with thinly sliced rice cakes in a clear broth, beef, egg and seaweed.
- Gungjung Tteokbokki: The royal version without the heat, with beef, vegetables and soya sauce.
- Tteokkkochi: Rice cakes on a skewer, pan-fried or deep-fried, then glazed with a sweet and spicy sauce.
- Rabokki: A mixture of ramyeon (instant noodles) and garaetteok in a spicy sauce.
- Pan-fried/roasted Garaetteok: Roasted in a pan or on the grill, crispy on the outside, chewy on the inside, served with sweet or savoury dips.
Which rice flour for Garaetteok?
For classic garaetteok, you need non-sticky rice flour (Korean mepssalgaru/ssalgaru), which must be very finely ground, ideally wet-milled . This flour ensures that, after steaming and kneading, the dough becomes elastic and chewy, but not sticky.
Which rice flour should you buy?
When buying, make sure the packet says ‘Rice Flour / Non-glutinous’. Avoid ‘Glutinous/Sweet Rice Flour’, ‘Mochiko’ or ‘Shiratamako’, as these are glutinous rice flours used for Mochi and sweet tteok.
The key factor is the fineness: the finer the flour, the smoother the surface and the better the elasticity; with slightly coarser, dry-ground flour, you’ll usually need a few millilitres more water. As a guideline in the recipe: for 250 g of flour, start with 150–180 ml of boiling water (the crumbly texture is correct), then let it steam and knead or pound vigorously.
Optionally, you can mix in 5–10 per cent glutinous rice flour to slightly increase the ‘bounce’. Traditionally, however, 100 per cent non-glutinous rice flour is used. Ideally, a fine, non-glutinous rice flour from our Shop is excellent for garaetteok. That’s what I used to make this recipe.
CUSTOMER FAVOURITE
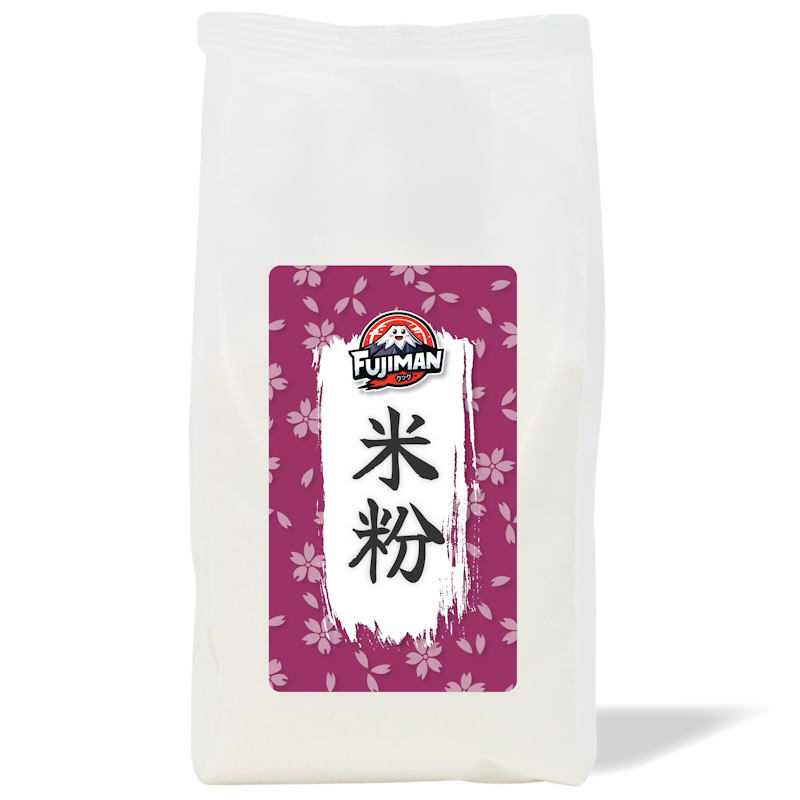
Reismehl 940g (fein gemahlen, glutenfrei), Fujiman
Fein gemahlenes Reismehl für Mochi, Tteok & glutenfreies Backen. Dieses Reismehl von Fujiman ist fein gemahlen, glutenfrei und vielseitig einsetzbar. Es eignet sich ideal für…
In stock
Making your own rice flour:
If you want really lovely, smooth garaetteok, it’s worth using the wet method to grind the rice yourself. Wash 500 g of non-sticky short-grain rice thoroughly and leave it to soak in cold water for 12 hours. Then drain it and leave it to drain well for 30 minutes. The rice should be moist, not dripping wet.
Puree in small batches with cold water to form a very fine rice paste (a total of approx. 120–150 ml of water is usually sufficient). Press the paste through a very fine sieve. Leave this moist rice mixture to dry on a cloth for 30–60 minutes (it should still be moist, but no longer wet).
Place the moist ‘rice crumbs’ directly into the bowl without adding any more boiling water and steam for 25 minutes. Then, as per the recipe, knead or pound vigorously until the dough is smooth and elastic. If it still feels uncooperative, I add 1–2 tsp of hot water (if too dry) or 1–2 tsp of rice flour (if too sticky). This is how you make wonderful garaetteok with home-ground rice flour.
Making garaetteok yourself: Here’s how
Making garaetteok at home sounds fiddly, but with a bit of practice it’s absolutely doable. The secret lies not in a long list of ingredients, but in the right technique. With just a few basic ingredients, a bit of patience and some vigorous kneading, you can make these traditional Korean rice cakes even without any special equipment.
The key ingredients for Garaetteok:
- Rice flour: You’ll need very finely ground rice flour (usually labelled ‘rice flour fine’ or ‘wet-milled’). This is the only way to ensure the dough becomes elastic and supple later on.
- Water: The water must be added to the flour whilst it is boiling hot. This causes the starch to swell immediately and bind together.
- Salt: A small teaspoon provides the necessary basic flavour.
- Sesame oil: It prevents the finished rolls from drying out and gives them a subtle flavour.
Here’s how it works:
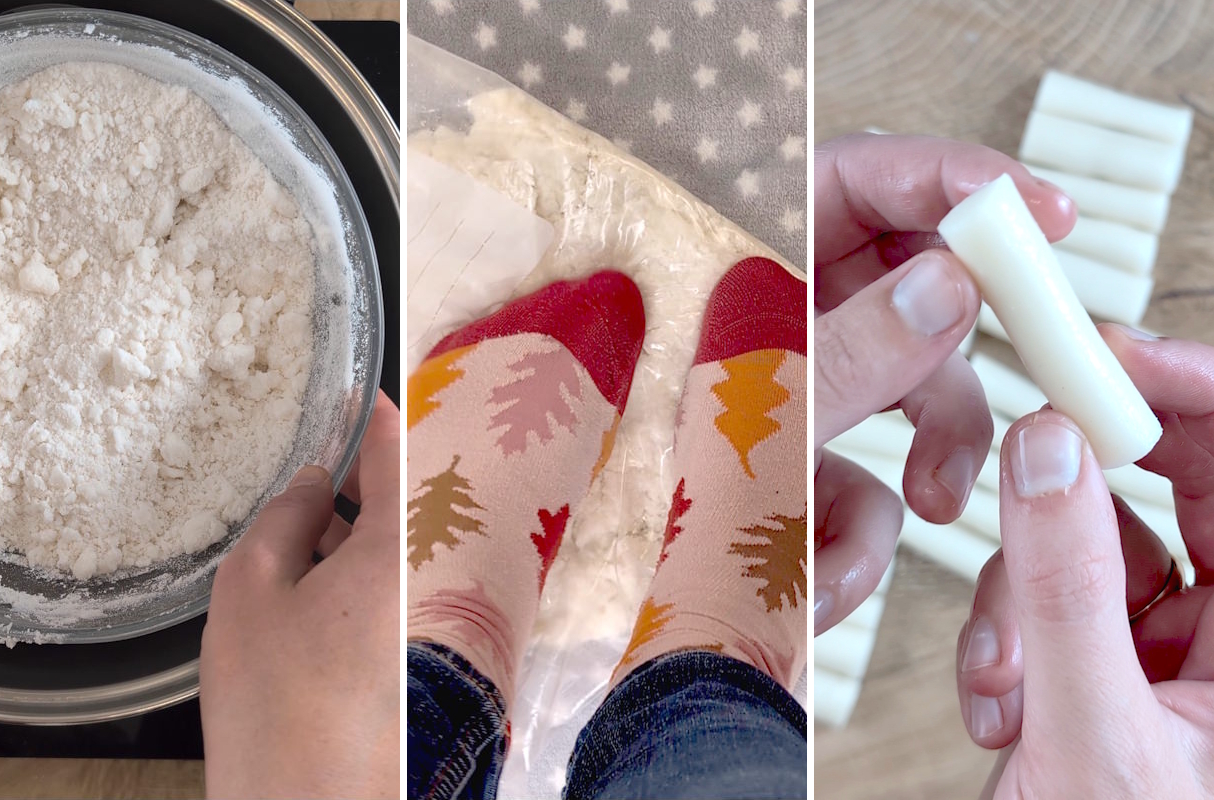
First, mix the rice flour with salt and pour boiling water over it. The mixture will look crumbly – that’s exactly right. Then steam it until it is cooked through and malleable.
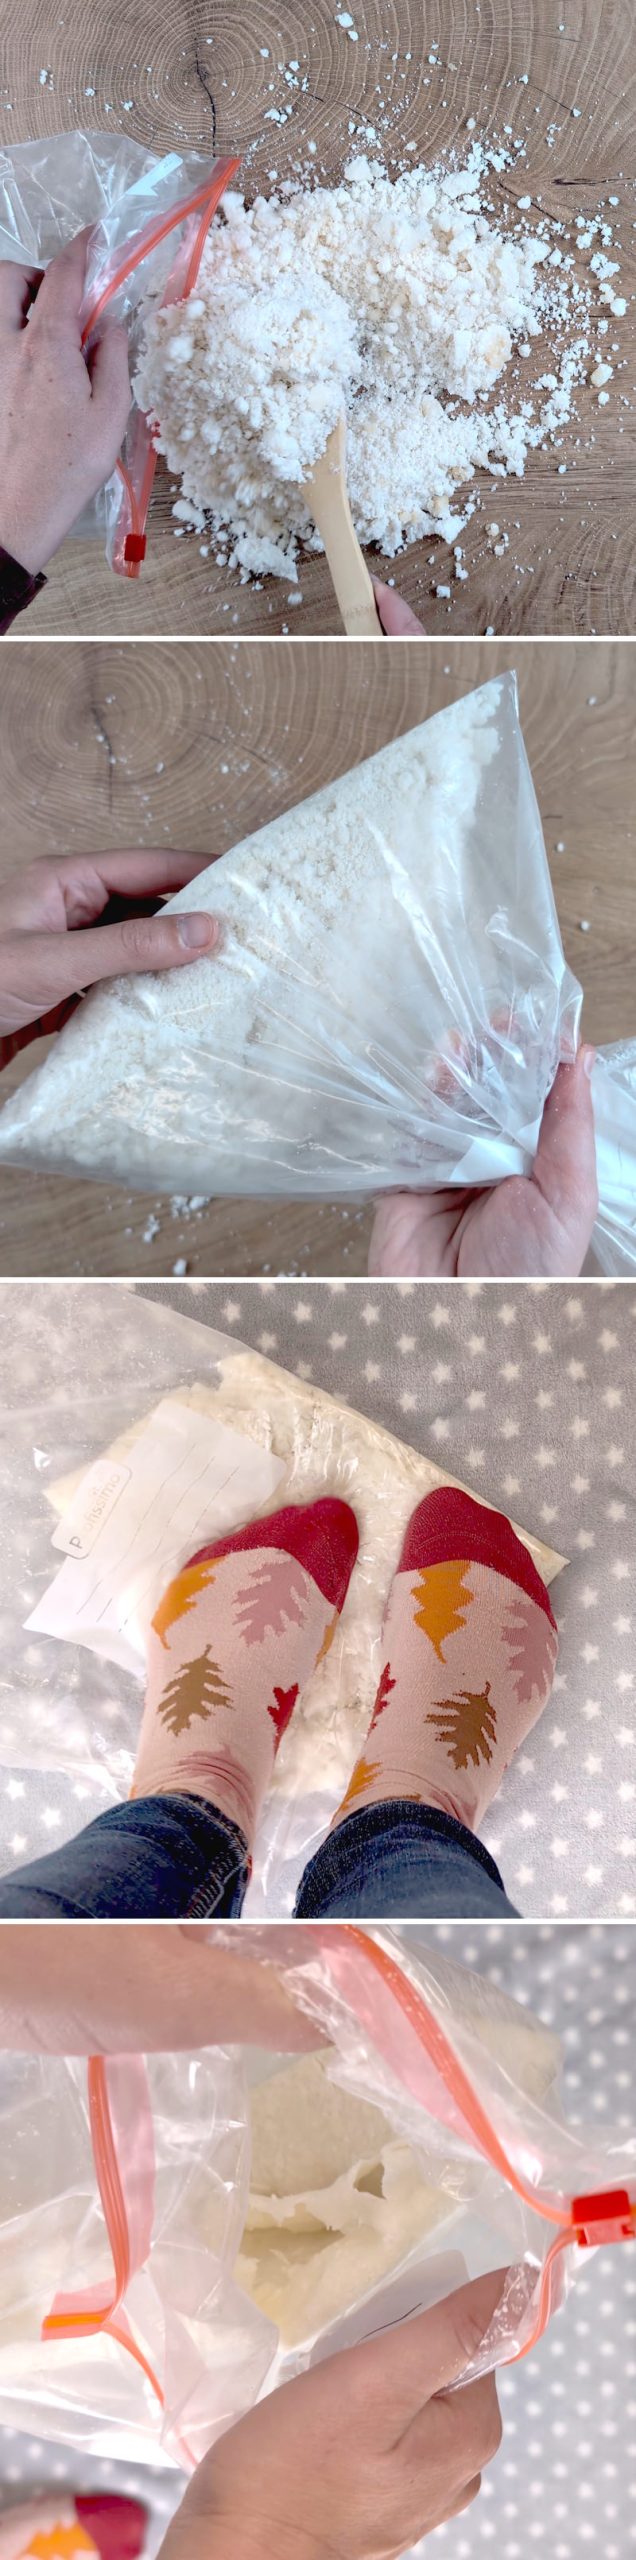
The crucial step comes next: the dough must be vigorously worked to give it its characteristic elastic consistency. In Korea, a wooden pestle is used for this, but at home you can do “Udon method” – using your feet inside a freezer bag – works surprisingly well at home.
Once the dough is smooth and supple, shape it into rolls, leave them to cool, and cut them into pieces or slices depending on the dish.
Garaetteok vs. Tteokbokki rice cakes
People often ask: Are garaetteok and the typical Tteokbokki rice cakes actually the same thing? The short answer: yes and no. Both are made from the same basic ingredients: finely ground rice flour, water and salt – but they differ in size, shape and use.
Garaetteok: Long, thick cylinders (Ø 2–3 cm), the basic form used in many dishes. Typically cut into thin slices for the New Year’s soup Tteokguk or for festive occasions.
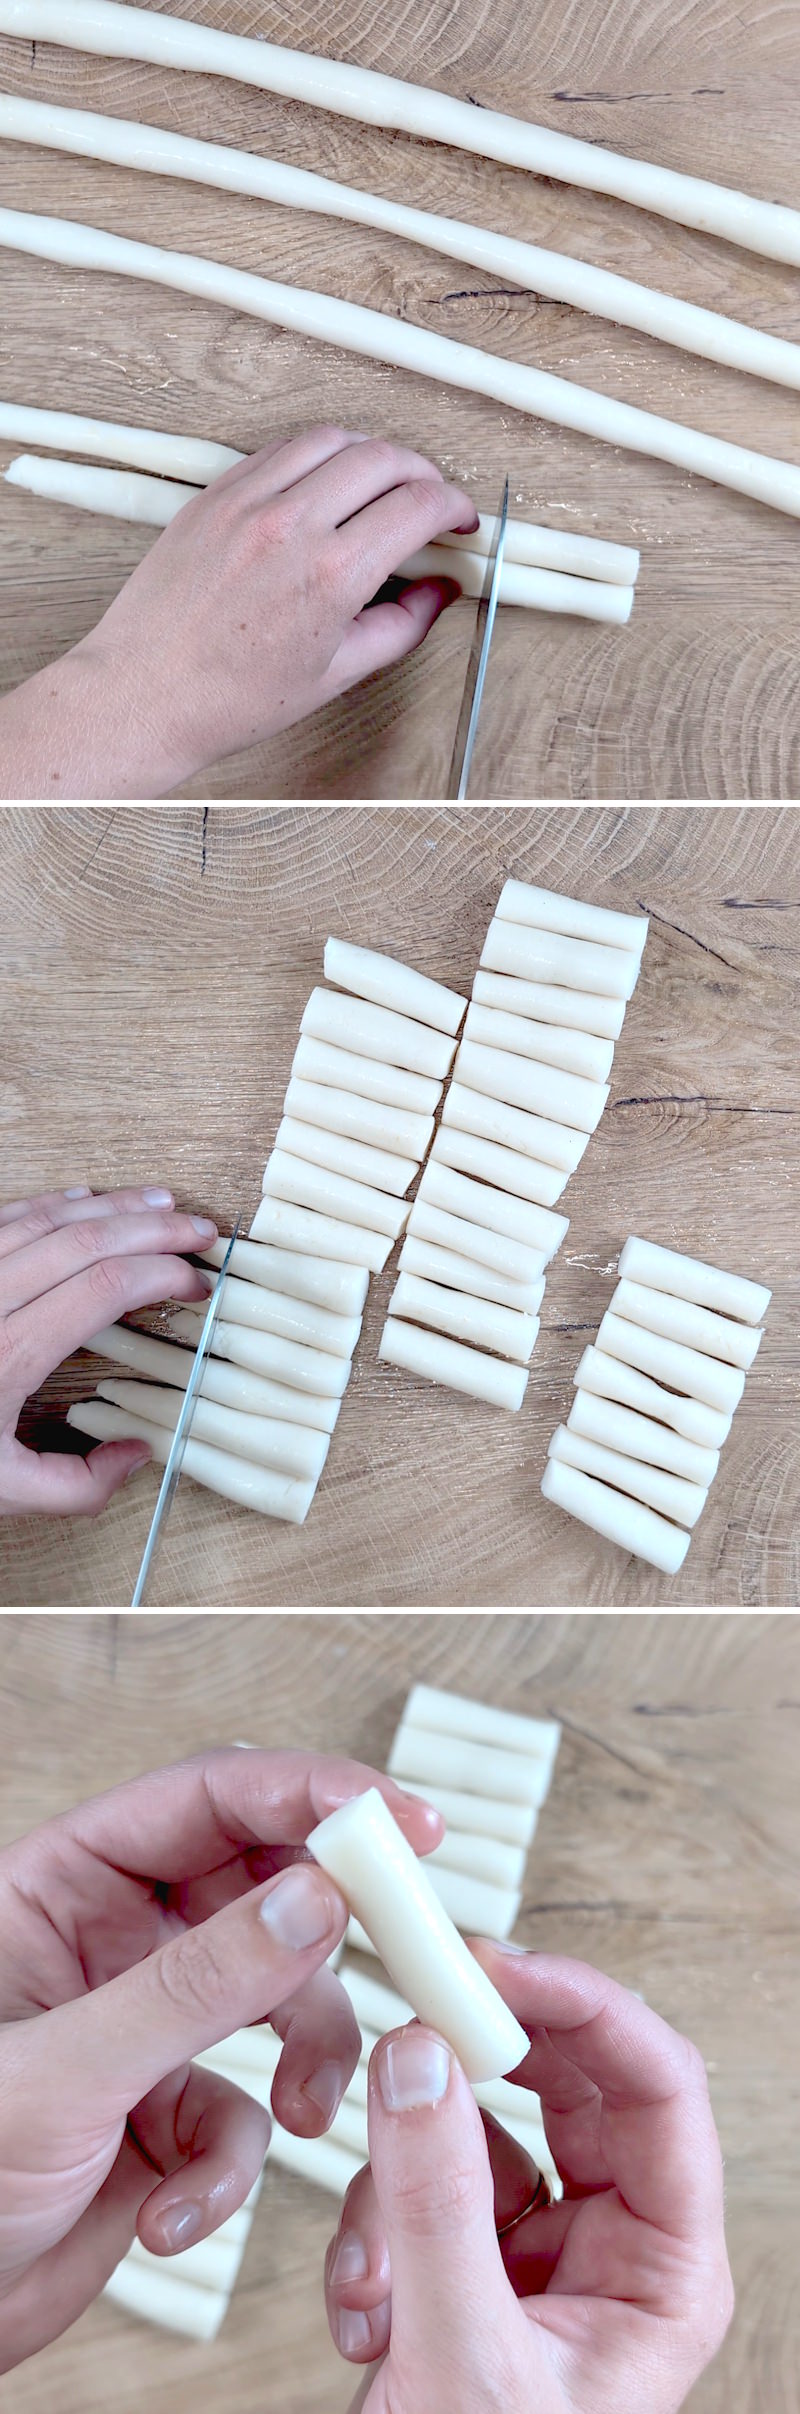
Tteokbokki rice cakes: Shorter, thinner pieces (Ø 1–1.5 cm, approx. 6 cm long), specially cut for the spicy street food Tteokbokki.

Storing and reheating Garaetteok correctly
Freshly made Garaetteok are at their very best when eaten straight away, but don’t worry: you can easily make a batch in advance and store them for later. To ensure they retain their characteristic soft, chewy texture, there are a few things you should bear in mind.
Storage
- For the same day, it’s enough to leave the rice cakes at room temperature. However, due to their high moisture content, you really should eat them quickly.
- For longer storage freezing is best: wrap the garaetteok in cling film, place them in a freezer bag or an airtight container, and freeze them in portions. That way, you can take out just as much as you need at any given time. They’ll keep for up to three months when frozen.
- In the fridge, you should only keep them for one or two days at most, as they can quickly become hard or even go mouldy there. A little tip: rub the rice cakes with a little sesame oil before freezing, then they’ll stay softer.
Reheating
- Soaking: Place frozen garaetteok in cold water for 20–30 minutes. This will soften them again, allowing you to prepare them as normal.
- Steaming: A few minutes in a steamer is enough to restore their soft, springy texture.
- Microwave: Place the pieces on a plate, add a splash of water, cover them and heat in 30-second intervals until soft.
- Frying pan: Fry in a non-stick frying pan with little or no oil. This makes them crispy on the outside and chewy on the inside.
- Straight into the dish: For soups or Tteokbokki, you can add frozen garaetteok straight into the hot stock or sauce. They’ll defrost as they cook.
Prepared this way, you can easily make a batch of Garaetteok to keep in stock, so you’ll always have some to hand when you fancy Tteokbokki, tteokguk or other Korean classics.
No post found!
Whether in classic Tteokbokki sauce, in a warming soup or as a crispy snack on a skewer, garaetteok are incredibly versatile and a delight in every variation. Why not try out several recipes straight away or come up with your own little creation?
I look forward to your comments: tell me how you like to prepare your rice cakes and whether you prefer them spicy, sweet or enjoyed in the traditional way. Have fun trying them out and 맛있게 드세요 – massitge deuseyo!

Garaetteok
Serves 2 | 45 minutes | 480 kcal
🖨️ Print PDF 📌 Save this pinSoft, chewy and incredibly versatile: Garaetteok are the classic Korean rice cakes that you may already be familiar with from Tteokbokki or the New Year’s soup tteokguk. With a few simple ingredients and the right technique, you can make them yourself at home. Perfect for freezing and for use in lots of different dishes.
Ingredients (2 servings)
250 g rice flour (very fine) (im Shop ansehen)*
1 tsp salt
1 tsp sesame oil (im Shop ansehen)*
180 ml water
Useful equipment:
Freezer bags
clean kitchen towel
steamer insert (im Shop ansehen)
Santoku knife (im Shop ansehen)
Preparation (45 minutes)

Step 1
First, we’ll check that we have all the ingredients for the Korean Garaetteok rice cakes.
Step 2
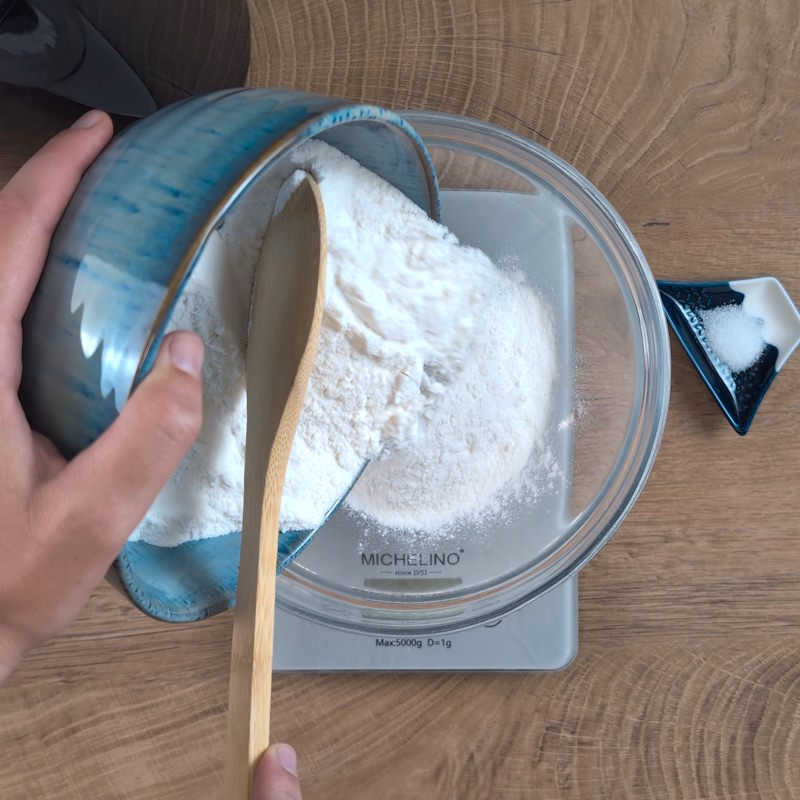
Start by placing 250 g of very finely ground rice flour into a heatproof bowl that fits snugly into your saucepan, along with the steamer insert and lid. Make sure there’s still a bit of space left when you place it in the steamer.
Step 3
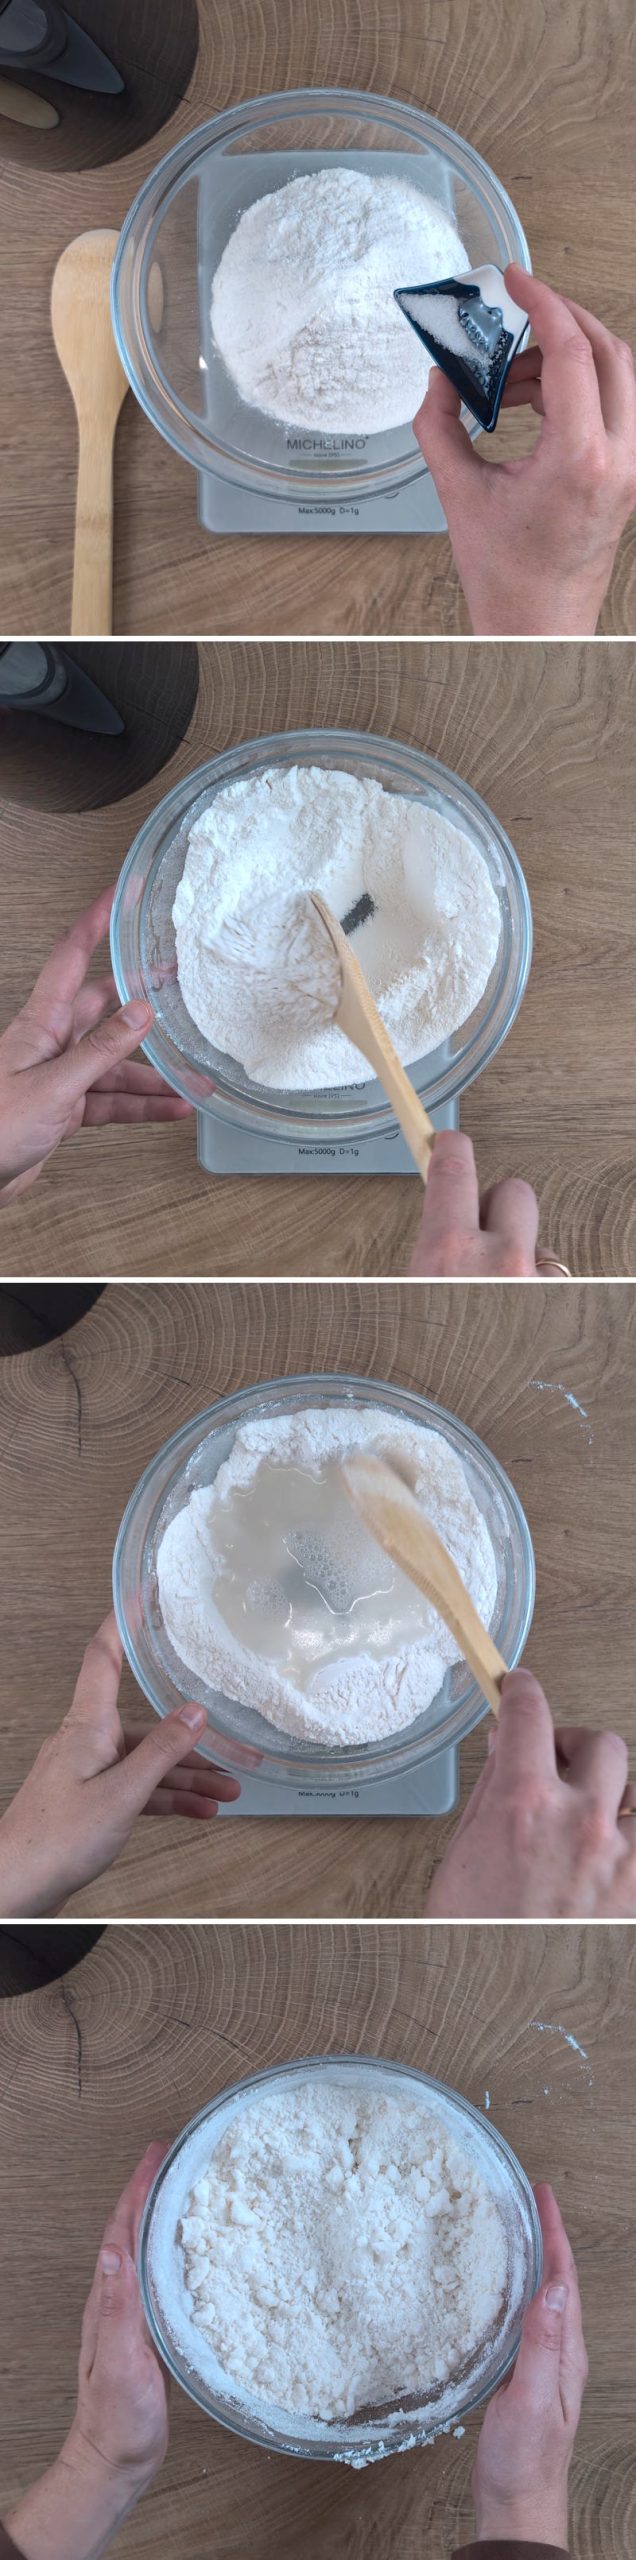
Stir 1 tsp salt into the rice flour using a spoon or whisk.
Now bring water to the boil and pour 180 ml of it, whilst still boiling hot, directly into the rice flour (Tip: Place the bowl on a set of scales and pour in the boiling water until the required amount is reached). Stir vigorously straight away. The mixture will look very crumbly and lumpy, almost like crumble topping, and that’s exactly how it should look.

Step 4
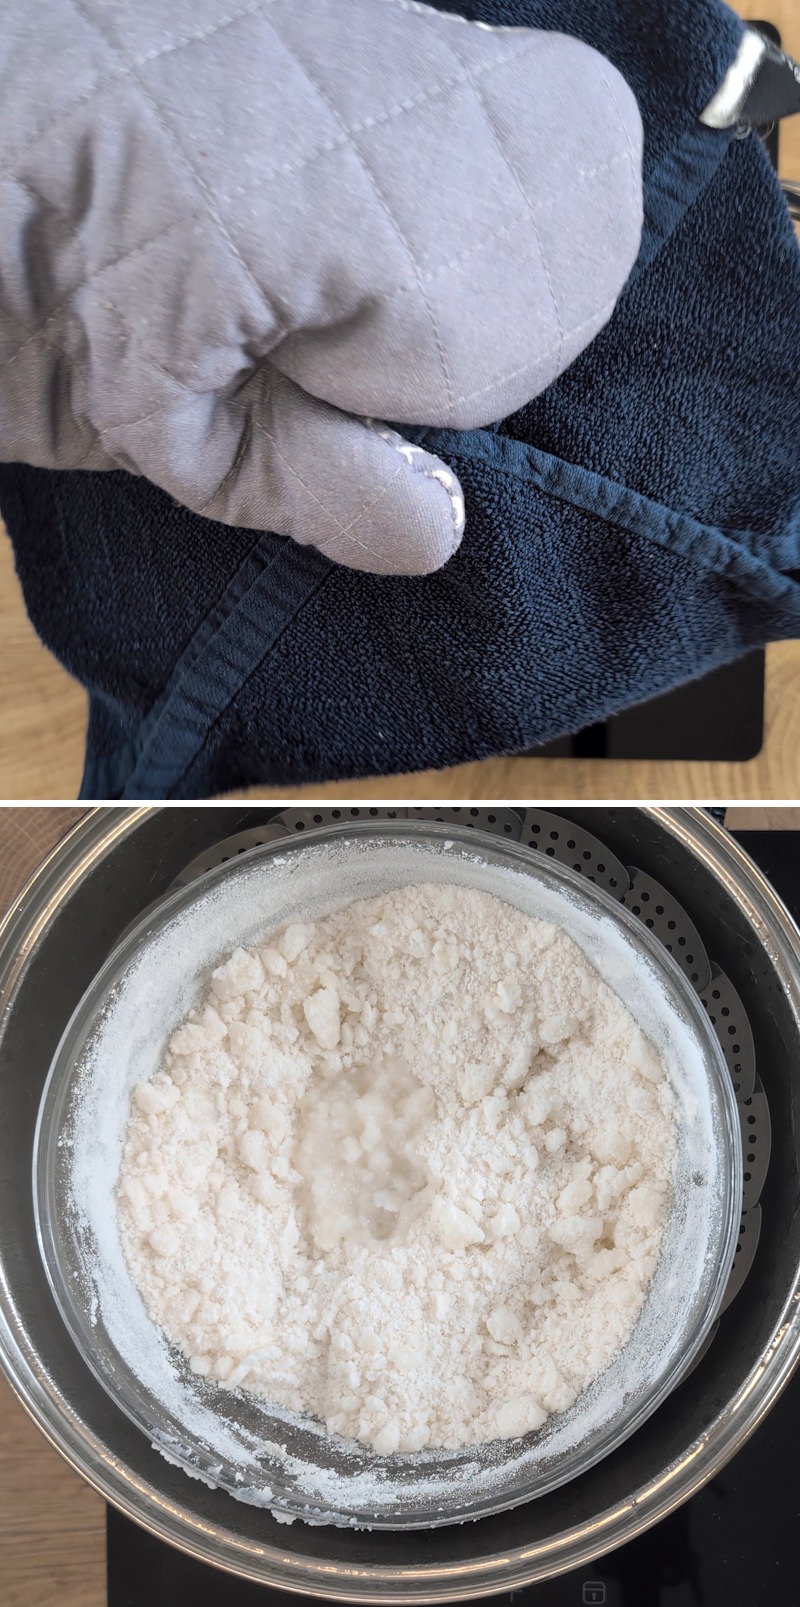
Place a saucepan on the hob and put the steamer insert inside, with the lid on. Pour enough water into the saucepan so that only the legs of the steamer insert are submerged. Bring the water to the boil. Place the bowl containing the rice batter into the steamer insert, then wrap the saucepan lid in a clean tea towel (to prevent condensation from dripping back in). Then cover everything and steam the batter over a medium heat for 25 minutes.
Step 5
Then carefully remove the bowl and leave everything to cool for 5 minutes.
Step 6
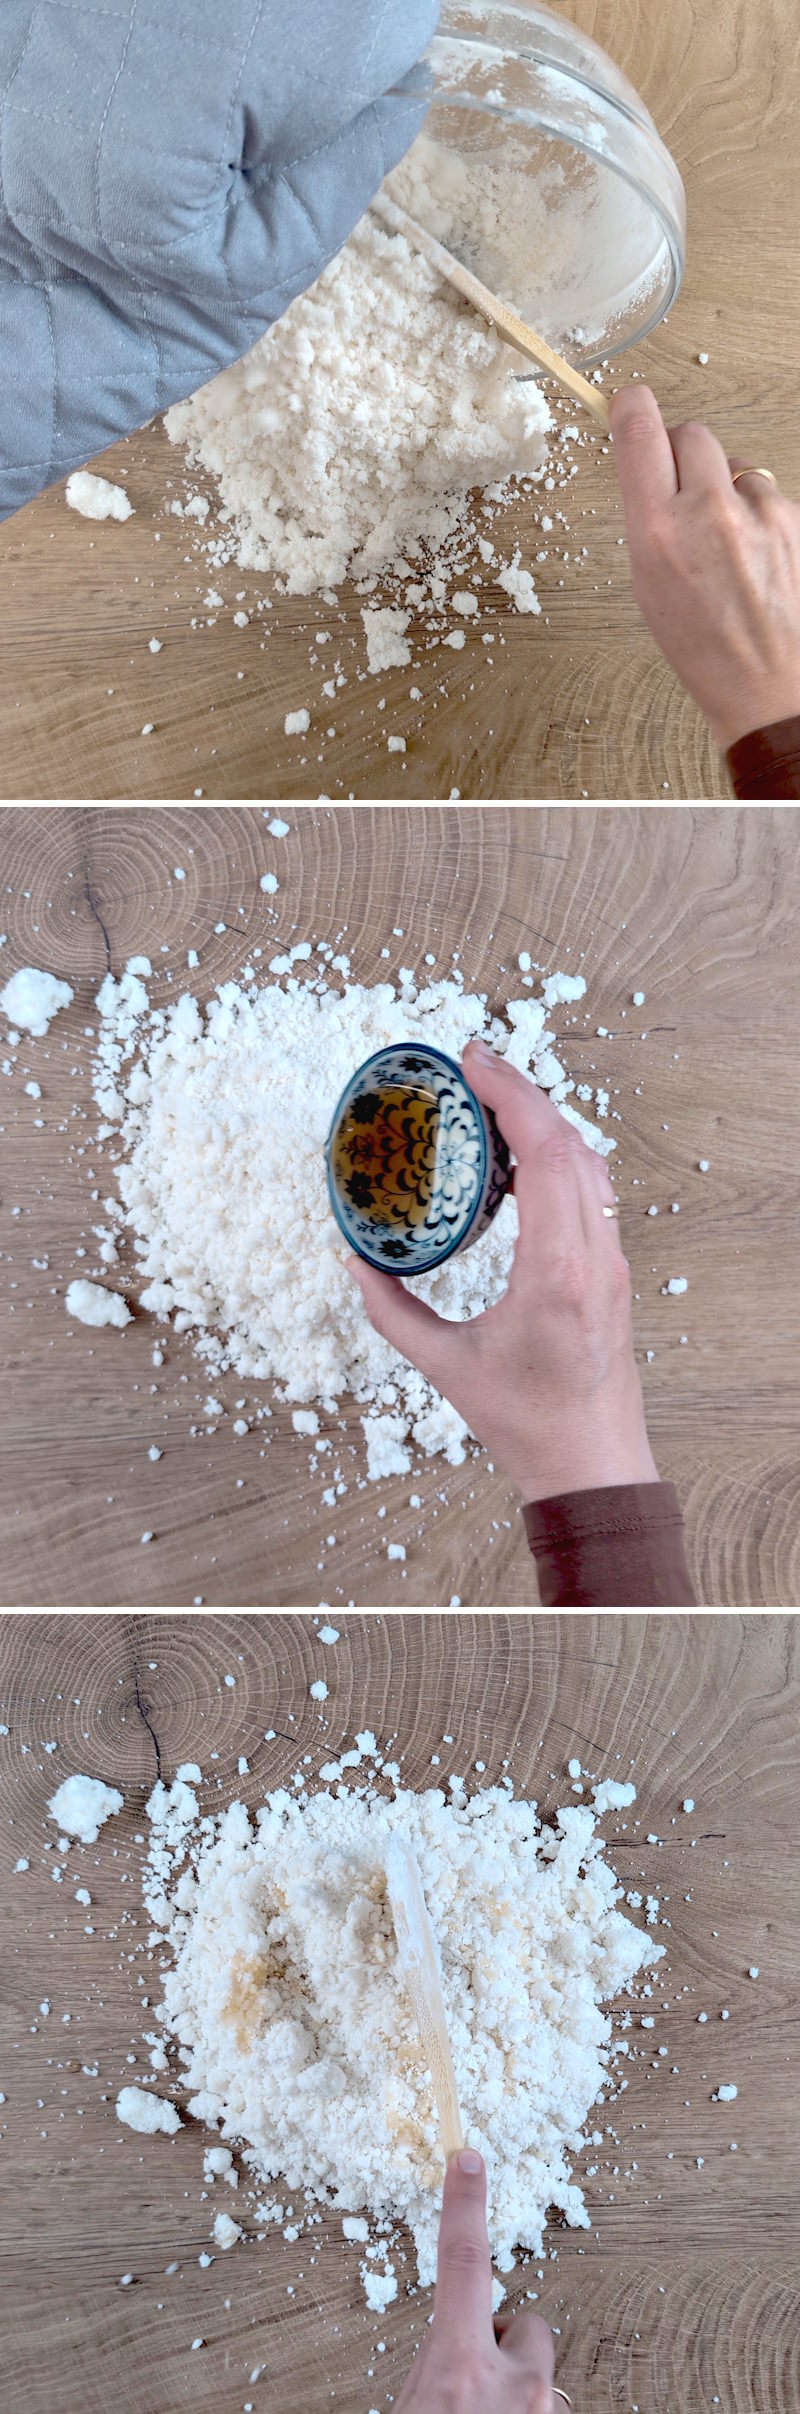
Then place the dough, which is still quite crumbly, onto a clean work surface or, better still, onto a lightly moistened chopping board or a silicone mat.
Pour 1 tsp sesame oil over the dough and knead it in roughly. If it’s still too hot, use a silicone spatula to start with; later on, you’ll be able to work it well with your hands.
Step 7
Now comes the most important part: the dough needs to become really supple. Traditionally, it is pounded vigorously with a wooden pestle. At home, you can also try my “plastic bag method“: put the dough in a sturdy freezer bag, seal it (leaving the top slightly open so the air can escape and the bag doesn’t burst) , place it on the floor and stomp on it with your feet. Then fold, knead and stomp again – until the dough is elastic and smooth.
Step 8
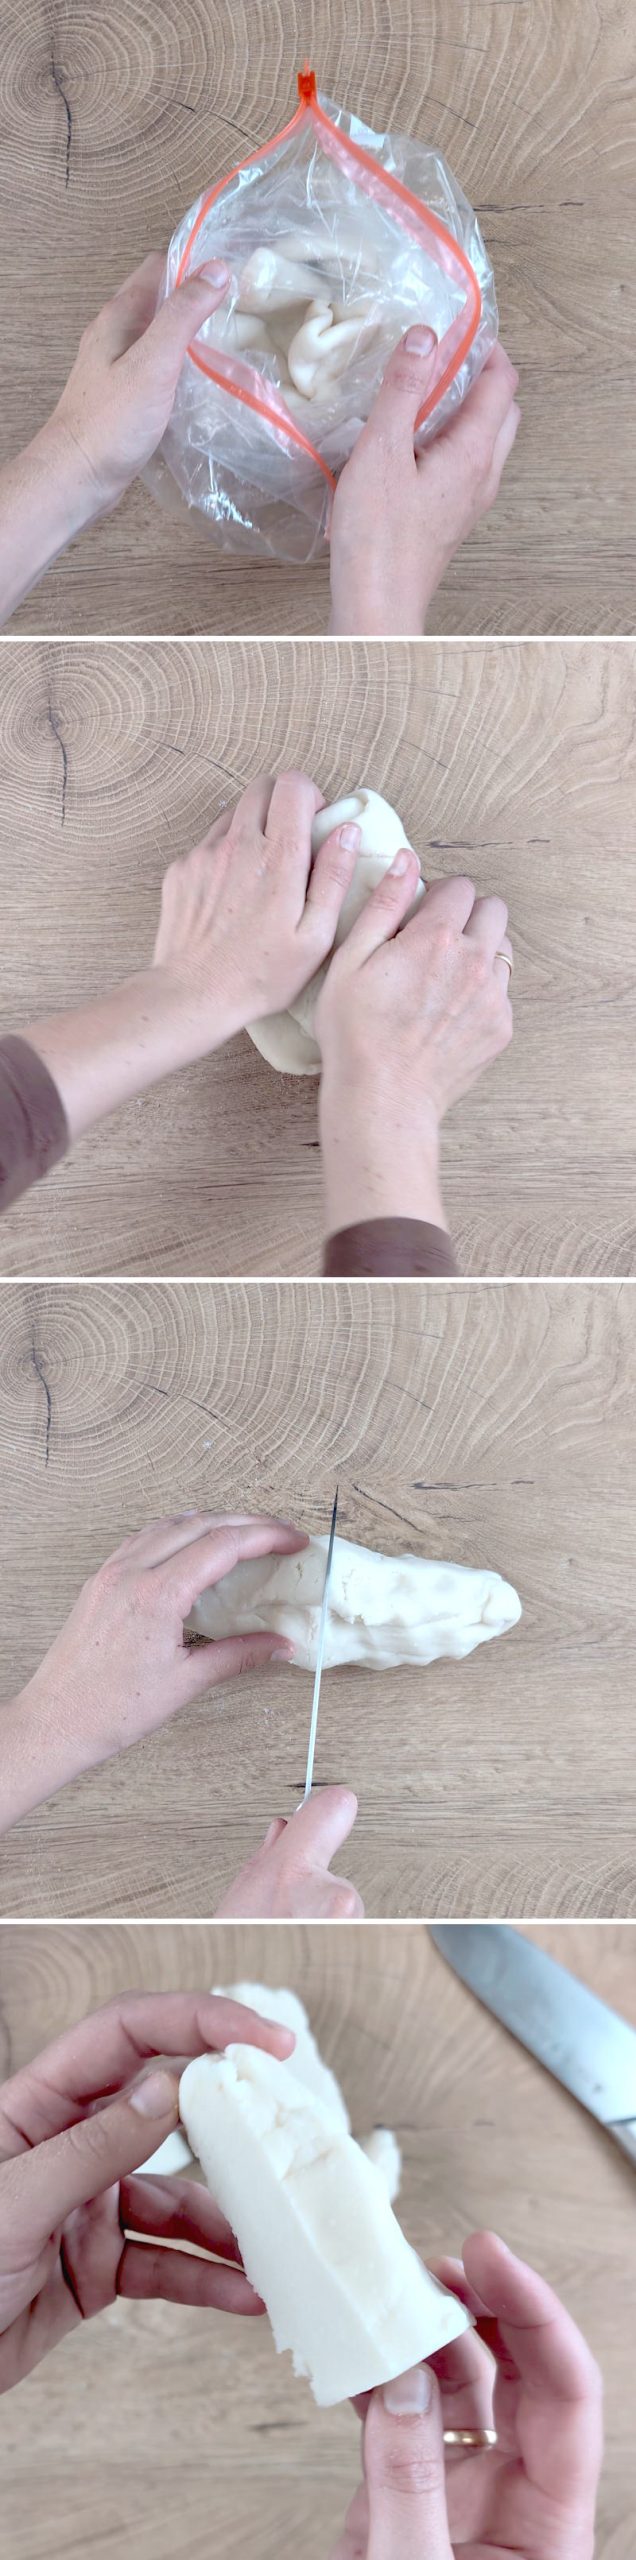
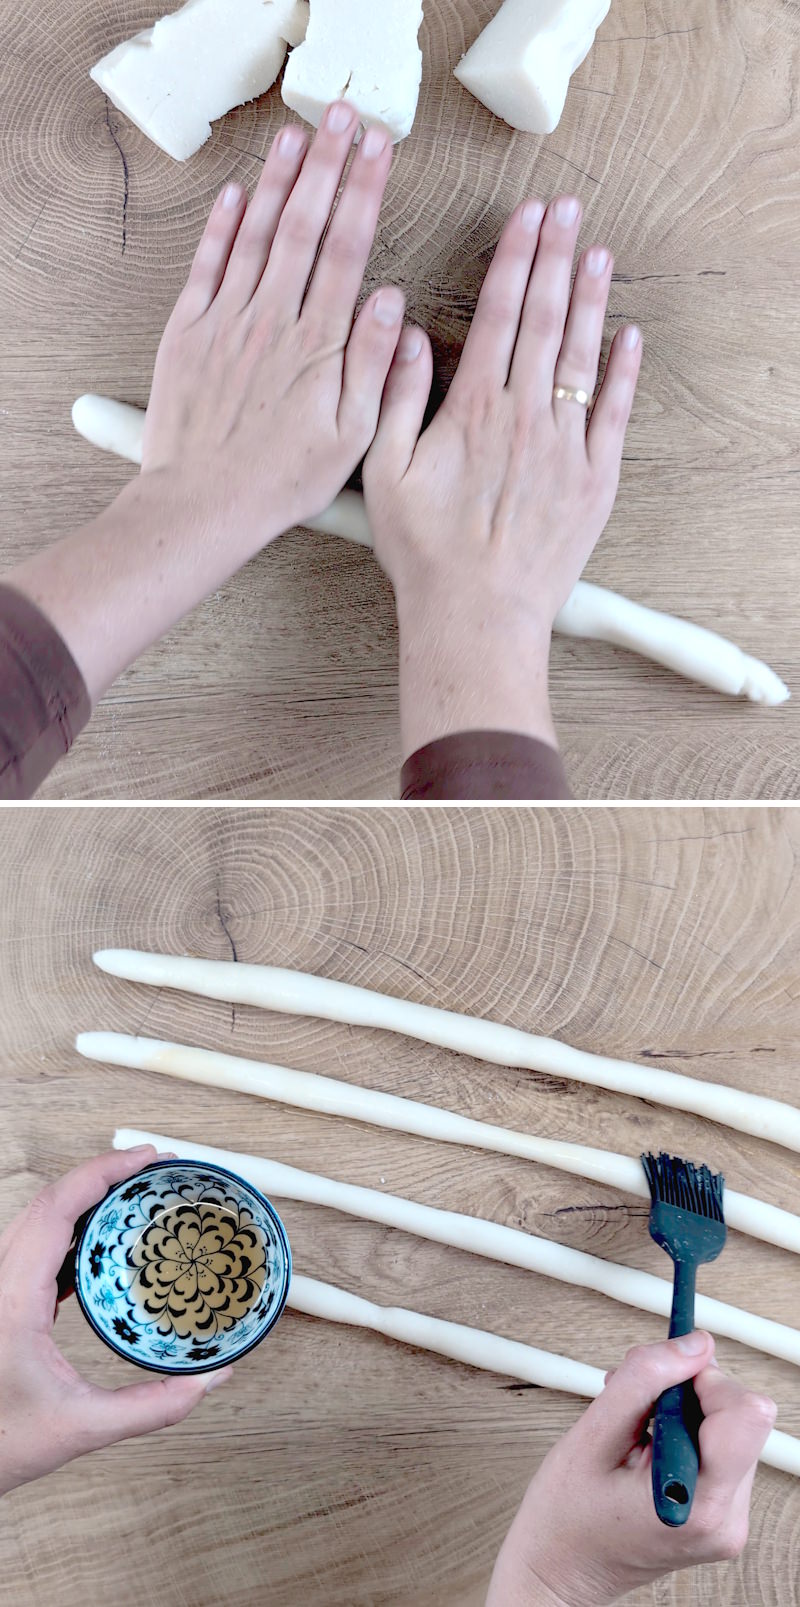
Then shape it into a ball and divide it into four pieces.
Step 9
Roll each portion into a thumb-thick, even roll. Brush them with a little sesame oil to prevent them from drying out, and leave them to cool completely at room temperature.
Step 10
To portion them, either cut the rolls into pieces about 7 cm long (perfect for Tteokbokki) or into thin diagonal slices if you want to use them in soups or other dishes.
You can use the fresh Garaetteok straight away or freeze them. It’s best to freeze them individually on a baking tray and then pack them into a bag. They’ll keep for up to 6 weeks.
Fancy some more delicious inspiration from Korea? You’ll find even more quick recipe ideas here:

Thai Sticky Rice: How to steam Thai sticky rice (Khao Niao) properly
Thai sticky rice, also known as Khao Niao, is a very simple basic recipe, but…
Kimchi Fried Rice: Make your own quick kimchi Bokkeumbap | in 20 minutes
Kimchi Fried Rice, also known as Kimchi Bokkeumbap, is a classic rice dish from everyday…
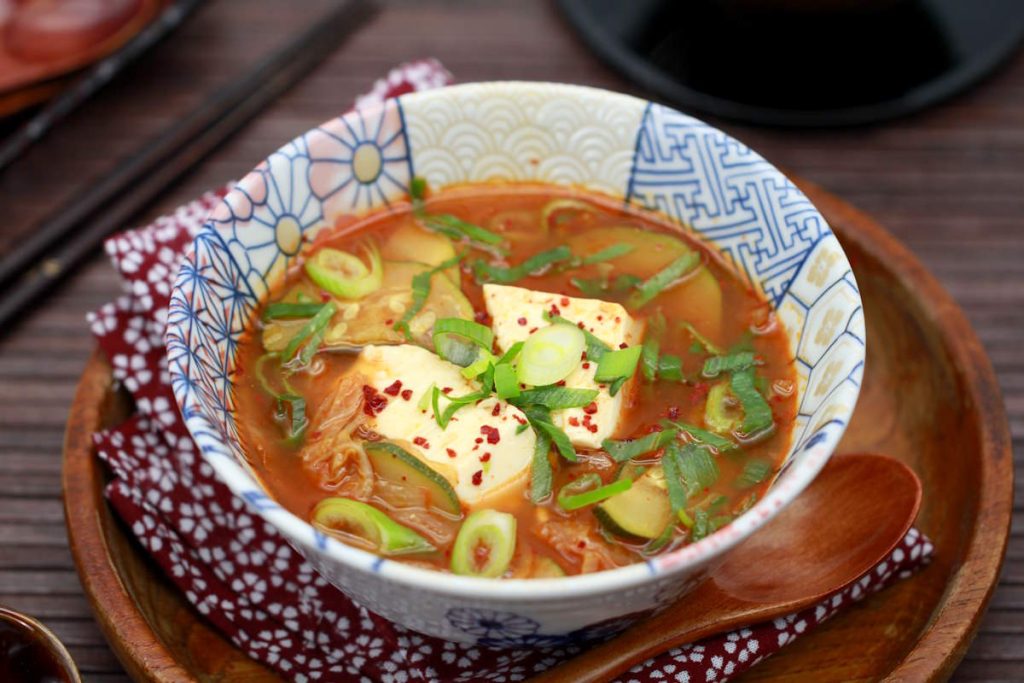
Sundubu Jjigae: Spicy Korean Tofu stew with courgette, Kimchi & Anchovy Dashima
Sundubu Jjigae is one of the best-known Korean stews and is an integral part of…
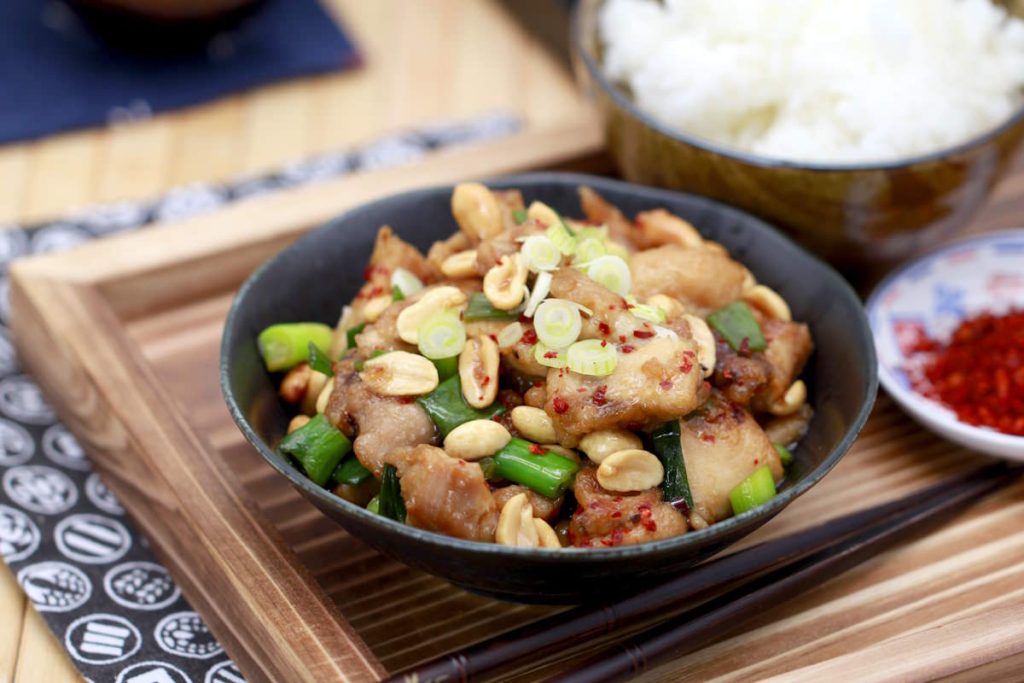
Make your own Gong Bao Chicken: Classic Kung Pao Chicken from Sichuan cuisine with peanuts & chilli
Gong Bao Chicken is a classic stir-fry dish from Sichuan cuisine that requires just a…
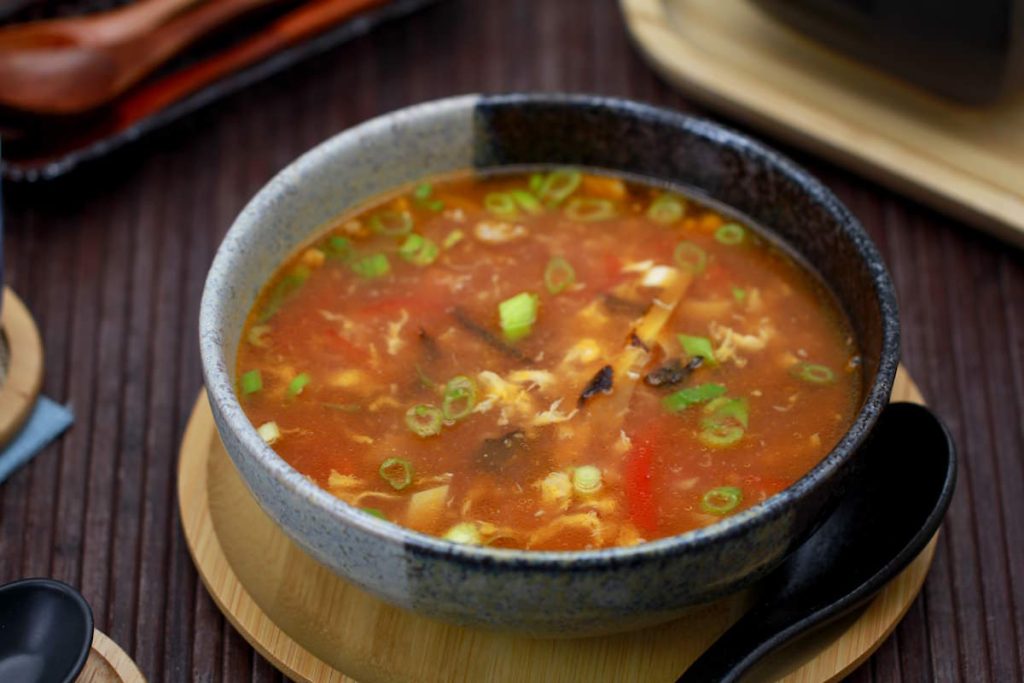
Beijing soup: Make your own Suan La Tang | Chinese hot and sour soup
Beijing Soup (Suan La Tang) is a classic sour and spicy soup from Chinese cuisine….
Have you tried this recipe yet? Let me know in the comments – I can’t wait to hear from you.