

Language:


These vegan Onigiri with Shiitake and sweet potatoes are the perfect, quick Japanese-style snack. They’re also wonderfully delicious as finger food for your next Japanese-themed evening or for your upcoming party. The filling of mushrooms and sweet potatoes is cooked in the oven, seasoned with tasty spices and finished off with a cute design made from Nori seaweed. You simply must try this vegan sweet potato filling 😊!

Do you ever wonder what the difference between Onigiri and Sushi actually is 🤔? Well, of course, it’s the rice that’s used. Both are made from white short-grain rice (also known as Sushi rice), but for Onigiri it’s simply salted, whereas for Sushi it’s also seasoned with vinegar and sugar.
Another big difference is that Onigiri are much easier to make than Sushi. So if, like me, you’re not a brilliant Sushi chef, this recipe is probably just what you’re looking for!
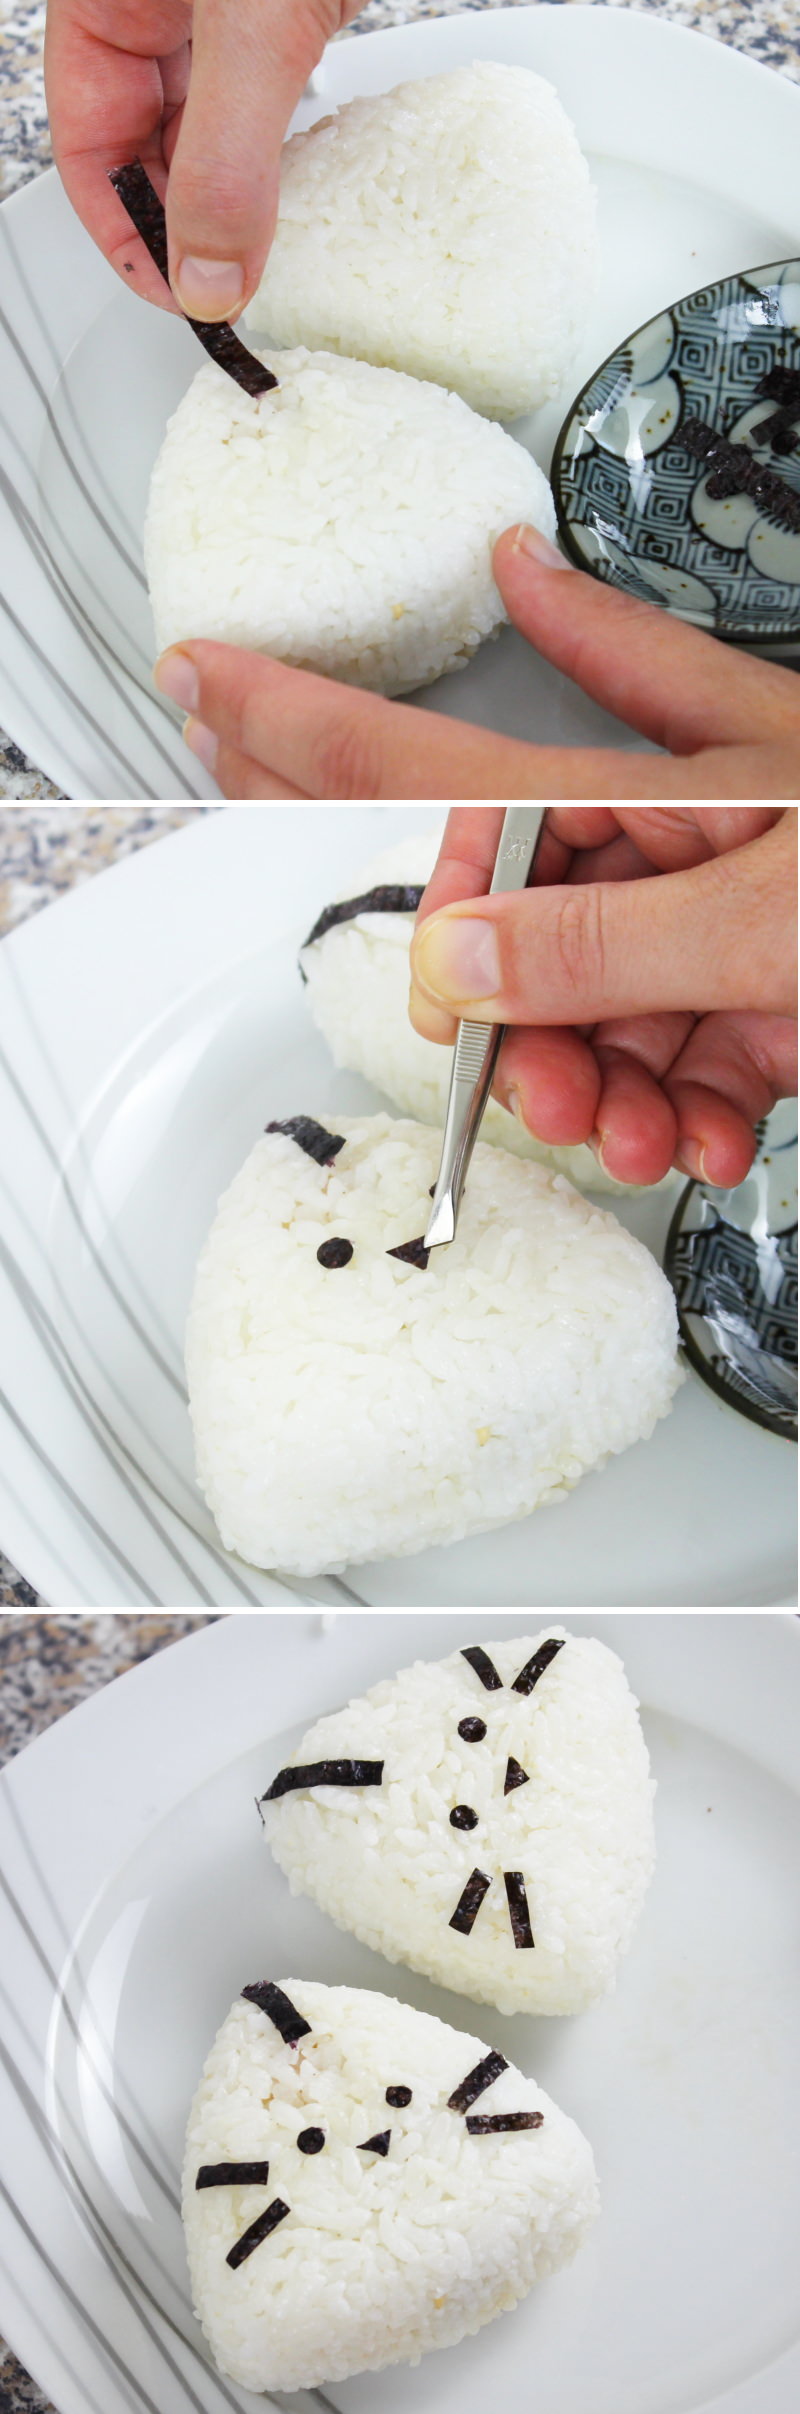
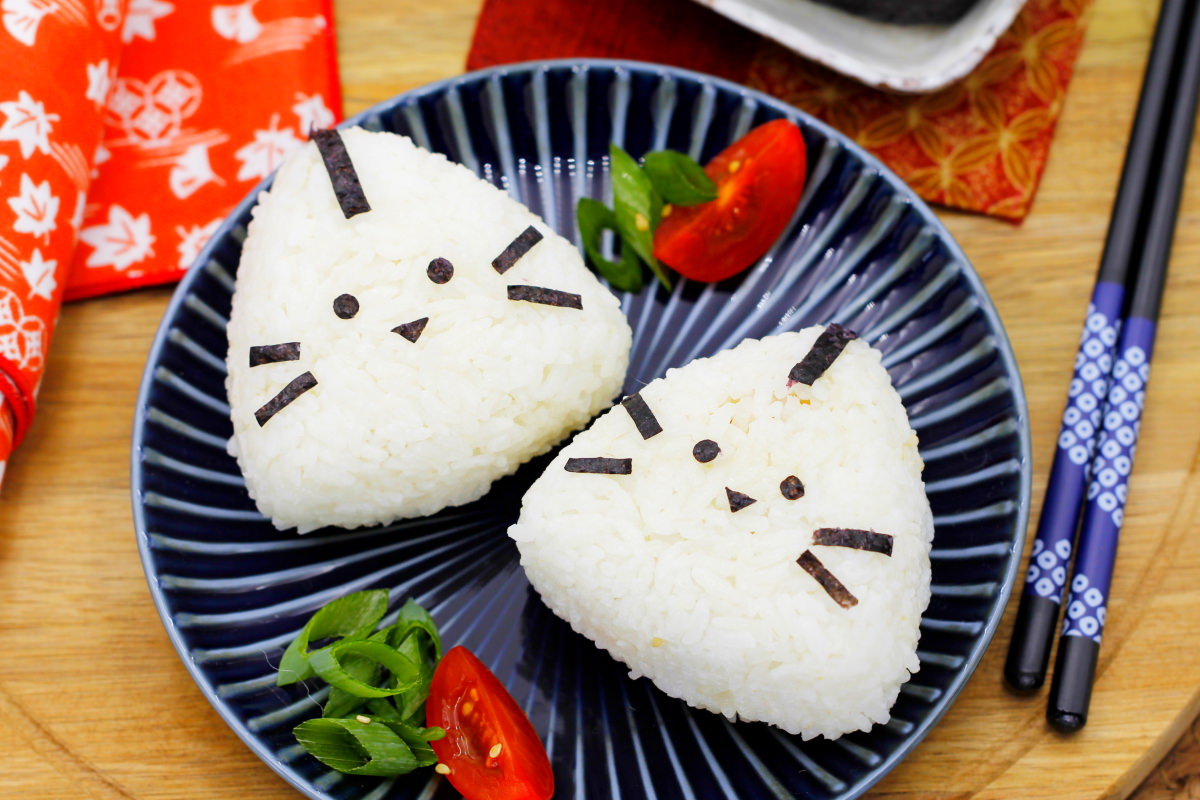
Normally, I prefer to mix the fillings in with the rice so that every bite has something tasty in it. But today we’re simply going to fill the rice triangles, because instead of a Nori seaweed wrapper, we’re going to try our hand at a cute kitten design 😽:

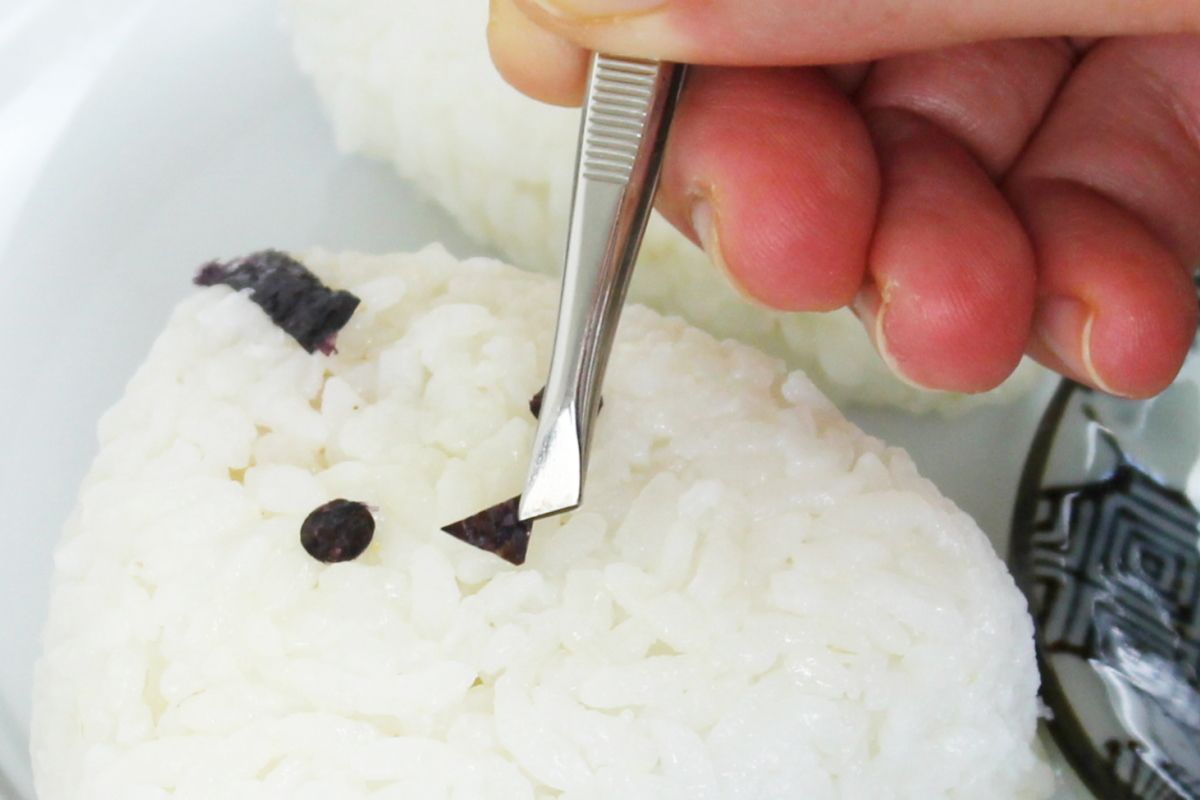
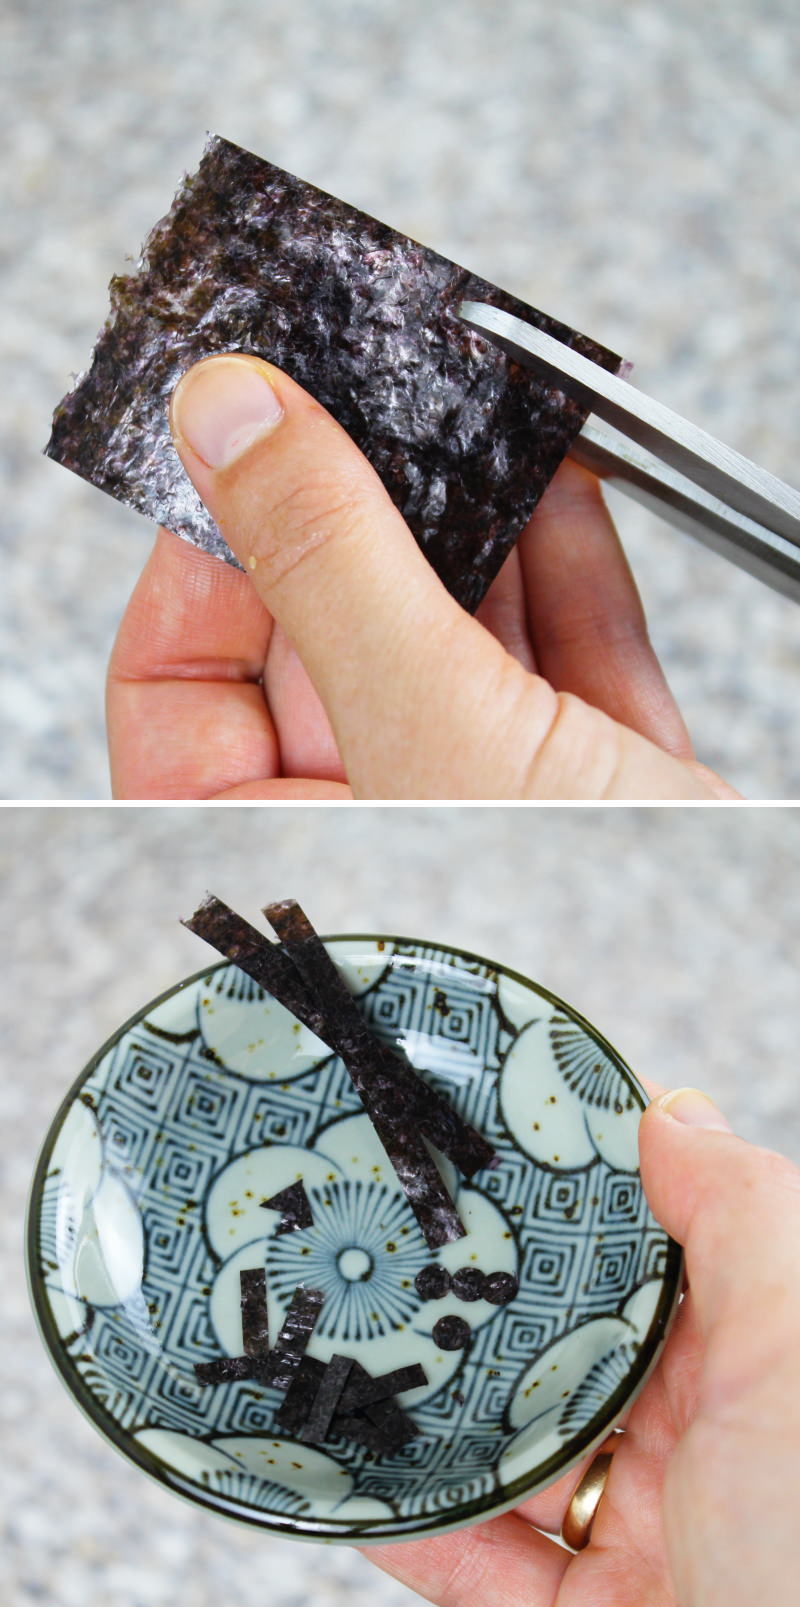
To prepare the small elements, you can simply cut them out of a small (perhaps even leftover) piece of Nori using a pair of scissors. It’s really easy.
As the rice is still nice and moist after shaping, the little Nori snippets stick to it well – to attach them, either fan them out with your fingers or use a pair of small tweezers!
You’ve probably already realised that Onigiri isn’t just rice pressed into shape. For the Japanese, this handy little triangle symbolises a moment of respite and pause in the stressful (albeit very orderly) Japanese daily routine.
These lovingly crafted rice balls are also an expression of feelings! For example, you can give the Onigiri this smiling cat’s face if you want to wish someone good luck in an exam or simply offer a bit of encouragement 🥰.
TOP RECOMMENDATION
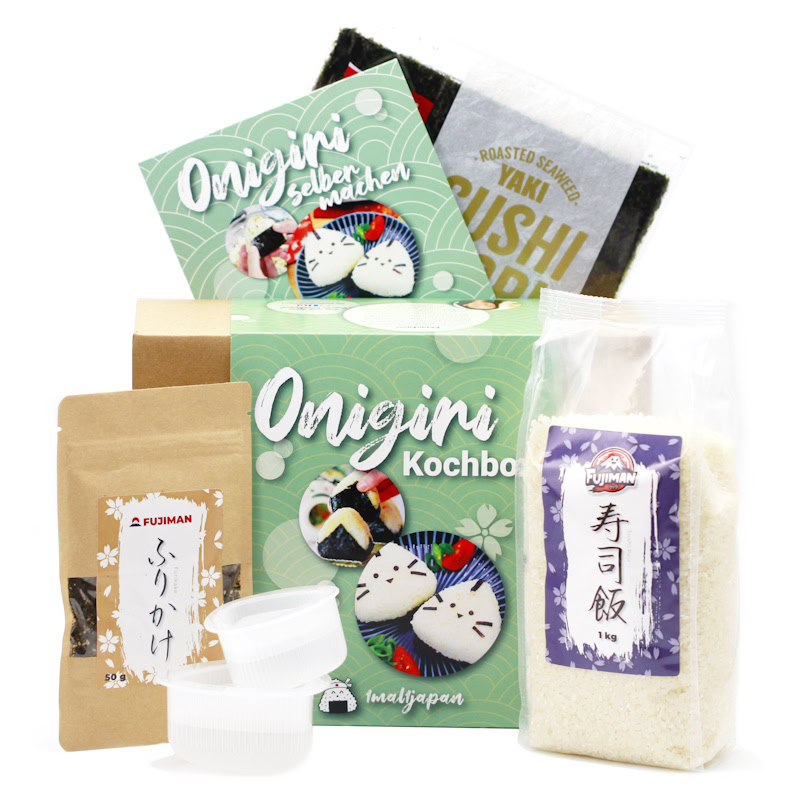
Onigiri Kochbox | Reisbällchen selber machen
5-tlg. DIY Set, inkl. 3 Rezeptideen für japanische Reisdreiecke | vegan, Geschenkidee für Anime Fan. Mit dem Onigiri Kochset gelingen dir japanische Reisdreiecke ganz einfach…
In stock
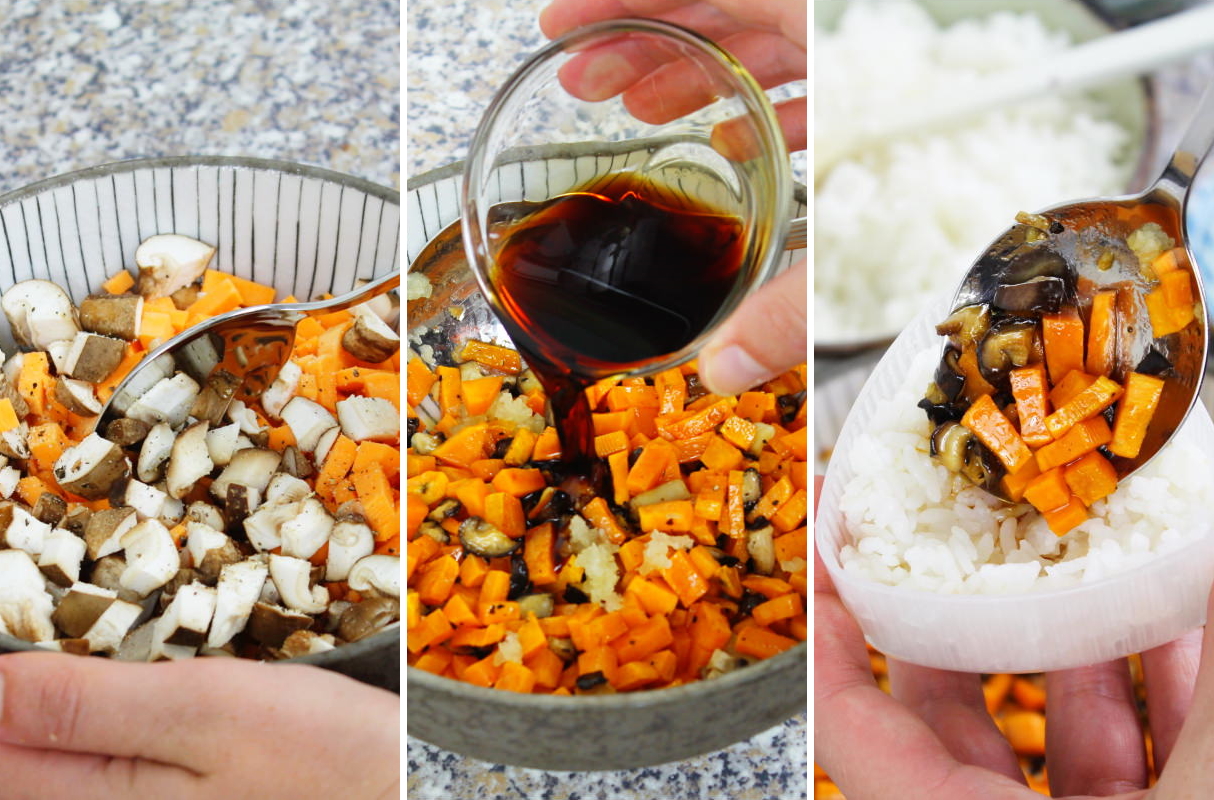
On the outside, these Onigiri certainly look the part – but it’s the filling in particular that makes these rice balls something special! Hidden inside is a combination of Shiitake mushrooms and sweet potatoes. These are gently cooked in the oven until tender, seasoned with Japanese spices and refined with garlic:
Tip: Onigiri are best eaten fresh, as the rice dries out quickly after a while. Please do not store them in the fridge; instead, wrap them in cling film or pack them in a lunchbox.
Enjoy making these heavenly, vegan Onigiri with Shiitake and sweet potato:
Onigiri with Shiitake
Serves 6 | 45 minutes | 128 kcal
🖨️ Print PDF 📌 Save to PinterestThese vegan Onigiri with Shiitake and sweet potato are the perfect, quick Japanese-style snack. They’re also wonderfully delicious as finger food for your next Japanese-themed evening or for your upcoming party. The mushroom and sweet potato filling is cooked in the oven, seasoned with tasty spices and finished off with a cute design made from Nori seaweed. You simply must give them a go 😊!
Ingredients (makes 6)
600 g cooked rice (see recipe):
✔ 300 g loose rice (im Shop ansehen)*
✔ 300 ml water (fresh, cold tap water)
✔ 1 pinch salt
1 small sweet potato
4 Shiitake mushrooms (fresh) or dried (im Shop ansehen)*
a little salt & pepper
1 tbsp oil (e.g. rapeseed oil)
1 clove of garlic
1 tbsp Shoyu (im Shop ansehen)*
1 tbsp Mirin (im Shop ansehen)*
1 tbsp sesame oil (im Shop ansehen)*
1 piece nori sheets (im Shop ansehen)*
Useful utensils:
onigiri mould – rice mould set for rice triangles (im Shop ansehen) *
Preparation (45 minutes)
Step 1
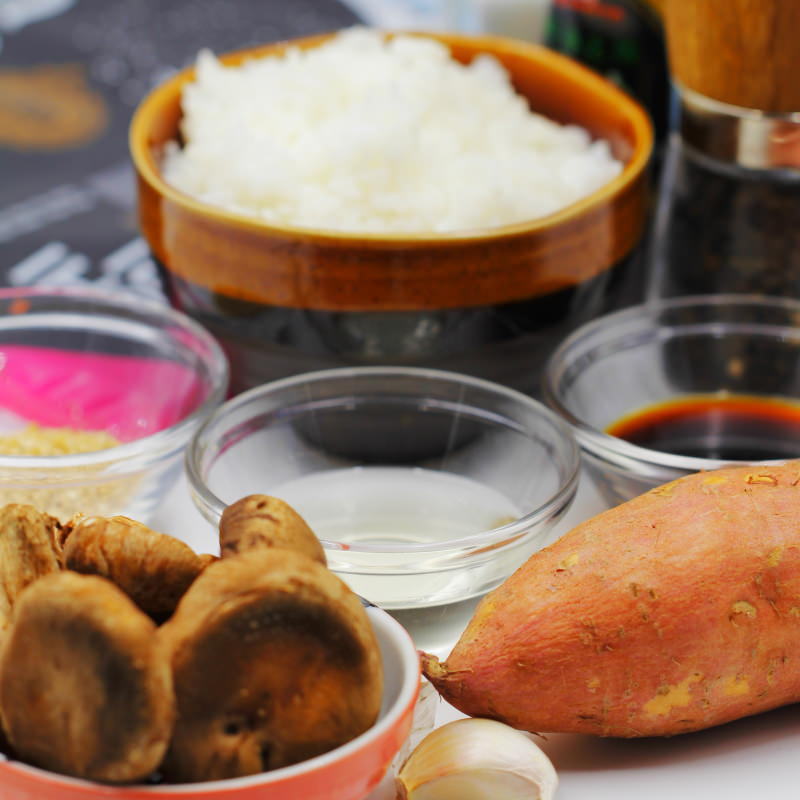
Prepare the ingredients for the onigiri and get the rice ready (see the recipe here in a rice cooker or in a saucepan + leave to cool for 20 minutes).
Tip: If you’re using dried Shiitake mushrooms, soak them in water for 30 minutes beforehand.
Step 2
Preheat the oven to 180°C (fan).
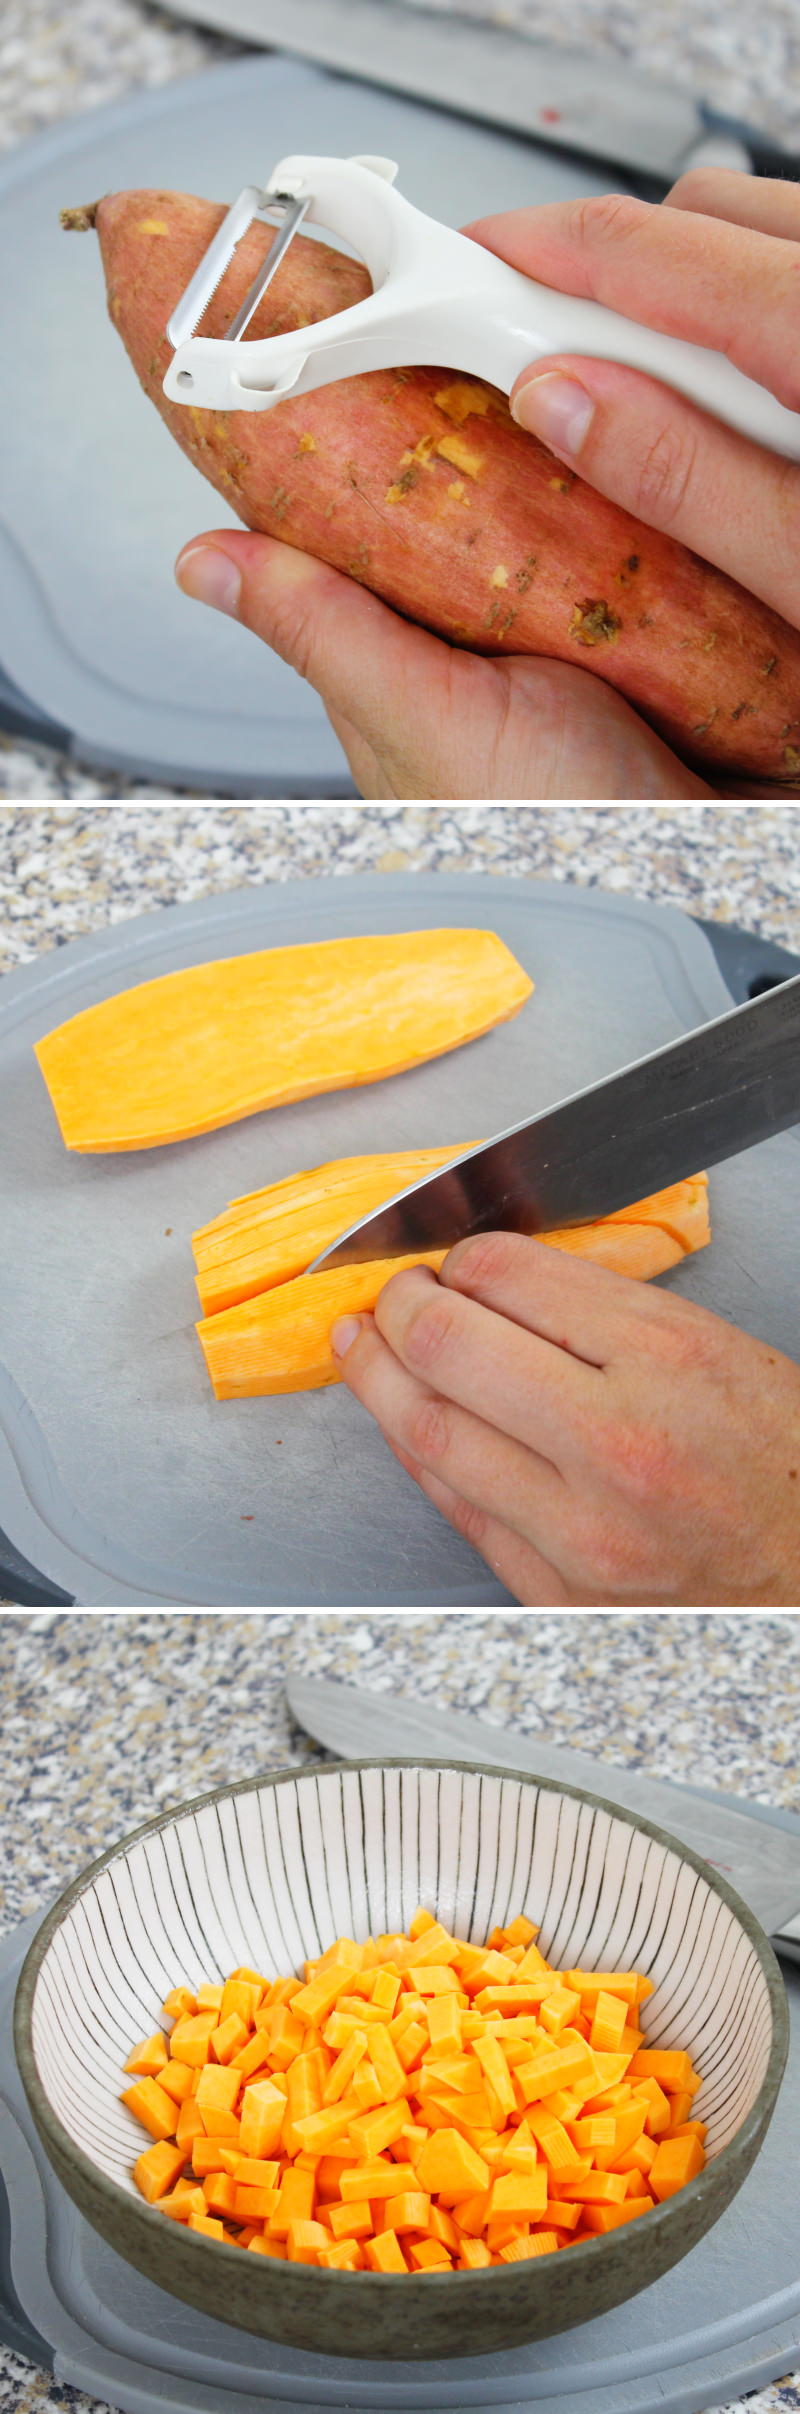
Peel the sweet potato and cut it into small cubes. Place the cubes in a bowl.
Step 3
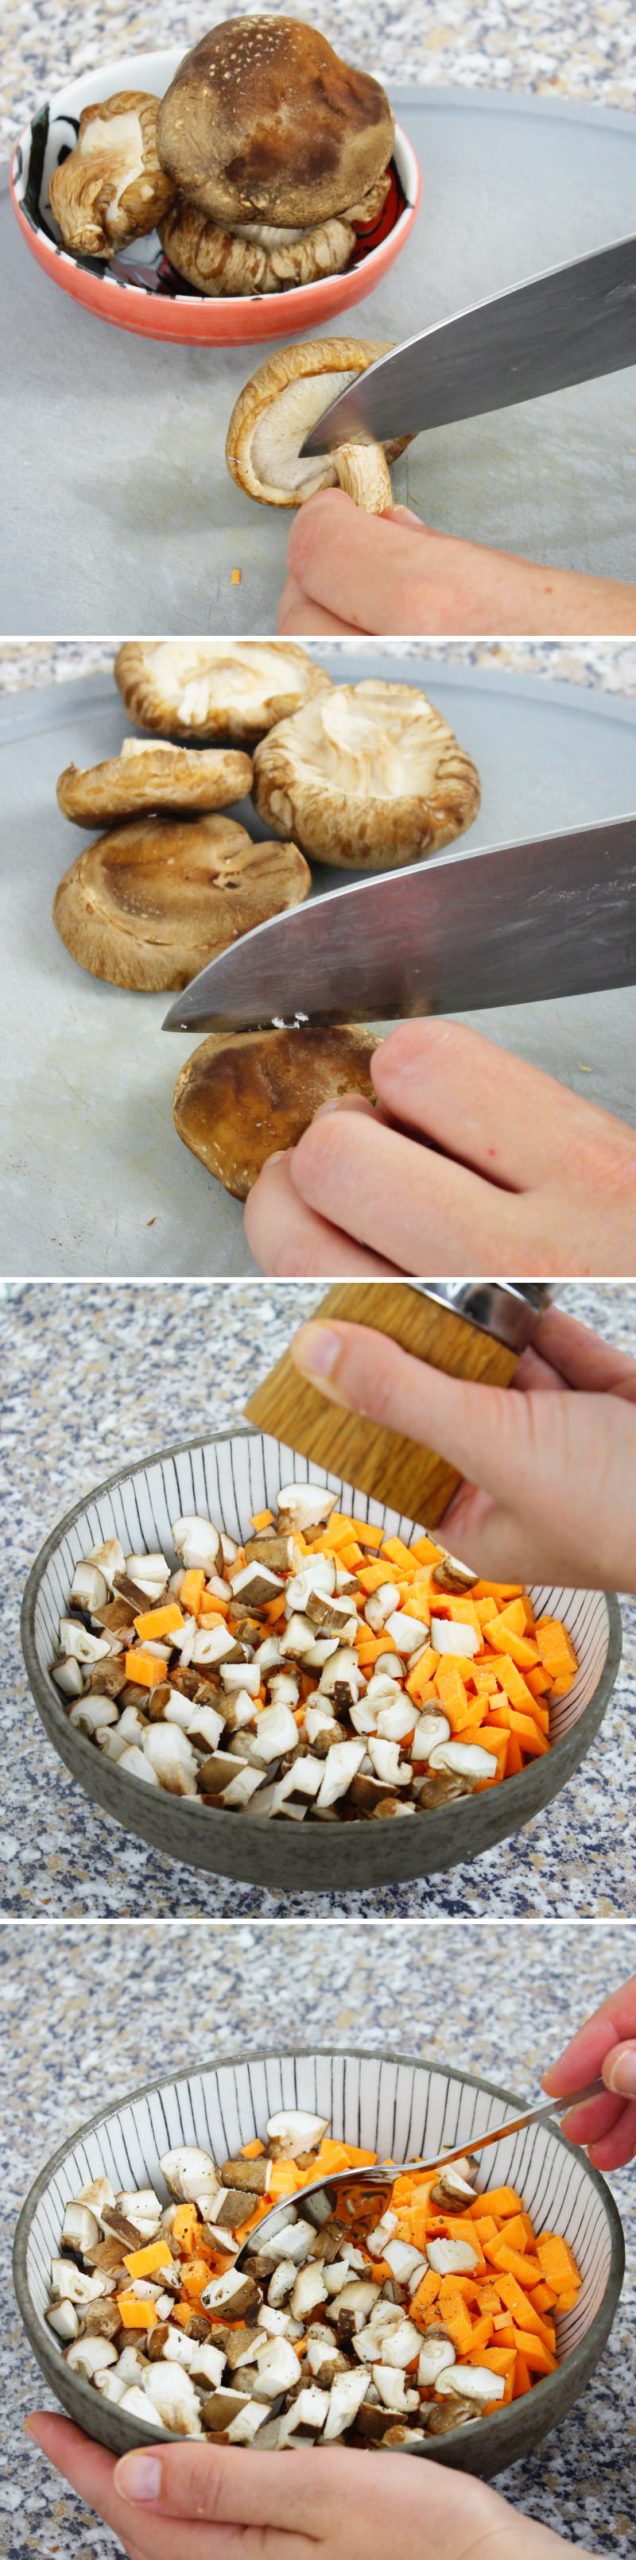
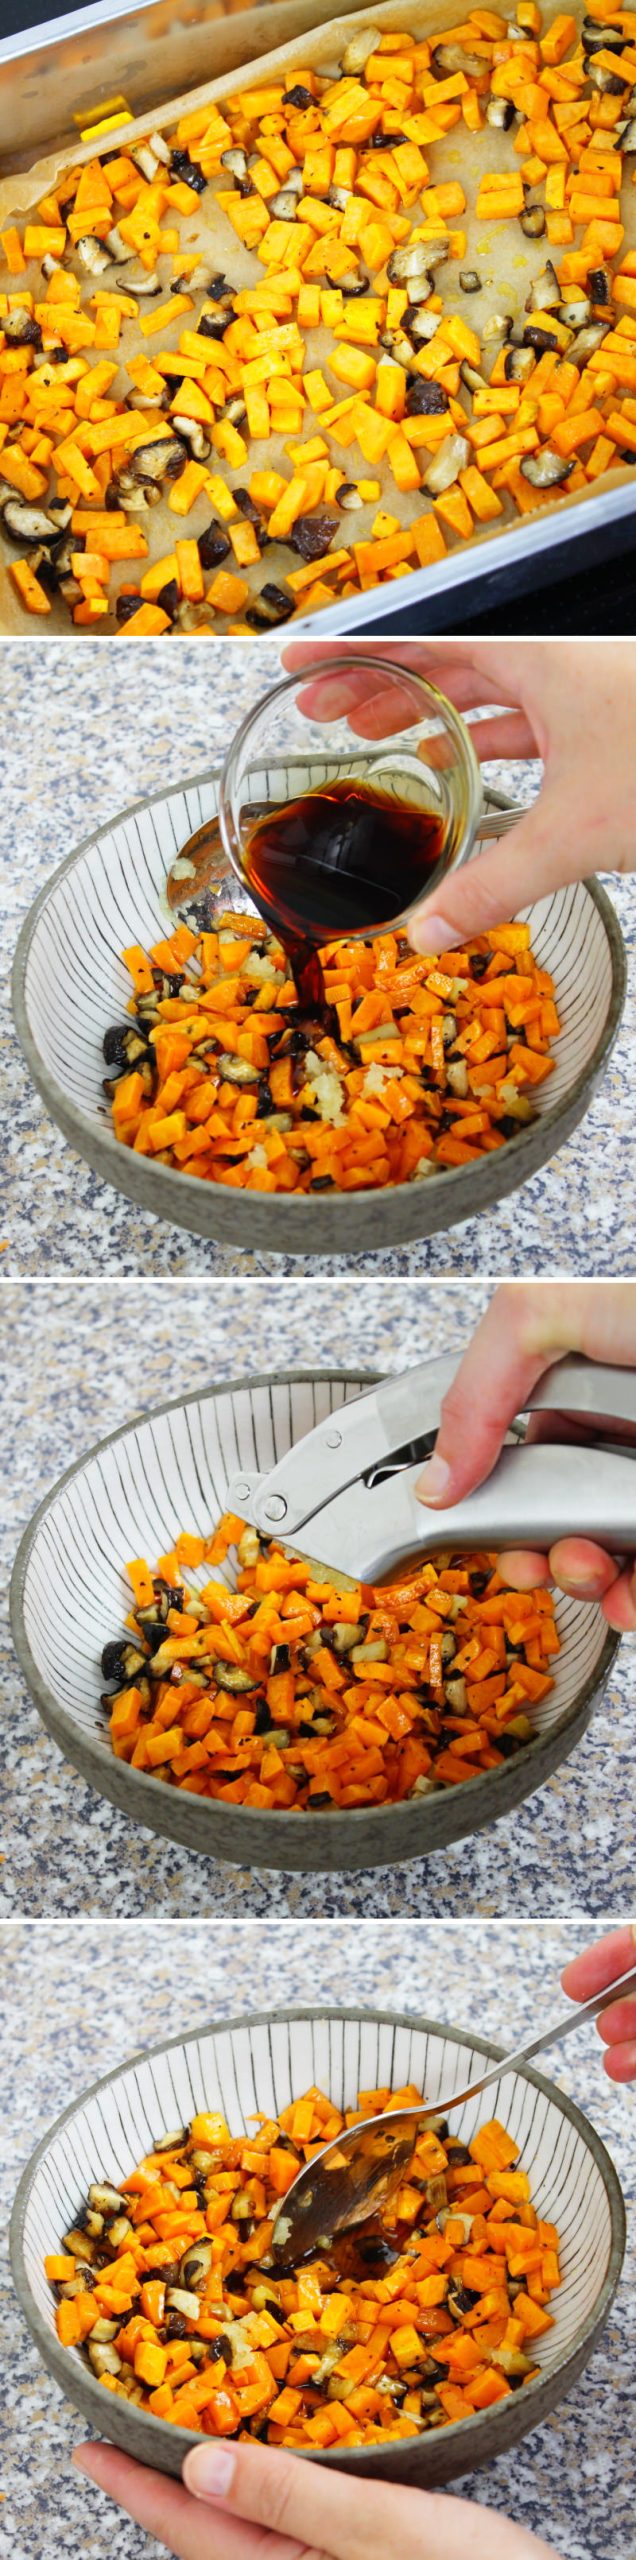
Clean the Shiitake mushrooms and remove the stalks. Cut the mushroom caps into small cubes as well and add them to the sweet potato cubes. Season everything with salt and pepper , add oil and mix together.
Step 4
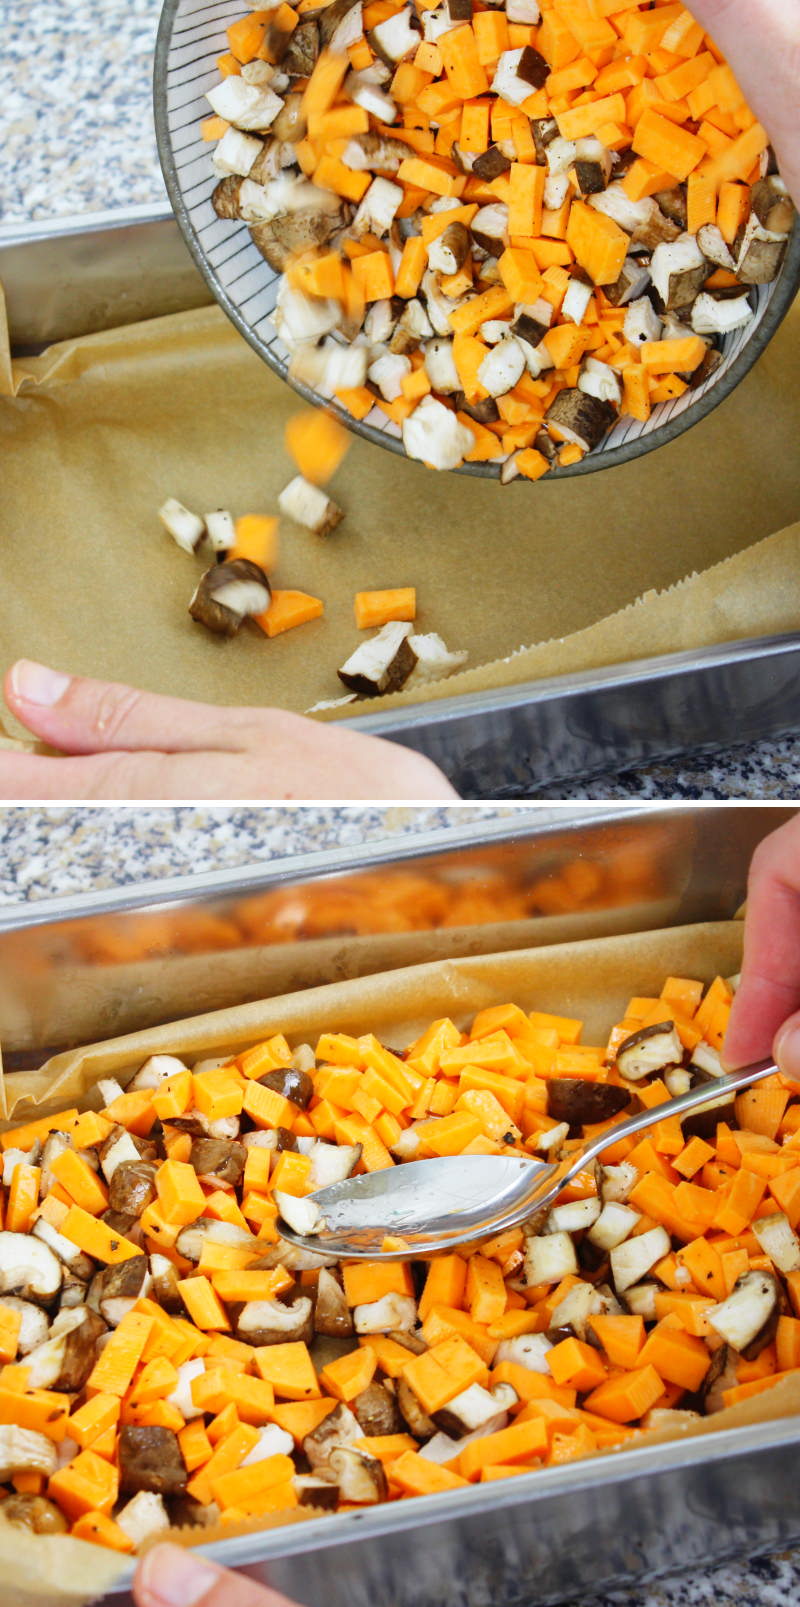
Line a baking dish with baking paper. Add the seasoned cubes and spread them out evenly. Cook in a preheated oven for 20–25 minutes until the sweet potatoes are nice and soft.
Step 5
In the meantime, cut the nori sheet to size with a pair of scissors. For example, into small shapes like the ones shown here in the picture, or simply into long strips to wrap around the Onigiri.
Step 6
Remove the cooked cubes from the oven and return them to the bowl, then season with soya sauce, Mirin and sesame oil . Also, peel the garlic and press it into the mixture. Mix everything together thoroughly!
Step 7
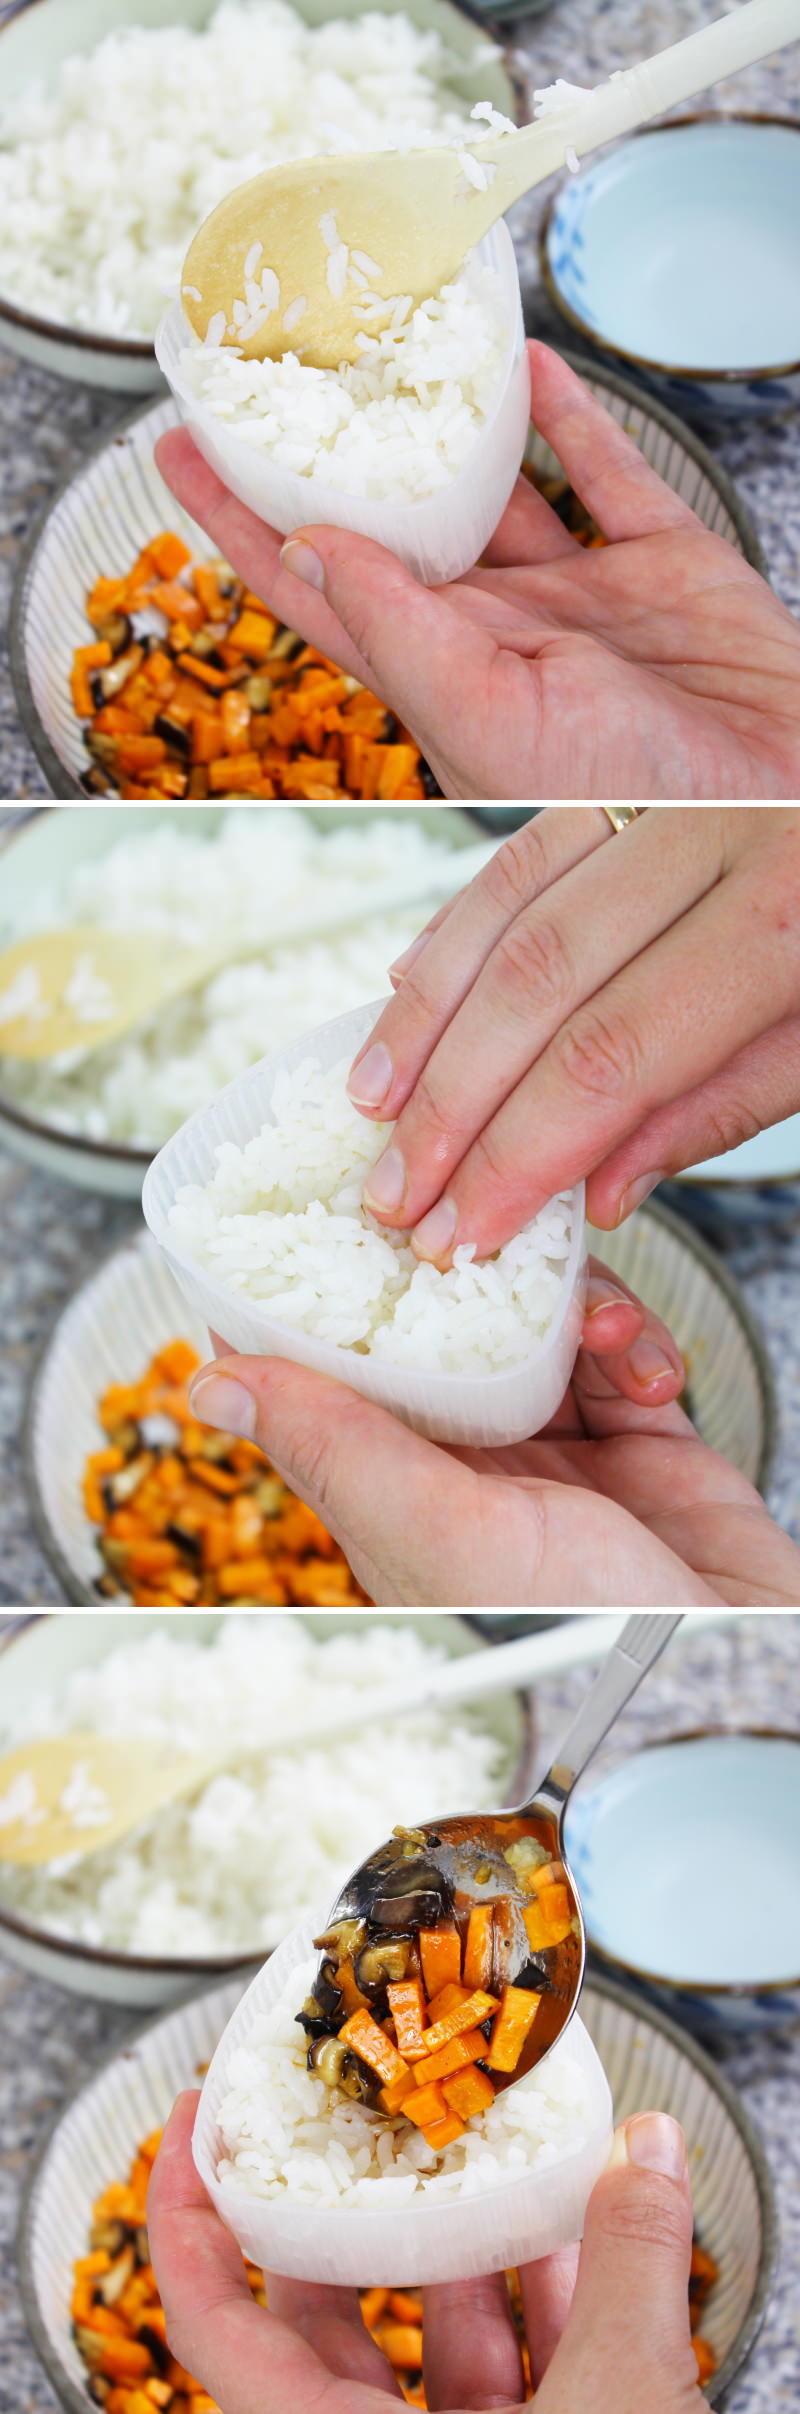
Now take out the rice. Next, fill a small bowl with lightly salted water and set it aside. To shape the rice balls, dip the onigiri mould (both the large and small sides) into the water and allow to drain briefly.
Fill the large side of the onigiri mould halfway with about 50 g of the prepared rice and form a small hollow in the centre for the filling.
Place some of the filling into the hollow (but not too much, otherwise it will all spill out).
Step 8
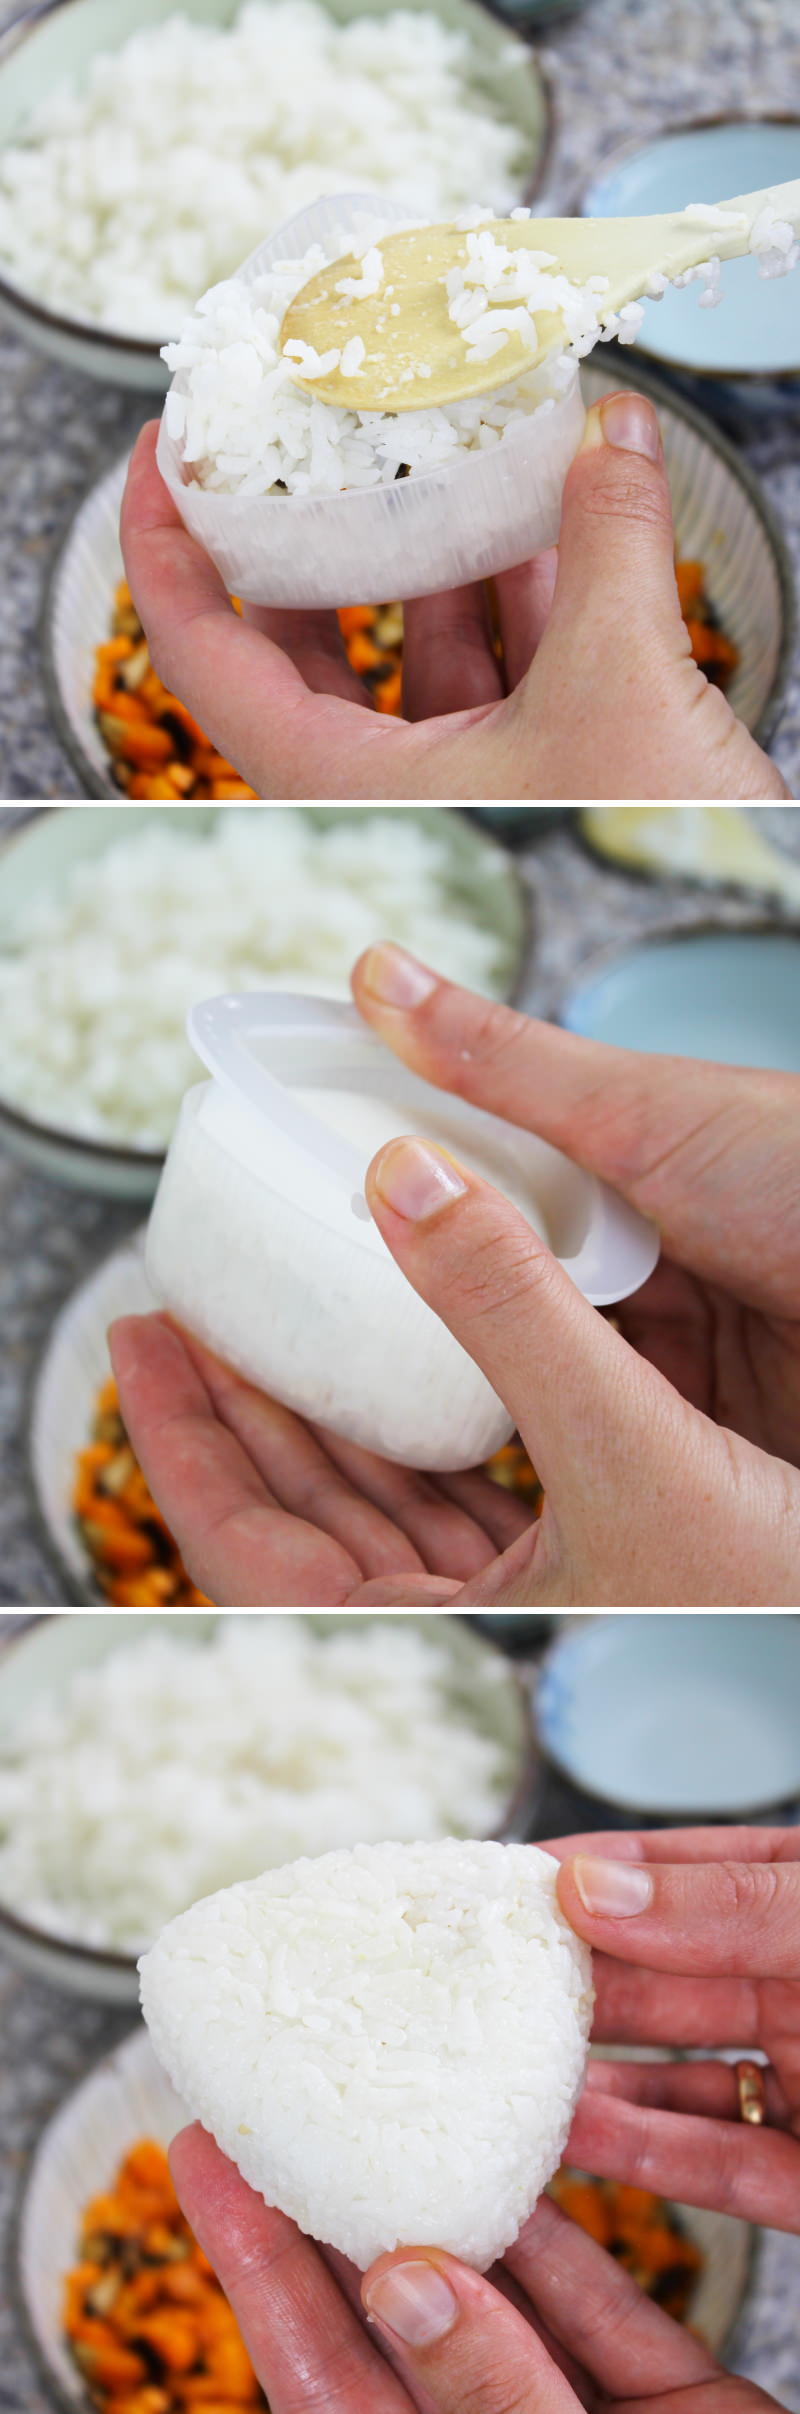
Next, fill the mould with 50 g of rice (but do not fill it beyond the rim, otherwise everything will spill out from the sides).
Now place the lid of the onigiri mould onto the rice and press both sides together with light pressure. Open the onigiri mould by removing the lid. On the back of the larger side of the mould, press the small triangle slightly inwards to remove the rice triangle from the mould.
Step 9
Decorate the rice triangle with the cut-to-size Nori sheets .
Use the remaining ingredients to make 5 more Onigiri!
Step 10
Once the onigiri are ready, they should be eaten as soon as possible. Onigiri are best when fresh, as the rice dries out quickly after a while and the nori sheet becomes slightly soggy. Done – Itadakimasu!
Are you looking for even more delicious onigiri recipe ideas from Japan? Here you’ll find my most popular guides:
No post found!
Have you tried this recipe? Let me know in the comments – I can’t wait to hear from you!