Sprache:
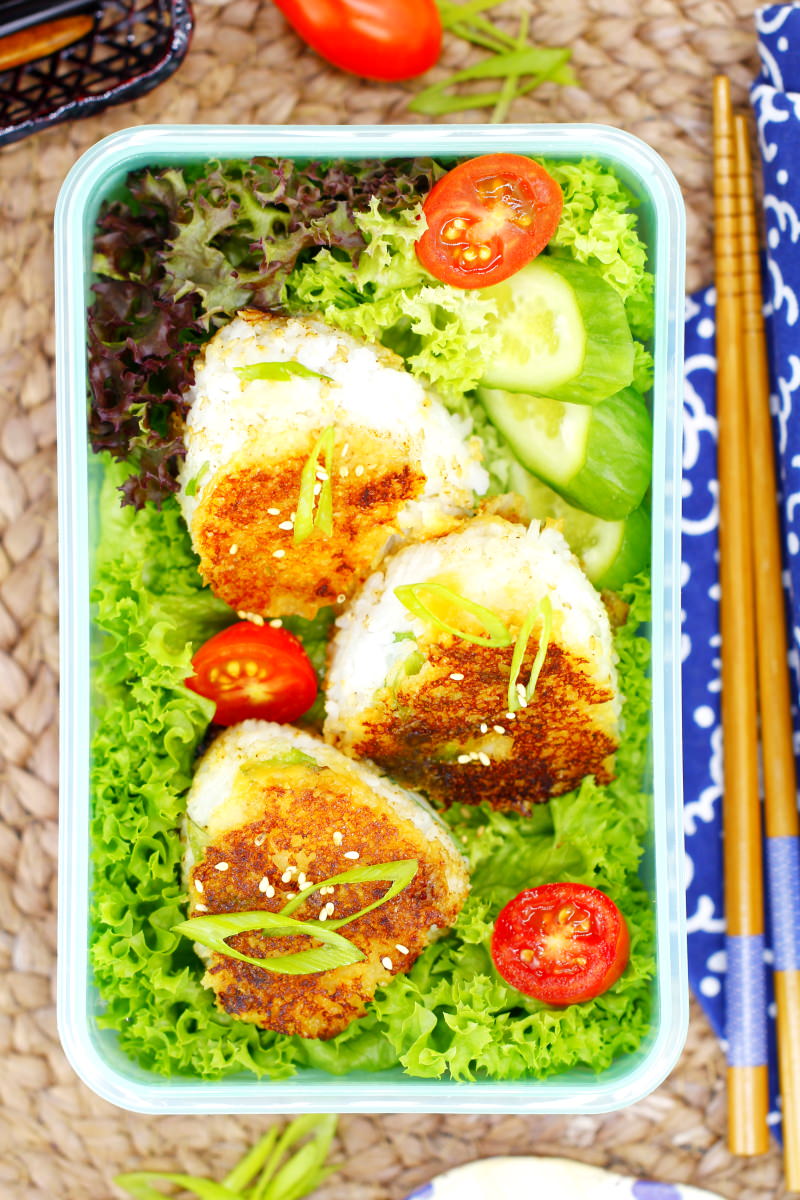
Sweet, savoury Miso sauce on warm rice balls – Miso Yaki Onigiri are super quick and very easy to make. But above all, they are absolutely delicious! These typical Japanese rice triangles are perfect for a picnic or as an afternoon snack. You only need a few ingredients and in just a few minutes, the delicious Onigiri will be on the table!
For me, miso paste is one of the most versatile seasonings. In Japan, miso is not only used to make the miso soup eaten daily, but also to marinate various types of meat and fish, as a base for sauces and dips, and even for pickling vegetables. And today we’re going to use miso paste as an ingredient for homemade Onigiri!
Onigiri could simply be made with salt. But other delicious fillings such as pan-fried salmon, chicken Teriyaki or vegetarian Shiitake and sweet potato are also great additions to rice balls.
TOP RECOMMENDATION
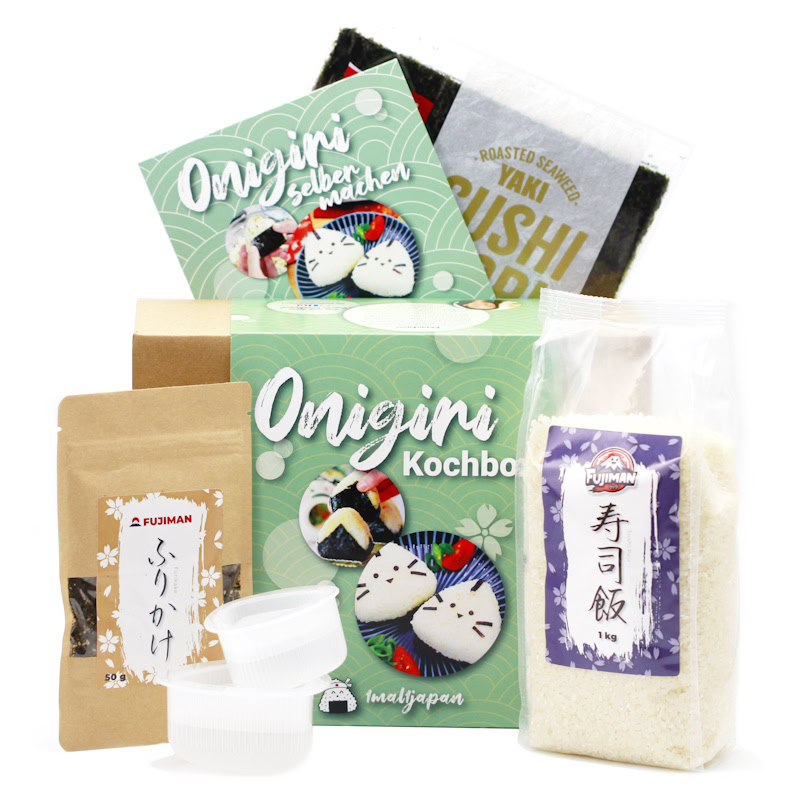
Onigiri Kochbox | Reisbällchen selber machen
5-tlg. DIY Set, inkl. 3 Rezeptideen für japanische Reisdreiecke | vegan, Geschenkidee für Anime Fan. Mit dem Onigiri Kochset gelingen dir japanische Reisdreiecke ganz einfach…
In stock
Another great way to enjoy Onigiri is to spread various sauces on them or grill them until they are crispy and golden brown. These grilled rice balls, known as yaki onigiri, are loved by adults and children alike in Japan.
Grilling makes the rice crispy and forms an irresistible crust on the outside, whilst the rice remains soft and tender on the inside. Here you can find my basic recipe for Yaki Onigiri with a soy-Mirin marinade.

Today, we’re also coating these delicious grilled Yaki Onigiri with a sauce made from Mirin and Miso paste. I’ll show you how to do this in the recipe for Miso Yaki Onigiri:
Miso Yaki Onigiri
Makes 12 | 30 minutes | 113 kcal
🖨️ Print PDF 📌 Save pinSweet, savoury Miso sauce on warm rice balls – Miso Yaki Onigiri are super quick and very easy to make. But above all, they are absolutely delicious! These typical Japanese rice triangles are perfect for a picnic or as an afternoon snack. You only need a few ingredients and in just a few minutes, these delicious Onigiri will be on the table!
Ingredients (for 12 pieces)
600 g cooked rice (see recipe):
✔ 300 g loose rice (im Shop ansehen)*
✔ 300 ml water (fresh, cold tap water)
✔ 1 pinch salt
1 spring onion
1 tsp toasted sesame seeds (im Shop ansehen)*
1 tbsp butter
For the Miso glaze:
2 tbsp Miso paste (im Shop ansehen)*
1 tbsp Mirin (im Shop ansehen)*
1 tsp sugar
Useful utensils:
Onigiri mould – Rice mould set for rice triangles (im Shop ansehen)*
Preparation (30 minutes)

Step 1
Prepare the ingredients for the Onigiri and get the rice ready (see the recipe here in a rice cooker or in a pan + leave to cool for 20 minutes).
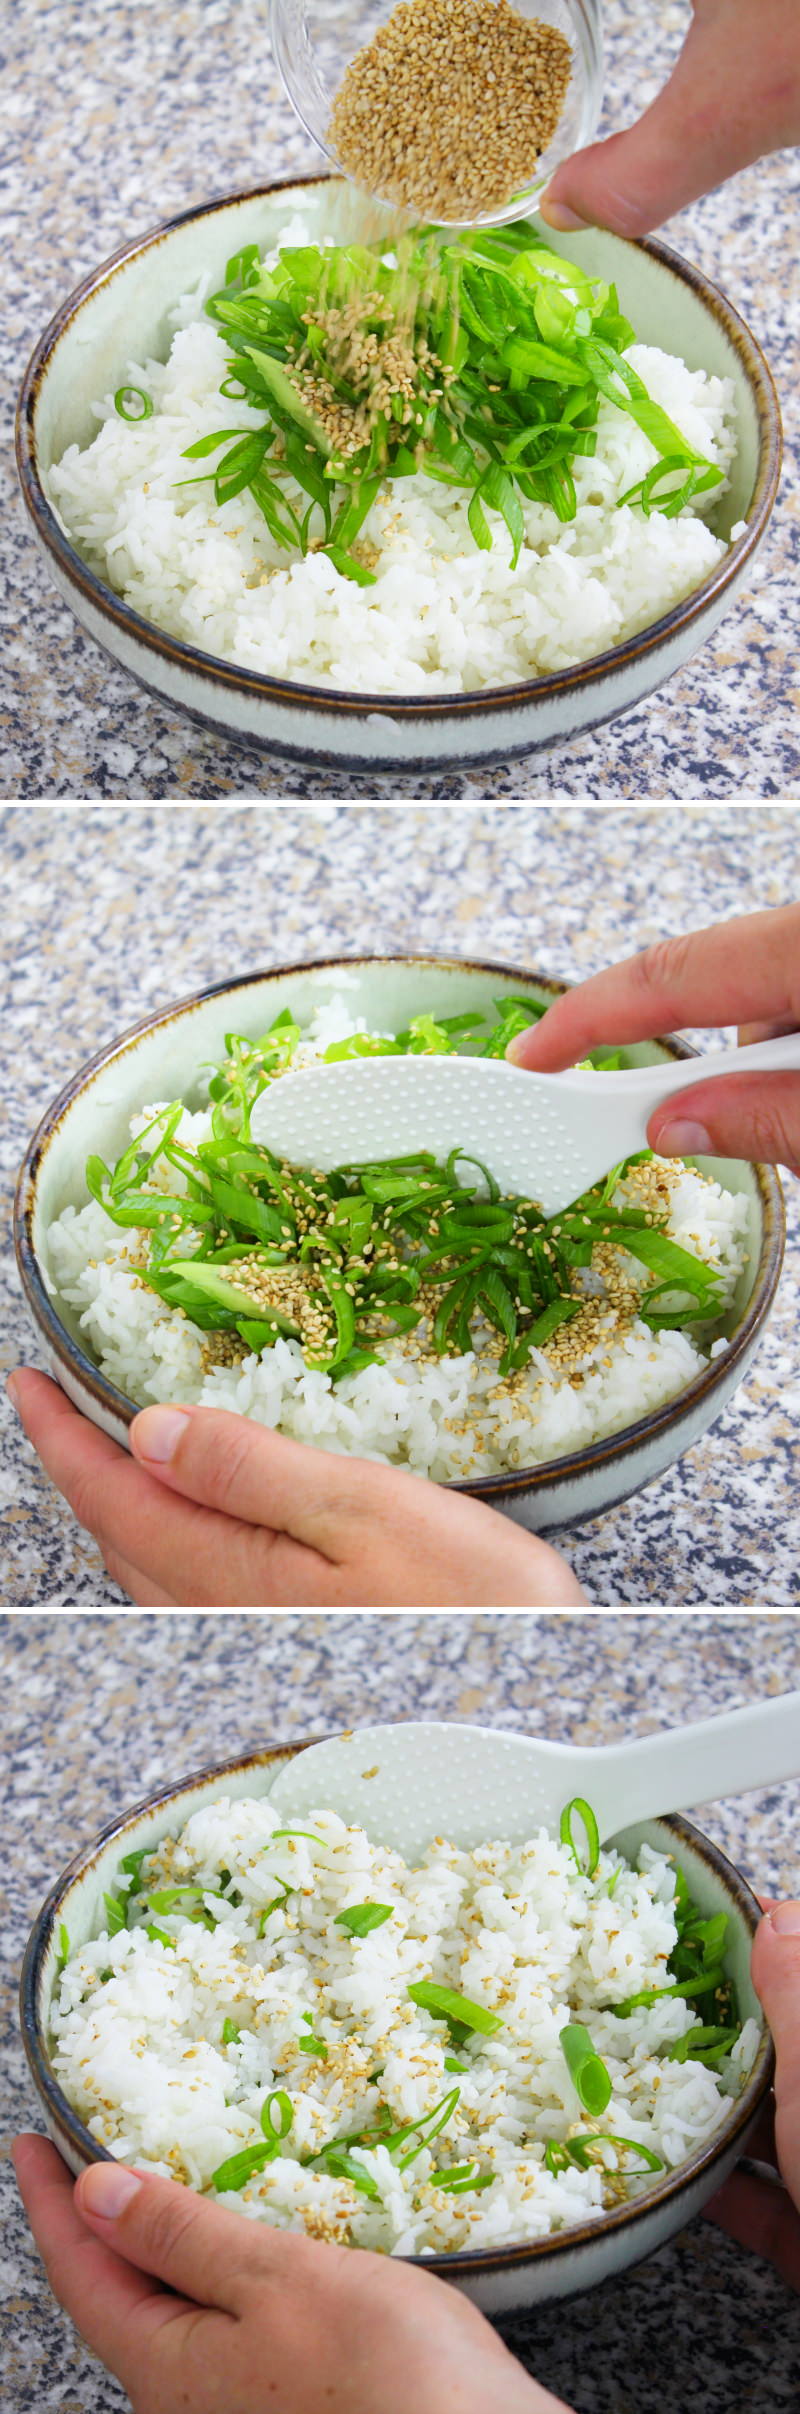
Step 2
Spring onions cut diagonally into fine rings, then mix together with sesame seeds into the cooked rice.
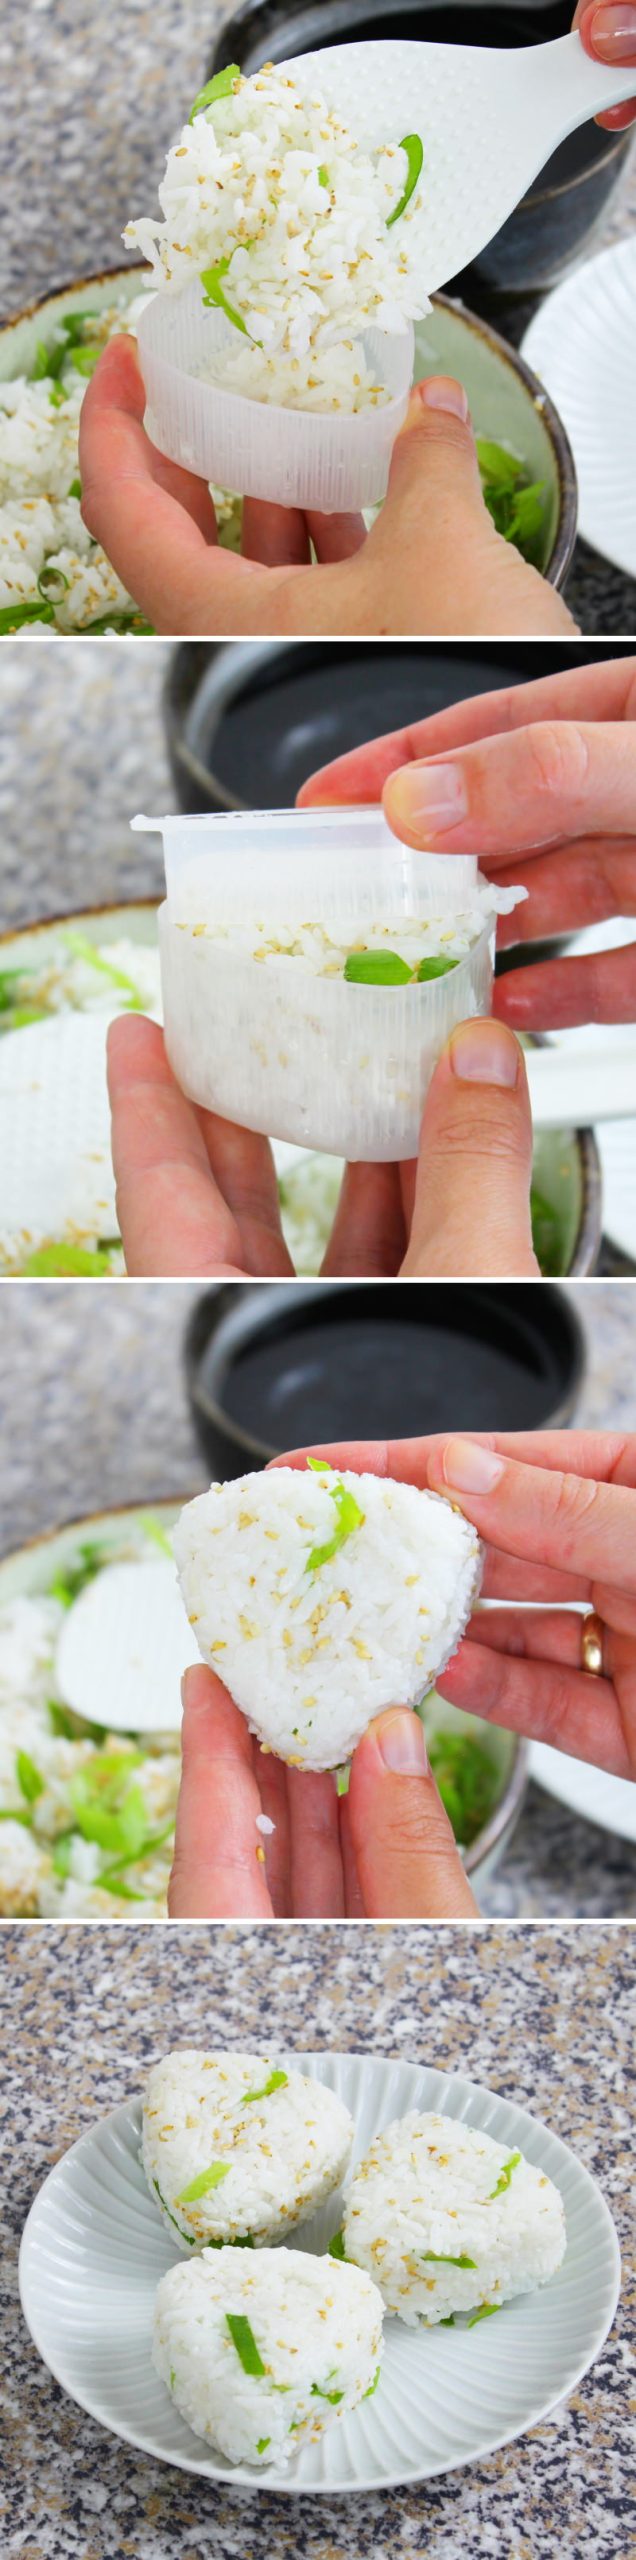
Step 3
Fill a small bowl with lightly salted water and set it aside. Dip a small onigiri mould (large and small sides) into the water to shape the rice balls, then let it drain briefly.
Fill the large side of the onigiri mould with about 50g of seasoned rice. Now place the lid of the onigiri mould onto the rice and press both sides together with light pressure.
Open the onigiri mould and remove the rice triangle from the mould.
Make a total of 12 Onigiri!
Step 4
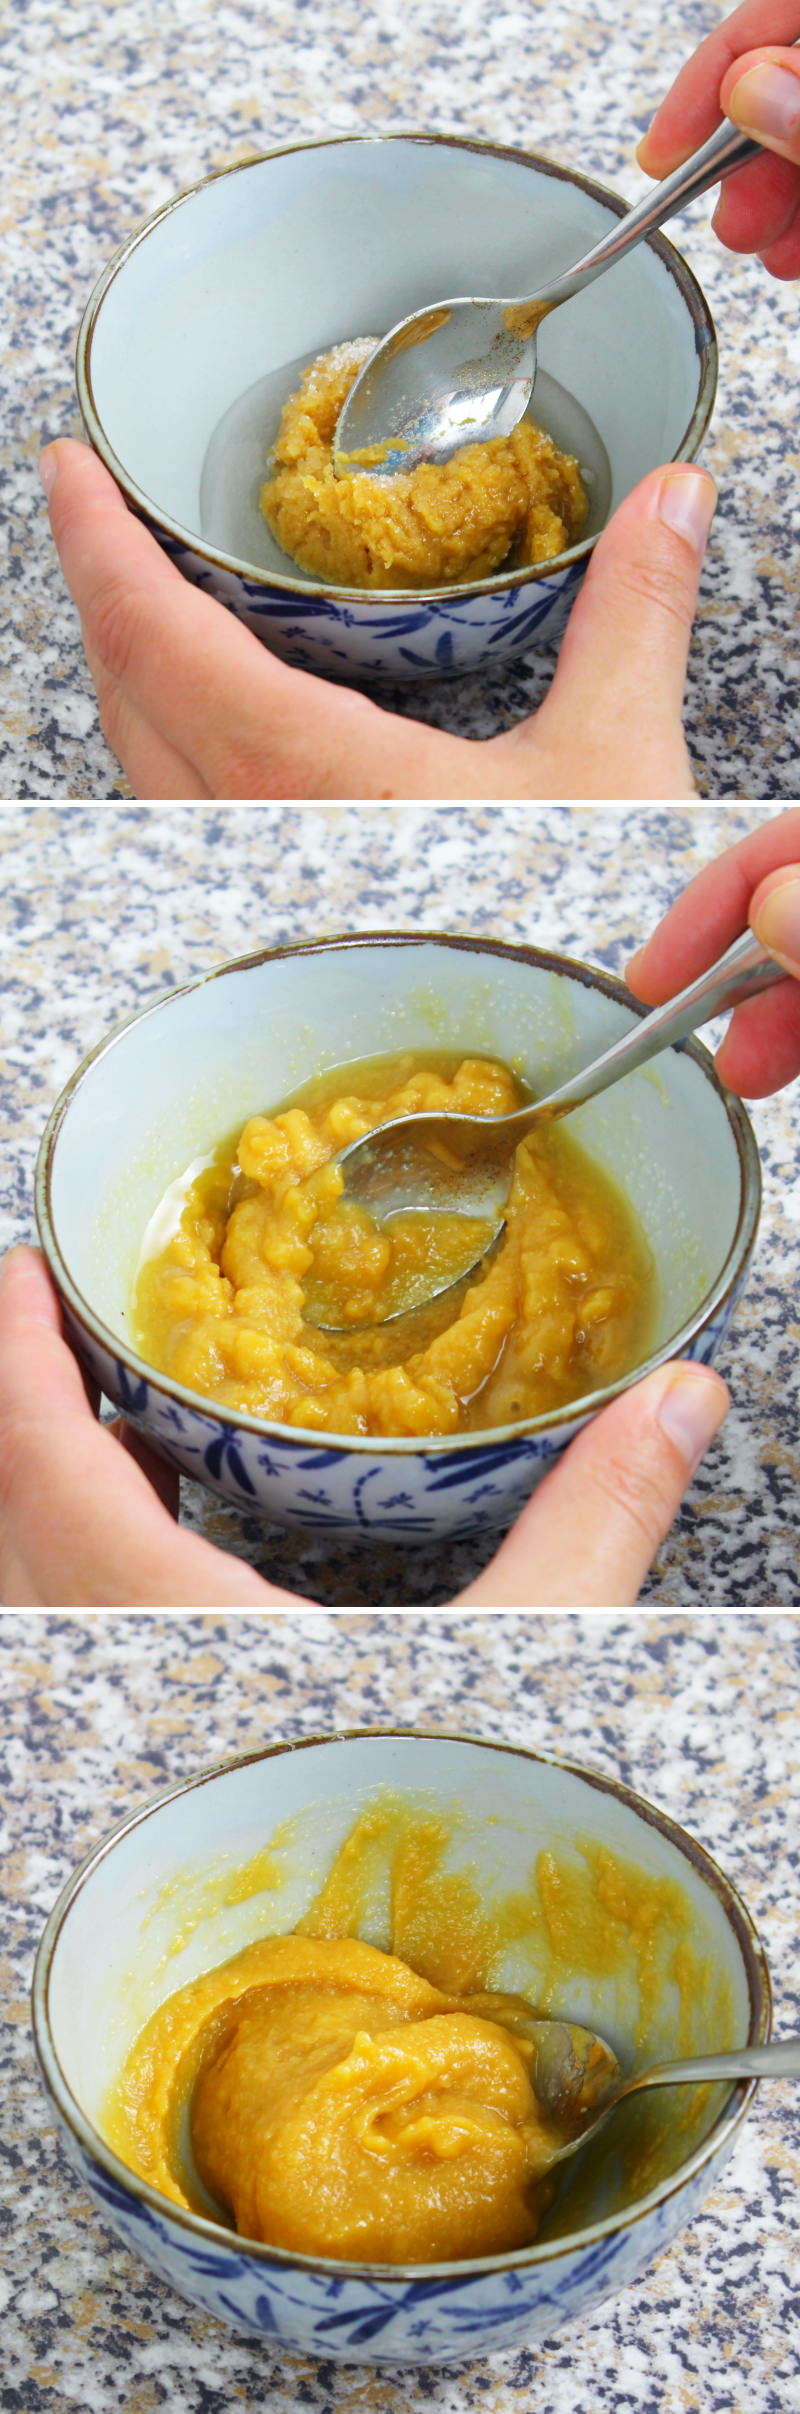
In a small bowl, mix together the miso paste, Mirin and sugar .
Step 5
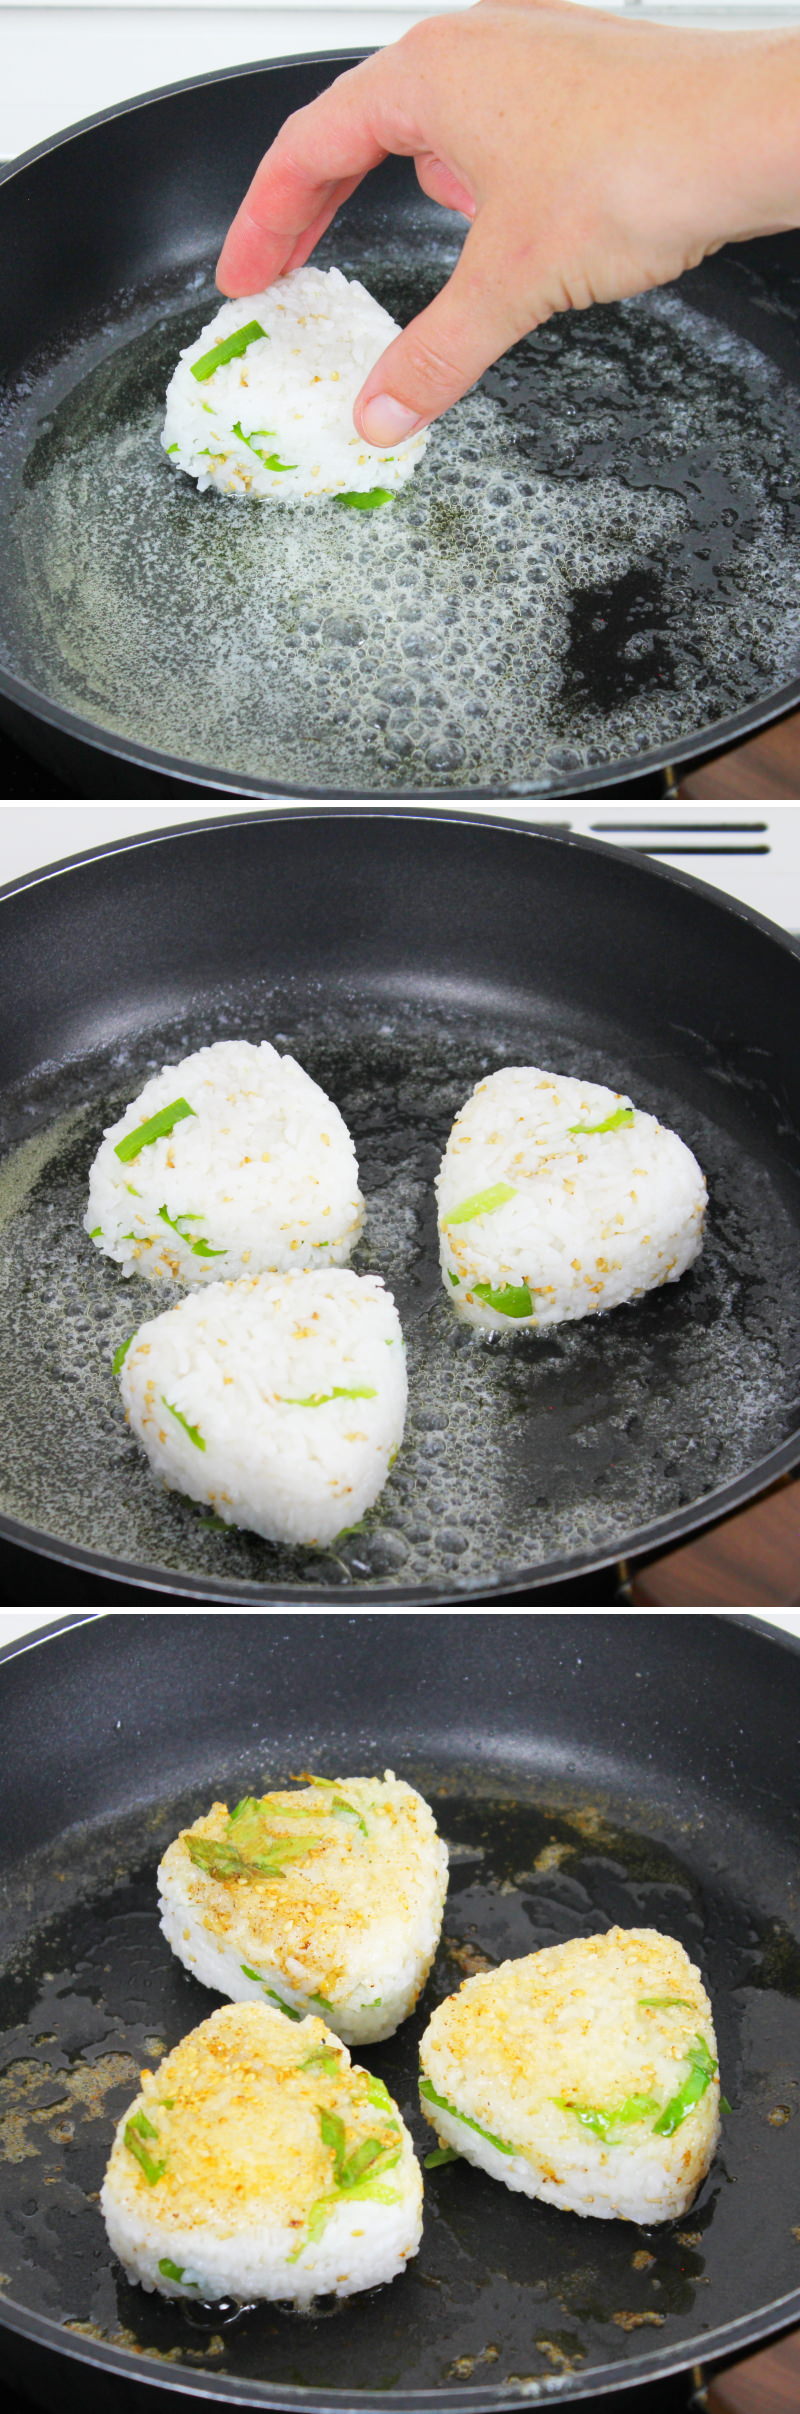
Heat the butter in a frying pan. Once the butter has melted and is lightly foaming, place the shaped Onigiri in the pan and fry until crispy on all sides.

Passaggio 6
Then spread a teaspoon of the Miso marinade evenly over the top side, turn over and fry for 1 minute. Meanwhile, brush the side that is now facing upwards and then fry for another minute. Remove from the pan immediately afterwards!
Note: Miso paste burns quickly, so keep a close eye on it and work quickly!
7. Step
It’s best to enjoy the Miso Yaki Onigiri straight away. Or at least pack them up to take with you on the go on the same day.
Tip: Don’t put them in the fridge, or the rice will go hard and dry…
Done – Itadakimasu!

Are you looking for even more delicious Onigiri recipe ideas from Japan? Here you’ll find my most popular guides:
No post found!
Have you tried the recipe? Let me know in the comments – I can’t wait to hear from you!