Sprache:
If you like aubergines, you’ll love these onigiri with Nasu Dengaku! The recipe for these delicious vegetable Onigiri with aubergine is a real Umami bomb 😋. The aubergine goes perfectly with the delicate Miso-Mirin marinade in which it is baked to release its full flavour. Combined with fresh chives and toasted sesame seeds, these rice balls are ready in no time!
Nasu Dengaku is a traditional Japanese recipe for aubergine and Miso paste. This dish is actually a classic Japanese side dish, served with rice, for example. It is prepared by cutting aubergines in half, frying them briefly and vigorously, and baking them with a sweet and savoury Miso glaze. The result is not only intensely savoury, but also smoky and sweet with flavours of roasted nuts – delicious!
And that’s exactly what we’re using today to make a snack for on the go. To do this, we chop the aubergine into small pieces, fry them quickly in a pan and marinate everything with Miso paste (im Shop ansehen) and Hon Mirin (im Shop ansehen) . Then it goes into a hot oven for 10 minutes, before being finished off with chives and sesame seeds. Then we can fill and shape the rice balls!

Tip: Onigiri moulds (im Shop ansehen) are particularly suitable for shaping the onigiri. Alternatively, you can shape them with moistened hands.
By the way, in this recipe I use a Shiro miso paste (im Shop ansehen), a light-coloured paste made from fermented soya beans, which is a must-have for seasoning Japanese dishes (both savoury and sweet). For this light Miso paste, the soya beans undergo a shorter fermentation period, giving it a milder and sweeter taste compared to darker Miso pastes.
TOP RECOMMENDATION
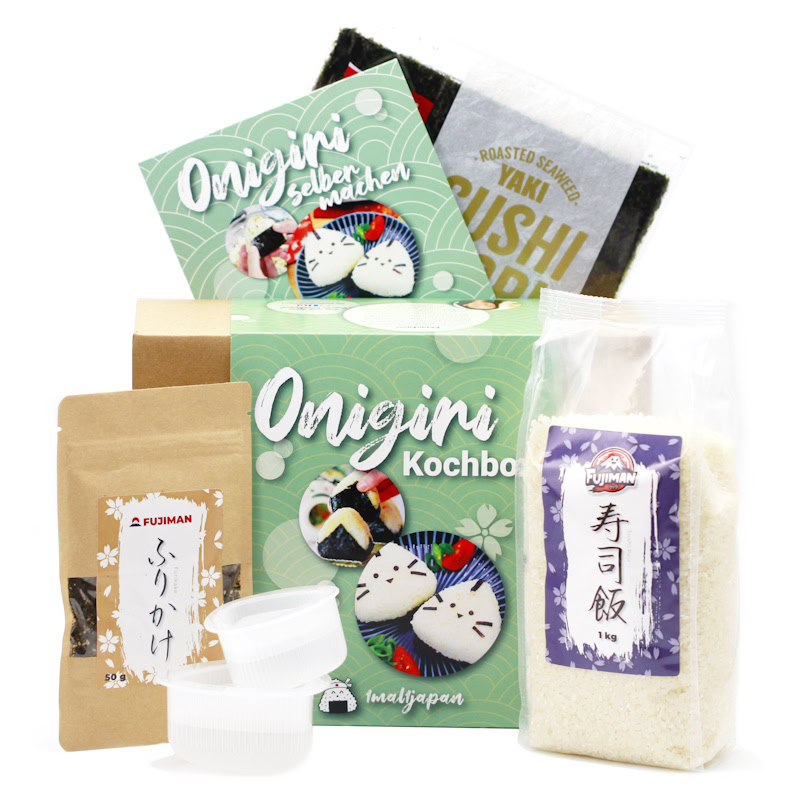
Onigiri Kochbox | Reisbällchen selber machen
5-tlg. DIY Set, inkl. 3 Rezeptideen für japanische Reisdreiecke | vegan, Geschenkidee für Anime Fan. Mit dem Onigiri Kochset gelingen dir japanische Reisdreiecke ganz einfach…
In stock
And now I hope you have fun and enjoy making the aubergine Onigiri! Oh, and Onigiri are best eaten fresh or carefully wrapped up 😉.
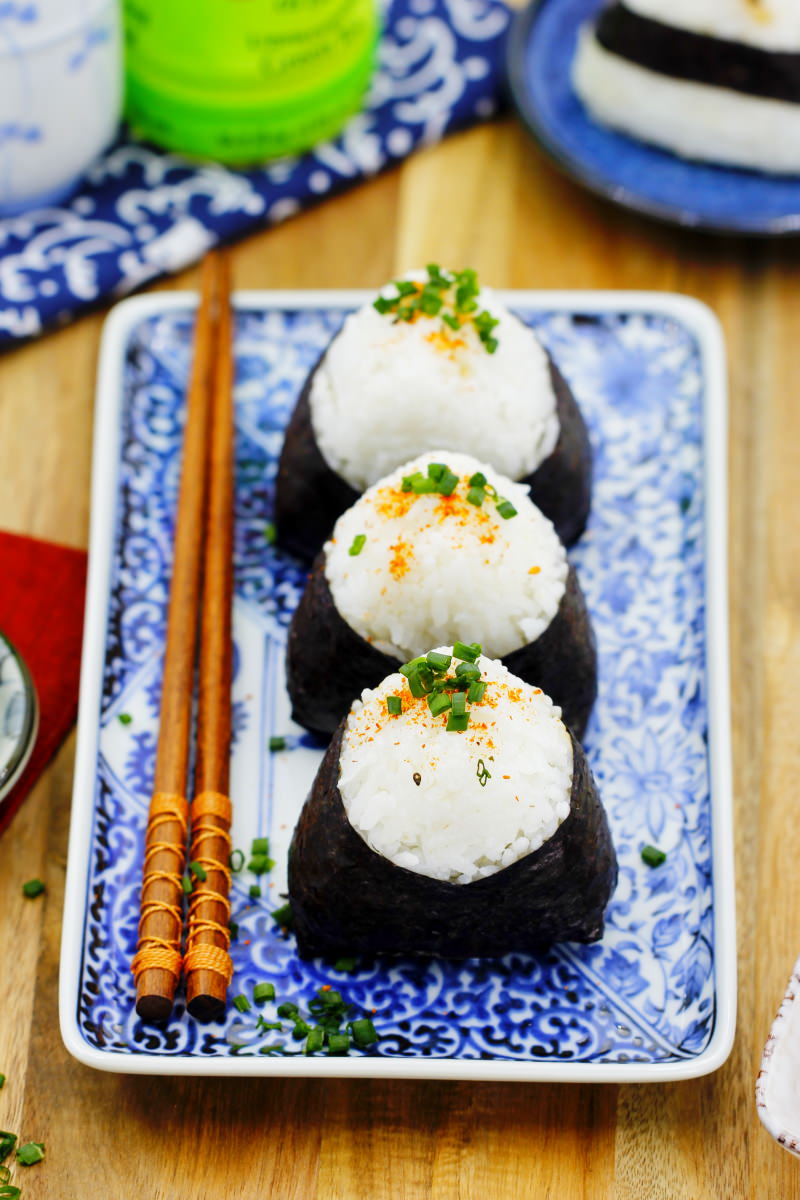
Onigiri with aubergine
Makes 6 | 45 minutes | 222 kcal
🖨️ Print PDF 📌 Save pinIf you like aubergine, you’ll love these Onigiri with nasu dengaku! The recipe for these delicious vegetable Onigiri is a real Umami explosion 😋. The aubergine pairs perfectly with the delicate Miso-Mirin marinade in which it is baked to aromatic perfection. Combined with fresh chives and toasted sesame seeds, these rice balls are ready in no time!
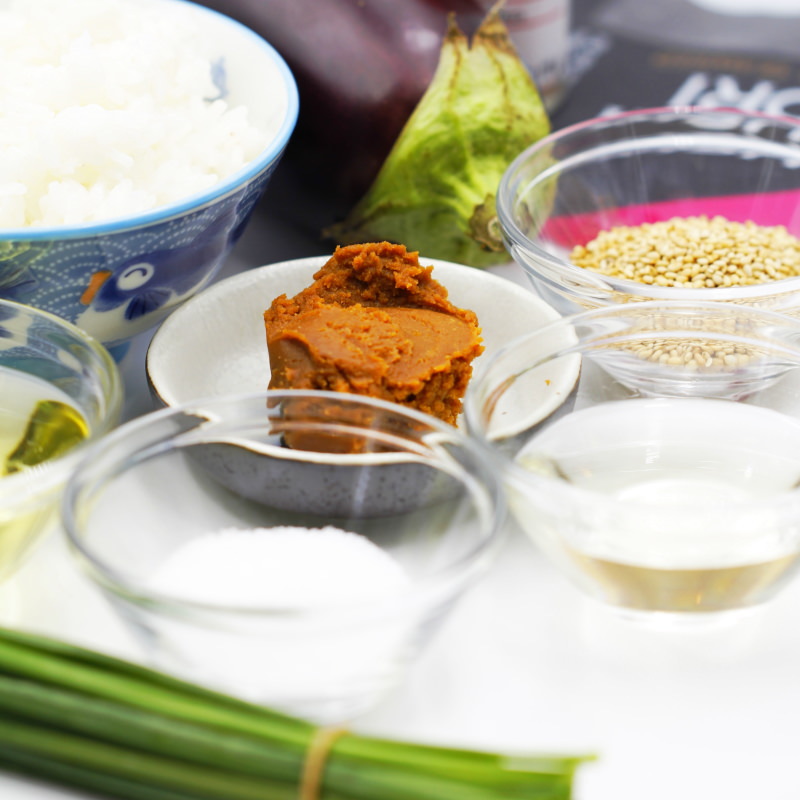
Ingredients (serves 6)
600 g cooked rice (see recipe):
✔ 300 g loose rice (im Shop ansehen)*
✔ 300 ml water (fresh, cold tap water)
✔ 1 pinch salt
For the filling:
1 small aubergine
1 tbsp Miso paste (im Shop ansehen)*
1 tbsp Mirin (im Shop ansehen)*
1/2 tbsp sugar
4 tbsp oil (e.g. rapeseed oil)
1 bunch chives
1 tsp sesame seeds (im Shop ansehen)*
2 sheets Nori sheets (im Shop ansehen)*
Useful utensils:
Onigiri mould – Rice mould set for rice triangles (im Shop ansehen)*
Japanese Santoku knife (im Shop ansehen)
Preparation (45 minutes)
Step 1
Prepare the ingredients for the Onigiri and get the rice ready (see the recipe here in a rice cooker or in a pan + leave to cool for 20 minutes).
Also, preheat the oven to 180°C on the fan setting.
Step 2
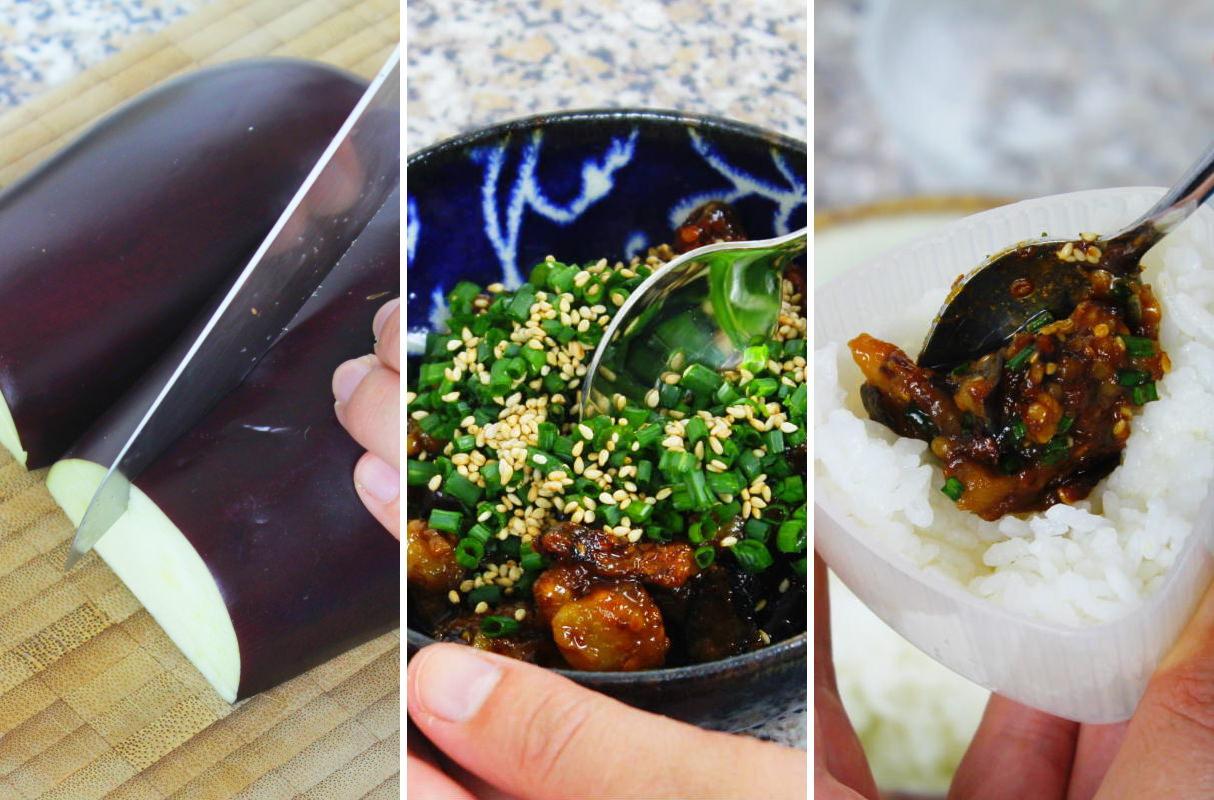
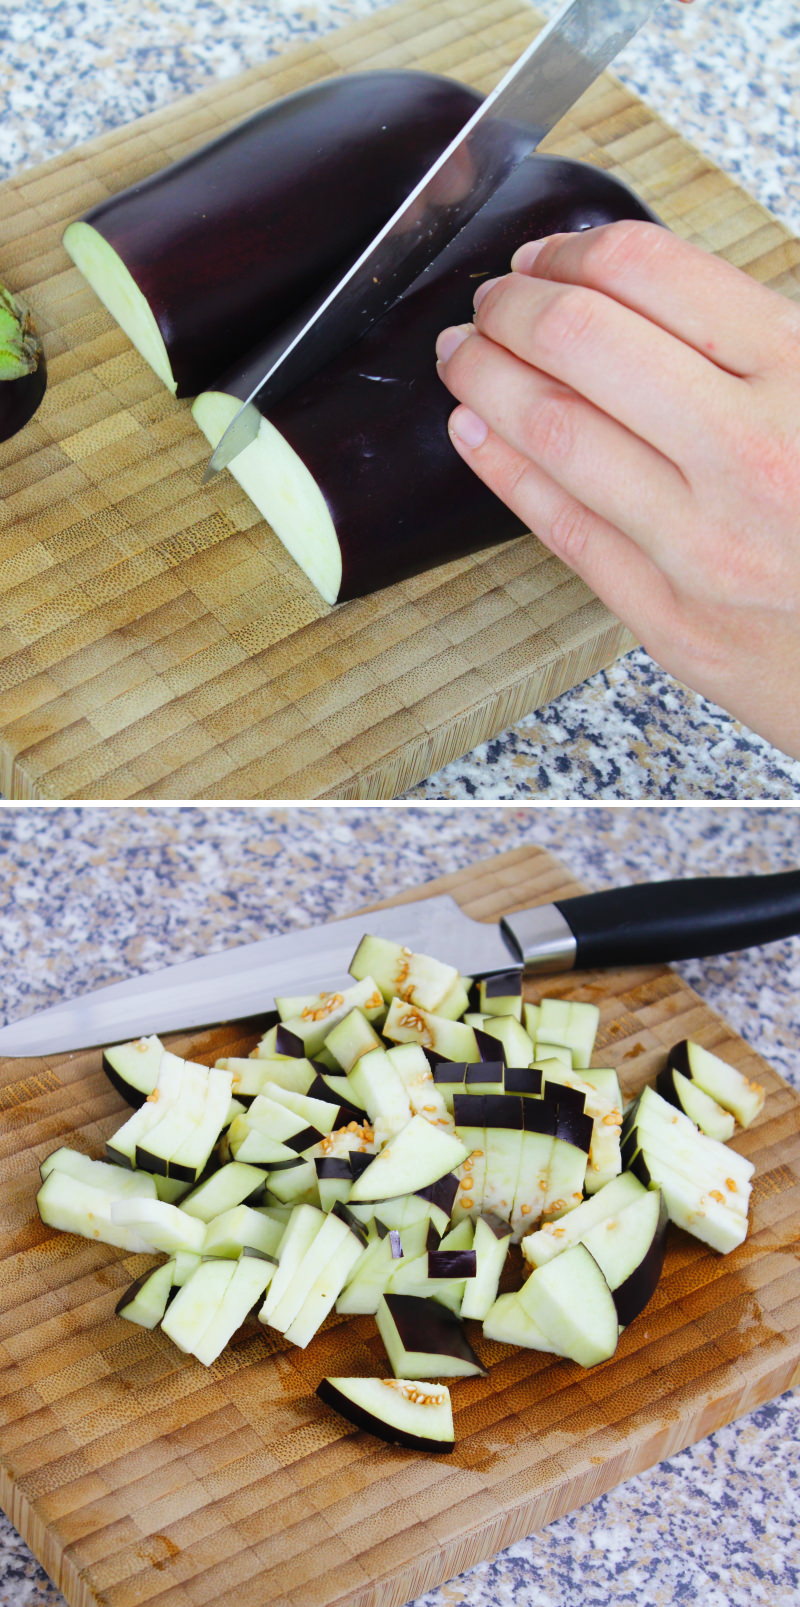
Prepare the filling for the Japanese rice balls: to do this, wash the aubergine , pat it dry and cut it into small pieces.
Step 3
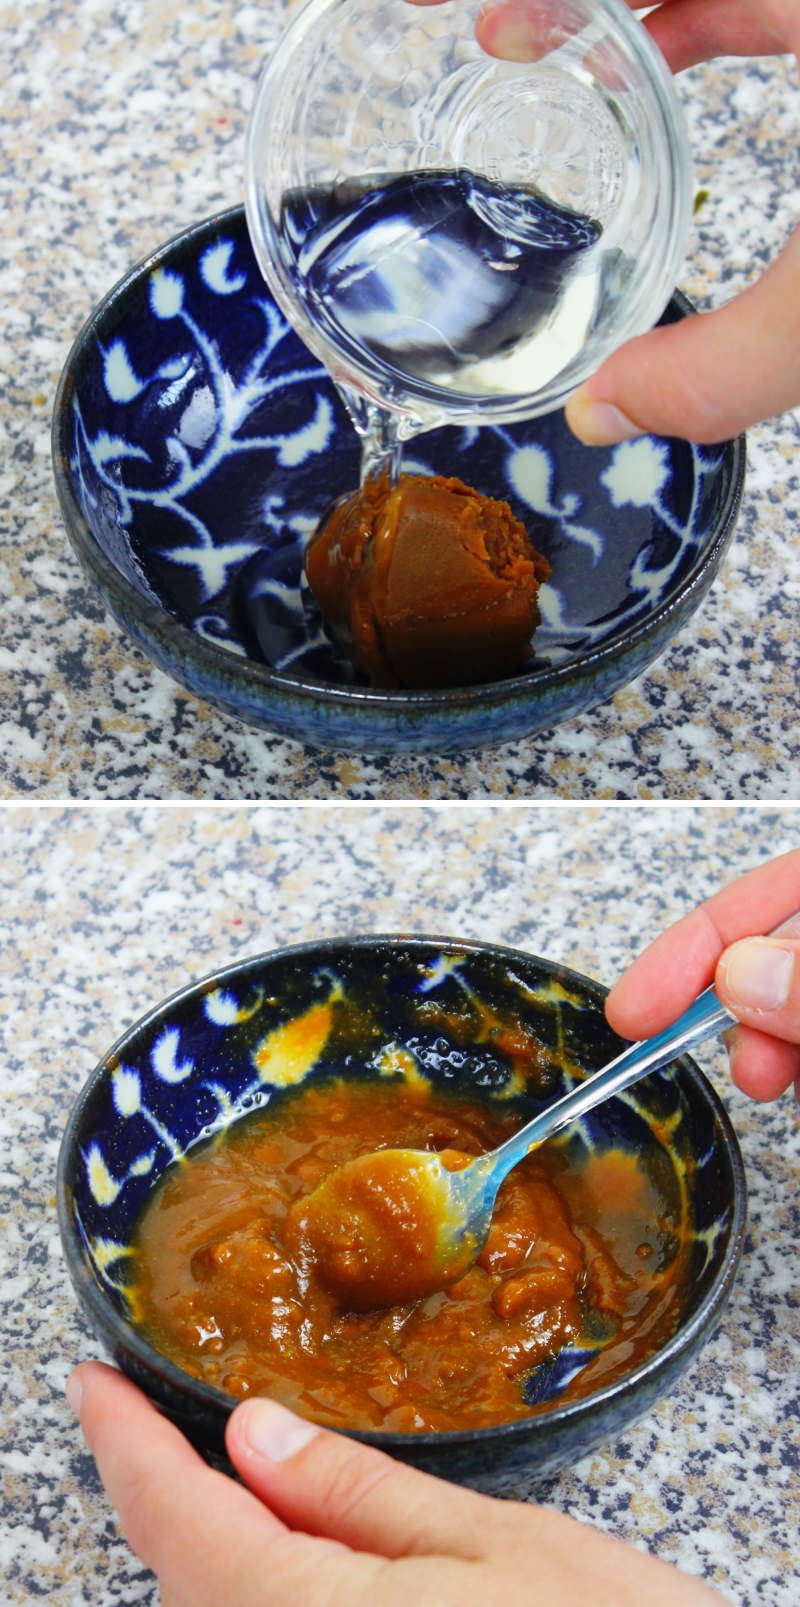
In a bowl, mix together Miso paste, sugar and Mirin . Set aside briefly.
Passaggio 4
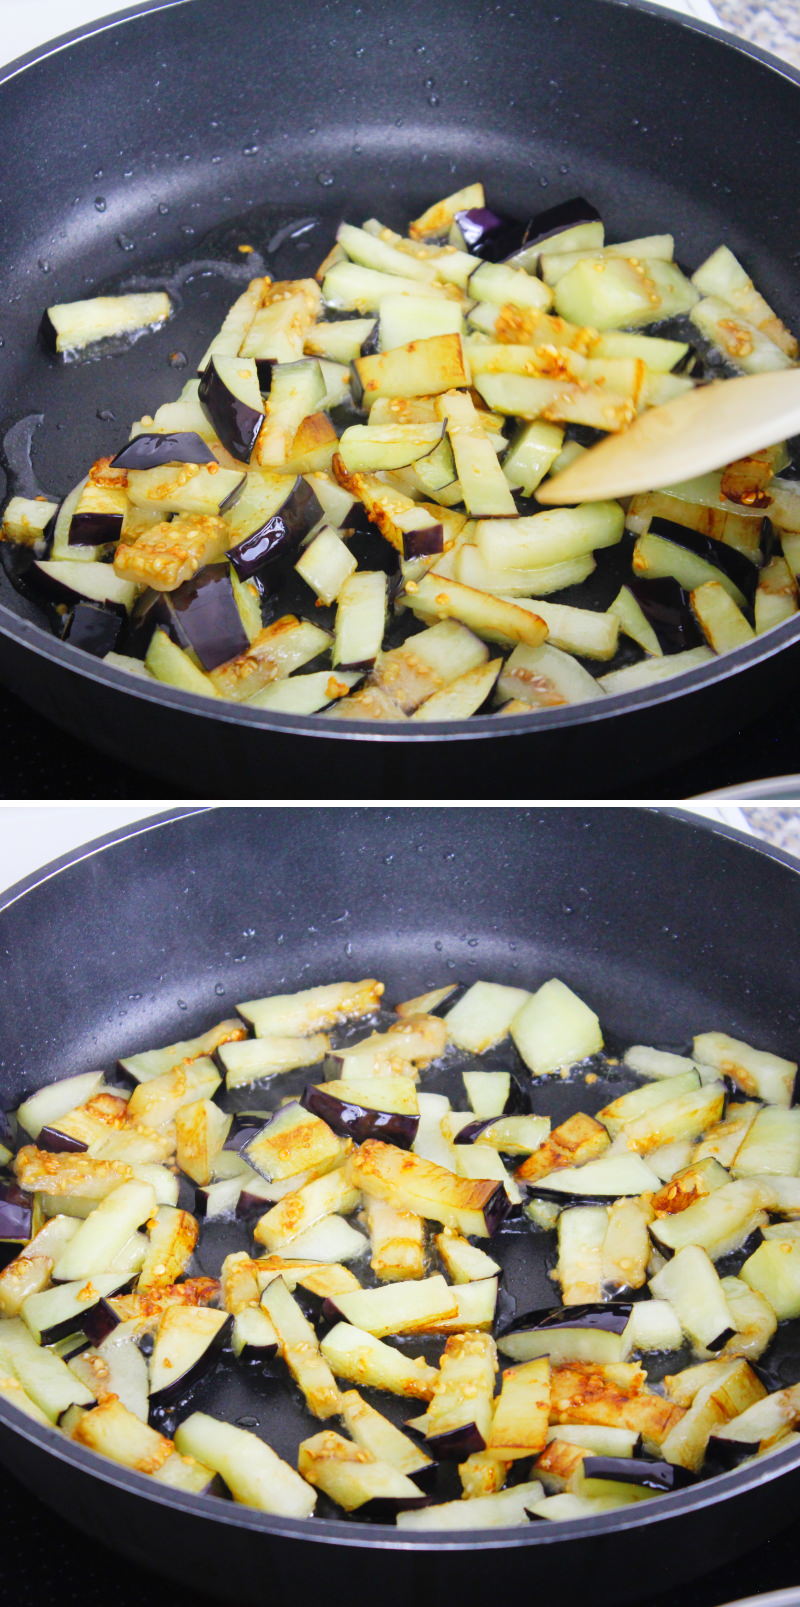
Heat the oil in a frying pan. Fry the pieces of aubergine on all sides until they are lightly browned.
Step 5
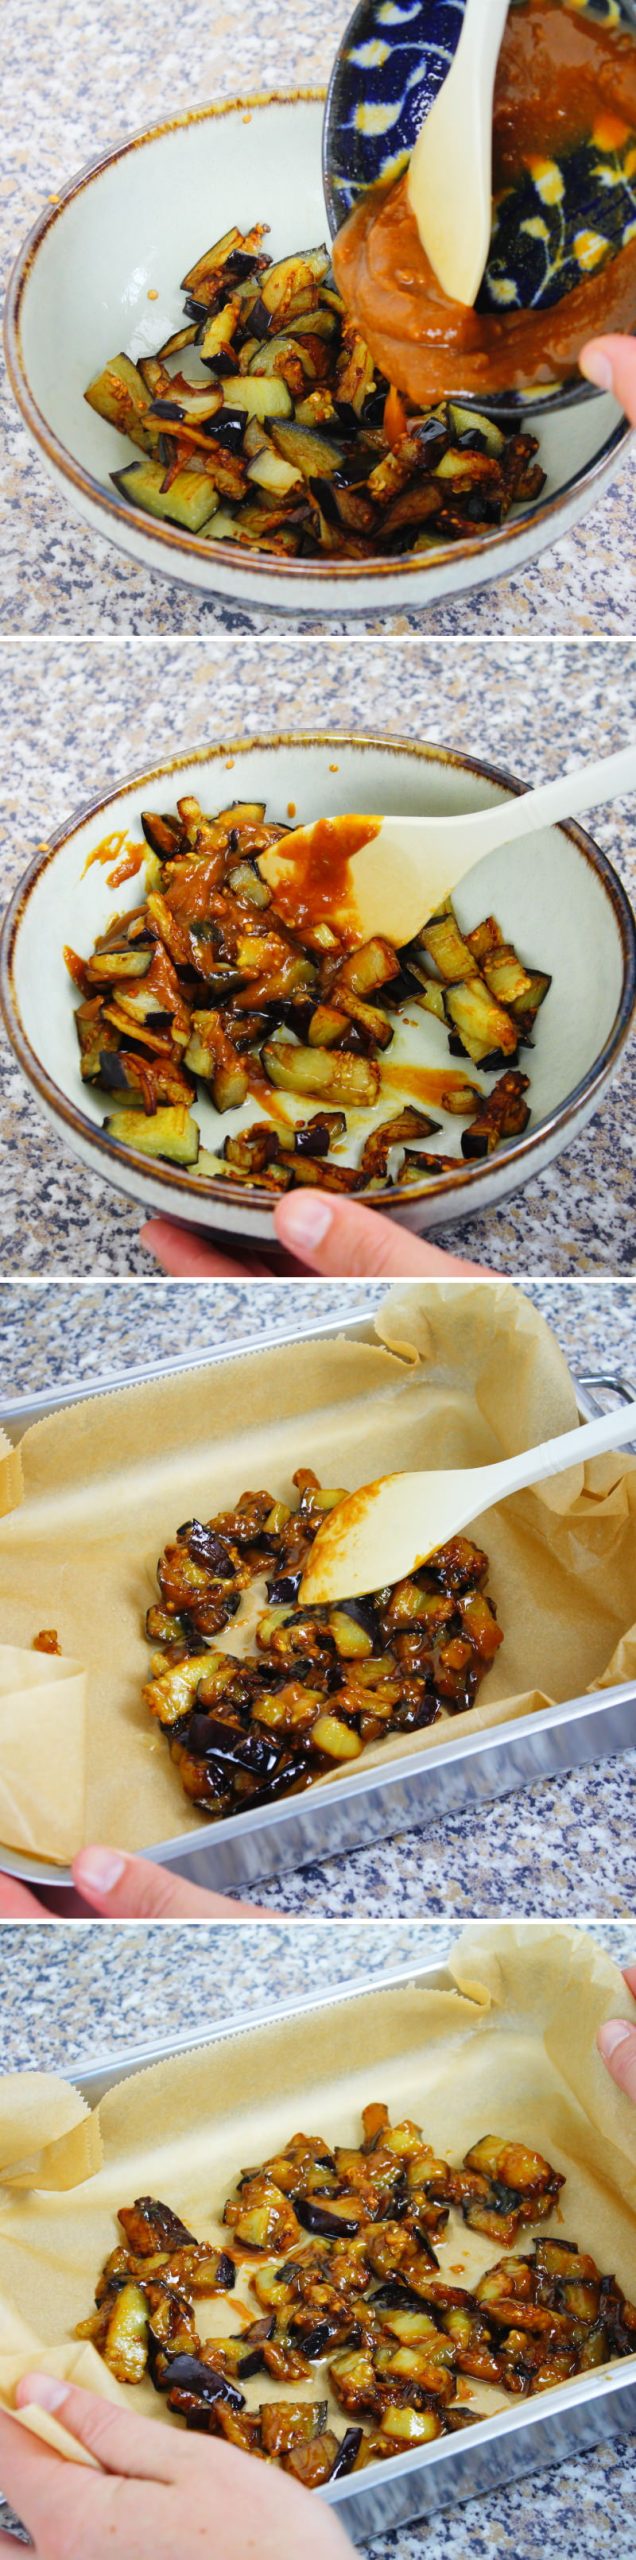
Then mix the roasted aubergine in a bowl with the Miso-Mirin marinade. Place everything in a baking dish lined with baking paper and bake in a hot oven for 10 minutes.
Step 6
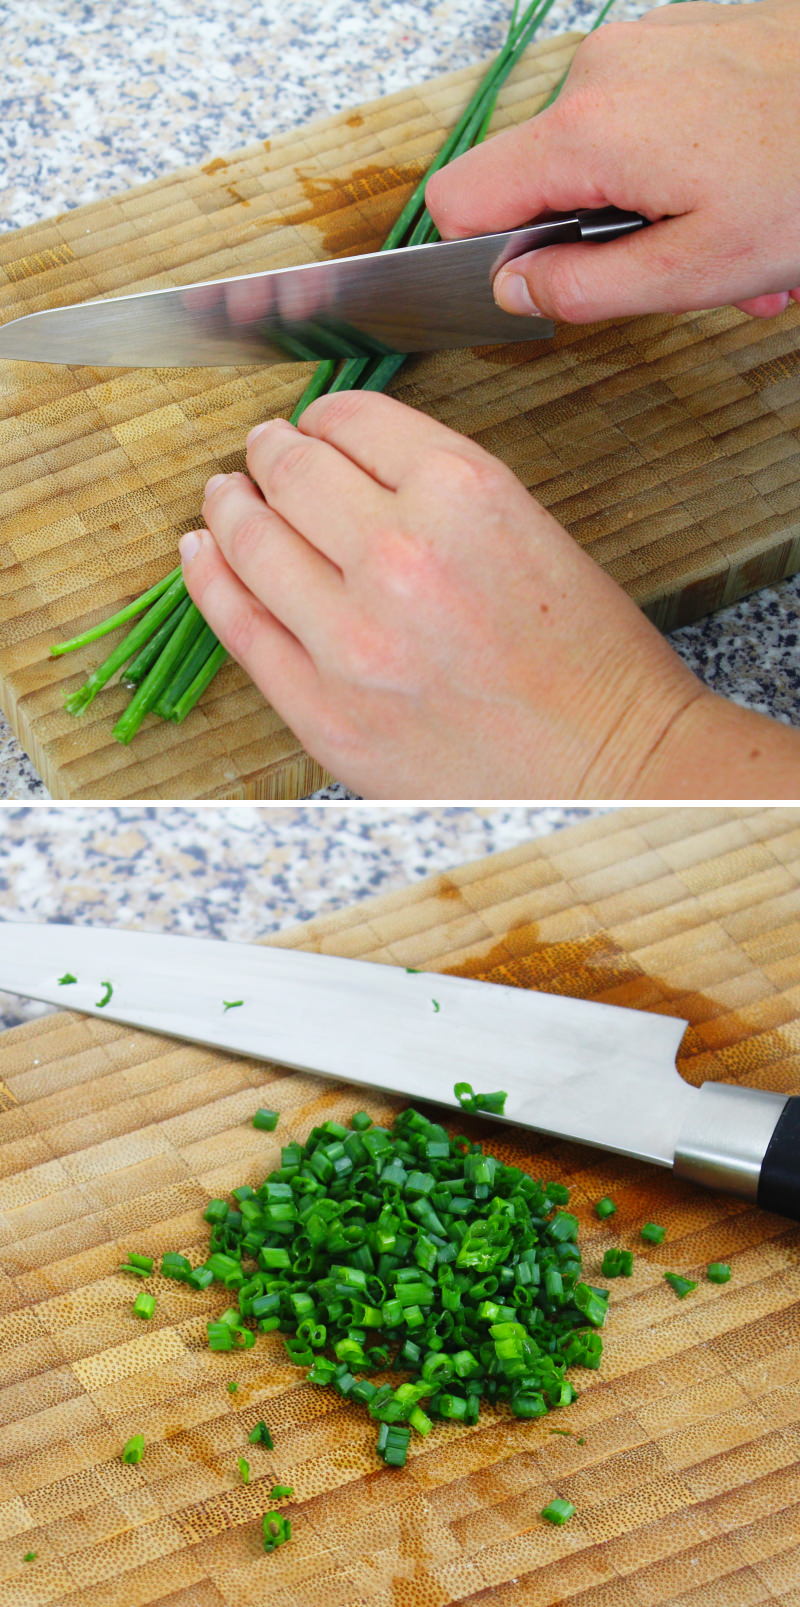
In the meantime, wash the scallions , pat them dry, and slice them into fine rings.
Step 7
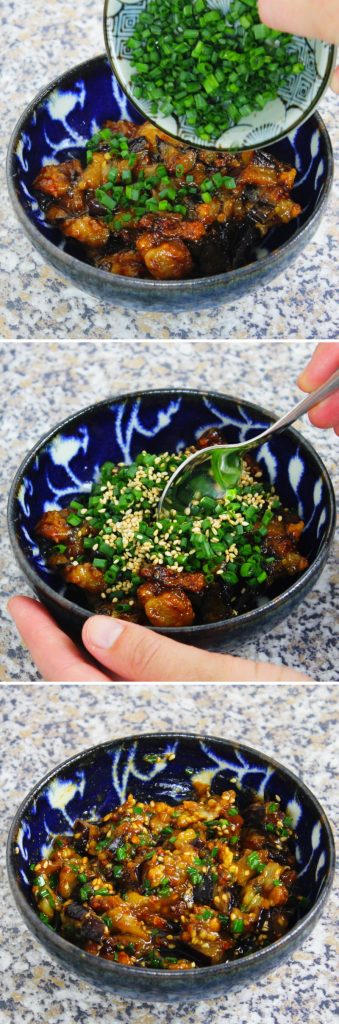
Once cooked, return the aubergine to the bowl and mix with chopped chives and sesame seeds . The filling is now ready.
Step 8
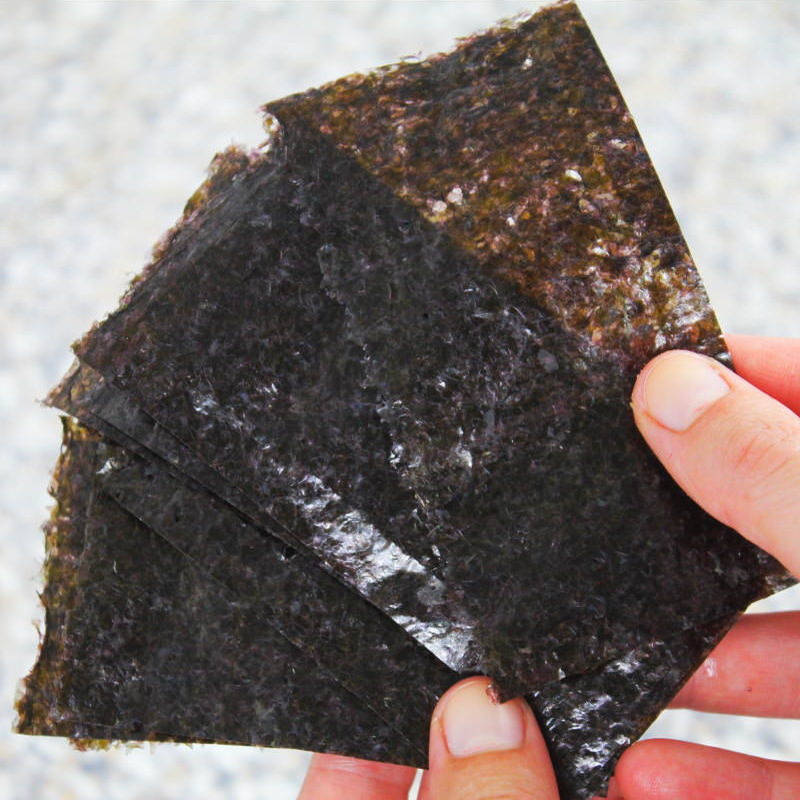
Cut the Nori sheets into 3 equal parts using scissors.
Step 9
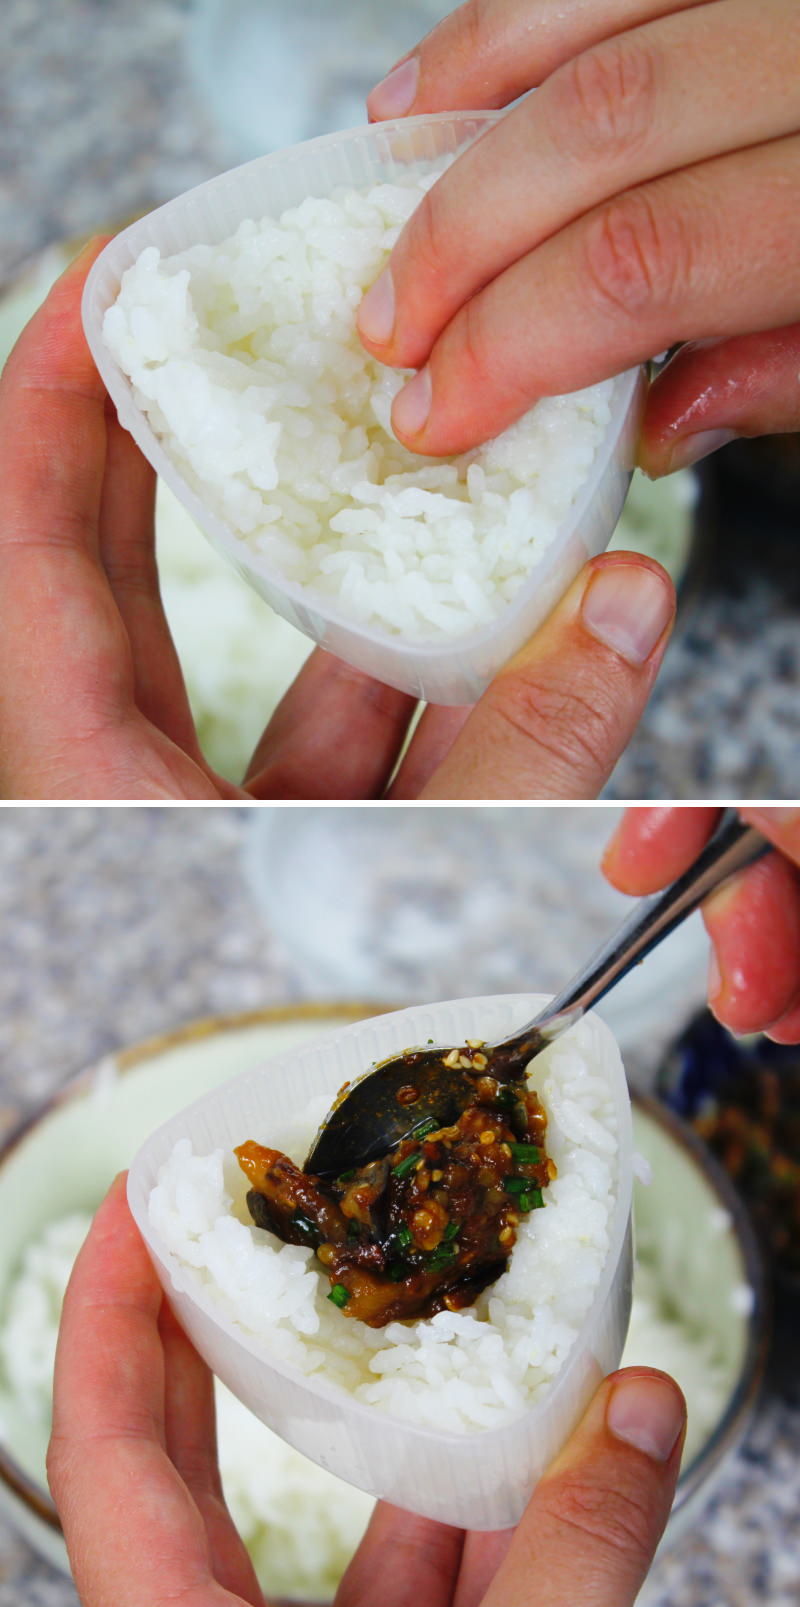
Now take the rice. Fill a small bowl with lightly salted water and have it ready. Dip the onigiri mould (large and small sides) into the water to shape the rice balls, then let them drain briefly.
Fill the large side of the onigiri mould halfway with about 50 g of the prepared rice and form a small hollow in the centre for the filling.
Place some of the filling into the hollow (but not too much, otherwise it will all spill out).
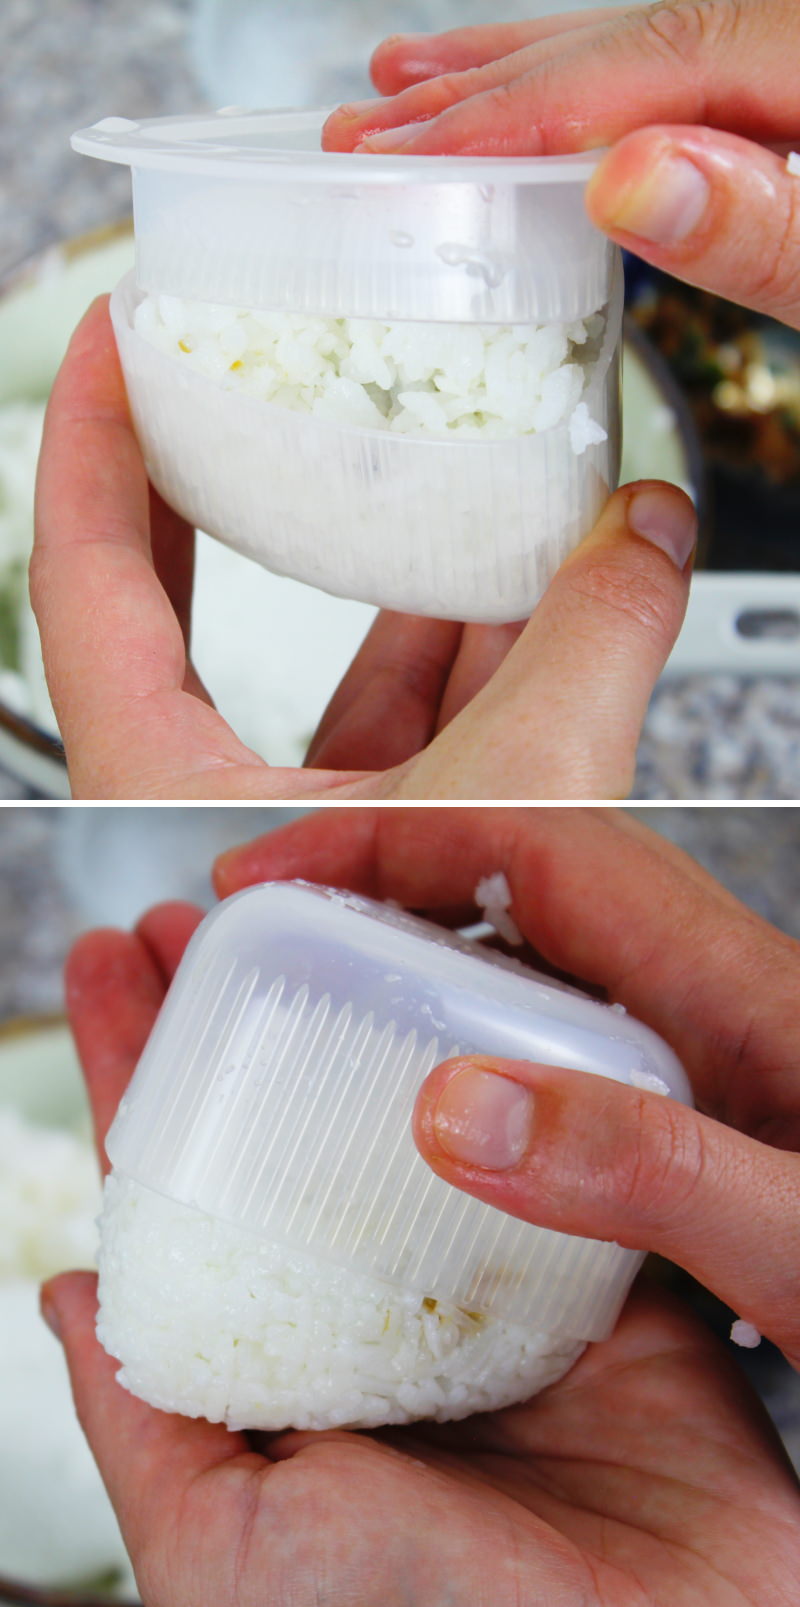
Step 10
Next, fill the mould with 50 g of rice (but do not fill it beyond the rim, otherwise everything will spill out from the sides).
Now place the lid of the onigiri mould onto the rice and press both sides together with light pressure. Open the onigiri mould by removing the lid. On the back of the long side of the mould, press the small triangle slightly inwards to remove the rice triangle from the mould.
Step 11
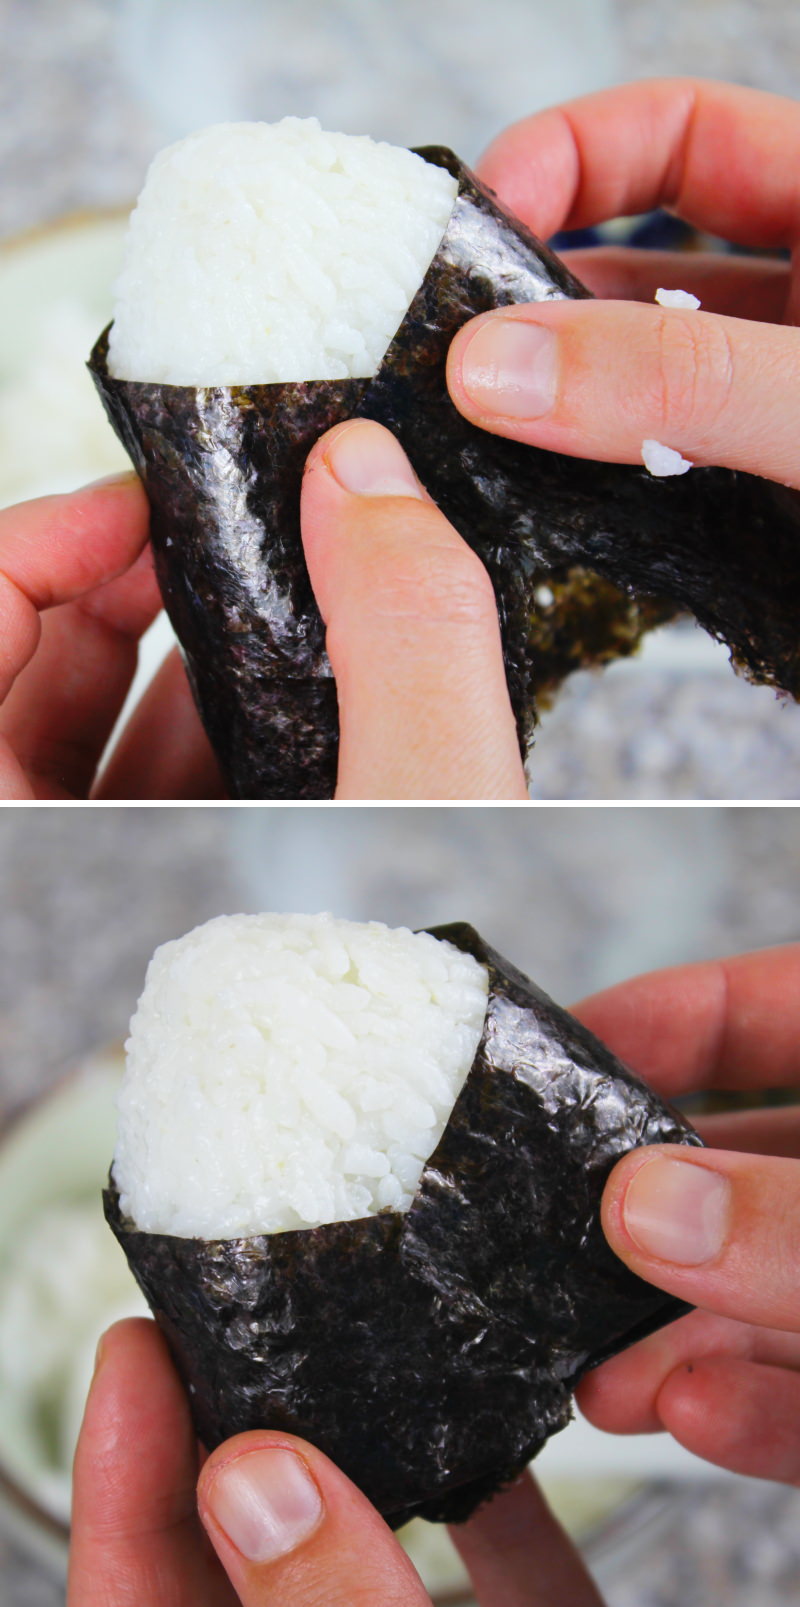
Wrap the rice triangle in a strip of nori as if it were a coat.
Use the remaining ingredients to make 5 more Onigiri!
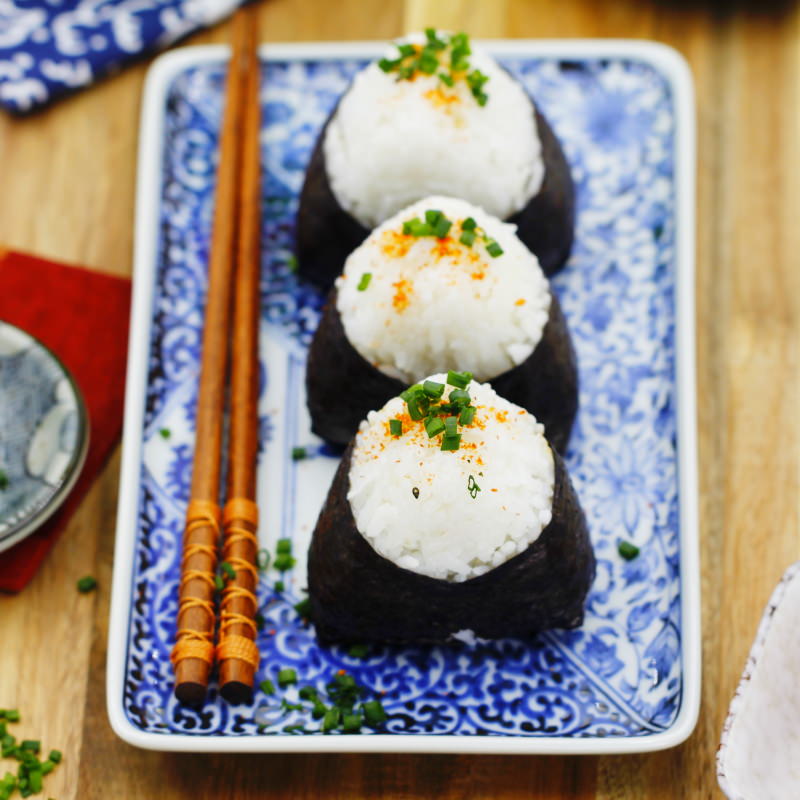
Step 12
Once all the Onigiri are ready, they should be eaten as soon as possible. Onigiri are best when fresh, as the rice dries out quickly after a while and the nori sheet becomes slightly soggy. Done – Itadakimasu!
Are you looking for even more delicious Onigiri recipe ideas from Japan? Here you’ll find my most popular guides:
No post found!
Have you tried the recipe? Let me know in the comments, I can’t wait to hear from you!