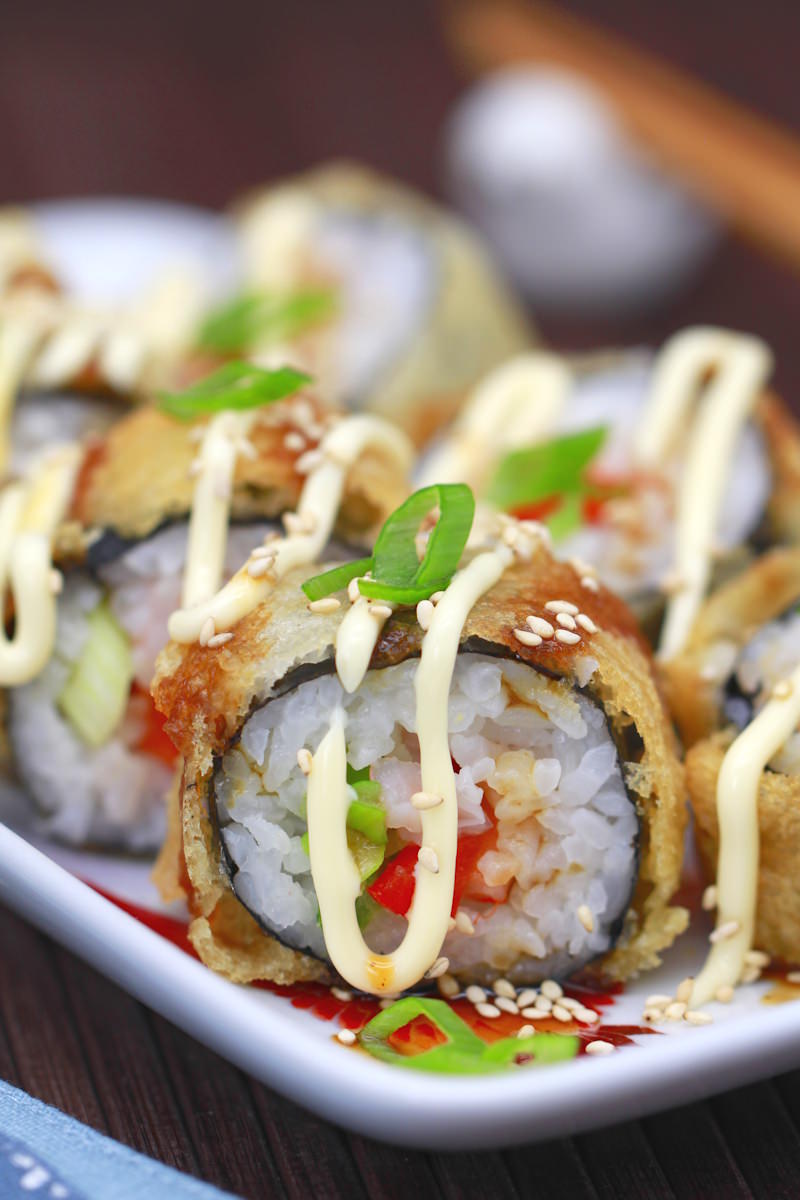
Crispy on the outside, flavourful on the inside – tempura sushi is the perfect combination of two Japanese classics: crispy deep-fried Tempura and filled maki rolls. This variation, also known as Age Sushi, is ideal for anyone who wants to try something new. With a hint of wasabi, some prawns and crunchy vegetables, the Tempura coating creates a very special taste experience. In this recipe, I’ll show you how you can easily make the Tempura rolls yourself – passaggio by passaggio, suitable even for beginners.
Is tempura sushi really Japanese?
Tempura sushi isn’t a classic Sushi variety like nigiri or maki, but a modern interpretation in which maki rolls are battered and deep-fried after being filled – a truly crispy treat! In Japan itself, this fusion version is more commonly found in izakayas or modern Sushi restaurants, particularly those that take a creative approach to traditional ingredients.
What exactly is Tempura?
Tempura originated in the Edo period and was probably influenced by Portuguese missionaries. It involves deep-frying pieces of vegetable or fish in a light batter made from flour, water and starch. The key is to cook it quickly at a high temperature – this ensures the coating stays crispy and the filling remains juicy.
Tempura sushi combines this technique with the popular Sushi concept: A filled roll is completely coated in batter and deep-fried. The result: crispy on the outside, soft on the inside – an exciting contrast that’s always a hit. Whether as a creative addition to your Sushi evening or as a highlight on your next Bento tray – Tempura Sushi is definitely an eye-catcher and offers a truly special taste experience.
TOP RECOMMENDATION
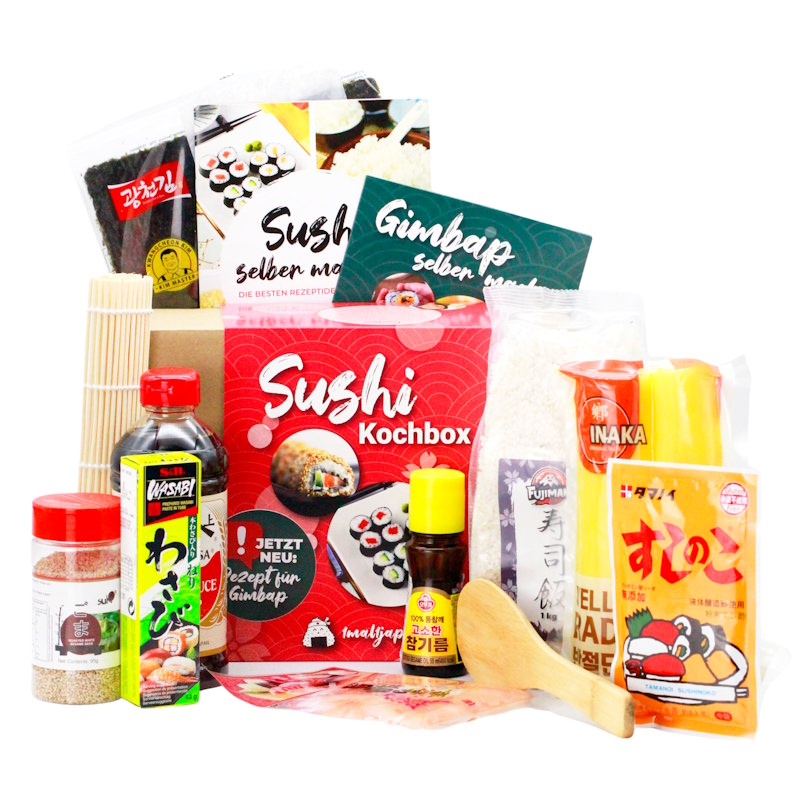
Sushi + Gimbap Kochbox | Reisrollen selber machen
11-tlg. DIY Sushi Set, inkl. Rezepte + Zubehör, für Anfänger & Kenner. Mit der Sushi + Gimbap Kochbox gelingen dir japanische und koreanische Rollen ganz…
In stock
Making Tempura Sushi yourself: Here’s how
Tempura Sushi might sound complicated – but it really isn’t. If you’ve ever made maki rolls before, you’ll quickly get the hang of it. The process is similar – it’s just that the crispy tempura batter is added at the end. Here’s how it works:
First, prepare the sushi rice as usual: wash 300 g of rice, leave it to soak for 30 minutes, then cook it in 300 ml of water with a piece of Kombu. While still warm, mix in 2 tablespoons of sushi no ko and leave to cool.
Whilst the rice is cooking, chop the filling: prawns into small pieces, spring onions into rings and peppers into fine strips. Don’t forget the wasabi – add to taste.
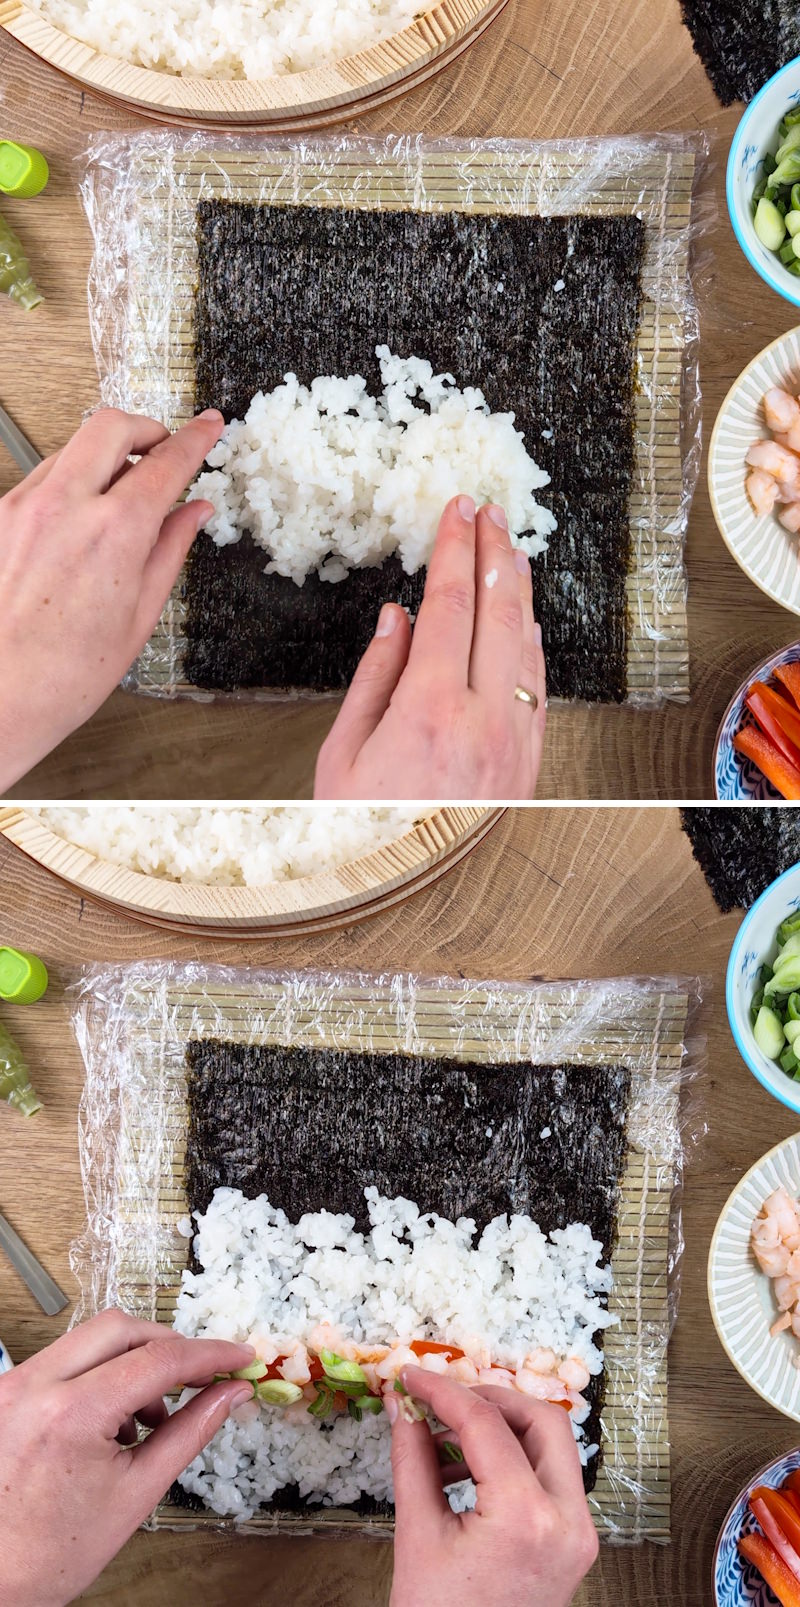
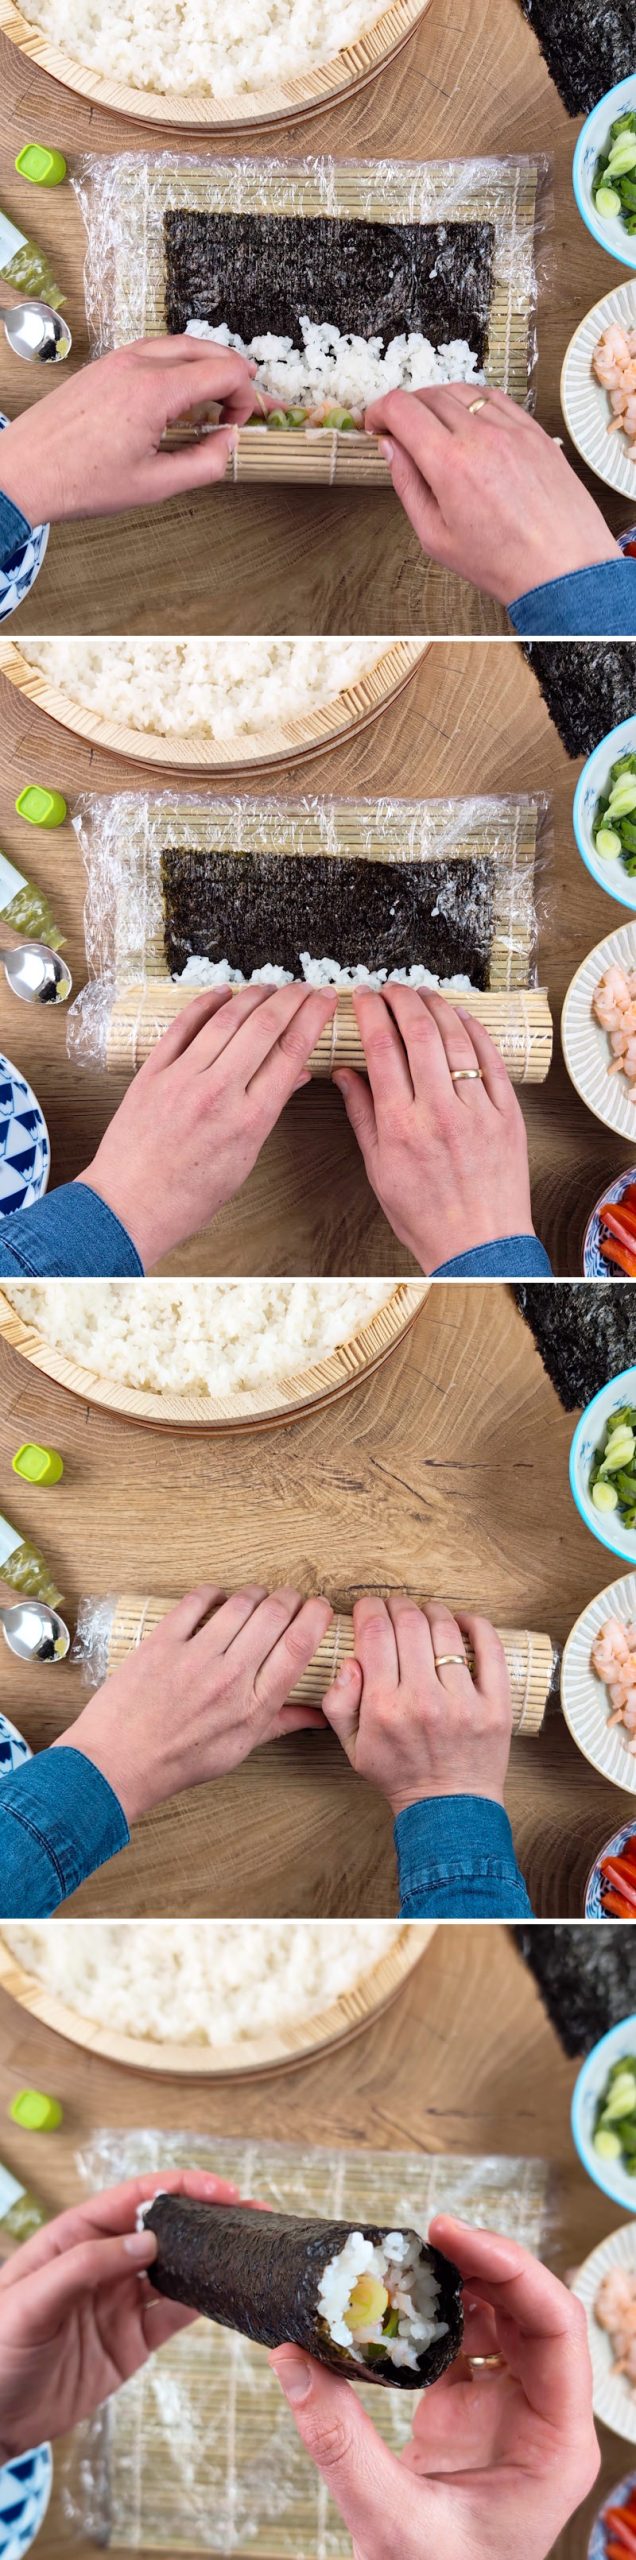
Now it’s time to roll: place half a nori sheet on the bamboo mat (makisu), spread about 75 g of rice evenly over it, leaving a 1 cm gap at the top. Turn the sheet over so that the rice is facing downwards, and place the filling in the centre: surimi, spring onions, peppers – and a little wasabi if you like. Roll it up tightly and repeat the process to make four rolls. Chill them for about 15 minutes so that they hold their shape when deep-fried.
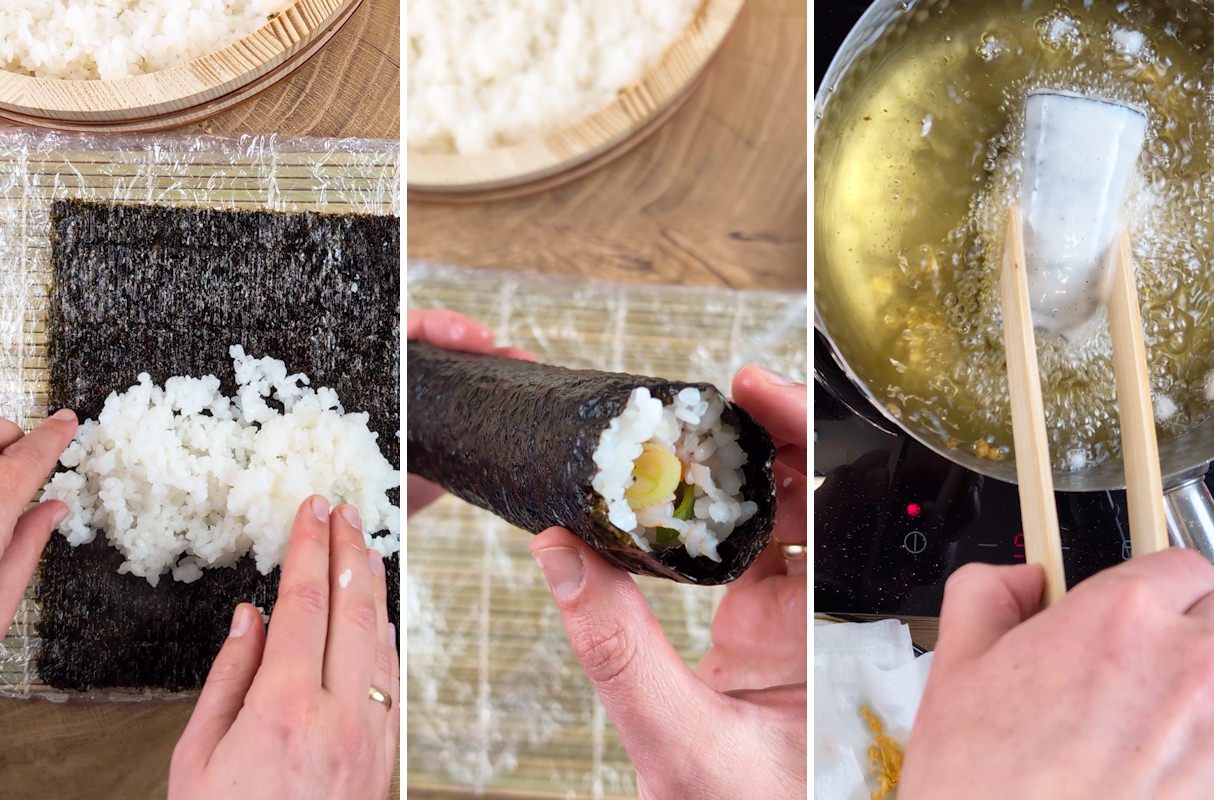
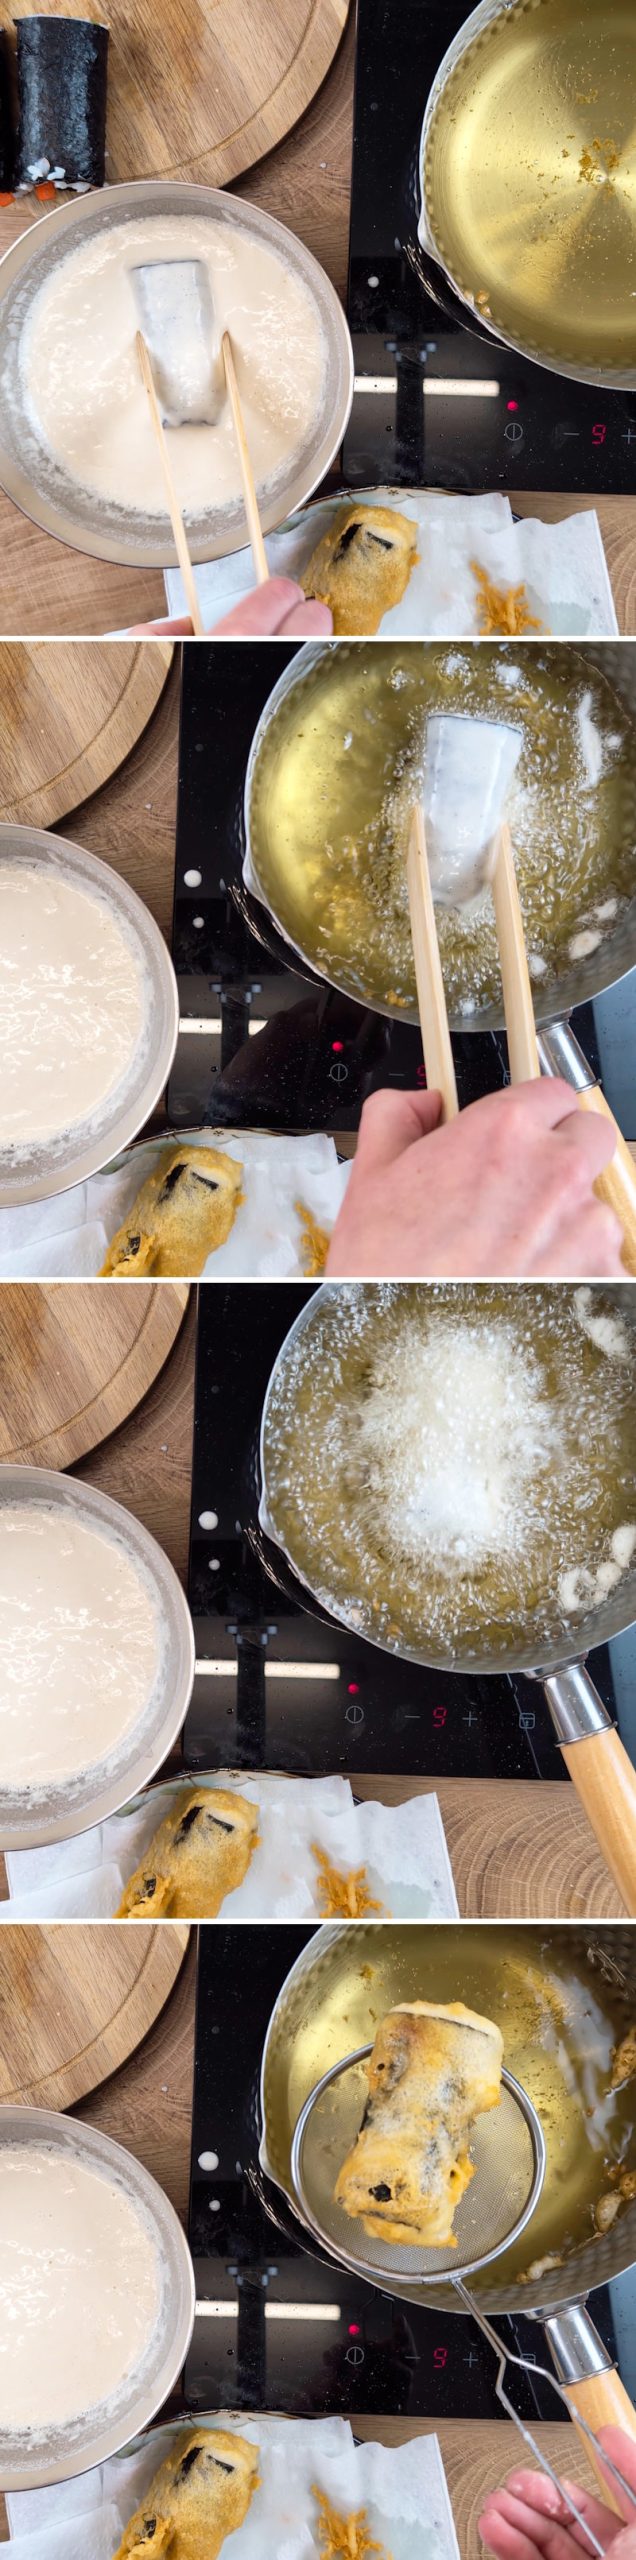
For the Tempura batter, mix 160 g flour, 30 g katakuriko, 10 g baking powder and ½ tsp salt with 360 ml cold water – don’t stir for too long; a few lumps are perfectly fine! Cut the chilled rolls in half, coat them in flour, dip them in the tempura batter and deep-fry them in hot oil (170–180 °C) for 1–2 minutes until golden brown all over.
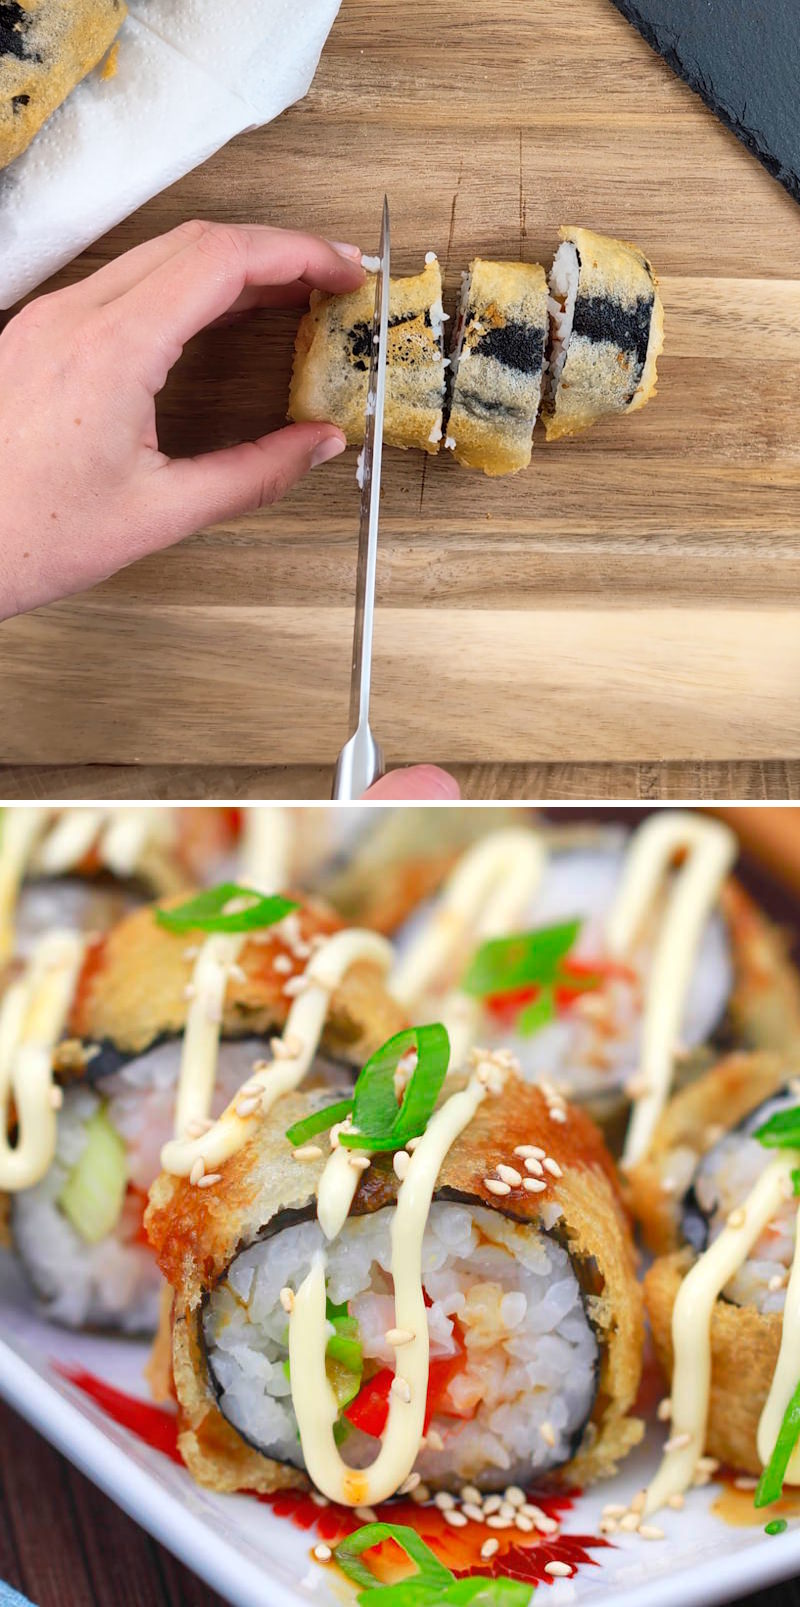
Once drained on kitchen paper, cut into bite-sized pieces – ideally with a damp, sharp knife. Now all you need is some Japanese mayonnaise, Teriyaki sauce and toasted sesame seeds to serve.
Tips for success:
To make your Tempura Sushi really delicious, there are a few simple tricks to follow:
Variety in the fillings: Instead of prawns, you can also use smoked salmon, fried prawns or avocado. If you prefer a vegetarian option, try grilled aubergine, sweet potato or tamagoyaki (Japanese omelette). Cream cheese or Sriracha mayo also go down a treat.
Cold tempura batter: Make sure the water for the batter is really cold. This makes the coating extra crispy. If you like, you can also add a few ice cubes – but don’t stir for too long, otherwise the batter will become tough!
The right oil: Neutral-tasting oils with a high smoke point are best, such as rapeseed oil or sunflower oil. Avoid olive oil – it has too strong a flavour of its own and quickly becomes bitter.
Fry with enough space: The rolls mustn’t stick together whilst frying. It’s better to work in batches – this keeps the heat constant and ensures a nice, even result.
Chill the rolls thoroughly: Before frying, the Sushi rolls should be thoroughly chilled – this helps them retain their shape. A quick spell in the fridge (around 15 minutes) is more than enough.
What goes well with this?
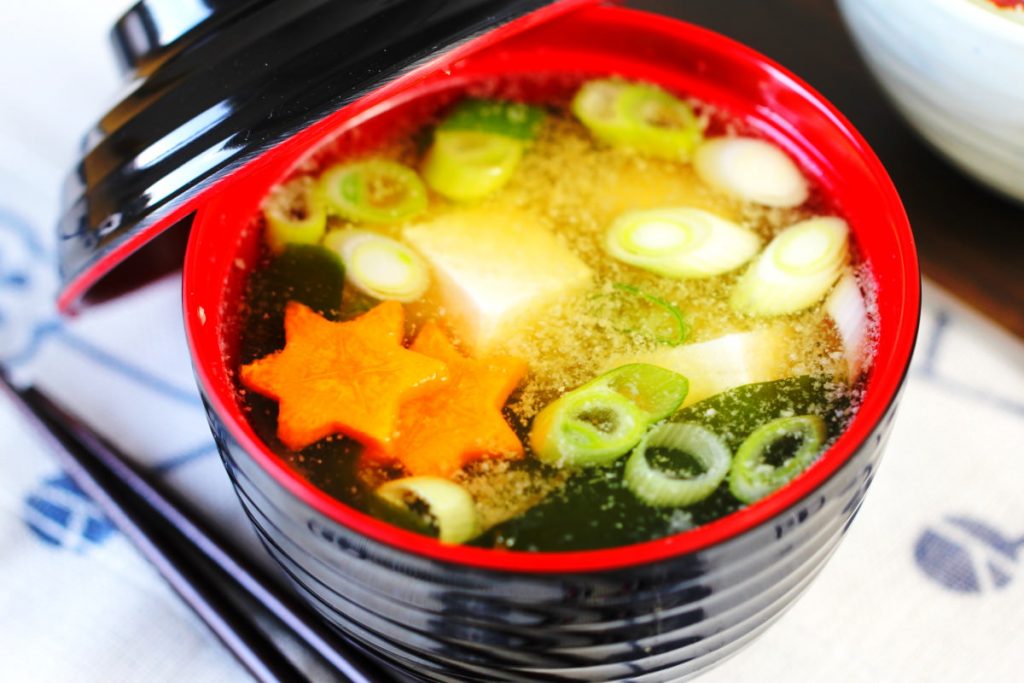
Tempura Sushi is a real treat in its own right: golden brown and crispy on the outside, soft and flavourful on the inside. But with a few suitable accompaniments, it becomes a small meal that’s perfectly well-rounded. A Miso soup as a starter adds warmth and depth – it’s light, rich in Umami and complements the deep-fried roll wonderfully.
A cucumber salad with sesame or some pickled radish (Tsukemono) adds freshness and provides a pleasant contrast to the spicy batter. Gari, the traditional pickled ginger, is also a must – it helps to cleanse the palate so you can rediscover the flavour of each roll.
If you like, you can also serve a small selection of sauces: as well as Teriyaki or Japanese mayonnaise, ponzu or a simple soya sauce with a hint of wasabi also taste excellent.
This goes well with green tea, cold mugicha or slightly chilled Sake. This turns crispy street-food Sushi into a simple yet well-balanced meal – perfect for a relaxed evening meal or a Japanese Bento to take on the go.
Have you ever made Tempura Sushi yourself? Which fillings are your favourites? Feel free to share your ideas and variations in the comments – I look forward to hearing from you! Have fun rolling and enjoy your meal.
Tempura Sushi
Serves 2 | 60 minutes | 298 kcal
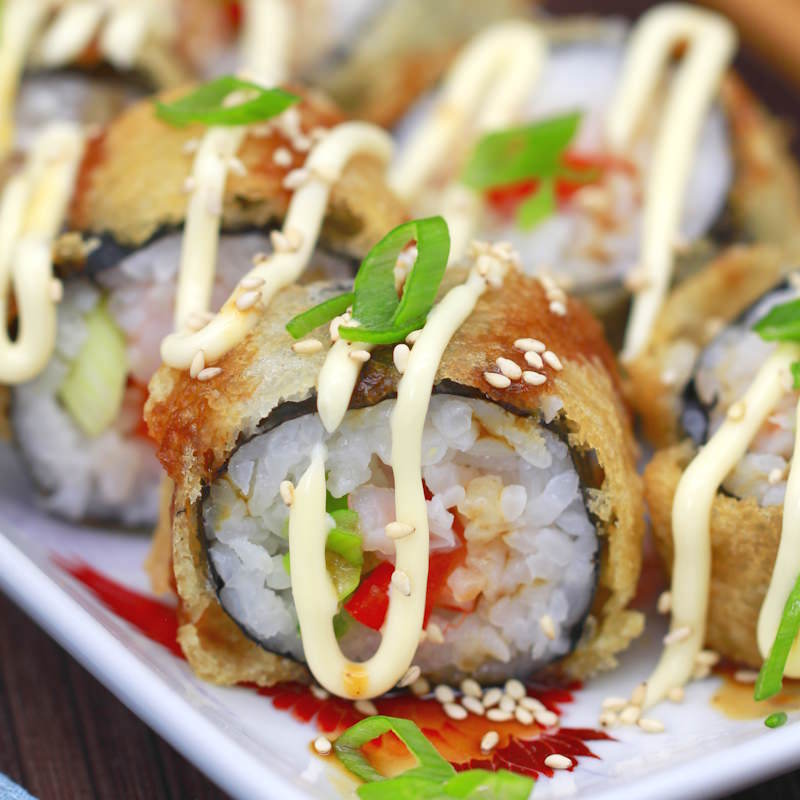
🖨️ Print PDF 📌 Save this pinTempura Sushi are deep-fried maki rolls with a crispy coating. They’re easy to make and taste crispy on the outside and flavourful on the inside – perfect for anyone who wants to try something new.
Ingredients (2 portions = 4 rolls)
For the rice:
300 g Sushi rice (im Shop ansehen)*
1 piece Kombu (approx. 10 x 15 cm) (im Shop ansehen)*
2 tbsp Sushi no ko (im Shop ansehen)*
300 ml water
For the filling:
50 g party prawns (or surimi)
1 spring onion
1 red pepper
2 tsp wasabi (im Shop ansehen)* (optional)
4 nori sheets (im Shop ansehen)*
For the Tempura batter:
160 g flour
30 g katakuriko (potato starch) (im Shop ansehen)*
10 g baking powder
½ tsp salt
360 ml water
To serve:
Japanese mayonnaise (im Shop ansehen)*
Teriyaki sauce (see recipe)
Toasted sesame seeds (im Shop ansehen)*
500 ml oil (for deep-frying, e.g. rapeseed oil)
Useful tools:
(optional) Cling film for sushi mat
Bamboo sushi mat (im Shop ansehen)
Santoku knife (im Shop ansehen)
Yukihiara saucepan
2-in-1 strainer & skimmer (im Shop ansehen)
Preparation (60 minutes)
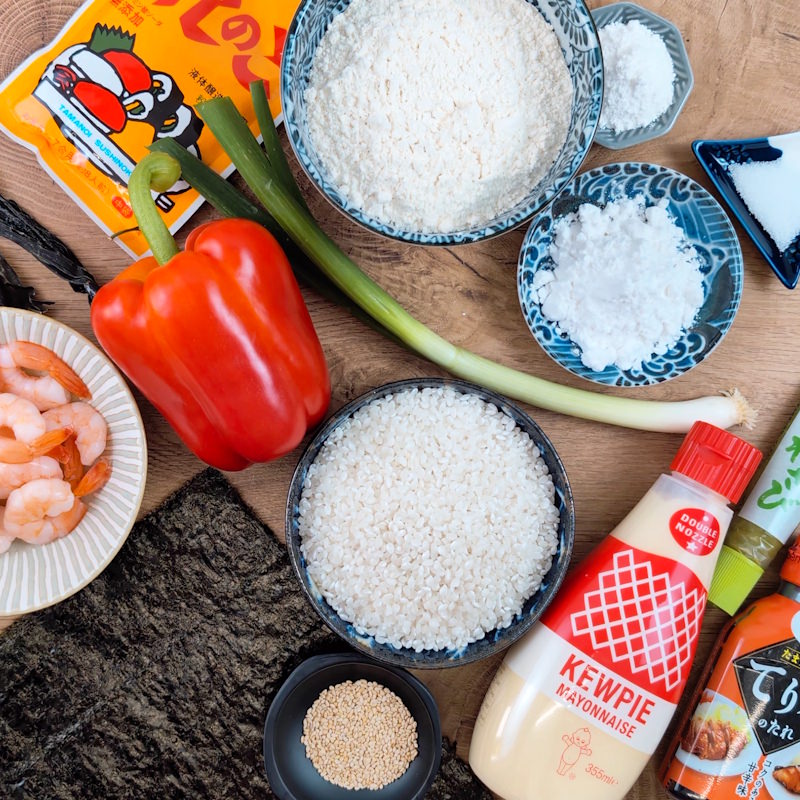
Step 1
Gather the ingredients for your homemade tempura Sushi.
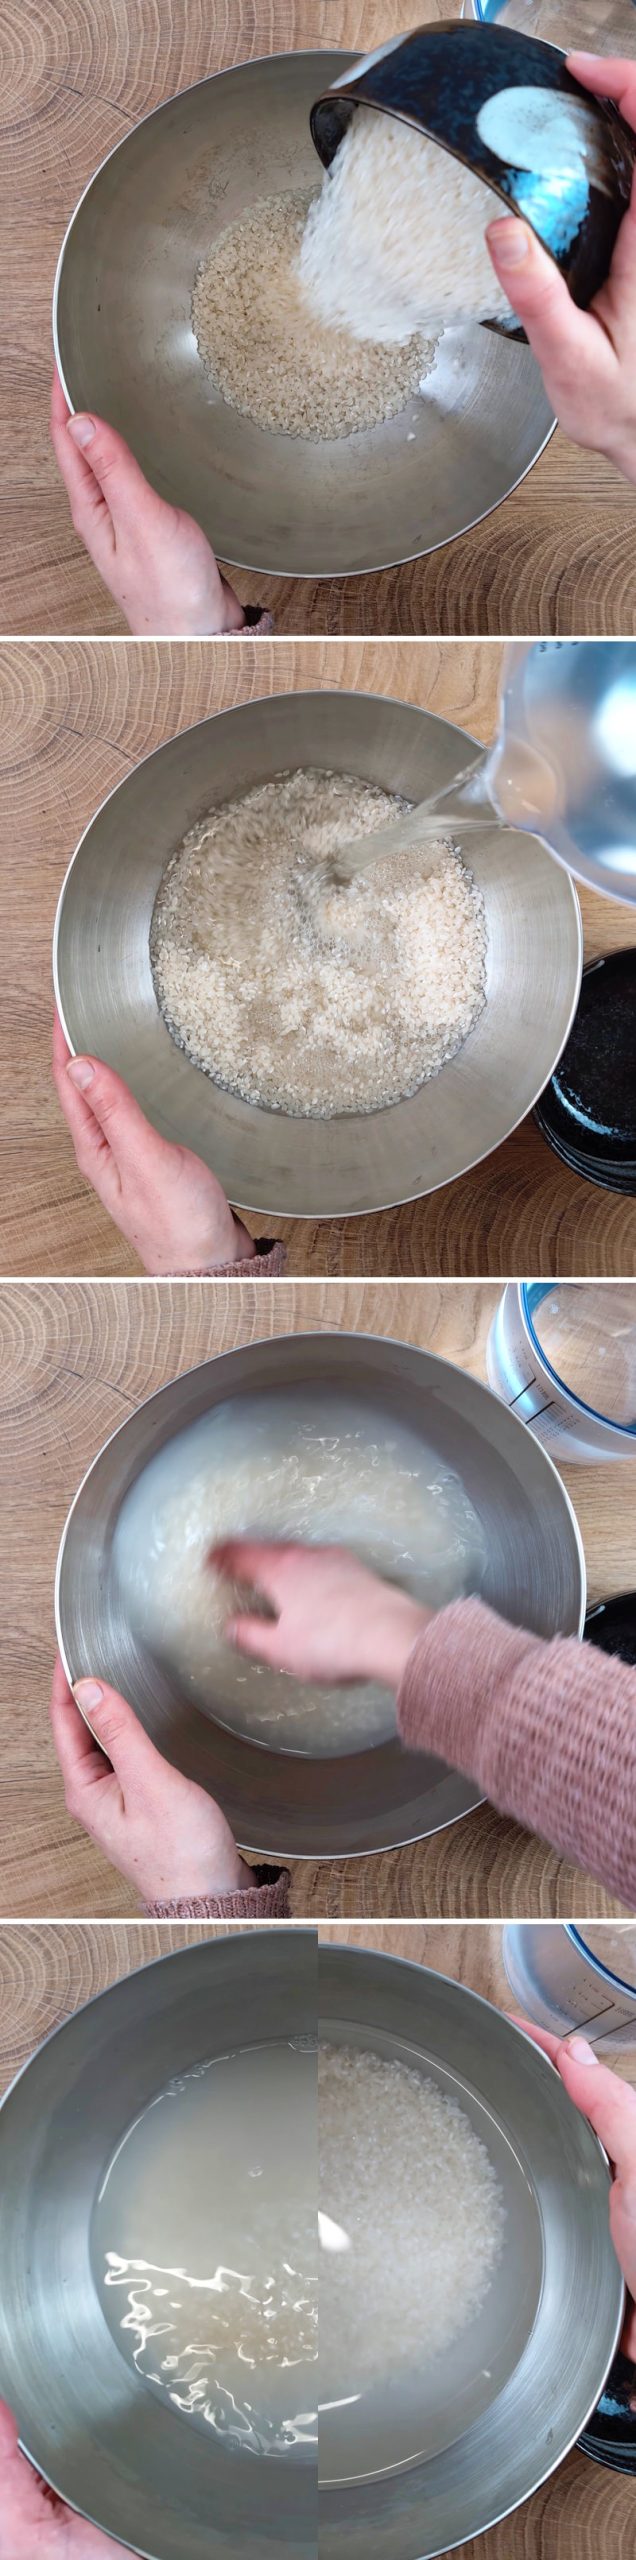
Step 2
Start by washing the rice thoroughly. Place it in a large bowl, add plenty of cold water and rinse the rice several times until the water is almost clear. Add another 500 ml of water to the washed rice and leave it to soak for about 20–30 minutes.
Tip: In the meantime, make a few small cuts in the Kombu
piece in several places so that it releases more flavour during cooking.
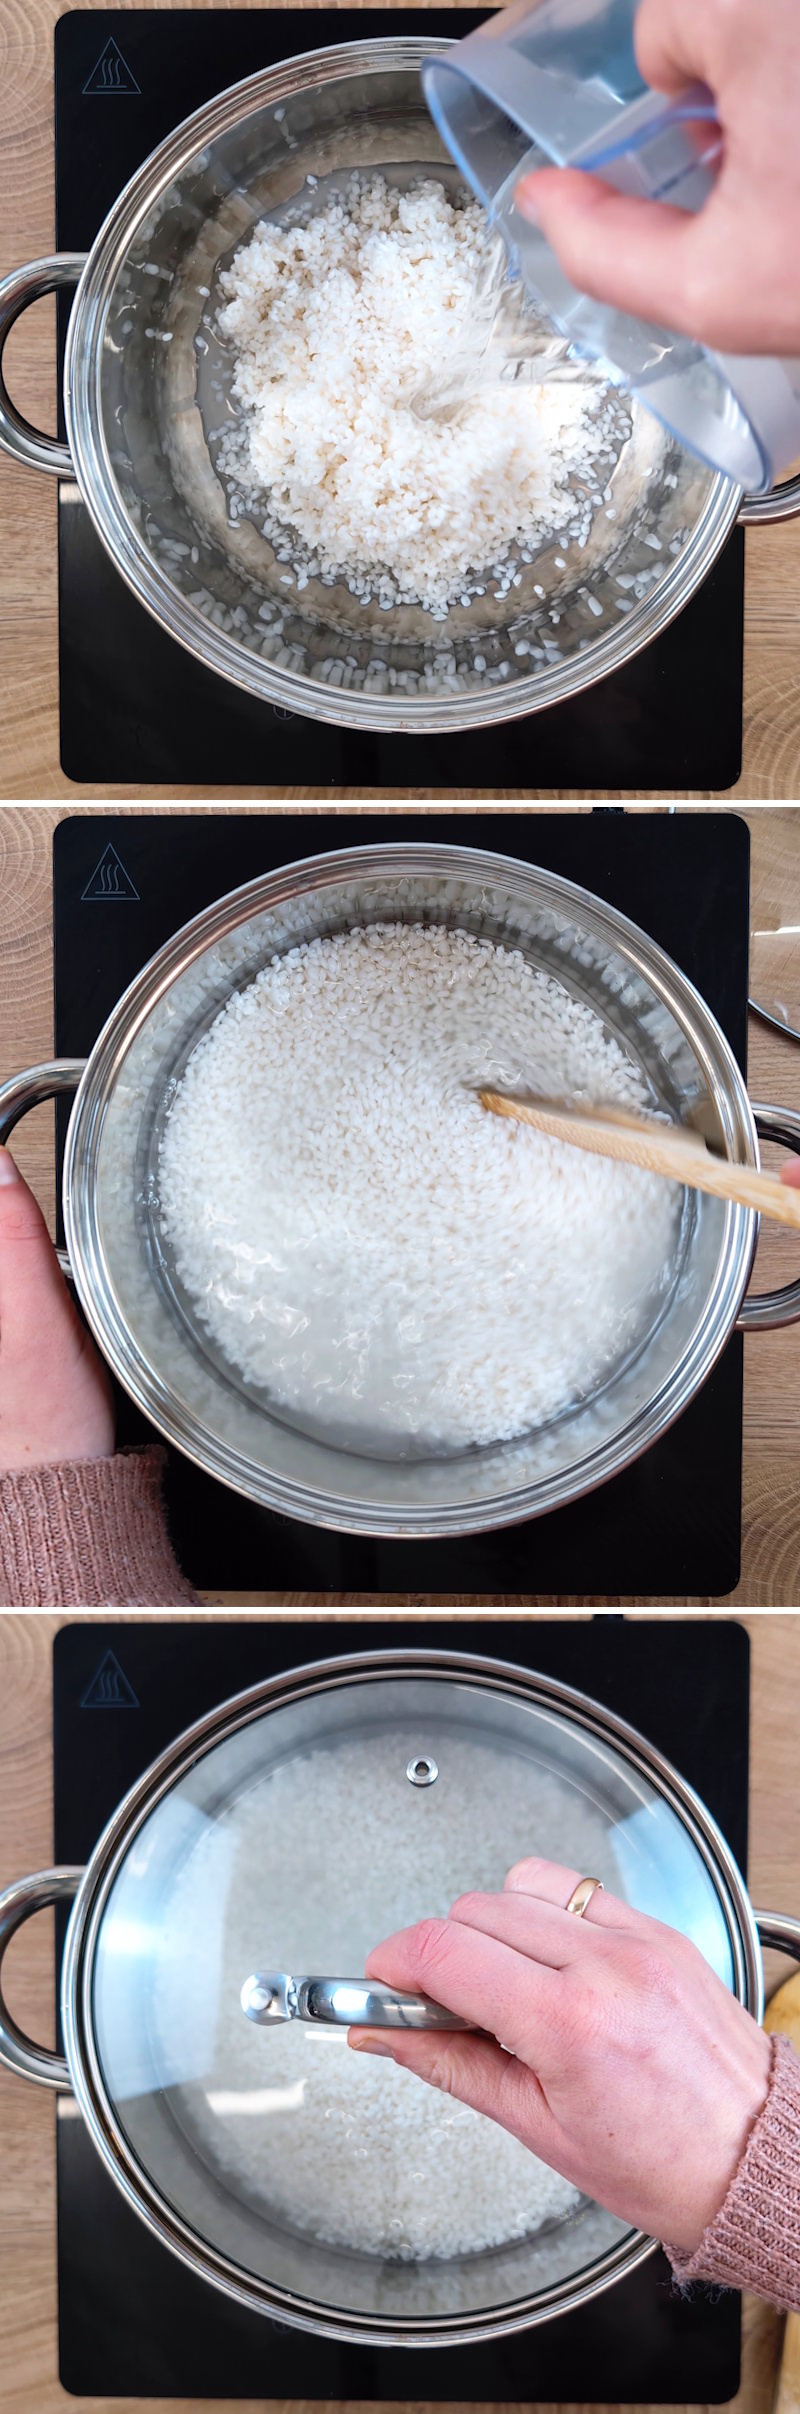
Step 3
Once the rice has rested, drain off all the water.
Place the rice in a saucepan (or, if you prefer, rice cooker) with fresh water in a 1:1 ratio (for 300g of rice, this amounts to 300ml of water). Place the Kombu (if available) on top of the rice.
Now place the pot on the hob, put the lid on and bring to the boil over a medium heat. As soon as the rice comes to the boil, turn the heat down to the lowest setting and leave to simmer gently with the lid on for 13 minutes. Do not open the lid during this time!
passaggio 4. Step
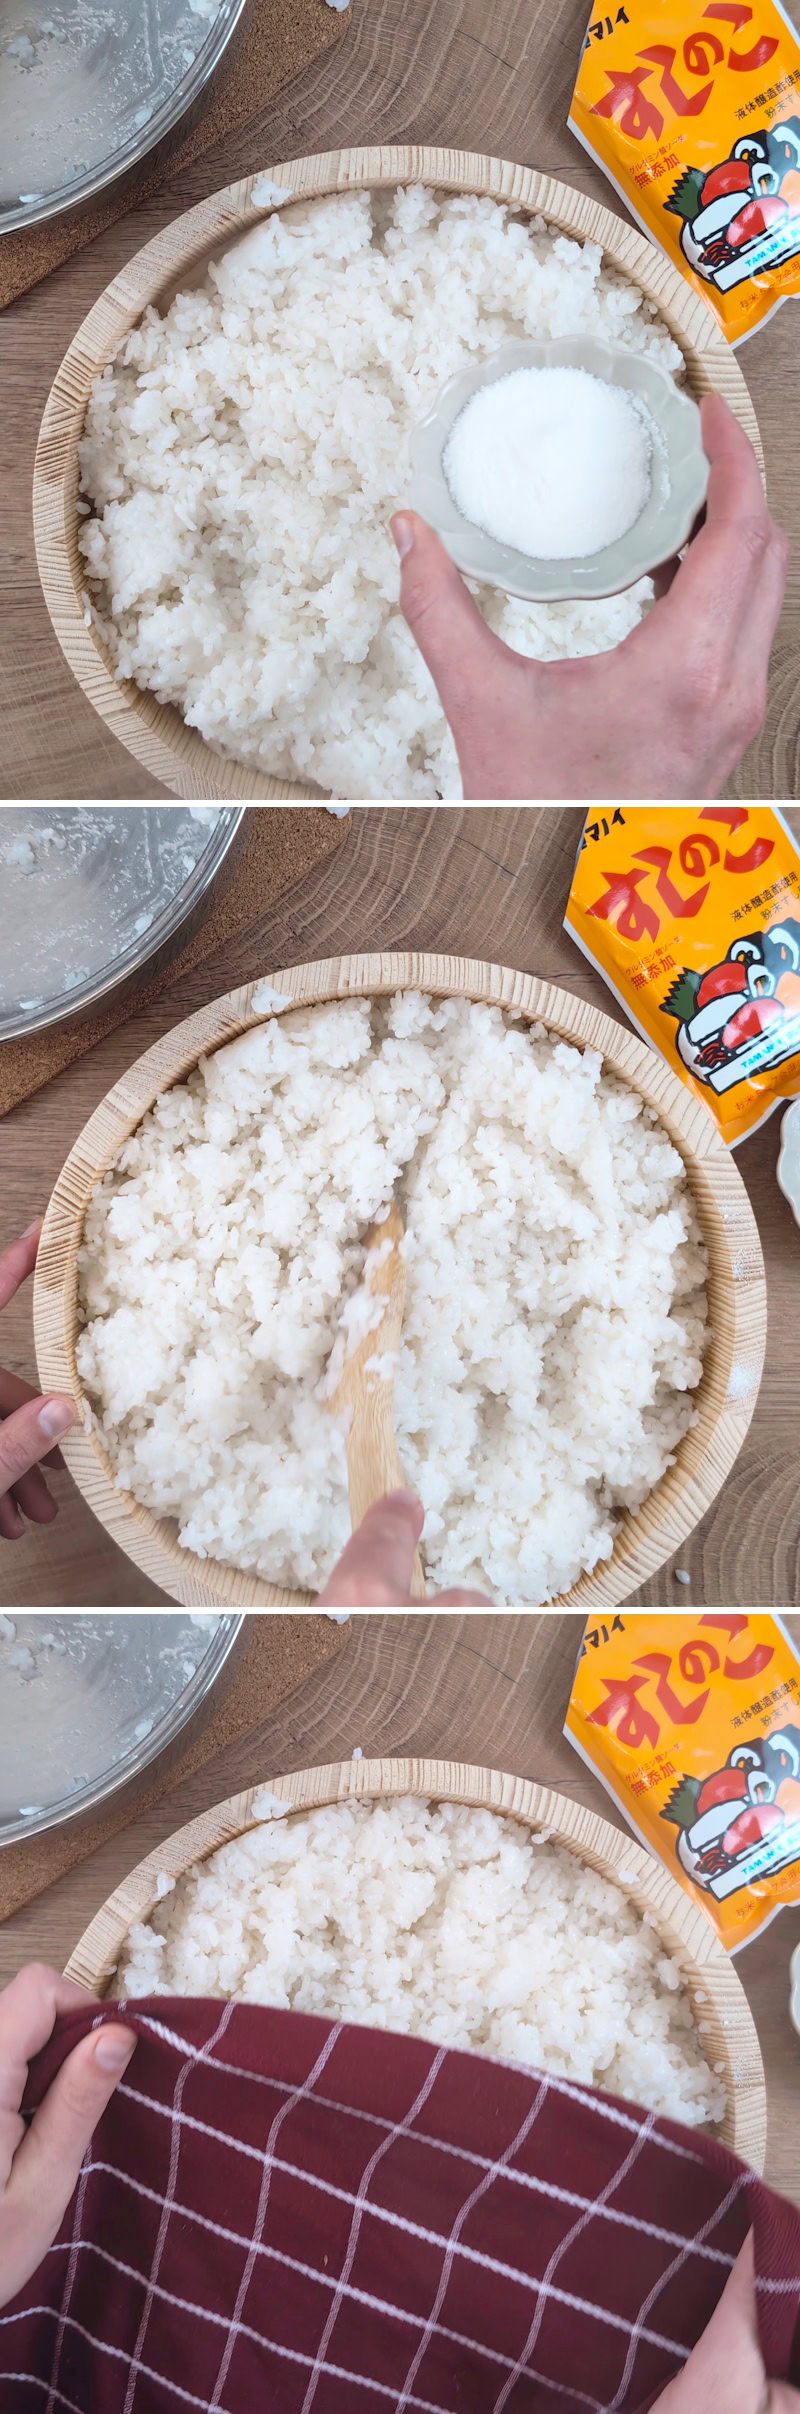
As soon as the rice is cooked, turn the heat off completely. Leave to stand with the lid on for 10 minutes. Then open the lid and remove the Kombu.
Transfer the cooked rice to a large bowl and season with 4 tbsp Sushi vinegar. Mix the rice using cutting motions with the spoon (do not stir vigorously, but gently fold in the seasoning).
Leave the rice covered to cool to body temperature until ready to use, i.e. approximately 40°C – the rice should feel neither hot nor cold to the touch.

Step 5
While the rice is cooling, let’s prepare the filling: </
strong>Remove the tails from the prawns and cut them into slightly smaller pieces. Wash the peppers, remove the seeds and cut them into fine strips.
Wash the spring onion and cut it into thin rings.
Gradually pour in 360 ml cold water and stir just until a smooth, but not over-stirred, batter forms.
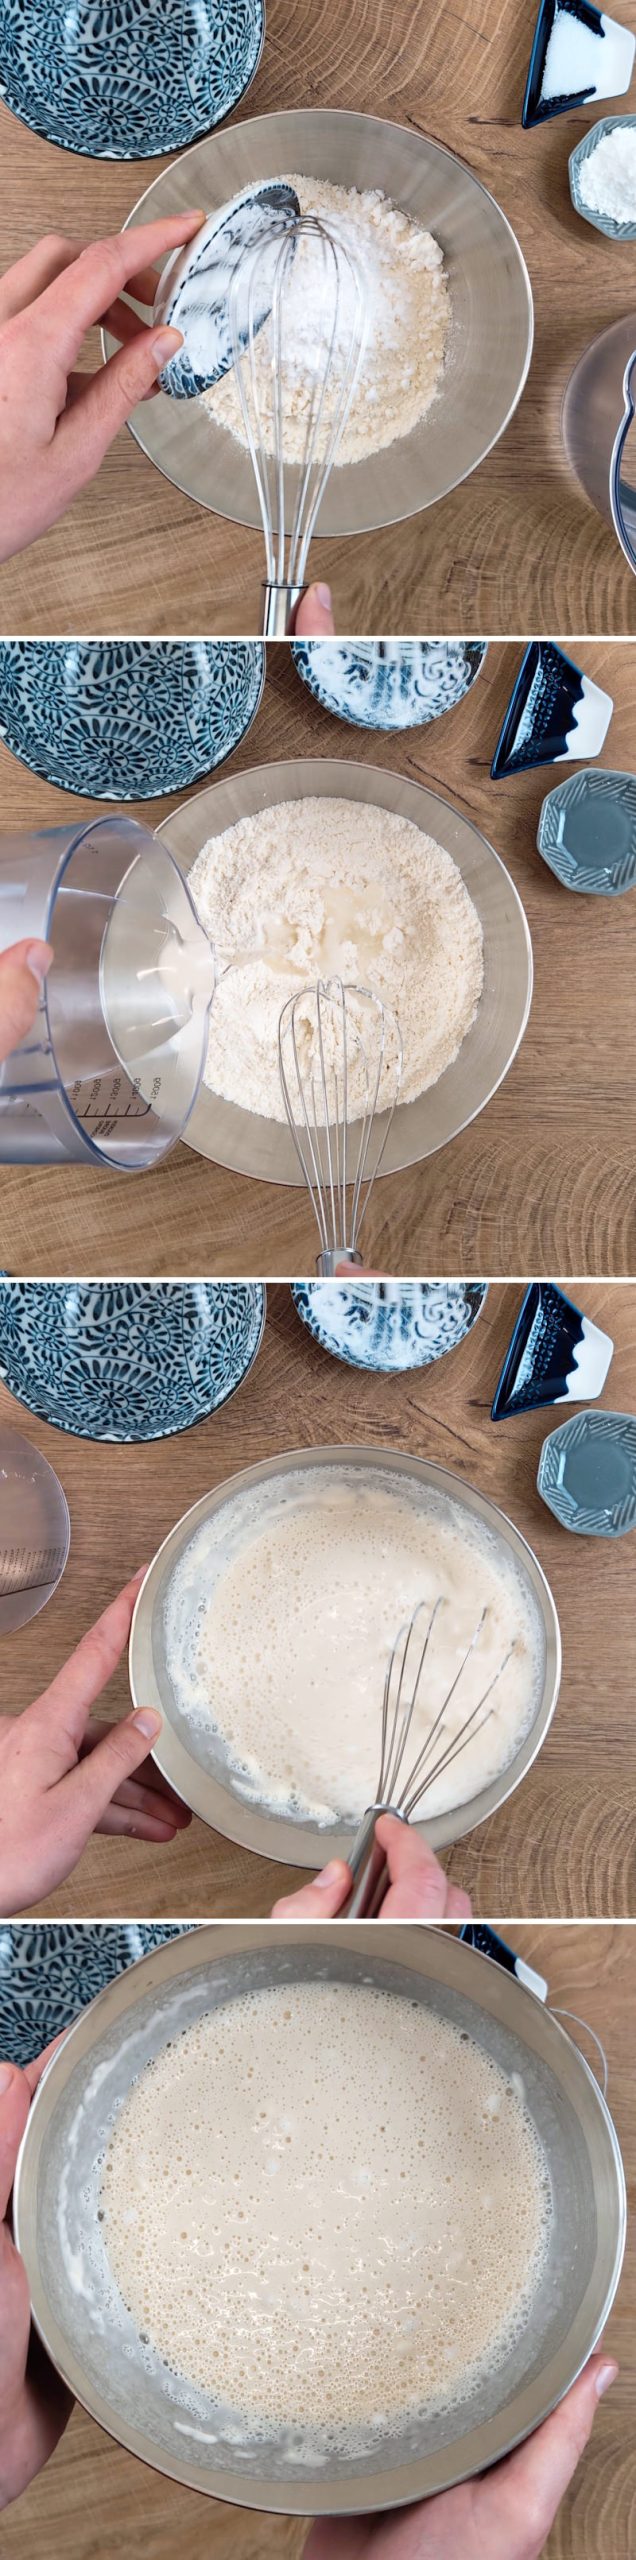
Passaggio 6
Ora prepariamo il battere: In una ciotola, mescolate 160 g di farina, 30 g di katakuriko (starch per le patate) , 10 g baking powder and ½ tsp salt.
Gradually pour in 360 ml cold water and stir just until a smooth, but not over-stirred, batter forms.
Step 7
Tip: Feel free to wrap your Sushi mat in cling film to prevent the rice from sticking to the bamboo. Also, have a bowl of fresh water to hand. Use this to moisten your hands repeatedly whilst spreading the rice – this prevents the rice from becoming mushy as you spread it and keeps it nice and moist.
Place a nori sheet on top, shiny side down. Spread about a quarter of the prepared rice evenly over the nori sheet. Leave a border of about 1–2 cm at the top. Place some surimi, peppers and spring onions in the centre of the rice. If you like, add a little wasabi.
Step 8
Roll everything up from the bottom, applying light but even pressure, to form a firm roll. Make a total of four rolls in this way. Lightly moisten the top end of the Nori with water to seal the roll. Repeat the process to make a total of 4 rolls.
Step 9
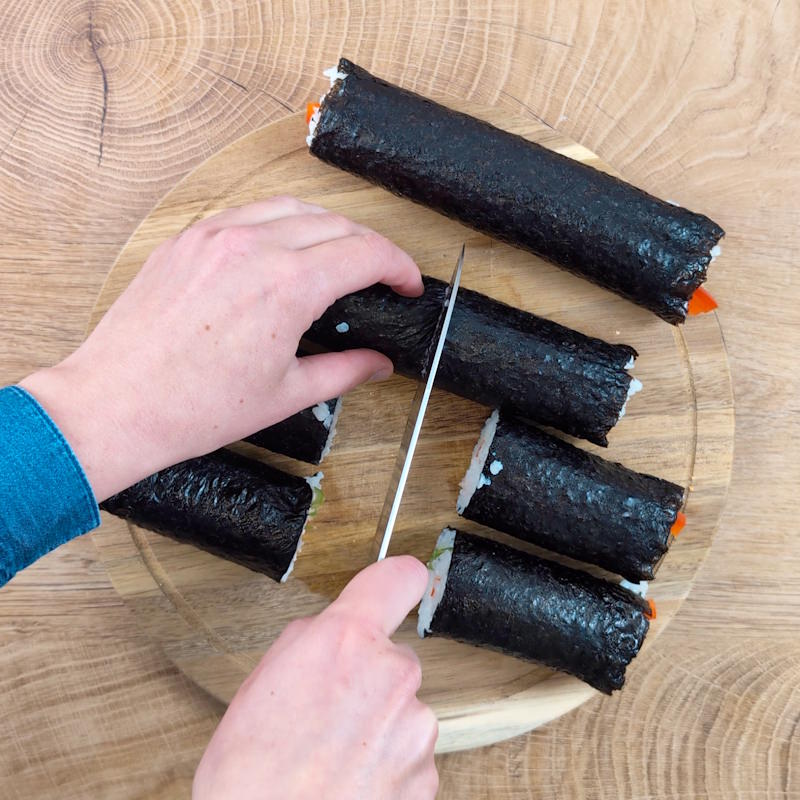
Chill the finished rolls for about 15 minutes. Then cut each roll in half lengthways so that it fits better into the pot.
Step 10
Now heat oil to 170–180 °C in a deep saucepan or wok, to a depth of about 4–5 cm.
Carefully dip each Sushi roll into the tempura batter and deep-fry the battered Sushi rolls one at a time in the hot oil for 1–2 minutes, until they are golden brown and crispy. It’s best to gently turn and rotate them throughout to prevent the heavy Sushi rolls from burning on the bottom. Then leave them to drain on kitchen paper.
Step 11
Cut the crispy rolls into bite-sized pieces using a damp, sharp knife. This keeps the batter nice and intact.
Arrange the finished Tempura Sushi on a plate. Serve with Japanese mayonnaise, Teriyaki sauce and a sprinkling of toasted sesame seeds. Done – Itadakimasu!
Fancy some more delicious inspiration from Japan that goes well with Tempura sushi? Here you’ll find our best Sushi recipes:

Tamago Kake Gohan: Japanese breakfast rice with egg, Furikake & Katsuobushi | TKG
In this recipe, I’ll show you a particularly flavourful version of Tamago Kake Gohan (TKG)…
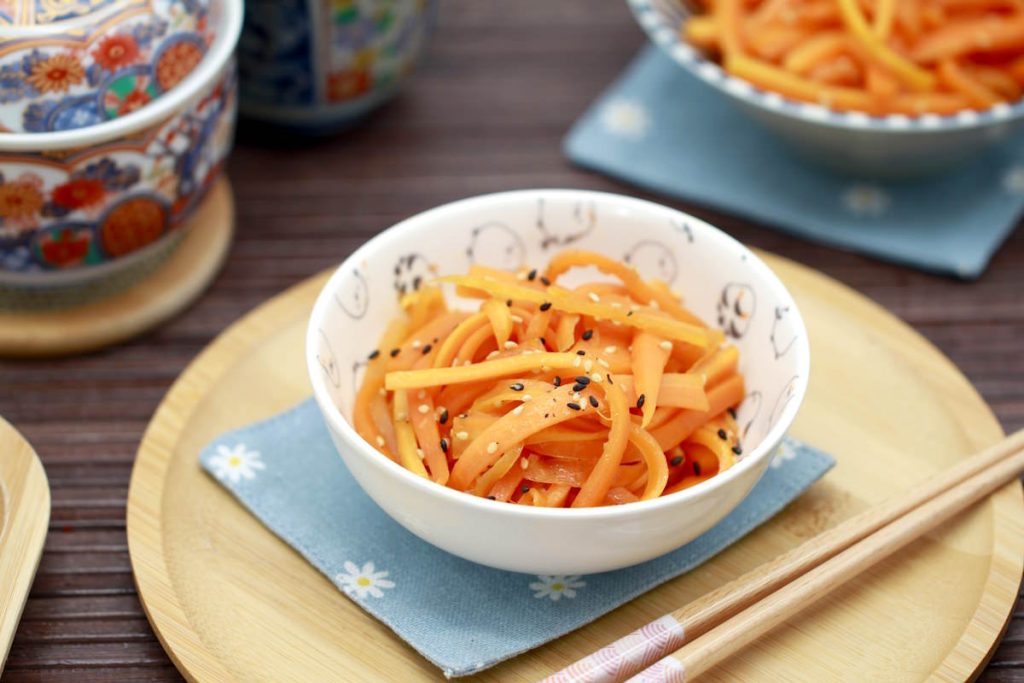
Make your own Ninjin no Kinpira: Japanese carrot side dish in the Kinpira style
Ninjin no Kinpira is a simple Japanese side dish made from finely sliced carrots that…

Nasu Dengaku: Oven-baked aubergines glazed with Miso – simple & irresistible
Nasu Dengaku is a true classic of Japanese cuisine and perfect as a side dish…
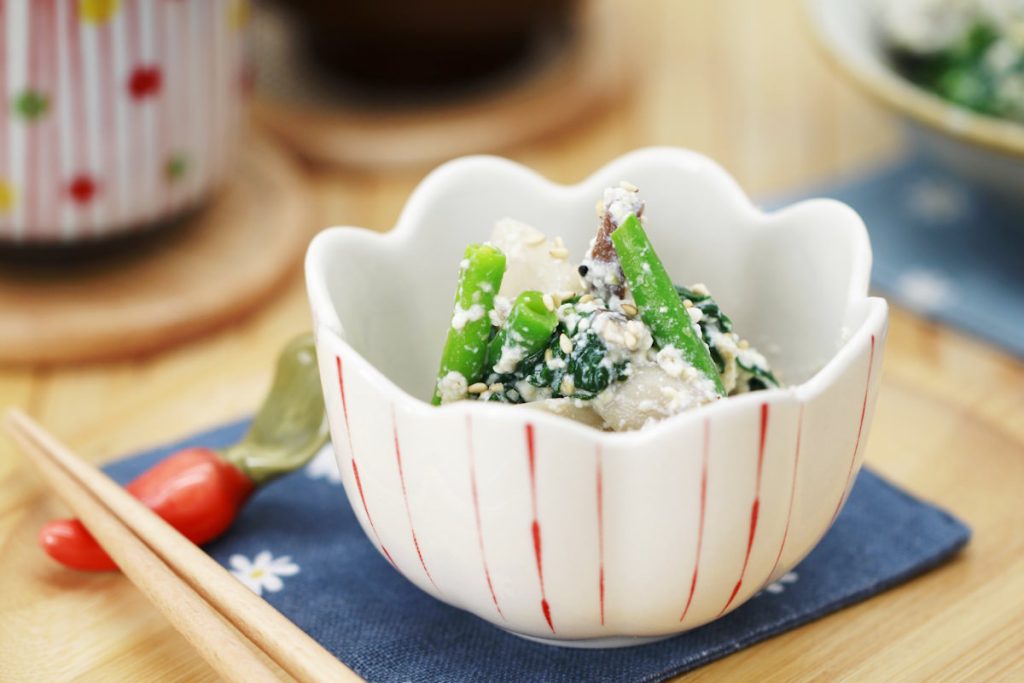
Mushroom and spinach salad with sesame and Tofu dressing: Recipe for Yasai no Shira ae
Mushroom and spinach salad with sesame and Tofu dressing, also known as Yasai no Shira…
Misoshiru in a flash: basic recipe for miso soup with Wakame & Tofu
Miso soup is much more than just a side dish in Japan – it’s a…

Make your own Japanese potato salad: fresh, creamy and irresistible!
If you’re looking for a delicious side dish that’s both familiar and excitingly new, then…
Have you tried this recipe yet? Let me know in the comments – I’m really looking forward to hearing from you.